Contractor User Manual for the Bosch EasyAir App
Easily keep track of your Bosch heat pump and thermostat




Contractor User Manual for the Bosch EasyAir App
Easily keep track of your Bosch heat pump and thermostat


The Bosch EasyAir app is your one-stop shop for troubleshooting the IDS Ultra & Premium Connected. With just a few swipes on your phone, you can easily access information about installation, warranty registration, and monitor the unit remotely.


Remotely monitor the heat pump's health in real-time. View fault codes, live checkpoint values, superheat, subcool and other valuable system information for efficient installs and quick troubleshooting.
Better prepare for support visits by receiving alerts on your phone right away about system faults and their potential root causes.
As the owner of the company or an office admin that dispatches technicians, you can add installers/ technicians to your company profile and manage which homeowner units they can access.
Register all Bosch Home Comfort products via scanning the serial number while on the job site, all funneling into the companies Home Comfort PRO account.
To get started, install the Bosch outdoor unit on site and power it up. Once the unit has been powered up, launch the Bosch EasyAir App, create a profile (if not done previously) and add the unit the outdoor unit details.
After adding the unit via the "Remote Request" tab in the "Unit Dashboard", associate the unit to a homeowner by sending them an invite to download the app.
The invite contains a unique unit verification code that is required by the homeowner to access their heatpump.
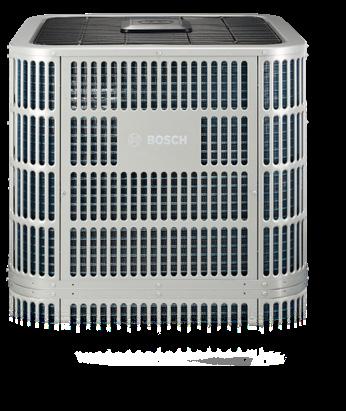

Unbox, install and power up the outdoor unit
Add the unit details to the Bosch EasyAir app
Associate the heat pump to a homeowner via the "Remote Request" tab
Once the homeowner has successfully downloaded the Bosch EasyAir app and created a profile, they will be able to "Add Appliance" to their account. Once they add the heat pump he or she will be prompted to either grant or deny the contractor remote monitoring access to the unit.
Remote access will allow the contractor to monitor the unit and be alerted about any active faults when the contractor is not on-site. The contractor will be able to connect and view system data when on-site via local Bluetooth connection, regardless of the remote monitoring access.
Certain IDS Ultra and Premium Connected features of the Bosch EasyAir App are available for free for the first 36-months upon initial power on. Afterwards, certain fees may apply. Initial download of the app and start of service does not require any payment.(1)(2)

Scan QR with Smartphone to Download App
To download the Bosch EasyAir App from the app store:
1. Open the App Store / Play Store on your phone.
2. Tap the Search icon.
3. Enter "Bosch EasyAir" in the search field.
4. Select "Bosch EasyAir" in the search results.
5. Follow the standard installation procedure.

To use the Bosch EasyAir App, Contractors require an SingleKey ID account and complete the profile creation process.
To register a SingleKey ID account and create your profile:
1. Open Bosch EasyAir app on your phone.
2. Accept the "Terms & Conditions" and the "Privacy Notice".
3. First time users should click on "Sign up/Login with SingleKey ID" to access your existing SingleKey ID account or create a new one, if needed.
4. Follow the on-screen steps to sign up/login with SingleKey ID by entering your credentials.
5. After logging in, to begin creating your profile, select your role as "Installer/Technician. Alternatively, If you are an owner of a company, select your role as "Admin/Manager" and click on "Next".
6. Enter your first and last name and click on "Next".
7. Enter your company details and click on "Next".
8. Enter your phone number and verify it using the phone verification code you receive via text and click on "Next".
9. Your profile has been successfully created.


Contractors will install the outdoor unit on-site as usual. Figure below showcases the ideal steps of the installation process.
Contractors will install the outdoor unit on-site as usual. Figure below showcases the ideal steps of the installation process.
Similar to other Bosch Heat pumps, install the outdoor unit as usual. The figures below showcase the ideal installation process.


It is recommended to have the app downloaded on your device with the account registration and profile creation steps completed before arriving on-site to install the unit. Once the linesets and the electrical fittings have been installed, launch the Bosch EasyAir App and add the unit by scanning the ODU serial number.
Contractors can have the app downloaded on their device with profile registration and creation steps completed before they are on-site. Once linesets are installed and electrical fitting is completed, they can go ahead and add the unit on Bosch EasyAir.
Contractors can have the app downloaded on their device with profile registration and creation steps completed before they are on-site. Once linesets are installed and electrical fitting is completed, they can go ahead and add the unit on Bosch EasyAir.
The steps to add a unit on Bosch EasyAir is as follows:
Select "Add New Unit" from the home screen.
1. Click on "Add New Unit" that is located on the top right corner of the "Home" screen of the Bosch EasyAir App.
Select "Add New Unit" from the home screen.
You will see "Mount Antenna" screen providing installation instructions.
You will see "Mount Antenna" screen providing installation instructions.
2. To add the ODU details, Click on "Scan Barcode" to scan the serial number barcode of the ODU using your phone's camera. Alternatively, you can enter the 23 digit ODU serial number manually. Once the ODU serial number has been successfully verified, a green banner with the message "Outdoor Unit Scanned Successfully" should appear. Click "Next" to proceed.
You can Select "Don't Show Me This Again" to remove this page from navigation, the next time you attempt to "Add New Unit".
You can Select "Don't Show Me This Again" to remove this page from navigation, the next time you attempt to "Add New Unit".
3. To add the Gateway Details, Click on "Scan QR Code" to scan the QR Code on the Gateway using your phone's camera. Alternatively, you can enter the Gateway Serial Number, Bluetooth ID and password manually.
4. Review the antenna mounting instructions and click on "Next".
5. Wait until the gateway has a solid power (green) and cellular (amber) LED and then press "Next".
Upon clicking "Next", the "Power up outdoor unit" screen would appear. This screen is a static screen that provides information about LED loading sequence that may flash up to six minutes.
6. Once you have successfully added the outdoor unit and the gateway, navigate to view the "Unit Dashboard" or "Home".
You can select "Don't Show Me This Again" to remove this page from navigation, the
Upon clicking "Next", the "Power up outdoor unit" screen would appear. This screen is a static screen that provides information about LED loading sequence that may flash up to six minutes.
You can select "Don't Show Me This Again" to remove this page from navigation, the next time you attempt to "Add New Unit".

Select "Next" to add outdoor unit details.
Select "Scan Barcode" to automatically add details using camera phone.
Grant access when a message pops up that states: "Bosch app would like to access your camera”.
You can also choose to manually enter the serial number.
ODU Serial Number has 19 digits in the following format: 399A-XXX-XXXXXXXXXXXXXXXX
Once the barcode details have been successfully verified, you will see a green banner with the message "Outdoor Unit Scanned Successfully" .
If the barcode is invalid, you will see a red banner with the message "Scanned product not eligible for app".
Once you have successfully added your unit, you can choose to navigate to view
Once you have successfully registered your profile and have added units to the application, you can view all the units you have added on the "Home" screen of the Bosch EasyAir app. By default, all the units are displayed on a Map View, but you can switch to the List View, if you prefer seeing the units in a tabular list. Regardless of your preference of the view, you can search a particular unit by the Homeowner's Name or filter units by their status.
successfully registered your profile and have added multiple units to the "Home" is the the first screen you will view. By default, which displays all the units you are monitoring on a map. You list of all the units and also search a particular unit based on
you have successfully registered your profile and have added multiple units to the application, on logging in, "Home" is the the first screen you will view. By default, homepage has a map view which displays all the units you are monitoring on a map. You the option to view a list of all the units and also search a particular unit based on Homeowner's Name.


A. Hamburger Menu: View all "Menu" options.
B. Map View: View All units associated to homeowners on a map.
C. Search Bar: Find a specific homeowner by name.
D. Unit Status: All units are represented via a pin on the "Map" and the "List" view. The Pin symbol represents the units status i.e. Alert, Offline or Normal.
E. Unit Dashboard: Click on the Status Pin on the map or list to access the Unit Dashboard.
F. Pending Status: Indicates that a unit has not been associated with a homeowner.
G. List View: View all the units in a tabular list.
H. Filter: Filter units based on their status.
detailed information about an outdoor unit (ODU).
Dashboard provides detailed information about an outdoor unit (ODU).
the unit dashboard in the following ways: to by choosing a pin in the map view or entry in the list view. navigated to in the last step of Add New Unit. contains four tabs:
can navigate to the unit dashboard in the following ways: It can be navigated to by choosing a pin in the map view or entry in the list view. It can also be navigated to in the last step of Add New Unit.
Unit Dashboard provides detailed information about an outdoor unit (ODU) that assist the contractor install, monitor and troubleshoot a unit for efficiently.
unit dashboard contains four tabs: System Data
You can navigate to the unit dashboard in the following ways:
Charge Unit
Remote Request
Click on a pin on the map view
Register Warranty
Click the gray banner in the list view.
Navigate to the "Unit Dashboard" upon successfully adding a new unit.
The unit dashboard contains four tabs:
System Data
Charge Unit
Remote Request
Register Warranty


"System Data" allows the contractors to view and monitor the ODUs health & system data.
"Charge Unit" allows the contractors to calculate/view the subcool and superheat values and determine if the system requires additional refrigerant based on the lineset length.
"Remote Request" allows the contractor to associate the unit with a homeowner. It is also used to request homeowners permission to remotely monitor the unit.
"Register Warranty" allows the contractor to register the components such as Furnace, Cased Coil, Air Handler and Outdoor Unit that were installed as part of the system.
Below the unit dashboard icons, you can see a banner with unit status. The banner has four possible states as shown below. Unit can be offline if the homeowner has denied remote access to the unit or if the unit has lost connectivity with the cloud.
Each Unit Dashboard has a status banner describing the unit's health. The banner has four possible states, as shown below. Note: A unit can appear offline if the homeowner denies remote access to the contractor or if the unit has lost connectivity. Click on the "tooltip" to determine why the unit is offline.
Below the unit dashboard icons, you can see a banner with unit status. The banner has four possible states as shown below. Unit can be offline if the homeowner has denied remote access to the unit or if the unit has lost connectivity with the cloud.


To view both on-site and remote data, homeowner should have provided you with access. Below the banner is a drop-down menu with two options: "On-Site Data" and "Remote Data". The default selection is "Remote Data" anytime a user opens up the Unit Dashboard. To view on-site data, you need to connect your mobile to the outdoor unit via Bluetooth.

Enable Bluetooth in your phone's setting
Using the drop-down menu, select whether you'd like to view "On-site Data" or "Remote Data".
Open the access panel on your outdoor unit
Hold the "Connect" button on the gateway for four (4) seconds
Note:
Once the blue LED starts blinking, press the "Connect" button below
▶ To view On-Site Data, contractors need to connect with the ODU via Bluetooth.
To view both on-site and remote data, homeowner should have provided you with access. Below the banner is a drop-down menu with two options: "On-Site Data" and "Remote Data". The default selection is "Remote Data" anytime a user opens up the Unit Dashboard. To view on-site data, you need to connect your mobile to the outdoor unit via Bluetooth.
▶ To view Remote Data, contractors require remote monitoring permission from the homeowner.
To connect to outdoor unit via Bluetooth:
Enable Bluetooth in your phone's setting
Open the access panel on your outdoor unit
1. Enable Bluetooth in your phone's setting.
Hold the "Connect" button on the gateway for four (4) seconds
2. Open the access panel on your outdoor unit.
Once the blue LED starts blinking, press the "Connect" button below
3. Hold the "Connect" button on the gateway for four (4) seconds.
4. Copy Bluetooth PIN and press the "Connect" button on the app.
5. Paste the Pin copied if prompted.
Monitor Data On-Site
Monitor Data On-Site
The contractor can view the following data when they are connected via Bluetooth and are on-site: Thermostat Call, Compressor Load, Outdoor Ambient Temp., Dip Switch Configurations, Live Checkpoint Values, and Historical Fault Code Data
You can view the following data on-site: Thermostat Call, Compressor Load, Outdoor Ambient Temperature, Dip Switch Configuration and Advanced Information - Live Check Point.
You can view the following data on-site: Thermostat Call, Compressor Load, Outdoor Ambient Temperature, Dip Switch Configuration and Advanced Information - Live Check Point.


Checkpoint Values Tab
Checkpoint Values Tab


"Live Checkpoint Values" with a ">" is a clickable field that will take you to a new screen titled "Live Checkpoint Values". There are 2 tabs on this screen: "Check point Values" and "Saved Values".
A. Upon establishing a Bluetooth connection with the outdoor unit, the Bluetooth symbol turns to blue from gray.
B. Warning and alert messages enclosed in a banner will be displayed below a particular parameter.
"Live Checkpoint Values" with a ">" is a clickable field that will take you to a new screen titled "Live Checkpoint Values". There are 2 tabs on this screen: "Check point Values" and "Saved Values".
Checkpoint Values Tab
Checkpoint Values Tab
When on-site and connected via Bluetooth, the Bosch EasyAir app allows the contractors to view detailed information about the heat pump. This includes live checkpoint value parameters and historical fault codes.
Click on "Live Checkpoint Values" or "Historical Fault Code Data" at the bottom on the "System Data" tab within the "Unit Dashboard" to view "Advanced Information".


A. View additional system information such as the Live Checkpoint Values and Historical Fault Codes.
B. Save the live checkpoint values within the app for future reference.


If the "Send via Email" is pushed, an email message will pop with the PDF attached to the email.
The filename of the PDF will be
C. View previously saved checkpoint values.
D. Share the saved system data with your colleague or Bosch Associates via downloading a PDF or sending it as a mail.
If the "Send via Email" is pushed, an email message will pop with the PDF attached to the email. The filename of the PDF will be saved as the data
E. View up-to 10 historical fault codes of the system.
"Monday_7_14_21". The email AC.TechSupport@us.bosch.com
"Monday_7_14_21". The email will be addressed to:
Remotely
Data" is selected from the dropdown menu, you can view Homeowner graph. You have the option to view data trends either on a monthly basis or
When "Remote Data" is selected from the dropdown menu, you can view Homeowner energy usage graph. You have the option to view data trends either on a monthly basis or a yearly basis.
When "Remote Data" is selected from the drop down menu, contractors can view the unit's energy usage graph if they have remote monitoring permission from the homeowner. They have the option to view data trends on either a monthly or yearly basis.
Note: The energy usage graph may vary depending on the heatpump model.


A. Select "Month" to compare energy usage for two consecutive months.
B. Select "Year" to compare energy usage for the same month for two consecutive years.
User Guide Bosch EasyAir
Unit tab helps in calculating the desired values of superheat and subcool depending on the type and capacity of the outdoor unit. Contractors must connect the outdoor unit to gauges to measure: Discharge Line Pressure, Discharge Line Temperature, Suction Line Pressure and Suction Line Temperature. Contractors need to these values on to the app to get the subcool and supercool values. The app will determine if the calculated values are in range and provide tips as well.
The Charge Unit tab assists calculating the superheat and subcool depending on the type and capacity of the outdoor unit. Depending on the heat pump model, Contractors may need to input, Discharge Line Pressure, Discharge Line Temperature, Suction Line Pressure, and Suction Line Temperature to calculate the superheat and subcool values or connect via Bluetooth to read the subcool and superheat values. The Bosch EasyAir would provide tips to adjust these values if they are not within an acceptable range.
Charge Unit


Remote Request


Charge Unit tab helps in calculating the desired values of superheat and subcool depending on the type and capacity of the outdoor unit. Contractors must connect the outdoor unit to gauges to measure: Discharge Line Pressure, Discharge Line Temperature, Suction Line Pressure and Suction Line Temperature. Contractors need to input these values on to the app to get the subcool and supercool values. The app will also determine if the calculated values are in range and provide tips as well.
A. Select a method to charge the unit i.e. "Charge by Subcool" or by "Weigh in Method".
B. In "Charge by Subcool" method, connecet via BLE to view subcool and superheat. You may need to input discharge and suction temp and pressure value for some heat pump models.
C. Tips to bring subcool and superheat into optimal ranges.
the remote request tab, contractors can send requests homeowners to grant access for monitoring the unit. Send on homeowner's phone number or Email address. Once homeowner has responded, you will see one of the following on the remote request tab:
Remote Request
The Remote Request tab is used to associate a unit with a homeowner. Once the contractor has added the unit to the App, they must send an invite to the homeowner to download the app, create an account, and grant/deny remote monitoring permission to the contractor.
Through the remote request tab, contractors can send requests homeowners to grant access for monitoring the unit. Send request on homeowner's phone number or Email address. Once the homeowner has responded, you will see one of the following banners on the remote request tab:
One of the following banners will be displayed on the "Remote Request" tab after the homeowner completes these actions:


The Bosch EasyAir App allows the contractors to register 1000+ Bosch Home Comfort products for warranty. Contractors can register products via two methods:
Hamburger Menu - Product Registration
Unit Dashboard - Register Warranty tab
To register products for warranty and earn rewards, contractors need to sign up for the Bosch Home Comfort Pro program and associate themselves to a company.
Through the register warranty tab, contractors can register the IDS Ultra and IDS Premium Connected system they've installed for warranty. To register the products, the contractor may have to put in the homeowner information in addition to the product information if the unit has not yet been associated with a homeowner.
To register via Unit Dashboard:
1. Ensure you have signed up for Bosch Home Comfort Pro program.
2. Ensure you are registering an IDS Premium Connected or IDS Ultra system.
3. Select the "Register Warranty" tab from the "Unit Dashboard"
4. Enter “Homeowner Information”, if unit not associated to a homeowner already.
5. Select “Application Type”.
6. Select if you’d like to register an outdoor unit, air handler, BGH96 furnace or a BMAC cased coil.
Enter homeowner information
Enter homeowner information
7. Select "Scan Barcode" to automatically fill the unit details using your phone's camera, or for manual input type the 23-digit serial number.
Select "Appliance Type"
Select "Appliance Type"
Select the if it is an outdoor unit, air handler, BGH furnace or a BMAC cased coil
8. Enter the installation date.
Select the if it is an outdoor unit, air handler, BGH furnace or a BMAC cased coil
You can choose to scan the barcode or manually enter the serial number
You can choose to scan the barcode or manually enter the serial number
Enter installation date
Enter installation date View
Upon completion, the homeowner will receive a Warranty Certificate via email for the unit you registered. You can also view this registration on your Bosch Comfort PRO account.
View a list of all the units you have


Through the product registration option in the Hamburger Menu, contractors can register 1000+ products in the Bosch Home Comfort portfolio; this includes products such as Minisplits, Boilers, Water Heaters, Water-source heat pumps etc. To register for warranty, the contractor will be required to input the homeowner information in addition to the product information.
To register via Hamburger Menu:
1. Ensure you have signed up for Bosch Home Comfort Pro program.
2. Select "Scan Barcode" to automatically fill the product details using your phone's camera, or for manual input type the serial number.
3. Select the "Installation Date" and the "Application Type". Click "Next" to proceed.
4. Enter “Homeowner Information”.
5. Click "Submit" to register the product.
Upon completion, the homeowner will receive a Warranty Certificate via email for the unit you registered. You can also view this registration on your Bosch Comfort PRO account.


The notifications can be viewed by clicking on the bell icon on the top right corner of any screen within the app. A red dot with the number of unread notifications appears on the bell icon. Each contractor account receives individual notifications; they are not shared between contractors in the same company. A notification is moved from the "Active" to "Archive" tab when:
If you click on "x" button in the top right of the notification field.
If the faults have been cleared.
After a period of seven days, notifications still in the active tab move to archive.


To troubleshoot and know more about a fault on the unit:
To troubleshoot and know more about a fault on the unit: 1.
View a list of possible causes that could be causing the fault Troubleshoot fault on the unit To troubleshoot and know more about a fault on the unit:
You can view the units with fault status symbol through map view or the list view
You can view the units with fault status symbol through map view or the list view
Click on the unit to view active fault code details
Click on the unit to view active fault code details
You can view the units with fault status symbol through map view or the list view
Click on the unit to view active fault code details
Click "Service" next to the fault code message highlighted in a red banner
Click "Service" next to the fault code message highlighted in a red banner
View a list of possible causes that could be causing the fault Troubleshoot fault on the unit
Click "Service" next to the fault code message highlighted in a red banner
View a list of possible causes that could be causing the fault Troubleshoot fault on the unit
Contractors can troubleshoot the unit both remotely and onsite. When onsite, contractors can connect via bluetooth to view the possible causes the system might be experiencing and issue and how to resolve them. When remote, contract can contractors can view fault codes with their possible causes. This may assist contractors better prepare for the issues they may encounter onsite.
to
How to Troubleshoot with Bosch EasyAir
How to Troubleshoot with Bosch EasyAir
You can view the units with a fault status symbol through map view or the list view.
To troubleshoot and know more about a fault on the unit:
You can view the units with fault status symbol through map view or the list view
You can view the units with fault status symbol through map view or the list view
You can view the units with fault status symbol through map view or the list view
1. Units with a fault code will appear with a fault status symbol through both the map and list views.
Click on the unit to view active fault code details
2. Select the unit to view the fault code details.
Click on the unit to view active fault code details
Click on the unit to view active fault code details
Click "Service" next to the fault code message highlighted in a red banner
Click "Service" next to the fault code message highlighted in a red banner
3. View the active fault code and select "Service" on the red message banner.
Click "Service" next to the fault code message highlighted in a red banner
View a list of possible causes that could be causing the fault
fault on the unit To
View a list of possible causes that could be causing the fault
4. A list of possible causes for the fault will be displayed.
View a list of possible causes that could be causing the fault Troubleshoot fault on the unit
fault on the unit



As an admin, you will be able to add individual contractors to the company. You will also have the same features as a contractor account and can install and monitor units. Additionally. the Admin/Manager user role has access to some company management features through the "Admin Portal" located in the hamburger menu.
As an admin you can:
Send requests to contractors to join the company and monitor units.
Manage unit access and assign them to contractors.
Can dissociate a contractor from the company if required.
The Admin Portal has two tabs:
Company Contractor
Request
The "Company Contractor" tab, allows the admin to view a list of the contractors who are currently part of the contractor company and manage the units they have access to
The "Request" tab is used to send a request to a contractor joining the company.
Note: The contractors need to Select the "Installer/Technician" role to be able to receive an invite to join the contractor company.



A. Access the "Admin Portal" via the hamburger menu.
B. Select a contractor to manage access.
C. A green check mark indicates that the contractor has access to this unit. A red cross mark indicates that the contractor does not have access to this.
Admins can send requests to individual contractors to be associated with the company.
1. Navigate to the "Admin Portal" from the hamburger menu and select "Request" tab.
2. Select "Invite New Contractor".
3. Make sure your contractor has created their profile on Bosch EasyAir app.
4. Enter phone number.
5. Select "Send Request".
6. Once the request has been sent, the contractor's name appears in the request pending list.
7. To undo the request, select "Trash Icon".
8. Select the request you would like to unsend by checking the box.


As a technician/installer, you can get associated with a company. The admin/manager of the company needs to send a request through the app to join the company. Installers by default will have access to all the units they have installed. However, admin will be able to revoke access to the existing units or grant additional access to units. Once an individual contractor joins the company, all the units will now be associated to the company.
As a technician/installer, you can get associated with a company. The admin/manager of the company needs to send a request through the app to join the company. Installers by default will have access to all the units they have installed. However, admin will be able to revoke access to the existing units or grant additional access to units. Once an individual contractor joins the company, all the units will now be associated to the company.
Once the Admin sends an invite to a technician/installer has to accept/decline the invite. Once they are associated to the admin company, they can access all units that other contractor within the company have installed. By default, installer/ technicians will have access to all the units that are associated to a company. However, the admin will be able to revoke access to the existing units or grant additional access to units. Once an individual contractor joins the company, all the units will now be associated with the company.
As a technician/installer, you can get associated with a company. The admin/manager of the company needs to send a request through the app to join the company. Installers by default will have access to all the units they have installed. However, admin will be able to revoke access to the existing units or grant additional access to units. Once an individual contractor joins the company, all the units will now be associated to the company.



A. Select "Accept" to join the company invite sent by the admin.
B. If you have been If an admin has removed you from the company, from your company, you will see a message like this upon logging in.
1. Navigate to the "Admin Portal" from the hamburger menu and select "Company Contractor" tab.
2. Access the “Unit access” screen by selecting a contractor.
Then, select “Edit Access”. 4. Check box to grant access to specific units at a location.
5. Uncheck the box if the access to units should be denied.


1. Navigate to the "Admin Portal" from the hamburger menu and select "Company Contractor" tab.
2. Select the trash icon to remove a contractor.
3. Check the box of the contractors you’d like to remove. 4. Select "Delete” at the bottom of the page.
5. Respond to "Yes" to a confirmation message that pops up.


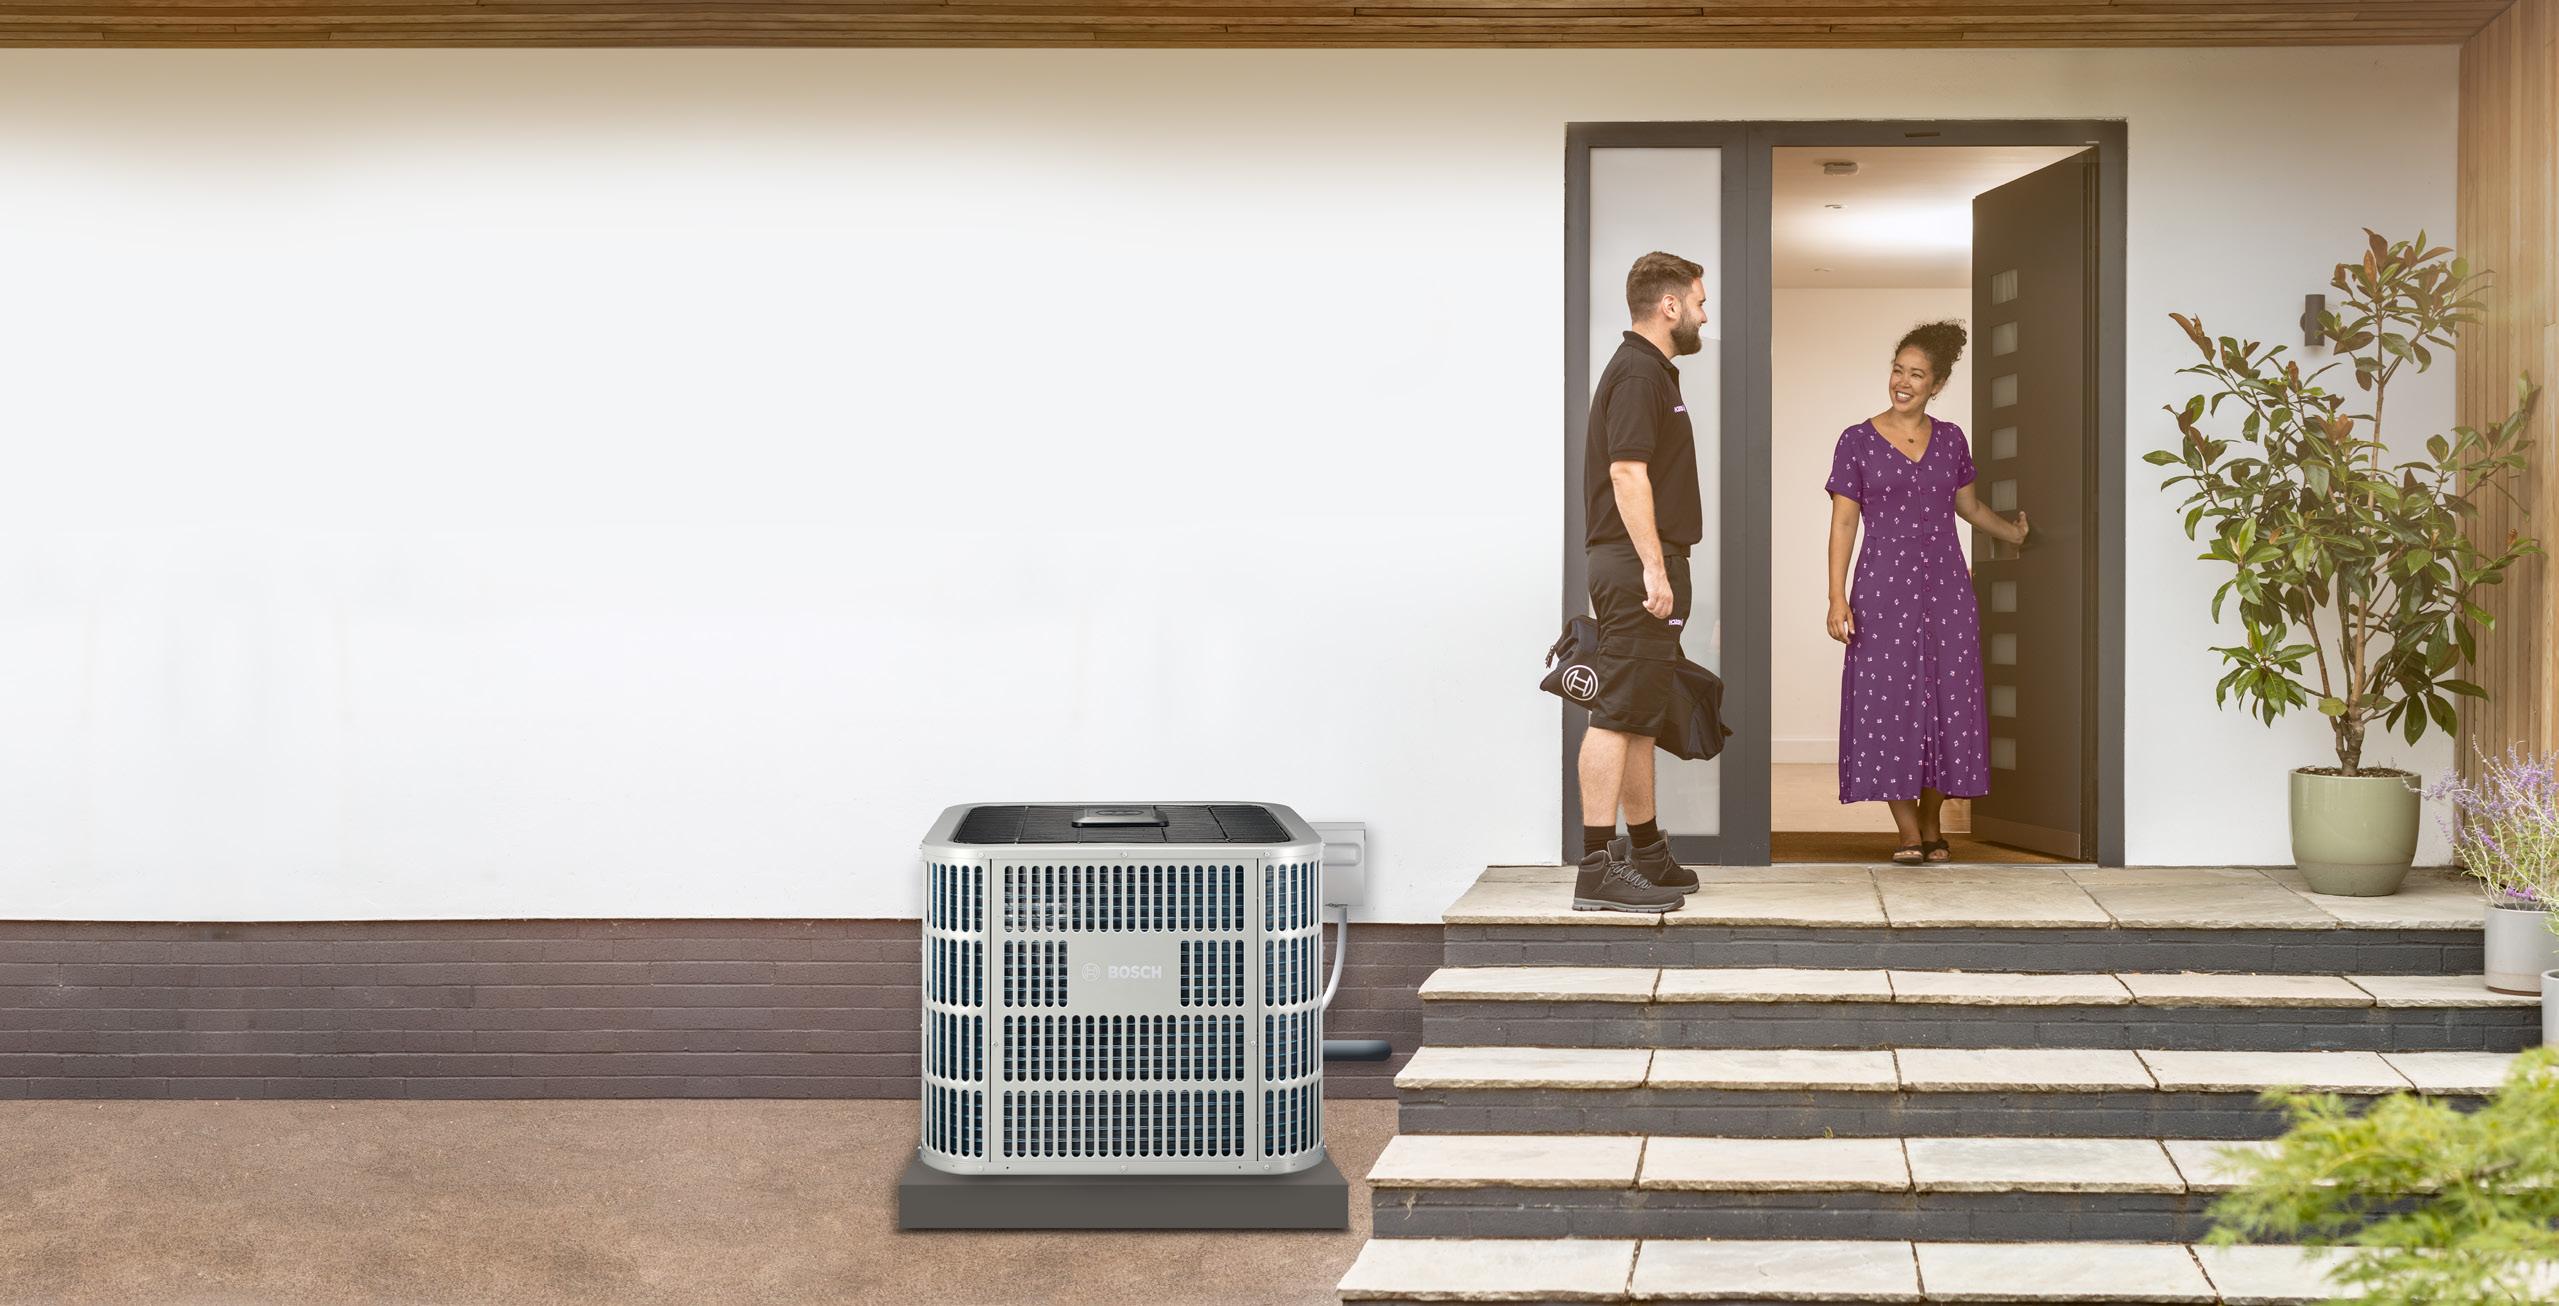
We are committed to supporting our installers by providing tools to manage and grow your business, allowing you to focus on what matters; providing your customers with comfort they can count on. By choosing Bosch, you represent one of the largest HVAC brands in the market with over 100 years of industry expertise. Join our team of Professional dealers to gain access to rewards, exclusive sales and marketing tools, technical support, and more.
Home Comfort PRO Benefits
▶ Manage your company registrations
▶ Access to Bosch current & exclusive promotions
▶ Access to the exclusive Home Comfort PRO Facebook group
▶ Access to technical documentation
▶ Access to Bosch product brochures
▶ Access to dedicated support line
▶ Access partner shop for redeeming points
New Digital Platform
Improved UI & Mobile App
Product Registration
Incentives for product registration
Extended Warranty 1yr parts for all Platinum Home Comfort PROs
Partner Shop
Exchange points for apparel, marketing materials, literature & more
Bosch Home Comfort Group is a leading source of high quality water heating and comfort systems. The company offers gas tankless, electric whole house and point-of-use water heaters, Bosch and Buderus floor-standing and wall-mounted boilers, Bosch and FHP geothermal, water-source and air-source systems as well as controls and accessories for all product lines. Bosch Home Comfort is committed to being Simply Smart by offering products that work together as integrated systems that enhance quality of life in an ultra-efficient and environmentally friendly manner. For more information, visit bosch-homecomfort.us
The Bosch Group is a leading global supplier of technology and services in the areas of Automotive, Industrial Technology, Consumer Goods and Building Technology. The company was founded in Stuttgart, Germany, in 1886 and presently has more than 440 subsidiaries and is represented in over 150 countries.
In the U.S., Canada and Mexico, the Bosch Group manufactures and markets automotive original equipment and aftermarket solutions, industrial drives and control technology, power tools, security and communication systems, packaging technology, home comfort solutions, household appliances and software solutions. The Bosch Group’s products and services are designed to improving quality of life by providing innovative and beneficial solutions. In this way, the company offers technology worldwide that is Invented for life. Additional information is available online at www.bosch.com
Watertown, MA | Londonderry, NH | Ft. Lauderdale, FL
General Inquiries: 1-866-642-3198
Copyright © 2025 Bosch Home Comfort Group All rights reserved. Subject to change without notice.
76HTT1006D 1-25
www.bosch-homecomfort.us