3 minute read
BEDSIDE BEAUTY
A TASHA DI N Bedside beautyDO IT DIY SIDE TABLE CKINS
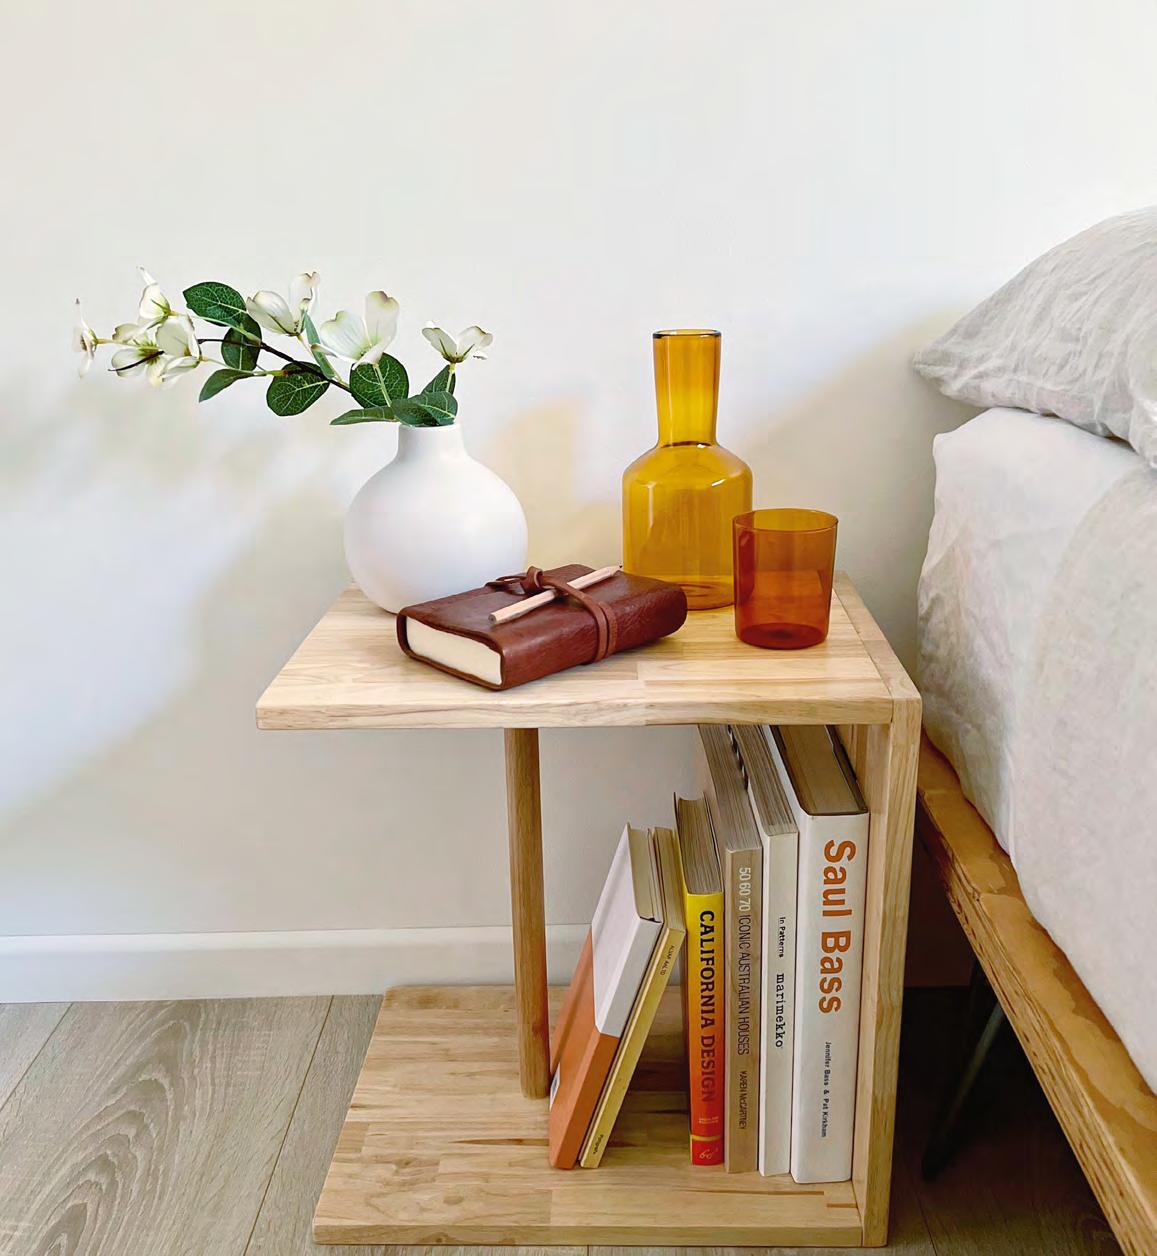
THIS VERSATILE CUBE DESIGN MAKES AN IDEAL NIGHTSTAND FOR VISTING GUESTS
Project, photography and styling NATASHA DICKINS
Tools & materials
n Safety equipment (gloves, mask, ear and eye protection) n Tape measure and pencil n Mitre saw n Drill with driver, 8G combination countersinking bit and 3mm bit n Combination square n Four 450mm clamps n Cloth n Scraper n 1800mm x 300mm x 18mm timber panel• n 900mm (or offcut) 25mm dowel• n 8G x 40mm timber screws n Woodworking adhesive n 180-grit abrasive paper with sanding block n Timber filler in a hardwood tint n Furniture oil
1 DIY TOOLKIT
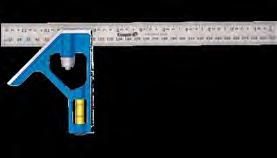
3
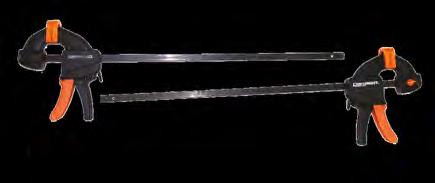
2 4 5 6

Countersink the holes from the best side of the panel, so it becomes the outside face, then fill and sand so they practically disappear
1 Ozito 2100W 254mm 10" corded double bevel sliding mitre saw, $296, I/N: 6290588. 2 Bondall ‘Monocel’ furniture oil trigger pack $28.55/500ml, I/N: 1520428. 3 Empire 300mm combination square, $17.99, I/N: 5667081. 4 Hume Pine ‘Pinetrim’ 25mm dowel, $11.59/900mm, I/N: 0293785• . 5 Selex 1800mm x 300mm x 18mm laminated panel, $36.50, I/N: 8490004• . 6 Craftright 450mm quick action clamp, $16.98/pack of 2, I/N: 5860151. Some products are not available at all Bunnings stores, but may be ordered.



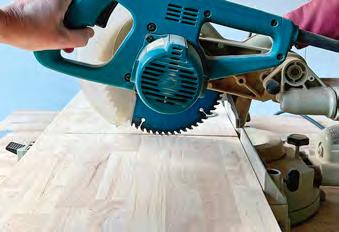
1 Mark up a 1800mm x 300mm timber panel 395mm in from either end to cut the side pieces with a mitre saw. Cut a 410mm piece as the top. Cut a 25mm dowel piece to 375mm long. Tip: Alternatively, arrange to have the pieces cut in store.
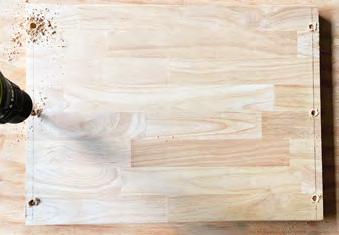
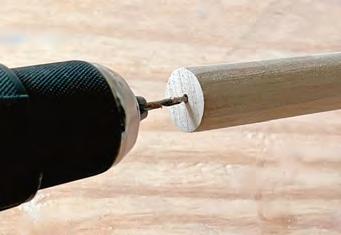
3 On the top piece, use a combination square to mark a line 9mm in from the ends to countersink holes 30mm from the edges and at the centre. Position the top flush with the sides to pre-drill the upper edges of the sides with a 3mm bit. Tip: Mark the top so it repositions over the same holes. 2 Mark the sides 150mm in from the edges and up from the base to drill with a countersinking bit. Install 40mm screws to protrude by 3mm. Pre-drill into dowel endgrain with a 3mm bit, apply adhesive, position it between the sides, with the screws in the holes, and secure.
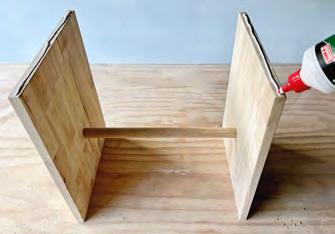


4 Apply adhesive to the upper edges of the sides, then secure the top through the centre holes with 40mm screws. Use a combination square to check the sides are straight, then hold with 450mm clamps, securing the remaining screws. Wipe away excess adhesive with a damp cloth and leave to dry.




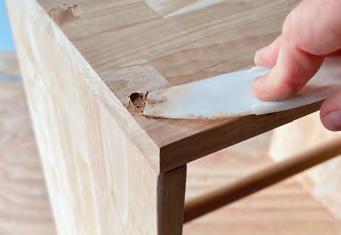
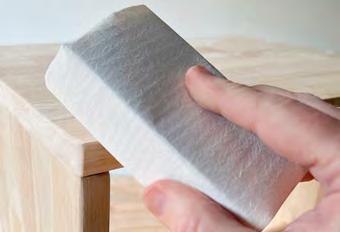
5 Sand over the screws with 180-grit abrasive paper to remove any breakout from the countersinking. Use a scraper to smooth filler into the holes and leave to dry. Tip: Choose a tinted filler to match the timber. 6 Sand all over with 180-grit abrasive paper to remove excess filler and round over the cuts to match the factory edges. Wipe away dust with a damp cloth. Apply two coats of furniture oil with a cloth, leaving to dry thoroughly after each coat.
Keep in mind…
n Work in a well-ventilated area and wear a mask when using cutting tools and sanding. n When using power tools, always wear the recommended safety gear. n If stacking two or more pieces, anchor securely using fixings suitable for your wall type.


