3 minute read
Make it
Flooring how-to
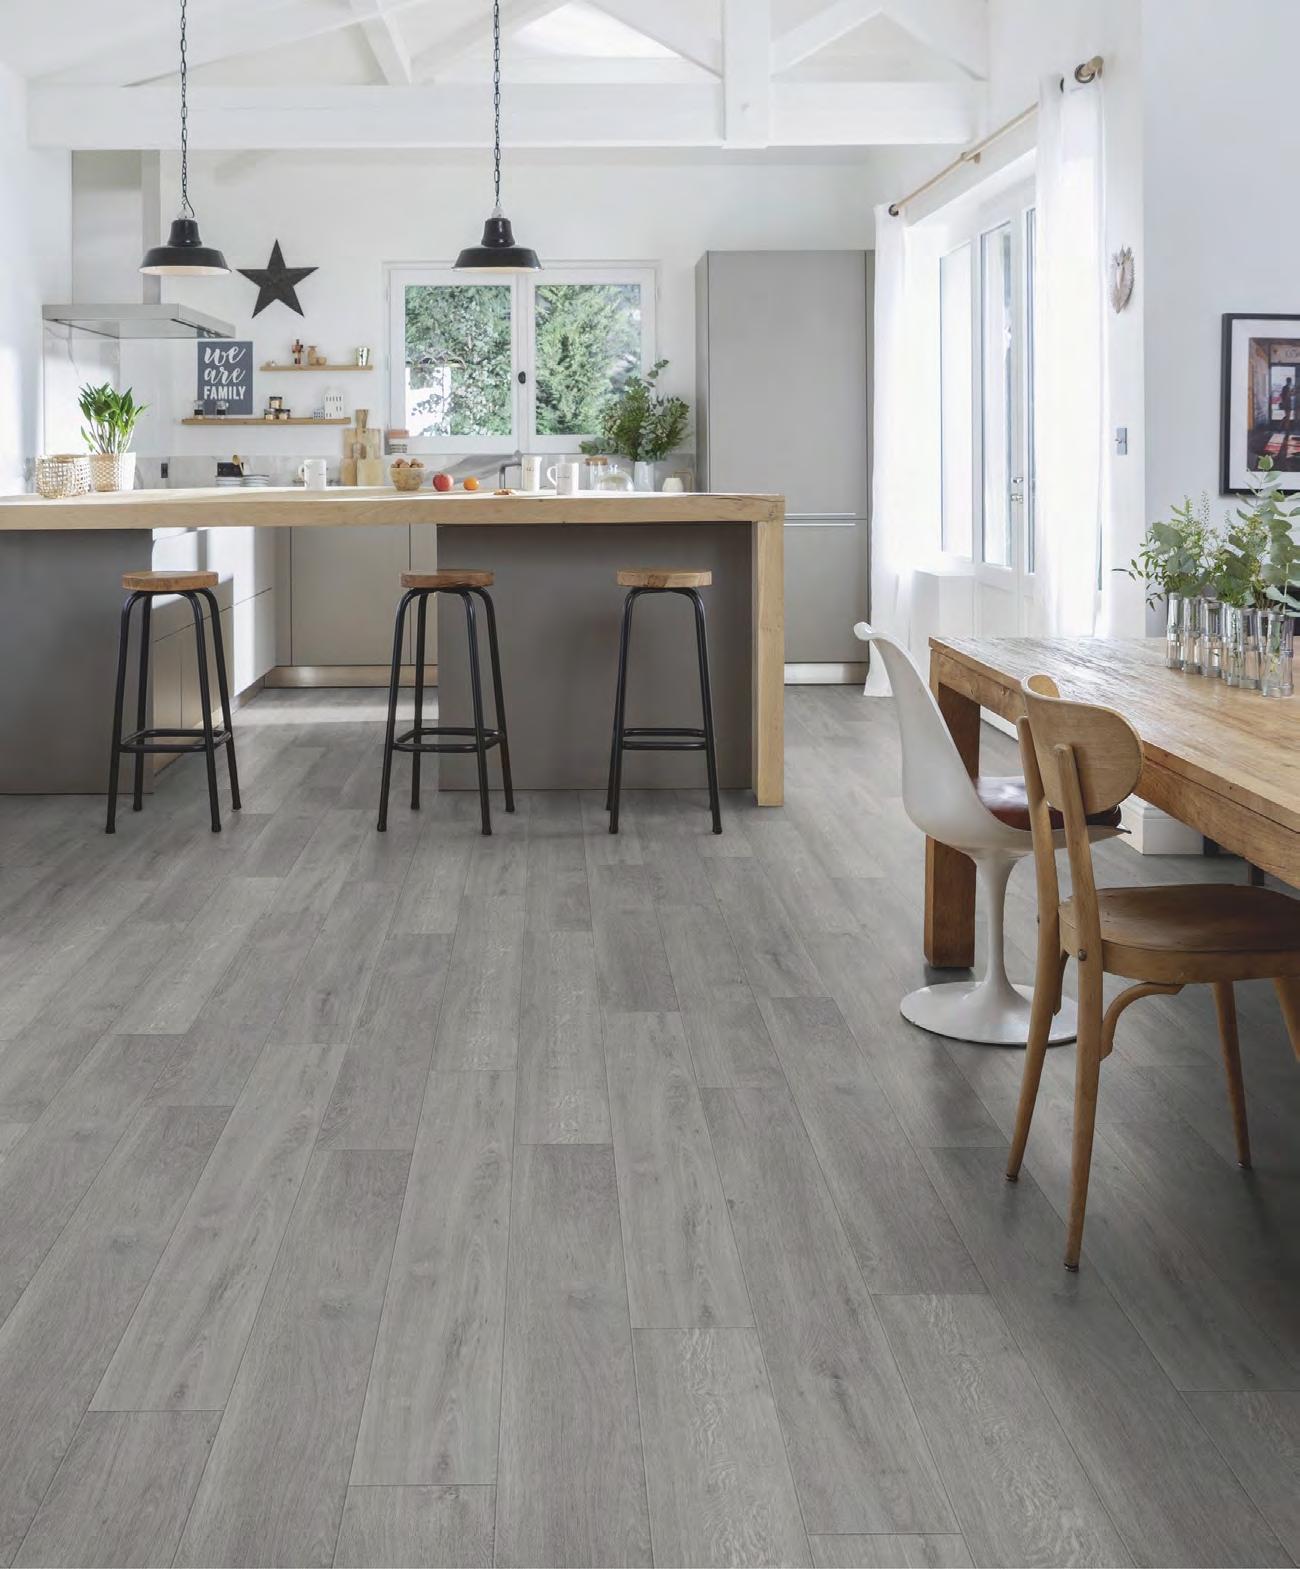
Senso ‘Rustic’ 914mm x 152mm x 2mm self adhesive vinyl planks in White Pecan, $60.95/pack of 16 (2.20sqm, $27.70/sqm), I/N: 6610226
Better on vinyl
Swap tired floors for a new look you can DIY, with easy-to-lay vinyl planks
Vinyl planks give the look of real timber on a budget, and laying them is a straightforward DIY job. Selfadhesive ‘peel and stick’ planks are as easy to install as they sound, while interlocking versions, like the ones used here, simply click into place. If you’re renting, they can be removed without damaging the existing floor. Measure the area to be covered, multiply the width by the length, then round up the required boxes to allow for wastage. When installing, make sure the surface is level, flat and clean.
Your DIY toolkit
1
2
3 4 5
1 HanWood 6mm hybrid rigid vinyl planks with 2mm EVA foam in Reclaimed Oak, $92.40/pack of 12 (2.64sqm, $35/sqm), I/N: 0028173. 2 Stanley ‘FatMax’ retractable folding knife, $37.69, I/N: 0719412. 3 Craftright 32oz (907g) rubber mallet, $11.45, I/N: 0227486. 4 Empire 300mm combination square, $16.89, I/N: 5667081. 5 Capitol laminate floor DIY installation kit, $22.40, I/N: 6821274. Some products are not available at all Bunnings stores, but may be ordered. TOOLS & MATERIALS Safety equipment (gloves and kneepads) Tape measure and pencil Utility knife Rubber mallet Combination square Tapping block Vinyl planks 5mm spacers
Note: Check packaging or in store in case your surface needs underlay. Underlay is included with some products.

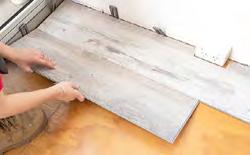
2Before securing the planks, always position 5mm spacers along the wall to create expansion gaps. Lay planks end-to-end, tapping with a rubber mallet across the join to click them together. Tip: Changing temperature and humidity in the room makes the flooring expand or contract slightly. The gap allows for this to prevent bowing or cupping.

4To install the second row, start with a cut piece at least 300mm long and position a spacer against the wall. With the tongue side facing out, hold the plank lengthwise at 30°, then drop it and click into place with the mallet. Repeat to lay the remaining rows, staggering long and short pieces to ensure the end joins of the rows are more than 200mm apart. Tip: Use a tapping block and mallet to check each row is locked before laying the next. 1 Working from left to right, set out the first row of planks with the flat side against the wall and the tongue facing out. Each plank must lock into another plank at both ends, except at the ends of the rows. Tip: To fit around power points or heating vents, measure and mark them on the vinyl plank and cut with a sharp utility knife.


3To trim the last plank of the row, measure out the length, allowing 5mm against the wall, then use a combination square to score across the plank with the knife at a right angle to slice through the top layer of the vinyl. Hold the plank on both sides to snap. Tip: Set out the rows to avoid wastage of offcuts less than 300mm.

5If the last row needs to be cut lengthwise, position the boards upside-down with the flat side against the wall to mark the width of the gap, then cut and tap into place. Remove the spacers and install skirting boards to cover the expansion gaps. ◆
Watch it!
See how easy vinyl flooring is to lay: bunnings.co.nz/how-to-lay-vinylplank-flooring


