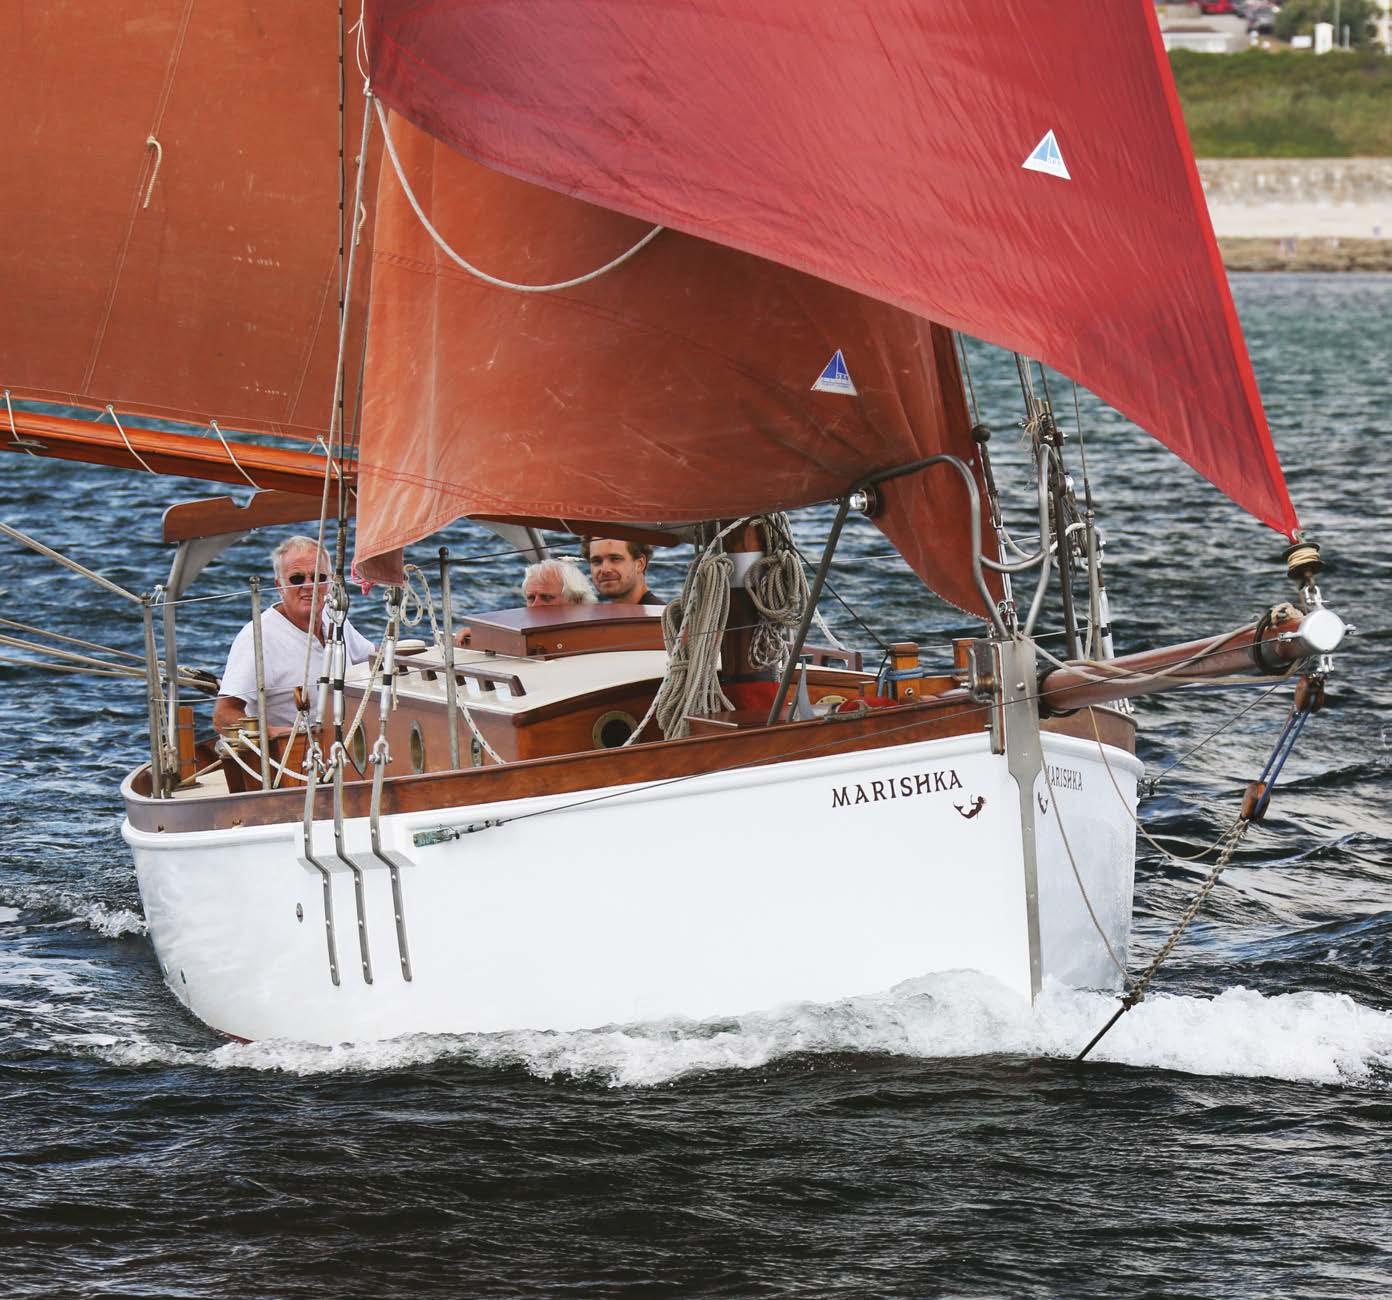








Dave Reay bought Marishka in 1995, he sailed her for barely a season. Now, 27 years of work later, she’s looking like new again
WORDS AND PHOTOS NIGEL SHARP


that you are capable of discomfort and effort beyond what you may have expected. Just as the author and pioneering aviator Beryl Markham found when she left home as a very young woman, it’s liberating and satisfying to discover that, “I never had less and I never needed more.” Combined with the marvellous experiences of offshore voyaging – the seabirds wheeling in the pink sky as the sun rises after a dark night of rain squalls; the flying fish shimmering over the waves; the delicious taste of a tuna you caught yourself; the feathery tops of palm trees at the end of a long passage; spinning yarns with fellow sailors; Sunday brunch with a local family on a remote island; the quiet stillness of a protected cove – sailing like this, in a style many people today would find primitive, provided Seth and me with a unique joy.
I think the true reason for this was that the simplicity of it necessarily connected us more fully with what we were doing, with the natural world through which we were moving. Creature comforts, as lovely as they are, in some ways form a barrier between us and our world. Finding a balance between the two is important: after all, Seth and I did not cross the Pacific on a raft,
Above: A beach potluck with fellow keep-it-simple voyagers

Below: Shipping waves over the bows in high wind
Kon-Tiki style. We had bunks with bedsheets, a gas burner on which to cook hot meals, and enough tins and dried food to last us for months. But we lived much closer to the elements than we would have done aboard a more modern, kitted-out yacht. It’s hard to feel removed from the ocean, and from the act of sailing across its vast expanse, when green water is

coursing down the decks and drenching you on your watches in a gale. When we reached an island or a bay or a harbour, we would carefully nose around it before dropping the hook; hauling up the anchor by hand had given us a great appreciation of the depth of the water in which we anchored. Drifting in calms instilled deep gratitude for the gift of wind. The dim light of the oil lamp meant that our daily routines were much more in keeping with the rising and setting of the sun, and we appreciated full moon nights much more than we ever had before. Seawater showers and a poor diet offshore made the simple pleasures of bathing in fresh water and eating fresh fruit in port into supreme joys.
Slowing down our lives, reducing them and simplifying them, added enormously to the joy and wonder of our ocean sailing and the beauties of each new landfall. Perhaps the biggest contribution to this was our lack of communication with the outside world. Satellite communications back then – and I am only speaking about less than 20 years ago – were prohibitively expensive. Internet connection on a sailboat was unheard of, not even quite believable, a bizarre extravagance that megayachts were rumoured to have.
SSB radio with slow modems and text email service was as hi-tech as it really got, and Seth and I didn’t even have that for the first three years. We communicated with those at home sporadically, via letters posted from a port with a post office; via emails sent from internet cafes; and sometimes on the phone, in conversations curtailed by the expense of a long-distance connection from a pay-phone booth. And so we lived much as people had for generations, socialising with the people in our immediate vicinity, making new friends when we went to new places. In short, we lived in each moment in the place in which we found ourselves. At sea, that meant with only each other, and the sea and sky and the wild creatures, for company. The simplicity of that, the slowness of it, the immediacy and intimacy of it, resets your mind in way, enables a degree of focus and calm that’s missing in the fast pace of the digital world. And so, while Seth and I have upgraded now to a slightly larger, cold-moulded wooden sloop, with pressurised water, an anchor windlass, and even radar, our floating home remains relatively simple. Thus, sailing remains the time and place in which we reconnect with the natural world, with the ocean we are sailing upon, with the wildlife we observe, with the people we meet, and with each other.

and jib top (aka flying jib) – or a single large headsail known as the Bastard, which ran to the top of the mast and back aft of the mast. Guido felt that, in the absence of winches, the Bastard had a “very limited range”. Instead, he designed a new headsail, smaller and flatter than the Bastard, which could be used on its own in slightly stronger winds.
“I think the blade was the missing piece on board Kelpie,” he says. “Its shape was more like a big jib, not too full, rather than a small genoa.It was nicely round forward, and quite straight in the back to allow it to be depowered easily when required. In these trim conditions, the blade still had a good drive with a reduced side force, sailing fast without too much heeling. It was the headsail most used in the typical Med conditions.”
The blade was designed for light airs of up to about 10-12kts. The following year he made an even bigger blade, which went almost down to the deck, and which he anticipated she would only be able to carry in up to eight knots; in practice she was able to carry it in stronger winds than expected, producing even better results.
Guido also designed a new ballooner that was 50 per cent bigger than the old one and made of 0.9oz cloth instead of the original 1.5oz, meaning it would fill in the lightest winds. The sail allowed Kelpie to sail dead downwind with surprising speed, giving her an advantage over other boats which had to tack from one reach to another. Another good reason to use a ballooner was the two per cent handicap bonus given to boats that set a ballooner in the traditional way instead of a gennaker.
There were also experiments with the topsail. The original jackyard topsail was a spectacular sight but tricky to handle – not for nothing has the jackyard topsail been described by one nautical writer as “a sail with murder on its mind”. In very light winds, they found the disturbance it caused actually slowed the boat down. So, in 2013 the mast was lengthened by 10ft (3.5m) to enable it to carry a larger topsail, initially with just a small ‘club’ on its foot and then with no yards at all.
Once Guido got to work, he designed a topsail with a shorter luff and more roach, fitted with battens, which meant the mast could be shortened again by 3ft (0.9m), which was better for her rating. The new topsail was found to be just as fast as the original jackyard topsail and much quicker to hoist – not to mention considerably less dangerous!

There was one sail that Guido could never improve on. The jib top made by Ratsey & Lapthorne in 2015, with a long luff and shallow draught, proved to be the best sail in that position and was used whenever a threeheadsail set-up (as opposed to the blade) was needed.
During the winter of 2017-18, the next phase of the process of optimisation took place. Central to this
was the construction of a new mast. While the old mast was down the previous year, Phil had noticed some horizontal cracks at the hounds, where the standing rigging was attached. The mast was repaired for the duration of the season, but it was clear it needed to be replaced.
The person Pelham and Phil chose to design the new mast was another classic boat designer at the top of the game. Juliane Hempel has been designing masts since 1982 and specialises in designing high-performance masts for the extremely active European 6-M and 8-M fleets. Kelpie’s mast was the first performance gaff rig spar she had designed and it immediately grabbed her interest.
“The hollow mast of a traditional gaffer has the same thickness all round, and it’s normally very stiff from side to side but not very stiff fore and aft,” she explains. “To make it stiff fore and aft you have to have thicker walls, which makes a very heavy mast. Pelham wanted a mast that was stiff fore and aft but also light, which is difficult to achieve.”
Juliane came up with a two-part solution. Below the hounds, where the mast needed to be round to allow the hoops to slide up and down, she made the front and back walls thicker to make the mast stiffer fore and aft. Above the hounds, she gave the mast a more modern elliptical profile, which not only made it stiffer fore and aft but also made it more aerodynamic. And, unlike a traditional mast that tapers upwards from both sides equally, Juliane’s mast was designed with a straight aft edge (ie the taper was all on the front edge) to allow the topsail luff to sit snug against the mast and thereby reduce turbulence.
So much for the design. The mast’s hollow construction was equally ingenious. Working in conjunction with timber expert John Lammerts van Bueren, she measured the elastic modulus (ie the bendability) of every stave. The aim was not just to have the lighter timber at the top of the mast and heavier timber at the bottom, but to ensure that the mast was perfectly symmetrical. Thus the stiffer staves were carefully matched on the front and back on the mast, while the less stiff staves were matched on the sides. The result was a jigsaw puzzle of a mast, which was much lighter than the old one but also much stiffer fore and aft, just as Pelham had requested.
Juliane also designed new mast fittings in aluminium, to replace the previous heavy bronze fittings. The rig was further lightened by fitting Dyneema standing rigging, replacing some wooden blocks with aluminium rings, and removing any excess lines, such as spare halyards and even the burgee line – if a burgee was needed, someone would have to climb the mast to hoist it!
The combined effect of all these procedures was to remove 350kg of weight from the rig. That might
not sound like much on a boat that displaces around 16 tonnes but, as Phil points out, the rule of thumb says that every kilo of weight taken out of the rig is equivalent to adding 4-7kg to the keel (depending on where the weight is removed). So that 350kg out of Kelpie ’s rig was equivalent to adding around 1.5 tonnes of weight to the keel – something that was well worth striving for.
It wasn’t just the new rig that made Kelpie faster. While the boat was out of the water, Juliane remodelled the shape of the rudder, widening the forward end and thinning the trailing edge to ensure a smooth flow of water on the windward side. New seacocks were fitted that closed flush with the hull, to reduce turbulence. The underwater hull was filled and smoothed with long boards and proper racing antifouling was applied to give a hard, polished finish. Extra training was also scheduled for the amateur crew and the spirit of shared purpose grew as Kelpie’s standing improved.
There was no denying the changes had an effect. Kelpie’s performance improved year on year, going from 5th and 6th places in 2016, to 3rd and 4th places in 2017. Kelpie won in class the following year at Palma, Minorca and Naples. For various reasons the new mast was only available for the last two regattas of the season, Cannes and Saint-Tropez, and it’s probably no coincidence that Kelpie not only won both those regattas but ended the season winning all four races in her class at Saint-Tropez. It was a remarkable transformation and showed how even an old wooden boat can be tuned up for racing.
They say it’s always best to leave on a high, and Kelpie hasn’t returned to the Med since 2018,
Above and facing page: “The new ‘light’ staysail completely fills all the available room forward of big ga main. This has been one of the best improvements in my opinion.”
Guido Cavalazzipreferring to potter around the South Coast from her Hamble base. For health reasons, Pelham is looking for a new owner to take Kelpie over and continue his legacy.
During the course of his ownership, Pelham’s approach has changed from a straightforward purist philosophy to a more nuanced performance-orientated approach. Not everyone approves and there were protests in some quarters – particularly over the new mast – but at the end of the day, Kelpie’s rig is just a development of her 1923 configuration, despite the addition of some modern rigging and more efficient sails. On board, she feels thoroughly traditional and has been spared the excess bling of many less sympathetic restorations.
Traditionalist may grumble, but I can’t help feeling that Mylne is having a quiet chuckle and feeling proud that his 120-year-old design is still making waves.
This article includes extracts from a forthcoming book about Kelpie written by Clare McComb and Nic Compton. More details from pelham.olive@bhgroup.com


Ideally, prepare the work in one place, clean it thoroughly, then move it into another (clean) place to apply the varnish. If the piece of work is a whole boat, then clean the boat and its surroundings in situ. Towards the end of the job, a simple polyethene tent over the boat keeps airborne dust at bay. You need a good workshop vacuum with a small brush head to remove most of the dust, then a tack cloth to really deal with the fine deposits before applying any coating.
Golden rule number one: never to dip you brush into the can. NEVER. The material in the can is completely clean when it leaves the manufacturers, so let’s keep it that way. Always decant the varnish into a clean graduated mixing pot. With a known quantity of varnish, you can accurately add the correct amount of thinner using a small graduated measuring pot. On the side of the manufacturer’s can it will probably tell you the thinning ratios. Always use the manufacturer’s thinner rather than ordinary white spirit, which slows the drying time. If your workshop is stone cold, say below 10 degrees C, then you can add an accelerator, such as Epifanes TDA, and this needs to be very carefully measured.
There are two application methods that suit this type of varnish. Firstly, a 4in (10cm) roller with a foam brush for tipping off is ideal for large areas. Secondly, a brush, not a throwaway item but something you keep and cherish for years. The roller sleeve can be a cheap foam variety or a small-er diameter mohair sleeve such as an Anza Elite that does not shed fine hairs. The foam brush has a chisel point that leaves a track as you lightly stroke it through the varnish bursting the bubbles and removing the dimpled surface left by the roller. The plastic roller tray attracts dust electrostatically, so always line it with kitchen tin foil. Apart from the tray itself, the roller sleeve, the foam brush and the tin foil are single use and thrown away, so you may take a view on this practice. The second golden rule, for long-term brush care, is never leave it with the tip resting on the bottom of a pot of dirty thinners. Drill a hole through the handle of the brush so it can be hung in a pot with the bristle tip off the bottom by about ½ inch (12mm) and pour in about 1 inch (25mm) of white spirit (see photo). Spin out the brush in a bin and it’s clean and ready to go. Once you have finished varnishing, pour any leftover varnish into another pot (never back into your precious stock of clean varnish!), clean out the brush in the graduated mixing pot with white spirit, cleaning both at the same time, then spin out the brush and hang it back in the storage pot. Place the cleaned graduated mixing pot upside down on a polyethene covered surface for use another day.

The key to success is a very logical approach, a brushing or rolling pattern that spreads the material evenly over the whole area and finishes with a fine tipping off in one direction. The usual starting point is well in from and edge and take the varnish out to the edges. On anything other than a flat surface, avoid putting a loaded brush or roller into a corner where a dollop will squeeze out and run, or, brushing onto an edge or over a hole will also squeeze out varnish that will not be able to resist gravity. Before moving onto the next area or piece, check back for any runs, curtains, missed areas, and the odd drowning bluebottle; if you are quick, these can be dealt with before the varnish shows the first signs of curing.
This is the part of the job where some lose heart, but it is not that bad if you know a simple technique that is quick
and efficient. The first thing to understand is that these varnishes (and paints) need a mechanical key, they do not stick well to a shiny surface and the classic “peeling paint” image is because of poor preparation between coats. The prep must also remove any dust pimples and any other lumps. Between the build-up coats the technique is to lightly “de-nib” the surface with P240 or P320 grade paper, this can be in your hand or on a cork block, and it is very quick but you must be thorough. The surface will still have more shiny bits than dull/ scratched bits, so, using a soft abrasive pad such as maroon 3M ScotchBrite or Norton Beartex, dull off the whole area. The target is to do just enough work and not too much, you are trying to build-up the varnish layers not remove them. Be wary of using a machine at this stage as it is very easy to take off too much. The spongy ScotchBrite is very useful in the inside of a clinker dinghy where it will efficiently abrade around the roves and ribs.
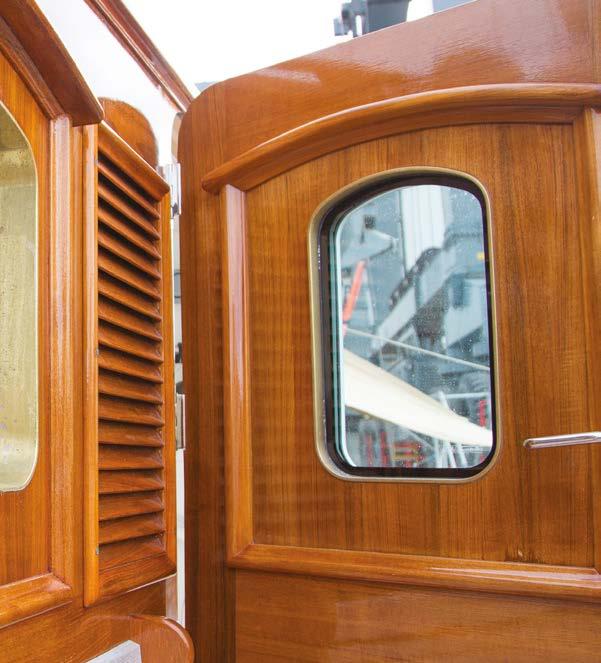
The idea is for the build-up coats to fill the grain of the timber and arrive at a well covered and deep gloss surface. If the surface in question is horizontal, then about six coats will suffice. On a more vertical surface it will be more like eight coats. At this point, to achieve that mirrored gloss finish, the surface will need a more rigorous preparation. If you are lucky enough to own a finishing sander that links to a vacuum, then this tool is ideal for larger areas, otherwise use a cork block and sand dry or a rubber block for sanding with water. The grade to use is P400. You are aiming for a smooth, even, completely abraded surface. The danger is inadvertently rubbing back to the wood, particularly easy to do while wet sanding, as you cannot see what you are doing, so the trick is to regularly scrape the gunk away with a squeegee. With everything perfectly prepared, clean up thoroughly with the vacuum followed by the tack cloth. I always apply two “final” coats as the first flat-down removes a significant thickness from the build-up coats, the second preparation is very light as the surface should now be flat but you still aim for a completely abraded surface. For those last two coasts, the ambient temperature should ideally be around 18 degC, the pieces you are going to coat and the varnish all need to be at the same temperature, and this temperature needs to be maintained so there is no chance of condensation and the materials cures properly. Lastly, you need to be as dust free as possible. The woolly jumper you have been wearing all winter while you build this boat needs to be discarded and replaced with one of those hooded white coveralls favoured by murder scene investigators. I always carry a new tack cloth with me and re-clean every item as I varnish.


