6 minute read
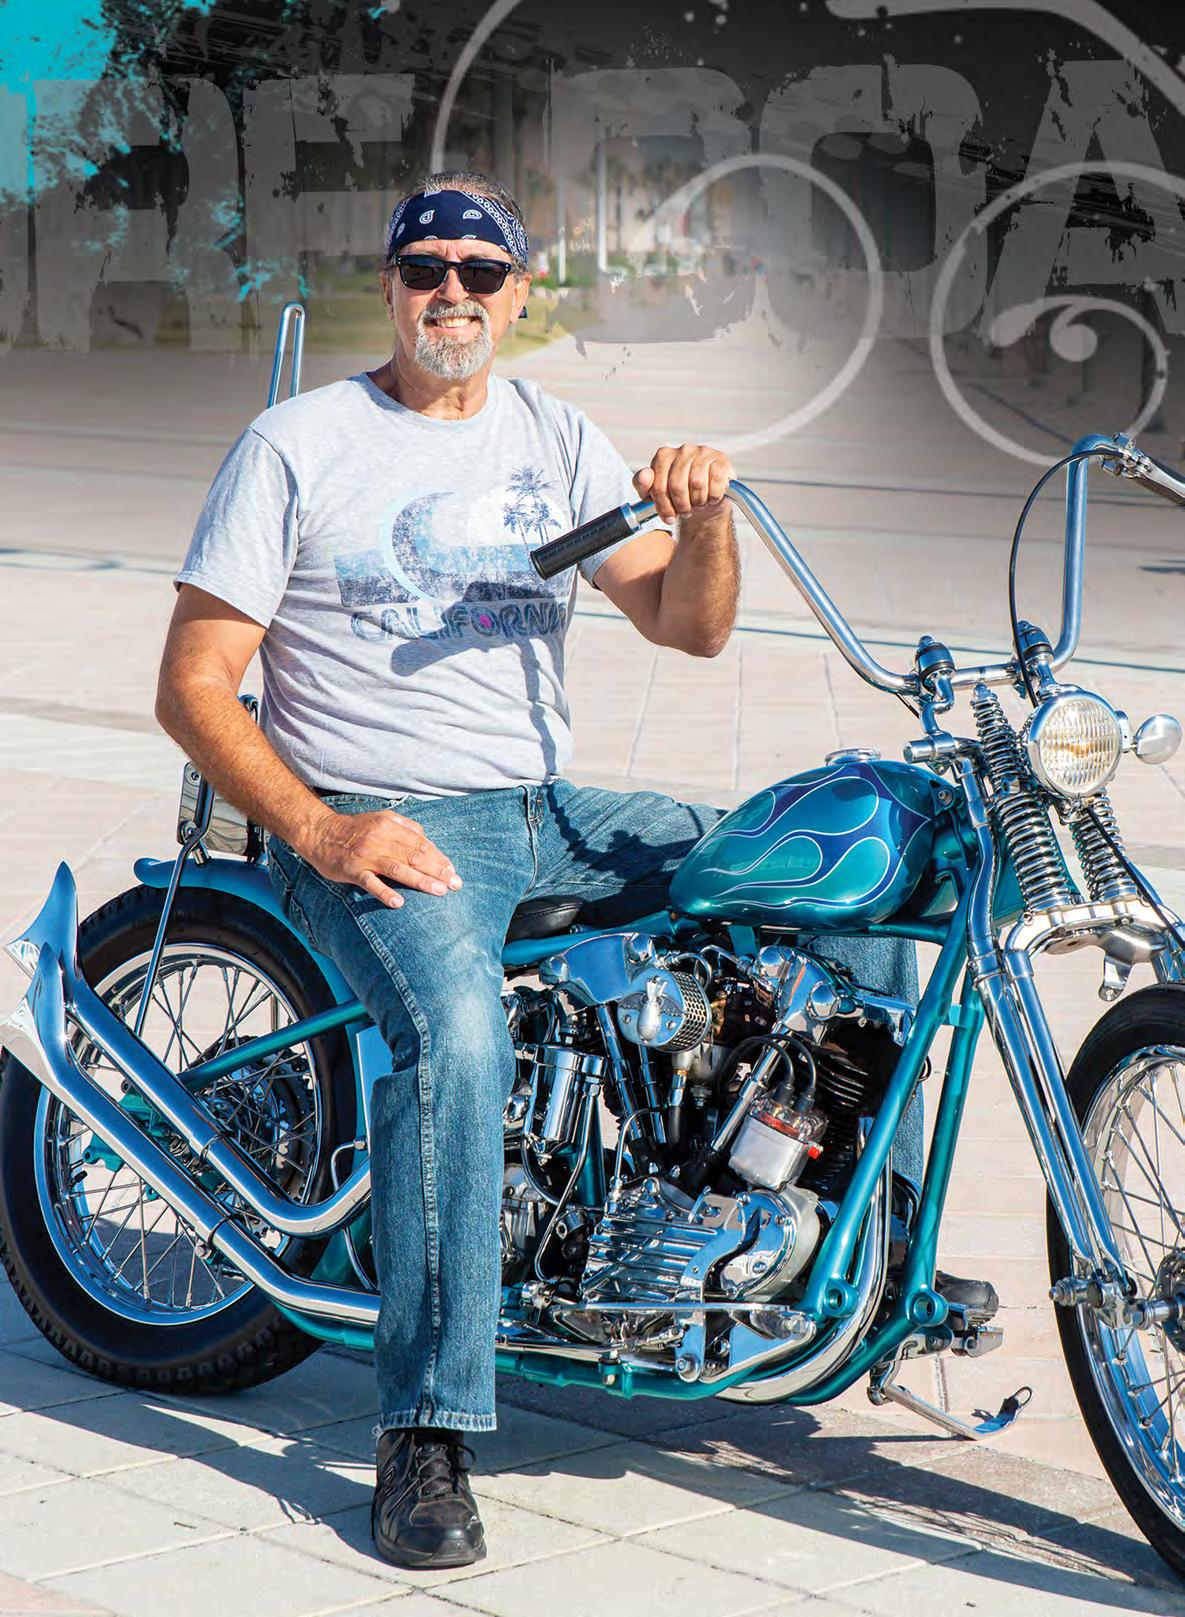
Mark Stevens 1946 Knuckle
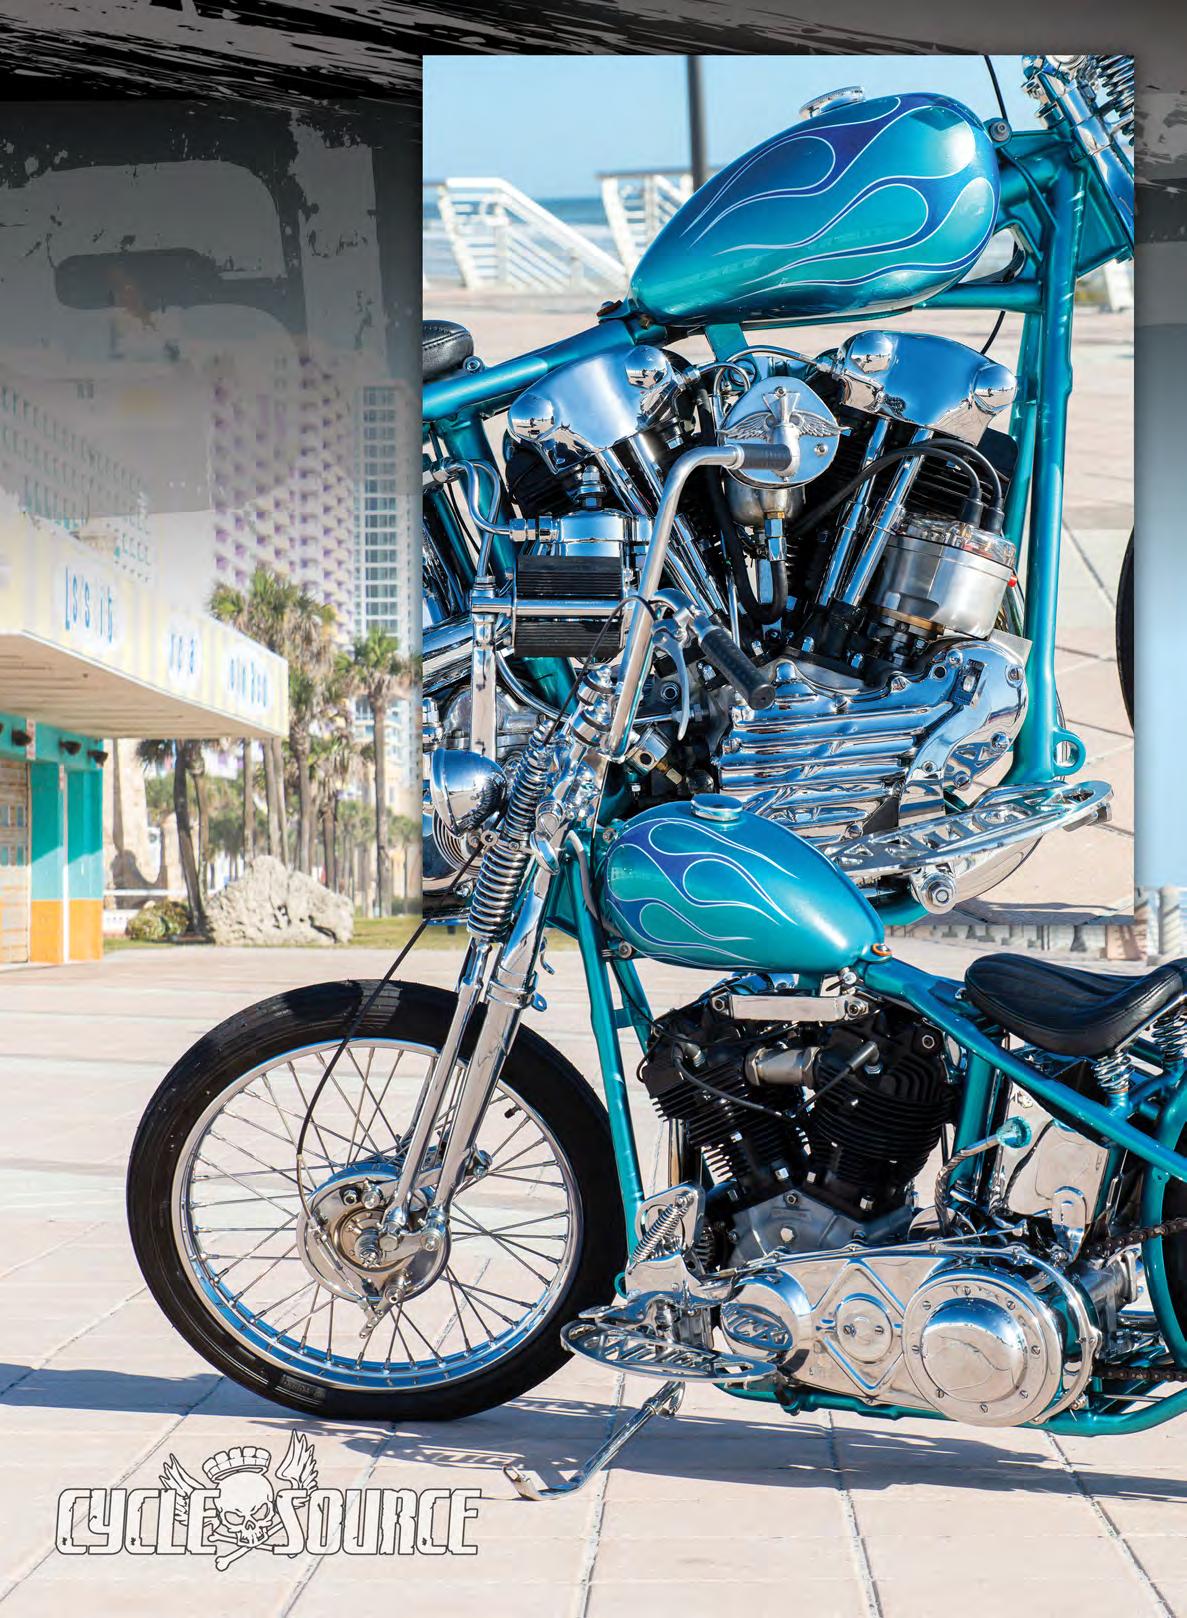
Morris Magneto, and the fuel is fed through a Linkert M74B carburetor. Love them or hate them, a Linkert that’s tuned correctly will run just fine! That sweet air cleaner was made by Mark himself. A 1 1/2’’ BDL belt drive was used while a set of V-Twin steel primaries were brought to keep them covered. A set of Paughco upsweep pipes with the timeless fishtail tips were used to expel the spent gasses, and man, do they sound crisp! The 62 transmission is an OEM Harley 4 speed that carries a twisted stainless jockey handle with a shift knob that perfectly matches the paint job.
The frame is a stock 46/47 “bull neck” Harley frame with a stock 30-degree rake and all of its original tabs and brackets except for tool box mount and fat bob mounts. If you’re wondering about the bull neck description, that helps identify the 1946 and 1947 frames because there’s a very distinct extension of material at the bottom of the neck. The springer front end is also a 46 to 48 item as it’s an “offset” springer which means the neck stem and the springer legs have a slight offset to them instead of being in a straight line with each other. It does retain its original stock
Advertisement
length. The front wheel is the traditional 21” star hub front wheel which uses the stock Harley drum brake, while the rear rolls on an 18” star hub and uses the stock Harley mechanical drum rear. The bars are 11” stainless steel mini ape hangers made by Arie Vee at Vee Choppers. They sit inside custom dog bone risers that Mark fabricated. The fine guys at Prism Supply are responsible for the grips that utilize an Ultima internal throttle with Bates linkage, while the grip collars are more of Mark’s handiwork. The stock rocker clutch and rear brake pedal are also V-Twin items, as are the oil tank and oil filter. The solo seat is
a custom Bates style by Mother Road Customs, and Mark added the rear grab rail. The headlight is aftermarket 4 1/2”. Gabe Kajimura at After Hours Choppers sent the taillight that keeps it legal. That beautiful stainless steel sissy bar at the perfect 12 oclock position was bent by Mark. I almost forgot that everyone’s favorite shop

Owner: Mark Stevens City/State:Daytona Beach, FL Builder: Mark Stevens year: 1946 Model:EL Value: Time: 1.5 years ENGINE Year: 1946 Model: knucklehead el Builder: dc choppers Ignition: morris magneto Displacement: 61 cu Pistons: stock Heads: stock Carb: linkert 74b Cam: stock Air Cleaner: Mark Stevens Exhaust: paughco upseep Primary: BDL 1.5” TRANSMISSION Year: 1962 Make: Harley Shifting: Jockey FRAME Year: 1946 Model: bull neck Rake: 30° Stretch: Stock FORKS Builder: Harley Type: offet springer Triple Trees: Extension: stock WHEELS Front Wheel: Spoke Size: 21” Tire: Avon Speedmaster mkii Front Brake: stock Rear Wheel: Spoke Size: 18 Tire: Avon mkii Rear Brake: stock PAINT Painter: devil candy customs Color: winnebago sea mist Type: dupont Graphics: Chroming: atlas plating ACCESSORIES Bars: 11” SS apes Risers: mark stevens Hand Controls: ultima internal throttle Foot Controls: stock Gas Tank(s): wassell Oil Tank: stock Front fender: None Rear Fender: 4” Mantra Seat: mother road customs Headlight: 4 1/2” Nates style Taillight: after hours choppers Speedo: None Photographer: missi shoemaker teacher Kevin “Teach” Baas did those sweet floorboards. Atlas Plating was used for all of the chroming and polishing that went into this Knuckle. For the paint, Mark turned to Brian Boan from Devil Candy Customs. The paint scheme represents the colors you see when you stand on the beach. The teal color turning deep blue at the horizon and the small white pin stripping around the flames represent the breaking wave: the color is Winnebago Sea Mist.
I think Mark totally nailed the execution of this bike, from the paint to the chrome to the motor and style of the bike! Thanks for sharing your bike with our readers Mark!!


Article And Photos By: Jason Hallman
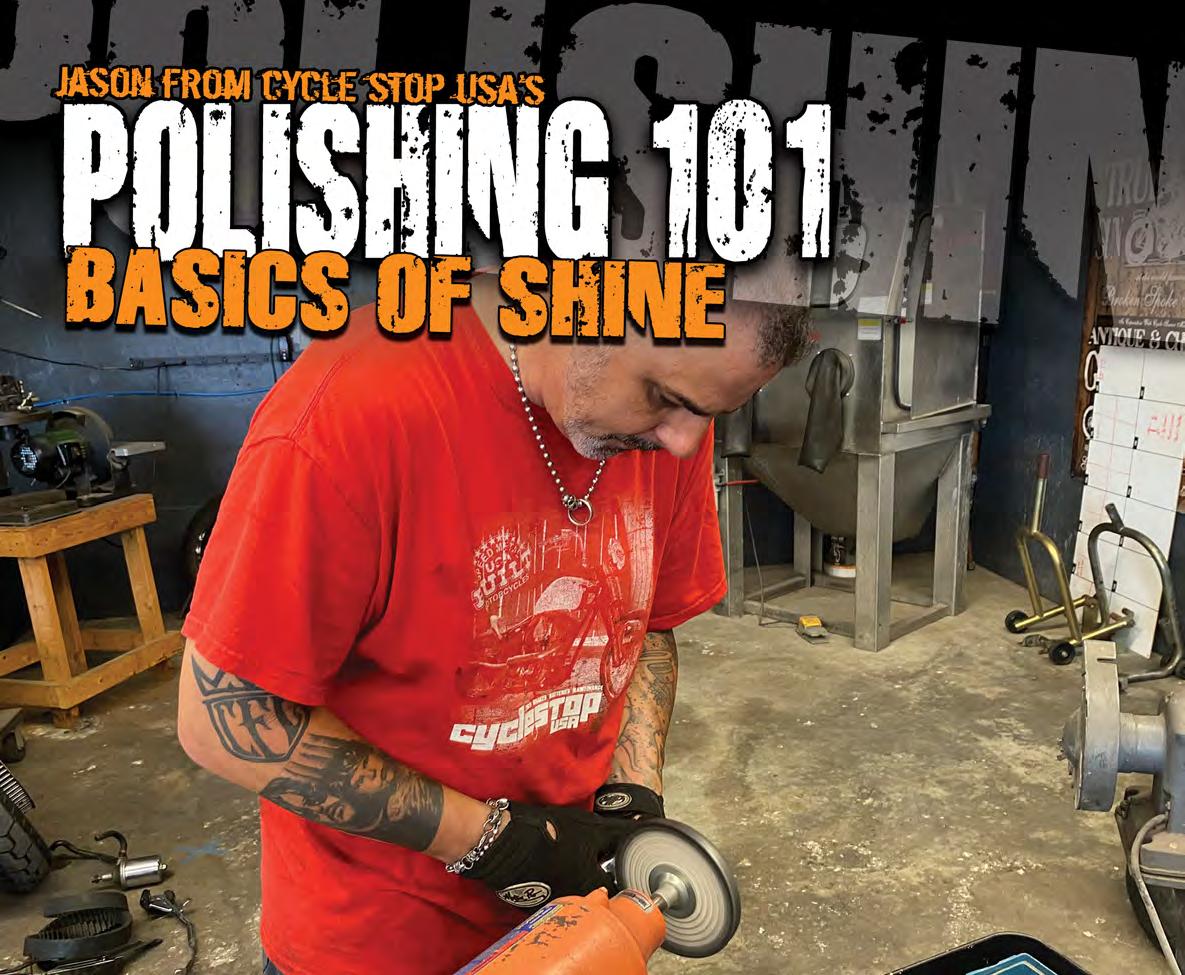
originally intended for this tech article to demonstrate how easy it would be to polish your Harley-Davidson engine I cases, cylinders, and cylinder heads using two tools you [likely] already have. Well, let me tell you, polishing your own engine cases isn’t easy at all, even with the correct tools for the job. So, I will do a multiple-issue polishing tutorial that I hope will work my way up to the engine cases within only a couple of issues.
The polishing process is made up of several smaller steps that by themselves are very easy tasks and with some patience you can do a bang-up job and save yourself some significant money. Besides, isn’t the feeling of accomplishment still something we can all revel in?
The first step in polishing is to clean the part you are going to polish thoroughly. If you are going to polish aluminum, dirt and grime are not conducive to having a smooth, clean, and shiny finish on the part. I am going to polish an intake manifold for an Evo engine before I move on to the heads and block. Once that surface was cleaned and degreased, I wanted to vapor hone it. I know not everyone has access to a Vapor Honing Technologies cabinet, but I do, and I know that it will make my job a little easier and perhaps even provide a better finish.
After the vapor honing, I started sanding. I decided to use a dual-action 90-degree sander that I bought

from Mac Tools forever ago. It is small and agile. The Velcro sanding pads are easy to change as I move from a rougher grit to a smoother grit along the way.
I started with 80-grit and then moved on to 240grit. Once I had most of the casting flash and other flaws (like damage from use), I moved on to the finer grit sanding discs like 800, 1000, 1200, 2000, and [finally] 3000-grit discs. By this time, the entire surface of the aluminum intake was free of casting flaws and smoothed out, ready for the first round of polishing on the buffing wheel.
I also want to go over polishing a part that has already been polished once but needs a freshening up. These would be things like outer primary covers, rocker boxes, cam covers, and a transmission cover or two. These are not chrome parts (although you can polish up some dull chrome). or rusty, it is almost impossible to make them look new again without sending them to the chrome shop for plating. That is the beauty of polished aluminum. I feel as if the soul of the aluminum can be found in the polished surface.
Even when there are dents, gouges, and even severe damage to an aluminum part can be polished up to shine over and over again. Once the part you intend to polish is prepped, the polishing process is the same. In most cases, you will utilize three basic compounds to polish an aluminum part once it is sanded. The first
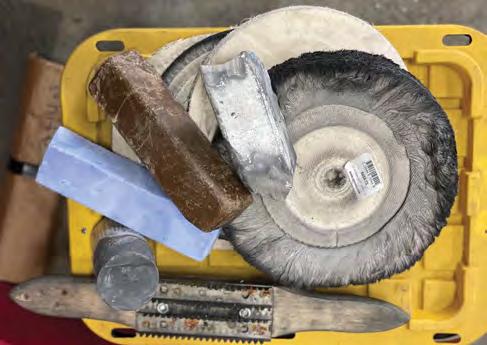
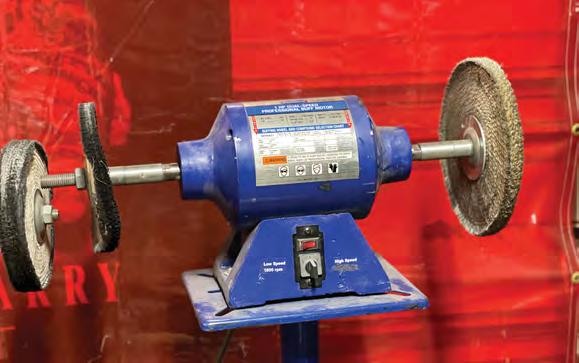
compound is Emory, the second is Tripoli, and the third and final compound is White Rouge. Using a buffing wheel is not as easy as it may seem. If I am being perfectly honest, it can be downright dangerous and requires 100% of your attention. One wrong move with the part and the wheel will rip that part right out of your hand faster than you can think with no warning. Polishers
