10 minute read
Xavier Lays It Out
VAPOR HONING ANYONE?
PROVIDENCE CYCLE WORX GIVE US THE 101 ON MAKING IT SHINE
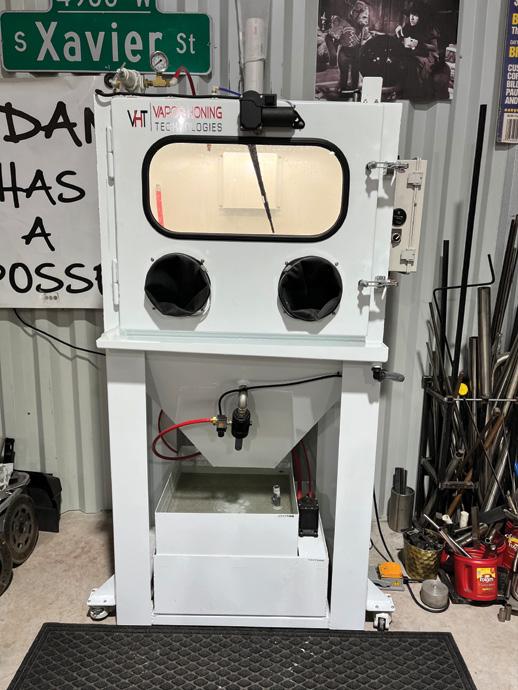
this month’s Tech Column is on the Vapor Honing Technologies machines. Now, if you’re not familiar with Vapor Honing well, then grab a cold one, sit back and prepare to be in awe. Traditional sand or bead blasting, as it is more commonly referred to, uses various media along with high-pressure air to blast away paint, rust, and sometimes grease and oils. Now, that’s all fine and dandy unless what you’re blasting is vintage, and you want to leave it as unmolested as possible.
Media is the material that comes out of the gun at a high velocity to “cut” through paint, gunk, etc. Now, media comes in many different forms for different applications. There is glass bead, walnut shell, ceramic oxide, and so on. These different materials cut in specific ways, from fine to more aggressive cutting. So, if you’re trying to keep those 47 Knuckle cases from having the VIN blasted off, you might want to use a finer cutting agent.
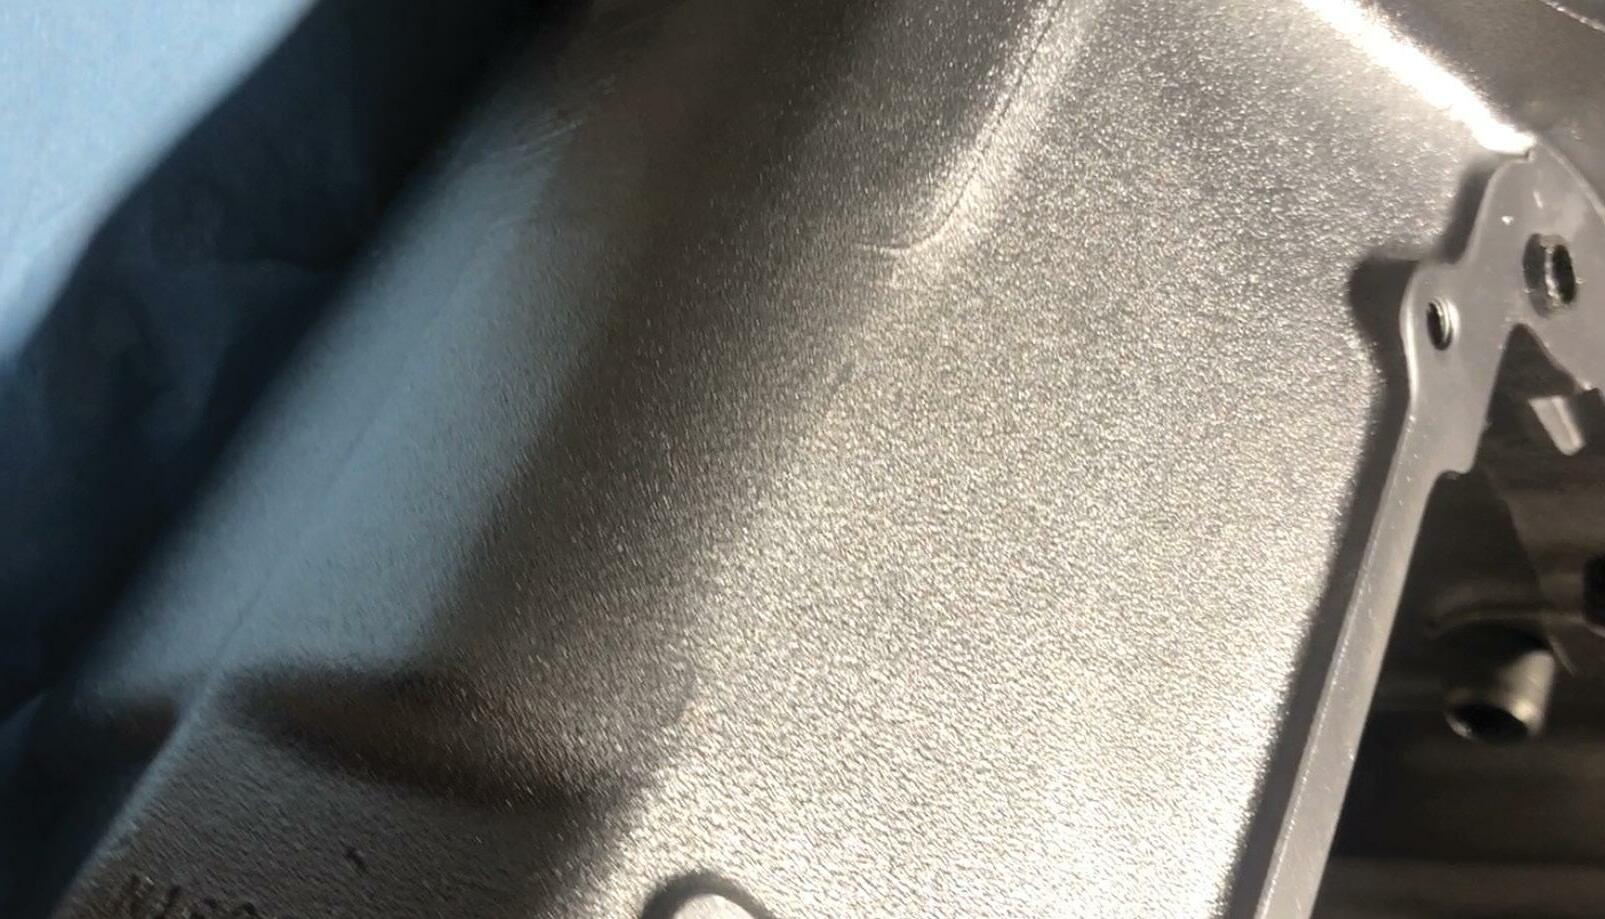
That leads us to Vapor Honing, what Vapor Honing does is use high-pressure air, water, and the appropriate cutting media for the job at hand. Like traditional bead blasting, there are different materials for Vapor Honing. The advantage to Vapor Honing is that water is way less aggressive on the part you’re blasting. As I mentioned before, you can have more aggressive media for harder and deeper cutting applications. The water, in general, will act not only as a coolant but is way less damaging to the part overall, so remember those 47 cases we spoke of earlier no threat to losing the VIN or anything precious.
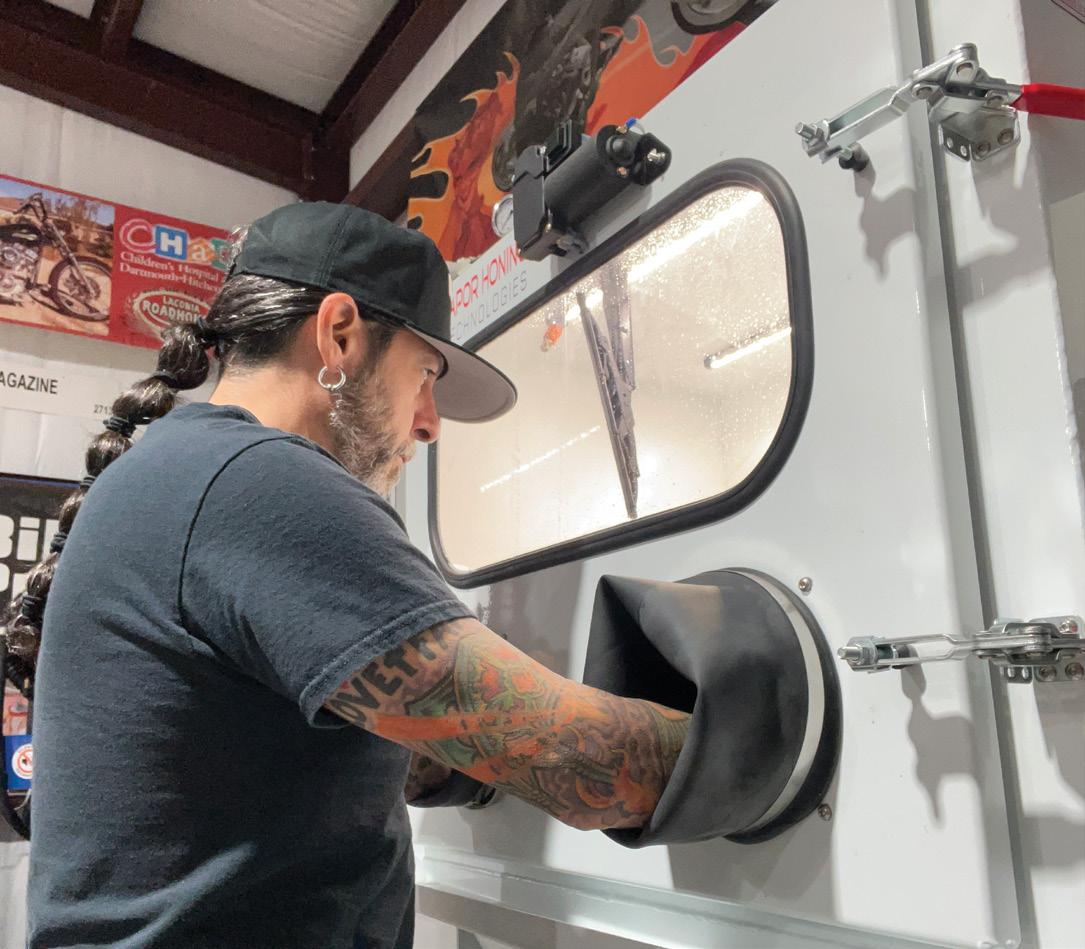
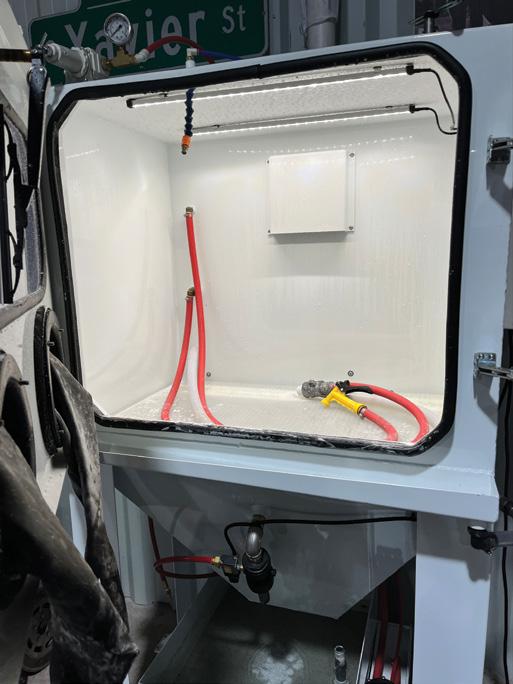
Now, let’s get some facts straight. I do not use my machine as a cleaner at all! I have set up mine as specific process in my shop. First, the parts are degreased and cleaned thoroughly before getting to my VHT machine. For those wondering why, the more contaminants (oils, paint, etc.) in my machine, the more I must change the media. Which equates to downtime and cost. My preferred media is Ceramic Oxide; it leaves an almost polished satin look to the aluminum part. I don’t do steel in mine as it will rust quickly after. Although, I know of some shops that do steel that is powder-coated immediately after. Anything Aluminum can have a sheen to it with good prep work. My machine is the VH900 series. It is a closed-loop system, so no freshwater is needed. The various bins remove sediments and separate the media with fresh water that can be used to wash off the part before taking it out of the cabinet, which saves time. A well-lit cabinet and wiper blade make for a great field of view, which in turn eases the entire process. If needed, the well-sized cabinet can hold parts as big as a car manifold. There is also a timer to keep track of hours and media changes. VHT offers several different models ranging in size from benchtop to industrial. Obviously, the larger machines require a certain PSI level, so be sure to keep that in mind when looking at them. Proudly made in South Carolina, all units come with excellent customer service and are pretty much ready to rock right out of the crate. Check them out at Vapor Honing Technologies.com. Tell them X sent ya!
Article And Photos By: Xavier Muriel


Article By: Jenny Lefferts & Robert Filla Photos By: Daniel Furon www.furon.net

12” adjustable crescent wrench 5/16” hex wrench 5/64” hex wrench 15mm open end wrench #1 Phillips screwdriver
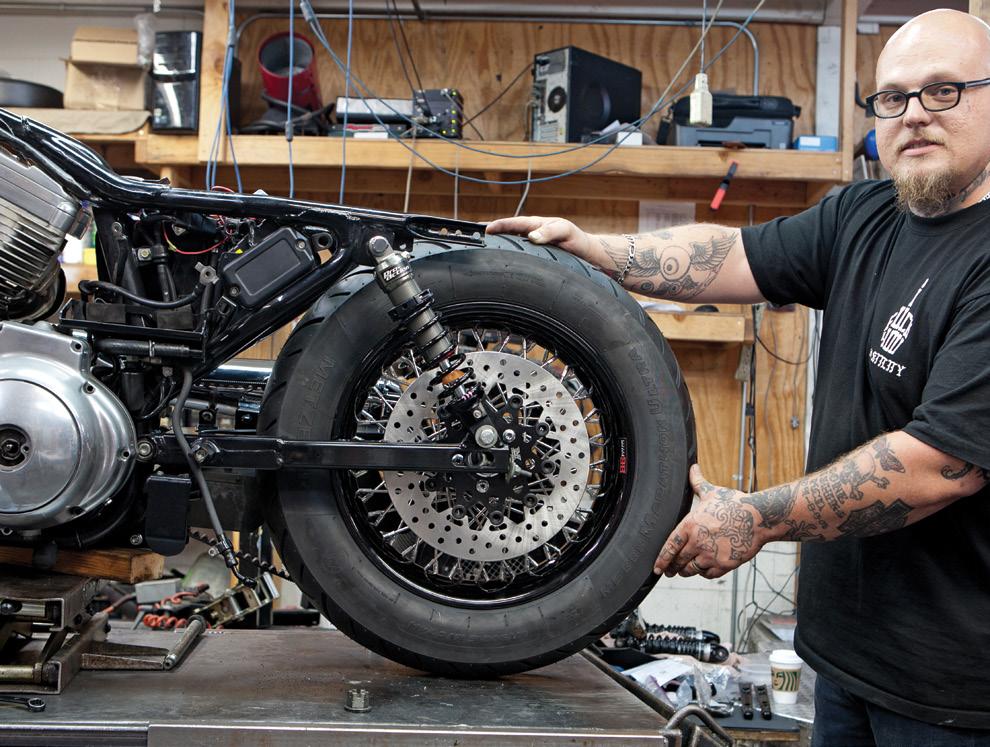
In the ongoing saga of upgrading Stella, my antiquated 1993 883 cubic inch Sportster, in this episode, we continue to prove that just because the initial purchase of a particular bike may be economical at the time does not mean that additional funds will not be required for any substantial facelift. And remember, sometimes the older the bitch, the more expansive the botox.
When it comes to safety, running parallel in importance with impeccable braking is high visibility. And with the mantra “safety doesn’t happen by accident,” that technology has advanced “LIGHT” years since 6-volt charging systems, flickering lights at idle and low output generators. One of the major strides in this arena has been the development of LED lighting (light-emitting diode).
Featuring a high resistance to vibration, LEDs offer minimal voltage draw, long-term durability, and a low failure rate while supplying highintensity light emission superior to any standard incandescent bulb. And while in 1993, this bike’s lighting was state-of-the-art, it pales in comparison to what is on tap in the aftermarket industry in 2020.
For the front turn signals, we chose
the LED Wrap-Around units in black anodized finish offered by the highly reputable Custom Dynamics (chrome finish is also available). Eliminating stem mounted turn signals altogether, these ultra-sleek turn signals are billet aluminum mini clamps that slide over your fork tubes at the top to the exact location the owner selects between the upper triple tree and the lower on each side. They each have 15 white LED running lights and 15 amber flashing mode lights. These twin, low-profile “donuts” go a long way in cleaning up the appearance of a hydraulic front end, being designed to specifically fit a particular diameter of fork tube (37mm in the case of my Sporty Stella). Due to the age of the bike, a SMART Signal Stabilizer also by Custom Dynamics was required for proper operation. The kit comes with a lifetime warranty against LED failure. For illumination upgrades to the rear fender, we took a more traditional approach using two products from Kuryakyn: the Torpedo LED Turn Signal Kit in a black satin finish that features independent red and amber circuits for run-brake-turn operation and the Low Profile LED Taillight Kit.
Both kits come with clear lenses.
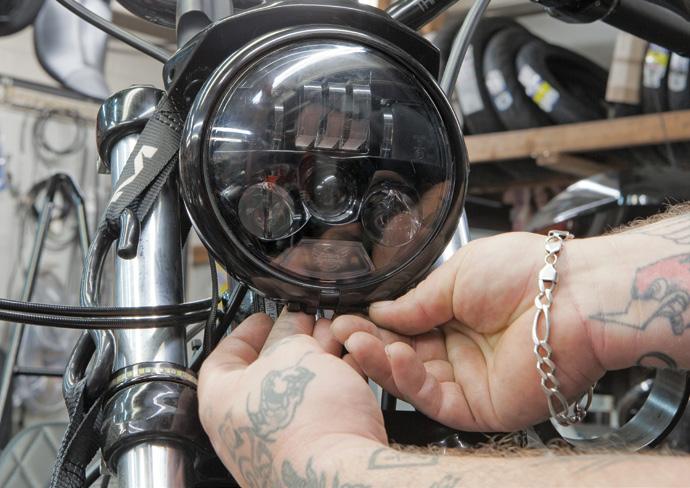
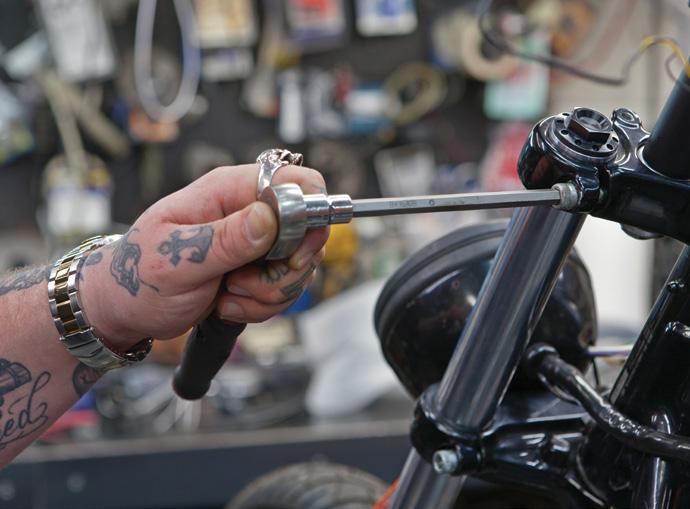
We selected the ProBEAM LED headlamp from Custom Dynamics to increase the bike’s nighttime capabilities. This 5.75” lamp fits inside the stock headlight bucket and offers the latest in engineering innovation. The low beam is comprised of three high-power D-lenses and a position light. Switching to high beam keeps the low beam illuminated while adding two additional D-lenses as well as three LEDs with projector lenses. This provides a broad optical pattern illuminating down the highway for a distance and lighting both sides of the road. This low-profile unit offers plug-and-play installation. For upgrading Stella’s footpegs, we went to one of the most reliable names in the industry, Avon Grips, and chose their Custom Contour Anodized Gatlin rider pegs with matching shifter peg. To increase the Sportie’s riding comfort, we accessed another industry giant, Le Pera. We decided on the Daytona model with a diamond stitch seat panel. We installed a gel insert for long days in the saddle and opted for a leather cover. The styling of this seat complements the bike perfectly, giving the impression of speed even when sitting on the kickstand. Colin loosens the four pinch bolts on the upper and lower triple trees on both sides of the fork tubes with a 5/16” hex wrench.
The jack is then elevated, raising the bike and releasing the compression on the front forks, which allows both the right and left fork tubes to slide downward through the triple clamps just far enough for the Custom Dynamic signals mounts Colin now lowers the jack and gently wiggles each fork tube back into place in their respective triple. Then he retightens the four triple tree pinch bolts to 35 ft-lbs. using the 5/16” hex wrench.
Colin positions the LED front signals facing in the direction/angle desired (they spin on the fork tubes for
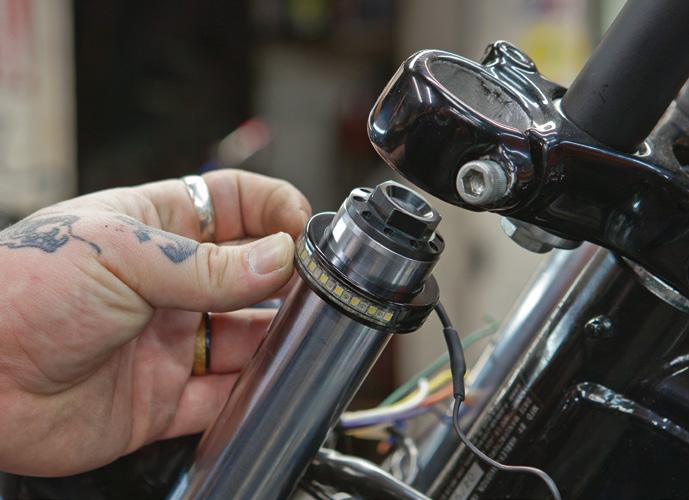

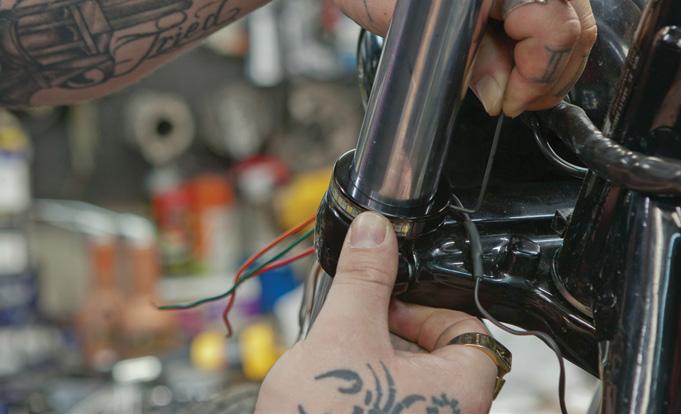
flexibility) and then determines the ideal vertical location on the fork tubes (we decide to place each signal as low as possible, basically sitting right on top of the lower triple tree clamp). Colin then gently tightens the set screws on the turn signal mounts to hold them in place using a 5/64” hex wrench (painter’s tape can be applied between the LED signal and the fork tube to prevent marring and protect the fork tube surface). Using provided instructions turn signals are hooked up to the factory turn signal wiring (this will vary widely depending on year/make and model of bike). He then moves on to the rear signals.
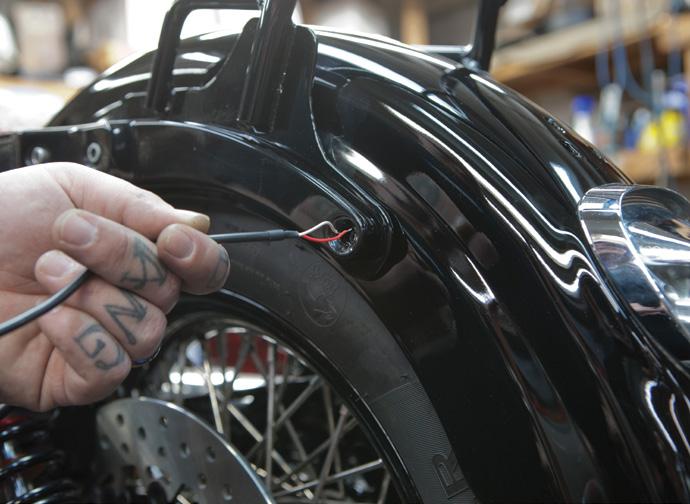
After removing the original rear turn signals, Colin feeds the wires for new turn signals through hole in the struts followed by threaded stud. Colin then slips the nut over the wires and spins it into place on the threaded stud on the inside of the fender using a 15mm open end wrench to firmly tighten into place. Colin routes the new wires in the location of original wiring to the control module under the seat, threading them through the clips on the inside of the fender making certain they are protected from the tire and any other moving parts.
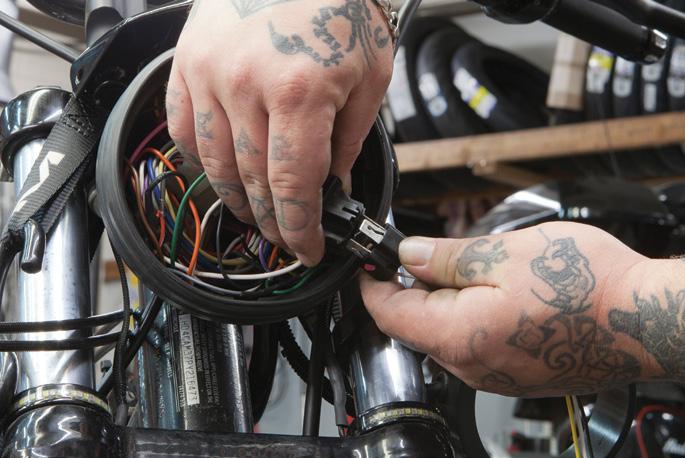
After removing original taillight lens and bulb using a number 1 Phillips screwdriver, Colin then attaches the taillight socket adapter by inserting into socket and twisting. He then attaches the plug from the adapter to the plug on the taillights and then secures the low-profile LED taillight assembly in place using the original screws and a number one Phillips screwdriver. Moving on to the headlight he starts by removing the trim ring by unscrewing the small Philips head screw using a number one Phillips being careful not to lose the nut, the trim ring then pops off and allows the stock bulb to pop out and be un-plugged. Colin then plugs the new LED headlight from Custom Dynamics into the stock plug.
Being very careful to tuck the wires back into the bucket, Colin then pushes the headlight back into the rubber ring of the bucket and checks to make sure it’s straight. Colin then re-installs the trim ring, starting with one end and flexing it around the bulb until in place. Colin then reinstalls the pinch screw and small nut into the trim ring and tightens using the Philips screwdriver.
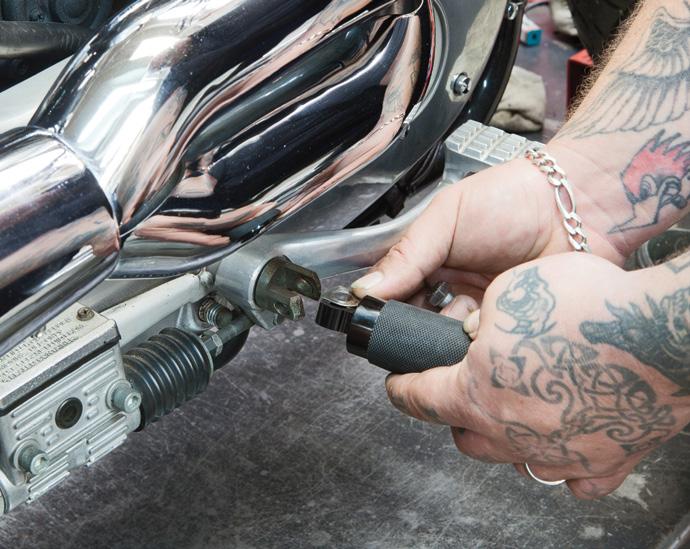
For the pegs you begin by removing nut and bolt from your original foot pegs, being careful to save the small curved shim that comes out (our project bike has not had foot pegs in many years and the hardware is long gone). Colin installs new foot pegs into clevis mount being careful to locate the shim in the proper location. Colin then installs a new stainlesssteel bolt and nylock nut (you will be using your original hardware) and tightens with a pair of 9/16” wrenches. After removing old shift peg, Colin installs new shift peg by screwing it in and tightening by hand (adding a drop of blue Loctite to the threads).
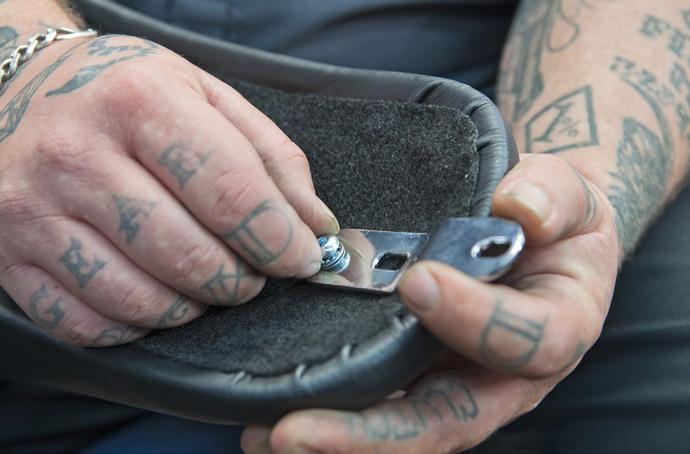
Finally Colin begins installing the seat by installing the lock washers included with the seat on the supplied bolts. He uses the bolts with lock washers to attach the included bracket to the back of the seat, using a 5/32” allen wrench to tighten.
Colin installs the seat on bike, engaging the tongue at the front of the seat.
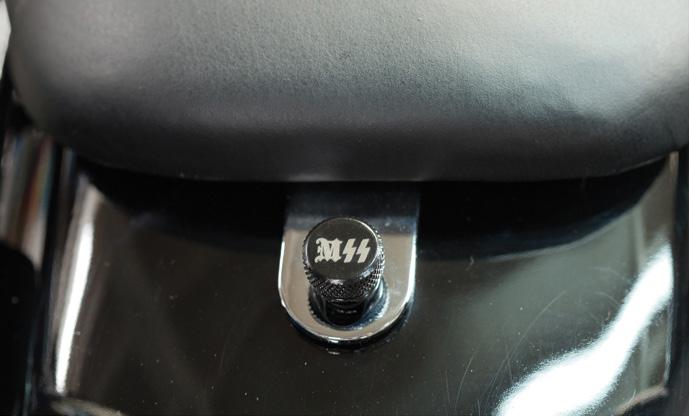
Last but not least, Colin installs the new “MSS” seat bolt donated by Motorious Speed Shop to hold the seat down.
