6 minute read
Saving An Old Clutch With Bandit

Article By: Keith “Bandit” Ball
Advertisement
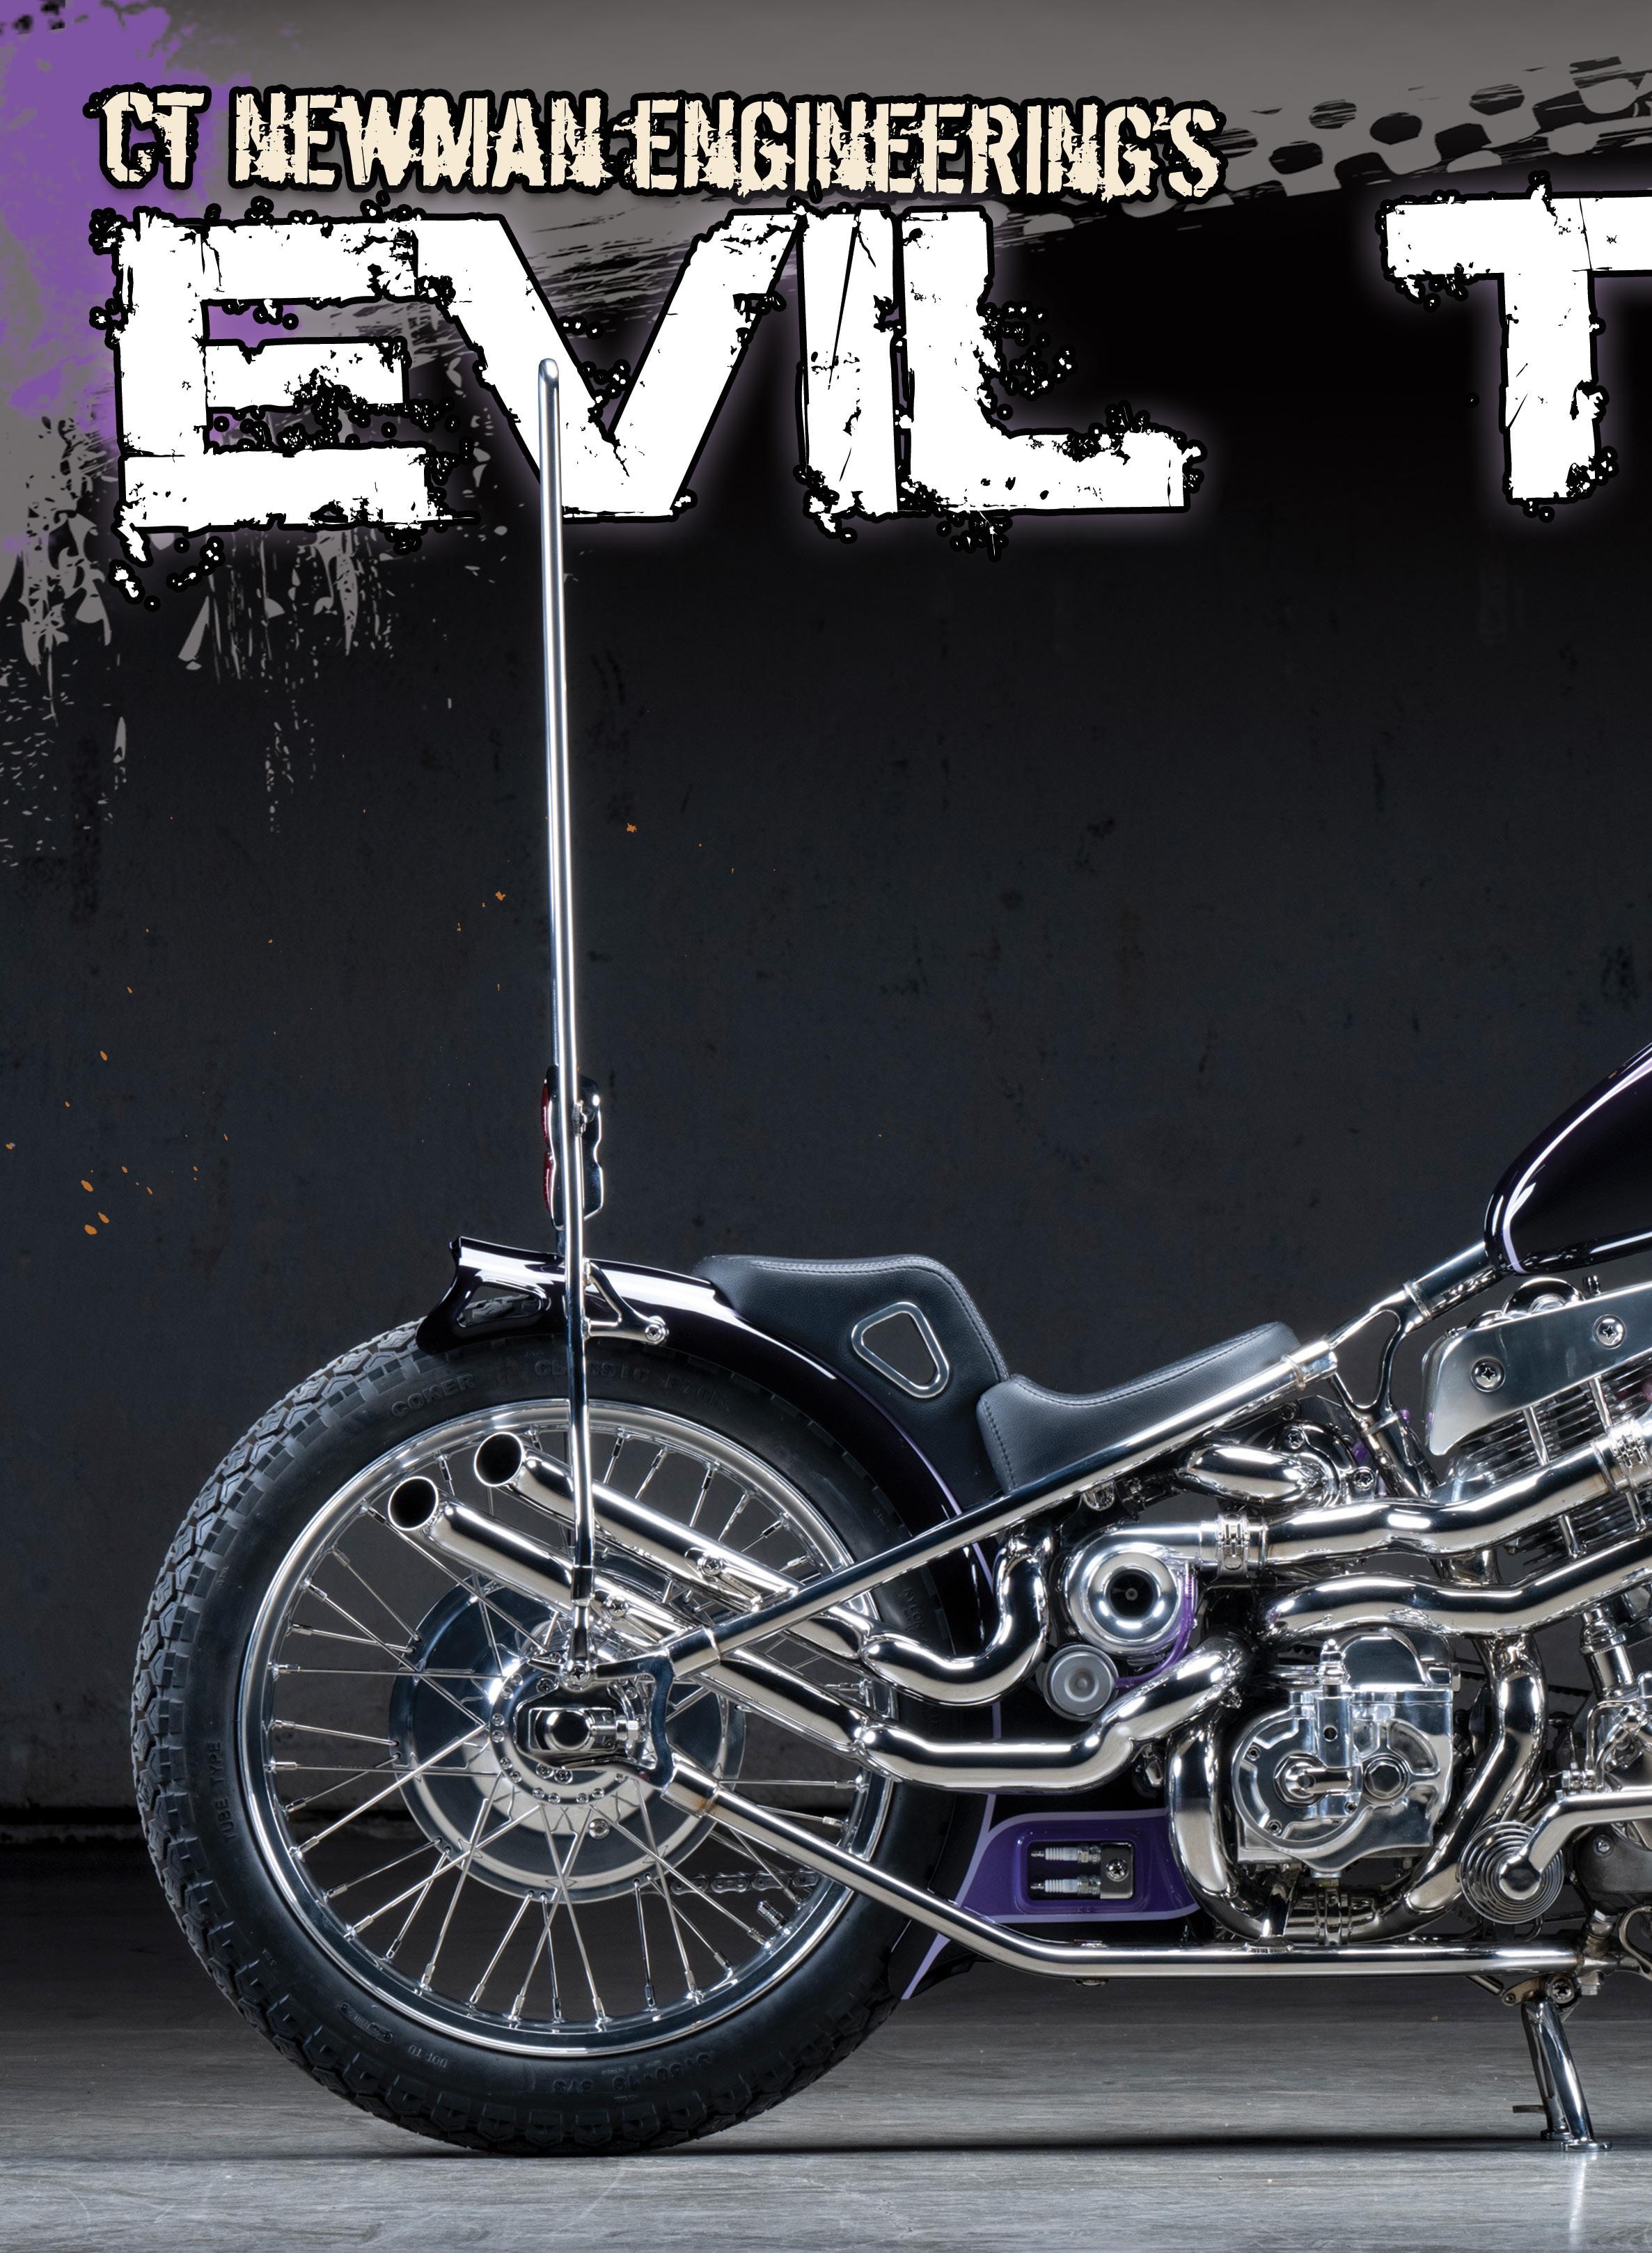
his tech will be amazing. I built this 1950 Panhead during the Covid, which we called Pandemic. We fought with a magneto for a year and finally slipped in a t used automatic advance distributor. It started, first kick, with a Mike Egan (RIP) rebuilt M-35 Linkert.
Then we ran into another issue. The clutch dragged.
This bike, a poor basketcase roller, came with lots of trashed parts. But it did have a belt drive of sorts designed for running in tin primaries. The clutch internals were made up of stuff I had lying around the shop.
I had issues with the clutch arm pivoting across the top of the transmission and running into the plate under the semi-stock oil tank.
Like I said, nothing was exactly stock or correct. I shaved the arm, redrilled the cable hole, and notched it to align with the clutch cable bracket mounted to the frame.
I felt safe with my modified clutch
arm since the relationship was working in my favor. The shorter the arm meant more pressure plate movement from the handlebar lever. Although it could add tension to the lever, the lever seemed cool, and pulled easily. We haven’t dug into the spring tension discussion much. I watched a Youtube with Bert Baker where he pointed out that your pressure plate must move .070 for your clutch to disengage. He demonstrated with a completely stock late model Harley, which moved .088. My clutch pressure plate seemed to move .090, so I was golden in that respect—I hoped. At first, when I dropped it into gear, it would kill the engine with a jerk. I took the clutch apart, cleaned and serviced it. It was slightly better, and it improved some, but only a skosh when I adjusted it. Now, I could ride it a mile before it attempted

to pull me into the intersection at the highway…
Buck Lovell received an assignment by the supreme Cycle Source staff to shoot the Pandemic for a feature. Which meant I needed to repair the clutch, pronto. It had to be a running, riding old Panhead, or die trying.
Buck said, “ When that belt drive heats up, the tension on the clutch increases.” Made sense to me, so we loosened the transmission and backed off the tension on the belt. He even brought over a BDL tool for measuring belt tension.
We also looked into a new set of clutch plates, and another solution jumped out at us. BDL makes a complete Belt drive, clutch system for early Harleys, but that would f..k with the Pandemic patina. Barnett makes replacement plates and springs. Buck knew someone at Energy One, so we ordered their set of fibers, steels, and two tensions of springs.
We carefully removed all the cable tension on the throw-out bearing before adjusting the pushrod. It had to completely release when the clutch is disengaged.
Although this is a dry clutch situation, the directions called for a brief soak in ATF before installation. Okay, the new Energy One clutch system with reduced pressure springs didn’t do the trick. I spoke to Micah McCloskey, a master, a traditional chopper, and engine builder. He said, “You must find a Roger Ramjet (RIP) clutch retainer plate. They still make them but call them clutch retainers.”
I went on the hunt and ordered one from J&P, which my mail carrier lost, but J&P sent me another one. I pulled the clutch apart again and removed the bearing support, anchor springs and plate. I replaced the plate with the clutch retainer and three small clip rings, which were a bear to install. This plastic plate has three adjustments to prevent the clutch basket from moving with the plates, preventing them from disengaging.
J&P directions called for only .018 to .035 clutch basket movement. My first setting was too loose, so I turned it two more holes to the tightest setting and installed the clip rings. This immediately made a difference. I could pull on the clutch lever with the bike idling, and it wouldn’t move when I popped it into first. But once I rolled down the street, shifting into 2nd was still a chore.


I had a date to ride the Pandemic to the photo shoot location about 15 miles away. I barely got to the top of the hill, and it started to run on one cylinder and died. I goofed with the sparkplug wires, and it came to life.
I was low on fuel and decided to ride into Deadwood to refuel. It died again, so I got more aggressive with the sparkplug wires. It fired first kick, and I rode it half a mile to the Dinosaur gas station and filled it up. If it acted up again, I was prepared to throw in the towel, but it didn’t, and I started riding out of the winding hills toward the interstate.
The bike handled good and ran like a champ. The clutch was fine as long as I was in 2nd, 3rd or 4th. We took the still shots and riding shots. It fired every time I kicked it, but I wasn’t done with the clutch.
I attended a 50th Anniversary party, celebrating the F…king Asshole and the Dream Girl’s marriage with a bunch of AMCA guys riding stock Knuckleheads, Pans, and Indian fours. They know their shit when it comes to these models. Charlie told me to drill out the fiber plates with a 25/64s bit to allow for more flexibility.
Mike Kane explained that aftermarket metal plates are stamped out, and the rough edge can catch on the clutch basket rails. Cabana Dan, a Hamster who works on early bikes, explained that the metal plates have a smooth and sharp edge when stamped. The smooth edge should always face out, and he agreed with Mike. The sharp edge should be filed or smoothed slightly.
That turned into my next move, and we tore the clutch apart again. We carefully filed each metal plate and drilled out the fiber plates. It worked like a champ.
Dr. Hamster said seriously after road testing the Pandemic. “So, each clutch adjustment gave you 5 percent improvement.”
Who the heck knows? After working on old Harley 4-speed clutches for over 50 years, I was blown away to find out so much about the buggers.
Sources:
Baker Drivetrain
Barnett Cables
Energy One
American Prime
BDL
J&P Cycles


