
5 minute read
Indigo: Lessons from a Dye Farm


BLUER THAN
INDIGO
Advertisement

BLUER THAN
INDIGO
LESSONS

F ROM
A
DYE
FARM
by Lori Drouin Dziedzic Winter Caplanson photos

ONE OF T HE MOST IMPORTANT T HINGS I LEARNED
FROM MY MAMA

WAS TO SHARE MY KNOWLEDGE; she said this makes room for me to learn more. Here, I’m going to teach you everything I know, so far, about growing, extracting pigment from, and dyeing with indigo.
I had been dyeing with indigo for several years before I fell down a rabbit hole and immersed myself in learning how to grow and extract pigment from the leaves of indigo.
This magical dye plant is one of the world’s oldest natural dyestuffs. For many, it represents the color blue. A crop used in agriculture, botany, cosmetics and medicine, it is the most valued, widely used and oldest natural dye that dates back to the ancient pharaohs. Fabric dyed in indigo has been said to repel snakes, mosquitoes and dirt. Samurais
believed wearing indigo-dyed underclothing prevented infection from wounds.
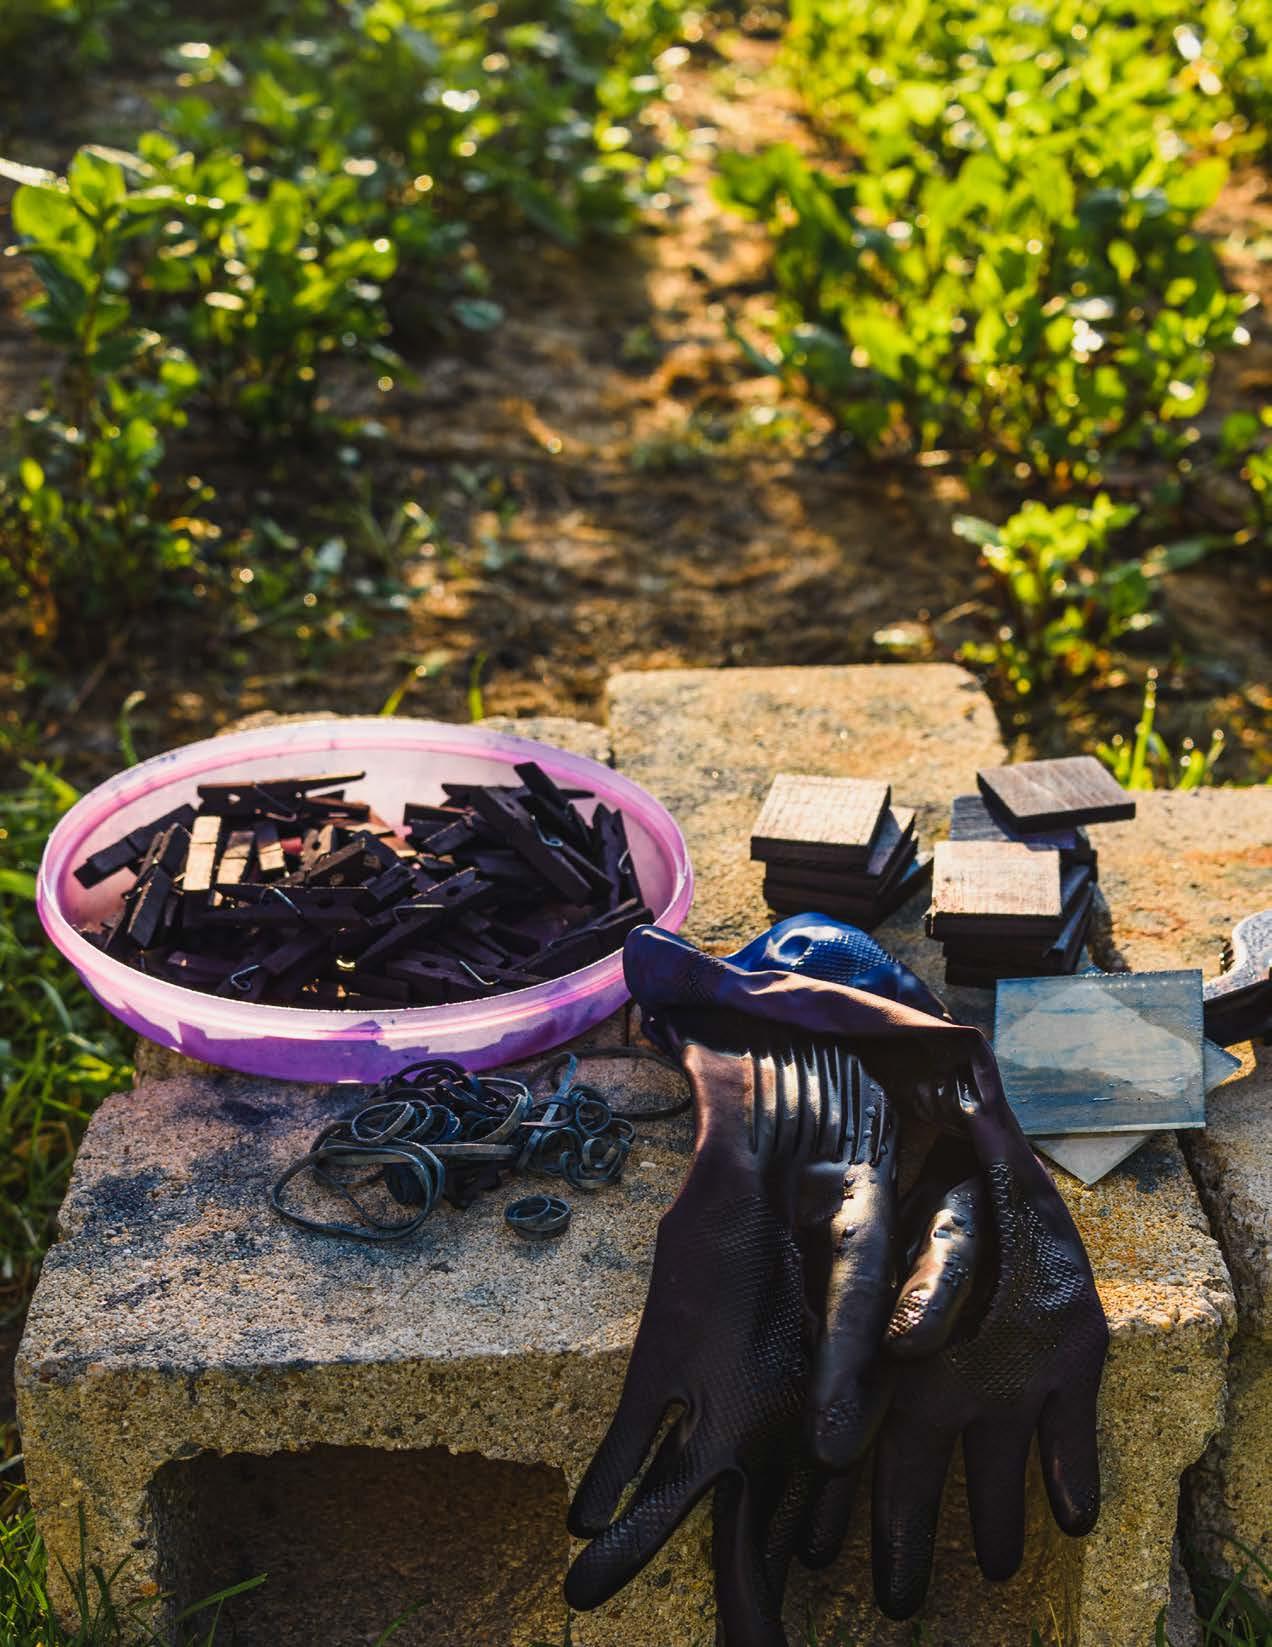
Indigo is a dye different than all others. It does not require a mordant; dyeing happens through a living fermentation process. The process “reduces” the Indigo, changing it from blue to yellow. In this state, it dissolves in an alkaline solution. The fiber is dipped and massaged while in the vat; when removed it is bright green and slowly changes (oxidizes) to the beautiful deep and rich blue of Indigo.


“I’ m going to teach you everything I know, so far, about growing, extracting pigment from, and dyeing WIT H INDIGO.

There are many species of indigobearing plants, but only a few that contain an amount large enough to extract from. I grow persicaria tinctoria, also known as Japanese indigo, dyer’s knotweed, or polygonum tinctorium. This is a tropical plant, an annual here in the northeast. This shallow-rooted plant likes warm, moist soil above 50°.

GROWING • Start seeds indoors in an open flat, 5-6 weeks prior to the last frost in a rich, composted organic soil mixture. • Be sure they have plenty of close, direct light to prevent legginess. • When the first true leaves appear, generally after 2 weeks, transplant into their own container. They will be ready to transplant in the ground when the seedlings are 4 inches tall and have several sets of leaves, and the soil is at least 50°. • Harden off after all threat has passed and plant 18 inches apart in welldrained, composted soil. Mulch around and between rows to retain moisture. • Water weekly with fish emulsion; they are hungry little plants!

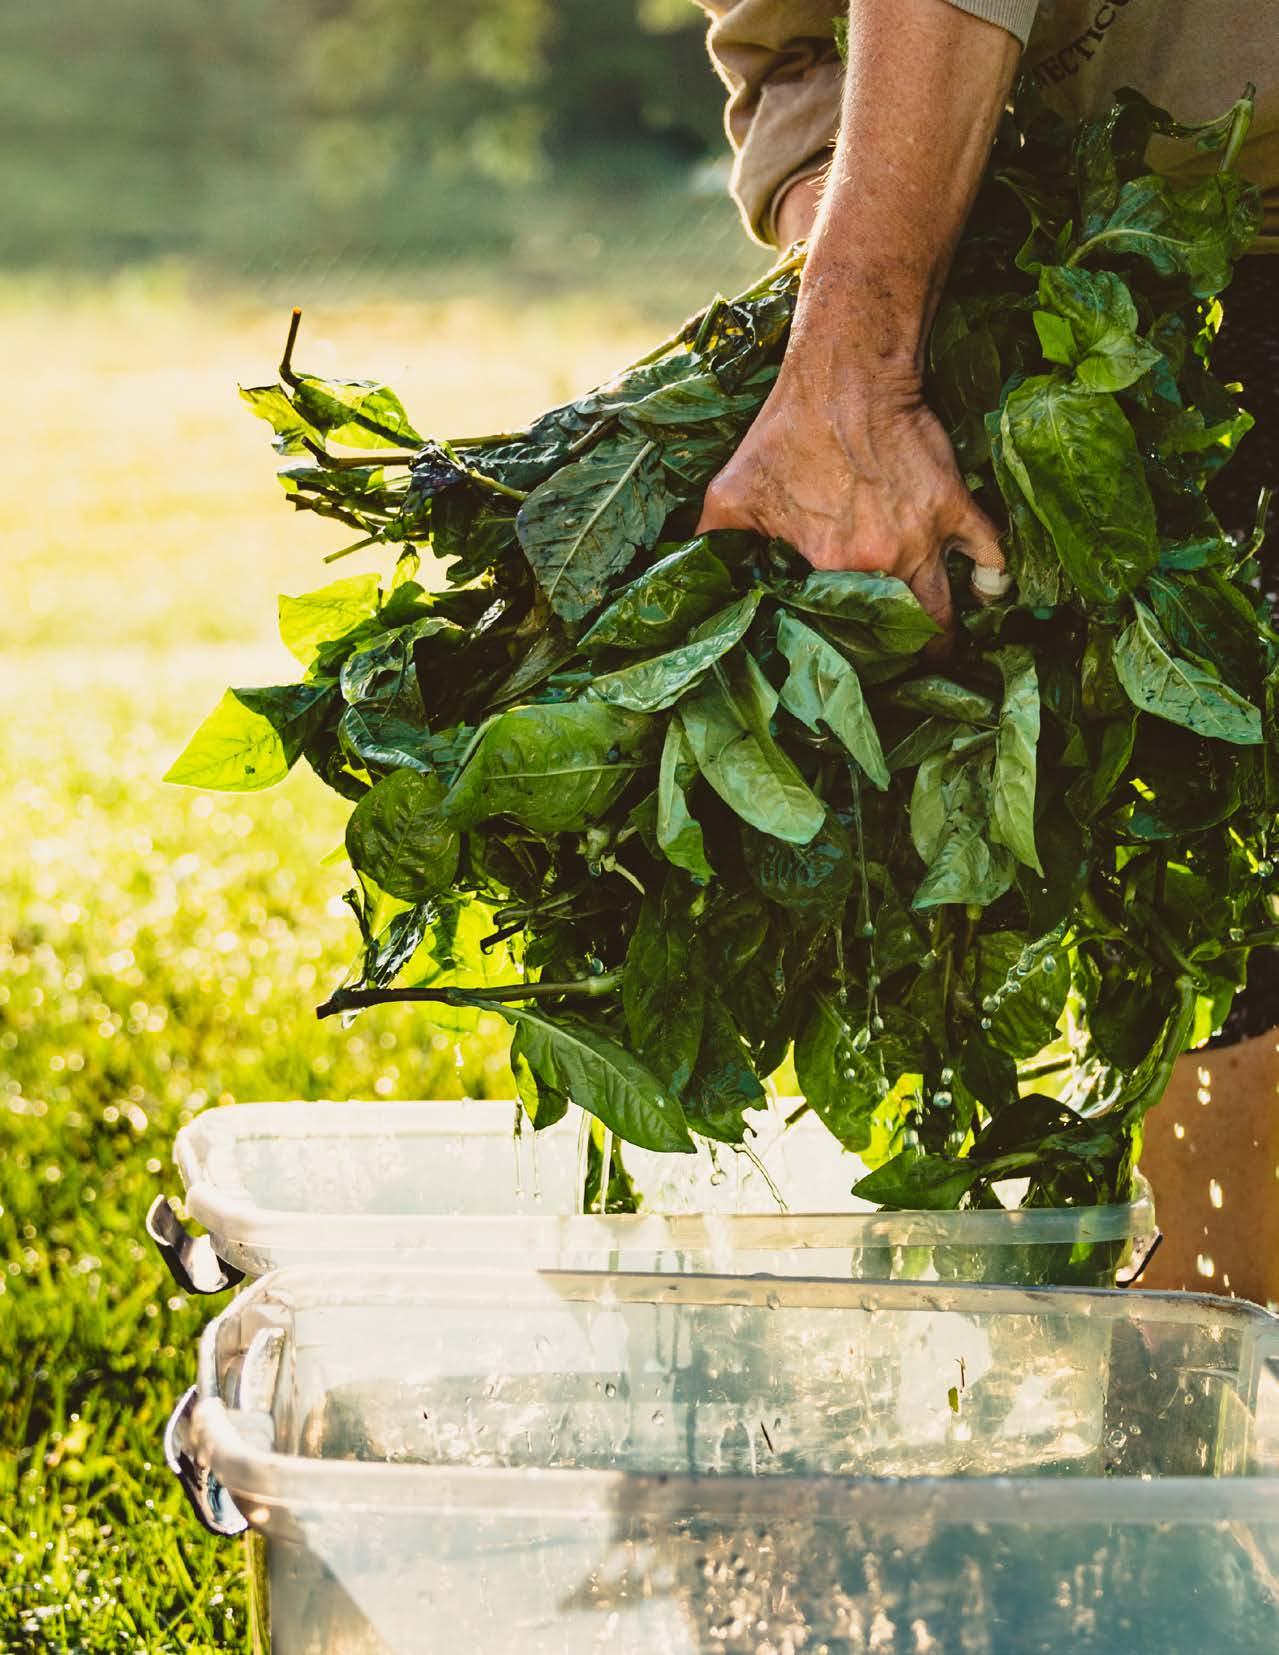
HARVEST ING • Under ideal growing conditions, the plants should be ready in 45-60 days; cut down to 3-4 inches, leaving some foliage on the plants for a second cutting. • The yield depends on the soil, how well the plants are fed, and how warm the summer is.


Here, you have a choice to extract pigment from the leaves for later use in a reduction vat, or to dye with fresh leaves.

DYEING WIT H FRESH LEAVES This method works well with protein fibers like silk and wool, and produces lovely shades of turquoise.

• Harvest indigo and place in a bucket of cold water until ready to use. • Scour fabric. • Fill a large stainless steel bowl with leaves. • Add approximately 3 tbsp of kosher fine flake salt to the leaves. • Knead the leaves; they will begin to shrink and produce a liquid. • Add fabric to the leaf/salt combo and continue to knead together. • If needed, add more leaves in order to cover the fabric. • The longer you knead, the darker the blue. Check often to make sure there are not any white spots. • Rinse and hang to dry - wash and rinse again.


HYBRID FERMENTATION PROCESS This method is for use in a vat, and requires a good amount of leaves.
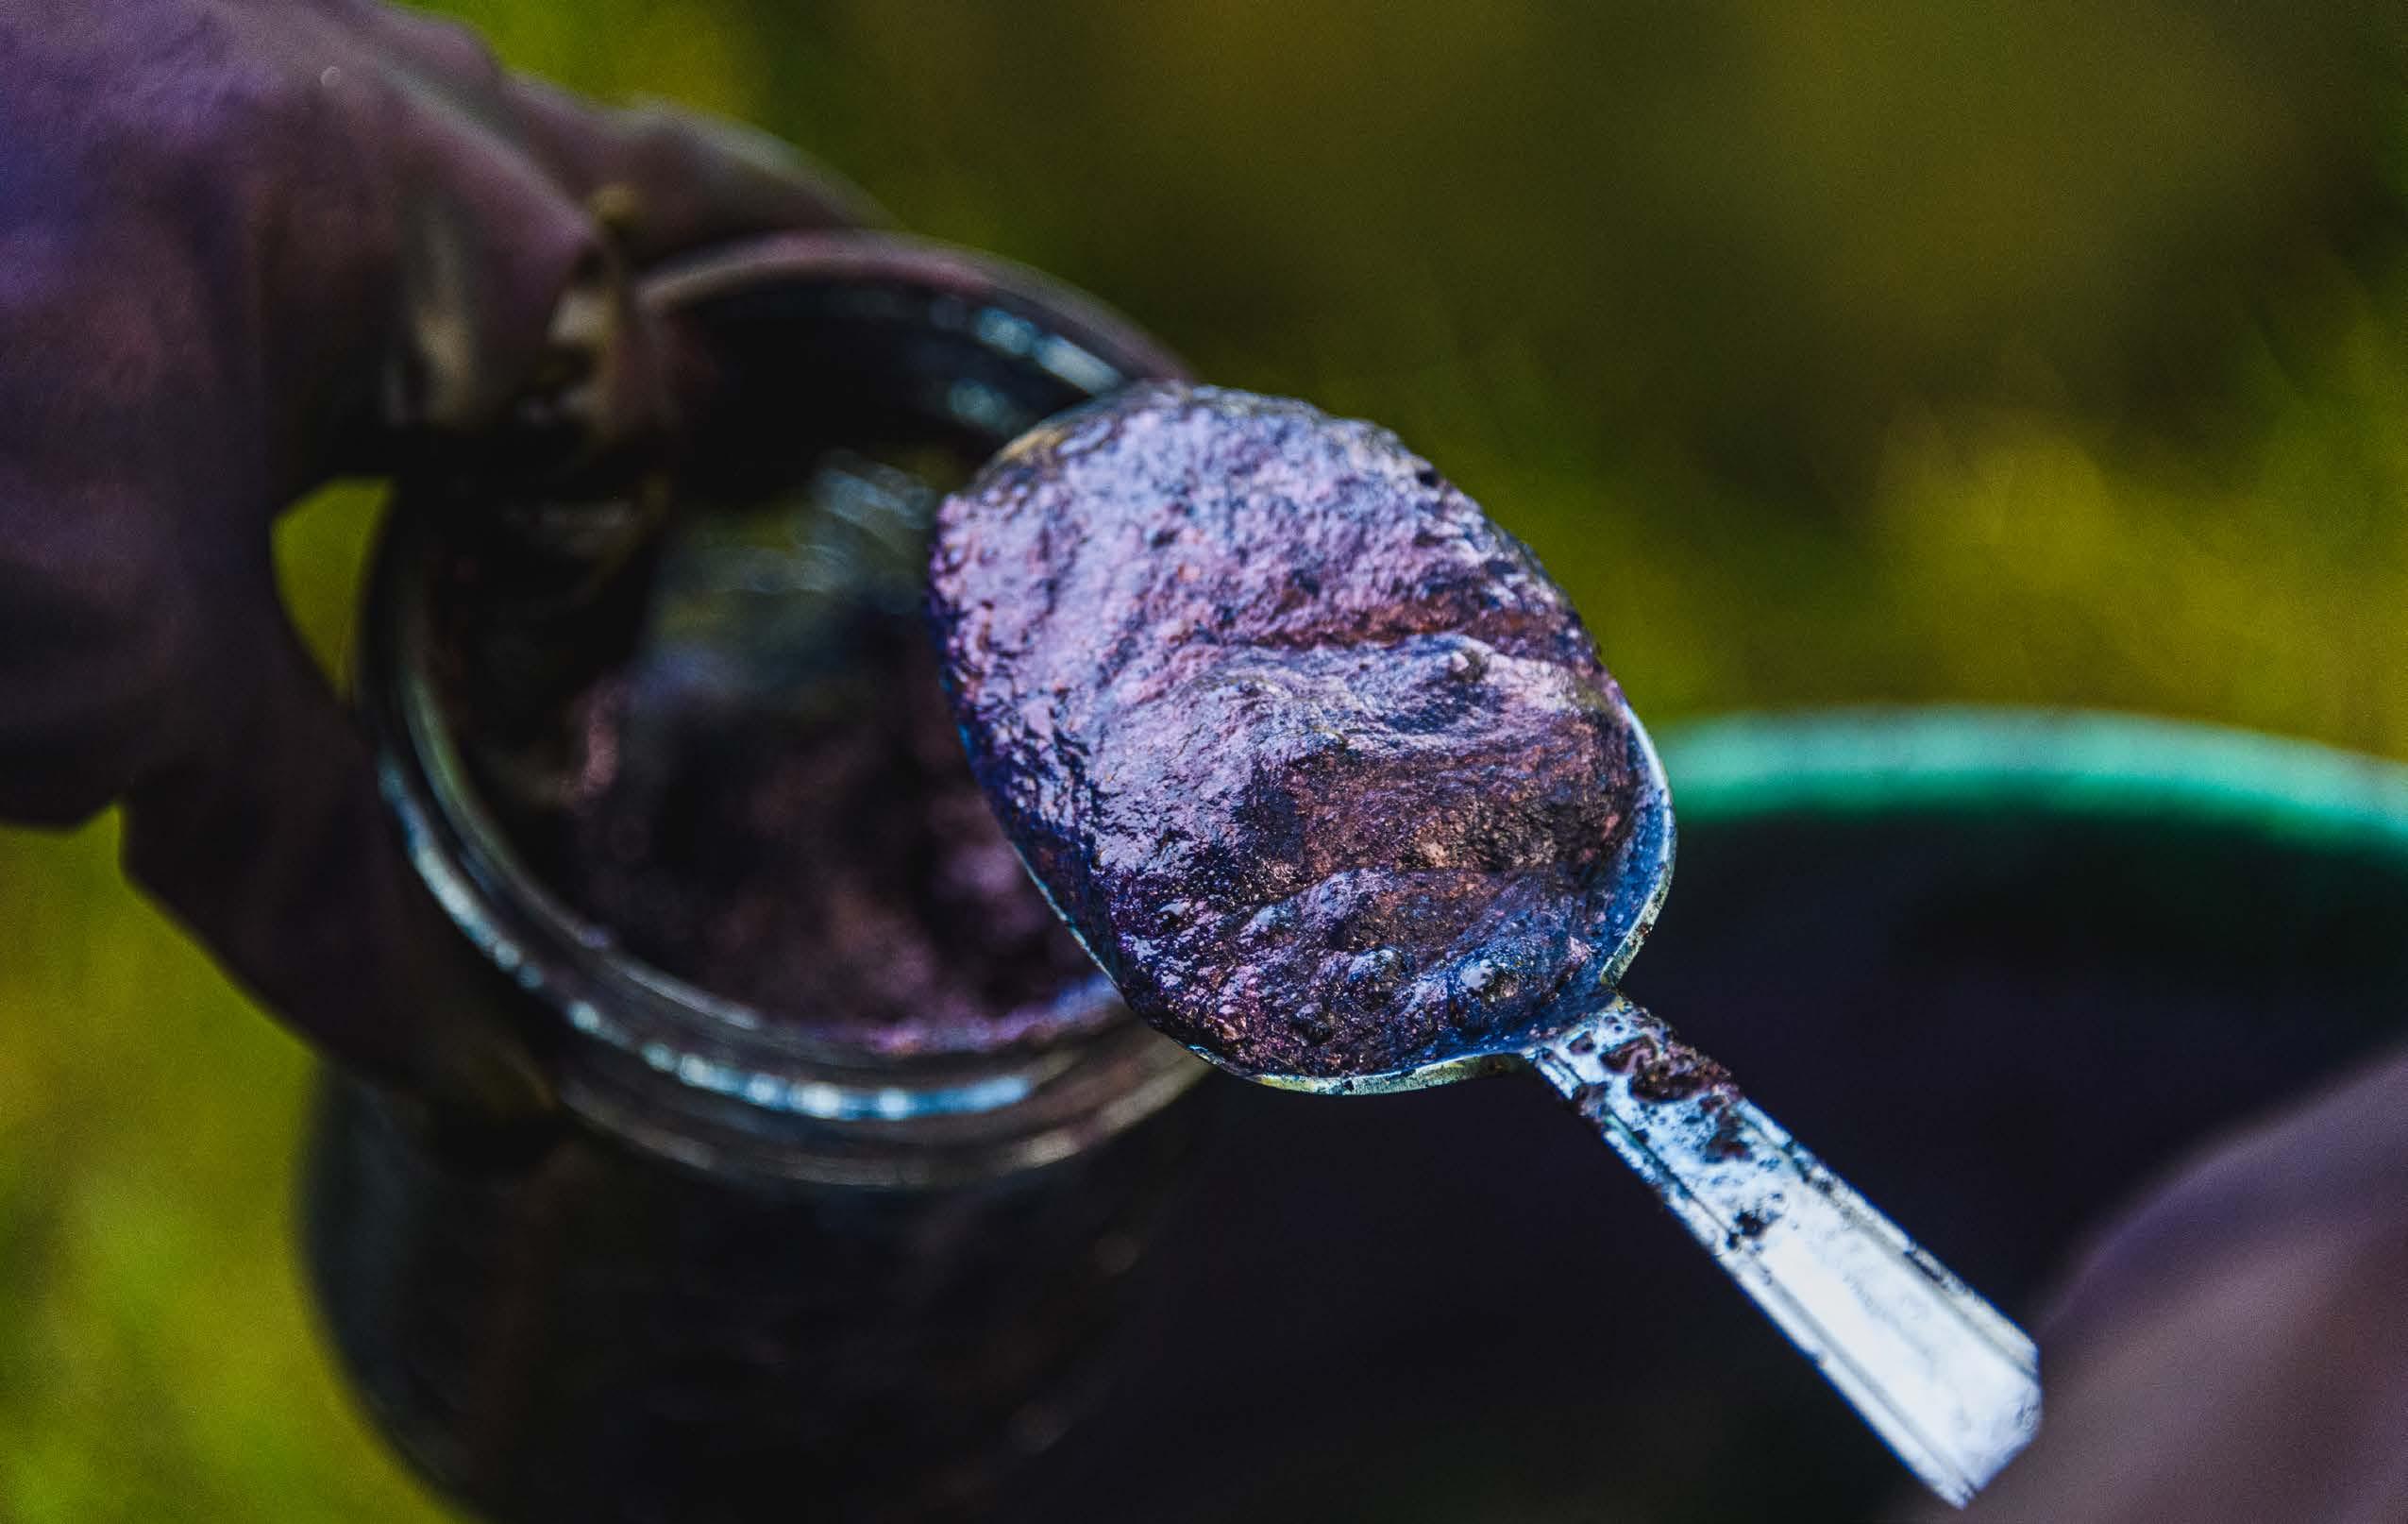
• Harvest indigo and submerge in a container. • Extract: once the water has turned radiator fluid green, remove spent leaves and discard; we compost them as they are nitrogen-rich. • Alkalize: the indoxyl-laden liquid is alkalized with slaked lime- 1tbsp per gallon of water, giving a neutral ph. • Oxidize: you can aerate with a small shrub rake by swishing back and forth to introduced oxygen into the pigment-rich liquid. Do this for about 20 minutes, or until the liquid and the foam/bubbles on top turn blue. Let this rest anywhere from one day to two weeks to allow the pigment to dissipate to the bottom of your container. Decant the water off the top and you are left with indigo pigment that can either be left in sludge form, or spread out on a screen to dry.

Seeds can be sourced online and indigo seedlings are available in the spring at the farm markets we attend in Stonington, Coventry and New Haven. You can also peruse what I make: indigo-dyed Shibori textiles, pottery buttons, and other botanical products, found at markets, events and Etsy.


EDITOR’S NOTE: Lori’s one-of-a-kind, natural indigo dyed, vintage linens are exceptional, offering delicious heft, texture, and handwork.

Lori Drouin Dziedzic of Flatland Alpacas lives in Pachaug, CT and grows plants for textile dyeing. She raises alpacas for their fiber for her weaving, and makes kiln-fired ceramic buttons.


