
9 minute read
Hand Rolled Chocolate Truffles


D E A T H B Y C H O C O L A T E

Advertisement
Death by Chocolate Hand-Rolled Chocolate Truffles H A N D R O L L E D C H O C O L A T E T R U F F L E S

Truffle craft When it comes to the world of food gifts, few things are more revered than a hand-rolled chocolate truffle. Essentially consisting of three steps, an endless world of flavor combinations awaits. The process can be daunting unless you have an understanding of the techniques, but the core of the truffle, a ganache, is comprised of an emulsion of chocolate, cream and a liqueur, and can be easily flavored. The ganache gets coated to form a crisp chocolate exterior of tempered chocolate and finally rolled in dark cocoa powder, creating what looks like a nugget pulled from the ground and tastes like it dropped straight from the heavens.

The cooler Connecticut months are a wonderful time to embark on a candy making adventure. I usually make over a thousand truffles during the holiday season, bringing them as hostess gifts and keeping boxes around so that visitors can take treats home with them. No two batches are ever exactly alike.

All chocolate is not created equal. The type of chocolate required for truffle making is readily available if you know what to look for. Bittersweet chocolate (chocolate with higher amounts of cocoa butter and cocoa solids) with cocoa mass that ranges between 55% and 65%, and a low sugar content, will yield the best result for both the ganache and enrobing. Using a couverture (chocolate that contains a higher amount of cocoa butter) will ensure that the final truffle has superior flavor and texture. Brands like Valhrona, Callebaut, Guittard or Sharffenberger compare to fine wines: every brand and variety has a unique flavor profile, some fruity and others bitter. Changing just the chocolate type can affect the final flavor as if you changed the entire recipe; finding ones that you truly love is half the fun.
Make it your own The center of the truffle, using just the simplest of ingredients in the right amounts, will yield a creamy and flavorful candy base. Think of the cream as blank slate for flavors; this is a way of truly personalizing a confection. Looking for a bright, stringent ganache? Add some orange peel. Want to create an end-of-the-evening palate cleanser? Add fresh mint leaves. Turn to your pantry cupboard for bags of tea - chai or earl grey - to make an infusion that is truly unique to you. Strain out these ingredients before adding them to your ganache, and make sure that the amount of cream is returned to its original volume; ingredients may soak up some of the cream.

The liqueur in the recipe serves two vital purposes: 1. Flavor: changing the liqueur adds another depth of flavor to the filling, and raiding the liquor cabinet can serve as a source of inspiration. 2. Shelf life: using liqueur instead of cream greatly extends the life of your truffle.
Don’t lose your “Temper” The most critical process in making a chocolate truffle is when the ganache center is wrapped in pure chocolate, commonly called enrobing. This step serves the vital purpose of protecting the center from the air, and provides a shelf life for the tasty little treat. Controlling the temperature of the cocoa butter in chocolate, known as tempering, will

provide a crisp and stable exterior. Two things will be most useful while tempering the chocolate: a microwave for melting and rewarming the chocolate, and a digital thermometer to check the temperature.
When you melt roughly half of the chocolate in the microwave, do this in slow increments and stir frequently, maintaining the temperature between 105 F and 115 F. The next step is to cool the chocolate: using small amounts at a time, add in fresh chocolate, stirring to melt and incorporate. Keep adding smaller amounts of chocolate until the thermometer reads below 86 degrees; this a called the seeding method. If it starts to get too cold and set, simply zap a few seconds at time in the microwave, but don’t over-warm it: if the temp is higher than 91 degrees,
the process will need to be started over. 84F-89F is the correct working temperature for the enrobing process.
Tempering chocolate can be challenging: too hot and the truffle won’t be crisp, have a seal or keep its shelf life. But if it’s too cold, it will begin to lump. Don’t worry about a few little lumps; you’re working with your hands and they are easy to avoid and pick out. I would always rather a few lumps than getting the chocolate too hot; that means you have a good temper. If at any point in time the process isn’t going as planned and you lose your temper, it is just chocolate. There’s no harm in letting uncovered centers sit a day; they will be fine. Chocolate can set and be re-melted any number of times. Extra chocolate can become the next round of ganache centers - or a batch of brownies.
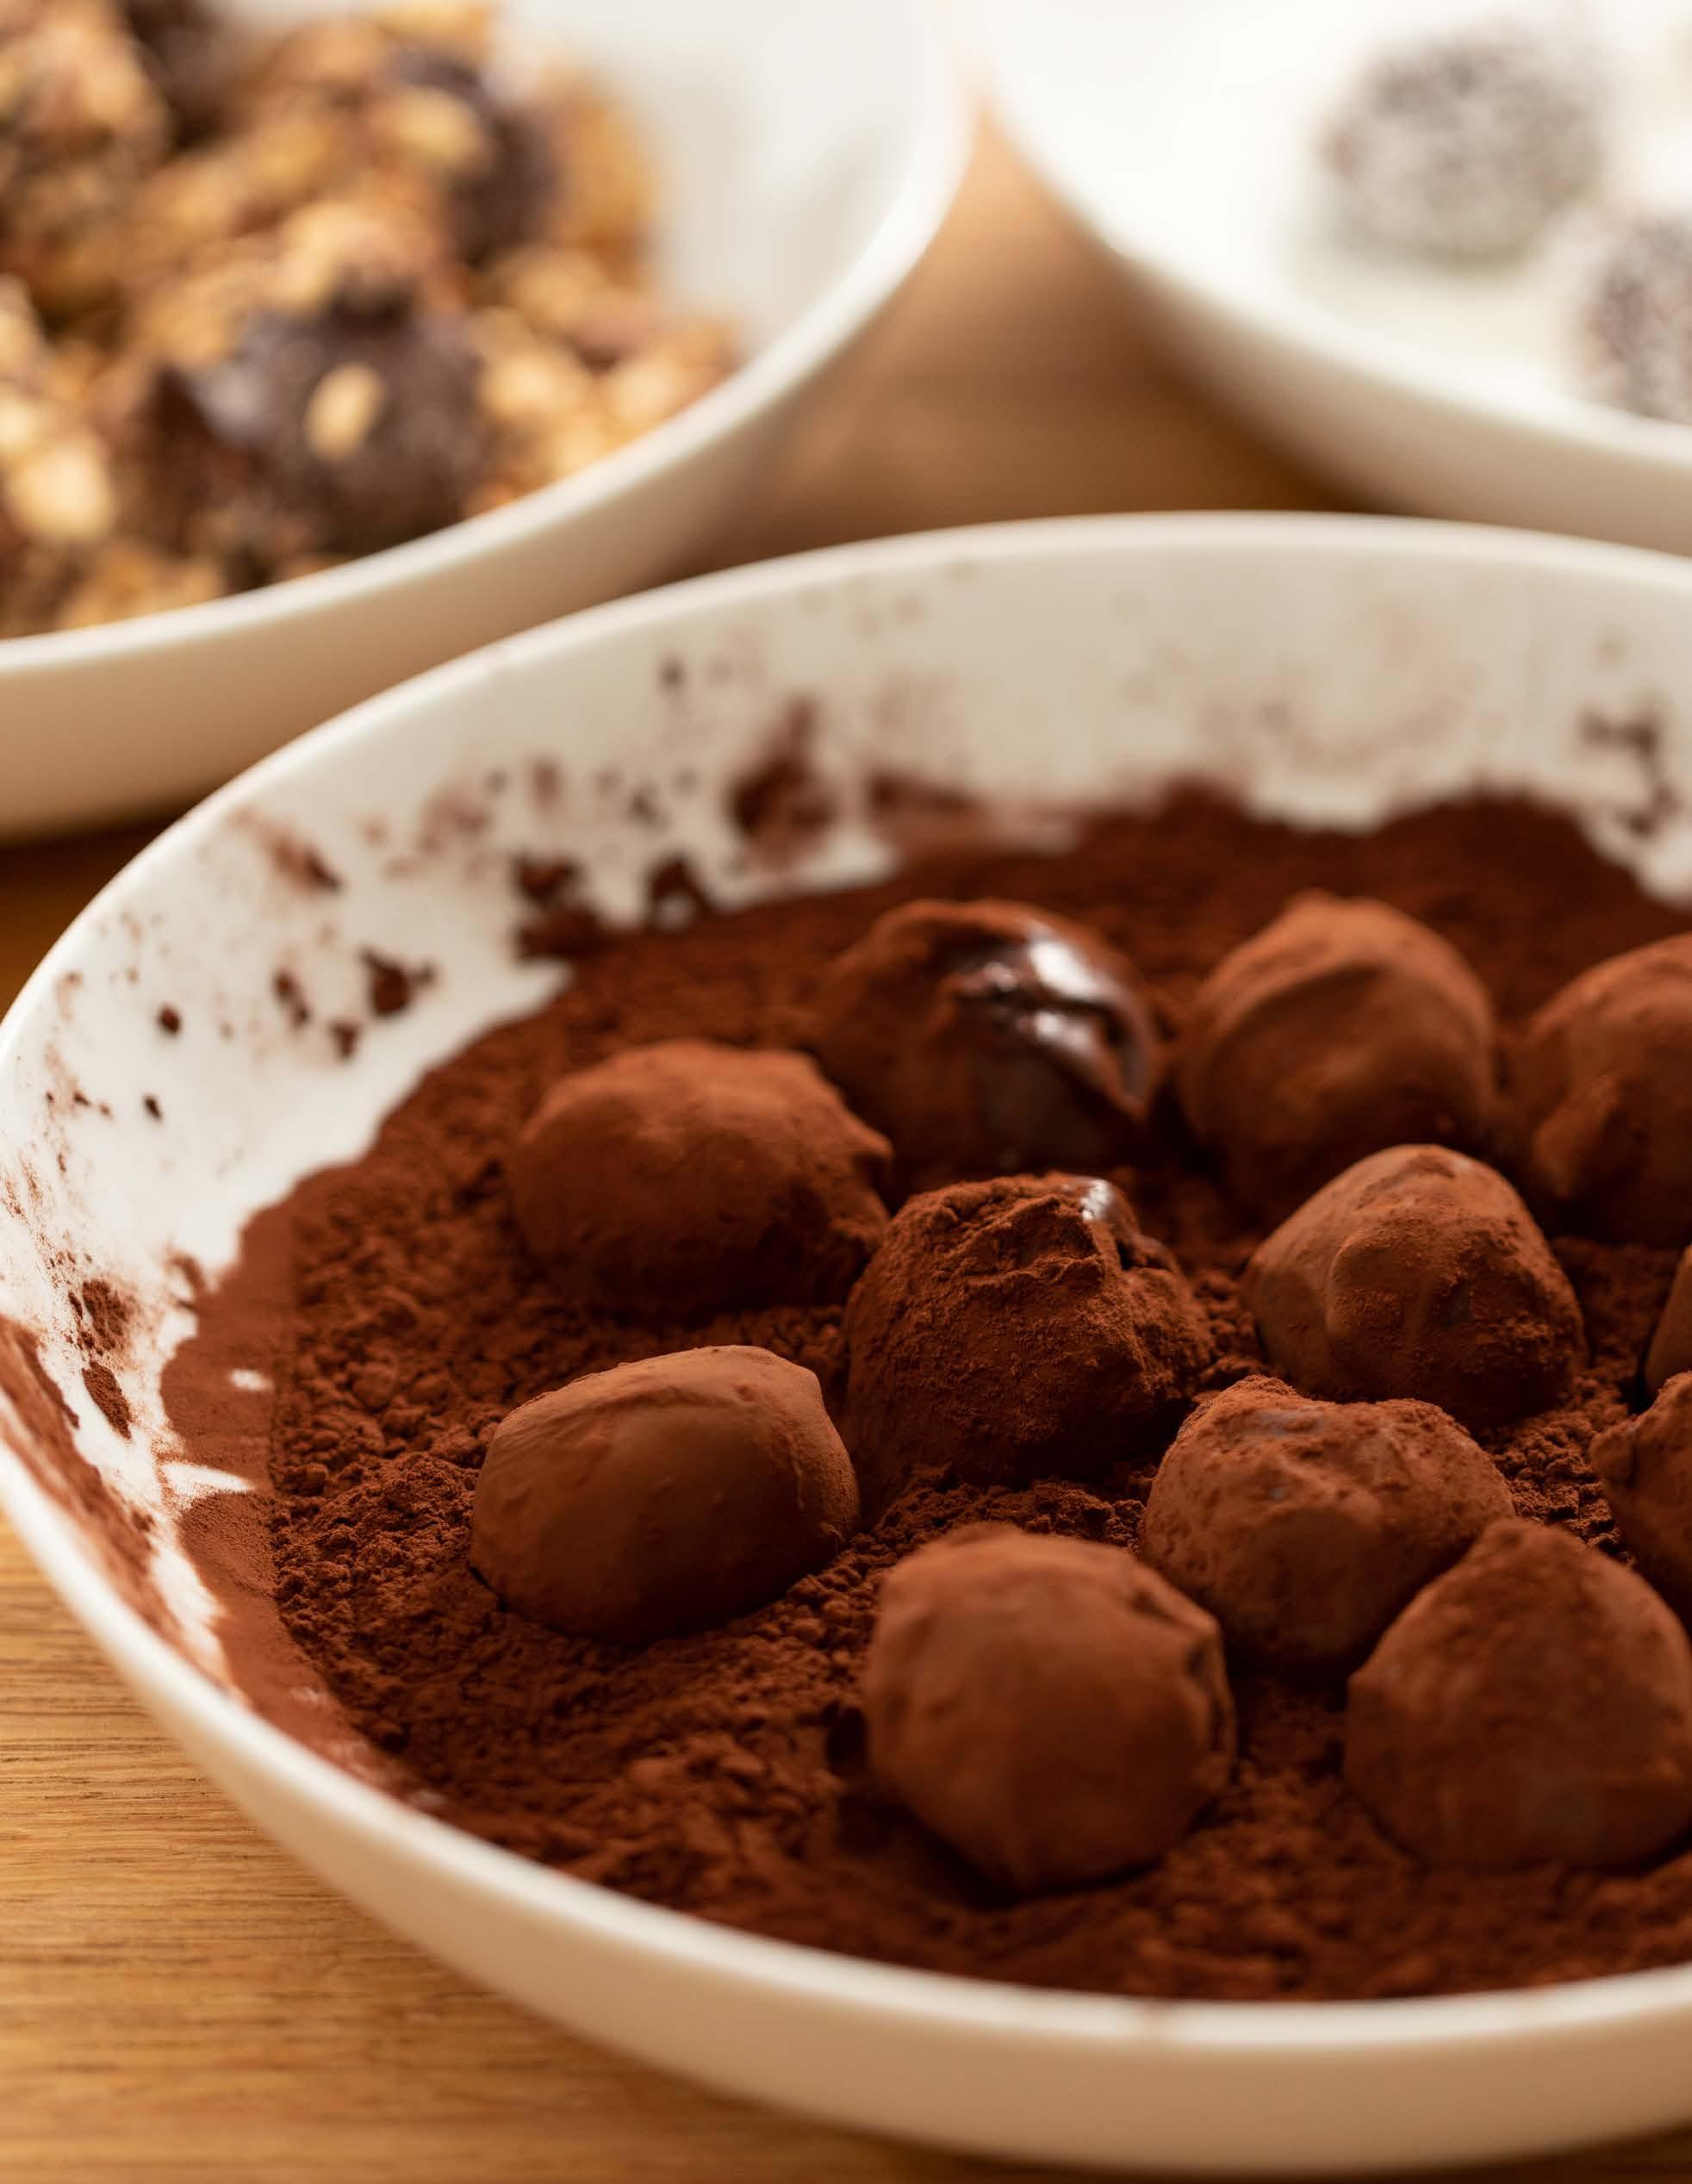


FINISH STRONG The final touch of a traditional truffle is rolling them in dark cocoa powder to give it that earthen finish. Rules need not apply, though, as any item can be the finishing touch to your homemade confection. Almost anything will stick to the melted chocolate and can add both a unique flavor and texture to a truffle. Finish with finely-chopped nuts, grated chocolate, dried fruit powders or a touch of sea salt. I often take a single flavor of ganache centers and finish them with two or three different touches.


TRUFFLE RECIPE (Makes 80-100 truffles)
INGREDIENTS 8 oz. heavy cream 2 oz. glucose syrup 15 oz. dark chocolate, chopped 1.5 oz. soft butter 1 oz. liqueur 2 lb. chocolate, for tempering
Special equipment: digital thermometer.

1. In a saucepan, combine heavy cream and glucose syrup and bring to a boil. Pour heavy cream mixture over the chopped chocolate. Allow to sit for approx. 2 mins. 2. Using a spoon or spatula, start in the middle of the bowl and stir in very small circles. Gradually increase the size of the circle until the entire mixture is incorporated and free of any lumps. 3. Add in the soft butter and the liqueur and stir until the mixture is smooth, creating a silky ganache. 4. Pour the ganache in a shallow baking dish. 5. Place plastic wrap directly on top of the ganache and allow to sit at room temp. 1-2 hours until mixture is firm but still creamy. 6. Using a piping bag or small ice cream scoop, form the ganache into small round balls; allow to set for two hours.
After creating your ganache centers, the next step is to coat them in tempered chocolate.
Hand-roll each truffle in a light coating of tempered chocolate. Once first coat is set, repeat a second time or dip for a slightly thicker shell. Then, place the truffle in dark cocoa powder and cover completely. Allow to harden at least two minutes before removing and packaging. Finished truffles will last up to one month.


In a saucepan, combine heavy cream and glucose syrup and bring to a boil. Pour heavy cream mixture over the chopped chocolate. Allow to sit for approx.
Using a spoon or spatula, start in the middle of the bowl and stir in very small circles. Gradually increase the size of the circle until the entire mixture is incorporated and free of any lumps. Add in the soft butter and the liqueur and stir until the mixture is smooth,
Pour the ganache in a shallow baking dish. Place plastic wrap directly on top of the ganache and allow to sit at room temp. 1-2 hours until mixture is firm but still creamy. Using a piping bag or small ice cream scoop, form the ganache into small round balls; allow to set for two hours.
After creating your ganache centers, the next step is to coat them in tempered
Hand-roll each truffle in a light coating of tempered chocolate. Once first coat is set, repeat a second time or dip for a slightly thicker shell. Then, place the truffle in dark cocoa powder and cover completely. Allow to harden at least two minutes before removing and packaging. Finished truffles will last up to one month.

GANACHE FILLING FLAVORS:
Dark & Stormy Truffle: Ginger-infused cream, dark rum liqueur, crystalized ginger finish.
Almond Joy: Coconut rum, rolled in toasted almonds.
Mojito: Mint-infused cream, white rum liqueur
White Russian: Coffee-infused cream, vodka
Mexican Hot Chocolate: Cayenne pepper infused cream, tequila
Maple Ginger Bread: Replace glucose syrup with maple syrup; add a pinch of gingerbread spice

Manhattan: Infuse orange zest and ginger; add bourbon as the liquor

TIPS FOR SUCCESS
Make the ganache centers smaller than you think they should be; they grow once coats are added, and truffles are best when small and delicate.
Truffles are meant to look like the earth; even imperfect ones are delicious (and almost everyone loves chocolate)!
Clean up in between each step. Chocolate has a way of spreading on its own.
Always buy and temper more chocolate than you think you’ll need.
Only fresh chocolate can be used for seeding.
If you do run out of tempered chocolate for coating, just roll the ganache in cocoa powder. They won’t last but a couple of days, but they’re delicious nonetheless.
There is no harm in a little extra time between steps; don’t feel the need to rush this process through.


