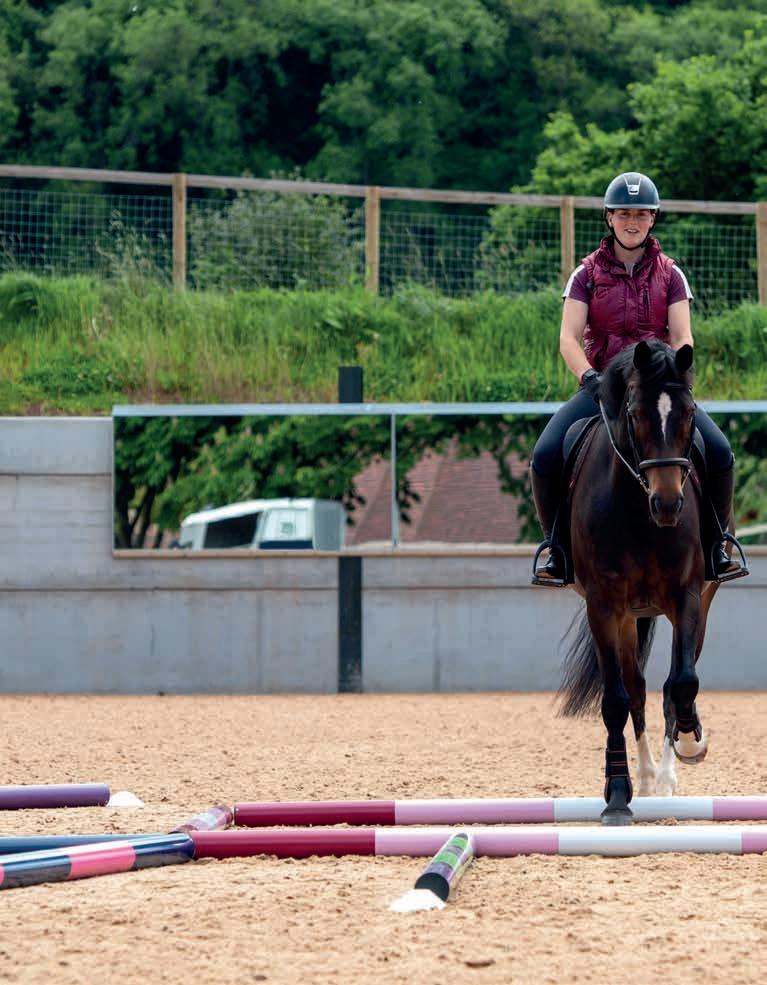


Put all your riding skills to the test with one ace layout!


In the final part of my polework series, I’ve got an awesome new layout to put you and your pony to the test. So, hop in the saddle and get ready to have some fun!


For this layout you’ll need 14 poles – ideally standard 3m ones. Start by making a square in the middle of the arena, then create two triangles on each corner at one end. Between the two triangles place a pair of parallel poles to form a channel into the square. Finally, place a pole on each spare corner of the square and roll it out so it’s 3m away from the point.

remember!
Always ride through lines in walk first. It allows your pony to learn where you’re going and helps boost his muscle development, too!
Throughout my series, I’ve highlighted the importance of your warm-up and what you need to do to get your pony in the zone for your polework session. As a reminder, here are some questions to ask yourself as you’re warming up…


• have I worked my pony evenly on both reins?

• does he respond to my leg aids?
• have I ridden lots of turns, circles and transitions?


• am I focused on the task ahead?
• is my pony working forwards, feeling tired or just being lazy?
Remember that it’s best to save your polework session for another day if your pony’s tired. You don’t want him tripping up and injuring himself. If he’s being lazy, have a go at more transitions to get him awake and responsive to you.

While you’re warming up, you want your pony to be working actively in trot and feel as if he’s ready to pop into canter at any moment when given the aid.
The first two lines will test your straightness. Line 1 lies along the centre line, and it’s best to start at the end with the two parallel poles as this will channel your pony into the layout and help set up a perfect approach. Line 2 is slightly trickier because you have no guide poles on your way in or out, but keep aiming for the middle strip of the pole and you’ll ace it. Don’t forget, you can ride through these lines in both directions.
Think about…
• keeping your rein contact and leg pressure even
• looking up and straight ahead
line 1
If you’re struggling to process a big polework layout or you’re worried your pony might find it hard, try to think about just keeping him straight and forward, then let him do the rest.
Do you know what lateral work is? You might associate it with leg-yield – and you’re right! But there’s much more to it than just that. Did you know that lateral work means moving your pony in a direction other than straight forwards? In the first part of our lateral work series, we’re focusing on how to teach your pony to move backwards!

Ever heard of rein-back? Well, it’s the only move that requires your pony to walk backwards. Just picture him moonwalking! Rein-back isn’t introduced into dressage tests until Novice level, but it’s an excellent move to teach your pony because it has loads of benefits, including…
• encouraging him to engage his hindquarters
• testing whether he understands your aids
• activating his core muscles
Rein-back has a two-beat rhythm where both diagonal pairs move alternately and, in a dressage test, you’re usually asked to show 3–4 steps. Don’t worry, though – when you’re training you can build things up more gradually!

Why not feast your eyes on some pro rider dressage tests? You’re sure to learn loads from watching their epic moves!


Whatever the discipline, your position and how you ride your pony hugely affects his way of going. And while you’re out on the cross-country course there are so many other elements you’ll face that require you to be at the top of your game. Here are my pro tips and exercises you can try at home to put your XC skills to the test!


When thinking about your position, ask yourself ‘will I be safe if my pony trips?’. If the answer is no, something needs to change! Keep your weight back, legs underneath you and heels down.
Keeping your balance over a jump is essential for creating a smooth, fault-free round
Olympic eventer Vittoria Panizzon is here to show you how to maximise your XC riding!
Perfecting your balance in the saddle is a fundamental part of your cross-country skills. While for most disciplines you aim to sit in the middle of the saddle, for XC it’s better to be slightly further back to help you be more secure if your pony takes a misstep or stops!


Test it!
Keeping your balance over a jump is essential for creating a smooth, fault-free round. Practise sitting in two-point position over a jump at home – it doesn’t have to be a XC fence, you can have a go with small showjumps in the arena to start with. As you find your line to the fence, pick up a light seat and see if you can maintain it on the approach, over the jump and on your getaway. Think about…
• keeping your knees soft

• looking up over the fence
• pushing your weight down into your heels
• keeping your hands low and pushed forwards slightly with a soft rein contact
• pushing your hips back in the saddle
