
7 minute read
Adding Users

from Microsoft Office 365
by EckoTango

After you click Users, the listing of team members already added to the site appears in the work area. If you’re the only one who has accessed the site so far, yours might be the only email listed. You can add users one by one, if you’re working with a small list, or you can add many users using a slightly different process. Here are the steps for each— choose the one you need.
Adding Users One at a Time
Advertisement
If you’ll be working with a small team, or you’ve already created a team and just want to add a new user or two, the task is as simple as clicking the mouse and typing in a few pieces of information. Here are the steps: 1. Click New in the Users screen and click User.
2. In the New User Properties screen, add the name, display name, and email address you want to create for the new user 3. Click Additional Properties if you’d like to add additional information about this user in the site. (See Figure 3-3.) 4. Click Next.
Note You don’t have to enter the person’s first and last name, but you do need to enter a display name that will be visible to others in the site. Also, note that at this point you cannot add an existing email address outside of your site domain. Later if you’d like to connect an existing email address to this account, you can do so. See the section, “Migrate Your Email,” to find out more.
Tip Other users will be able to view this information in the user’s profile, so if you’re working with a large team, fill in as much information as you have. This helps team members feel they know each other and begins the process of creating a more connected group experience.
After you’ve specified the basic properties for the new user account, you still need configure additional settings and permissions that control the way the new user will interact with Office 365 services. For more about how to do this, see the section, “Setting Permissions, User Location, and Sign-In Status,” later in this chapter.
Adding Multiple Users at Once
If you have a number of users to add all at once—perhaps a department manager at work sent along a file of all the contact information for your team—you can simply upload the data file directly into Office 365 and create users that way. To add multiple users all at once, follow these steps: 1. Click New, and choose Bulk Add Users. 2. In the Bulk Add Users page (shown in Figure 3-4), click the Browse button to open the Choose File To Upload dialog box. 3. Navigate to the folder containing the CSV file you want to use, click it, and click Open.
Tip What’s a CSV file? CSV stands for comma-separated values, and this common file format is used to store data from tables, worksheets, or databases. So a CSV file that includes information for your team might include information that looks like this: User name, First name, Last name, Display name.
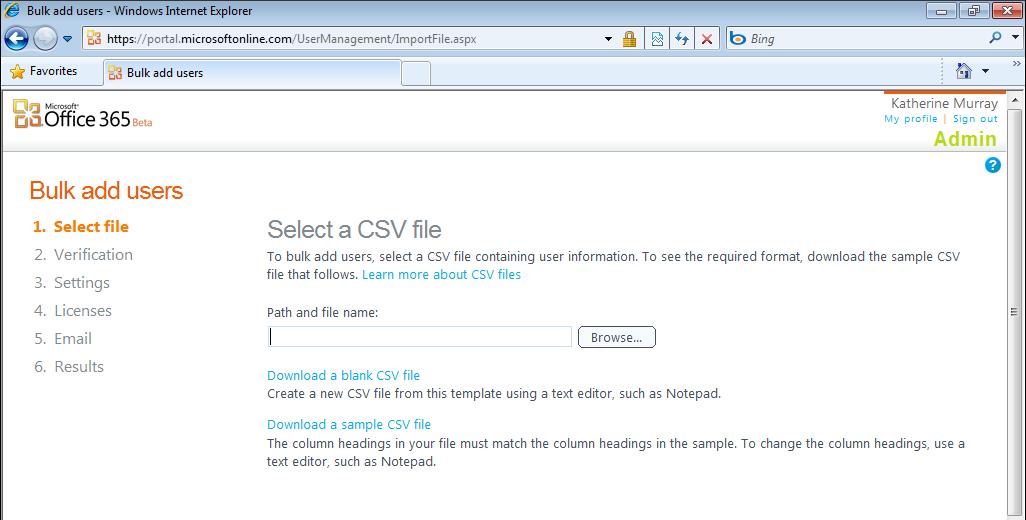
FIGURE 3-4 Add many users all at once by importing a CSV file.
After Office 365 uploads the file, the user names are verified to ensure that all information is ready to use. The verification screen shows you which information passed muster and which produced errors. You can view any errors produced by clicking the View link in the Log File category. If you need to make a change to the data file, click the Back button at the bottom of the screen and then return to the data file, make any corrections, and upload the CSV file once again.
CREATE AND UPLOAD A CSV FILE
If you have user information you’d like to enter for everybody at once, you can download the sample CSV file Office 365 makes available for you, fill in your own data, and upload the file as described in the previous section. Alternatively, you can download a blank CSV file, add your own contact information, and upload the file to Office 365. Here’s the process for creating your own CSV file for your team: 1. In Admin Overview, click Users. 2. Click New, and choose Bulk Add Users. 3. Click Download A Blank CSV File. 4. Click Open. This opens an Excel worksheet so that you can copy and paste or type your team information into the file. (See Figure 3-5.) Be sure to include the user’s full email address in the User Name field.
5. Save the file to your Documents library (or another folder where you store team-related files). 6. Return to the Bulk Add Users screen, click Browse, navigate to the CSV file you just created, and add the file normally. 7. Click Next. Office 365 verifies the addition of the new users to make sure the information has been entered correctly.
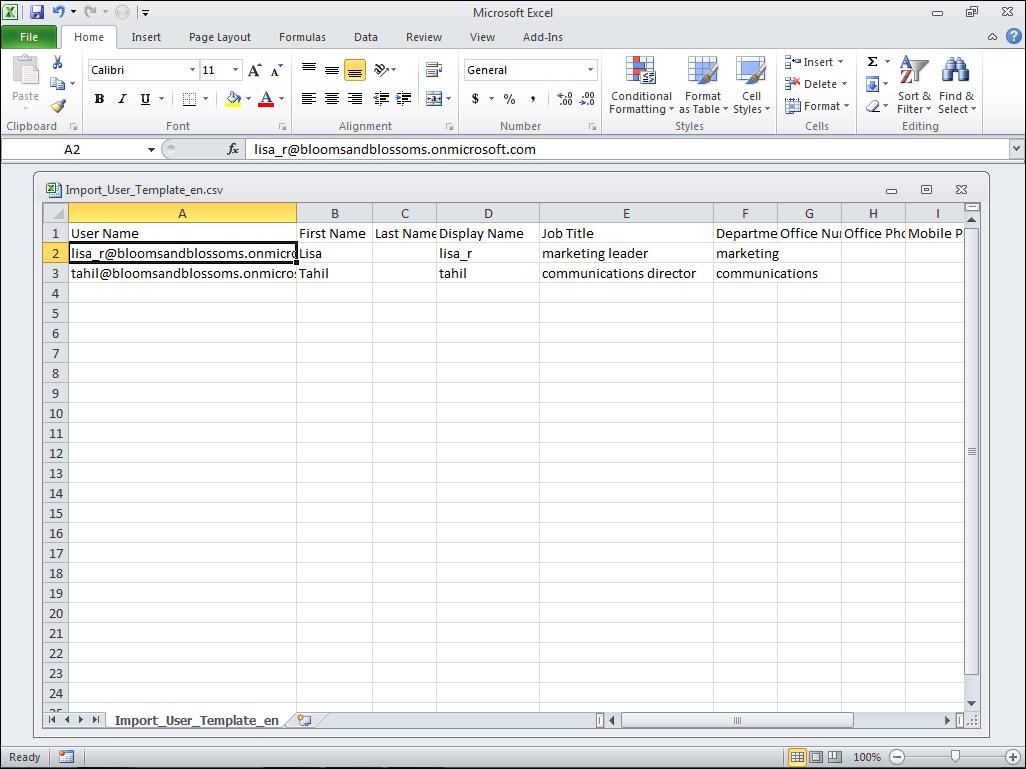
FIGURE 3-5 When you click Open, Office 365 displays an Excel file with fields already set up to record user information.
The next step in the process depends on whether you are adding a single new user or are bulk adding new users. If you are adding only a single new user, the Settings screen is where you assign permissions and a location to the user. For the Permissions option, you can choose whether the user is to be an Office 365 administrator or not. To set the user location for an individual user, click the Select A Location arrow and choose the user’s country from the displayed list. Office 365 is available in a number of countries around
the world, but not all countries have access to the same services. Select the user’s country for the displayed list, and click Next. If you are bulk-adding new users, however, the Permissions option is replaced with a Set Sign-in Status option, where you choose to allow or block access to Office 365 services by the user. If you bulk-add new user accounts before employees are ready to use these accounts, you can choose Deny to keep the accounts inactive. Then when an employee is ready to use an account, you can change the sign-in status from Blocked to Allowed. In addition to configuring sign-in status, you must also specify a location when bulk-adding users.
Assigning Licenses
The next step involved in getting your users set up to use Office 365 involves assigning them the licenses they need to use the services in the site. Depending on the version of Office 365 you are using, you might have two different sets of licenses available, as Figure 3-6 shows.

FIGURE 3-6 Click the license you want to assign to the new users you are adding.
Select the check box of the services you want the new user to be able to access. Office 365 shows on the right side of the screen the number of licenses you can assign to your various team members. When you are satisfied with your selections, click Next.
Tip If you find that as your group grows you’re worrying about the number of licenses you have available, you can remove user accounts that are no longer needed to reclaim their licenses so that they can be assigned to other new users.
Sending an Invitation Email
Next Office 365 will walk you through the process of sending an email message to the new team member that includes an autogenerated password. By default, Office 365 enters the email address of the administrator who is creating the account. For security purposes, this email should generally be sent to an administrator and not to the new user account that is being created. The admin should then communicate the temporary password to the new user. This is especially true when creating bulk users because you don’t want each new user to know the temporary password of every other new user being created. Click Create. Office 365 generates and sends the message, and then displays a report so that you can see that the message is on its way to the new user. (See Figure 3-7.) Click Finish to close the Results window and return to the Users window.
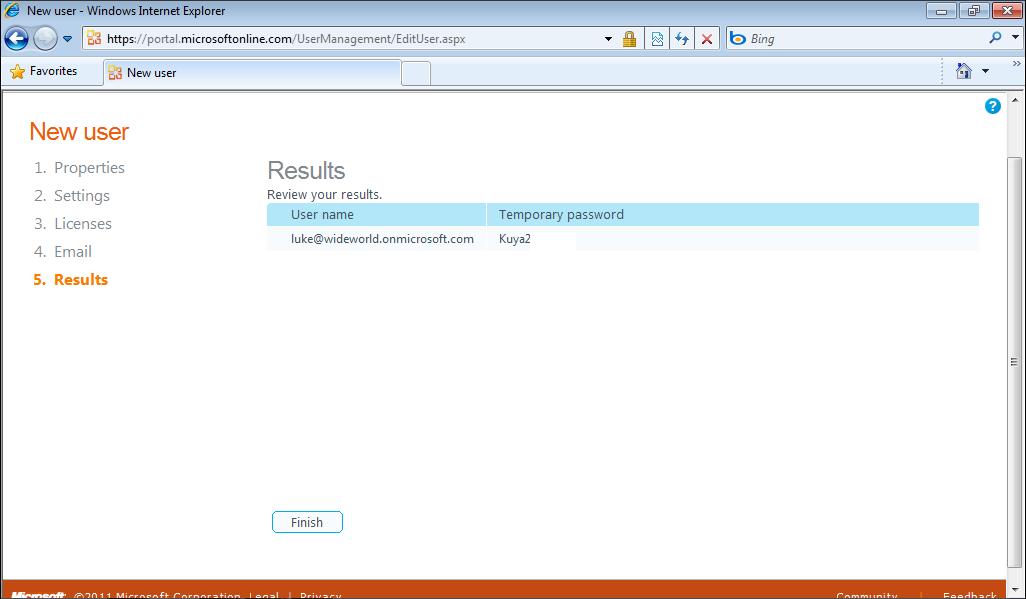
FIGURE 3-7 Office 365 lets you know that the email has been sent successfully.


