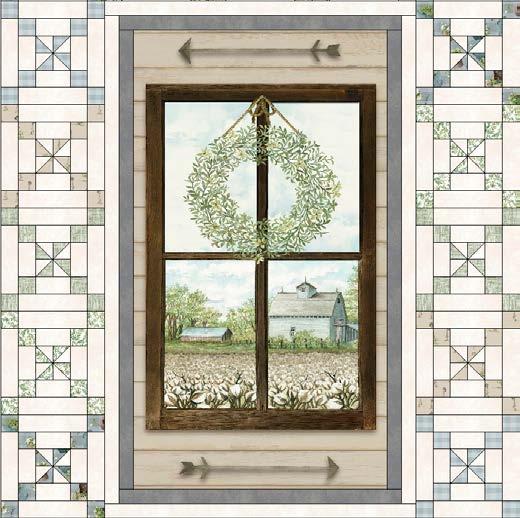
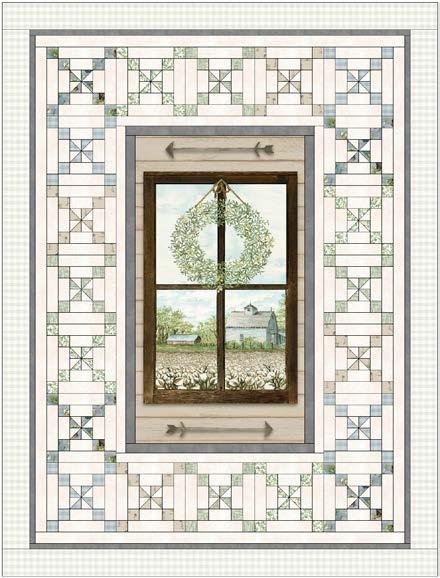
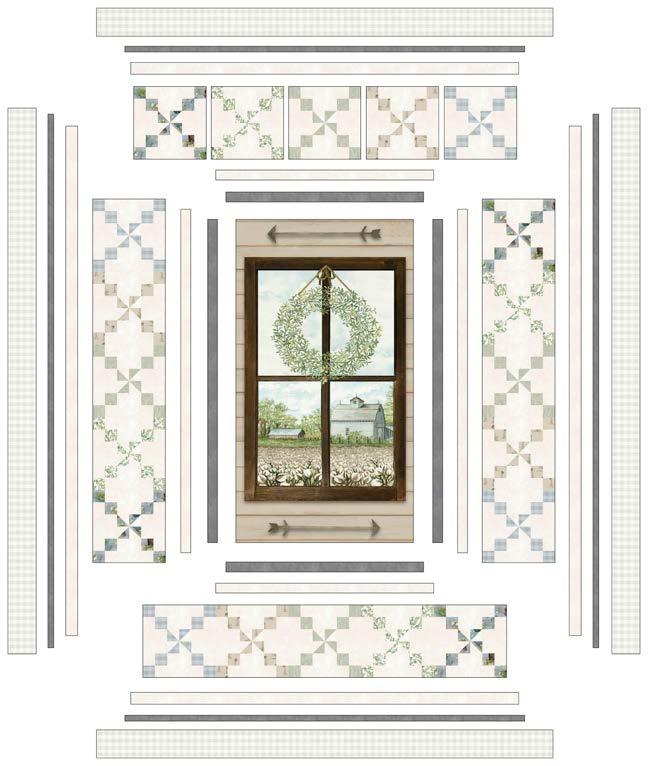
Approximate size: 56 1/2 " x 74 1/2 "


Fabric collection by Cindy Jacobs A Day On The Farm Quilt designed by Wendy Sheppard
Finished size approximately: 56 1/2" x 74 1/2"
Yardage:
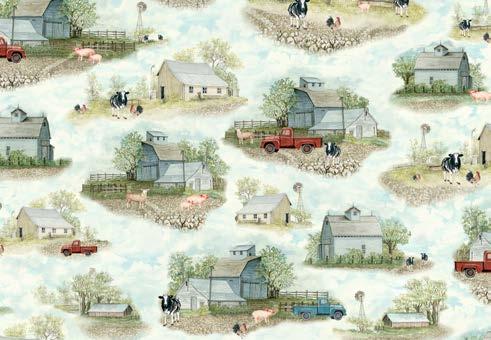
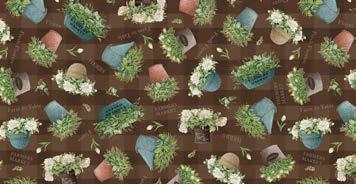
Fabric A FVIE 5570 PA 1 panel
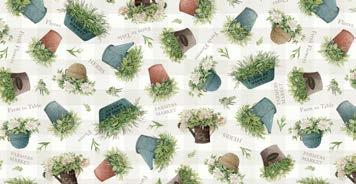
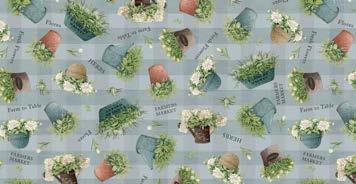
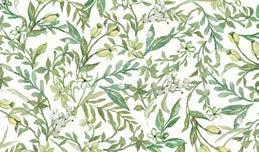
Fabric B SUE7 303 EW ........................... 2 yards
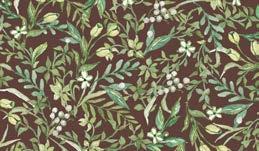
Fabric C SUE7 303 S 1 yard
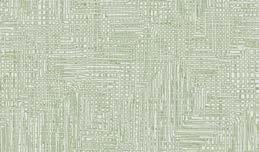
Fabric D GRAS 5233 LG 1/4 yard
Fabric E FVIE 5572 SB ........................... 1/4 yard
Fabric F FVIE 5573 NE 1/4 yard
Fabric G FVIE 5574 W 1/4 yard
Fabric H FVIE 5575 EW .......................... 7/8 yard
Fabric I FVIE 5575 SB 1/4 yard
Backing 3 5/8 yards
Batting ................................................ 64" x 82"
Cutting Instructions:
Please read all instructions carefully before beginning. Strips are cut across the width of fabric WOF (perpendicular to selvedges) unless otherwise stated. All seams are sewn with 1/4" seam unless otherwise stated. Label all pieces.
Fabric A:
• Quilt center: Cut (1) 22 1/2" x 40 1/2" rectangle, centering design.
Fabric B:
• Inner border #2: Cut (4) 1 3/4" x WOF strips. Subcut (2) 1 3/4" x 27 1/2" strips from (2) WOF strips. Piece leftover with remaining (2) WOF strips and subcut (2) 1 3/4" x 43" strips.
Inner border #3:
• Cut (3) 2 1/2" x WOF strips. Subcut (40) 2 1/2" x 2 1/2" squares.
• Cut (4) 3 1/2" x WOF strips. Subcut (80) 2" x 3 1/2" rectangles.
• Cut (4) 6 1/2" x WOF strips. Subcut (80) 2" x 6 1/2" rectangles.
• Inner border #4: Cut (6) 2" x WOF strips. Piece strips and subcut (2) 2" x 48 1/2" and (2) 2" x 63 1/2" strips.
Fabric C:
• Inner border #1: Cut (4) 1 3/4" x WOF strips. Subcut (2) 1 3/4" x 25" and (2) 1 3/4" x 40 1/2" strips.
• Inner border #5: Cut (6) 1 1/4" x WOF strips. Piece strips and subcut (2) 1 1/4" x 50" and (2) 1 1/4" x 66 1/2" strips.
• Binding: Cut (8) 2 1/4" x WOF strips. Piece to make a binding strip.
Fabric D, E, F, G, I:
Inner border #3:
• Cut (2) 2" x WOF strips. Subcut (32) 2" x 2" squares.
• Cut (1) 2 1/2" x WOF strip. Subcut (8) 2 1/2" x 2 1/2" squares.
Fabric H:
• Outer border: Cut (7) 4" x WOF strips. Piece strips and subcut (2) 4" x 57" and (2) 4" x 68" strips.
Piecing Instructions:
1. Draw a diagonal line on the wrong side of (1) 2 1/2" x 2 1/2" Fabric B square. Place square, right sides together, on (1) 2 1/2" x 2 1/2" Print square. Sew 1/4" away from both sides of drawn line. Cut along drawn line to yield (2) HST units. Open and press. Align diagonal seam of HST units against 45-degree line on quilting ruler. Trim units to measure 2" x 2" unfinished.

Diagram 1
Make a total of (4) units, and sew them together to make a pinwheel unit.

3 1/2" unfinished Diagram 2
2. Sew (2) 2" x 3 1/2" Fabric B rectangles to the opposite sides of Step 1 unit to make a row unit.

Diagram 3
3. Sew (2) 2" x 2" Print squares to the opposite sides of (1) 2" x 3 1/2" Fabric B rectangle to make a row unit. Make a total of (2) row units. Sew units to the top and bottom of Step 2 unit.

6 1/2" unfinished
Diagram 4
4. Sew (2) 2" x 6 1/2" Fabric B rectangles to the opposite sides of Step 3 unit to make a row unit.

Diagram 5
5. Sew (2) 2" x 2" Print squares to the opposite sides of (1) 2" x 6 1/2" Fabric B rectangle to make a row unit. Make a total of (2) row units. Sew units to the top and bottom of Step 4 unit to complete (1) pieced block. Block measures 9 1/2" x 9 1/2" unfinished.

Diagram 6
6. Make a total of (4) blocks for the following prints:


Diagram 7