HOME ENERGY T OOL KIT

This book belongs to:
A CTIVITY BOOK
Con ten ts I nside the To ol Kit 4 Health and Comfor t 5 House as a System 6 Day O ne: M echanical System 8 Day Two: Windows and D oors 12 Day Three: I nsulation 18 Day Four: Humidit y 24 Day Five: Air Q ualit y 28 Day Six: Wate r 32 Day S even: Appliances and Elec tronics 36 Day Eight: Lighting 42 Need Help? If at any point you require help while using the Home Energy Tool Kit, please contac t the County of Wellington: emans@wellington.ca 519.832.2600 x2068
Let’s Get Started
Thank you for borrowing the Home Energy Tool Kit. I t provides tools, tests, and information to help you better understand your household energy use. The Home Energy Tool K it, together with this ac tivit y book , will also help you identify ways to save energy and money, reduce your carbon footprint, and have a healthier, more comfor table home. By tak ing simple, affordable steps to understanding energy use and greening your home, you’re helping to reduce the Count y of Wellington’s impac t on the environment.
This ac tivity book is not a cer tified home energy evaluation. The Home Energy Tool Kit is for personal use and the results are for personal understanding only. While it may lead you to take fur ther ac tion by having a cer tified home energy evaluation, the intention of this work book is to learn more about your home’s energy use and discover oppor tunities to conser ve energy.

Home Energy Tool Kit | 3
TAKE NO TE
Inside the Tool Kit
The Home Energy Tool K it is full of tools to help you understand your household energy use and identify ways to save energy, money, and to have a more comfor table and healthy home.
Infrared Thermometer


A temperature sensing device providing quick , contac tless sur face temperature readings.

Stopwatch
Used to keep track and measure time when per forming cer tain tasks.
Energy Metre

Measures the energy demand of a small elec trical appliance.

LED Lightbulb

LEDs use at least 75% less energy than incandescent lighting, and last up to 25 years based on average household use.
Light Metre
Measures the intensity of light.
Appliance Thermometer

Used to measure temperatures in your fridge or freezer.
Air Quality Detec tor
Measures the concentration of cer tain gases as well as temperature and humidity in your home.
Other items you may need:
Bucket
Flashlight
Measuring cup
Dust mask
Gloves
Measuring tape/ruler
CAUTION: Please consult the accompanying User Manual before using any of these tools. Use caution when the Infrared Thermometer laser pointer is on. Do not point the beam toward anyone’s eye or allow the beam to strike the eye from a reflec tive sur face. Do not connec t an appliance with a load over 360W into the Energy Metre.
4 | County of Wellington
Health and Com fort
An energy efficient home can lead to a more comfor table, durable, and healthy home.
Inefficiencies in your home can show up in a lot of different ways. Let ’s begin by reflec ting on how you feel in your home day to day. Check all the boxes below that apply to you. Keep these answers in mind as you work through the ac tivities.

Do you notice:
Some rooms are ver y cold, while others are toasty warm.
Your basement is cold and uncomfor table.
You smell mould or mildew as you walk in cer tain rooms.
Your sk in and throat are dr y in the winter.
Your clothes are statick y.
In the summer, your towels take a long time to air dr y.
Cook ing smells take a long time to go away.
You tend to cover up smells with air fresheners and scented candles.
You have scale build up on your faucets and appliances.

Your hot water smells like sulfur or rotten eggs.
Your hot water is too hot to touch or not hot enough.
There isn’t enough hot water for a shower.
Your refrigerator sometimes freezes your vegetables.
You regularly need to turn lights on during the day.
Home Energy Tool Kit | 5
PERSONAL HOME REFLE CTION
nergy Detective
House as a System
Your house operates as a multi- component system – sometimes energy retrofits to one component of your home can affec t other components of your home in unintended ways. You may choose to decrease draf ts and reduce moisture damage by sealing cracks or installing new windows in your home. However, reducing air leak age could increase humidity if water vapor can’t escape though proper vents. This can result in more condensation, mould growth, and moisture damage. Having the tools and k nowledge to understand your house as a system will help guide your home energy retrofit process.
Do you know where your energy goes?
We use energy in our homes to moderate its temperature, warm our water, and run appliances and lighting. In Ontario, most of the energy we use in our homes goes to keeping us warm in the winter.
Space heating
Water heating Appliances
Lighting
Space cooling
Source: NRCan O ffice of Energy Efficienc y Comprehensive Energy Use Database. Tables Residential Sec tor, Ontario 2019

6 | County of Wellington

Mechanical System
Your home’s mechanical equipment works to provide a healthy and comfor table environment for you and your family.
Mechanical systems include all equipment used for heating, cooling, ventilation, and water heating. These systems add or remove heat, moisture and air from your home as needed. Most mechanical systems have a lifespan of 15-20 years, with newer models being more energy efficient, and can more effec tively maintain temperature and humidity in your home.


Activity #1: System Inventory
Time: 10 - 15 minutes
Equipment: None
Goal: To create an inventor y of your mechanical system and see how energy efficient your equipment is.

Instruc tions:
1. Locate the tags, labels, or user manuals for your equipment listed in the inventor y table.
2. Check off the source of energy and age of each piece of equipment in the table provided.
D AY ONE
1
Type of Equipment Type of Energy
Duc tless mini-spilt
Central heat pump
Hybrid heating
HEATING
Forced air furnace
Baseboard heaters
Boiler/radiators
R adiant heating
Fans
Window air conditioner
COOLING
Central air conditioner/Heat pump
Duc tless mini-split
R adiant cooling
Exhaust fans and direc t vent (bathroom, k itchen, furnace, hot water)
VENTIL ATION
Supply system-air intake
Heat Recover y Ventilator (HR V )
Energy Recover y Ventilator (ER V )
Storage tank water heater
Solar water heater
WATER
HEATING
Heat pump water heater
Tank less
Condensing
Salt-based
WATER
SOFTENER
Salt-free
Dual-tank
Reverse osmosis
of Equipment
Home Energy Tool Kit | 9
Age
Natural Gas Propane Elec tric Oil O ther (specify) 0-10 years 10-15 years 15+ years
Let ’s take a look at your results.
Do you use gas for your furnace or water heater? Consider switching to elec tric. With increasing natural gas prices, elec tric equipment is cleaner for the environment, more efficient, and becoming more cost effec tive.
Mechanical System Tips:
Inspec t your heating and cooling equipment annually, or as recommended by the manufac turer.
Is your unit more than 15 years old?
Consider replacing it with a newer, energyefficient one.
If you have a forced-air furnace, set a reminder to check your filters monthly, and replace or clean as needed.
If you have a manual thermostat, consider getting a Smar t or Programmable thermostat. You can programme it to turn your furnace or air conditioner up or down as needed.

Electricity in Ontario comes from clean sources and produces less emissions. I t is the safest and cleanest source of energy.
Natural gas and propane produce the same amount of emissions.
Oil produces three times the emissions as natural gas and propane and almost one hundred times that of elec tricity.
10 | County of Wellington
ENER GY T Y PES D AY ONE Mechanical System 1


Home Energy Tool Kit | 11
TES:
NO
2
Windo w s and Doors
Properly installed, high per formance windows and doors can prevent draf ts in the winter and stop cooler air from escaping in the summer.

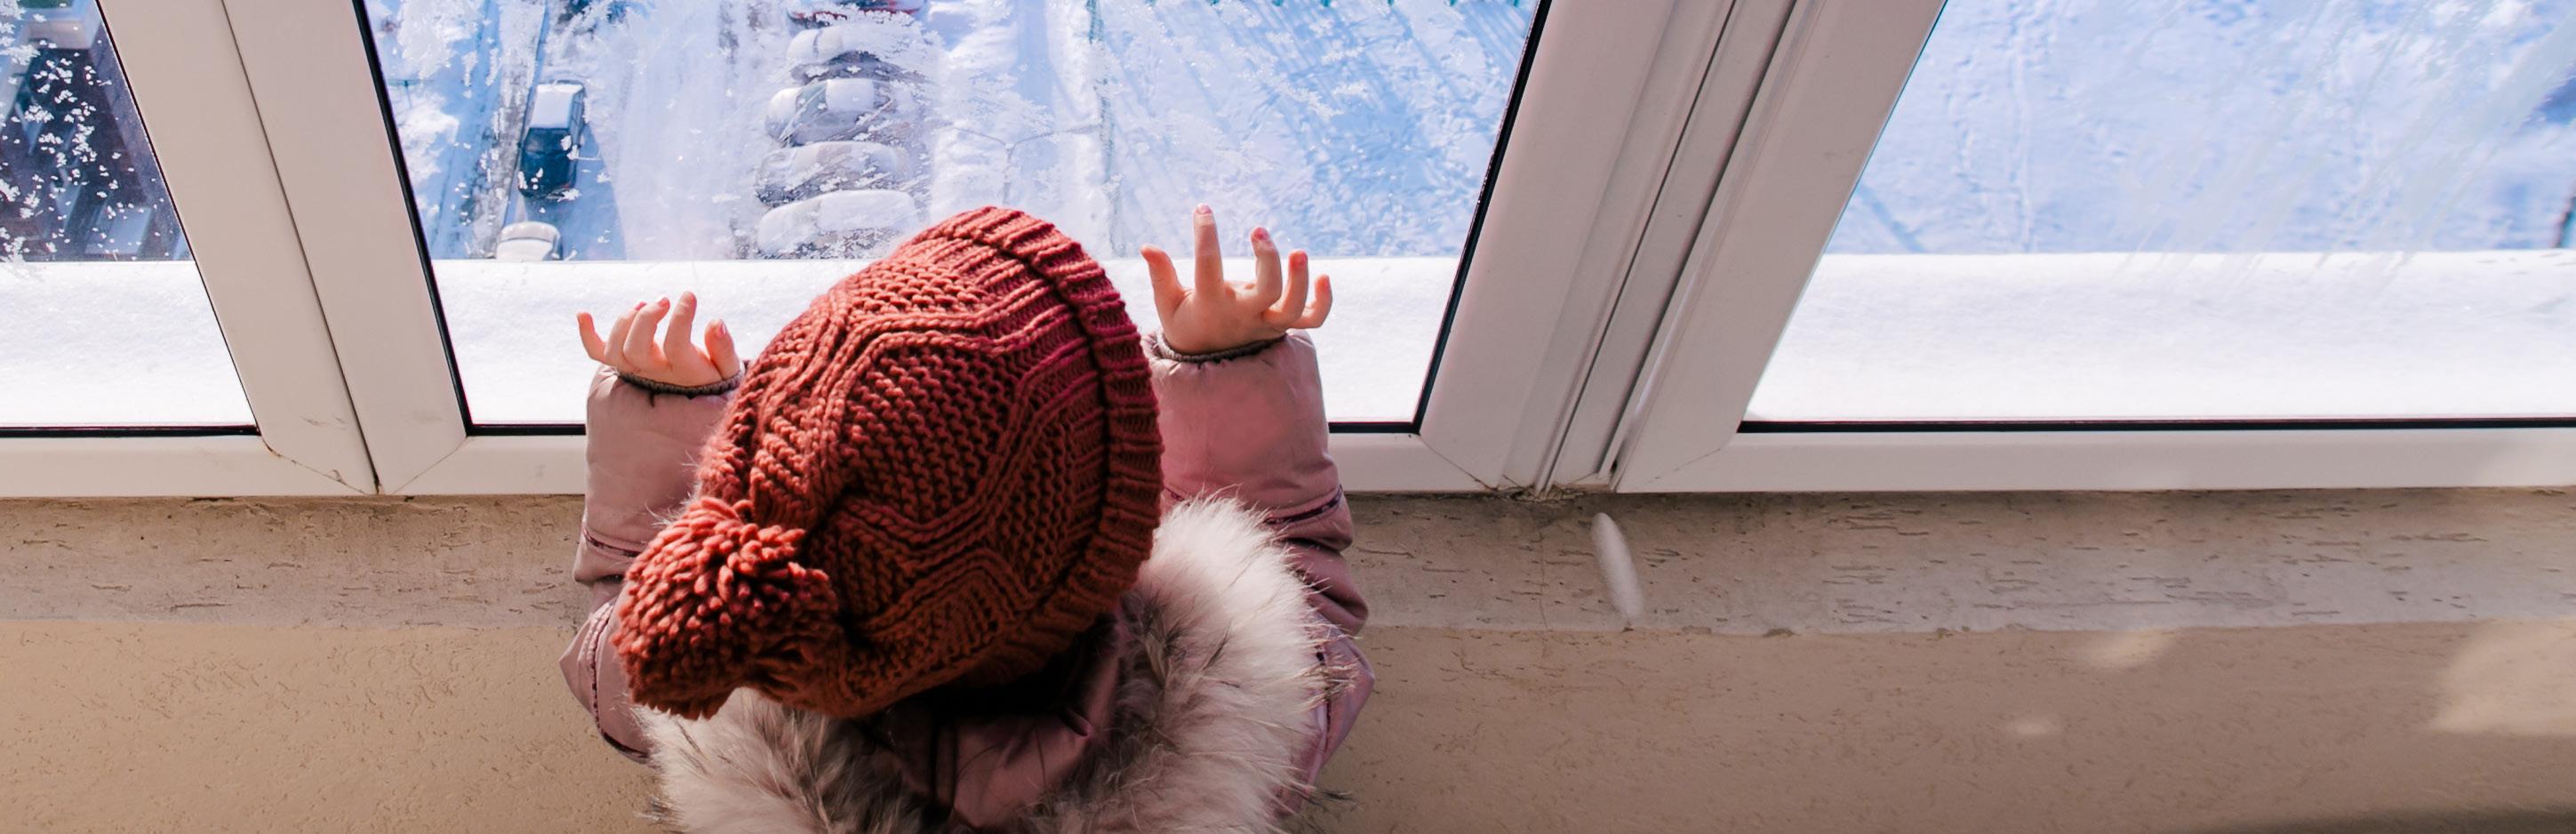
Windows and doors are par t of your home’s building envelope. A simple definition of a building envelope is the separation of the interior and ex terior of a building. The envelope ser ves to protec t the interior while facilitating climate control. A building envelope encompasses the entire ex terior building system of your home, including ex ternal walls, windows and doors, attic, celling, as well as the foundation and basement.
Activity #1: Windows
Time: 30-40 minutes
Equipment: Infrared thermometer
Goal: Compare window temperature to the temperature of the room to find leaks or inefficiencies.
Instruc tions:
1. Stand two metres or closer from target. Point the infrared thermometer laser at target to read its temperature.
2. First take a reading of the middle of the windows glass, then the floor or an objec t in the middle of the room.
3. Record temperatures in the table.
4. Indicate how many layers of glass are in your windows.
5. Record any obser vations about the condition of the windows in the notes column.
Use caution when the Laser pointer is on. Do not point the beam toward anyone’s eye or allow the beam to strike the eye from a reflec tive sur face.
12 | County of Wellington
D AY T W O
Home Energy Tool Kit | 13 Room Window Direc tion (nor th, south, east, west) Window Panes Temperature Temperature difference between window and room Notes Single Double Triple At Window M iddle of Room 1-2°C 3-5°C 5°C+ Example: Living Room Bay south ✓ 19° 21° ✓ Condensation in corners
Activity #2: External Doors
Time: 15-20 minutes
Equipment: Infrared thermometer
Goal: Compare the inside and outside temperature of your ex ternal doors to the temperature of the room to find leaks or inefficiencies.
Instruc tions:
1. Stand two metres or closer from target. Point the infrared thermometer laser at target to read its temperature.
2. Record the temperature in the center of the door from the inside, then the outside of the door, then the floor or an objec t in the middle of the room.
3. Record obser vations about the condition of the doors as you go.
14 | County of Wellington
Ex ternal Door Location Direc tion of Door (nor th, south, east, west) Door Glass Panes (if any) Temperature Temperature difference between inside door and room ENERGY STAR® cer tified Single Double Triple M iddle of Room DoorInside DoorOutside 1-2°C 3-5°C 5°C+ Example: Front Door South ✓ 21.5° 17° 5° ✓ ✓ D AY T W O Windows and Doors 2
Let ’s take a look at your results.
Do you notice more than 5 degrees temperature difference between the window and middle of the room? Your window may need insulating or replacing.

How many panes of glass do each of your windows and doors have? The fewer panes of glass, the less protec tion from the heat or cold causing condensation or ice buildup between panes or on the interior of your windows.

Do you have ENERGY STAR® cer tified windows?
Energy Star cer tified windows are 20% more energy efficient than standard windows and doors.
Do you notice mould or torn/brittle rubber around your window or door trim? They may need replacing.
Home Energy Tool Kit | 15
Window s and Doors Tips:
Use cur tains to your advantage:
Use heav y fabrics or layer cur tains over windows to help keep out draf ts in the Winter.
Inexpensive ways to
insulate:
Draf tproof or weatherstrip around window frames to prevent air loss.
Basic maintenance:
Clean and polish window and door rails for smoother operation and to reduce wear.
On hot summer days, keep window coverings closed to reduce the need for air conditioning.
On sunny winter days, open window coverings to let the sun warm up your space. Once the sun sets, close them to retain heat.
Seal your windows with inexpensive plastic film.
Clean windows regularly to allow for more heat from the sun into your home.
Place fabric tubes or “draf t snakes” under a windowsill or door to prevent cold air from sneak ing in.
Ensure all hinges and latches are work ing properly.
16 | County of Wellington D AY T W O Windows and Doors 2

Home Energy Tool Kit | 17
TES:
NO
Insula tion
I nsulation limits the heat transfer bet ween inside and outside, which makes it key to increasing comfor t in any home. I nsulation ac ts like a coz y blanket in the winter keeping the warm air inside.
With proper ventilation and insulation, you can save money on energy bills and keep your home comfor table regardless of the weather. Your home has three main areas that need to be insulated: attic/roof, ex ternal walls including windows and doors, and basement.
SELF
Do you have signs of poor insulation?
High heating and cooling bills
Poor heat distribution
While insulation is key, air sealing, is equally so. Here are some suggested areas to check for air leaks and consider sealing around your home:

• door and window frames
• around dr yer and furnace vents
• around outdoor faucet
• the attic hatch
• around your plumbing stack vent
• recessed lights
Where ex terior walls meet the foundation can also be a significant source of air leaks. Use butyl rubber caulk ing or an acoustical sealant to fill the gaps and caulk around the joists.
Cold interior walls and floor
A roof that thaws quick ly and the formation of icicles
Snow melting around the ex terior walls of the house.
High humidity and mould
Animal and insec t infestations
Interior pipes that freeze in the winter
D AY THREE
3
CHECK
18 | County of Wellington
Insulation Basics: First let ’s take a closer look at some common types of insulation.


Insulation Type
Description
Application
Loose -fill Cellulose
Made from wastepaper shredded into small, fibrous par ticles. Great to fill in enclosed walls, attics, and under floors. These loose insulation types can easily conform around obstruc tions such as wires and duc ts.
Spray Foam
Fiberglass Batts
Stone Wool Batting
Sprayed in place, this foam is made from an iner t polymer.
A pre - cut piece of insulation that is made of ex tremely fine fibres of glass.
Molten rock or steel slag is melted, processed, and then spun into wool.
Insulation Batts are designed to fit easily between unfinished wall studs and rafters and can be used in walls, floors, ceilings, attics, and crawl spaces.
R-VAL UE As you explore insulation options, you’ll want to keep an eye on the R-value which tells you how effec tive the insulation is. R-value is measured by thick ness and how effec tively it reduces heat transfer. The higher the R-value, the less the heat loss (and better energy savings too).
Home Energy Tool Kit | 19
Activity #1: Attic or Ceiling Insulation
Time: 10 - 15 minutes
Equipment: Infrared thermometer, dust mask , long sleeve and pants, gloves, measuring tape/ruler
Use caution when the Laser pointer is on. Do not point the beam toward anyone’s eye or allow the beam to strike the eye from a reflec tive sur face.
Goal: Compare the ceiling temperature to the room temperature to ensure you have proper insulation.

Instruc tions:
1. If you cannot access the attic, sk ip to STEP 3. Cover exposed sk in to protec t against insulation. Wear a dust mask to reduce exposure to allergens and other debris.
2. Using the ruler, measure the thick ness of insulation in your attic or ceiling and record it in the table.
3. Using the infrared thermometer, take a reading of the attic ceiling or roof then the floor or an objec t in the middle of the room. Stand two metres or closer from target.
4. Record temperatures in the table.
5. Record any obser vations in the notes column below.
20 | County of Wellington D AY THREE Insula tion 3
Activity #2: External Wall and Basement Insulation
Instruc tions:
Time: 20 - 30 minutes
Equipment: Infrared thermometer
Goal: Compare the inside temperature of your ex ternal walls (walls that face the outdoors, including basement) to the room temperature to ensure you have proper insulation.
1. Using the infrared thermometer, measure the temperature of the ex ternal and basement walls, then the floor or an objec t in the middle of the room. Point the laser at target standing two metres or closer.
2. Record the temperatures in the table.
3. If you k now the thick ness of the wall insulation record it in the table below.
4. Record any obser vation in the notes column.
(Include which floor and room)
Home Energy Tool Kit | 21
Wall
Insulation Temperature Temperature Difference Notes Number of Inches Wall Room < 5°C > 5°C Example: Rec Room, basement 3.5 “ 16° 19° ✓
Let ’s take a look at your results.
Do you notice more than 5 degrees difference between the ex ternal walls or ceilings and the middle of the room? You likely need more or better quality insulation.

How thick is your insulation? See char t below for suggested insulation thick nesses by type:
Insula tion Tips:

22 | County of Wellington
D AY THREE Insula tion 3
Insulation Thickness: Loose -fill Cellulose Spray Foam Fiberglass Batts Stone Wool Batting Roof 15 inches 12 inches 19 inches 13 inches Ex ternal wall above ground 7 inches 7 inches 9 inches 6 inches Basement walls 6 inches 6 inches 8 inches 5 inches
Suggested

NO TES:
Activity #1: Temperature and Humidity
4
Humidity
Feeling healthy and comfor table in your home can be dependent on your home’s humidit y levels. Temperature and humidity outside of the ideal range can cause health concerns and reduce the durability of your home.
• High humidity is k nown to cause rust and mould but can also trigger health issue like head colds and asthma flare -ups.
• Low humidity may cause your home to feel dr y and could aggravate allergies and create static elec tricity.
Time: 45-60 minutes
Equipment: Air quality detec tor, flashlight
Goal: To ensure your home’s humidity levels and temperature are adequate.

Instruc tions:
1. Using the air quality detec tor, measure the temperature and humidity in each room. The detec tor should be placed in each room for a minimum of 15 minutes.
2. Smell for mould: Is there a damp, musty odour (that might smell like old books) coming from your floors or walls?
3. Look for mould: Using your flashlight, check the corners of your walls, windowsills, baseboards, mechanical room, and attic for signs of mould.
4. Record the findings in the table.
24 | County of Wellington
D AY F OUR
Living Room
Dining Room
Bedroom 1
Bedroom 2
Bedroom 3
Recreation Room BEFORE Cooking AFTER Cooking BEFORE Cooking AFTER Cooking
Kitchen BEFORE Shower AFTER Shower BEFORE Shower AFTER Shower
Bathroom 1
Bathroom 2
IN USE NOT IN USE IN USE NOT IN USE
Does it smell musty?
Can you see signs of mould?
Laundr y Room
Home Energy Tool Kit | 25 Room Temperature (°C ) Humidity Level (RH)
Signs of Mould
Example 21°C 37% RH I see bubbling paint in corner
Let’s take a look at your results.
How are the temperature and humidity levels in your home? The ideal temperature for living areas and bedrooms is 18°C or 20-21°C for households with babies and elders. The ideal humidity level is between 40% to 60% (RH).

Do you fall outside the recommended humidity range? Typically, air conditioners will remove humidity in the summer and furnaces will dr y the air in the winter, but you may need a separate humidifier unit in the winter or dehumidifier in the summer.

26 | County of Wellington
D AY F OUR Humidity 4
Tips f or Managing Humidity:


NO TES:

Home Energy Tool Kit | 27
Air Quality
We spend an average of 90% of our time indoors, and our homes may contain indoor air pollutants that could be hazardous to our family ’s health.


Indoor air pollutants range from minor irritants such as dust and animal dander, to major irritants such as mould and chemical vapours from building materials and furnishings. These pollutants can increase with inadequate ventilation, high temperature and humidity levels. As a result, asthma, allergies, and other respirator y illnesses can be caused by hazardous substances in the air.
These are the three most common indoor gases:
HCHO (or Formaldehyde) comes from fuel-burning appliances, furniture, some paints, and cigarette smoke.
Total Volatile Organic Compounds (or T VOCs) are dangerous gases found or produced by cook ing fumes, paints, smoke, glues, and similar items.
Pm2.5 are tiny par ticles produced mainly by fac tories, cars, and chemical reac tions in our atmosphere.
D AY FIVE
5
28 | County of Wellington
Activity #1: Indoor Air Quality
Time: 45-60 minutes
Equipment: Air quality detec tor
Goal: To ensure your air quality is within a safe range.
Instruc tions:
1. Use the air quality detec tor to measure the levels of HCHO, Pm2.5 and T VOC in each room.
2. Turn detec tor on and place in the centre of each room (it may take a few minutes to ac tivate).
3. Leave the detec tor in each room for a minimum of 15 minutes.
4. Record your findings in the table below and compare results to the char ts on the following page.
Home Energy Tool Kit | 29 Room HCHO Pm2.5 T VOC Example: Living room 0.038 0 0.048
Let’s take a look at your results.
Does your home fall within the safe range of indoor gases?
Filtering the air can reduce some indoor air pollutants, but it is rarely effec tive on its own. Improving ventilation and reducing contaminants at the source should be top priority.

Air quality detec tor results:
serious
For more information visit: w w w.canada.ca/health- canada
Check out the tips on the nex t page for some things you can do to mitigate these gases in your home.
NO TES:
30 | County of Wellington
D AY FIVE Air Quality 5 HCHO (mg/m3) Less
50
T VOC (mg/m3) < 0.3
0.3 to 0.5
0.5 to 1
1 to 3 high Pm2.5 (µg/m3) <
35-115
115-150
>
than 49 mg/m3 low
to 59 mg/m3 normal exceeding 60 mg/m3 bad above 123 mg/m3
low
acceptable
marginal
35 excellent
good
normal
150 bad
Air Quality Tips:
Use your range hood to reduce your exposure to pollutants from your gas stove.
Make sure your furnace vent outside is unobstruc ted.
Make sure you open windows and doors while painting or varnishing.
Keep fresh air circulated in your home by opening windows (when seasonally appropriate).

Make sure your chimney is not blocked and is cleaned once a year. Avoid idling your car or any gas-powered equipment in the garage, even if the door is open.
Do not store gasoline and other chemicals in your attached garage. Use a shed instead.
Reduce the use of scented produc ts like candles, air fresheners, fabric sof tener, dr yer sheets, etc.
Prohibit smok ing indoors.
Home Energy Tool Kit | 31
Wa ter D AY SIX
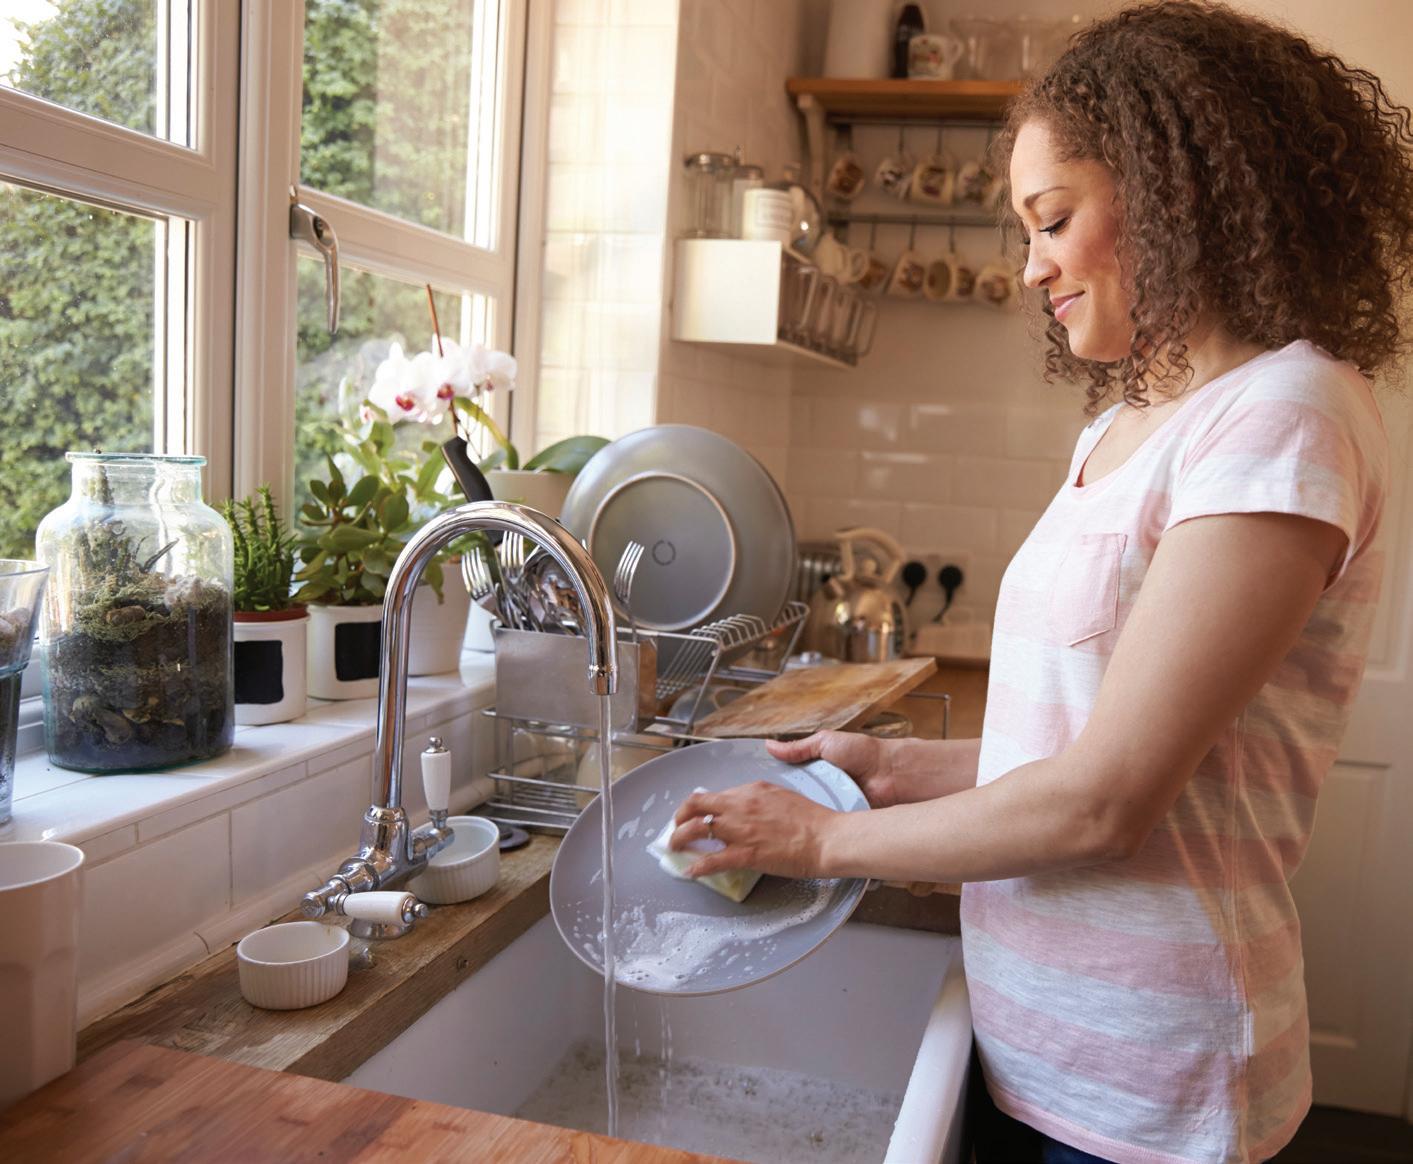
We pay for water in many ways. We pay for the quantit y consumed, we pay to heat it, and we pay for it environmentally by depleting our natural resources.
The average Canadian uses around 220 litres of water at home per day, mak ing Canada one of the world’s largest water consumers. Almost one third of Canada’s domestic water use goes toward bathing. By being mindful and educated on how you consume water, you can reduce the amount of water and energy you use and save money.
Activity #1: Water Consumption
Time: 10-15 minutes
Equipment: Stopwatch, bucket, measuring cup
Goal: To calculate the amount of water you are using in a day while showering, washing dishes, etc.
Instruc tions:
1. Turn on the tap to full capacity.
2. Star t the stopwatch as you put the bucket under the water. Collec t all the water coming out of the shower head or sink for ten seconds.

3. Measure the amount of water in litres using the measuring cup.
4. Multiply the number of litres by 6 to give you a flow rate per minute. Example: If you collec ted two litres in ten seconds, the flow rate is 2 litres x 6 = 12 litres per minute.
5. Time your showers/ac tivities and fill in the rest of the table based on your average family use.
6. Calculate your daily water use.
32 | County of Wellington
6
Home Energy Tool Kit | 33 Name of Family Member Number of Showers per day Shower Length (in minutes) Shower Flow Rate Daily Water Consumption (shower length x flow rate) Example: Welly 1 7 min 7L / min 7x7 = 49 L/day Ac tivity
Number of times per day Length (in minutes) Sink Flow Rate Daily Water Consumption (length of use x flow rate)
(i.e. washing dishes, brushing teeth)
Total water consumption (add totals) SHO WERS SINKS
Let ’s take a look
at your results.
Is your shower flow rate higher than 15 litres per minute?
According to Hydro One, an energy- efficient, low-flow showerhead reduces the water flow 40 and 60%. That can save you more than 28,000 litres of heated water in a year.
Is your tap flow rate higher than 6 litres per minute?
Consider installing an aerator, which screws onto your faucet head, delivering a stream of both water and air. If you already have one, ensure it ’s clean.
Tips to Consider:
Check that your water heater temperature is set hot enough to k ill bac teria, but not so hot that you could burn yourself. Ideally between 49°C and 54°C.
Wash clothes with cold water.
Be mindful of how long you run the shower by setting a timer each time.
Only run the dishwasher when full. A halfempty dishwasher load uses the same amount of energy and hot water as a fully loaded one.
Turn the temperature down. Tak ing your shower a couple degrees cooler can make a big difference on your energy bill.
Install an aerator and low-flow showerhead.
Turn off the tap while you are lathering with soap, shaving, brushing your teeth, or washing the dishes.
34 | County of Wellington
D AY SIX Ho t Wa ter 1
Did you k now that water heaters use around 17% of your whole home energy usage?


Home Energy Tool Kit | 35 NO TES:
Appliances and Electr onics
Household appliances and elec tronics make life easier, but the cost of operating them accounts for more than 12% of your elec tricit y bill.
Some appliances run constantly and mak ing small changes can help you save money. Energy- efficient appliances can save a household hundreds of dollars a year on utility bills.

Activity #1: Large Appliances
Time: 5 - 10 minutes
Equipment: None
Goal: To determine how much energy your large appliances use in your home.
Instruc tions:
1. Locate the EnerGuide labels on your major appliances such as fridge, stove, dishwasher, washer, dr yer, etc. and record the yearly consumption in the table on page 37.
D AY SEVEN
7
36 | County of Wellington
Can’t find an EnerGuide label?
Consult your appliances manufac turers manual or website.
WARNING:
DO NOT use the energy metre on large appliances with a load over 360W.

Source: Government of Canada, Appliances - EnerGuide
EnerGuide Explained
All new major appliances carr y an EnerGuide label to show the appliance’s energy consumption. I t tells you how many k ilowatt hours (kWh) of energy you can expec t the model to use each year.
1 This number is the expec ted annual energy consumption of the appliance in kWh. The lower the number, the higher the savings.
2 The energy consumption indicator shows you how this model compares to others in its class. The bar below the indicator gives the energy- efficienc y range for the class. The fur ther to the left, the better.
Home Energy Tool Kit | 37 Large Appliance Energy Consumption (kWh) Ideal Energy Consumption (kWh) Fridge 300 kWh per year Elec tric range 452 K Wh per year Washing machine 190 kWh per year Dr yer 800 kWh per year Freezer 660 kWh per year Dishwasher 266 K Wh per year
1 2
elly”“W the gynerE eectivtDe
Activity #2: Small Appliances and Electronics
Time: 10 - 20 minutes
Equipment: Energy metre
1. Plug the energy metre into a standard wall outlet.
2. Plug any device into the energy metre and turn it on.
3. Press the FUNC TION button until the screen reads 0.000 KWh.
5. Record the reading in the table below and compare with the ideal consumption.
Goal: To determine how much energy your small appliances and devices use in your home.
4. Leave the appliance plugged in for 3 minutes to get an accurate reading.
NOTE: If you are testing a heating appliance like kettle, hair dr yer, or iron wait until the appliance reaches the maximum heat.
WARNING: DO NOT use the energy metre on large appliances with a load over 360W.
For more information, tr y out the energy calculator at: w w w.efficienc yns.ca
38 | County of Wellington D AY SEVEN Appliances 7 Small Appliance Energy Consumption (kWh) Ideal Energy Consumption (kWh) Coffee maker 1.4 kWh Kettle 3 kWh Phone charger 0.007 K Wh Computer monitor 0.03 kWh Hair dr yer 3 kWh Iron 1.5 kWh Two slice toaster 1 kWh Air Fr yer 1.5 kWh
Activity #3: Fridge and Freezer
Time: 15-20 minutes
Equipment: Appliance thermometer
Goal: To ensure your fridge and freezer are operating at an ideal temperature.
Instruc tions:
1. Record the temperature that is set on your fridge’s internal dial – if it comes with one – in the table below.
2. Put the appliance thermometer in a visible spot inside the fridge for 15 minutes.
3. Af ter 15 minutes, record the temperature in the table.
4. Check the temperature in different places in the fridge (door, upper shelf, middle shelf, etc.)
5. Repeat steps 1 to 4 above for your freezer.
Fridge and Freezer Tips:
Check the seal. Is your fridge air tight? Check by closing a slip of paper in the door seal. If it falls out, the door should be adjusted, or the seal replaced.
Regular maintenance. Clean the condenser coil on your fridge regularly with a vacuum and gentle brush attachment. You may find the coil underneath or behind the fridge, possibly hidden behind an access panel.
Keep it cool. Place your fridge and freezer in a cool spot, away from direc t sunlight, the stove, and the dishwasher.
Give them space. Leave 5-7 cm between the wall and fridge for air to circulate.
Don’t crowd. An overcrowded fridge works harder, while freezers work best two -thirds full.

Home Energy Tool Kit | 39
Temperature Dial Recorded Temperature Ideal Temperature Fridge 3°C Freezer -18°C
Let ’s take a look at your results.
Does your fridge or freezer ’s recorded temperature match the temperature dial inside the unit? If not, consider having someone ser vice the appliance.

Does your recorded temperature meet the ideal temperature? If not, consider upgrading to a newer, energy efficient model.
Is your appliance at the end of its life? The average life c ycle of an appliance is between 11 to 13 years.
Tips to Consider:
Skip preheating the oven. Unless you are bak ing pies or cook ies, it ’s not necessar y to preheat the oven.
Unplug items when not in use.
Choose ‘sensor dr y’ on your dr yer instead of timed c ycles to avoid over- dr ying clothes and save energy.
Consider a Smar t Home Energy Management System. They help manage and optimize the energy usage in a home in real-time. They can do things like turn off devices when they ’re not in use, help conser ve energy, even track the weather and adjust your thermostat accordingly.
Use the air- dr y func tion on your dishwasher.
40 | County of Wellington
D AY SEVEN Appliances 7

Home Energy Tool Kit | 41 NO TES:
Ligh ting
Lighting is impor tant to both our mental and physical health; it can impac t our mood, abilit y to concentrate, and even our sleep. I mproving your home’s lighting is one way you can improve your home comfor t.
Energy used for lighting accounts for about 10% of your elec tric bill. Finding the best ways to utilize your home’s lighting systems and natural light will be better for your health and save you money.


AY EIGHT
D
8 42 | County of Wellington
Activity #1: Lighting
Time: 20-30 minutes
Equipment: Light metre
Goal: To ensure you have sufficient light based on the tasks/ac tivity per
Instruc tions:
1. Using the light metre, measure the lux (amount of light) in each room of your home.
2. Press the Lux/FC button.
3. Record your results in the table below and see how you compare.
Food preparation, prolonged reading or studying, workshop ac tivities, daily tasks
Home Energy Tool Kit | 43
Ac tivity My Lux Insufficient light Ideal Lux Too much light Enter taining and dining <100 100 - 220 >220 Casual reading, laundr y, general lighting, getting ready <220 220 - 550 >550 O ffice work <320 320 - 640 >640
<550 550 - 1,100 >1,100 Hobbies involving fine detail <1,100 1,100 - 2,200 >2,200
Activity #2: Light Bulbs
Instruc tions:
1. Plug the energy metre into your outlet.
Time: 15-20 minutes
Equipment: LED light bulb, energy metre
Goal: To compare the energy efficient LED light bulb’s consumption to your home’s bulbs.
NOTE: Don’t forget to return the LED bulb to the Energy Kit when you are finished.
2. Plug a lamp into the energy metre and turn it on.
3. Record the energy consumption in the table.
4. Turn the lamp off and replace your light bulb with the LED bulb in the energy k it. (Careful, incandescent bulbs can heat up quick ly!)
5. Turn the lamp on again and record the energy consumption.
6. Repeat these steps with different types of light bulbs in your home to see which one uses the least amount of energy.
Example:
Lamp/Bulb
Bulb Type (e.g. LED, fluorescent, incandescent, compac t fluorescent, halogen)
lamp Halogen (300 W )
hour
44 | County of Wellington
Home Bulb Consumption (K Wh) LED Consumption (K Wh)
D AY EIGHT Ligh ting 8
Living room
0.3 kWh per
Let ’s take a look at your results.
Do you have insufficient lux in cer tain rooms? Adjust the warmth, wattage or number of lights in your home based on your results.
Do your home’s current light bulbs consume a lot of energy?
Consider replacing them with LEDs (Light-Emitting Diodes). An energy- efficient 12-watt LED bulb uses 75-80% less energy than a 60-watt traditional bulb, but provides the same level of light.
Although the upfront cost can be higher than incandescent bulbs, LEDs are more economical for your energy consumption and can last up at 25 years.
Consider Colour Temperature
The colour of your lighting can change the mood and feel of your home depending on the application. Most LED light bulbs are offered in a variety of colour temperatures measured in units of Kelvin (K ).
Warm Light (2200-2700K )
Best for areas with low-light such as bedrooms and living rooms – similar to an incandescent bulb.

Sof t White (3000-3500K )
Light that ’s crisper, similar to halogen lamps.
Bright White (4000-4500K )
Ideal in k itchens, offices, workspaces, and vanities where detail- oriented tasks are per formed.
Cool White (5000K and up)
Mostly used in commercial and hospital settings.
Home Energy Tool Kit | 45
1000 2000 3000 4000 5000 6000 7000 8000 9000 10 000
Tips to Consider:
Dust and clean bulbs regularly.
Use LED light bulbs.
Use task lighting instead of ceiling lights
Turn off unnecessar y lights.
NO TES:
Use light dimmers to conser ve energy.
Use timers for holiday lights.
Use outdoor lights with motion detec tors.
Use as much natural light as possible. Horizontal blinds tend to block out more light than expec ted, open them wide for more natural light or replace with other window coverings.
46 | County of Wellington D AY EIGHT Ligh ting 8

Home Energy Tool Kit | 47 NO TES:
LOOKING F OR MORE?
Check out these energy efficienc y resources for potential rebates:
Thanks for tak ing the time to investigate your home’s energy use with the Home Energy Tool K it.
We hope you’ve learned more about your home along the way and identified ways to save energy and money while creating an overall healthier home environment. I f you want more infor mation, check out our website or get in touch with an energy auditor to take a deeper dive into your home’s per for mance.

www.wellington.ca/energykit
Canada Greener Homes Grant
w w w.nrcan.gc.ca
Enbridge Home Winterproofing Program
w w w.enbridgegas.com
Energy Affordability Program
w w w.saveonenergy.ca
48 | County of Wellington
Tha t’s a Wr ap!

Alternate formats available upon request.
OMO fficial Mark of the Corporation of the Count y of Wellington.

