

Hello,
Welcome to your new A500 kit!
I hope that it sparks many moments of imaginative play and wonderment whether you’re building alone, together with family and friends, in your classroom or design studio.
As an architect, I had an idea to create an easier and more affordable way of building scaled architectural models other than by cutting and gluing materials together for one time usage. The result is Arckit, a collection of reconfigurable, interconnecting components inspired by real modular building methods that let you continuously explore and visualise your architectural ideas with speed and precision.
At the very heart of Arckit is an entirely ‘open-ended’ tool kit of parts for all ages and which encourages learning while having fun. Each component has multiple uses and every kit has a myriad of design possibilities for you to reveal, allowing you to freely express your designs without limitations or restrictions of instructions. I liken Arckit to any instrument, the more you engage with it, the more proficient you become and the more amazing undiscovered creations you will start to bring to life.
Happy Building!

Damien Founder CEO
A500 - Architectural Components Set:


Let’s build!
A500 - Sample Building #1

Remember, the following sample building instructions are simply to familiarise you with Arckit’s continually reconfigurable platform before setting you on your way to your own amazing environmentally friendly creations. Go online for a further 3+ A500 building design ideas. Use the QR code to access exciting 3D construction videos and more building ideas with instructions!

www.arckit.com

Part A - Buildings


Make sure to straighten walls and then loosely apply modules on top so pegs and holes align before squeezing together.


2x A 2x B


21. 22. 20.
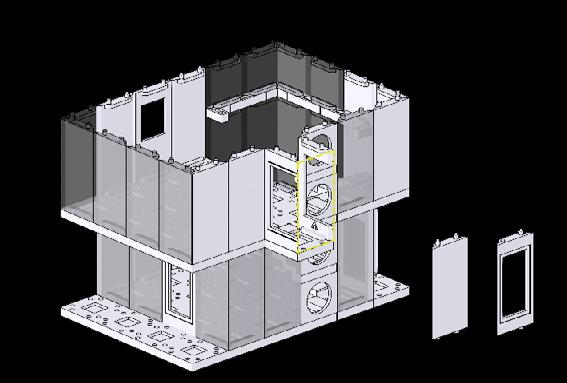
Now, repeat the same building steps to create a further 2 structures that compose sample model #1. Take note to choose a different wall set for each one at step ‘14, 15 and 18’ (A, B or C).

Part B - Base


Bring it to life
CONGRATULATIONS! You finished your first sample buildings which you can slot into place as indicated. Now, use your A500 Accessories Set to bring storytelling, scenery and scale to your development.

All the Arckitexture decals here are reusable and can be easily placed on solid and clear wall panels. Feel free to apply them anywhere on your model.


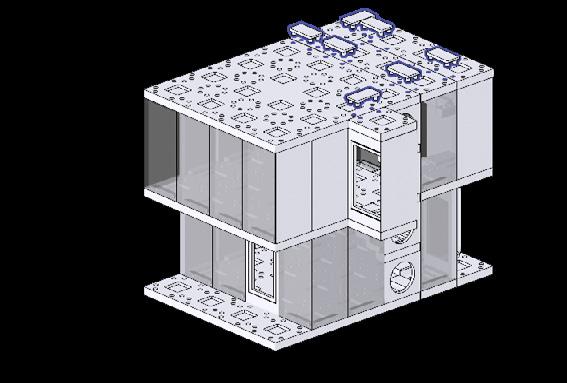
Slot the pop-out elements together to stand upright.
Share your creations
We love to see what our community is building, so why not share your creations with the world and let’s inspire one another!
Be part of our Community Builds Gallery by tagging @arckitmodel and adding #arckit to your posts. You can also reach us at info@arckit.com
/arckitmodel

#arckit
Now, what will you build next?
Keep building with your set and if you need some inspiration for your next creation, use the QR code to access exciting 3D construction videos and a further 3+ building ideas with instructions available online:
www.arckit.com

Explore more Arckit sets
Explore more amazing design possibilities with Arckit’s advanced series of building kits. Remember, all Arckit sets are totally ‘open-ended’ and compatible with one another.
Available at www.arckit.com:

Explore sustainable architectural designs


Explore modern house designs Explore contemporary building designs
Arckit GO Eco
Arckit 100sqm.
Arckit 200sqm.
Access Arckit Universe
Via www.arckit.com
Add unique 3D printed components to your builds from our online 3D Store.
Access to Arckit Lesson Plans and Workshops. Ideal for schools and homeschooling.
Create alternative scenes with Accessories Sets and free printable Arckitexture Library.
Build a whole new world online using Arckit through SketchUp platform.