Special
How do I assess the base and which product should I use ?
HASTE MAKES WASTE SOME RULES OF THUMB FOR A PERFECT END RESULT
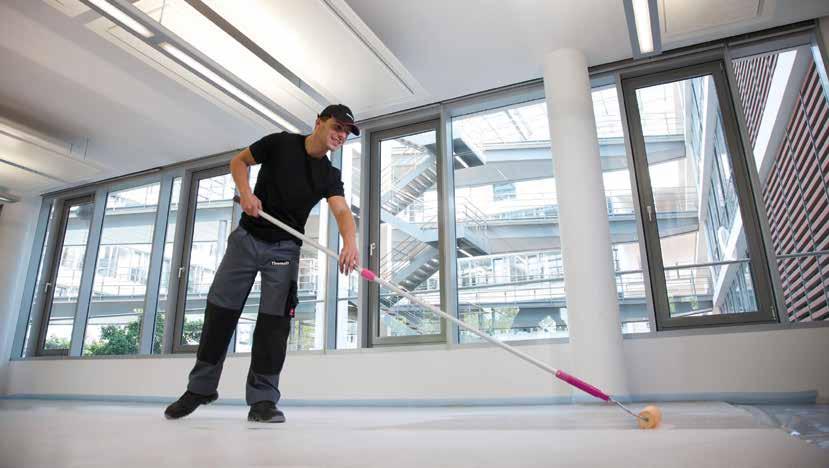
Photo – Thomsit
All substrates are different. It’s sounds like breaking down a door which is wide open. How do you assess the various substrates and what can you use to repair them? We explain various steps to help you achieve a perfect floor.
20
go beneath the surface, you know that the substrate is probably fine. Furthermore, you should check the thickness and cohesion of the existing substrate.
Flatness and angle
Some things are absolutely essential. For example, first of all, you must make sure that the substrate is hard, stable, and strong enough. Moreover, amongst other things, you need to check the flatness and angle and adhesion of the existing floor. You also test the stability and cleanliness of the substrate and, for cement-bound screeds, the porosity. Obviously, the substrate has to be sufficiently dry and (rising) damp must be avoided (we’ve covered dryness and damp at length in the past, so we won’t do so again here). To give just a few examples, an old tile floor may show rising damp, an old parquet or wooden floor may start to sag, or a glued covering floor or old floor coating no longer adheres very well. An epoxy or PU cast floor may be incompatible with new products to be used.
Further to what is mentioned above, you should also make sure that both the flatness and the angle of the substrate do not deviate too much. If there are any splits, cracks, or uneven patches, the substrate can get distorted in the finish. Therefore, always remember to repair any unevenness in a substrate before you apply a levelling agent.
Hardness, stability, and bearing strength
Adhesion and stability
It’s important to check for hardness, stability, and bearing strength in order to prevent possible crack formation or loosening of the end finish when the job is done. You can easily check the hardness by making scratches in several places with a hard object. If the scratches do not
You also have to check the adhesion and that means looking at floors which are glued or fitted using mortar. For instance, if you tap on tiles with a hammer, you will need to remove all hollow-sounding and loose sections. If the surface is painted, it’s best to do a scratch test. You
Floor Forum International 121
If there are any static micro-cracks of less than 1mm, the application of a suitable primer will suffice. If the cracks are bigger, you should fill them with resin developed specifically for that purpose. Cracks are poured over with an epoxy resin or silicate resin with two components. What you must avoid at all costs is filling cracks with a fast-drying repair mortar.


