5 minute read
Mother Nature
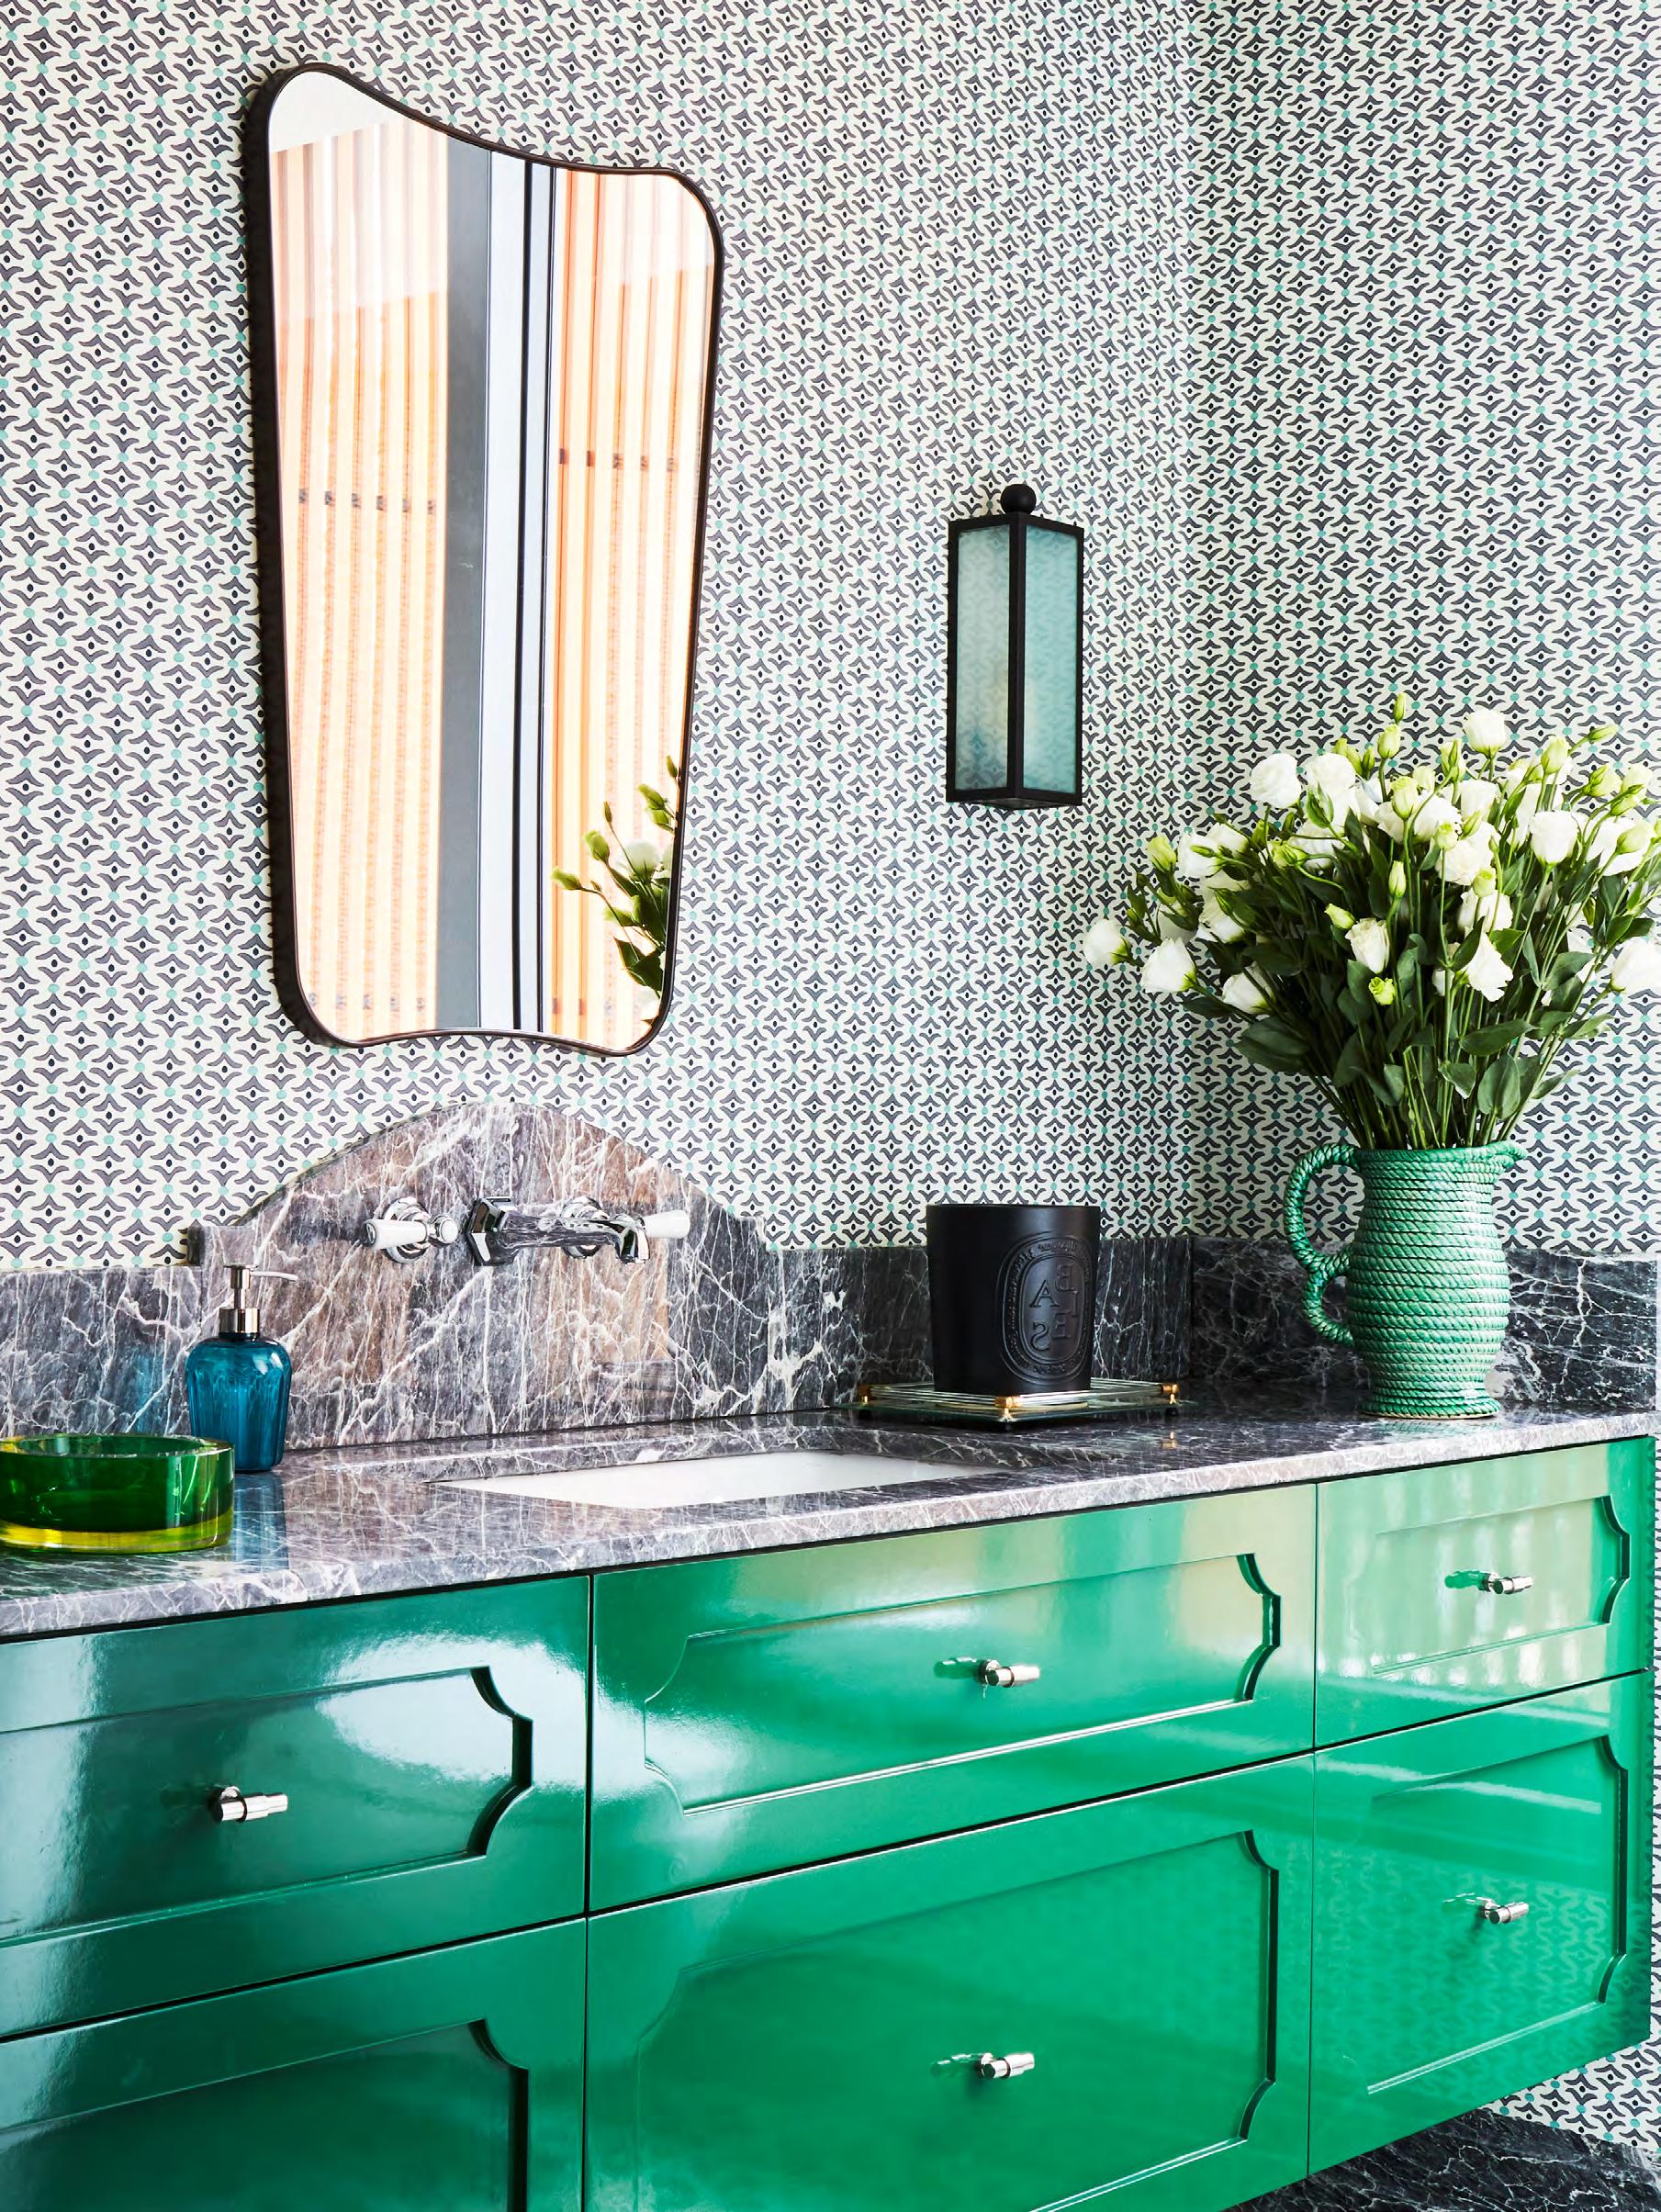
design by elizAbeTh hAy design | Tusk in flinT
SWITCH IT UP
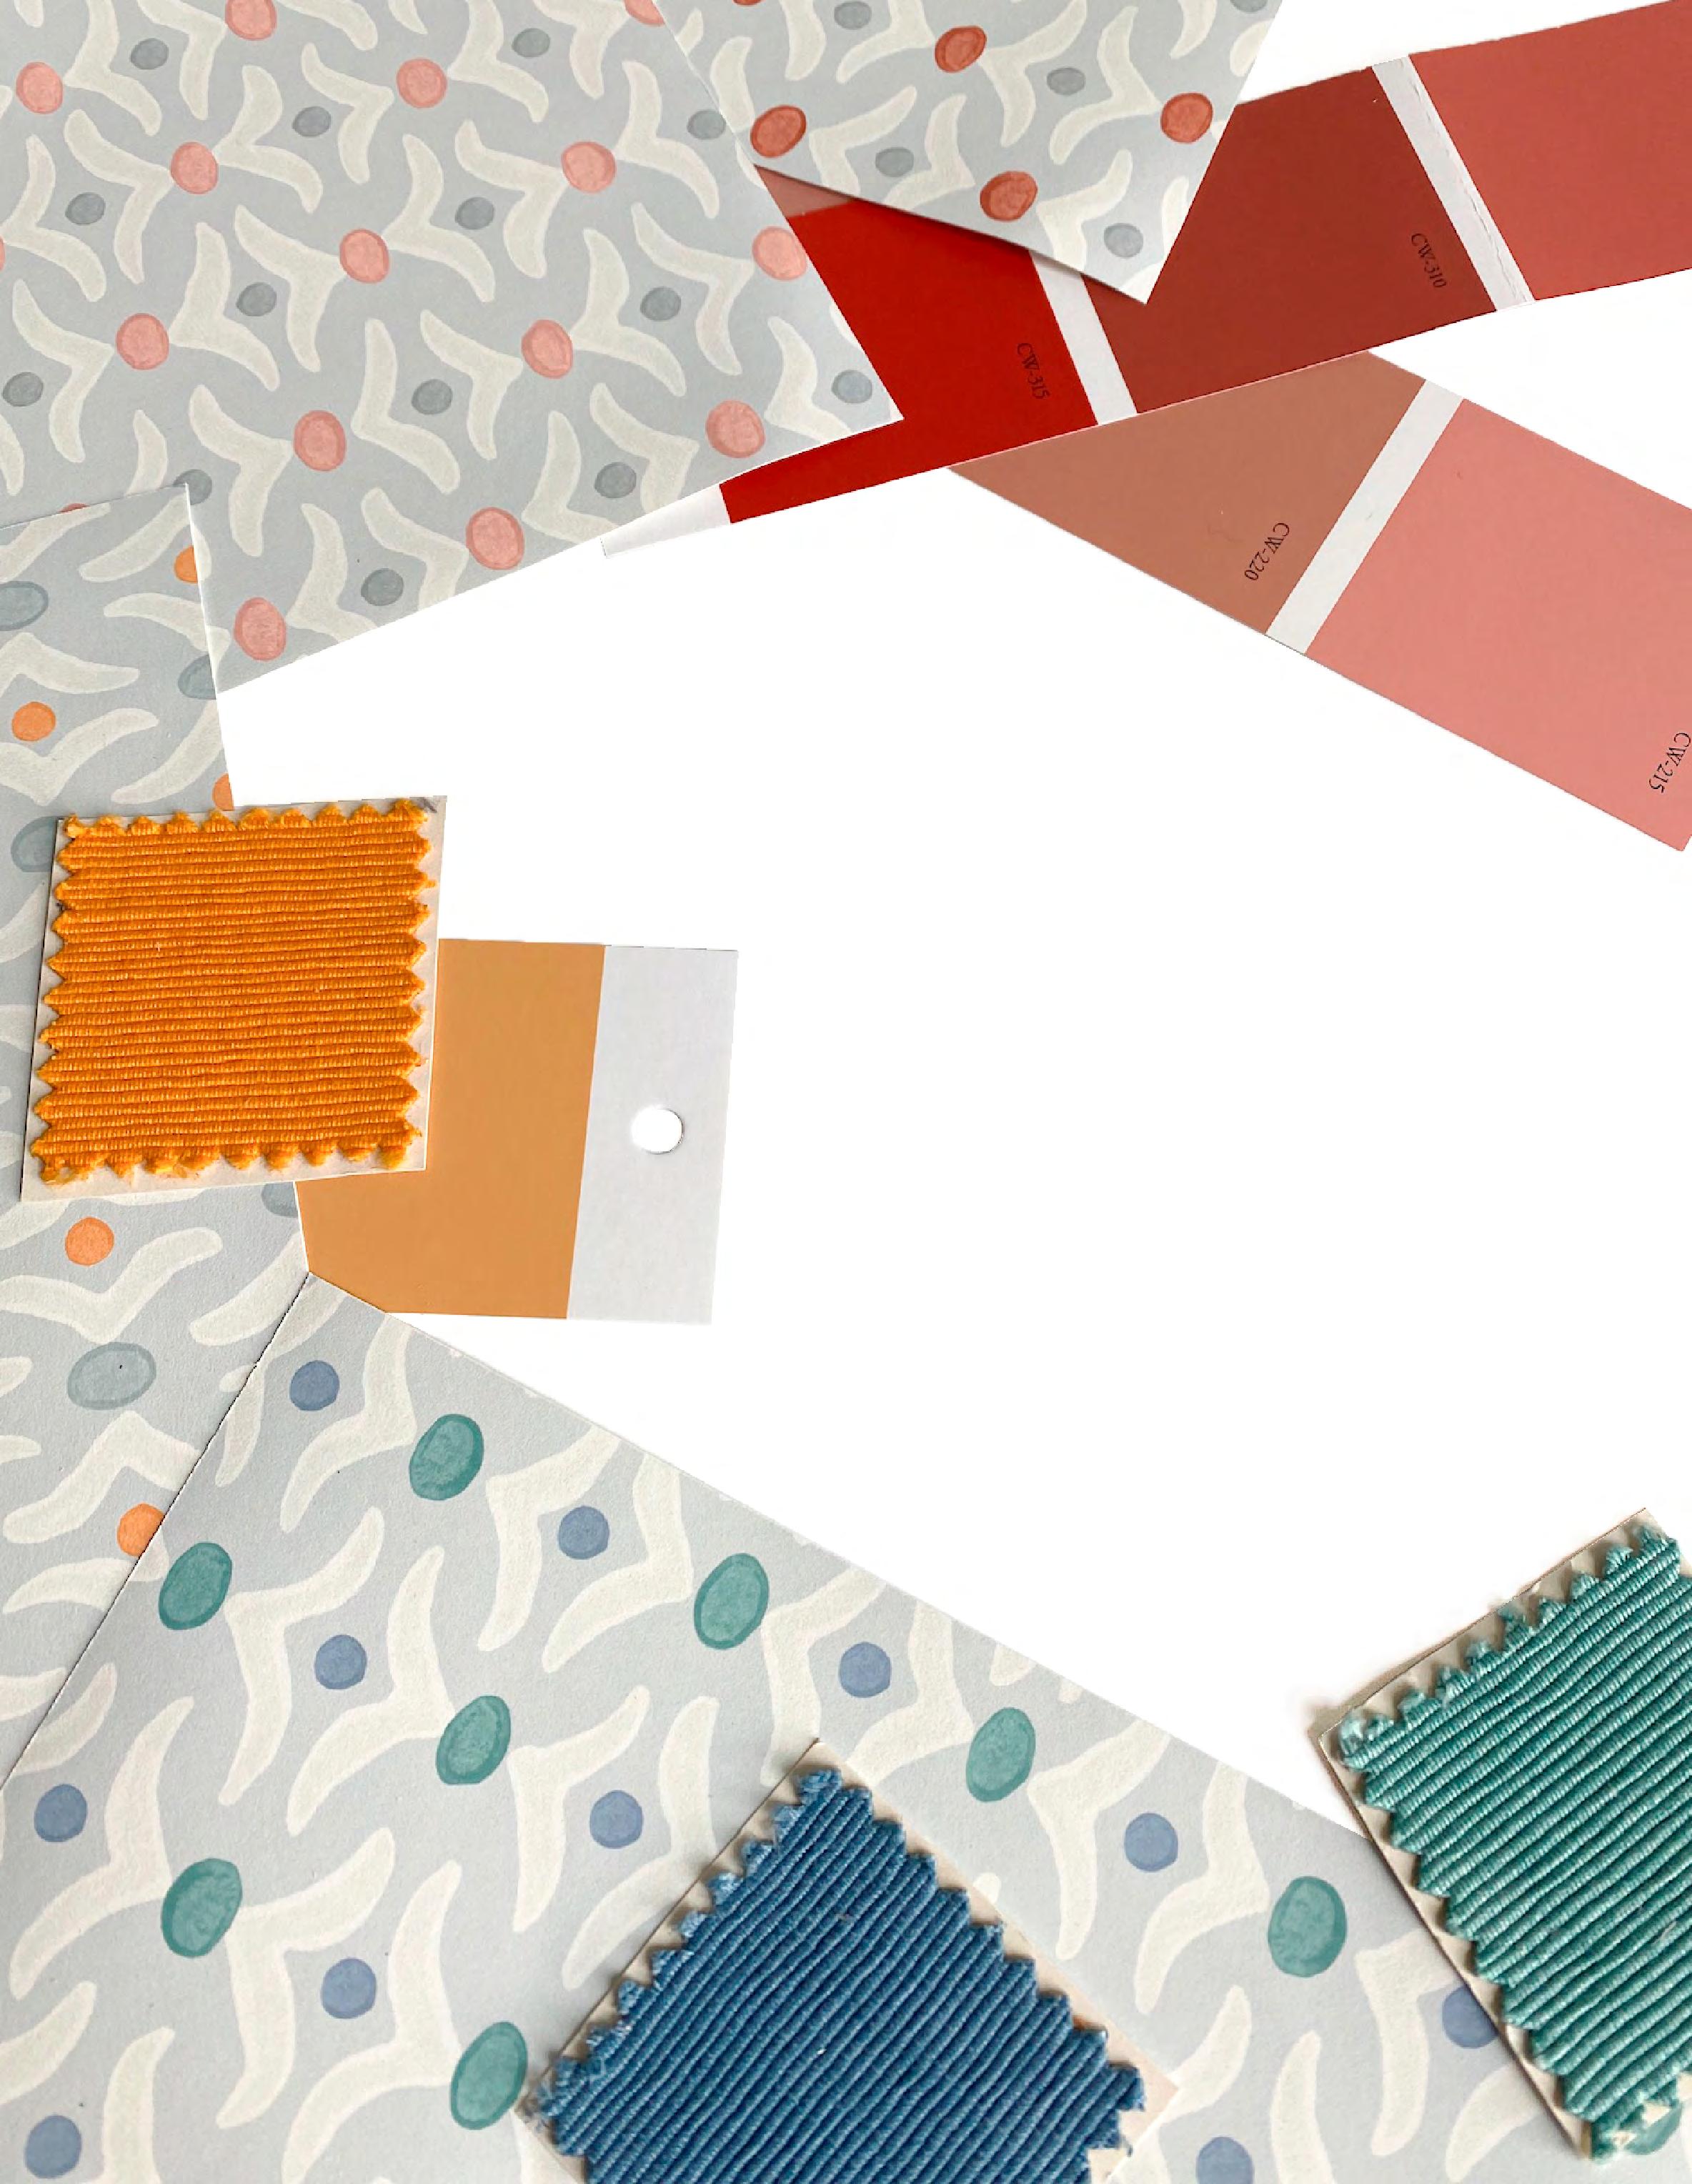
Change the background, change one color, or reinvent the whole thing.
We do customs all day long.
Choose from our color palette or send us a swatch to match.
Have fun and make it yours!
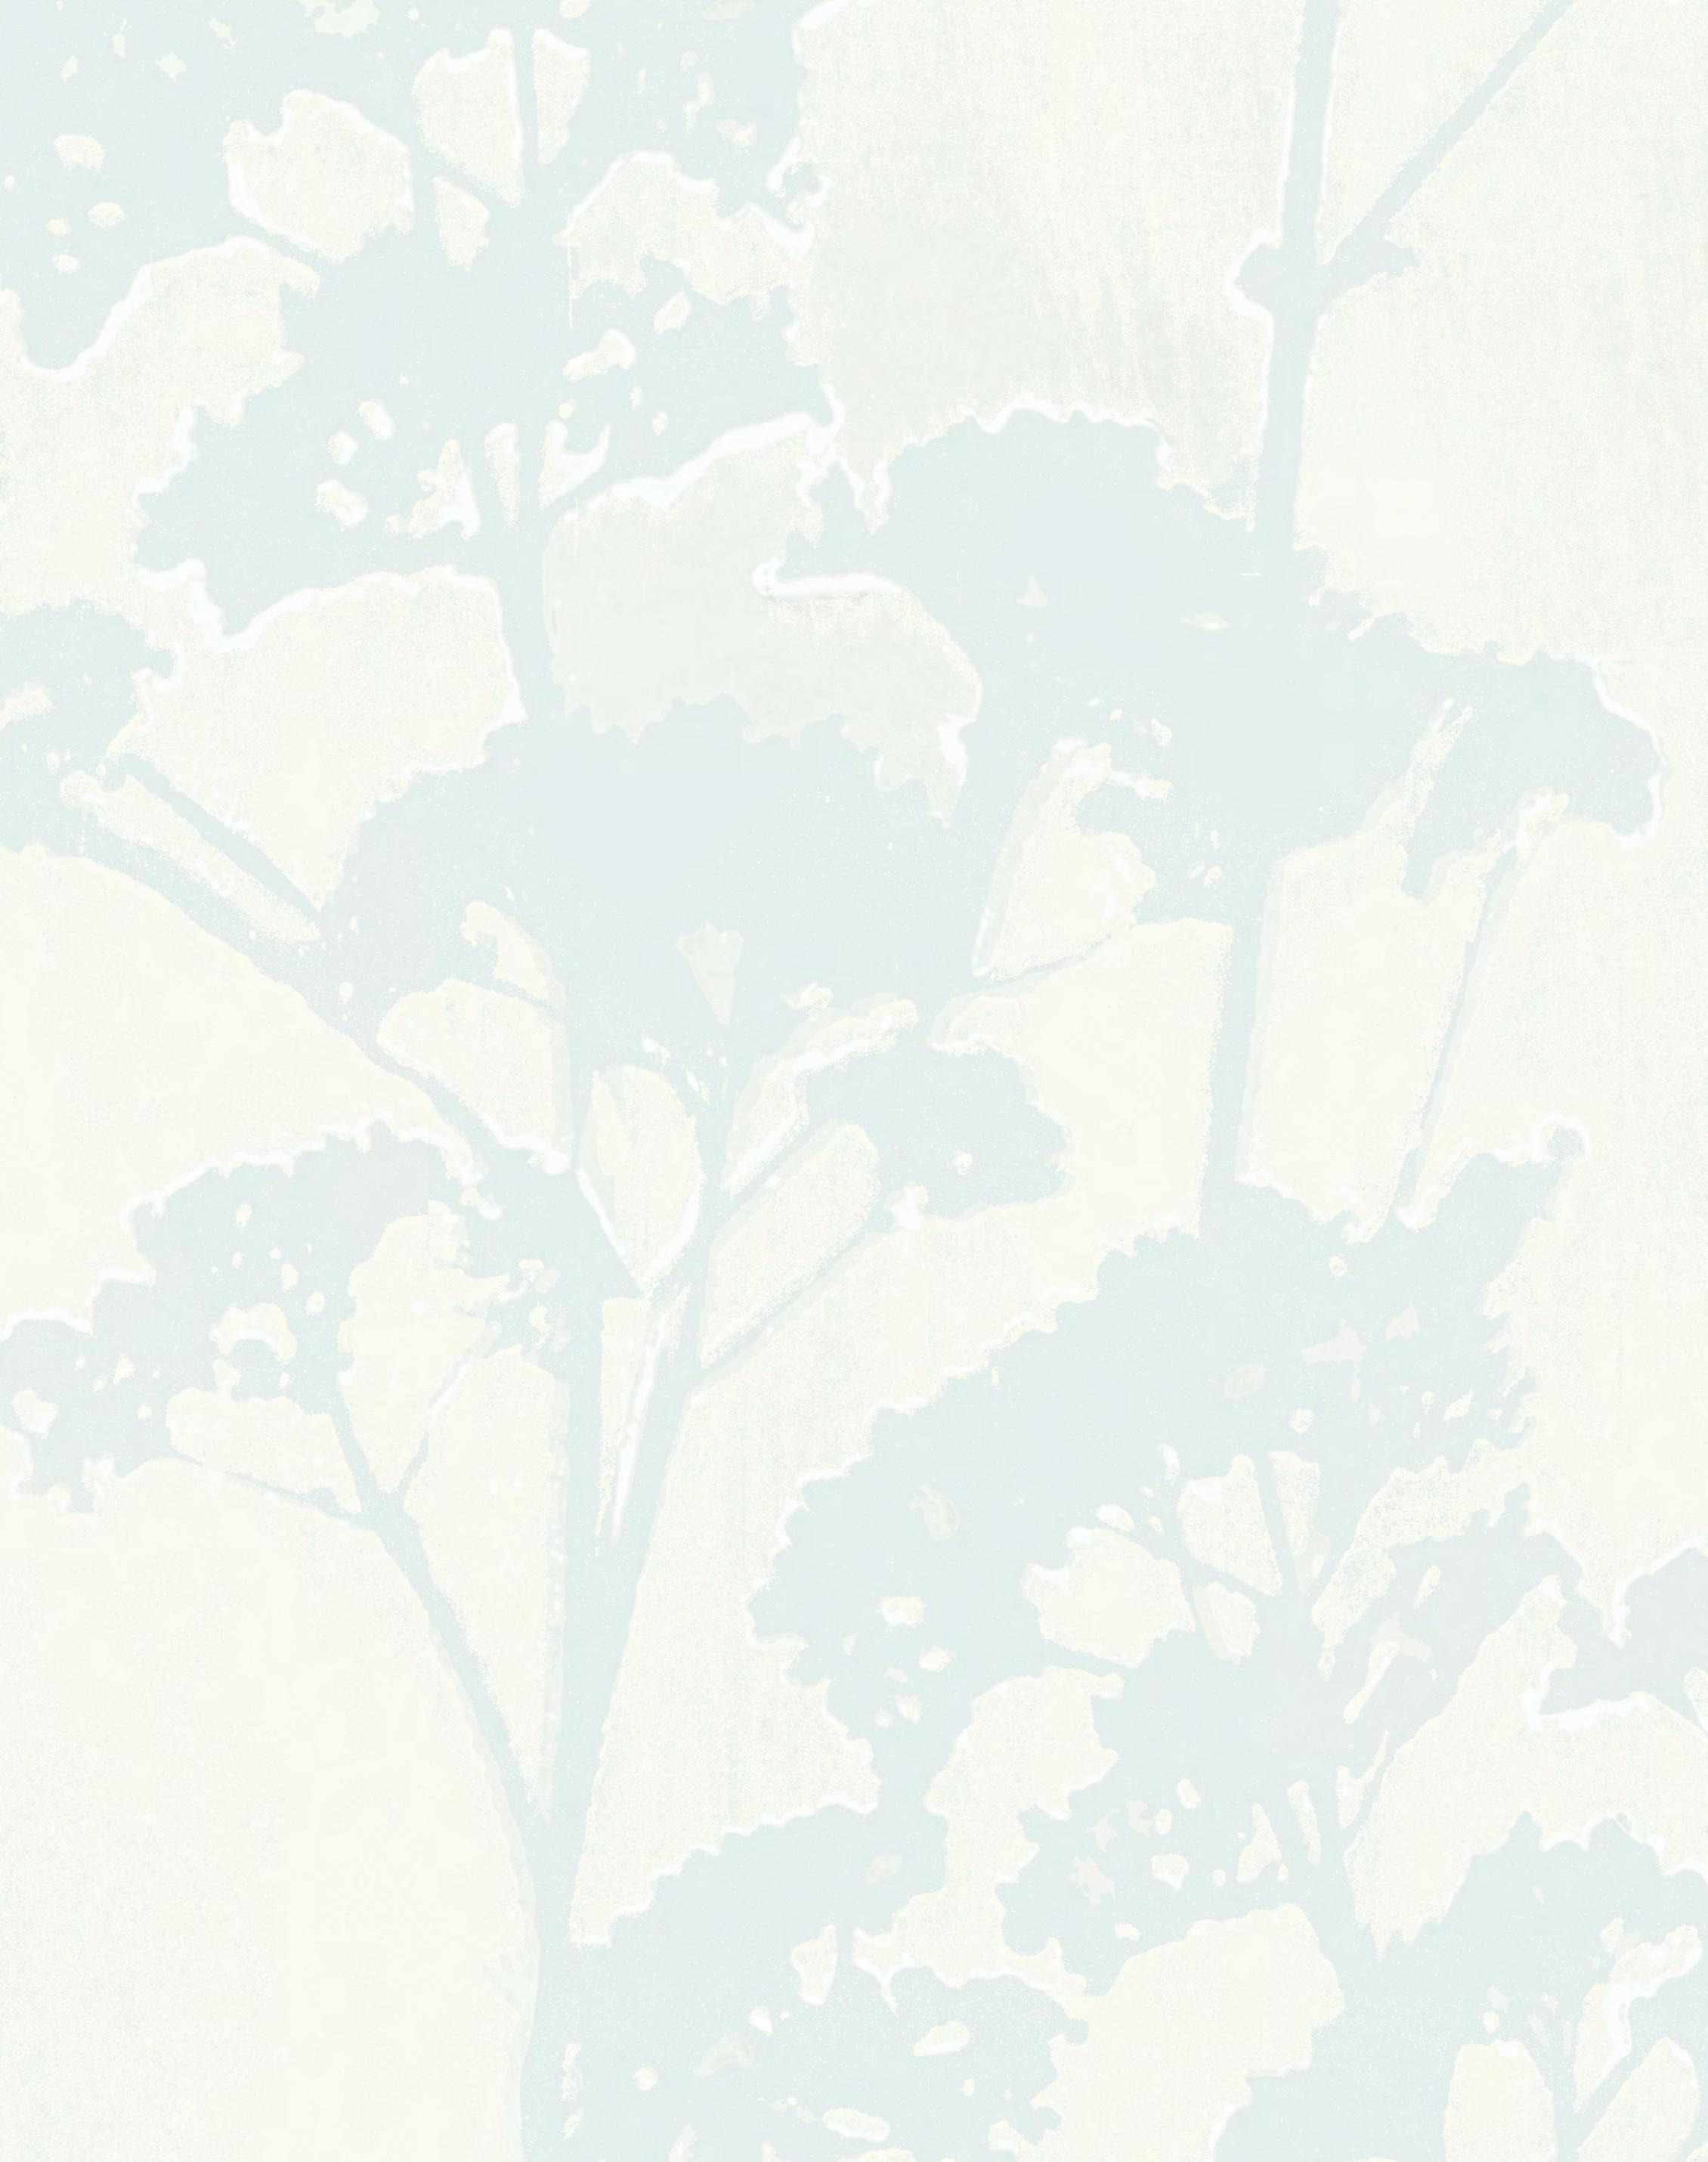
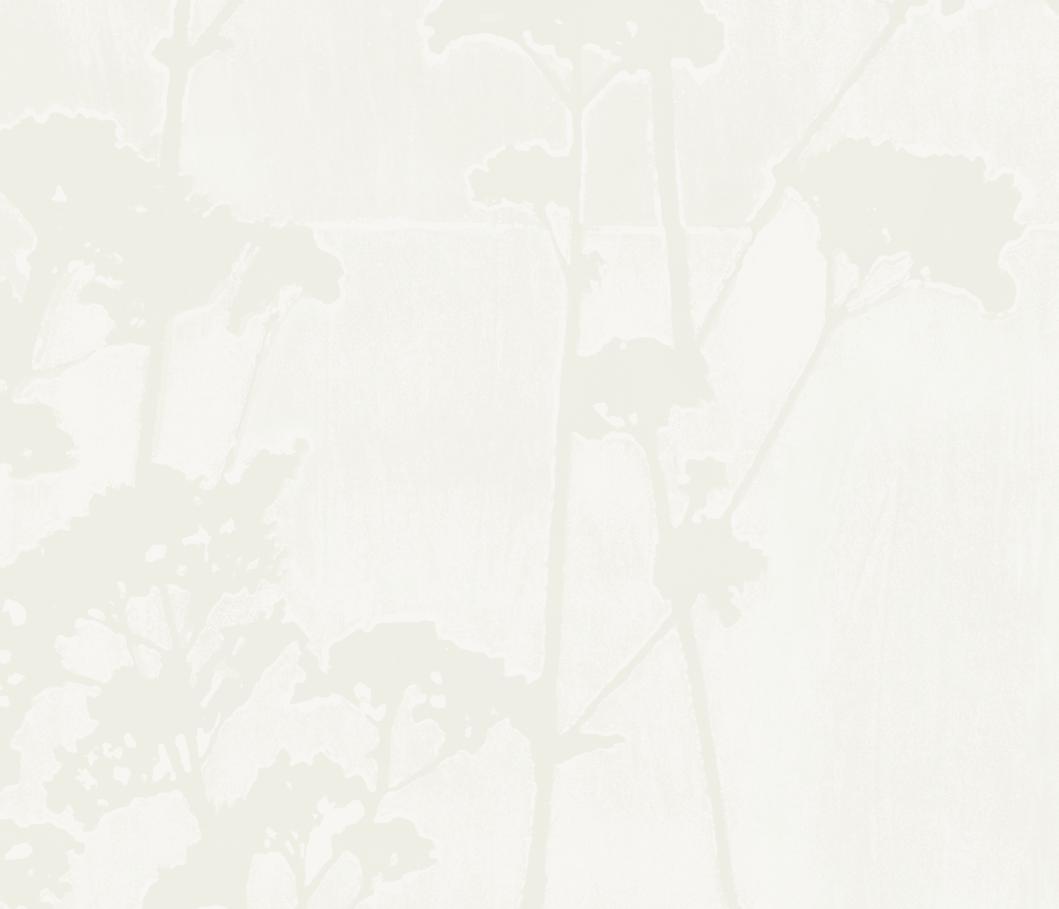
ALABSTER
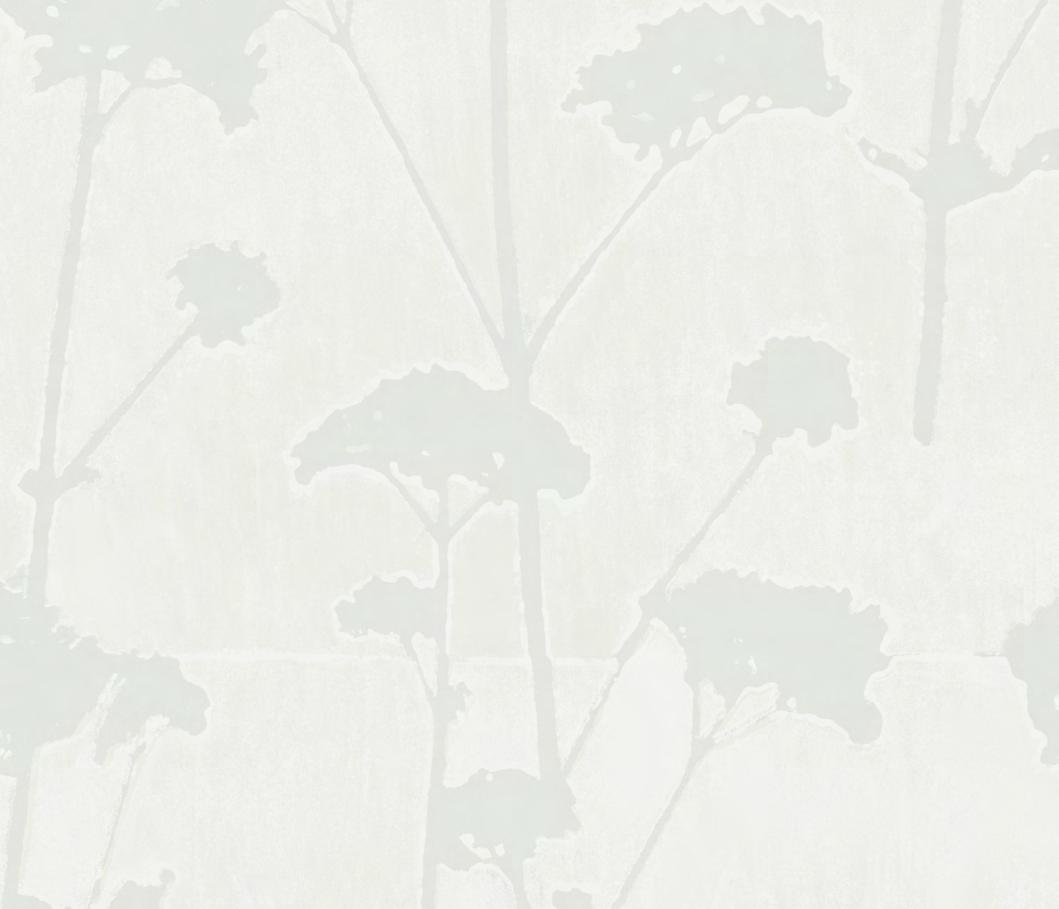
BELUGA
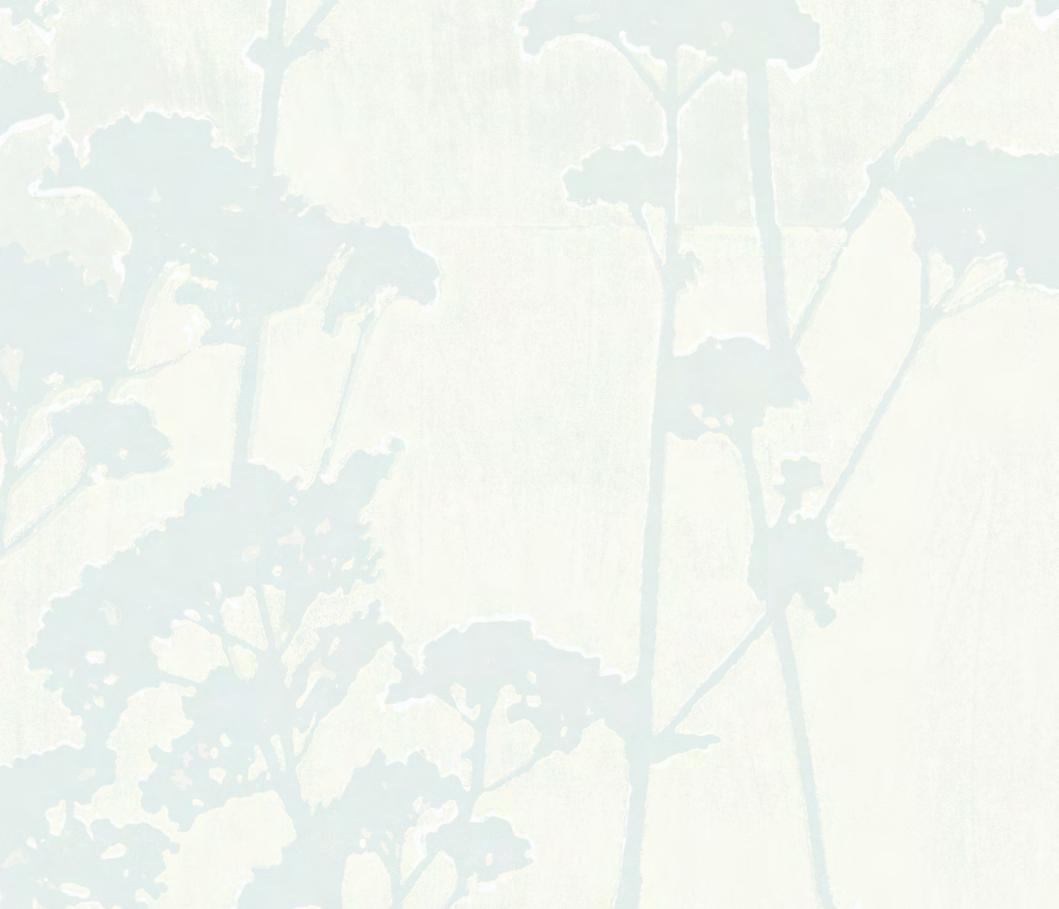
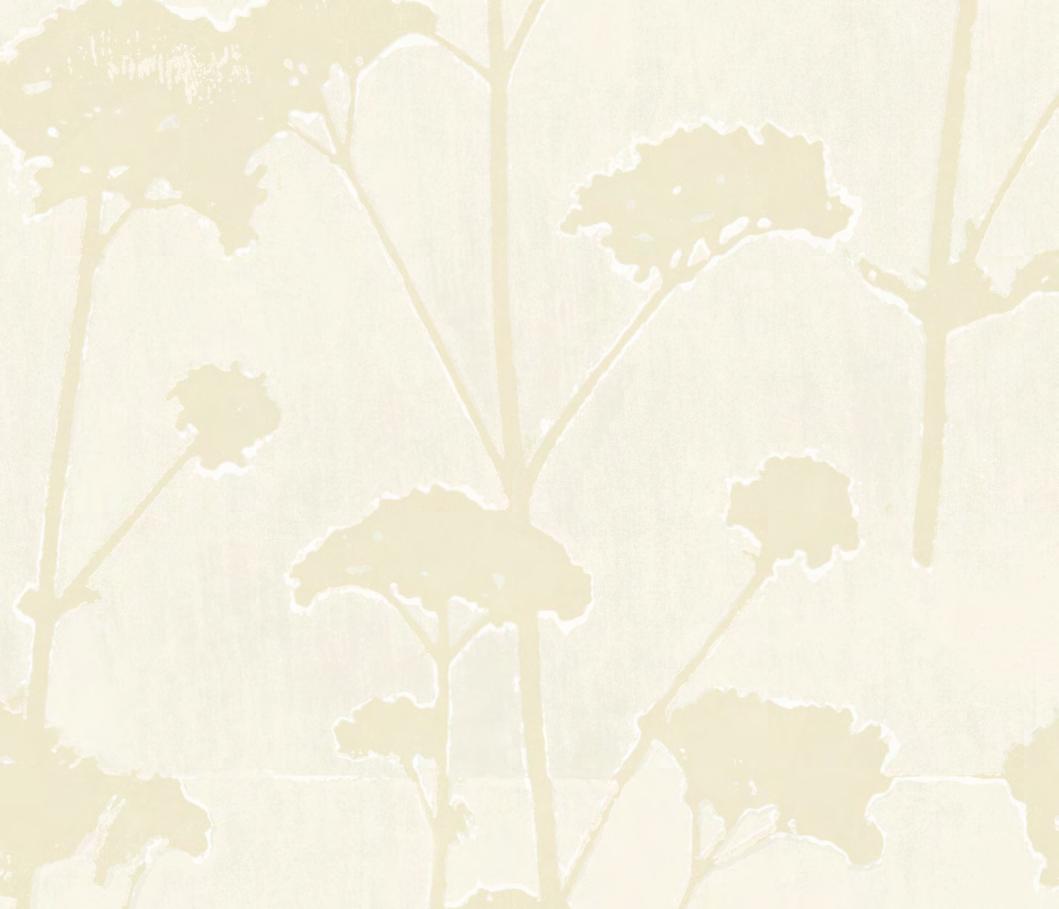
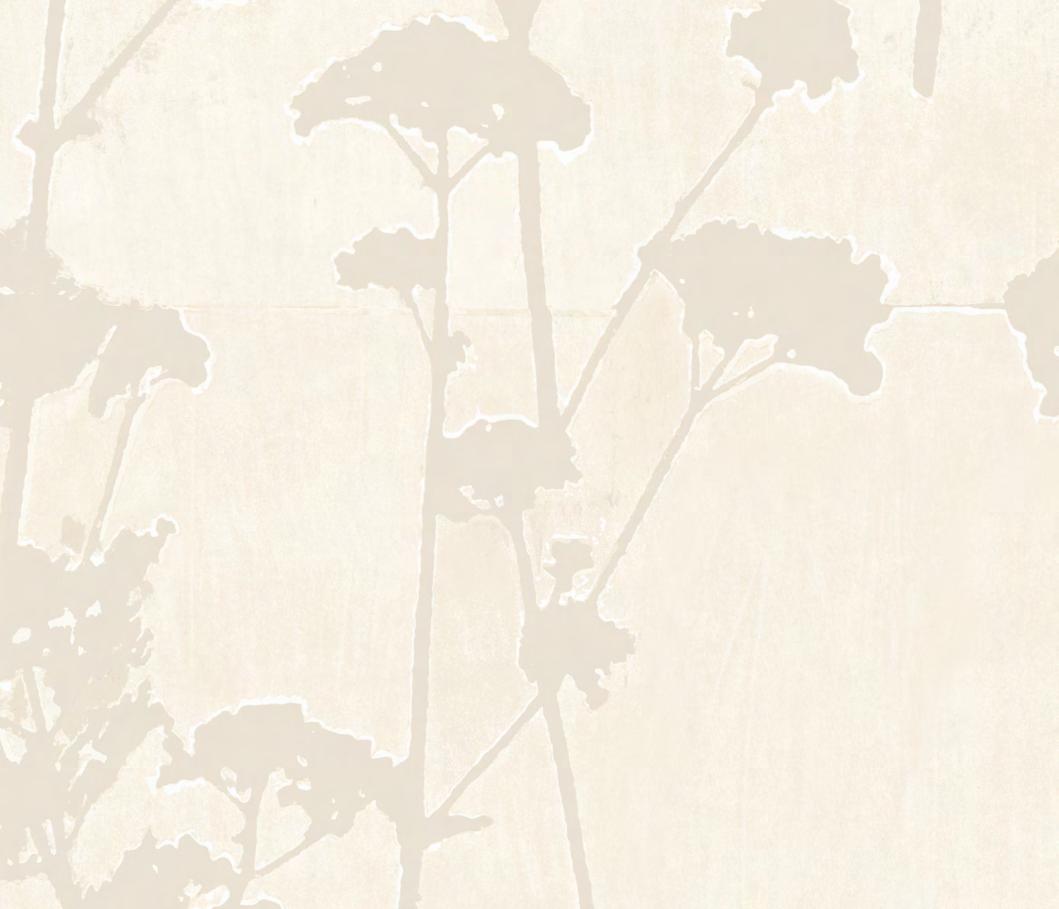
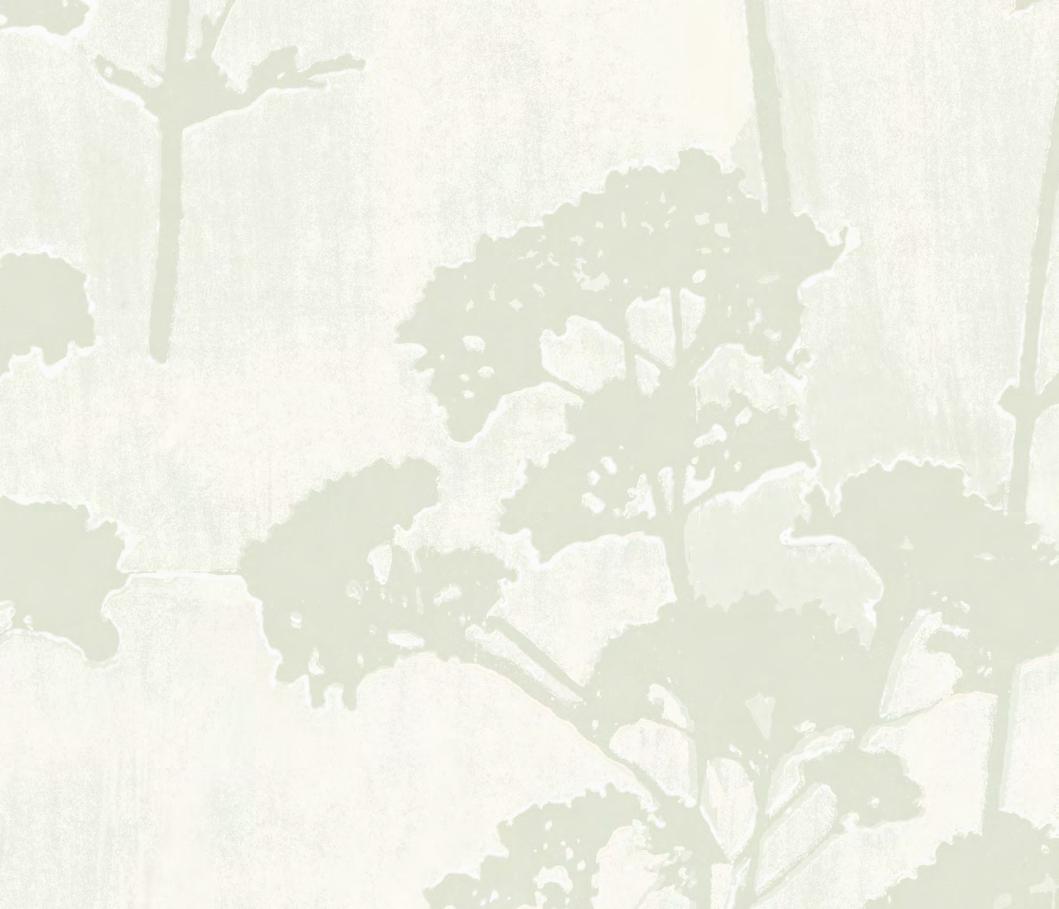
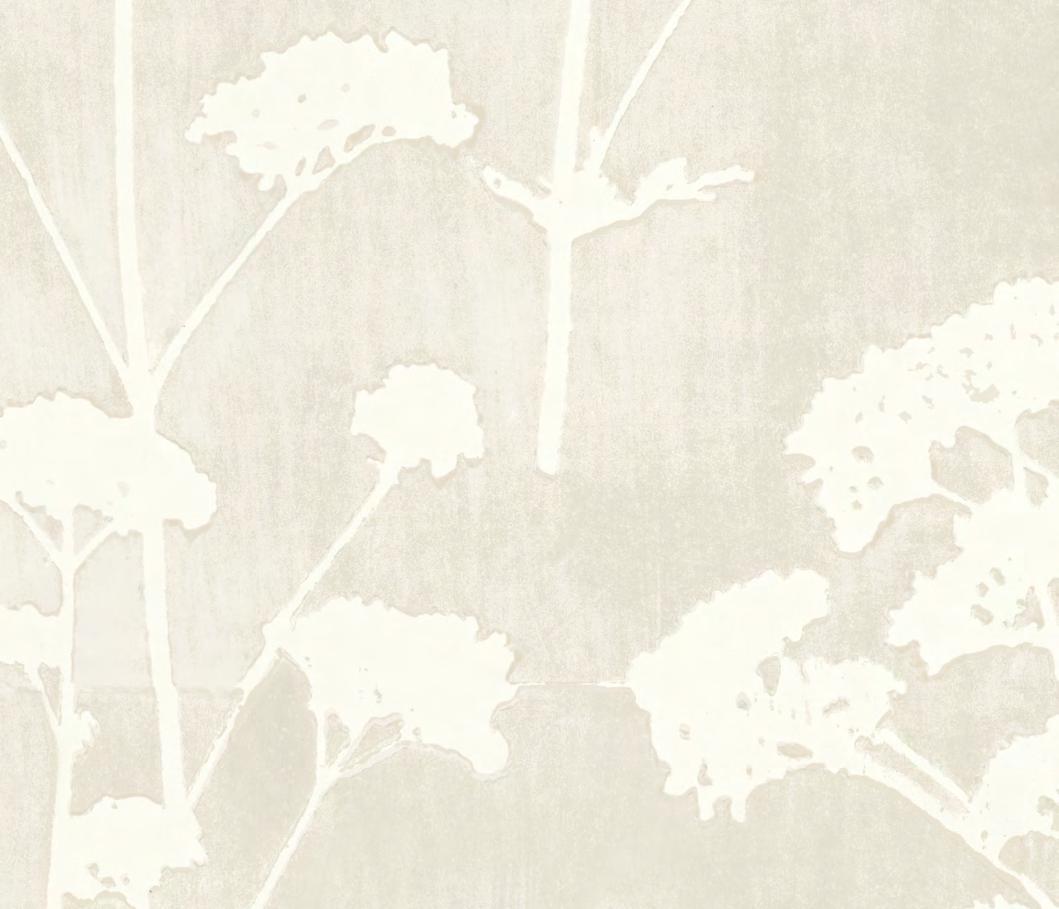
BONE
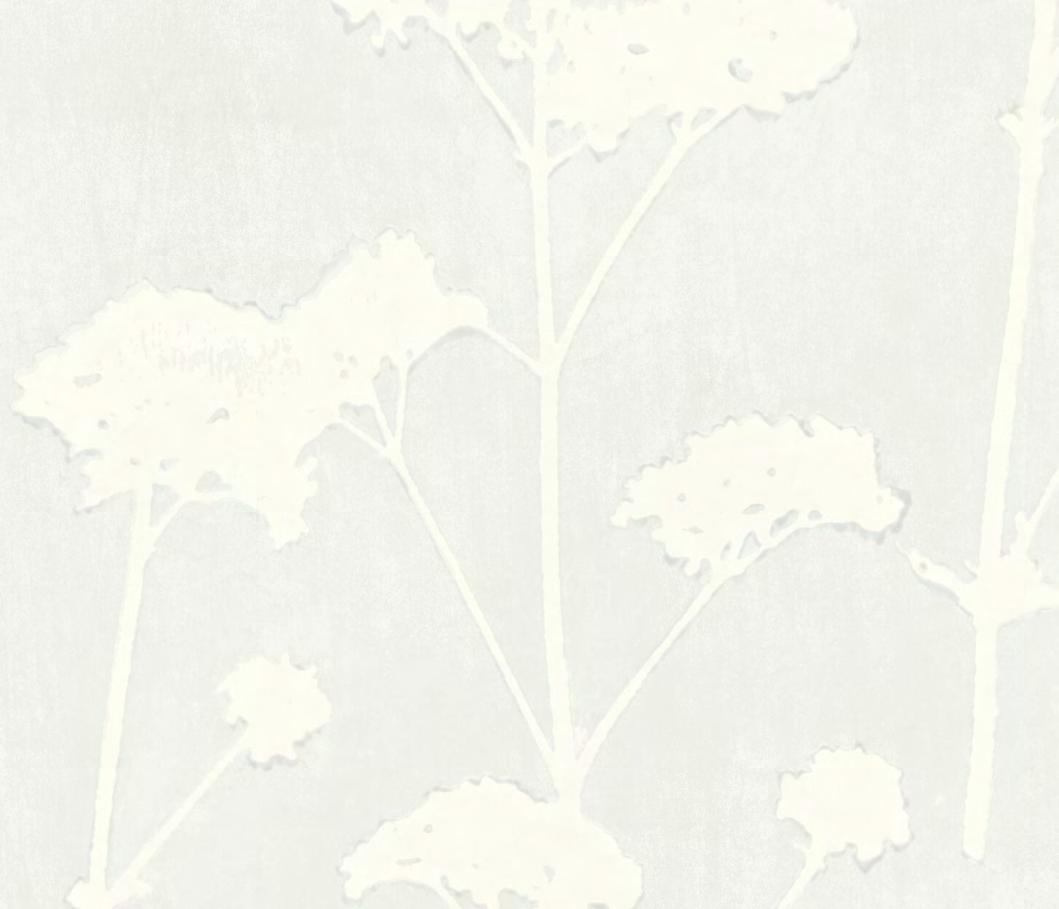
DEW CAMEO
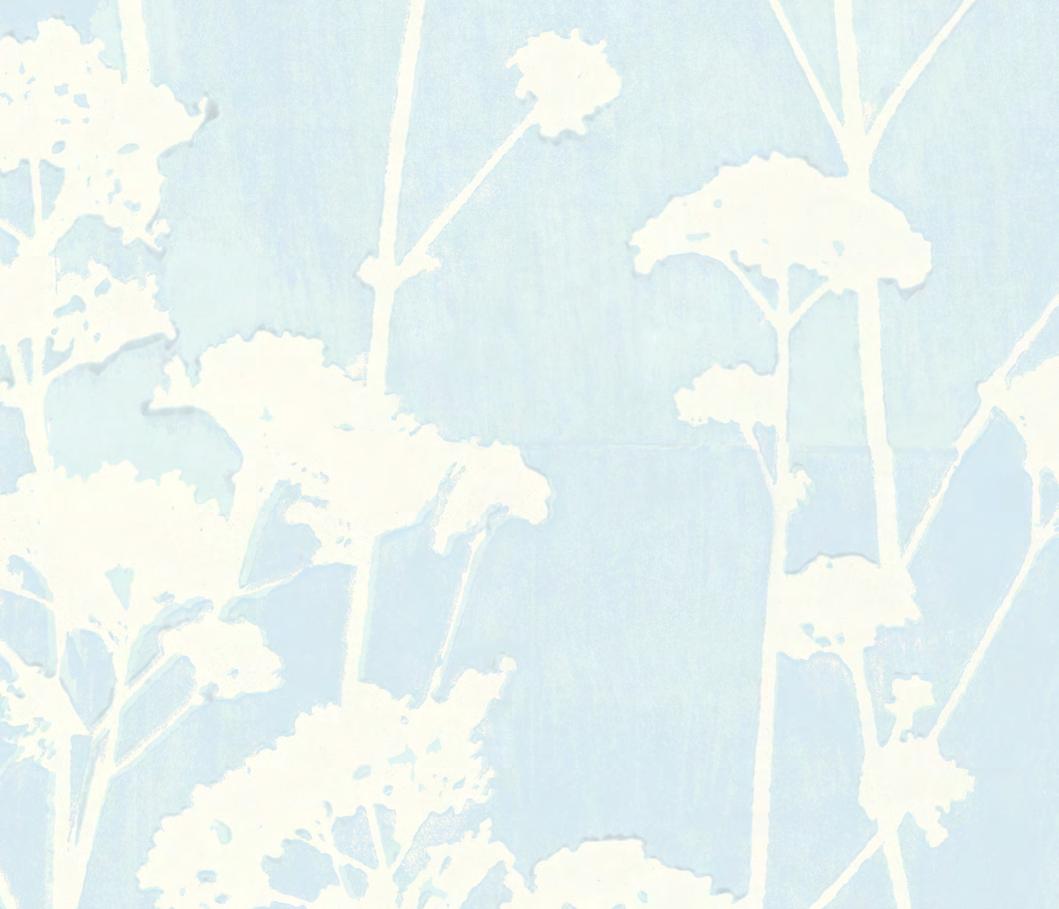
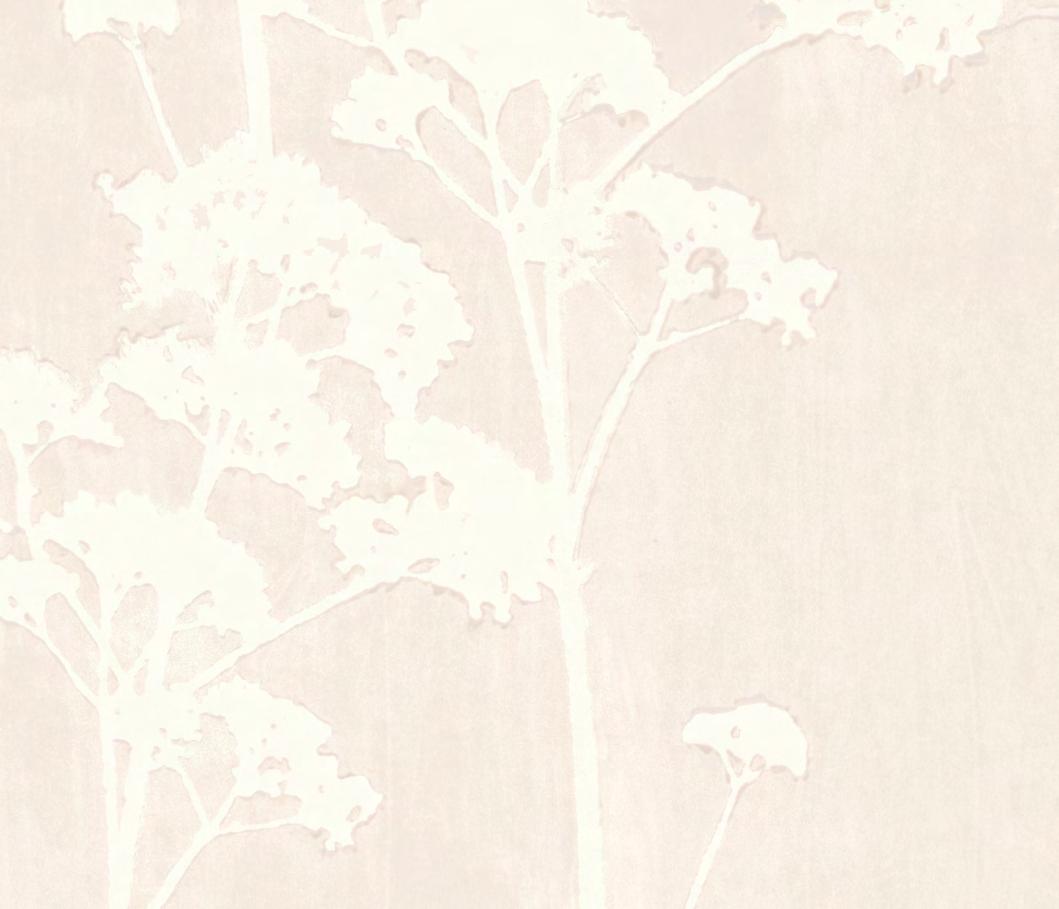
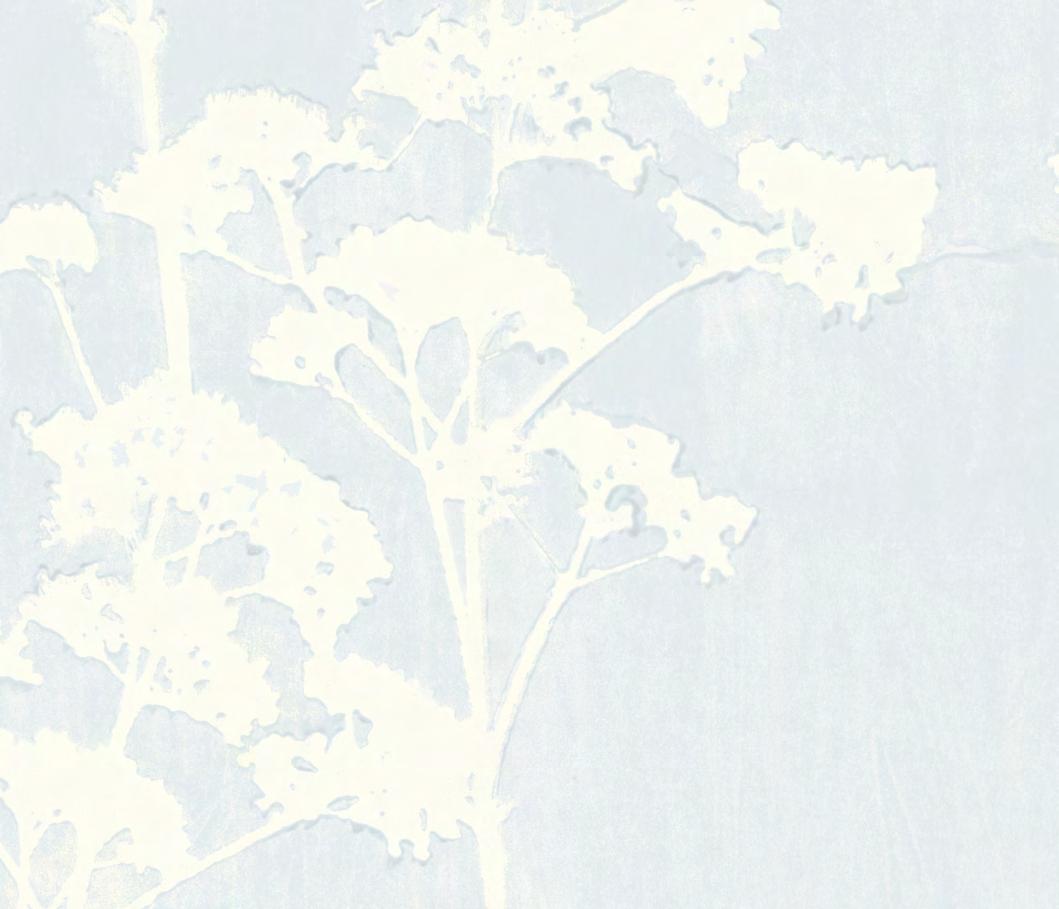
STRATUS STAINLESS
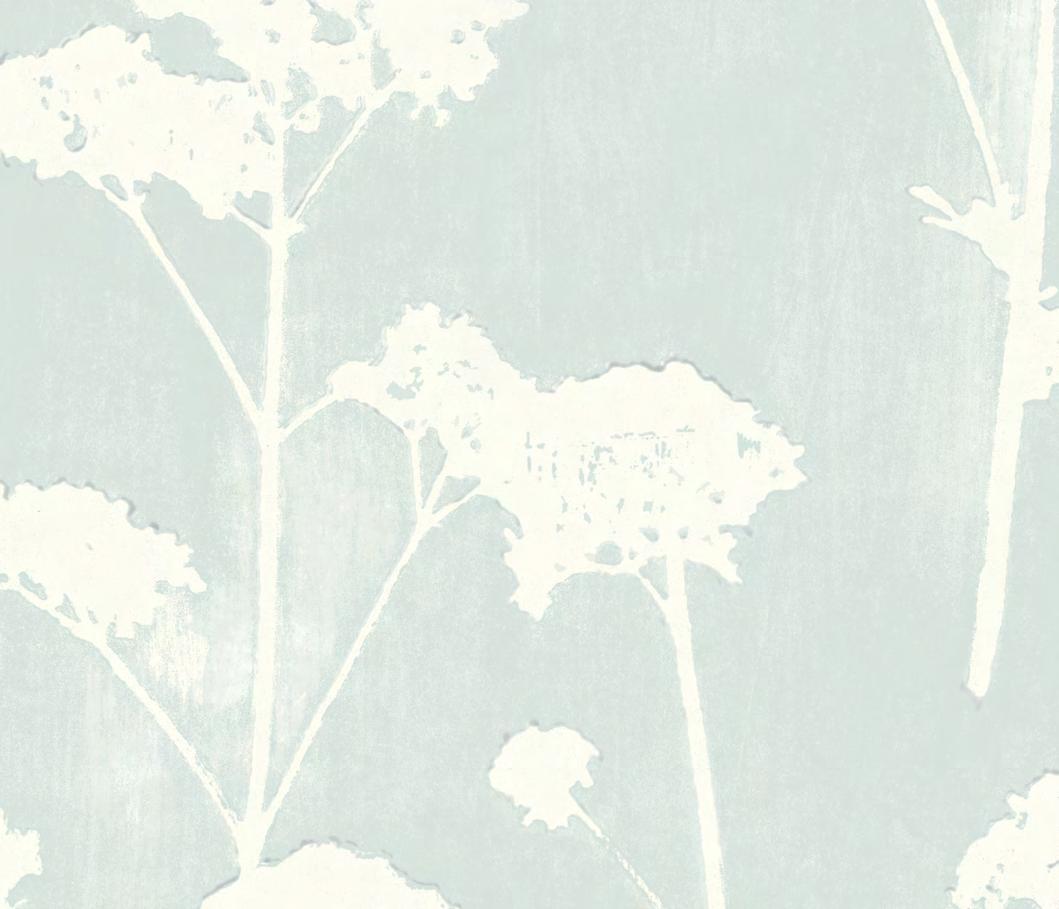
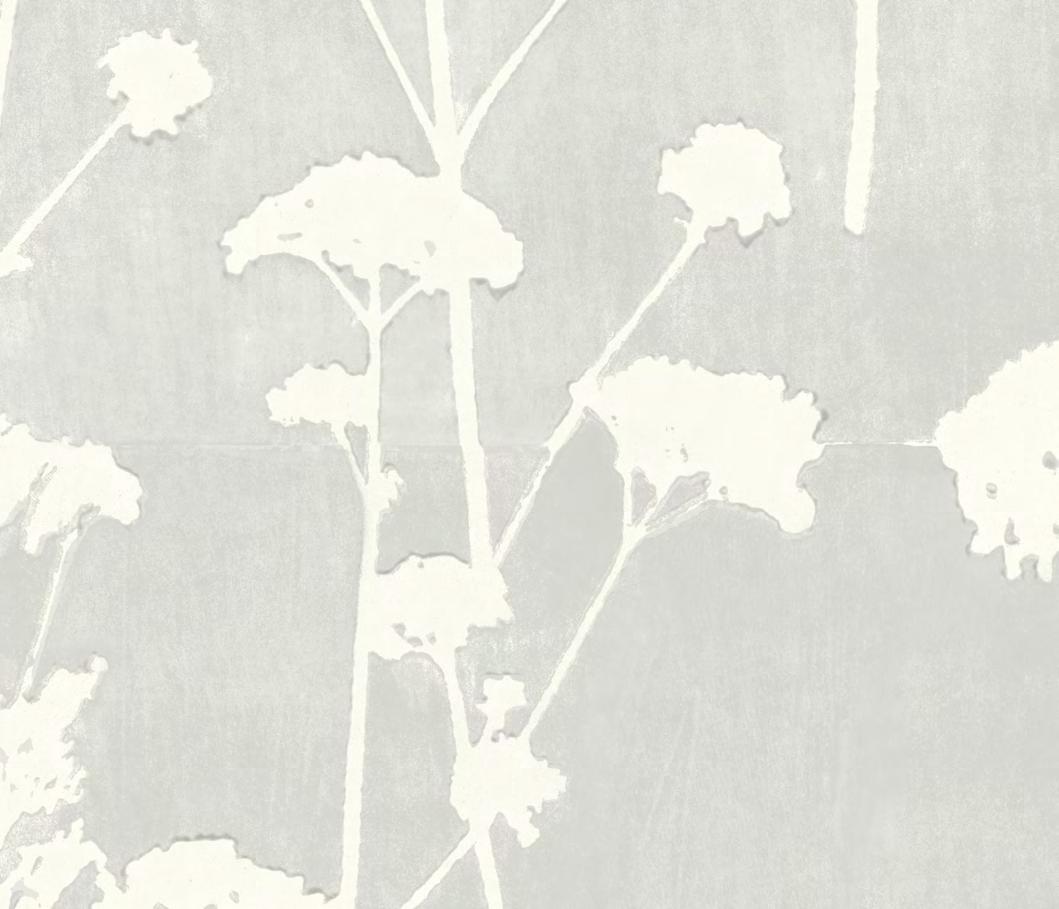
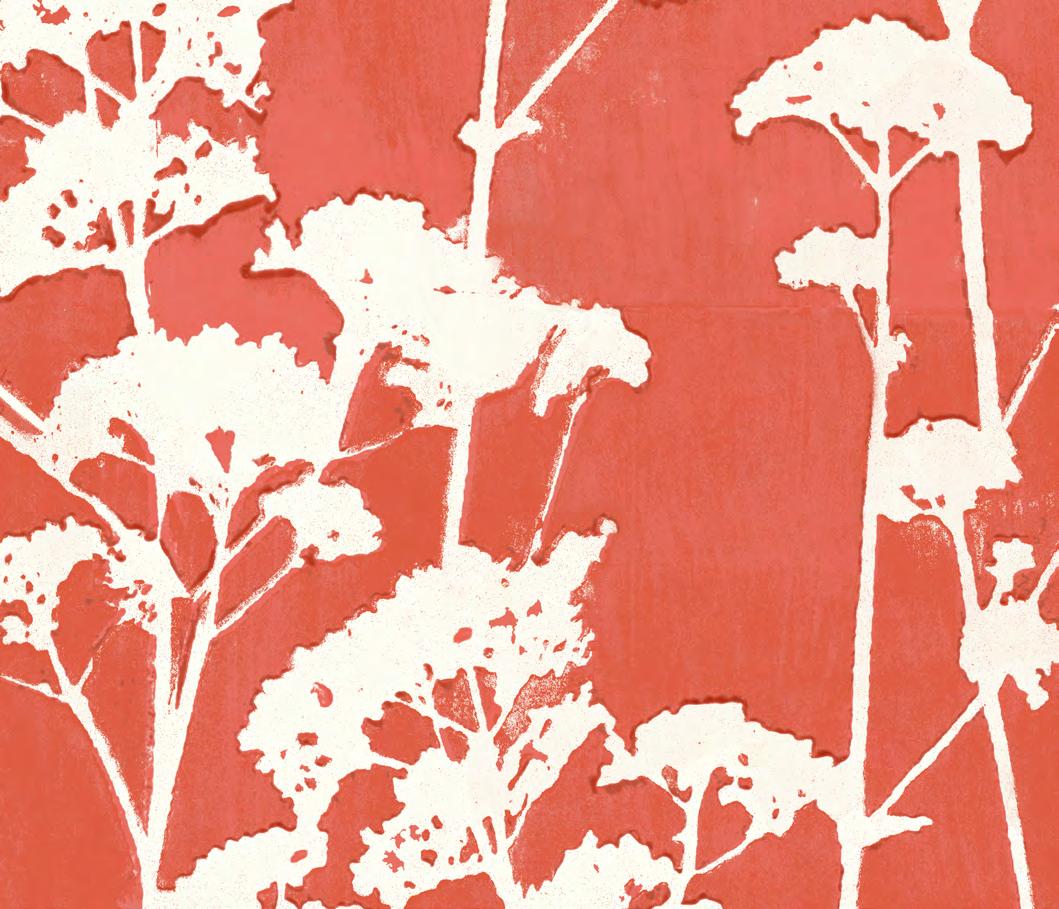
PAPRIKA
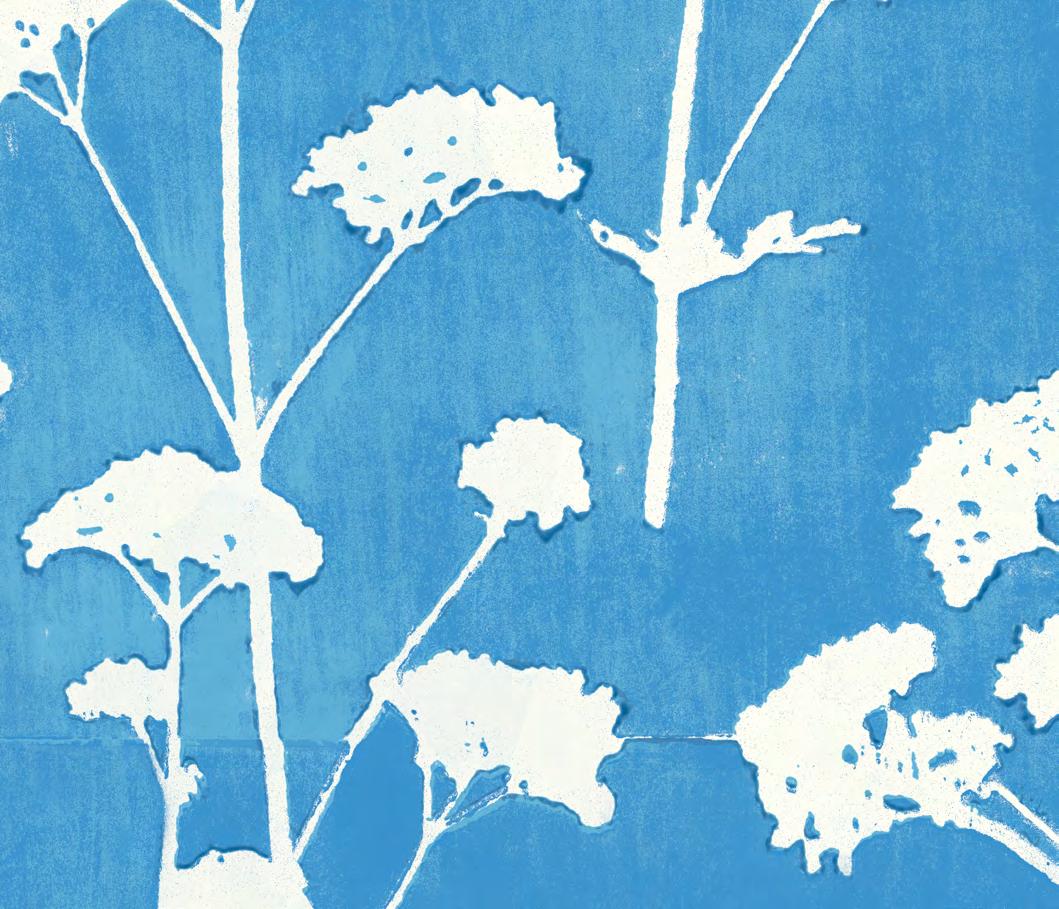
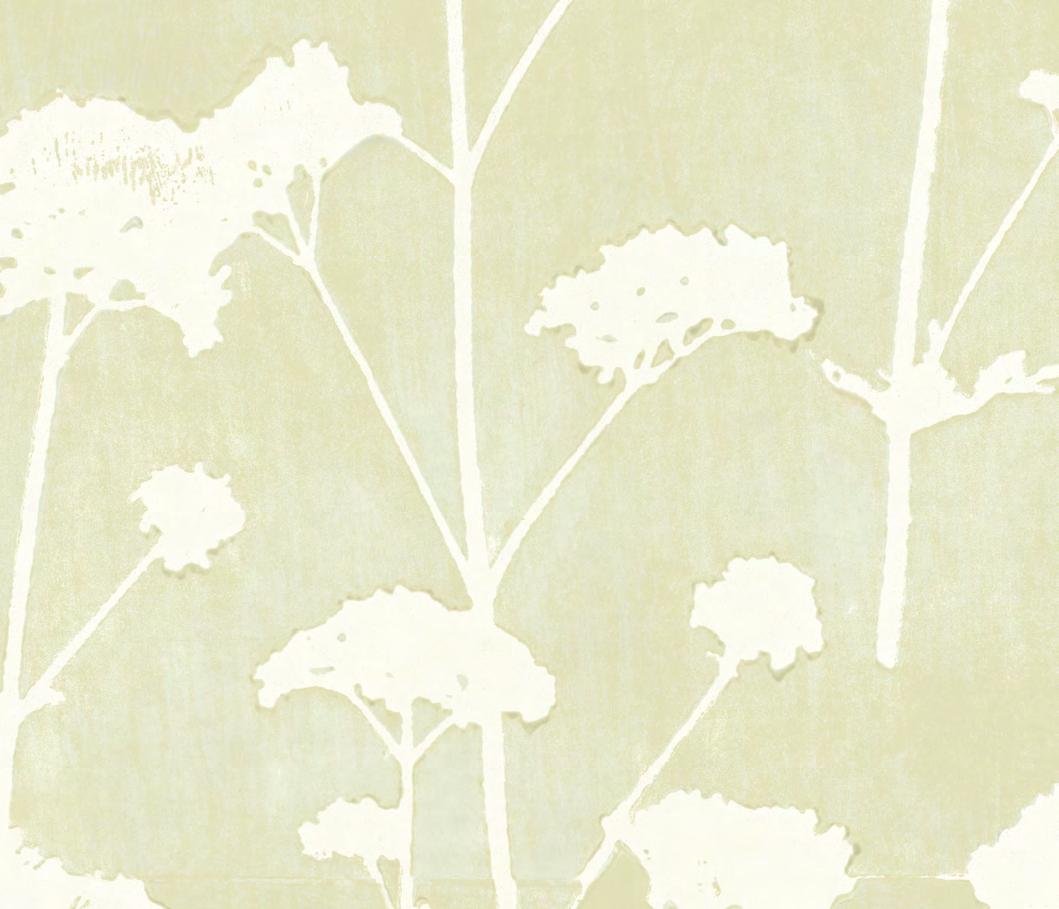
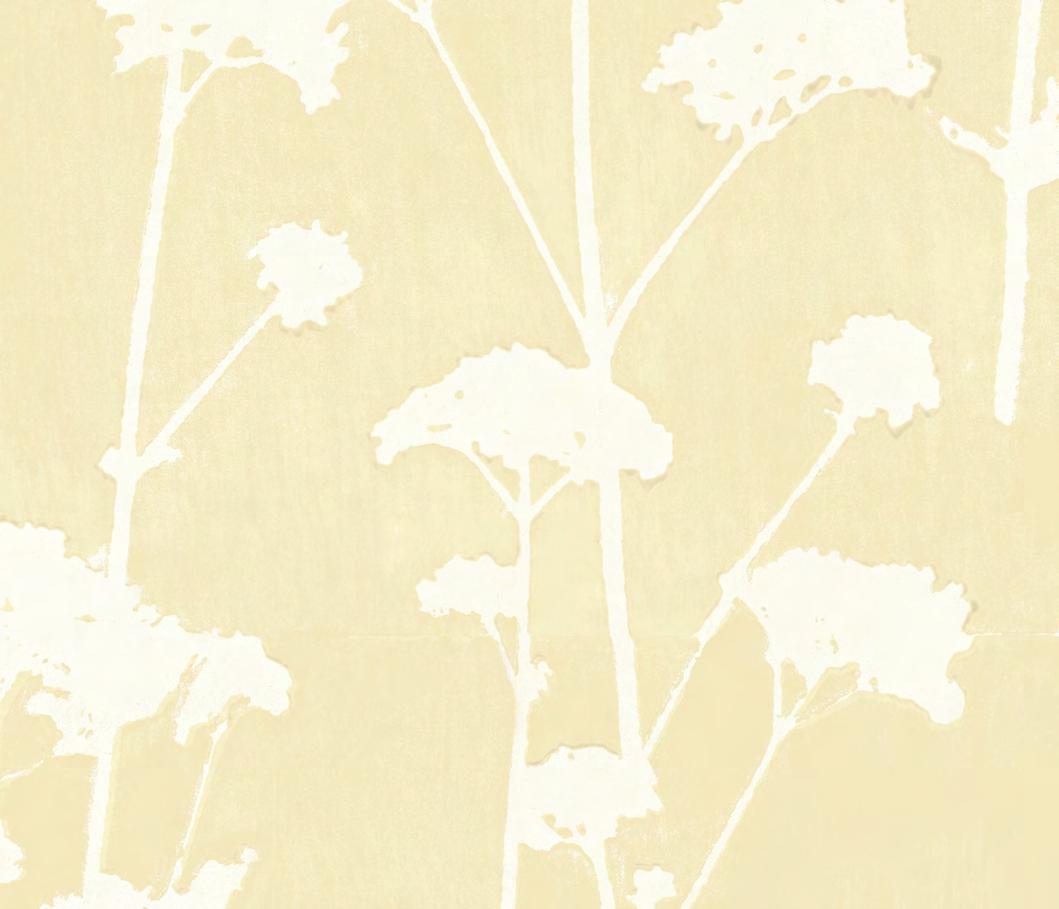
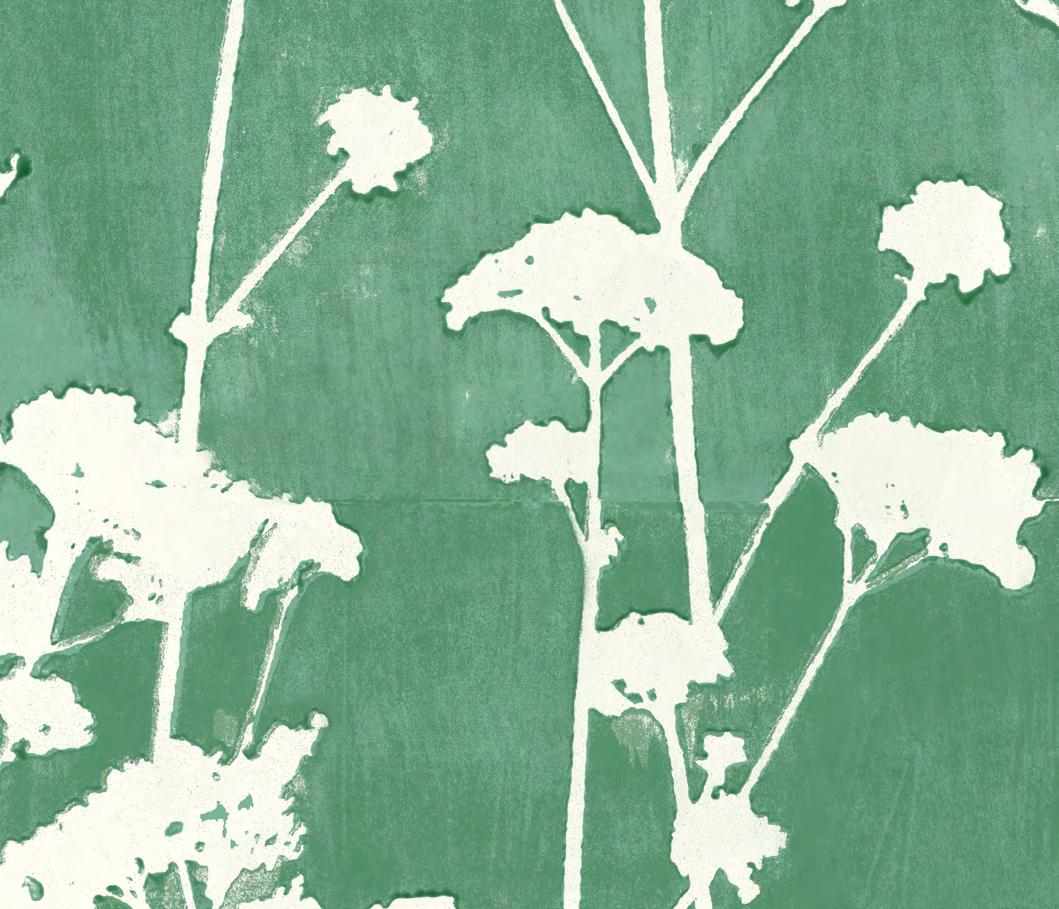
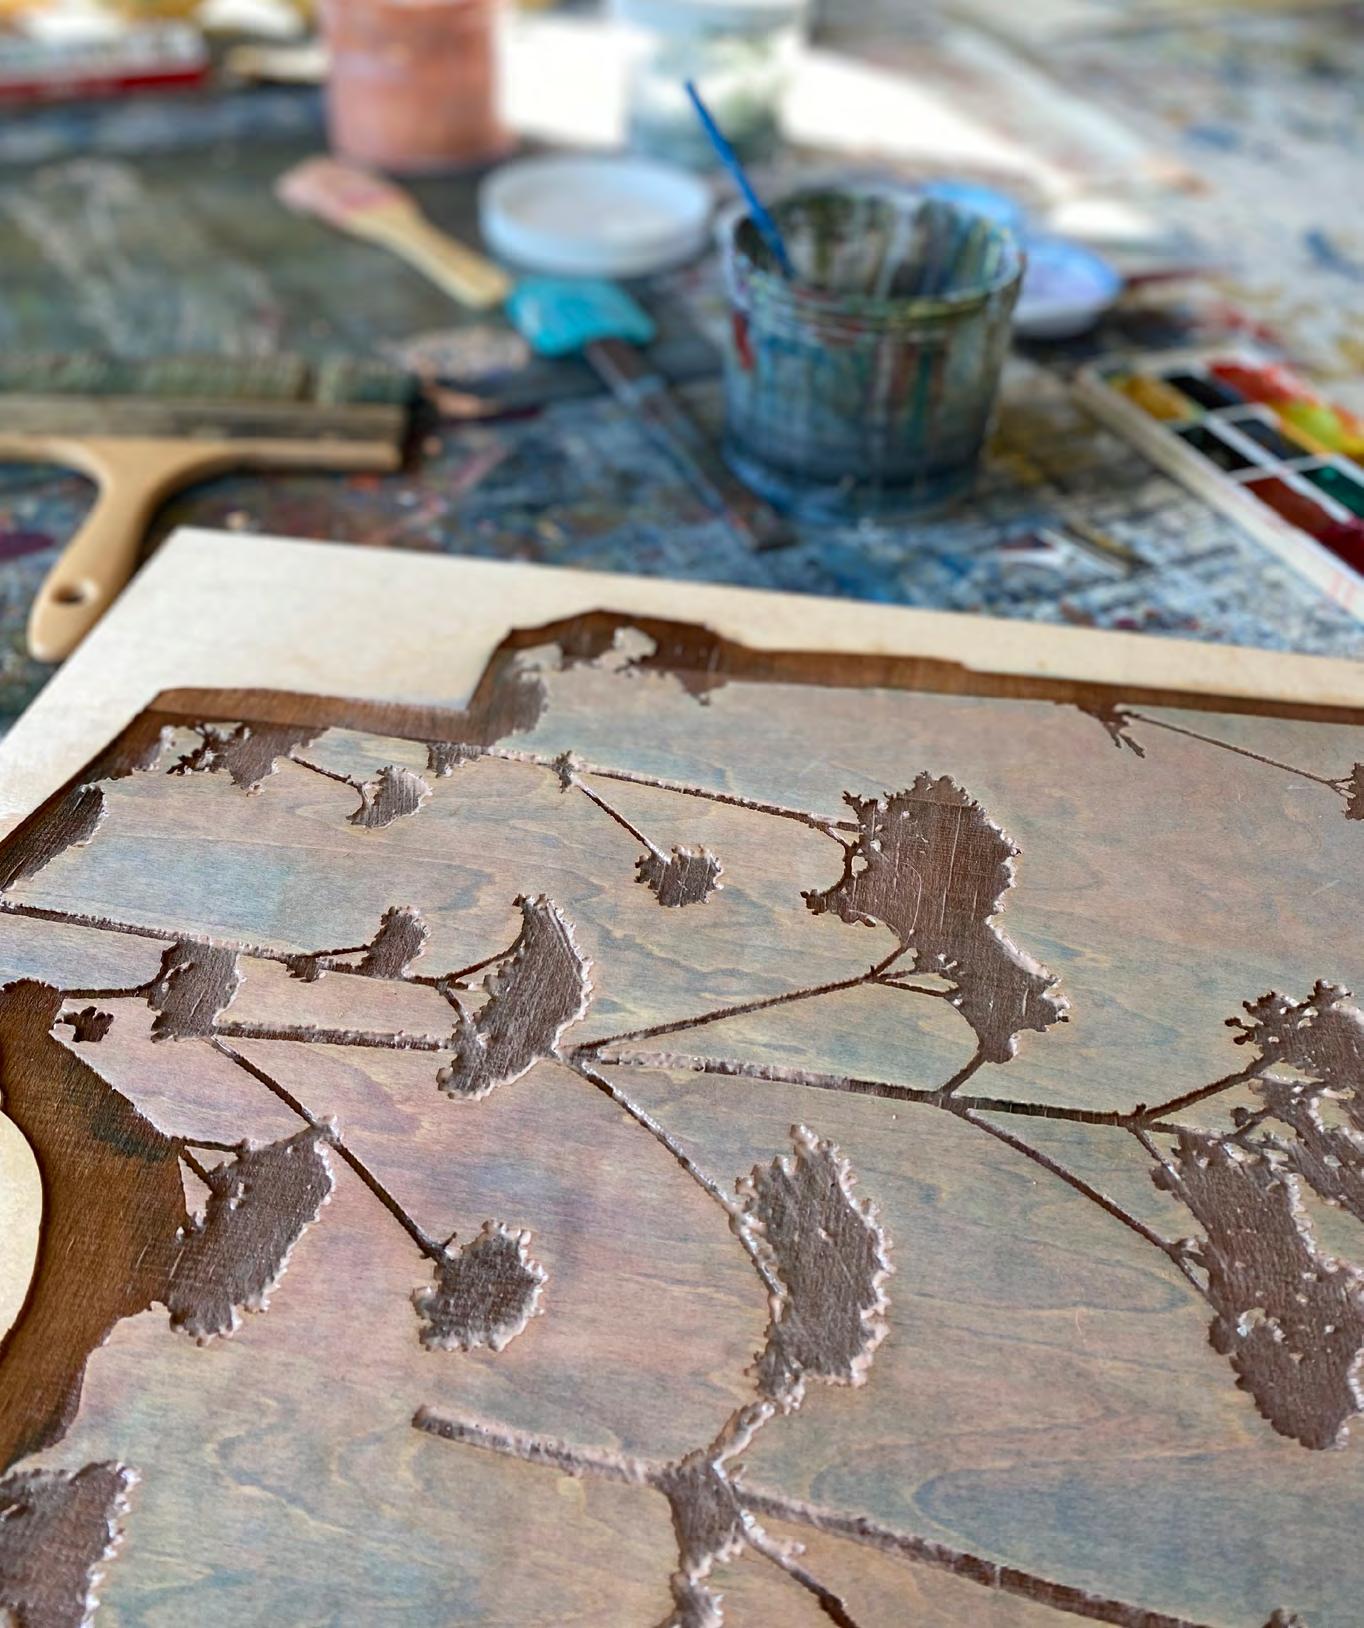
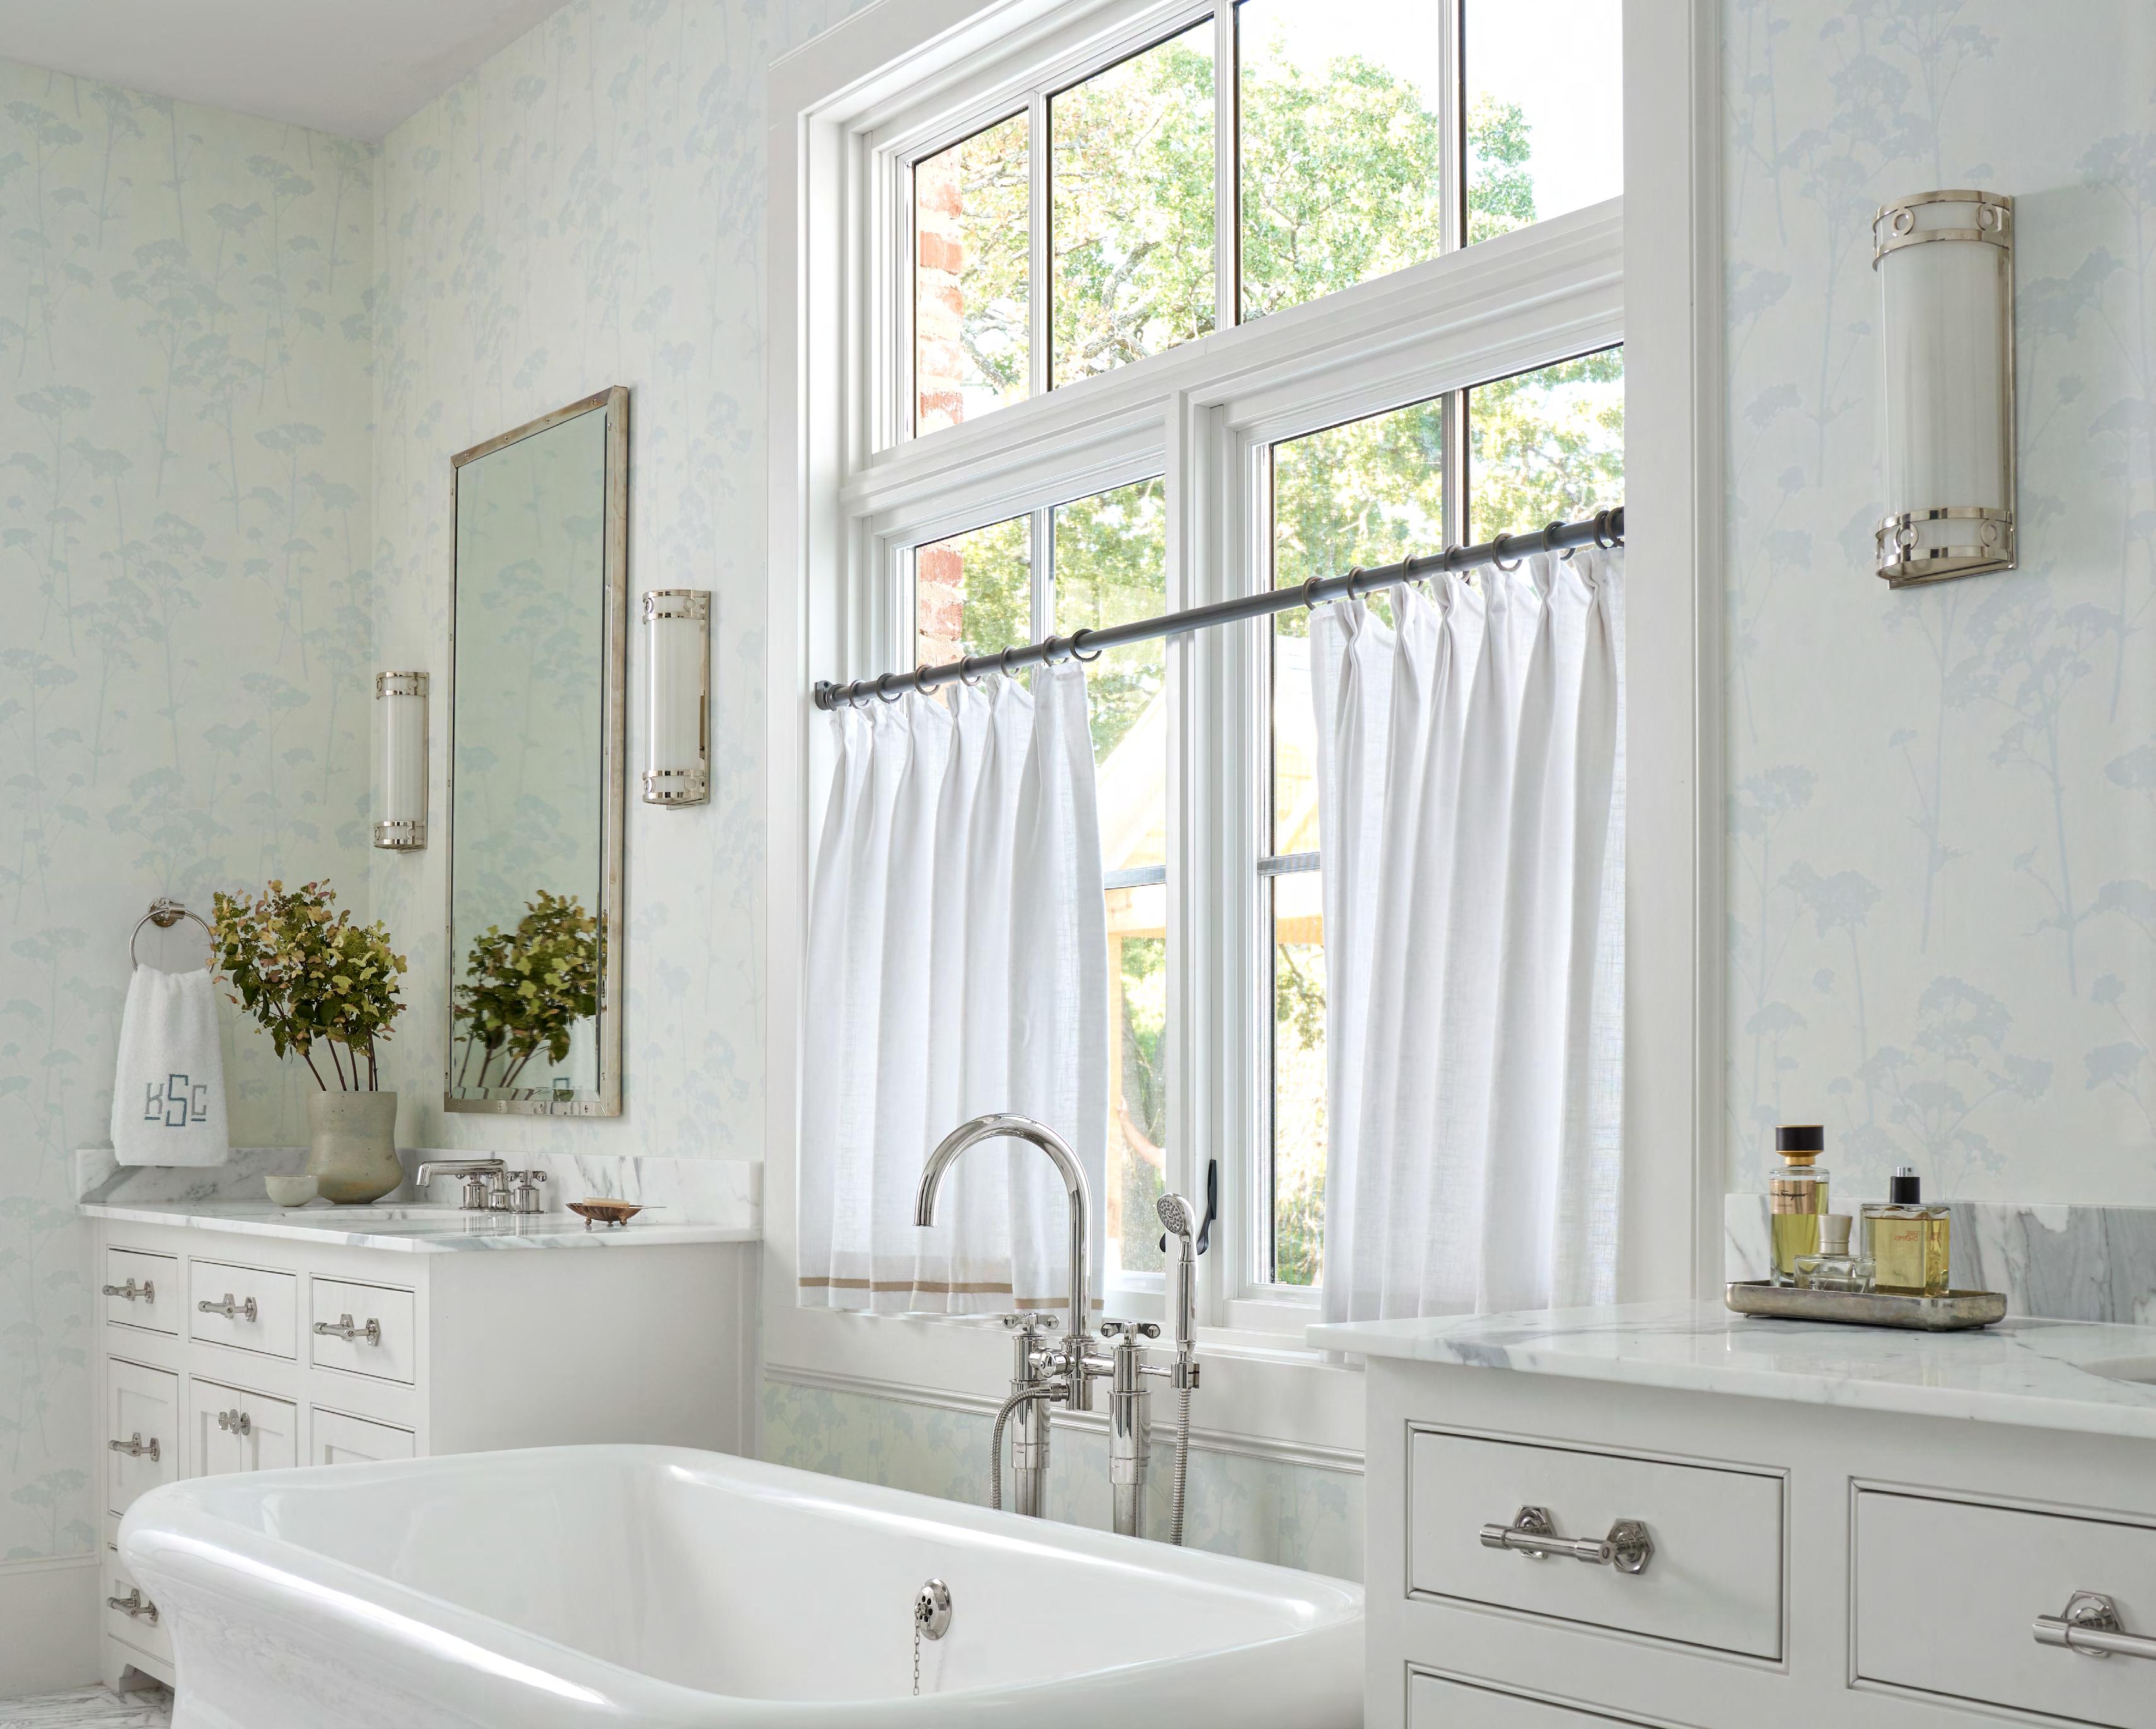
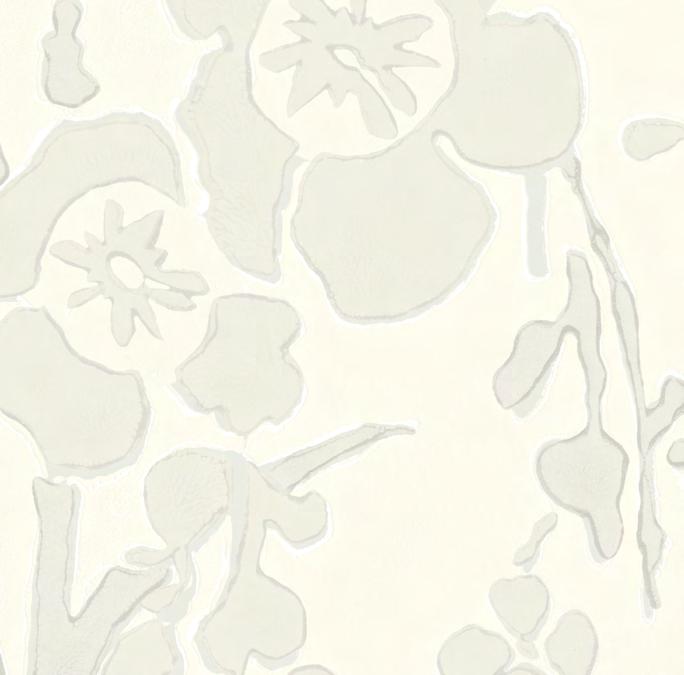
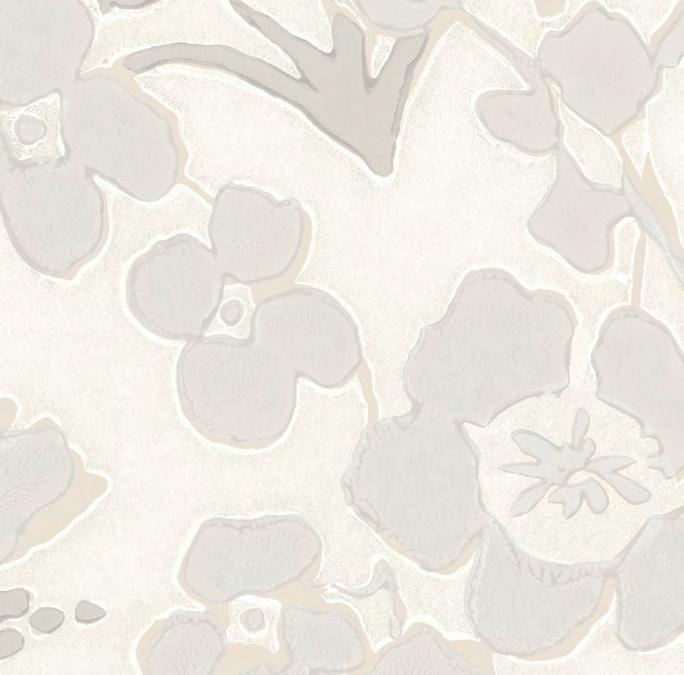
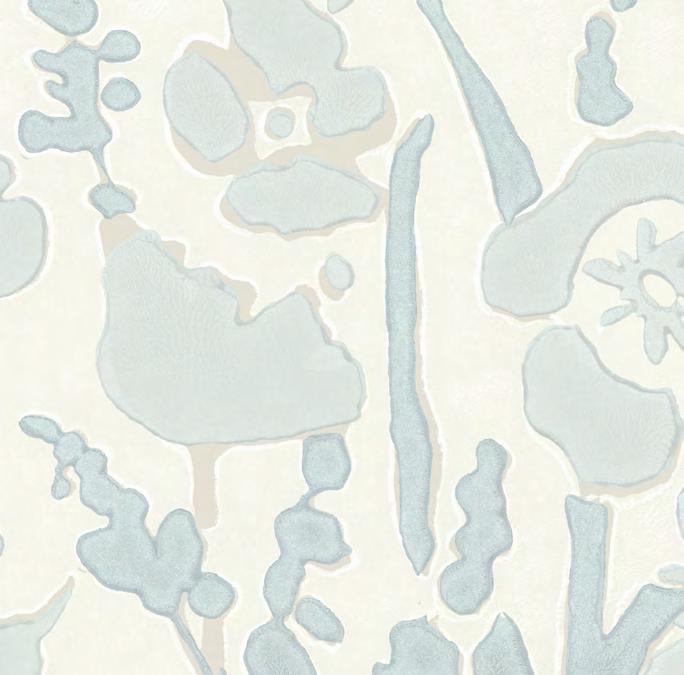
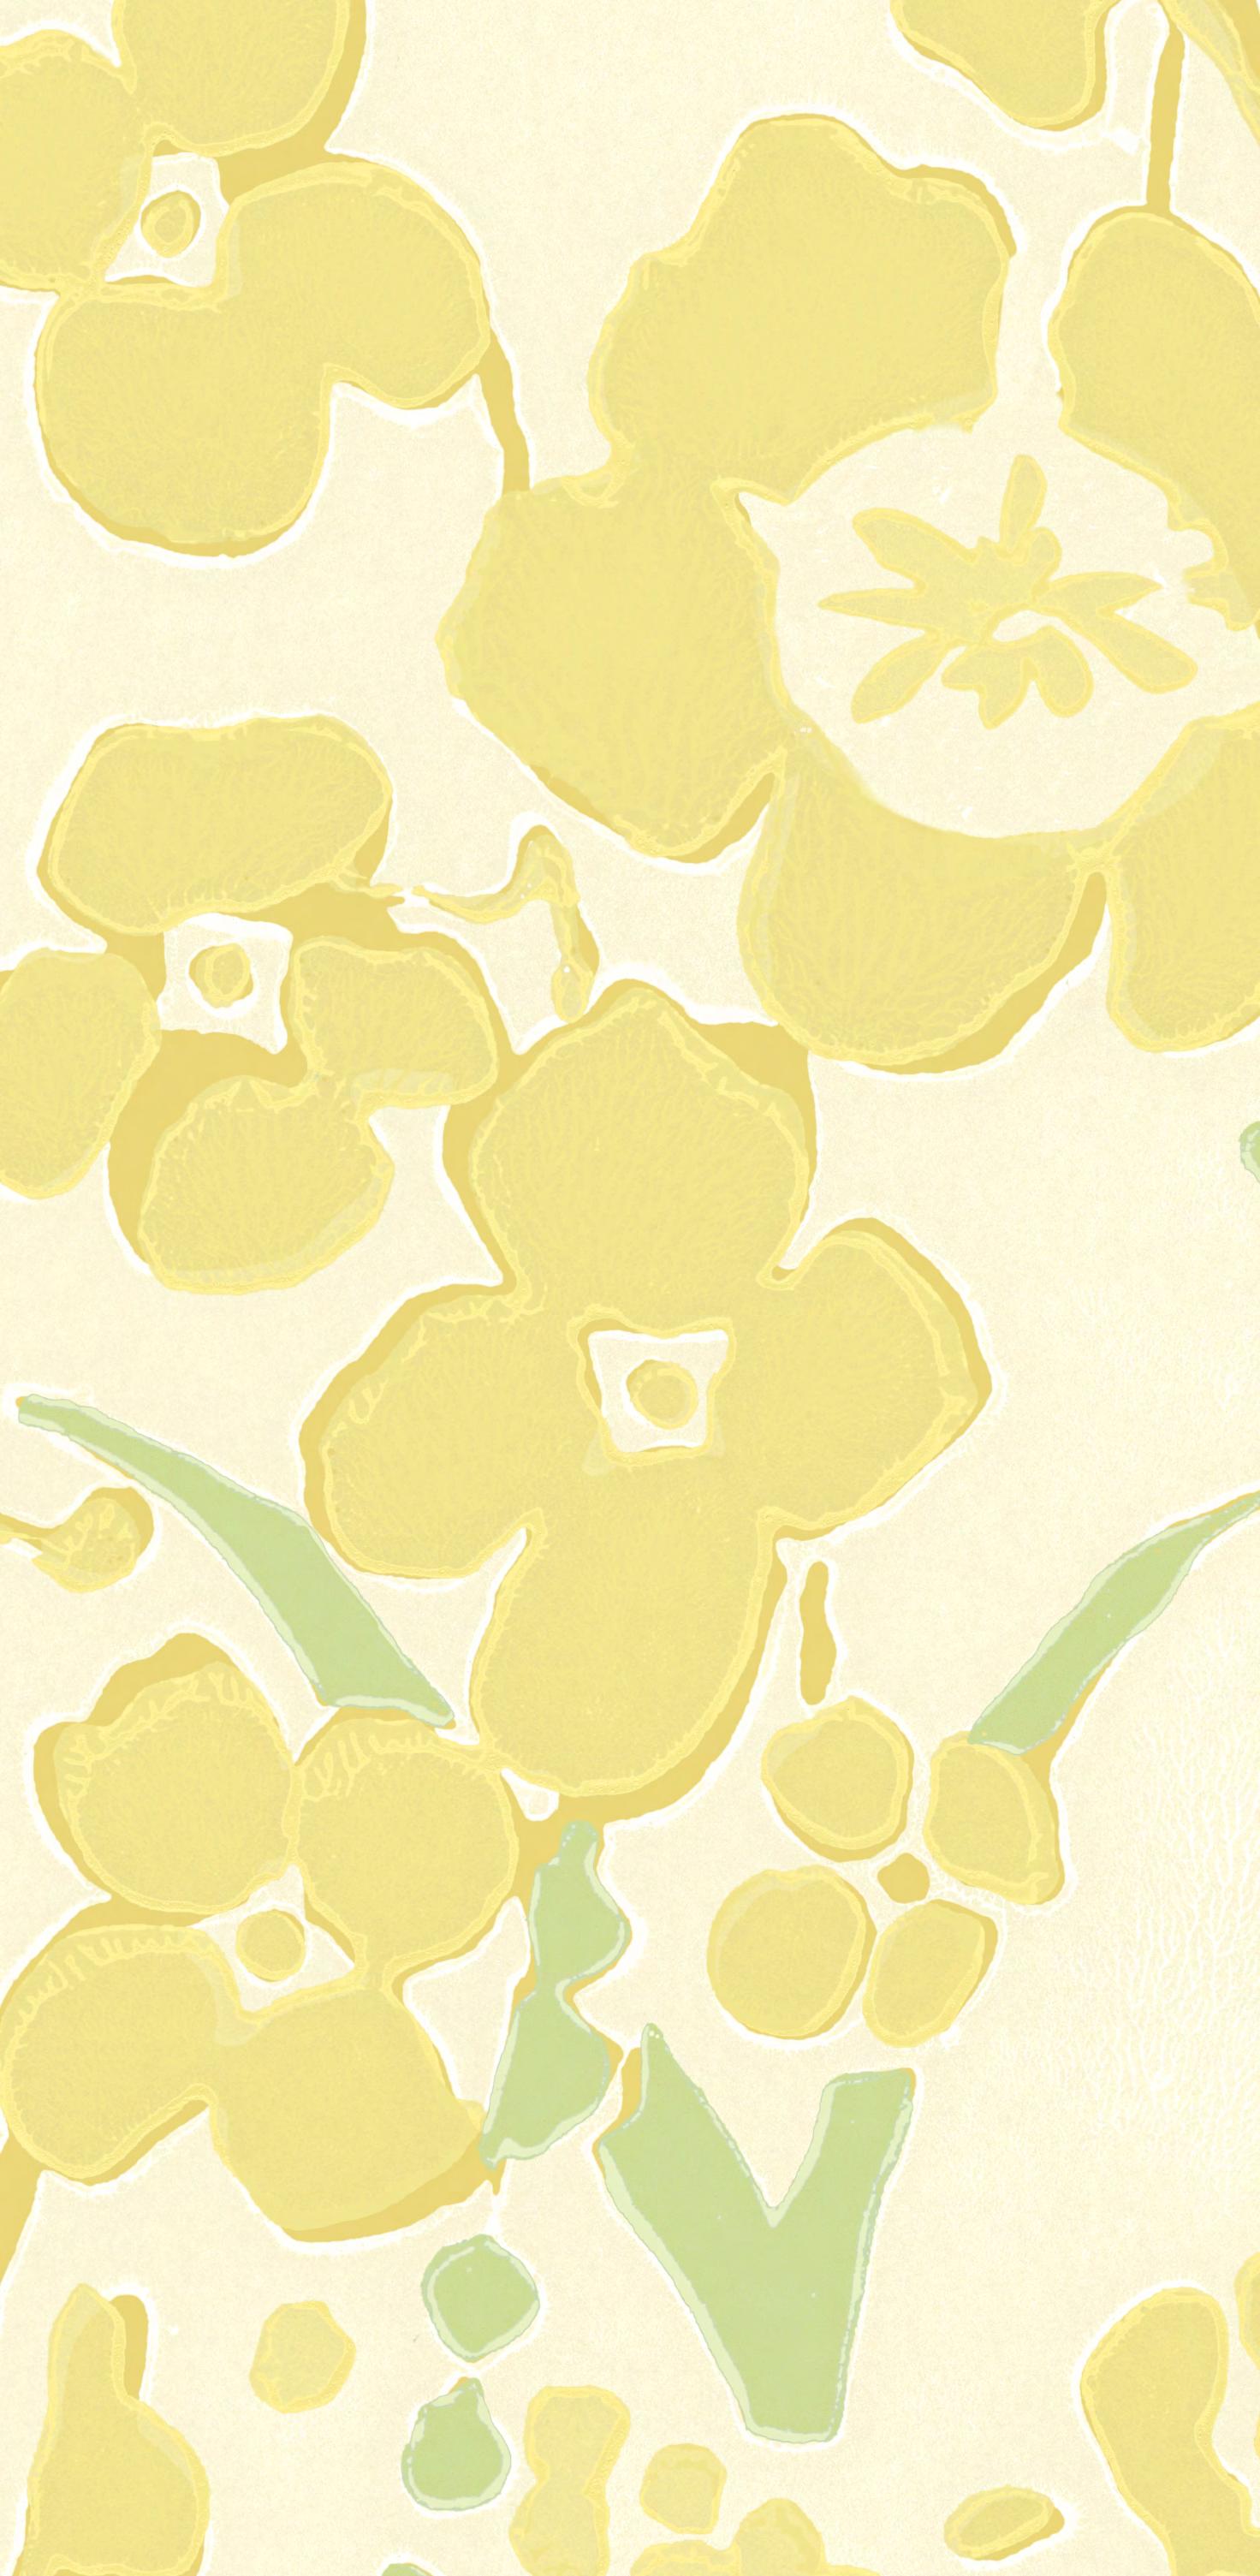
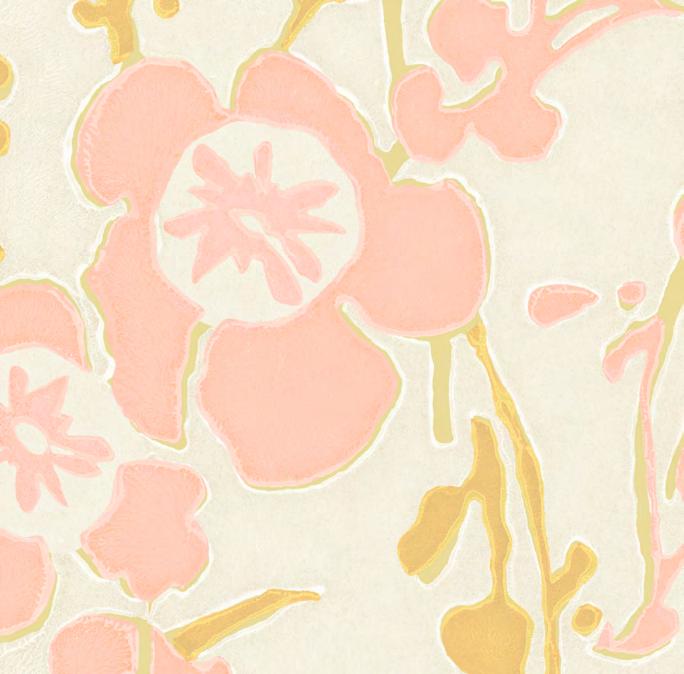
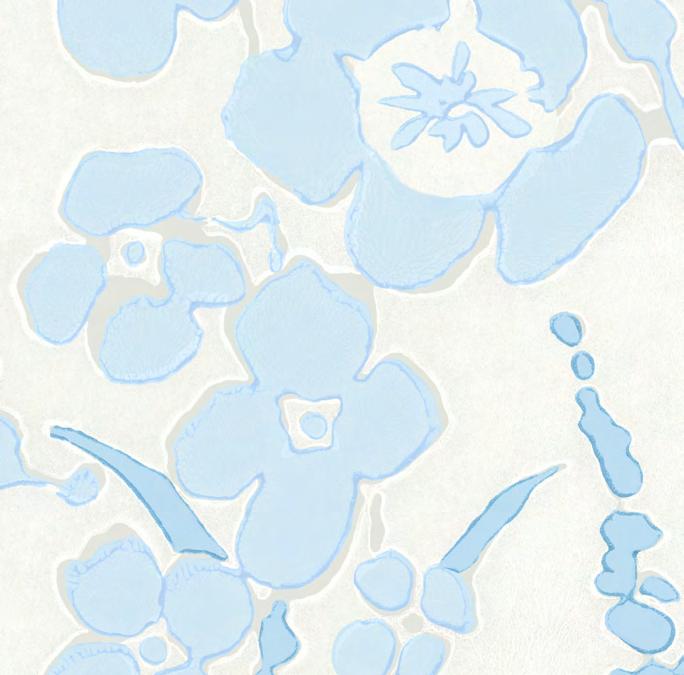
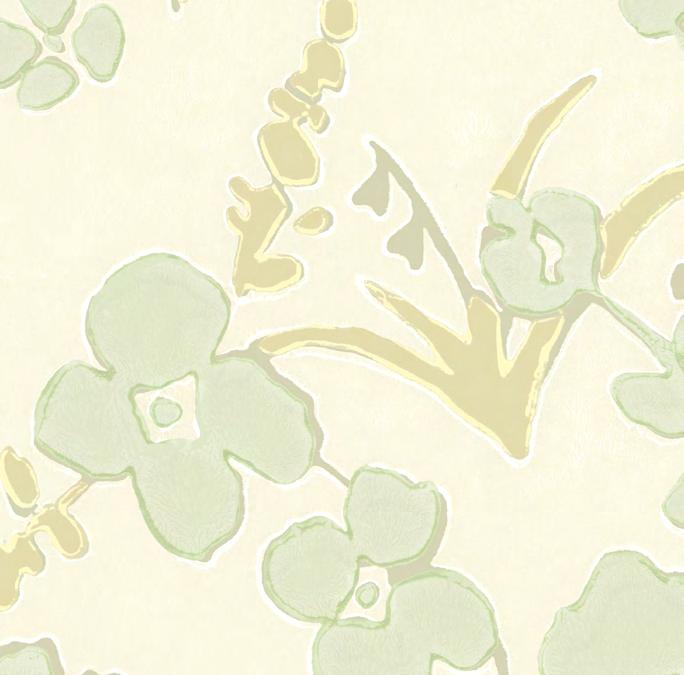
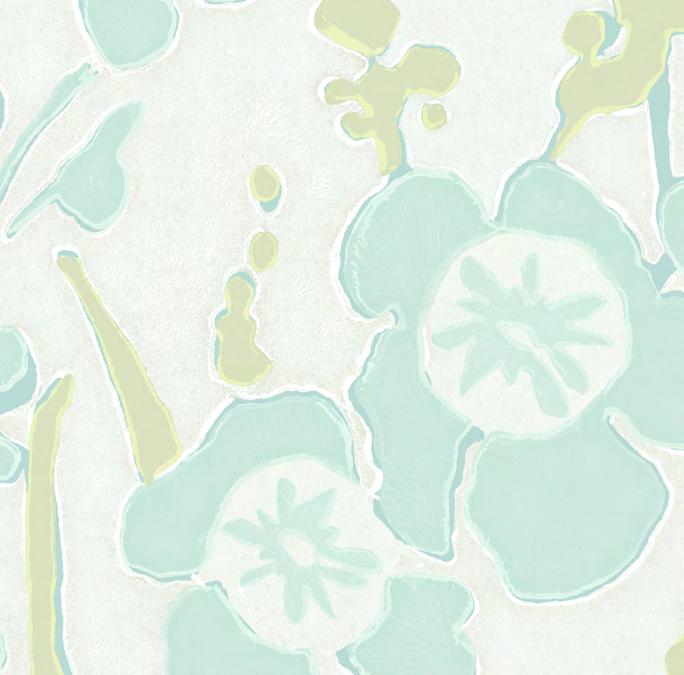
My son brought home a scraggly little plant for me. He planted it in the garden beside our deck and I forgot about it. It grew quickly like a weed and bloomed right next to the chair where I have my morning tea. The aroma was magnificent, the bees loved it and the bloom structure was so strong and architectural. This was all during lockdown and I had a lot of time to consider the Valerian - whose name means ‘health’ and ‘strength’ - and realized I wanted it to dance across our walls in all seasons. Wood blocks were made and textures experimented with. I could see it being used in so many places that we went overboard with the color ways - 18!
It’s worth planting just for the scent alone.
design by mAry beTh wAgner vAleriAn in feATher
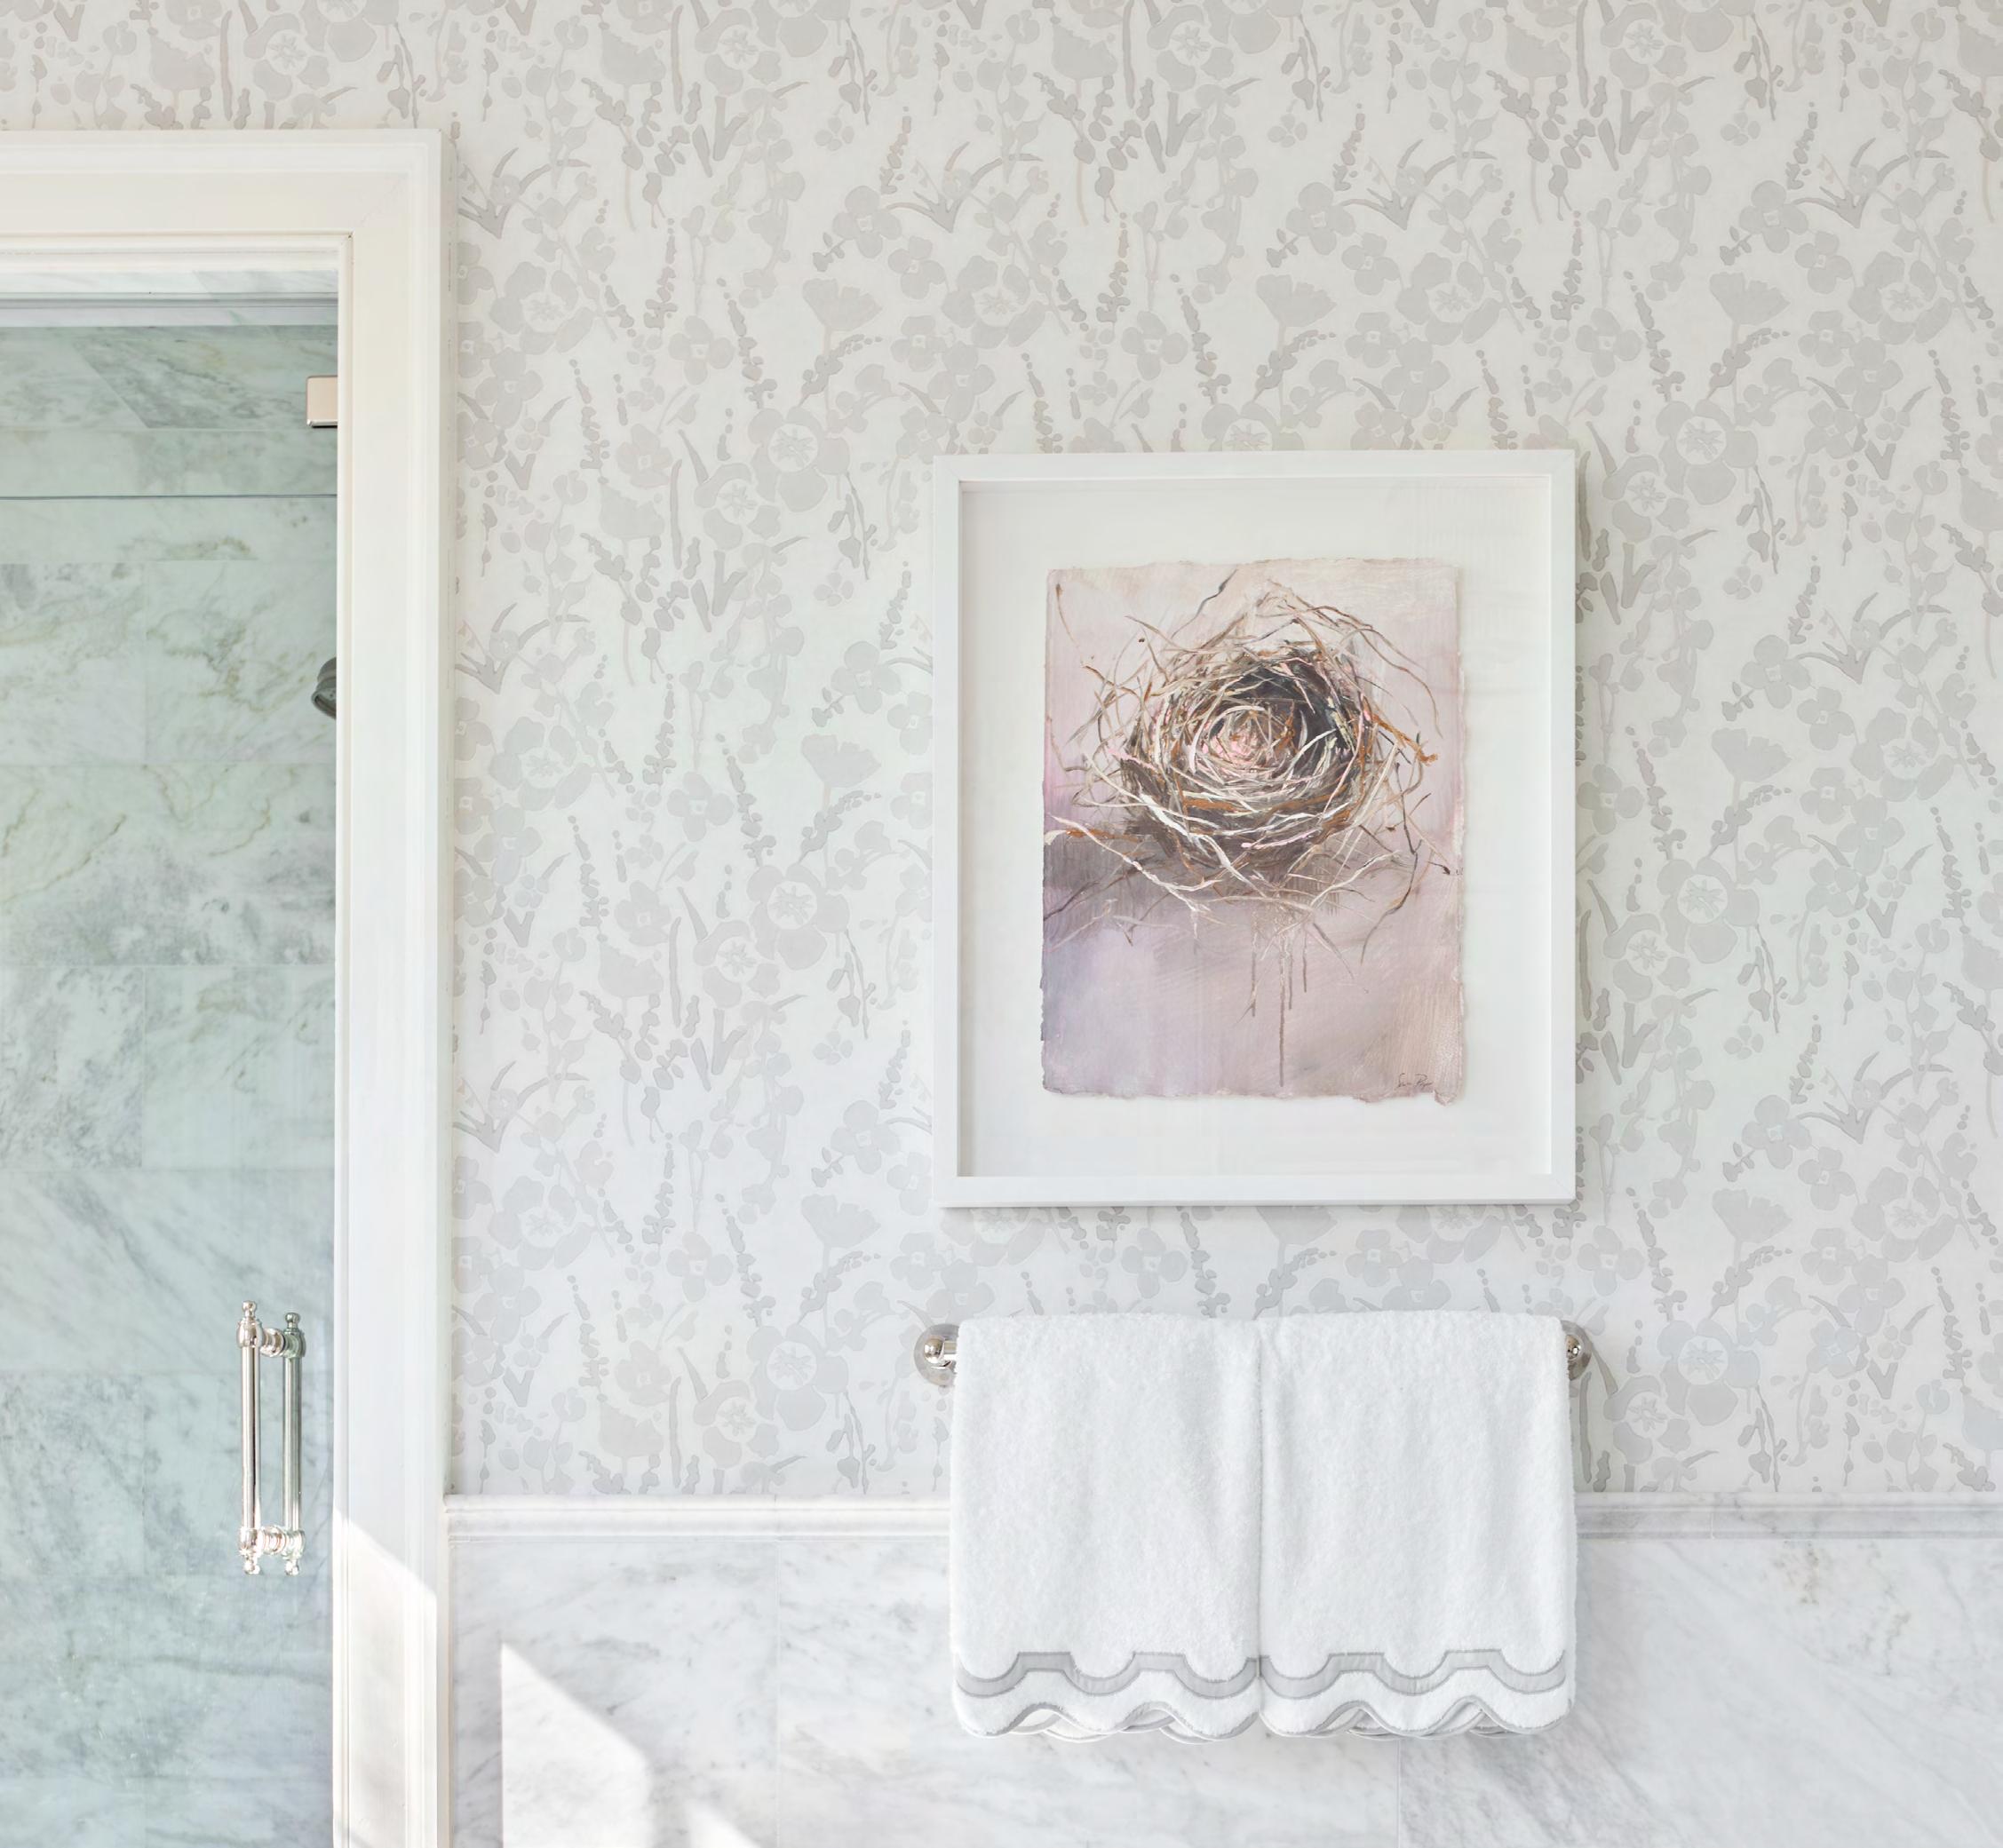
design by CAroline willis inTeriors | wildflower in birCh
CUSTOM WALLPAPER PROCESS
Because our wallpapers are printed to order, creating a custom is easy and fun! You can mix and match our colors or send in your own swatches.
There is no additional cost per yard for Custom Wallpaper, but a Strike Off and fee are required.
Here are the steps for customizing our wallpaper. Many of the tools for customization are on our website.
1. SCHEMATICS. Visit galbraithandpaul.com and find the schematic for the pattern you want. Schematics are located on each pattern page. They show color placement by number and list all the colors for our standard wallpaper memo samples. These schematic numbers will be referenced when ordering a custom Strike Off with the
Custom Submittal Form.
2. COLORS. You can use any color from our color palette/chart, which is available online or as a paper document from any of our showrooms. You can also submit outside colors for matching from paint chips, fabric swatches, rug samples, etc.
3. CUSTOM SUBMITTAL FORM. This form is required for custom orders and can be found on each pattern page next to the Schematic. Fill out the Custom Submittal Form to detail your color choices and placement, and submit it with your order. We will use the form to produce your Strike Off.
4. STRIKE OFFS. Strike Offs for custom are required. There is a fee for Strike Offs, and they take 7-10 days to complete. Once it is approved, the normal lead time of 2-3 weeks applies
5. MATCHING WALLPAPER AND FABRIC. To do this, you must start with the fabric and then have us match the wallpaper to the approved fabric. Use the Custom Submittal
Form and indicate it is a match to our fabric.
INSTALLATION INSTRUCTIONS
Galbraith & Paul recommends using a guild-certified wall covering installer (wallcoveringinstallers.org)
Before you start:
Please ensure you have the correct wallpaper and the right amount to finish the job. Please inspect the wallpaper carefully to make sure it has no defects prior to installing. Galbraith & Paul accepts no responsibility for wallpaper once it has been cut.
Wall Preparation:
Wall should be prepped to a smooth, clean, and dry surface prior to installation. Wallcovering will not hide wall flaws such as nail holes, bumps, or dirt. Primer sealer should be used on unpainted drywall. Use a hard, acrylic, pigmented wall-protecting primer. Products such as Shieldz Pigmentable Wallcovering Primer, Professional Ultra Prime (PRO-977), or Allpro Ultra Prep 685 are all suitable.
Paste Information:
Clear adhesives such as Professional Ultra Premium Heavy Duty Clear Strippable (PRO880) and Allpro Pro-Duty 3400 provide good adhesion and allow for easier stripping when the wall covering is to be removed or replaced. Pastes such as Professional Heavy Duty Clear PRO-838 have a more aggressive adhesion and should be used for more permanent applications. Apply a coat of the adhesive using a 1/2” nap paint roller. Book for 10 minutes.
Hanging Information:
Do not use tape on imaged surface. Align top and adjoining edges. Smooth panels into place with a smoothing brush, starting at the center of the panel working towards the edges. Use a plastic smoother to push air pockets to the edges. The low wet expansion of these products allows double cutting at the seams. Overlapping the seams is not recommended.
Please ensure that all paste has been wiped away from the front side of paper when installation is complete. Excess glue drying on the printed paper may cause damage to the print.


