5 minute read
Making A DIY Chalk Bucket

By Joe Gray
So, I made a DIY chalk bucket. I do very few DIY solutions in my gym and it is really only when the commercial products either are outrageously expensive or simply do not meet my needs. A chalk bowl, or in this case chalk bucket, happens to check both of those boxes as chalk bowls often cost upwards of $100 and typically are built for the commercial gym owner.
Advertisement
(note: Rogue Fitness does sell a large Chalk Bag for $60 -ed.)
I never liked the bowl concept as I often run two large fans in my gym during the summer months. Fans will toss chalk EVERYWHERE and I’m not about to sweep that up every time I lift. An open container (like most bowls) will have to deal with the fact that I live in Northern California and get a ton of rain (and moisture) in the winter, and 100+ temps in the summer. Not great for the longevity and consistency of my chalk. A bowl is also commonly pretty shallow, meaning more chalk falls on the ground, less stays in the bowl. I also wanted something I could move, as I wanted it out of the way for 90% of my lifts, but able to be used inside or outside depending on what I was doing.
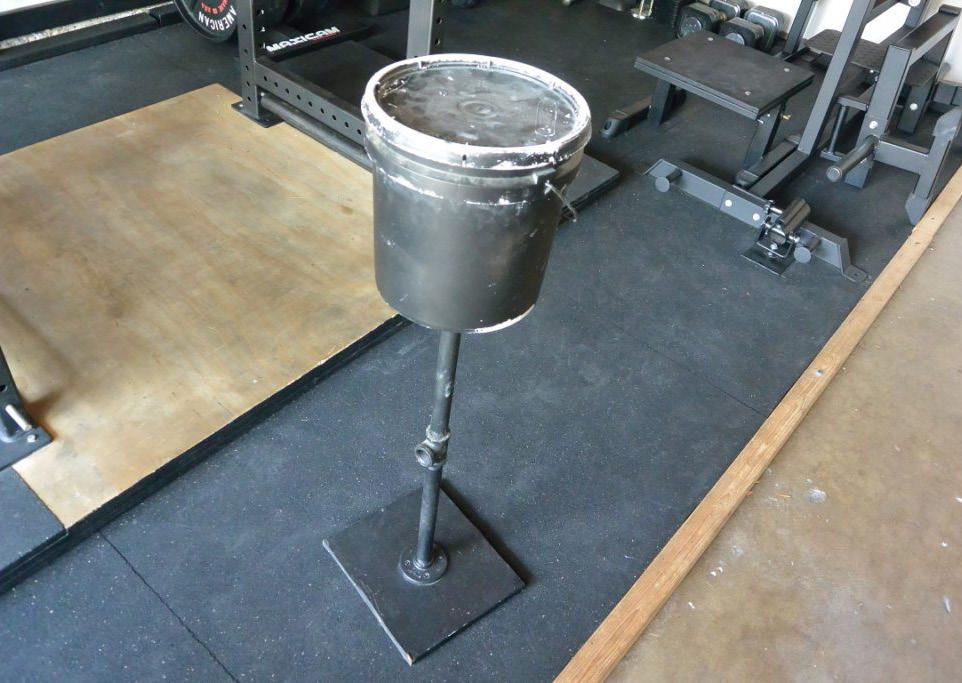
Enter – The DIY Chalk Bucket Items we need:
Bucket
Literally any bucket will work as long as it matches your needs and has a lid.
Scrap Wood
If you don’t have any wood, you need something about 6 inches by 6 inches. Maybe ½ inch thick. Just enough to give us a solid base that won’t tip over, but won’t take up a ton of floor space either. Remember, we aren’t exactly tackling the chalk stand every time we use it, but the last thing you want is to dump your load of chalk and defeat the purpose of having a stand and container entirely.
Pipe
This depends on how tall you want your stand, but mine is about 4 feet tall. Adjust accordingly for your needs. I believe my pipe is ¾ inch.
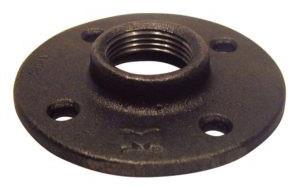
Pipe Flanges
I used two of these, one to attach to the wood base, one to attach to the bucket. Just make sure whatever pipe you buy, that the flanges fit the pipe. Screws x 4 –You need screws that will be long enough to hold the pipe flange, but short enough that they don’t break through the bottom of your wood base. The thicker your base, the longer your screws can be. If they break through even a little, the tips will be on your floor and likely make the base wobbly. But too short and they will snap with any movement. Lean towards short and supplement with glue as needed.
Nuts, Bolts, Washers
You will need 4 bolts, 4 washers, and 4 nuts. These will be used to connect the bucket to the pipe flange. The bolts should fit through the pipe flange, with as little wiggle room as possible, and extend into the bucket far enough for the washer and nuts to clamp down. If they are a little long, no worries. You won’t see it anyway. Nuts just need to fit the bolts. Washers need to “fill the gaps” between nut, bolt, and bucket.
Caulking
Because the bucket will flex a little, it’s a good idea to caulk the inside of the bucket where you used the bolts and nuts, to make sure you aren’t leaking chalk everywhere.
Chalk
If you don’t already have chalk, it’s cheap on Amazon in a huge bulk buy that will likely last you a lifetime.
Tools
Drill with drill bits I’m a big fan of pilot holes, so just make sure whatever screws and bolts you are using, you have drill bits that match.
Saw
If you are cutting a board for the base, you’ll need something to cut it with.
Protection
Always wear eye protection, mask, gloves, etc. as needed for your jobs. It’ll be really difficult to set a new PR when blind and missing 3 fingers.
Optional items: Paint
If you want your stuff to match, or simply want that extra finishing touch, grab a can of spray paint and paint the pipe, base, etc. The bucket likely won’t hold paint well (plastic that flexes tends to not) so I’d recommend finding a bucket that matches your paint preferences.
Sandpaper
If you are cutting a base board and typically make rough cuts, think about getting some sandpaper to help smooth it out.
Additional Pipe
Side note on items:
My stand is actually built from two pieces of shorter pipe connected with a T. This is ONLY because I had these already and didn’t want to buy a new long pipe. It does provide some possibilities like adding a few pipe pieces and hanging collars, straps, etc. from the bucket. But totally optional.
Instructions
1. Cut your base board to size (sand sides for a smooth surface if necessary)
2. Drill pilot holes in the base board for the first pipe flange.
3. Place pipe flange on base board, and attach with screws. (see fig 1)
4. Screw pipe into pipe flange on the base.

fig 1
5. Screw pipe flange onto pipe at the top. a. If you are painting, go ahead and paint here before the bucket is attached. Let the paint dry for the time required, then proceed.
6. Drill pilot holes into bottom of bucket for the second pipe flange.
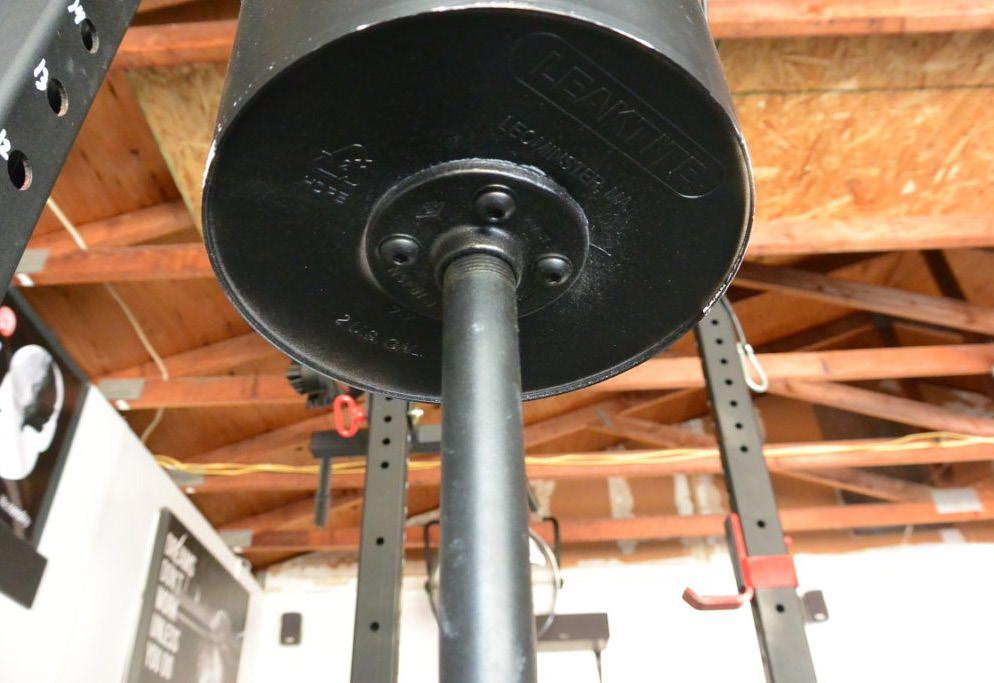
7. Attach pipe flange to bucket, with the washers and nut on the INSIDE of the bucket, pipe flange on the outside. (see fig 2)
8. Use your caulking gun to get a nice layer around each nut and washer on the inside of the bucket. Again, this will keep it from leaking at all. Don’t worry about it looking too clean, this will be
9. Let the caulking dry (I’d wait double the recommended time if not more to avoid any issues with chalk adhering) and then fill the bucket with your chalk.
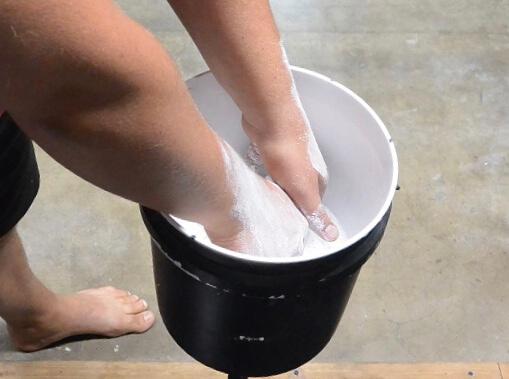
10. Use chalk bucket for new PRs!
11. Anyone with a base level of DIY skills and tools, a few minutes, and some spare cash or spare scrap items, can likely make this happen. It’s not quite a Rogue Chalk Bowl in terms of sexiness, but it certainly meets my needs and was a better use of my funds. Any questions, as always, let me know!
You can reach out to Joe Gray @gray_matter_lifting on Instagram.