4 minute read
Photoshop Spring Break
from june-july20
by Hiba Dweib
Usually we soften portraits, but not this time. We are going to crack it up. Big time..
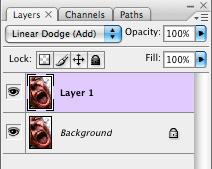
Step 1: Open the image in Photoshop and duplicate it. Now set the new layer to Linear Dodge. This gives our portrait more vivid colors.
Advertisement
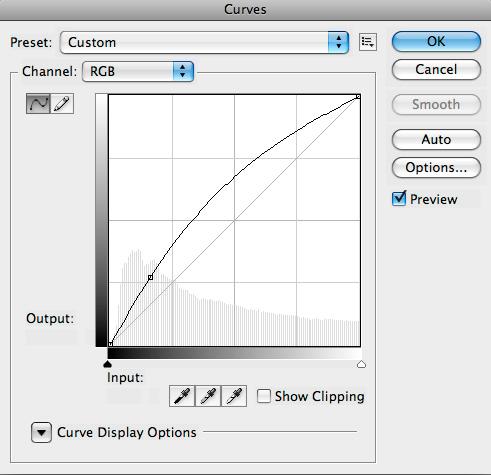
Step 2: Let’s get even more Contrast and Dynamic. Create a new Adjustment layer „ curves „ . Make sure you have the Channel set to RGB and slightly give the Contrast a little Boost.
Step 3: To add more Contrast hold down the [ALT] Key and click in the layers window between the Curves layer and the layer beneath ( in our case it’s called Layer 1 )

Step 4: Okay. Now starts the fun part of our project. Let’s take our texture and place it in our PS document right on top of the other layers. Set the layer mode to multiply.
Step 5: Now we want to get rid of the red colors in our work. That’s an easy one. We go Just beneath our texture layer and add another Adjustment layer. Create a new Adjustment layer -> Hue/ Saturation. Now take the Saturation down to -100.


Step 6: Adding shadows. To make our work look more 3D we will have to boost the shadows, espacially in the mouth and between the theeth and the upper lip.
For this I like to work on a layer, that contents all the visual layers beneath, just like a screenshot. That gives you even another advantage: you can adjust the intensity of the shadows with the opacity of that layer. Make sure you have the top layer selected. Hold down [shift] + [Ctrl] + [alt] press [N] , then [E]. That will give you a layer that contains all the other visible layers.
Step 7: Select the Burn tool [O]. Range: Midtones. Exposure: 10 – 20 %. Choose a round brush with soft edges and start burning up the shadows. The blue lines show you where you should boost the shadows.
Step 8: To get more life in our picture we can give more color to our grass. So let’s add another Adjustment layer on top of our composition. New Adjustment Layer -> Hue/ Saturation. Instead of Edit: Master we choose -> Edit: Greens. And now we increase the Saturation for about + 20.


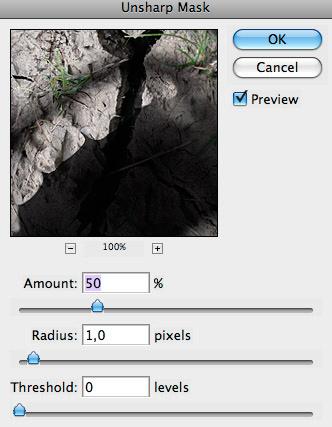
Step 9: Well, we did it. Now we can flatten the image and sharpen it up a little. After the flattening we go to Filter -> Sharpen -> Unsharp Mask....
The settings you choose depends on what you want to do with your project. If you want to print it, i recommend to sharpen it a bit more than it looks perfect on your screen.
Now your effect is complete, I hope you have enjoyed this tutorial.

by Kriss Skorjanec krisstus@digitaljesus.eu
Project Dogwaffle at TheBest3D.com: Beyond Digital Painting
Do you like to Draw? Paint? Animate? Do you have 3D animations that need post work? Special FX?
Discover the fun of digital painting and animation with Project Dogwaffle
Planetary Art - Create fabulous planetary textures for great space art! Dogwaffler of the Moment - Great western art - native americans, cowboys and eagles


Credit: Philip Staiger
Credit: Frank Bonaquisti See the animation – Click here
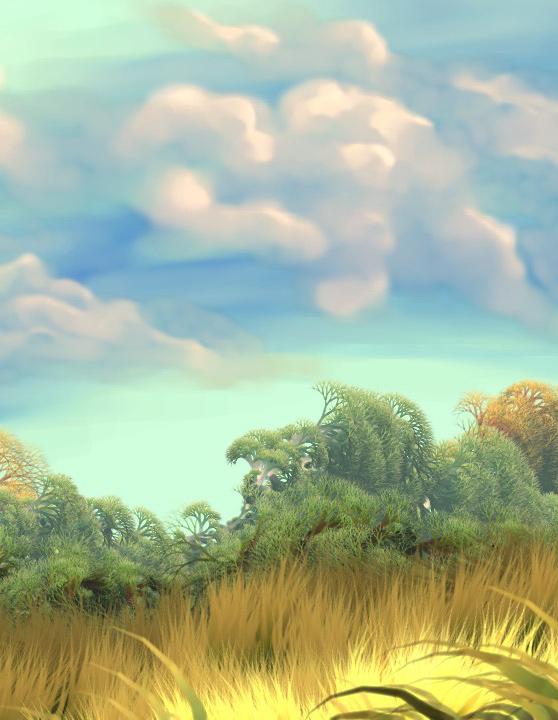
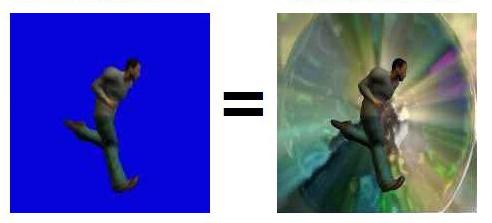
Painting with Particle Brushes - Use Particle brushes and special FX filters to turn a simple screenshot from your game into a dramatic vision. Blue Screen Compositing of Animations - Take your 3D rendered animation or video sequence into a different world. Use PD Pro for blue- or green-screen compositing.

June-July 2008 Promotion for CGArena Readers
Order Buy PD Pro 3.5 or 4 and save 25% over the regular price. Order the download edition from the BMT store. Click Here! PD Pro 4 regular price is $119 , PD Pro 3.5 regular price is $79 Be sure to enter this discount code when ordering till 31st July 2008: BHCB0003U


