POSITION

INTRODUCTION
Working in a reclined seating position is an underrepresented work posture in the office world. This project deals with how the integration of this work position could look in an office environment. The multi-part reclining object can be assembled as desired and invites you to adopt various horizontal working positions. The multi-part nature allows for the creation of different configurations, from individual workspaces to conversation pits. The project addresses SDG 3 „Health and Well-being“.


ANGLE TESTER ITERATIONS
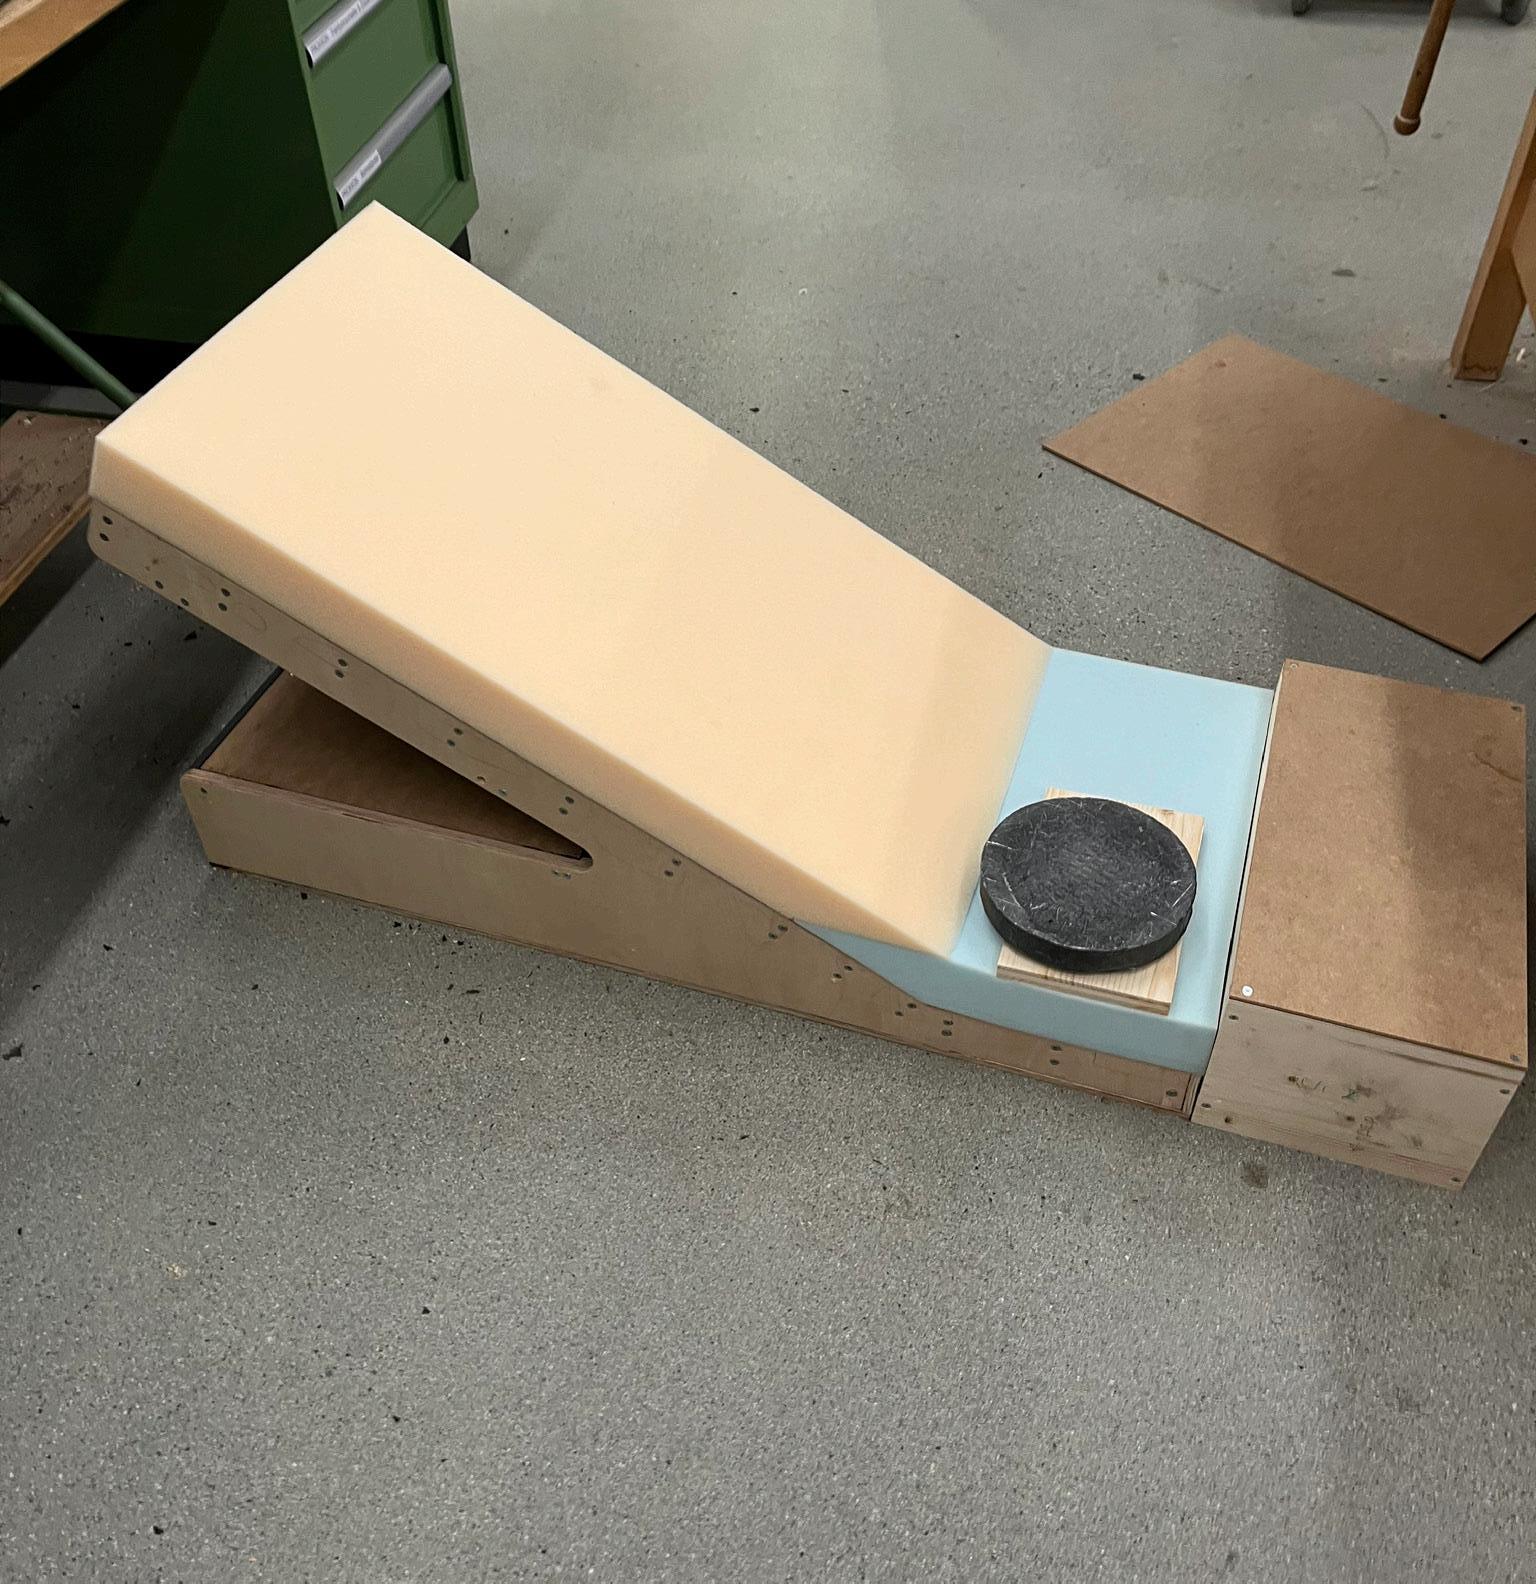
I decided to build a tester that allowed different seating angles to see in which position a person could work, what the challenges could be, and how I could overcome these challenges.
ANGLE TESTER FUNCTION
Three boards (backboard, legboard, and footboard) made up the angle tester. All of these boards could be moved as shown in the picture above.


PRODUCTION OF THE TESTER


TESTING THE SEATING POSITION
OUTCOME
On the tester that I built, I let a few friends sit to see if they could imagine working in various horizontal positions. I decided to experiment with the zero gravity position and let my test subjects work in that position, receiving positive feedback. Most of them could imagine working in a zero gravity position, so I decided to include that position in my final prototype.


INSPIRATION
To get some inspiration, I went to Vitra and attended Milan Design Week. For my work, the most interesting piece of design was probably from Verner Panton. I was also very interested in conversation pits and how I could incorporate a conversation pit into my final work.


INSPIRATION
MAKING ITERATIONS


VERSION 1
Version 1 was based on a foldable concept. It was 140 cm wide and 200 cm long to be as close to a bed as possible. You could fold three parts to create an angle on which you could then lean. This concept aimed to bring the closest thing to a bed into an office. However, it was too big and impractical for an office setting.


VERSION 3
Version 3 was based on wedges that could be moved on the floor, giving the object a whole landscape to work with. I decided to incorporate that modularity into my final design.
FINAL CONCEPT
I decided to create a four-piece object that would allow for high flexibility and, therefore, be useful in a variety of different situations. The concept is a result of what I learned from the past iterations, incorporating the best elements from each to create the optimal solution.


MAKING THE PROTOTYPE


STEP 1
DESIGNING WITH RHINO
I designed the main form in Rhino to visualize it. The design consists of five shapes (including the headrest) that can be arranged according to the user‘s needs.
STEP 2
CONSTRUCTING WITH RHINO
To make the frame out of wood, I first constructed it in Rhino so that I could then CNC the two main parts that hold the structure.
STEP 3
BUILDING THE FRAME


STEP 4 CUSHIONING


STEP 6
BATTING


STEP 7
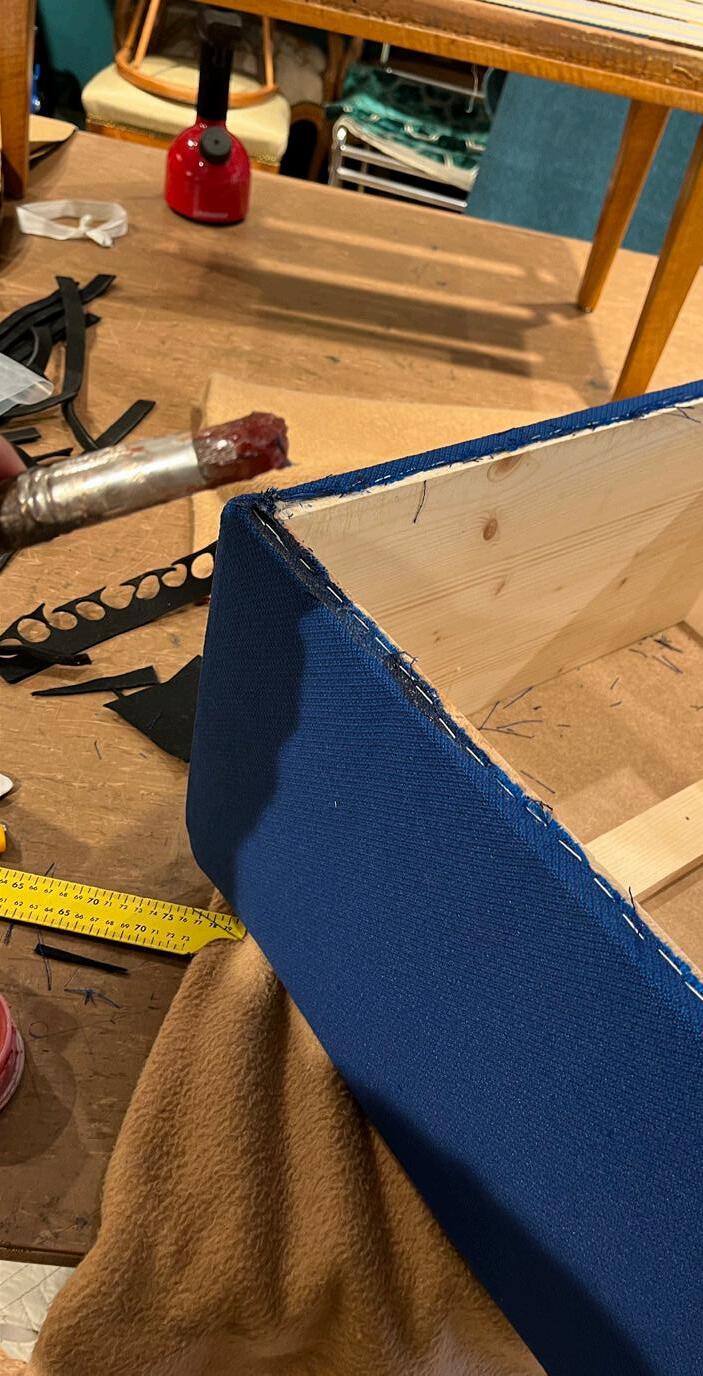
UPHOLSTER THE PROTOTYPE


STEP 8 CUTTING


STEP 10 FINISHING


THE PROTOTYPE


 The pedalo boat should be viewed more as a mobile
The backrest can be raised to offer support for the


DEMONSTRATION


THANKS TO
Isabelle Wenger
Luc Reinacher
Patricia Guagliardi
Mattia Gagliano
Michael Schwegler
Bigna Suter
Familie Widmer
Kvadrat
Stilwerkstatt
Holz Werkstatt
