
21 minute read
Manual


H A V I N G TROUBLE
If you’re finding the manual hard to master, try sitting on the saddle with both feet on the ground and your front wheel in the air. Rock forwards and backwards, and feel for the balance point. This should give you an idea of how it should feel when you do it for real.
BIKE SET U P
It’s crucial to have a sharp rear brake that you can feather with one finger. This will stop you flipping onto your back! Making sure the saddle is down and out of the way will also make the bike easier to control.
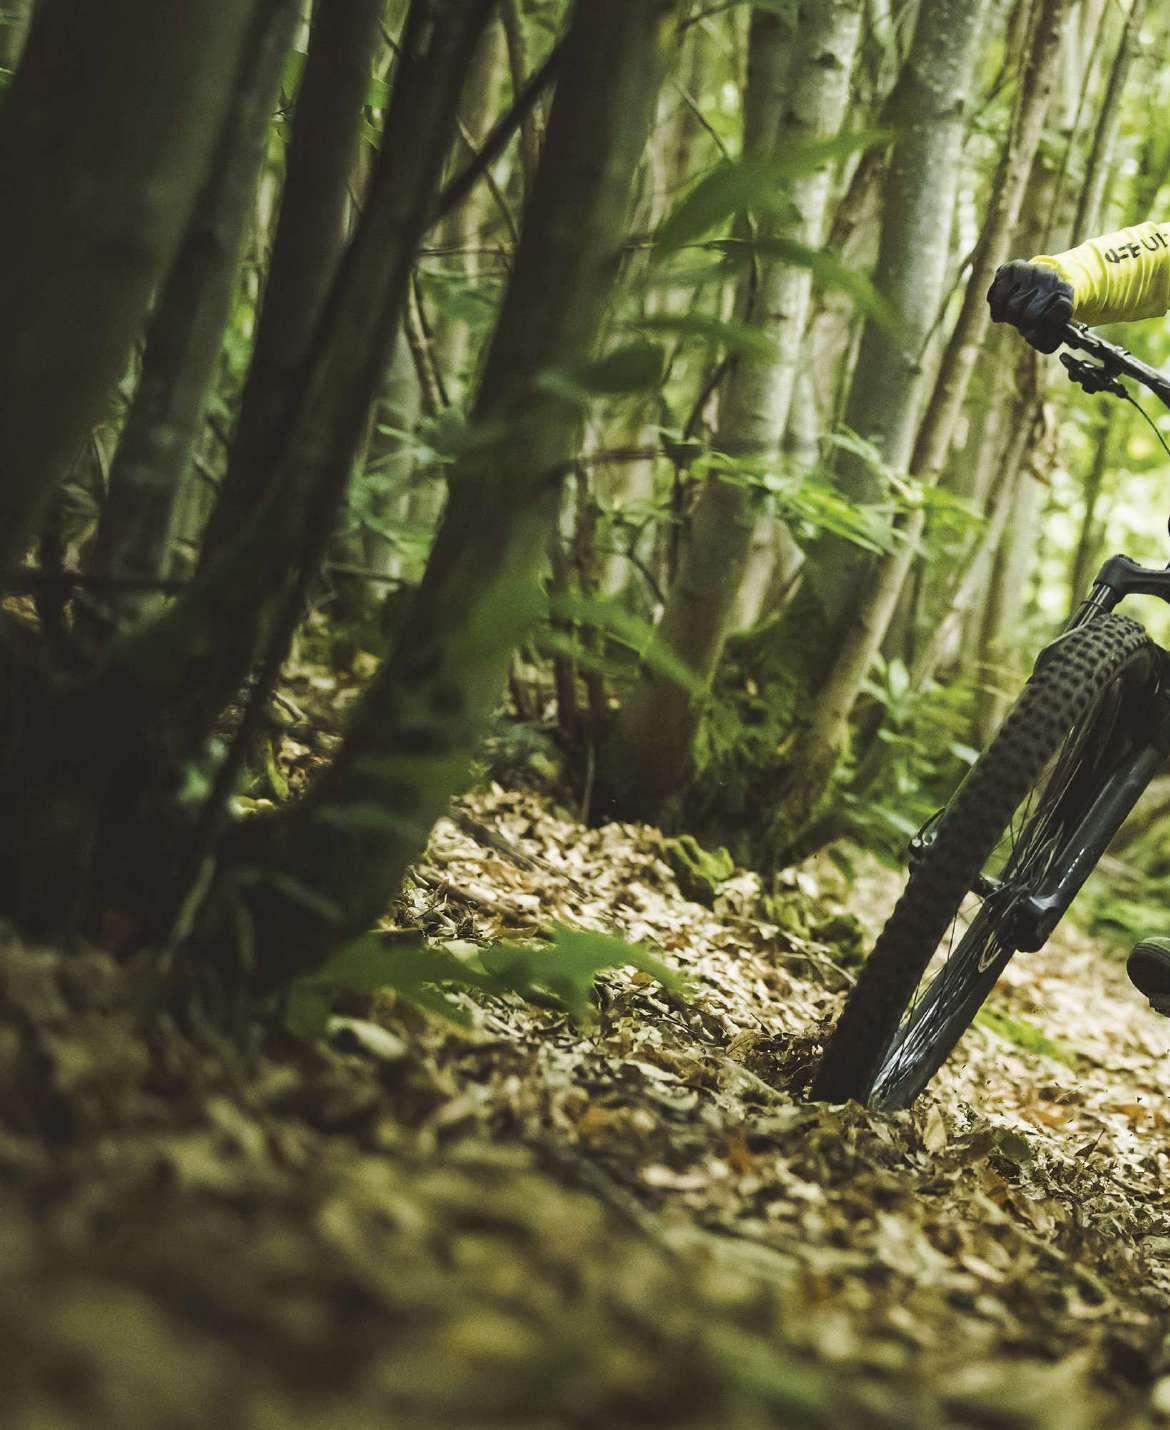
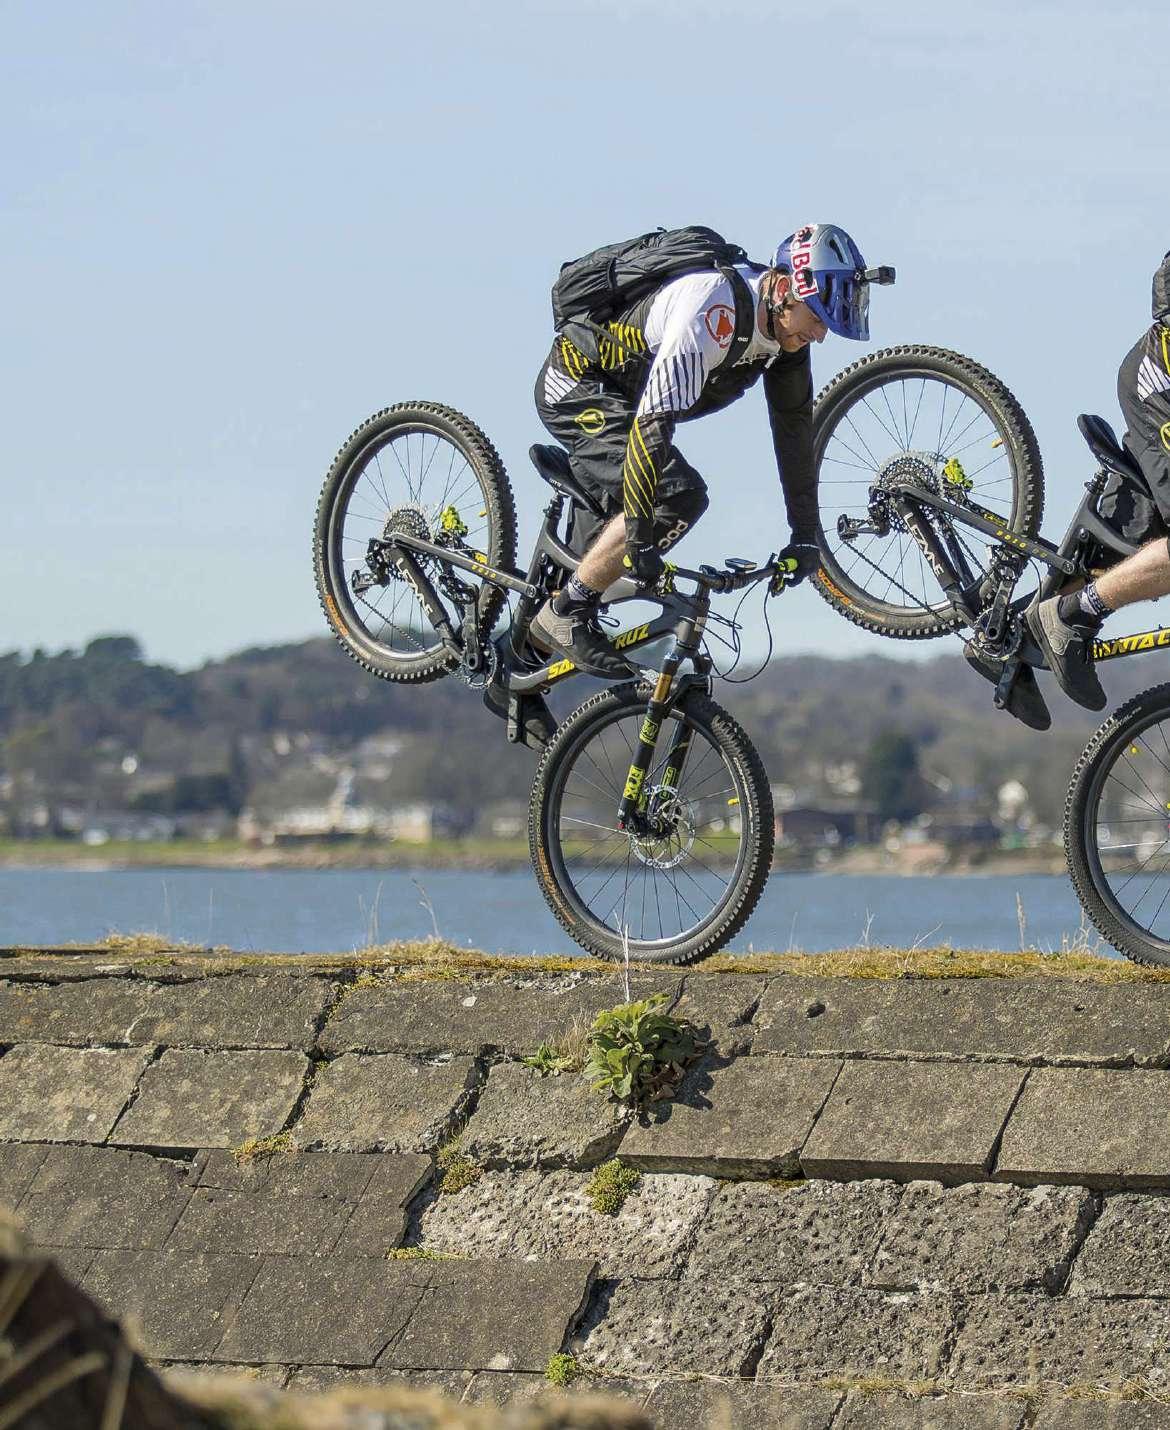
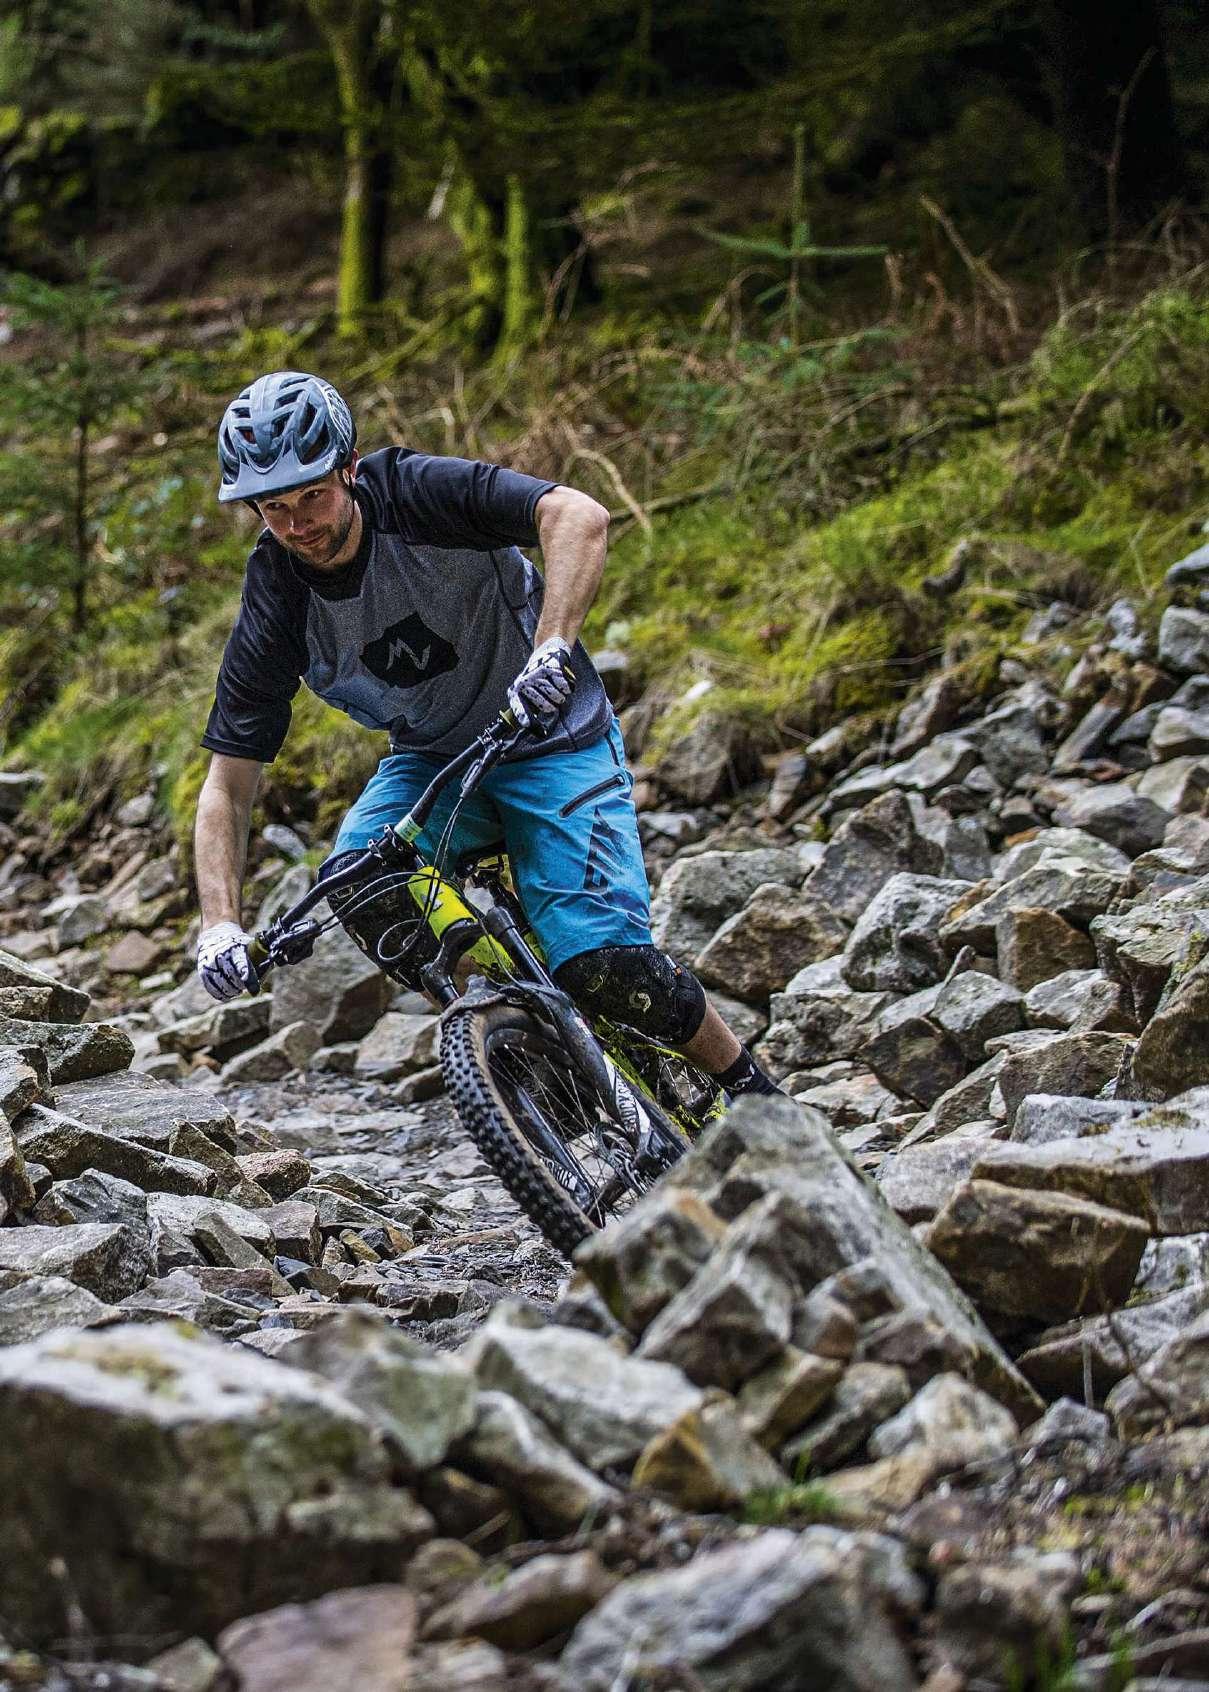
MANUAL
A manual is the same as a wheelie, just without pedalling. Riding on just the rear wheel, you use transfers of bodyweight and the rear brake to hold the bike perfectly on the balance point. You can use the manual to link tricks and lines, whether out on the trail, down at the skate park or riding street. Learning to manual requires some trial and error as you try to find the balance point, but once it clicks you’ll be able to go as far as your speed carries you. Then you can try styling it up, by turning the bar or even taking a hand off if you want to be really cool!
GET IN POSITION Travel at a fast walking speed while standing up on the bike, keeping your weight central and your knees and elbows slightly bent, ready to lift the front wheel. It’s important to keep one finger over the rear brake lever at all times. If at any point you feel the manual is going out of control, slam the rear brake on and this will instantly drop the front wheel back to the ground. 1
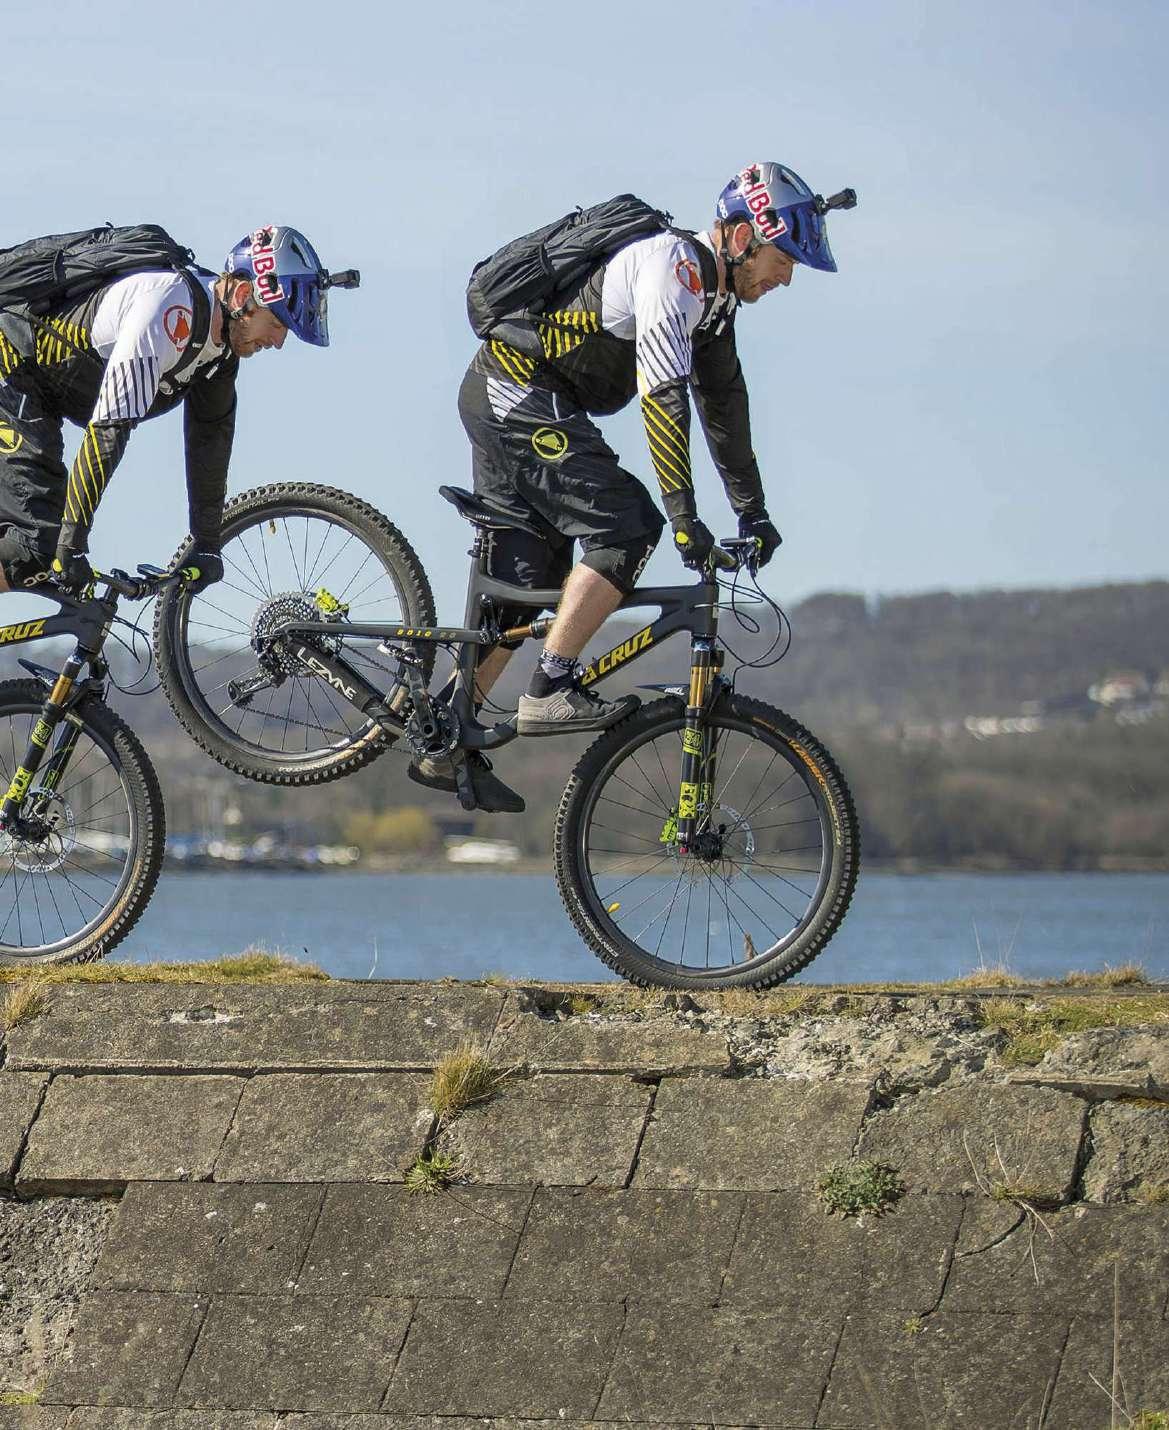
FIND BALANCE POINT Now, you need to lift the front wheel. The height is going to vary depending on your balance point, but it wants to be roughly 1.5ft off the ground. Transfer your weight back, getting your bum over the rear axle, while pushing both feet into the pedals and gently pulling on the bar. The first few times, just get used to the wheel being off the ground. You can even try pulling it slightly higher than necessary and then slamming the brake on, to get yourself used to reacting when it starts to go wrong. 2
CONTROL THE MANUAL Next, you need to learn to control the bike. As before, get your bum over the rear axle, with knees bent and arms almost straight. If the wheel starts dropping, push with your feet and pull with your arms to put yourself into a more upright position. If you find yourself going too far back, feather the rear brake to control the height of the front wheel. The more you do these movements, the more confidence you’ll have and in-control you’ll feel. 3
ADVANCED SKILLS Once you start to link these movements, you should be covering some distance. If the bike isn’t tracking straight, you’re probably pulling on the bar and pushing on the cranks more on one side than the other. If you’re pulling evenly and the bike is still leaning to one side, use your knees to straighten her up. Once you’ve mastered the basics, it’s time to learn how to turn. Point your head in the direction you wish to go, lean your body into the turn and point your shoulders in that direction too. 4
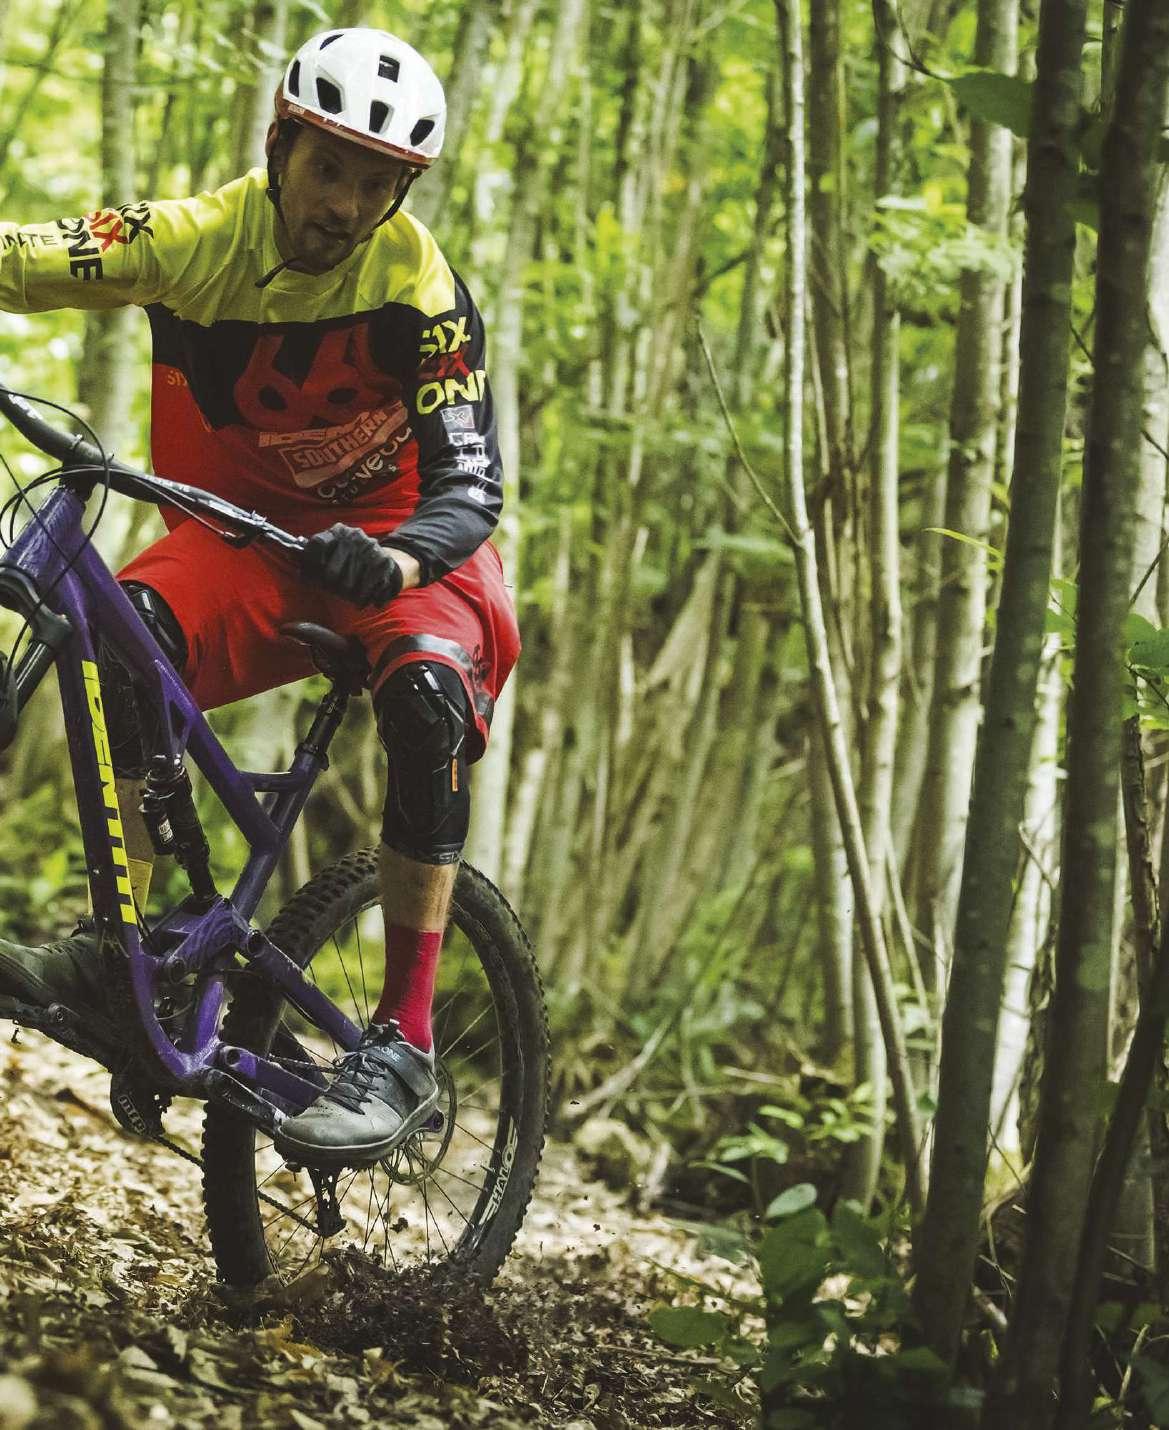
SCANDI FLICK
Originating from rally car racing, the Scandi flick is one of those feelgood skills. It looks awesome, will make your buddies behind you whoop and holler, and can actually help you get round corners too. The idea is to use a rear-end drift or skid to send your bike towards the outside of the turn (the ‘flick’) and to then re-weight the back tyre and push through the apex.
W E I G H T THE FRONT
When you start feeling more confident, it really pays to weight the front wheel as you approach the corner. This will make the back end lighter, which will help you to swing it round the turn quickly. Then you need to be ready to reload the rear wheel in the apex to generate speed out of the corner and into the next section of trail.
BE RELAXED
It’s important to stay loose and relaxed so that the bike can move around underneath you. Have faith in your riding skills and don’t fight the bike!
E Y E S O N THE PRIZE
Always make sure you’re looking up and around the corner. Where your head looks, your shoulders follow, then your hips and the bike. You can see here that the bike and body are going one way but the head is clearly looking the other way, around the corner.
the scandi flick
1 INITIATE THE FLICK As you approach the corner, aim for the inside quite early. Then grab a bit of rear brake and steer up towards the outside of the turn. This will cause the back end of the bike to fall lower than the front.
2 MIDTURN From now on don’t brake. The Scandi flick will have slowed you down for the corner and set you up perfectly to carry good speed through it.
3 AIM FOR THE EXIT Look for your exit point, lean in and rail the corner. The faster you go, the easier it’ll be. You can rely on centrifugal force to pull you straight.
4 FEEL GOOD! It feels awesome when you get it right. People tend to think a Scandi flick is just something that looks good, so they grab a handful of rear brake and do a skid. But it’s a lot more than this, and can be a really helpful skill in the right corner. When you get the hang of it, it should just happen naturally.
5 SECRETS TO SUCCESS Off-camber corners are a good place to practise because they’ll naturally push the back end downhill, aiding the pendulum motion and getting the rear wheel around the turn quickly.
GET IN GEAR
Choose a medium gear – somewhere around fifth on an 11-speed cassette with a 32-tooth chainring. You don’t want a gear that’s too easy because your feet will spin too quickly, while a gear that’s too hard means you won’t have enough power in your pedal strokes.
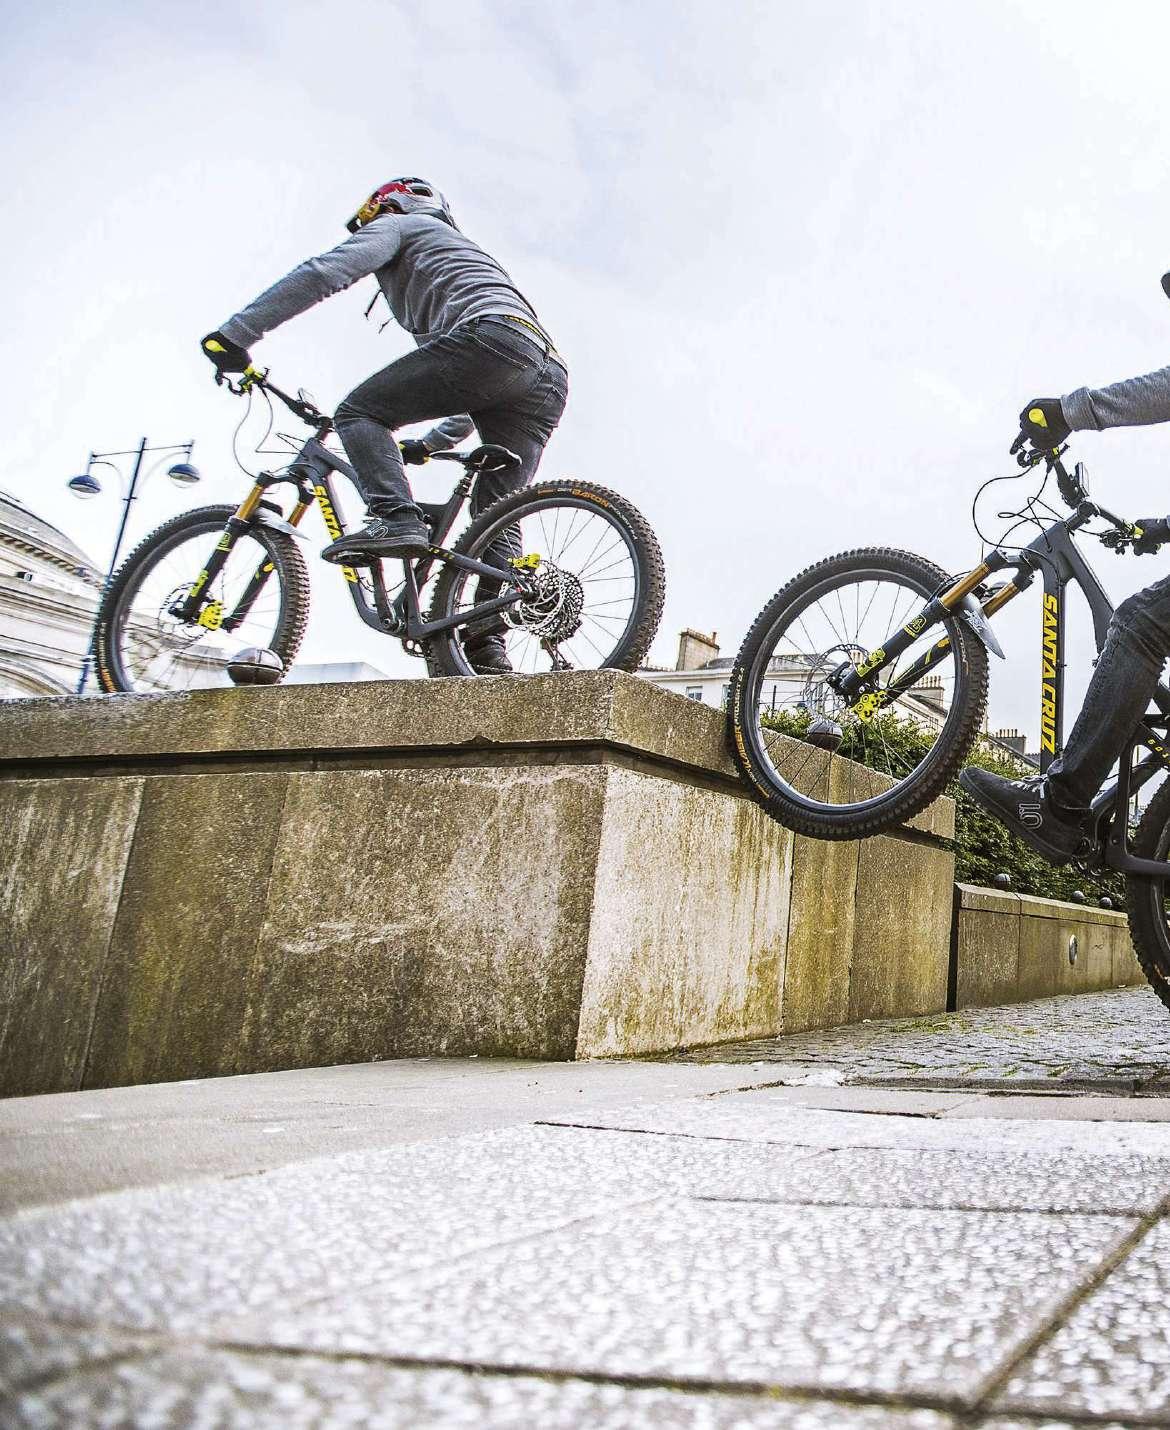
HOP UP ON TO AN OBSTACLE
This is a technique where you use a front wheel tap to get on to an obstacle. Hitting your front wheel into the obstacle is what generates the upward momentum to get the bike on top of it, especially with a fullsusser. This technique involves very precise timing of both the pedal strokes and the front wheel placement to make it work.
L I F T THE WHEEL
As your front wheel lifts off the ground, aim to hit the corner of the obstacle you want to get up with your front tyre. Your good foot should be at the front now. When you hit the ledge, thrust your hips forward and push your arms forward to lift the back wheel up, and land on top of the obstacle with both wheels.
ROLL IN
Approach at walking speed with your front foot forward. About 3m away start to pedal, and as your back foot comes around you should then be about 1.5m from the obstacle. When your back foot is at the top of the pedal stroke you want to start putting the power down in order to lift the front wheel.
tips
The obstacle needs to be at least 60cm high for this technique to work. Any lower and you’re best off bunnyhopping up it. Only do this hop-up with a bashguard or chain device on your bike to stop your chain or chainring getting smashed. Put your seat down to the lowest position to give you the most space to move the bike around. For the tap, put a little more air in your front tyre so that you’re less likely to pinch flat.
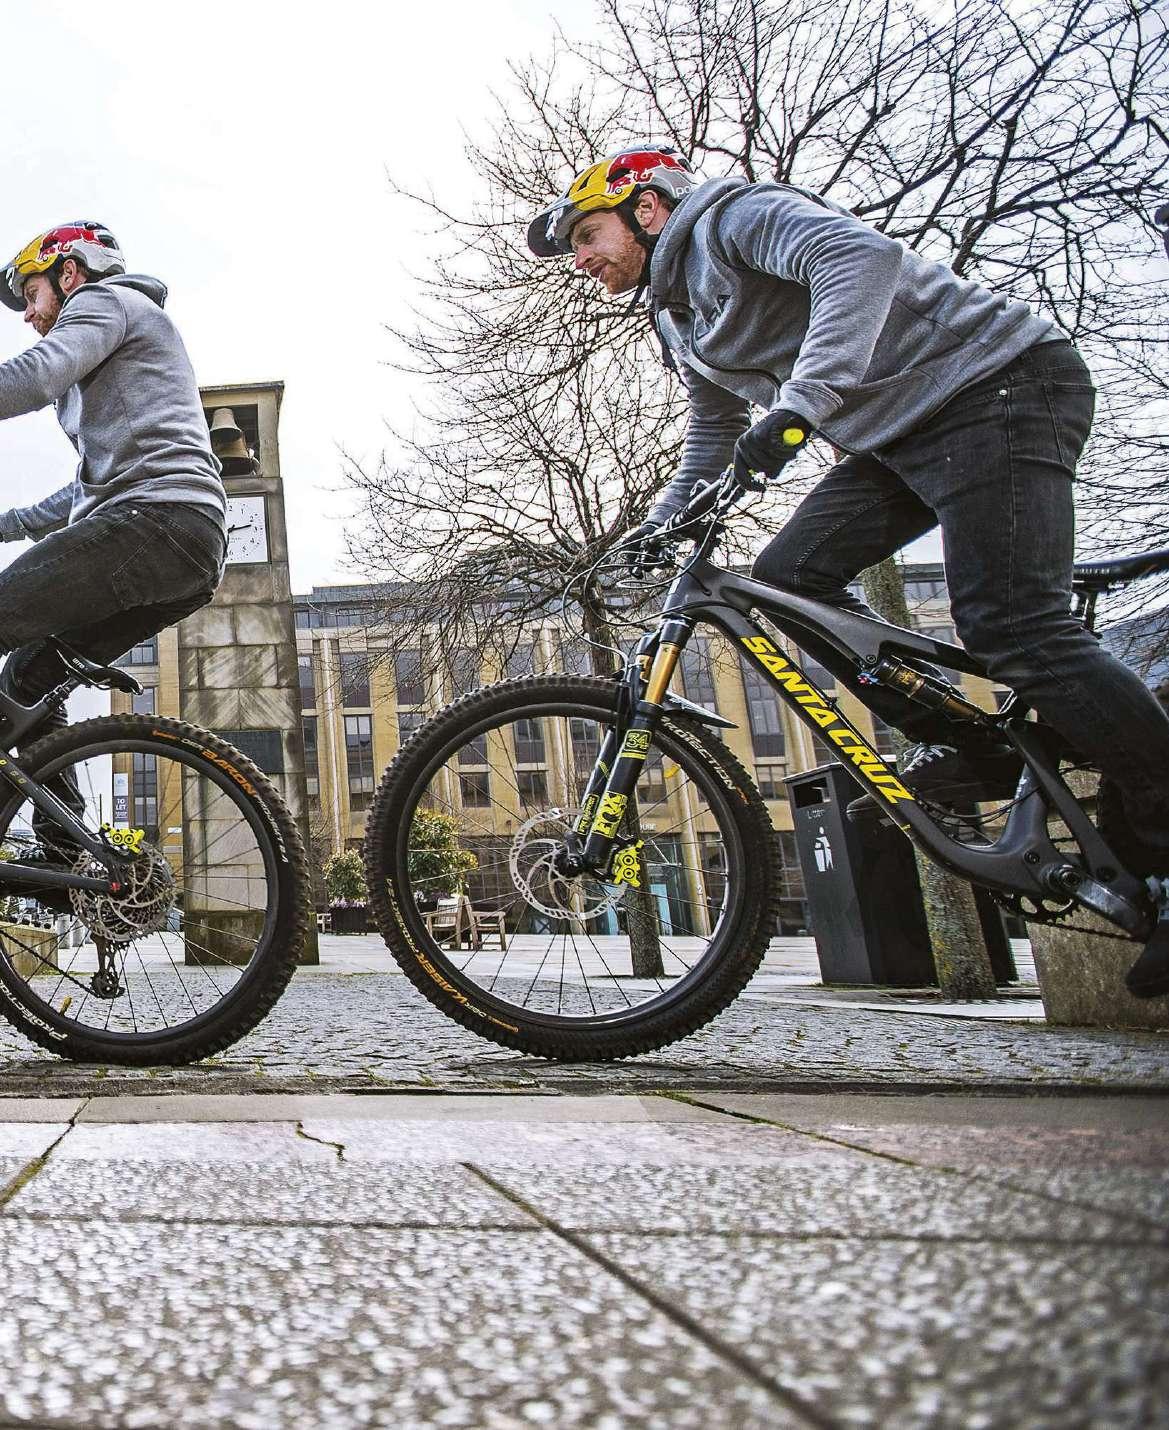
SWITZERLAND SQUEAKER
The squeaker is a trials riding classic – you’ll really impress your mates if you can bust out this trick in the trail centre car park! It’s best to practise the Switzerland squeaker on flat, smooth ground because it’ll make it more consistent and predictable.
tips
You’ll probably go over the bars a few times while learning this trick. If you do start to go over the bars you need to stay relaxed, keep hold of the front brake and remember that the foot you’re dragging the tyre with can very easily touch the ground. As you go over the bars, put your free foot down on the ground. Learning how to crash this trick safely will make it a lot easier to learn.
BRAKE LOCK
You can do as many scuffs as you want, but once you’re done, lock the front brake and let the back wheel drop, put your foot back on the pedal and ride away like a champ!
B A L A N C E POINT
All the time you’re going to be around the balance point. As you scuff you’ll almost go forwards past the balance point, but when you lock the brake you’ll find that you drop backwards again.
S T O P P I E STA RT
Roll in at somewhere around walking pace with your good foot forward and pull your front brake to go into a stoppie.
FOOT DRAGS
Start off small – drag your foot along the tyre for 25-35cm. Once you’ve dragged your foot as far as you want, lock the front brake and lift your foot back towards the fork crown, ready to scuff again.
SCUFF IT
Release the brake and scuff the tyre backwards with your foot. Using a combination of your front brake and foot, your bike will move backwards.
SWING TIME
As your back wheel rises, let your front foot drop to the 6 o’ clock position while still on the pedals. Swing your back foot forwards and put it on the front tyre, as close to the fork crown as possible.
T W I S T YOUR HIPS
Next is the easy bit. When you’re in the air, try to move your hips a little to push the bike in the direction you want to whip it. You can also turn the bar for extra effect – just make sure it’s pointing in the right direction when you land!
T U R N A S YO U TA K E O F F
Step two is to turn off the lip of the jump. At first, don’t take this too literally – the ‘turn’ should be little more than a gesture. But it’ll help you to start the whip. This is another little cheat we have for you.
P R E P A R E FOR LANDING
As you come in to land, move your hips back in the direction of the landing. Make sure to do this in one fluid action – we don’t want sudden movements, it should all flow. Your bar and front wheel need to be pointing the right way too.
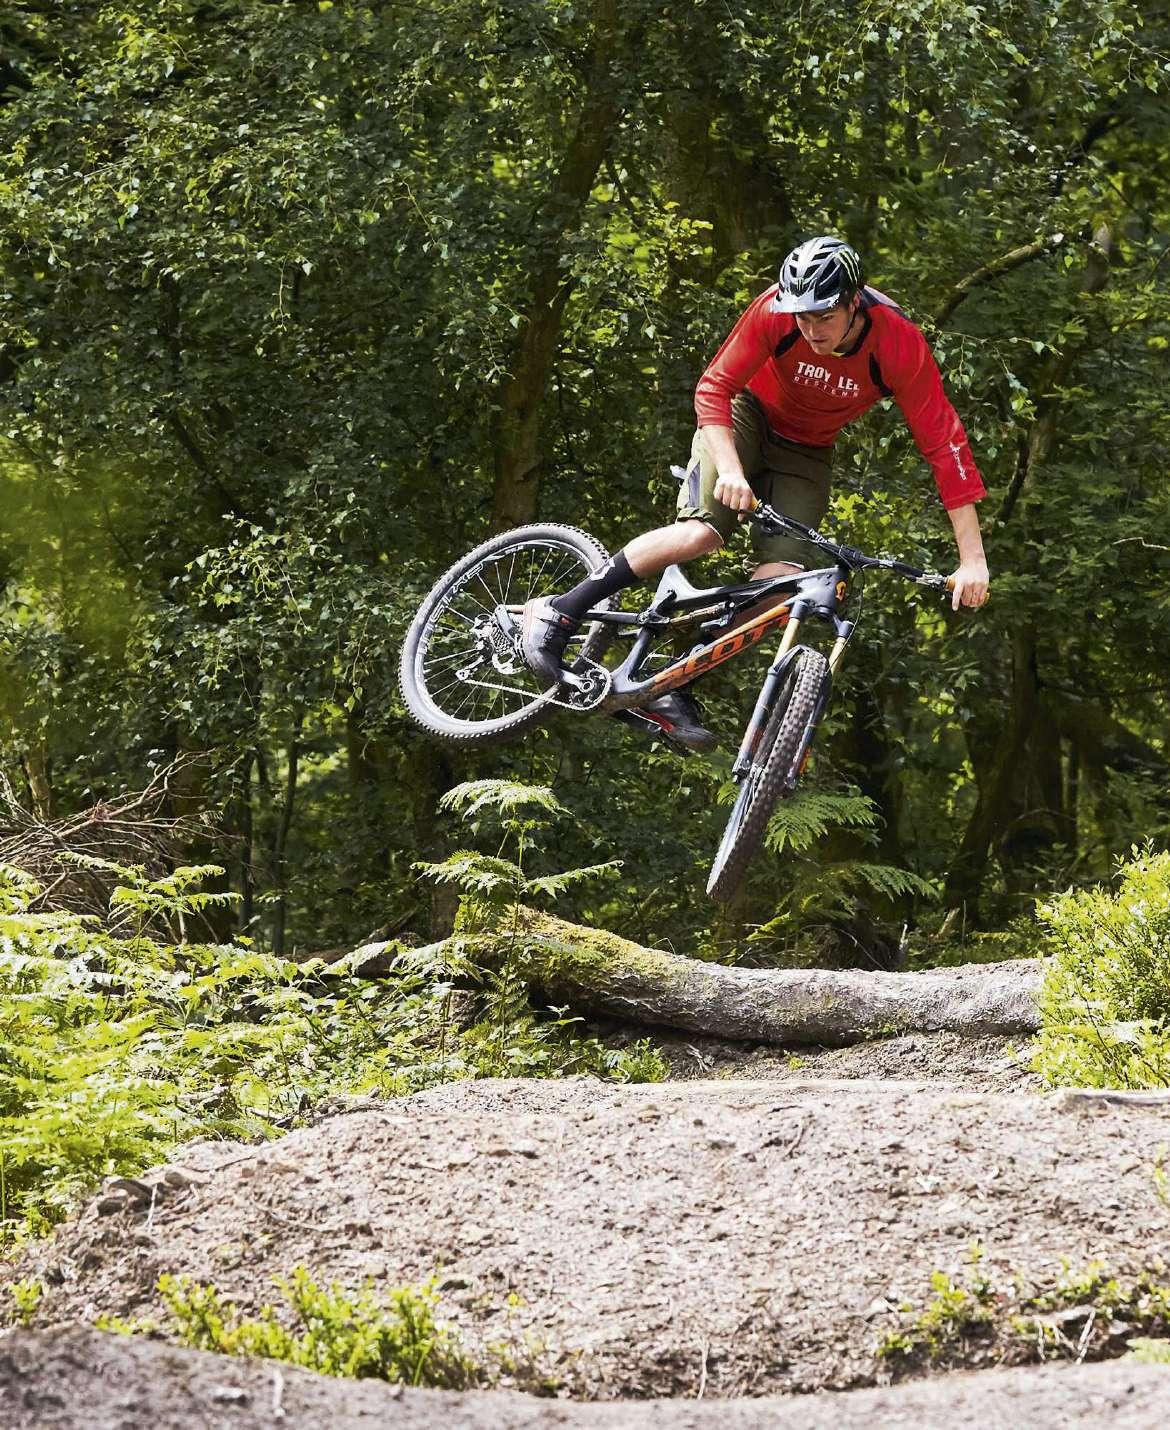
SMART SMALL
The first step is to find the right jump to practise on. You don’t want a huge jump to start with – it’s more important to find one that you’re comfortable jumping, over and over. A slight hip jump is good. It’s a bit of a cheat because it means you don’t need to get the whip back as straight, and that’s the hard bit. Work out which way you’re more comfortable whipping and find a hip that faces in that direction.
WHIP IT!
If you’re nailing your jumps, ramp up the style points with a whip…
S T E P THINGS UP
After landing safe and sound, it’s time to work on your next, bigger whip. As you get a feel for the action you’ll find it easy to kick that back end out and land safely. Then you can go on to bigger jumps, which will allow more airtime, resulting in bigger and bigger whips!
SHRED TO GET IN SHAPE

These days we’ve all become more aware of our health and fitness (or lack of it) and are constantly being encouraged to get out and exercise more and watch what we eat. A lot of the advice can seem overwhelming at times or overly regimental. Which, frankly, we think can be a bit boring. So we’re here to tell you the good news – mountain biking is the fun way to help keep yourself in shape. Yep, it’s not just there for the thrills and spills of the trails, or a great way of getting you to work and back, your mountain bike is keeping you fit while you’re having fun! As you make your way through this section we strip away the dull routines and tell you the quick wins to help you get a little fitter so you can enjoy your riding even more. So here’s to a summer of great riding and getting in the best shape of your life!
S T R I P AWAY FAT !
Belly poking through your T-shirt a bit too much? Ditch it! The belly, not the T-shirt… More bike time and watching what you eat (and drink!) will help burn away that unwanted flab.
B E AT ST R E S S !

Riding can improve your mood by releasing endorphins that trigger a positive feeling in the body, lower your perception of pain and have a sedative effect. It’s like a legal high!
B O O S T Y O U R SEX DRIVE!
Now we’re talking! The fitter you are, the better your sex life. Men and women who exercise regularly are said to have increased levels of desire and confidence too.
LOSE
BELLY THAT
And many more seemingly impossible health beneits, just from riding your bike – Sounds good to us!
F E E L A N D LOOK YOUNGER!
Regular exercise improves memory, increases energy levels and slows down the gradual loss of co-ordination associated with ageing, so you can put off your doddery old age.
B U L L E T P R O O F YOUR BODY!
Riding regularly can help protect your body from certain cancers, heart disease and strokes, and lowers your blood pressure. Loving being out on the bike this summer but still not quite happy with your overall shape and fitness? Well, never fear because we’re going to show you how to get rid of those flabby, out of shape, older spec parts you’ve been cursing during every ride and welcome in your 100 per cent guaranteed* sleeker, fitter, more attractive self. Fitness magazines are full of bold claims of how to get a new and improved you, so we’ve taken their lead to show you why mountain biking is the perfect way to help you get into shape without really thinking about it. Sounds good, huh? Yep, while everyone else is slaving away indoors, doing monotonous gym workouts and trying to dodge punishing circuits with a personal trainer, we’ll show you why you should simply bugger off into the woods and have shedloads more FUN on your bike!
Loads of amazing health benefits are available to you, just from riding your bike, and if you step things up a little bit more over the coming months, you’ll soon be in the best shape of your life and leading the pack, rather than bringing up the rear! Loving being out quite happy with never fear b rid of tho been
*Not actually guaranteed.
forget monotonous gym workouts or punishing circuit training, we’ll show you why you should simply bugger off into the woods and have shedloads more fun on your bike!
Here’s a range of easy ways to get yourself in better shape – both on and off your bike GET BIKE FIT QUICK

MAKE GAINS OFF THE BIKE! The fastest and most effective way to get bike fit is to ride as hard as possible as often as possible, with recovery periods in between. But you can’t always do that, so here’s a selection of bike-free exercises that can shortcut and complement strength and fitness gains.
S Q UAT
With feet just over shoulder width apart and chest upright, ease your hips down as if sitting on a chair until your thighs are parallel with the floor. Push back up slowly.
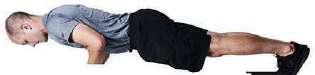
PRESS U P

If you struggle on rough ground or long descents, it could be due to a weak upper body. With your hands just outside shoulder width, keep your body straight and extend your arms, pivoting from your toes. Lower yourself back down until your upper arms are parallel with the floor.
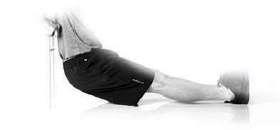
SIDE BRIDGE WITH LEG RAISE

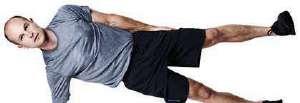
Want a torso and glutes of steel? This is the one for you! Start by supporting yourself on your elbow and foot, straight and strong from head to heel. Then draw in a deep breath, fill your belly and, as you exhale, lift your top leg as high as you can.
BUNNYHOP

Stand in a jump position, engage your core, sink to a quarter-squat, then push up through the balls of your feet with max force. Absorb and control the landing.
ONE L EG S Q UAT
Stand on one leg with the other leg slightly in front and off the floor. Keep your chest upright and core engaged, and bend the supporting leg, keeping the other straight.
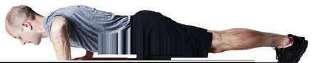
PLANK
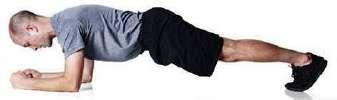
With your feet as close together as possible, and only your toes and forearms in contact with the floor, hold the rest of your body off the ground, in a straight line.
‘V’ SIT U P
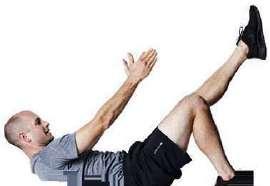
Lie flat, with both of your hands above your head. Sit up and raise one leg straight up so that you touch your ankle with both hands. Repeat with the other leg.
CLOSE ARM PRESS U P
Put your hands under the centre of your chest. Keep your body straight and extend your arms, pivoting from your toes. Lower yourself back down until your chest touches your hands.
DIP
Put your hands on a step or a low table, with your fingers facing forwards. Bend at the elbows, lowering your body, back straight and chest upright. Bend your elbows to 90 degrees and then return.
CRUNCH

Raise your feet, with hips and knees at 90 degrees. With fingers on head, chin tucked in and legs still, engage your core muscles to bring your elbows to your knees.
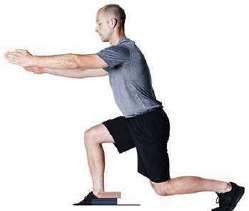
LUNGE
Standing tall, with your shoulders back and core engaged, step forward and lower your body, under control, until both knees are flexed to 90 degrees, then return to the start position. Repeat on the other leg.
Keeping that beer gut at bay doesn’t actually have to be hard work BEAT
BULGE THE
When it comes to full-body workouts and burning calories, most fitness fanatics will head for the rowing machine or, if they’re really serious, mention the phrase ‘cross fit’ – the sport of doing fitness. But we’re not really into that here. The good news is that you’ve already made the right choice of kit with your trusty mountain bike. Let’s not forget you’re in possession of a self-powered tool that’s capable of strengthening muscles, shedding fat, improving balance, crushing calories and, most importantly, creating clown-sized grins in the process! Your mountain bike has more programmes and fitness profiles than any memory card could ever store, and you have the added bonus that you can use it pretty much anywhere you choose.
There are plenty of studies out there that prove certain intensities and durations of training are the most effective at burning fat. Most of them will tell you that both interval training – periods of high-intensity exercise followed by rest – and long, steady distance work are the keys to success. The beauty of mountain biking is that it combines both of these elements without you having to really think about it. So all you really have to concentrate on is having maximum fun!
Undulating or steep terrain makes your heart rev quicker than a two-stroke engine, and the great outdoors allows your mind to wander from the onset of “please stop now” pain in your thighs when going the distance. If you want to burn some serious fat, then try to get out at least three times a week, for one to two hours at a time. If you get creative with your route choice and mix things up a bit, you’re more likely to stay motivated for longer.
you’re in possession of a self-powered tool capable of strengthening muscles, shedding fat, improving your balance and, most importantly, creating clown-sized grins in the process!
3,500
That’s how many calories there are in a pound of fat, which would take roughly six hours of continuous riding to burn. That isn’t a long time, if you break it down into a couple of shorter rides per week plus a daily commute
60% EFFORT
Rather than just going for all-out effort, more beneits can be seen from riding at a relatively low intensity (about 60 per cent of your maximum heart rate) but adding short, high-intensity bursts or intervals
GOLDEN
RULE
When trying to lose fat, it’s always important to remember the energy balance. To lose weight, you must eat fewer calories than you burn, so don’t use your ride as an excuse to pig out afterwards!
RIDE MORE!
Getting out on your bike, even for a quick blast at lunch, is a great way of getting away from the stresses of modern life. If ever you need an excuse to ride more, this is it!
Overcoming personal challenges in mountain biking – like doing that drop you’ve been avoiding – will build your confidence, which is transferable to other areas of life and work
NEW GOALS
Try to constantly set yourself new personal challenges to overcome when heading out on rides. They’ll also help you to build confidence on your bike, and in everyday life.
YOUR BRAIN, ELIMINATE BOOST
STRESS
CHILL OUT
The chemicals produced by your body in response to exercise can help you relax and sleep better and also promote a general sense of wellbeing.
Head for the hills to escape the demands of everyday life Head for the h the deman
We tend to think about mountain biking as mainly a physical pursuit. You work your body hard to get up, down or around your favourite route. But riding bikes truly is a trump card when it comes to the mental benefits.
When you head out on your bike you’re producing feelgood endorphins and adrenaline by the bucketload, which help trigger a positive response in the body. More than that though, mountain biking offers an excuse to escape the stresses of modern life and really lose yourself in something different, stimulating and totally absorbing. Your ever-growing to-do list and the rest of the world are placed firmly at the back of your mind while you focus on tearing down descents and finding flow riding through technical sections.
Taking to the trail also offers great opportunities to push your personal boundaries, express yourself and explore. Overcoming personal challenges in mountain biking – like cornering more smoothly or doing that drop you’ve been avoiding – will build your confidence, which is transferable to other areas of life and work.
Endless possibilities of places to ride and ways of riding trails mean that you’ll never get bored – if you don’t want to. Night riding, for instance, might sound like more of an ordeal than something you’d do for fun, but the buzz and after-effects are addictive. Wrap up warm and hit the hills with your mates for a couple of laps and you’ll soon understand why.
So no more excuses. If you’ve got a bike, then get out there and ride! There’s much to gain, and there’s not a lot to lose – apart from possibly some flab! We t


