ZipForm Mastery_2023_Independence Title_eBook

Page 1

ZipForm Mastery EDUCATION

INDEPENDENCE TITLE © 2022 Independence Title Education

ZipForm Mastery

Presented by the Education Team at Independence Title. TREC Approved Continuing Education Provider License# 403.
Agenda § Getting Setup - Profile and Settings § Forms – Using the Form Editor § Creating Templates § Sending for e-Signature § Signing With DocuSign § Additional Training Resources
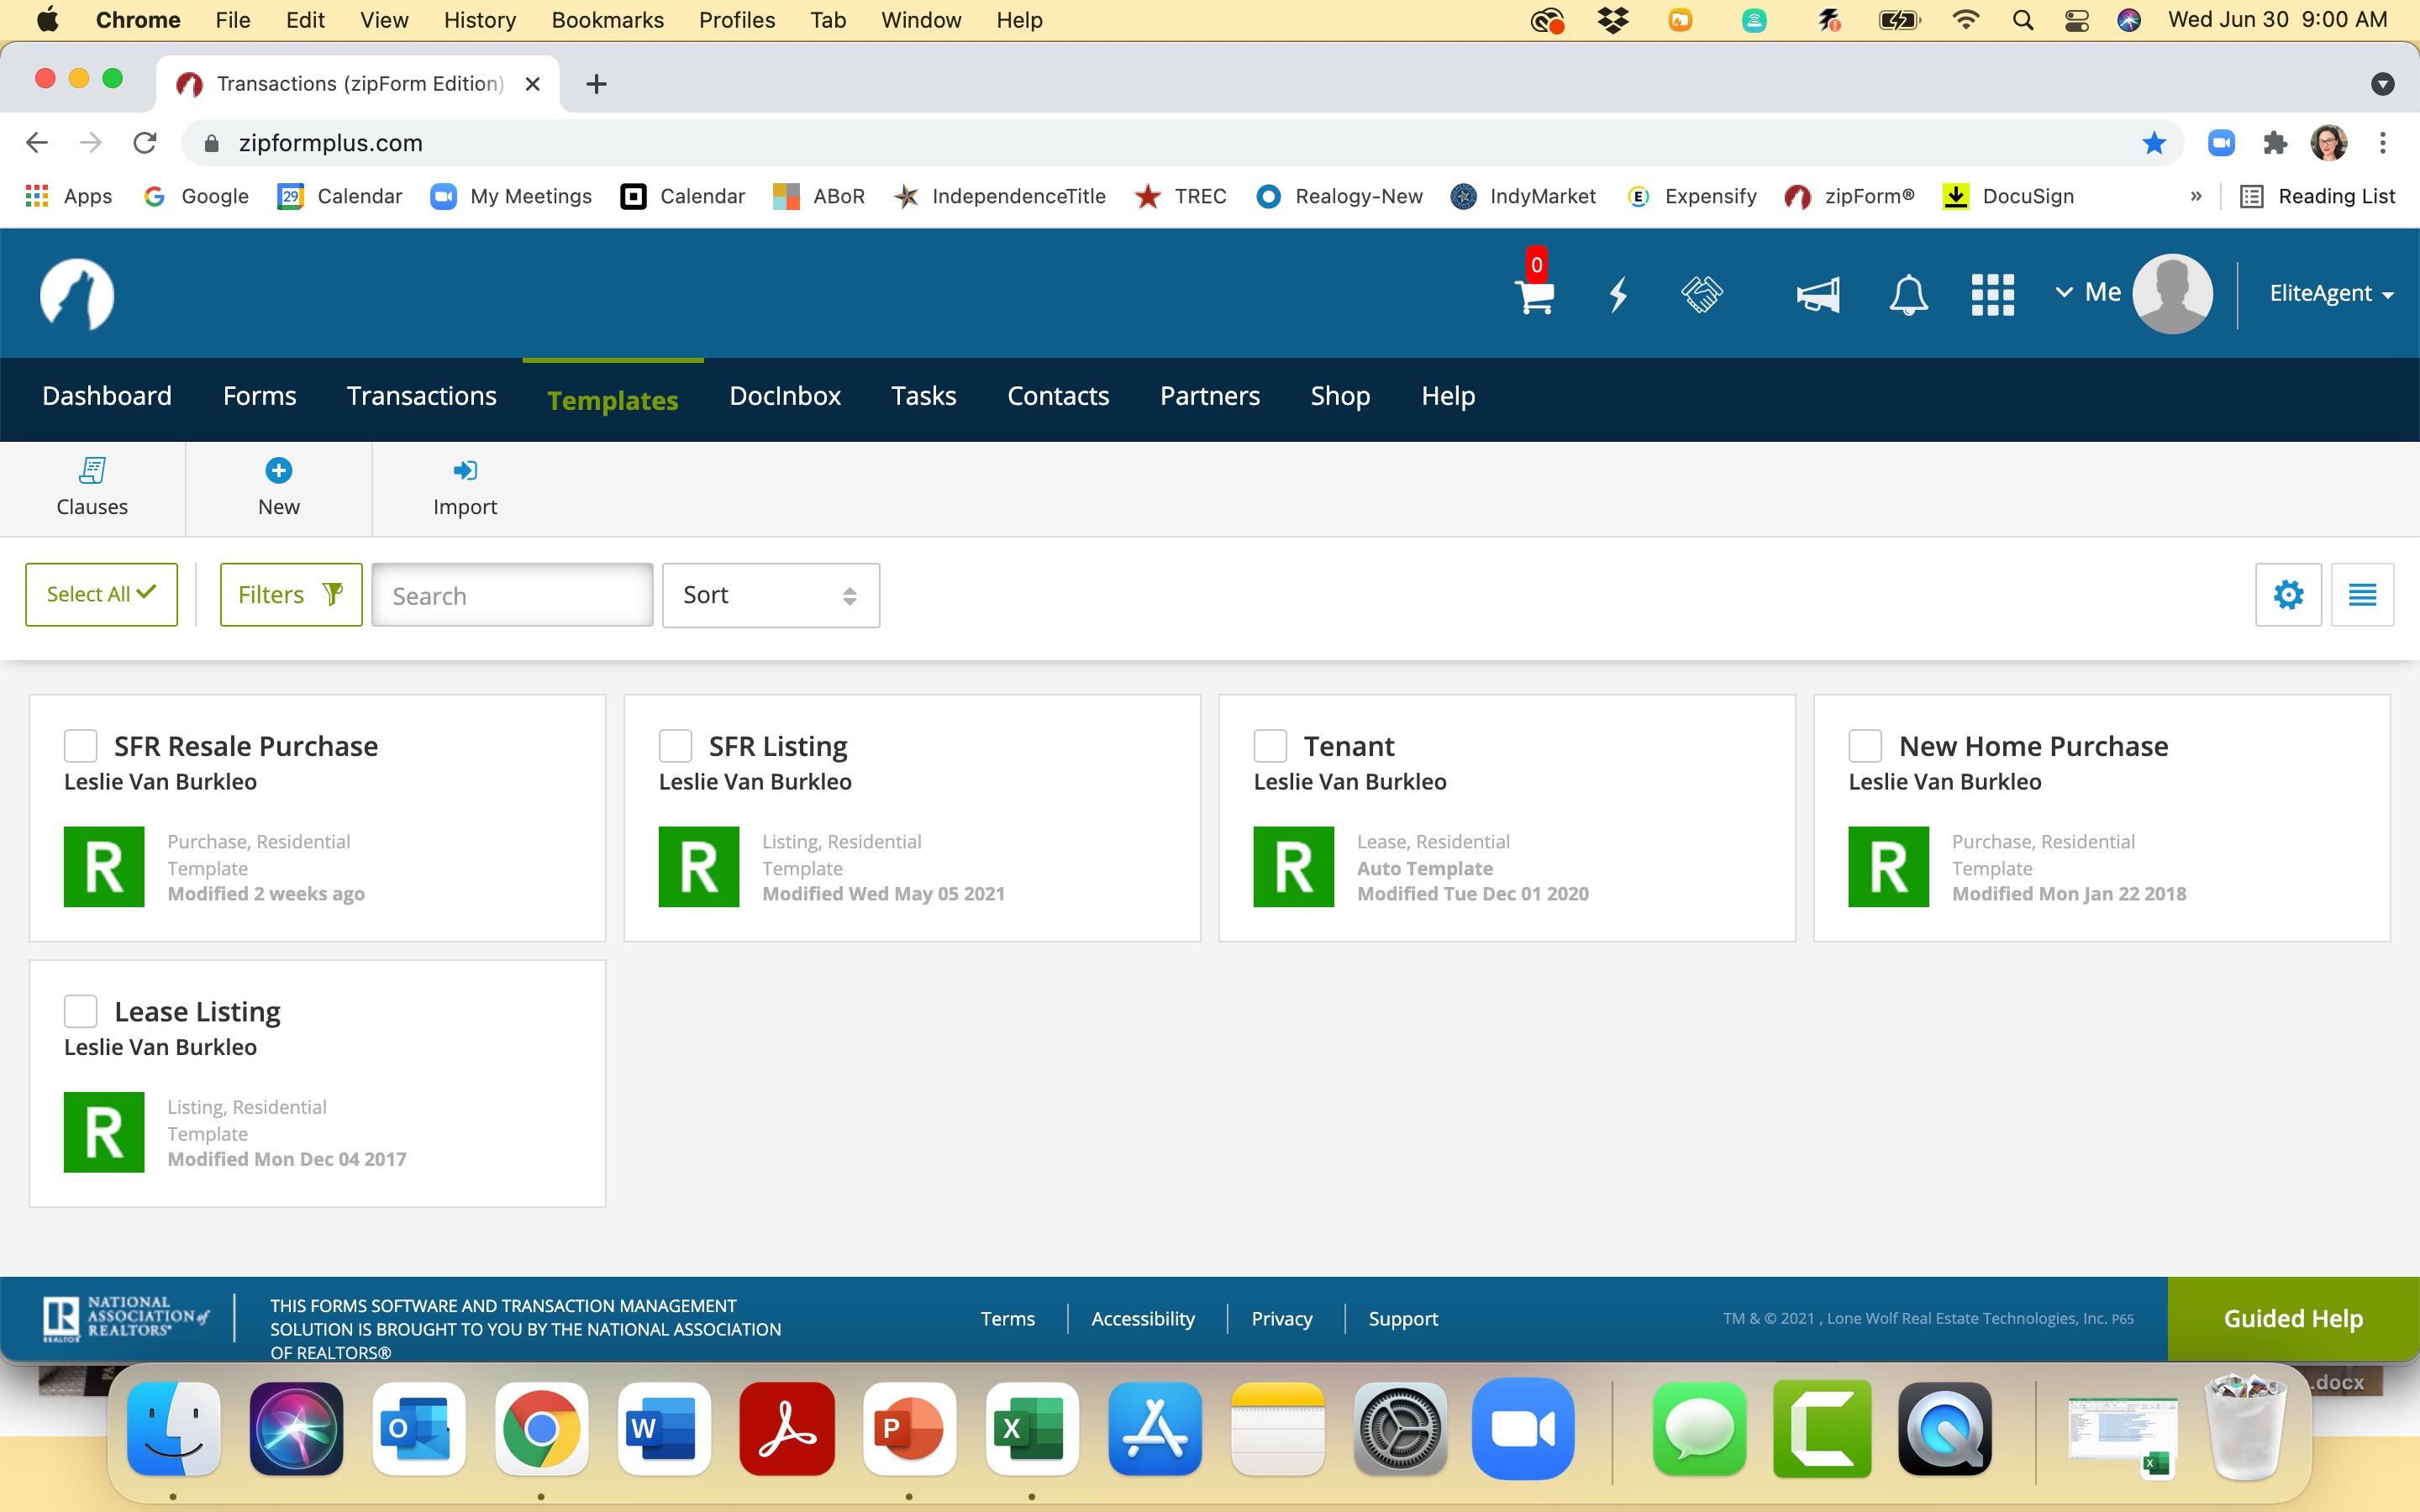
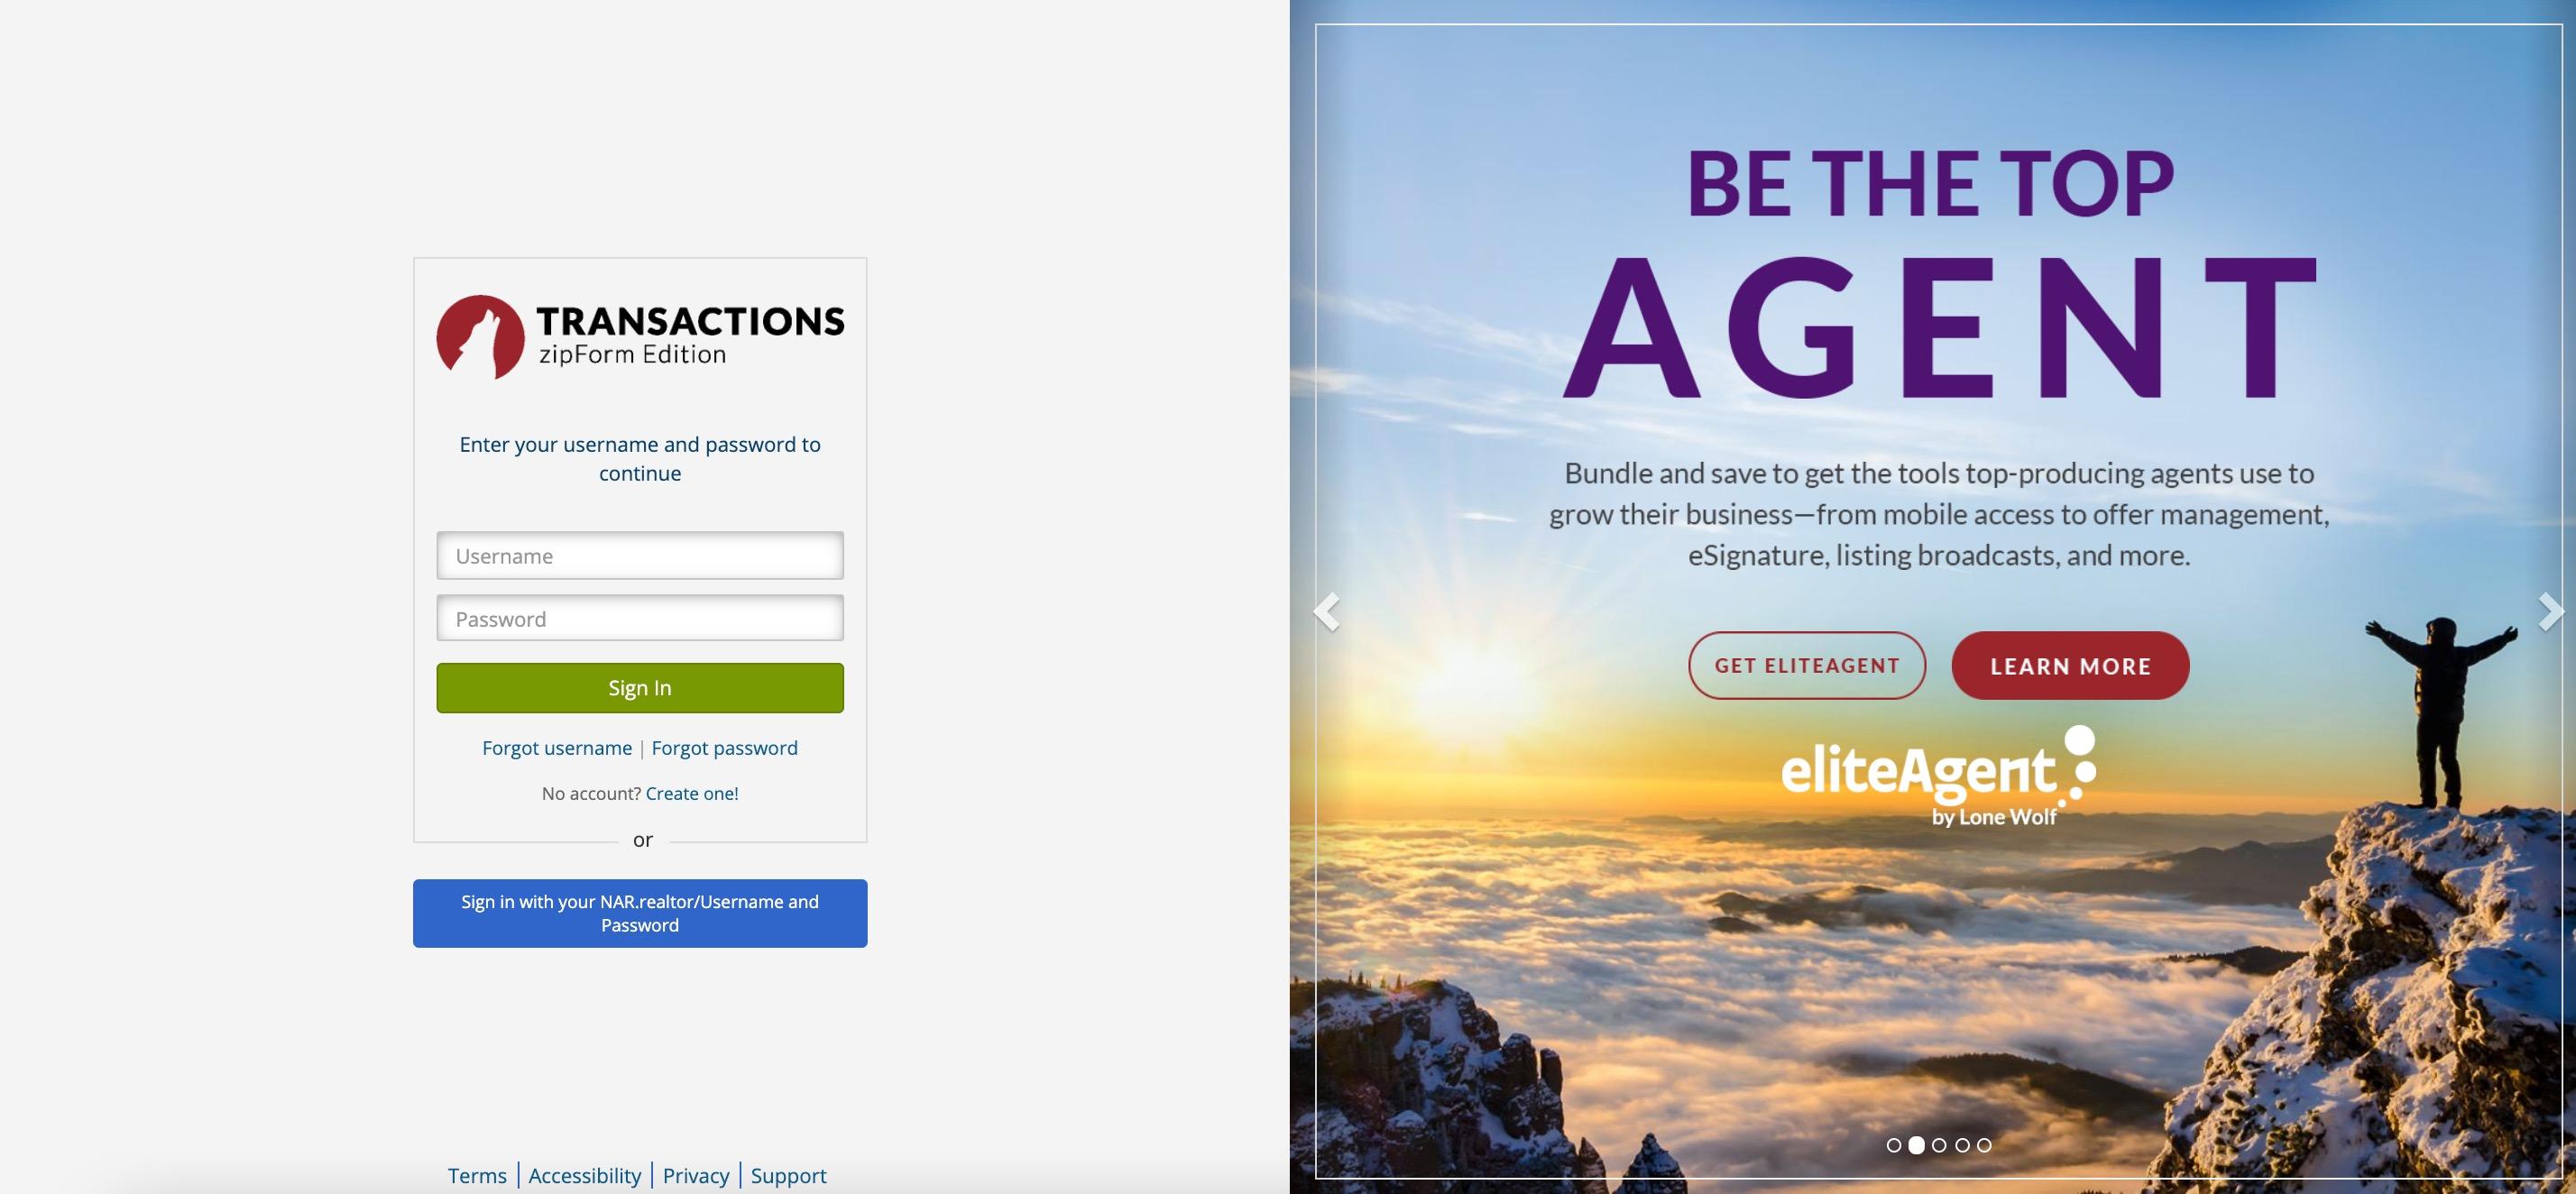
Login via zipformplus.com
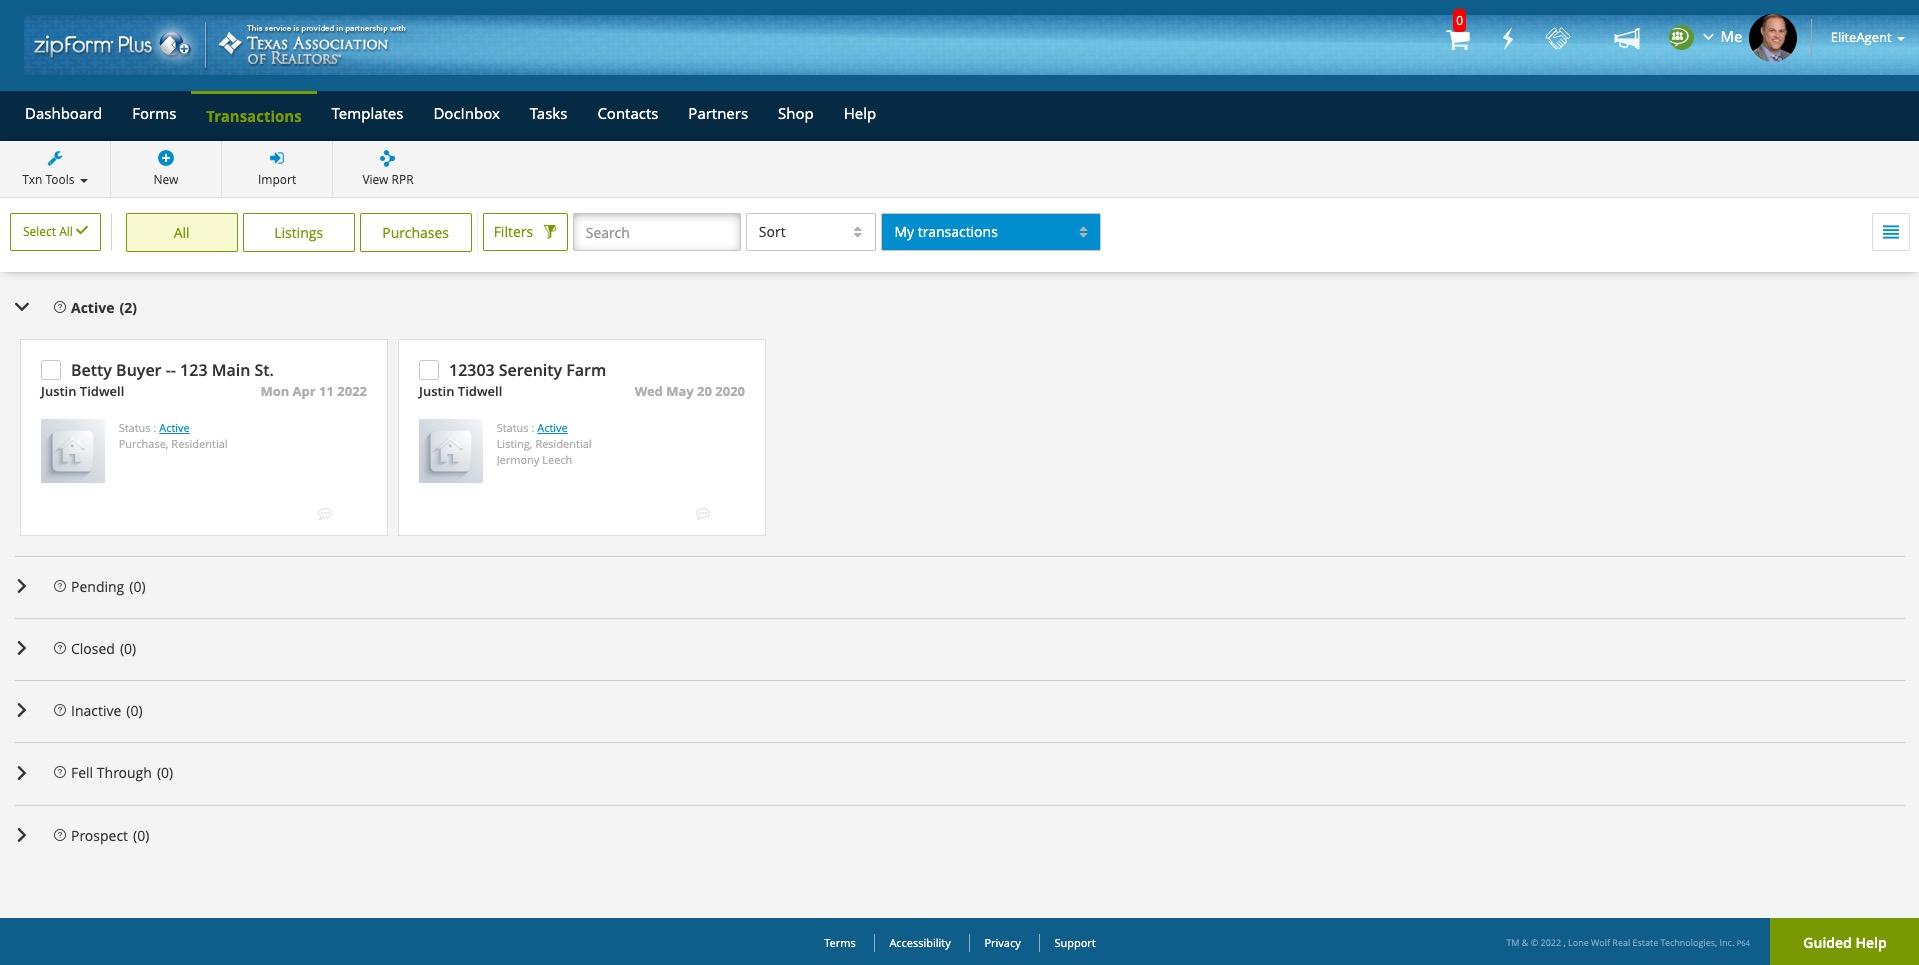
Login via texasrealestate.com
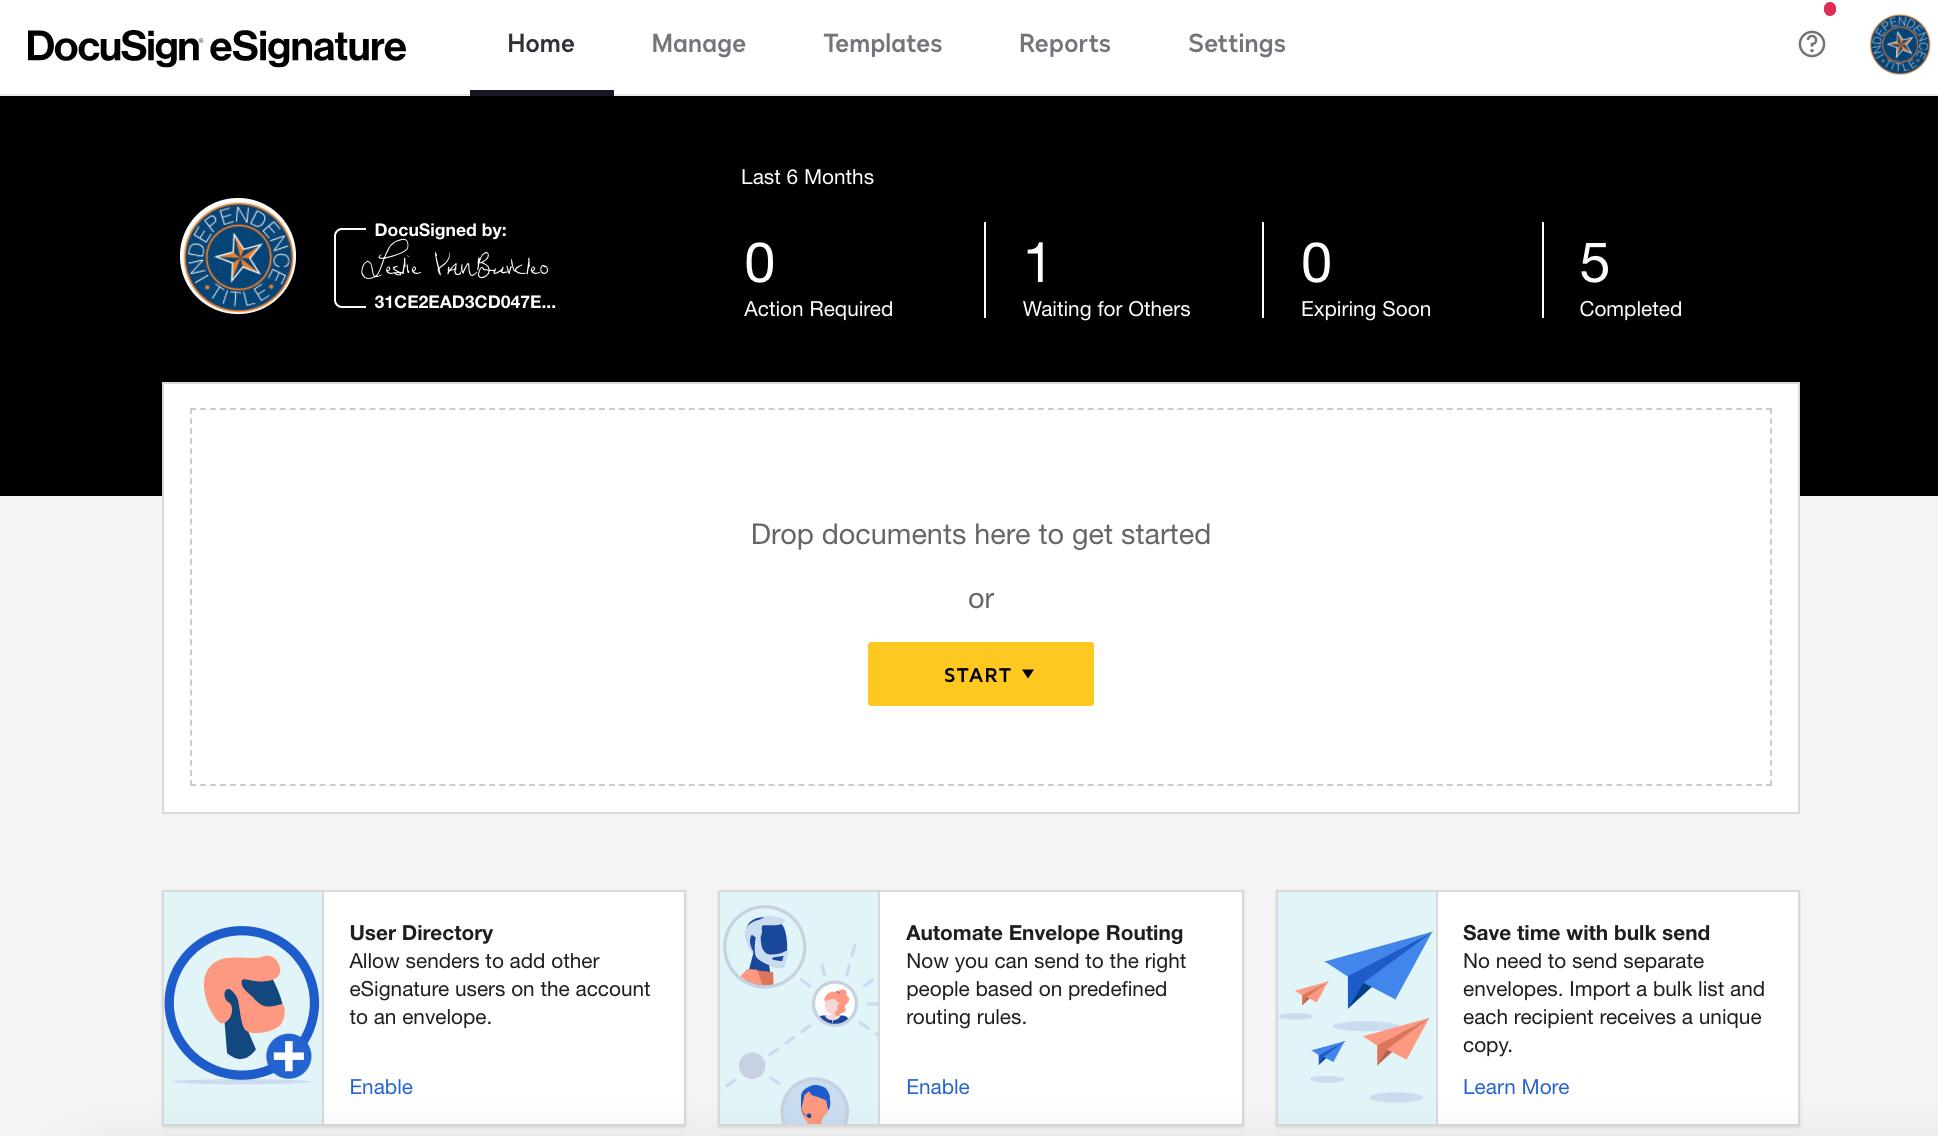
DocuSign Login via account.docusign.com
Welcome to DocuSign
Welcome to zipForm Plus

Profile and Settings

Profile & Settings

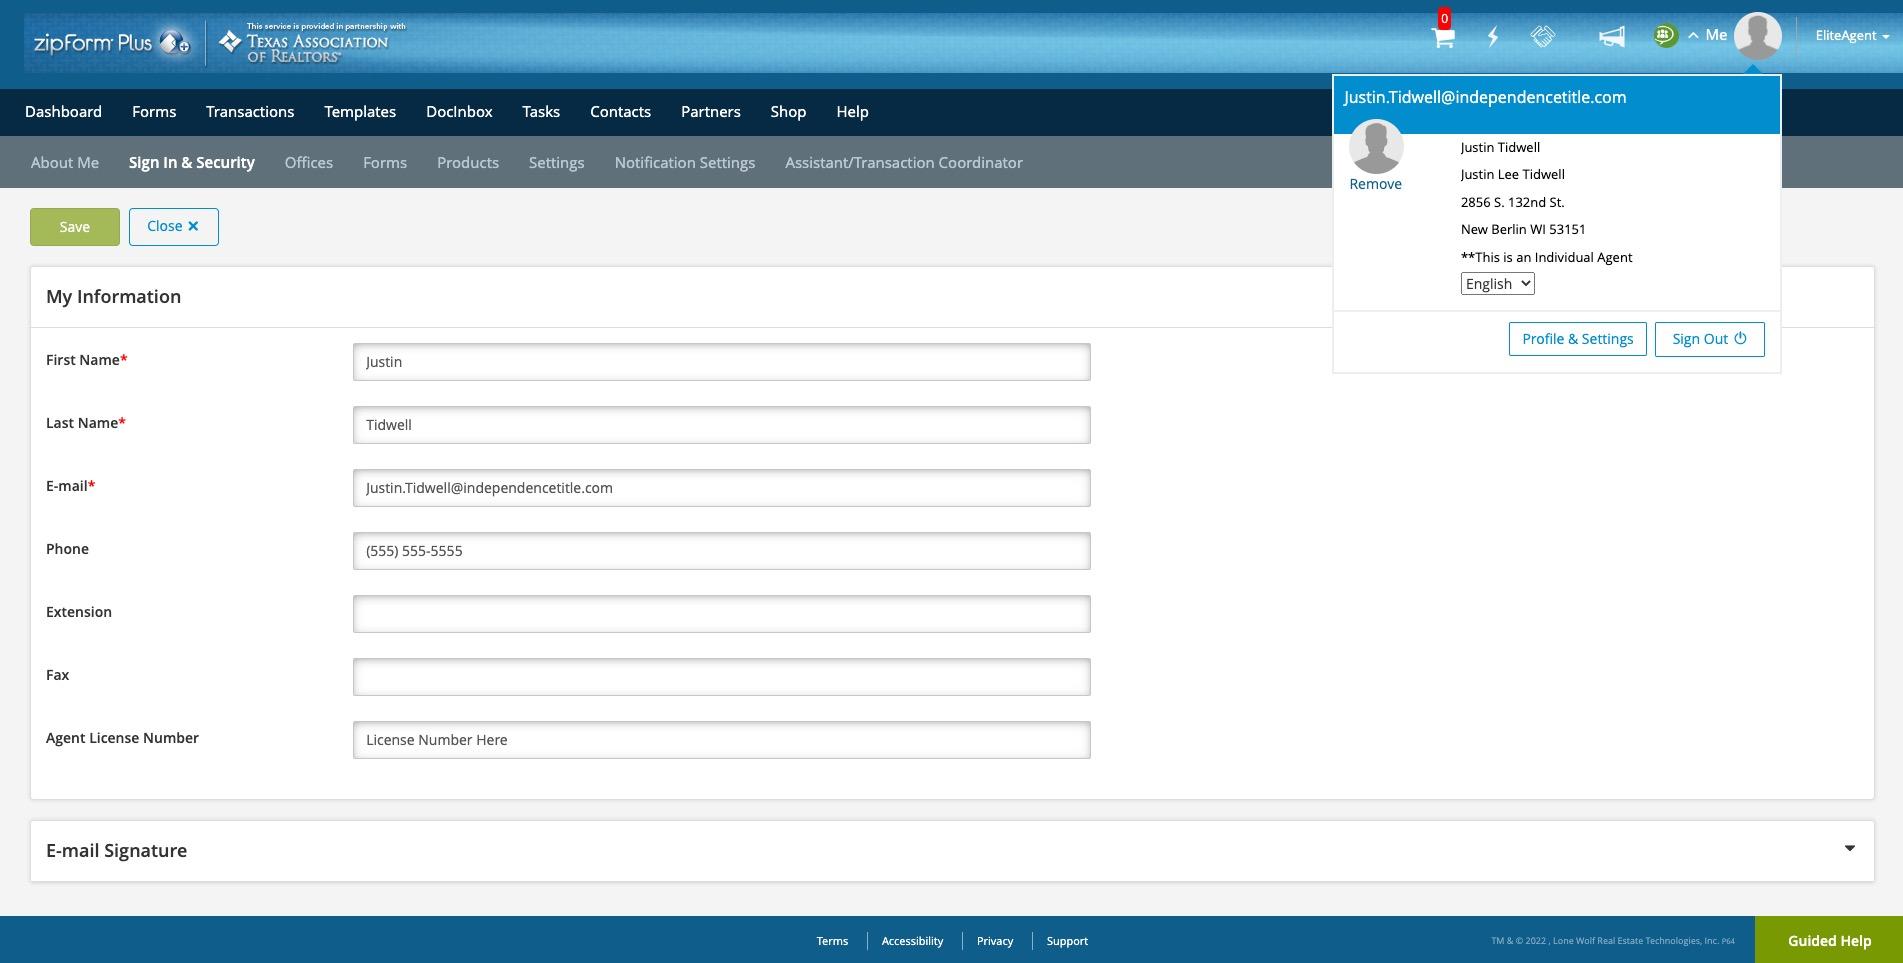
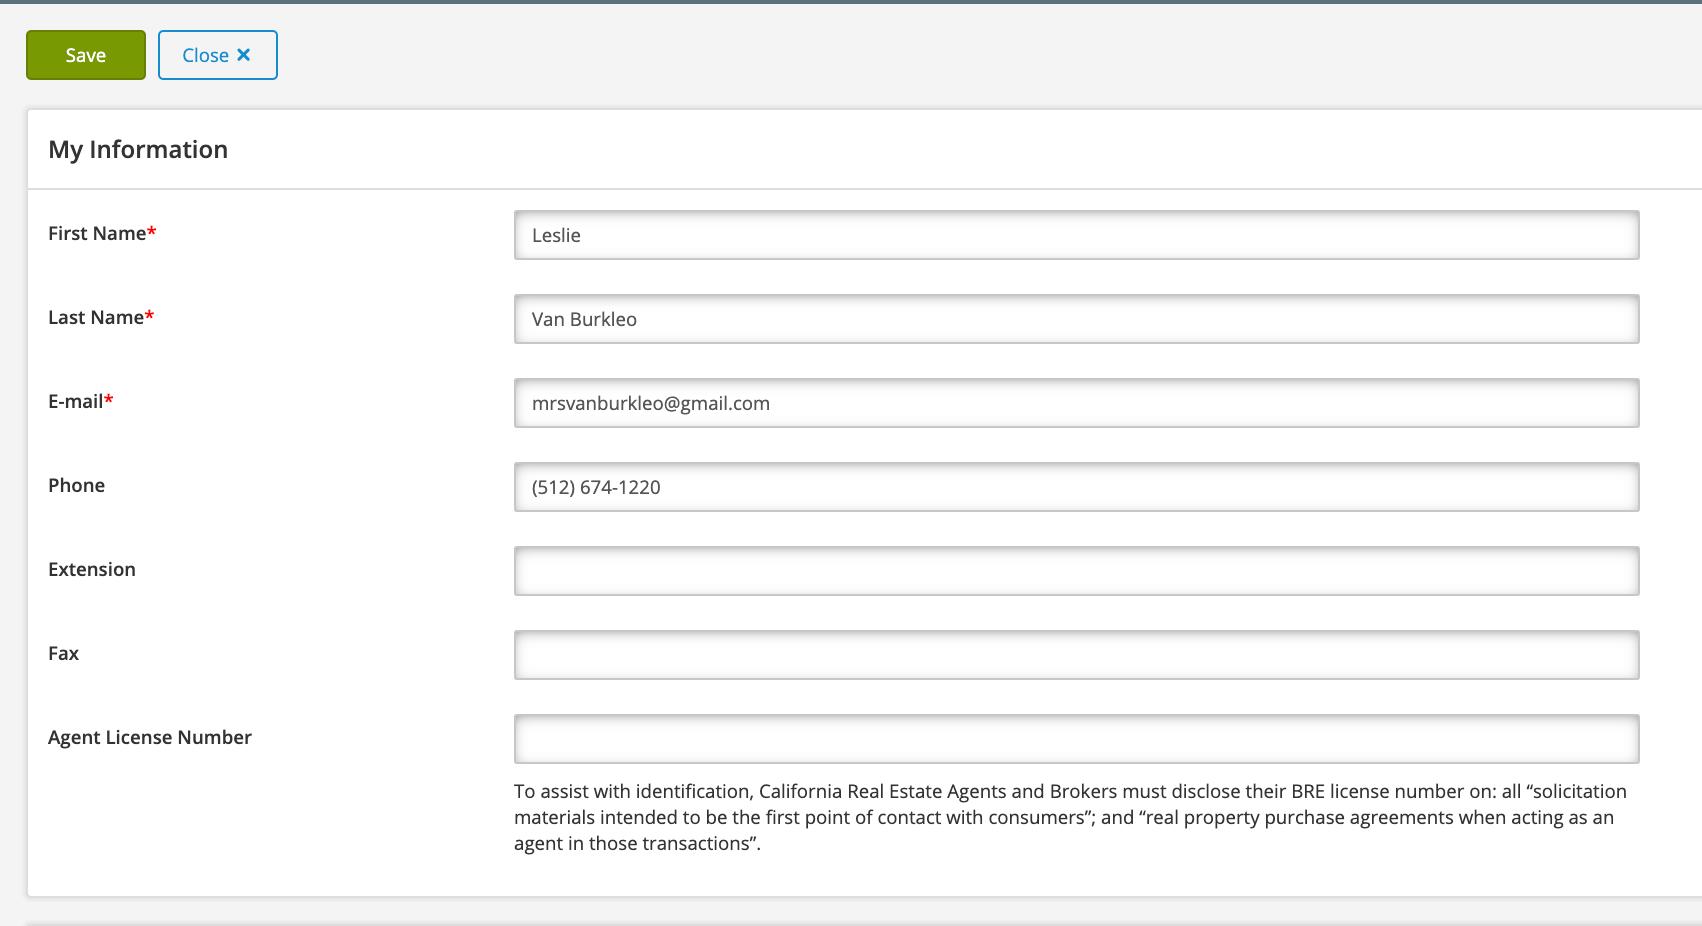
About Me

Update your contact information and email signature.

About Me: E-mail Signature

Use the Insert Link button or simply copy/paste the link to your
and Consumer
your
account.
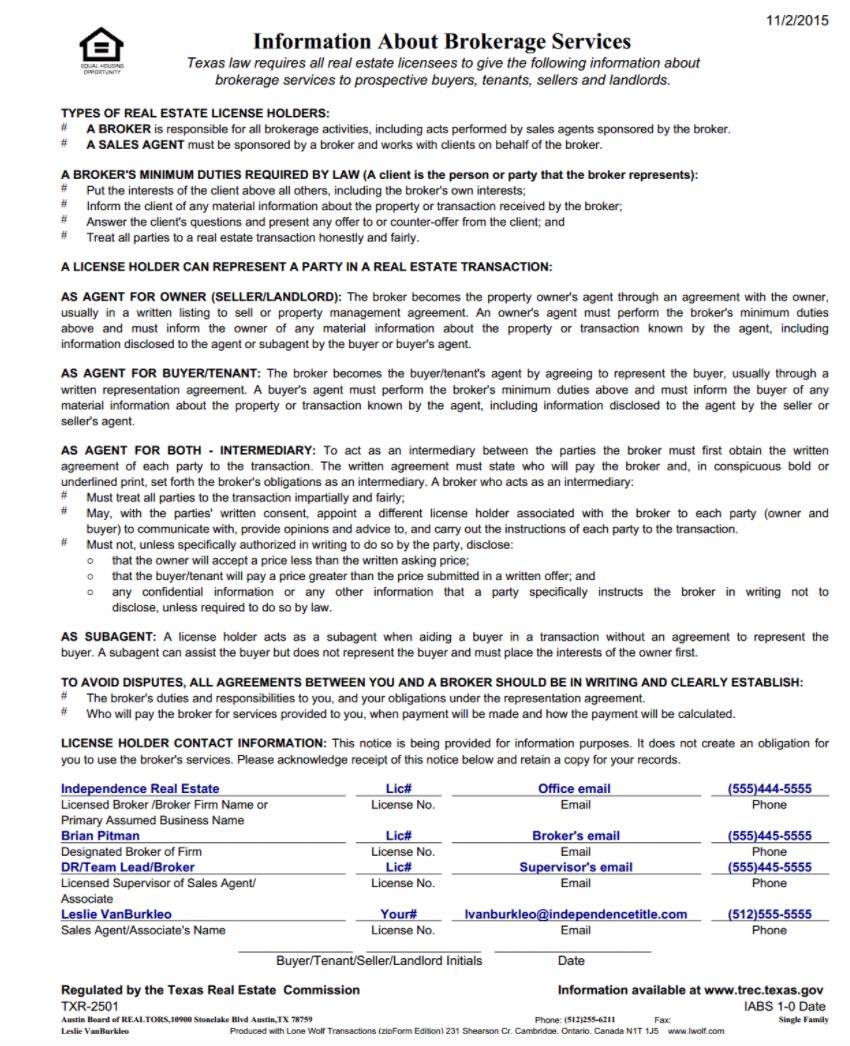
IABS
Protection Notice from
primary email

About Me: E-mail Signature

Use the Insert Link button or simply copy/paste the link to your
and Consumer
your
account.
IABS
Protection Notice from
primary email

FORMS

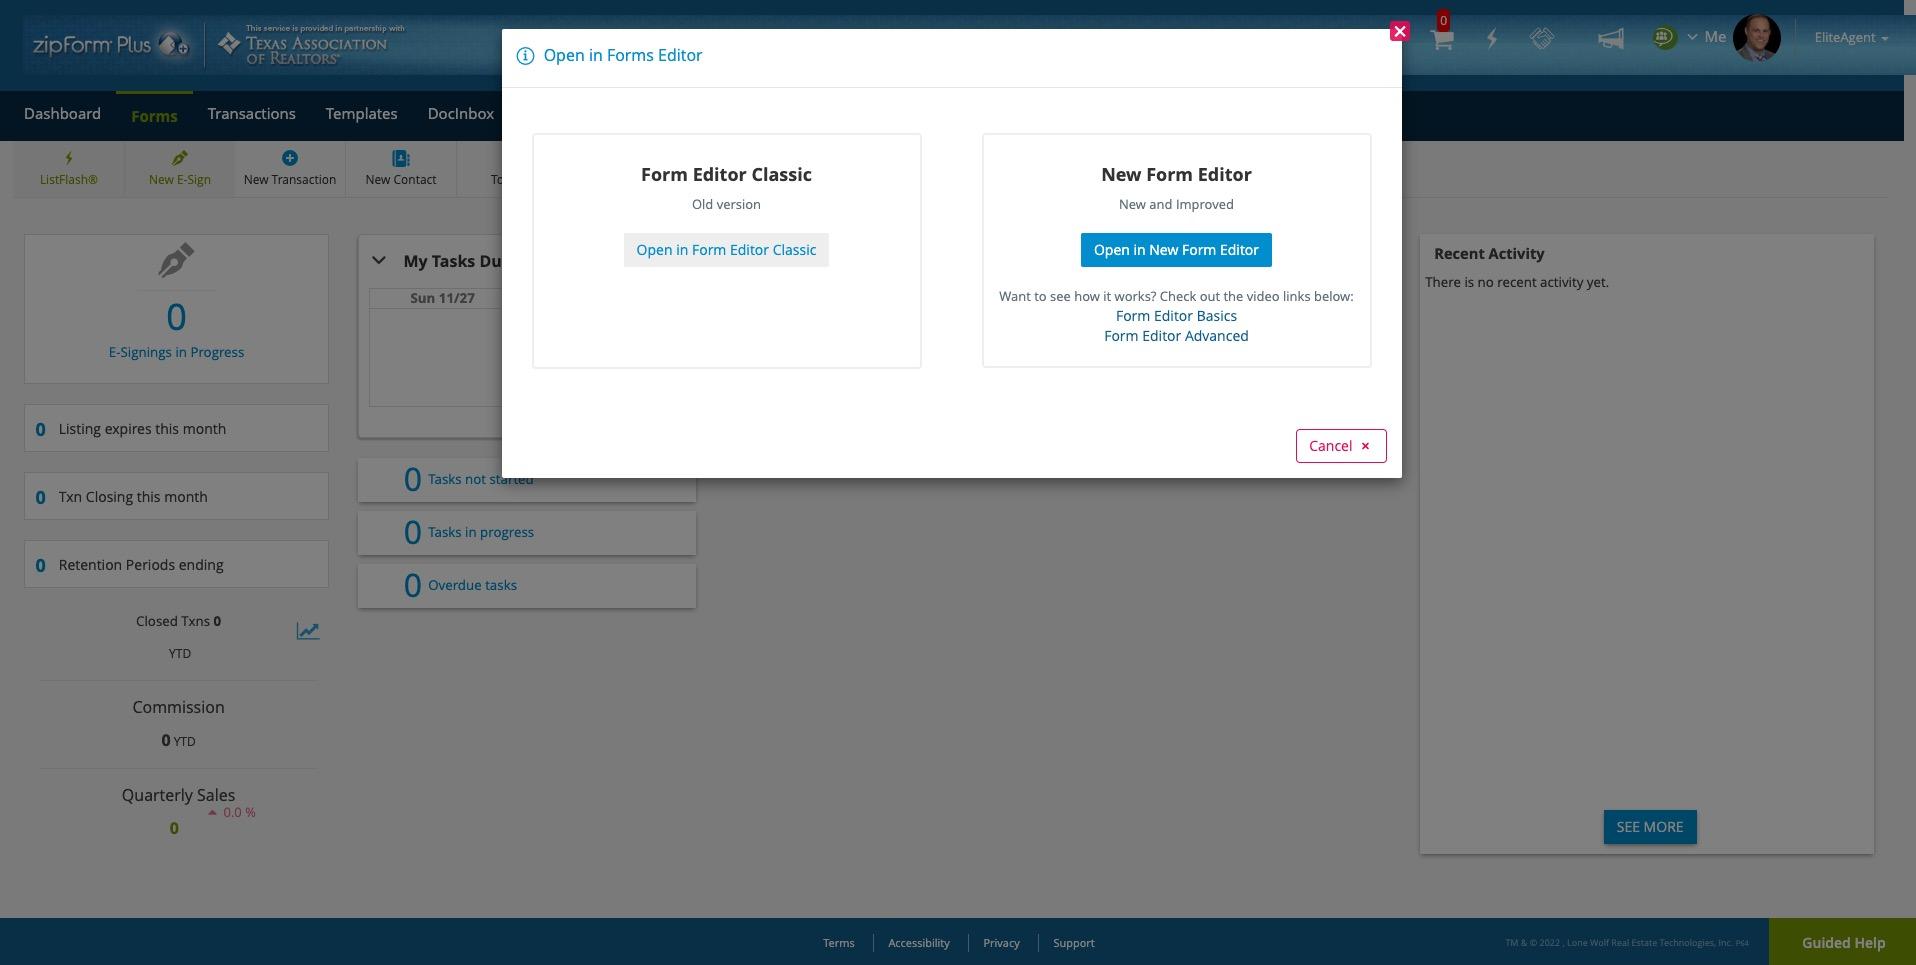
The New Forms Editor

Introducing the New Form Editor

FORMS EDITOR

FORMS EDITOR

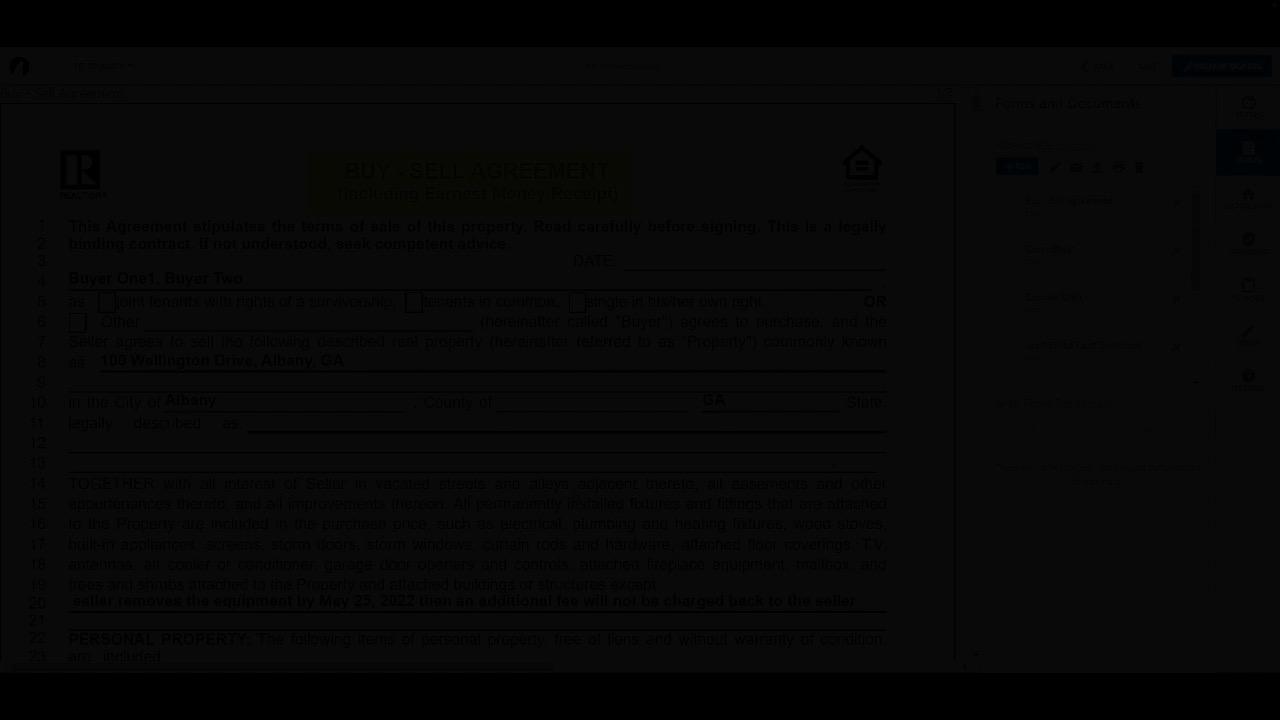
View the document you’re working
DOCUMENT VIEW PORT
on.

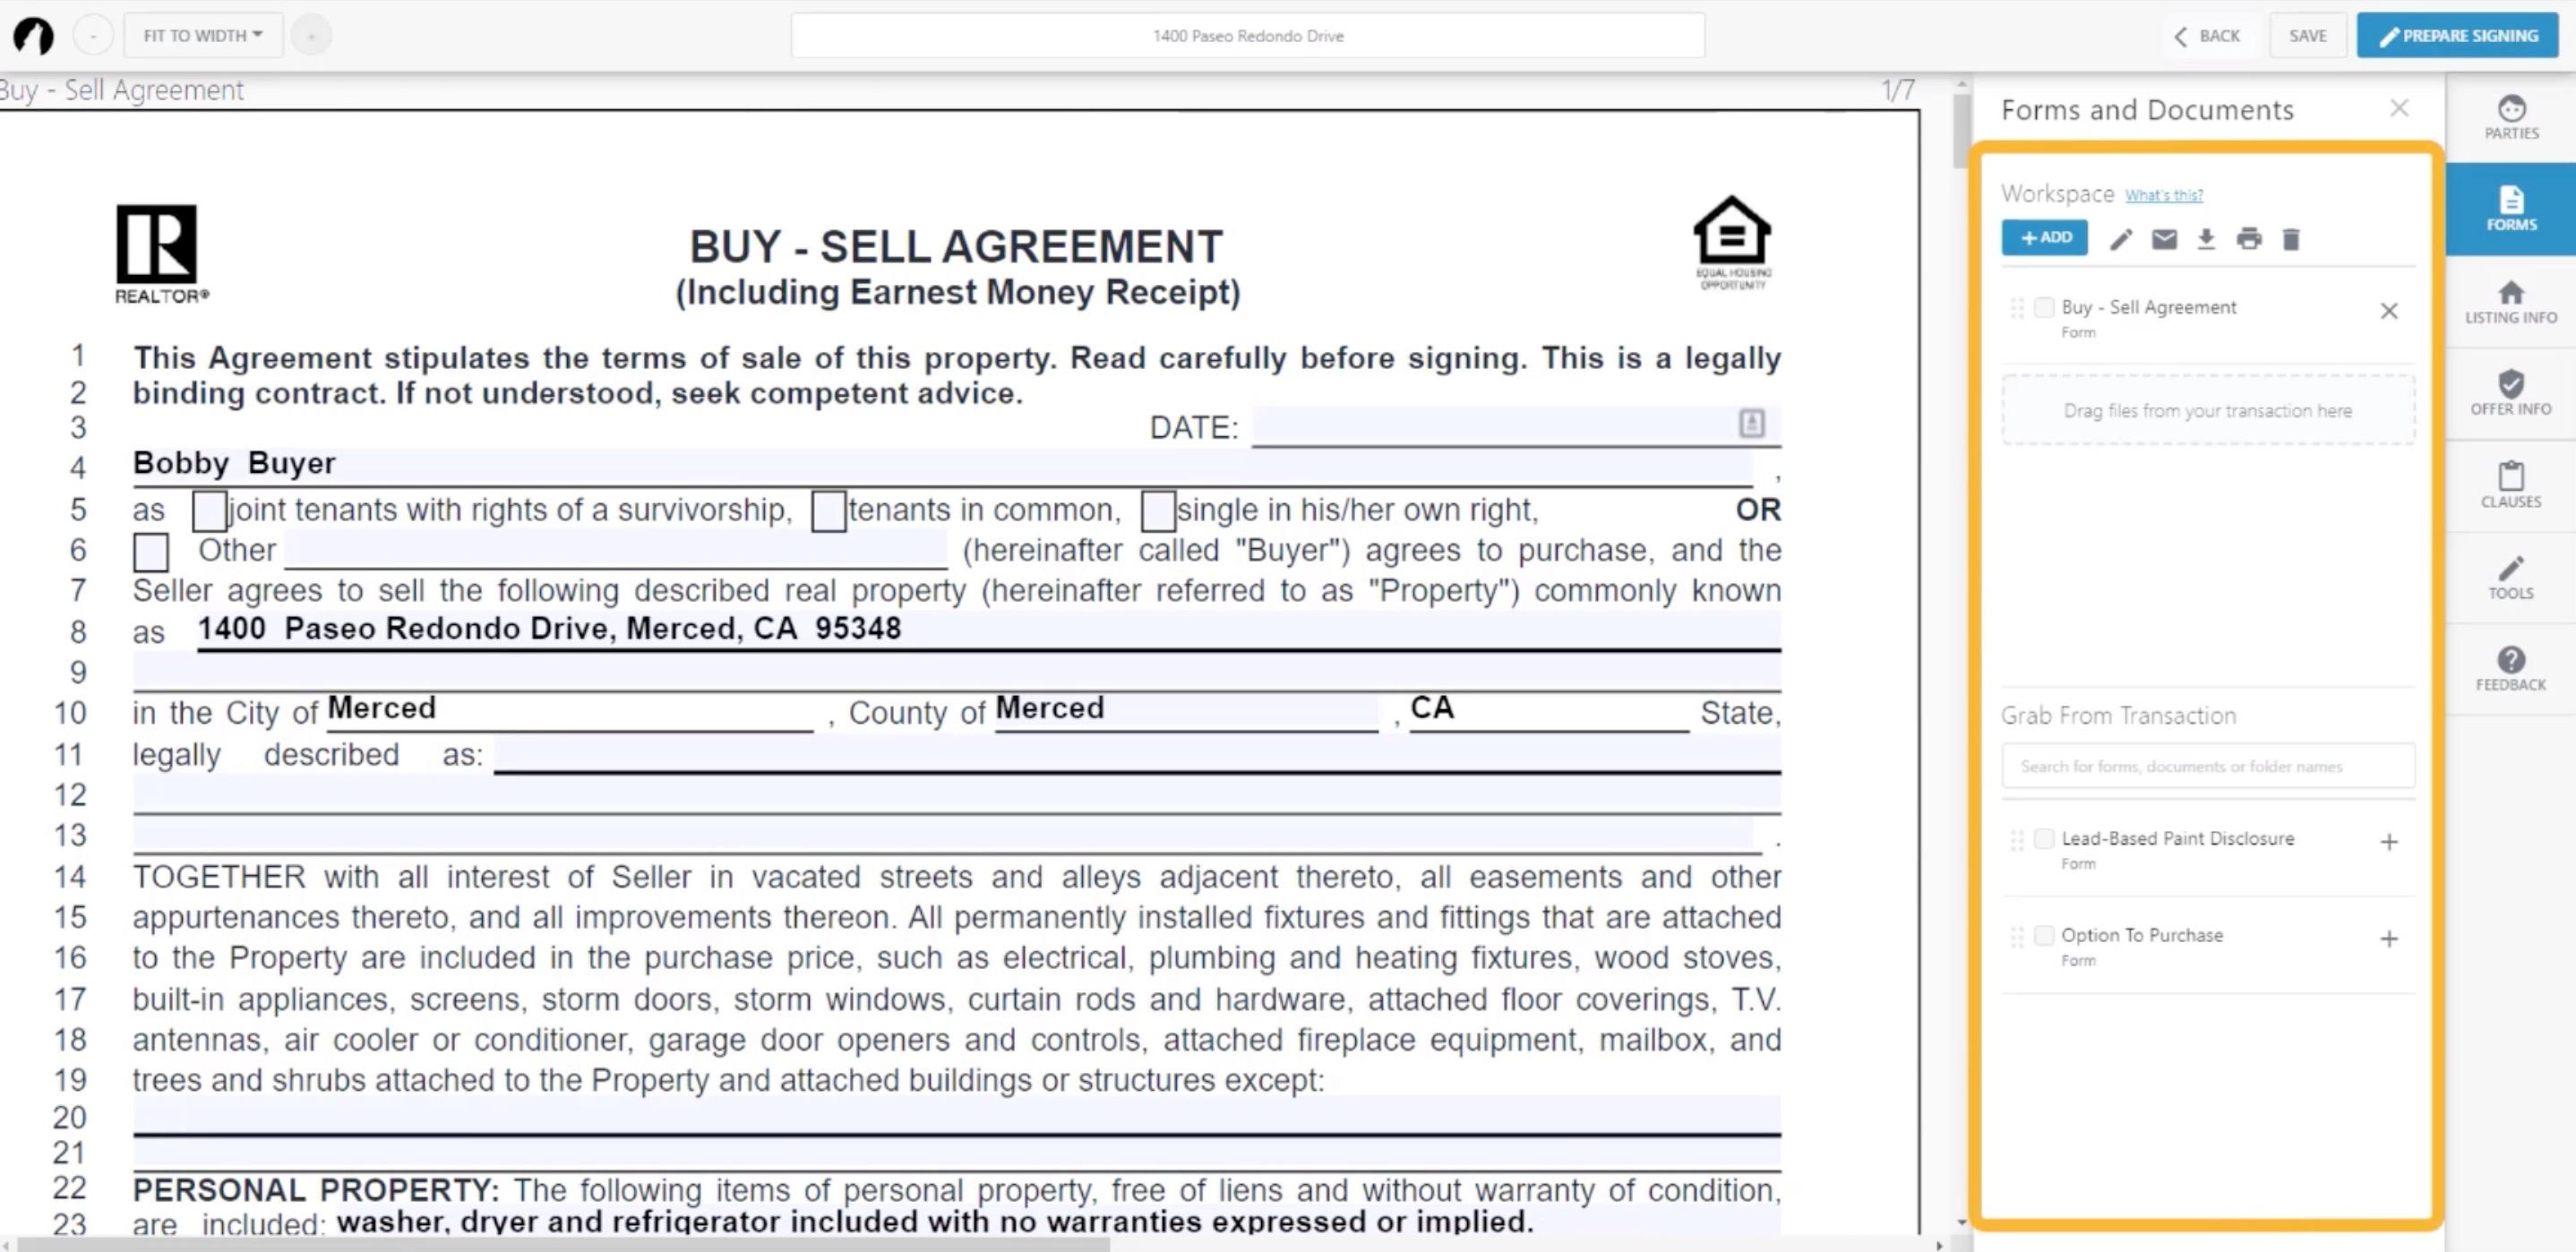
WORKSPACE

Where you perform all actions on the document.
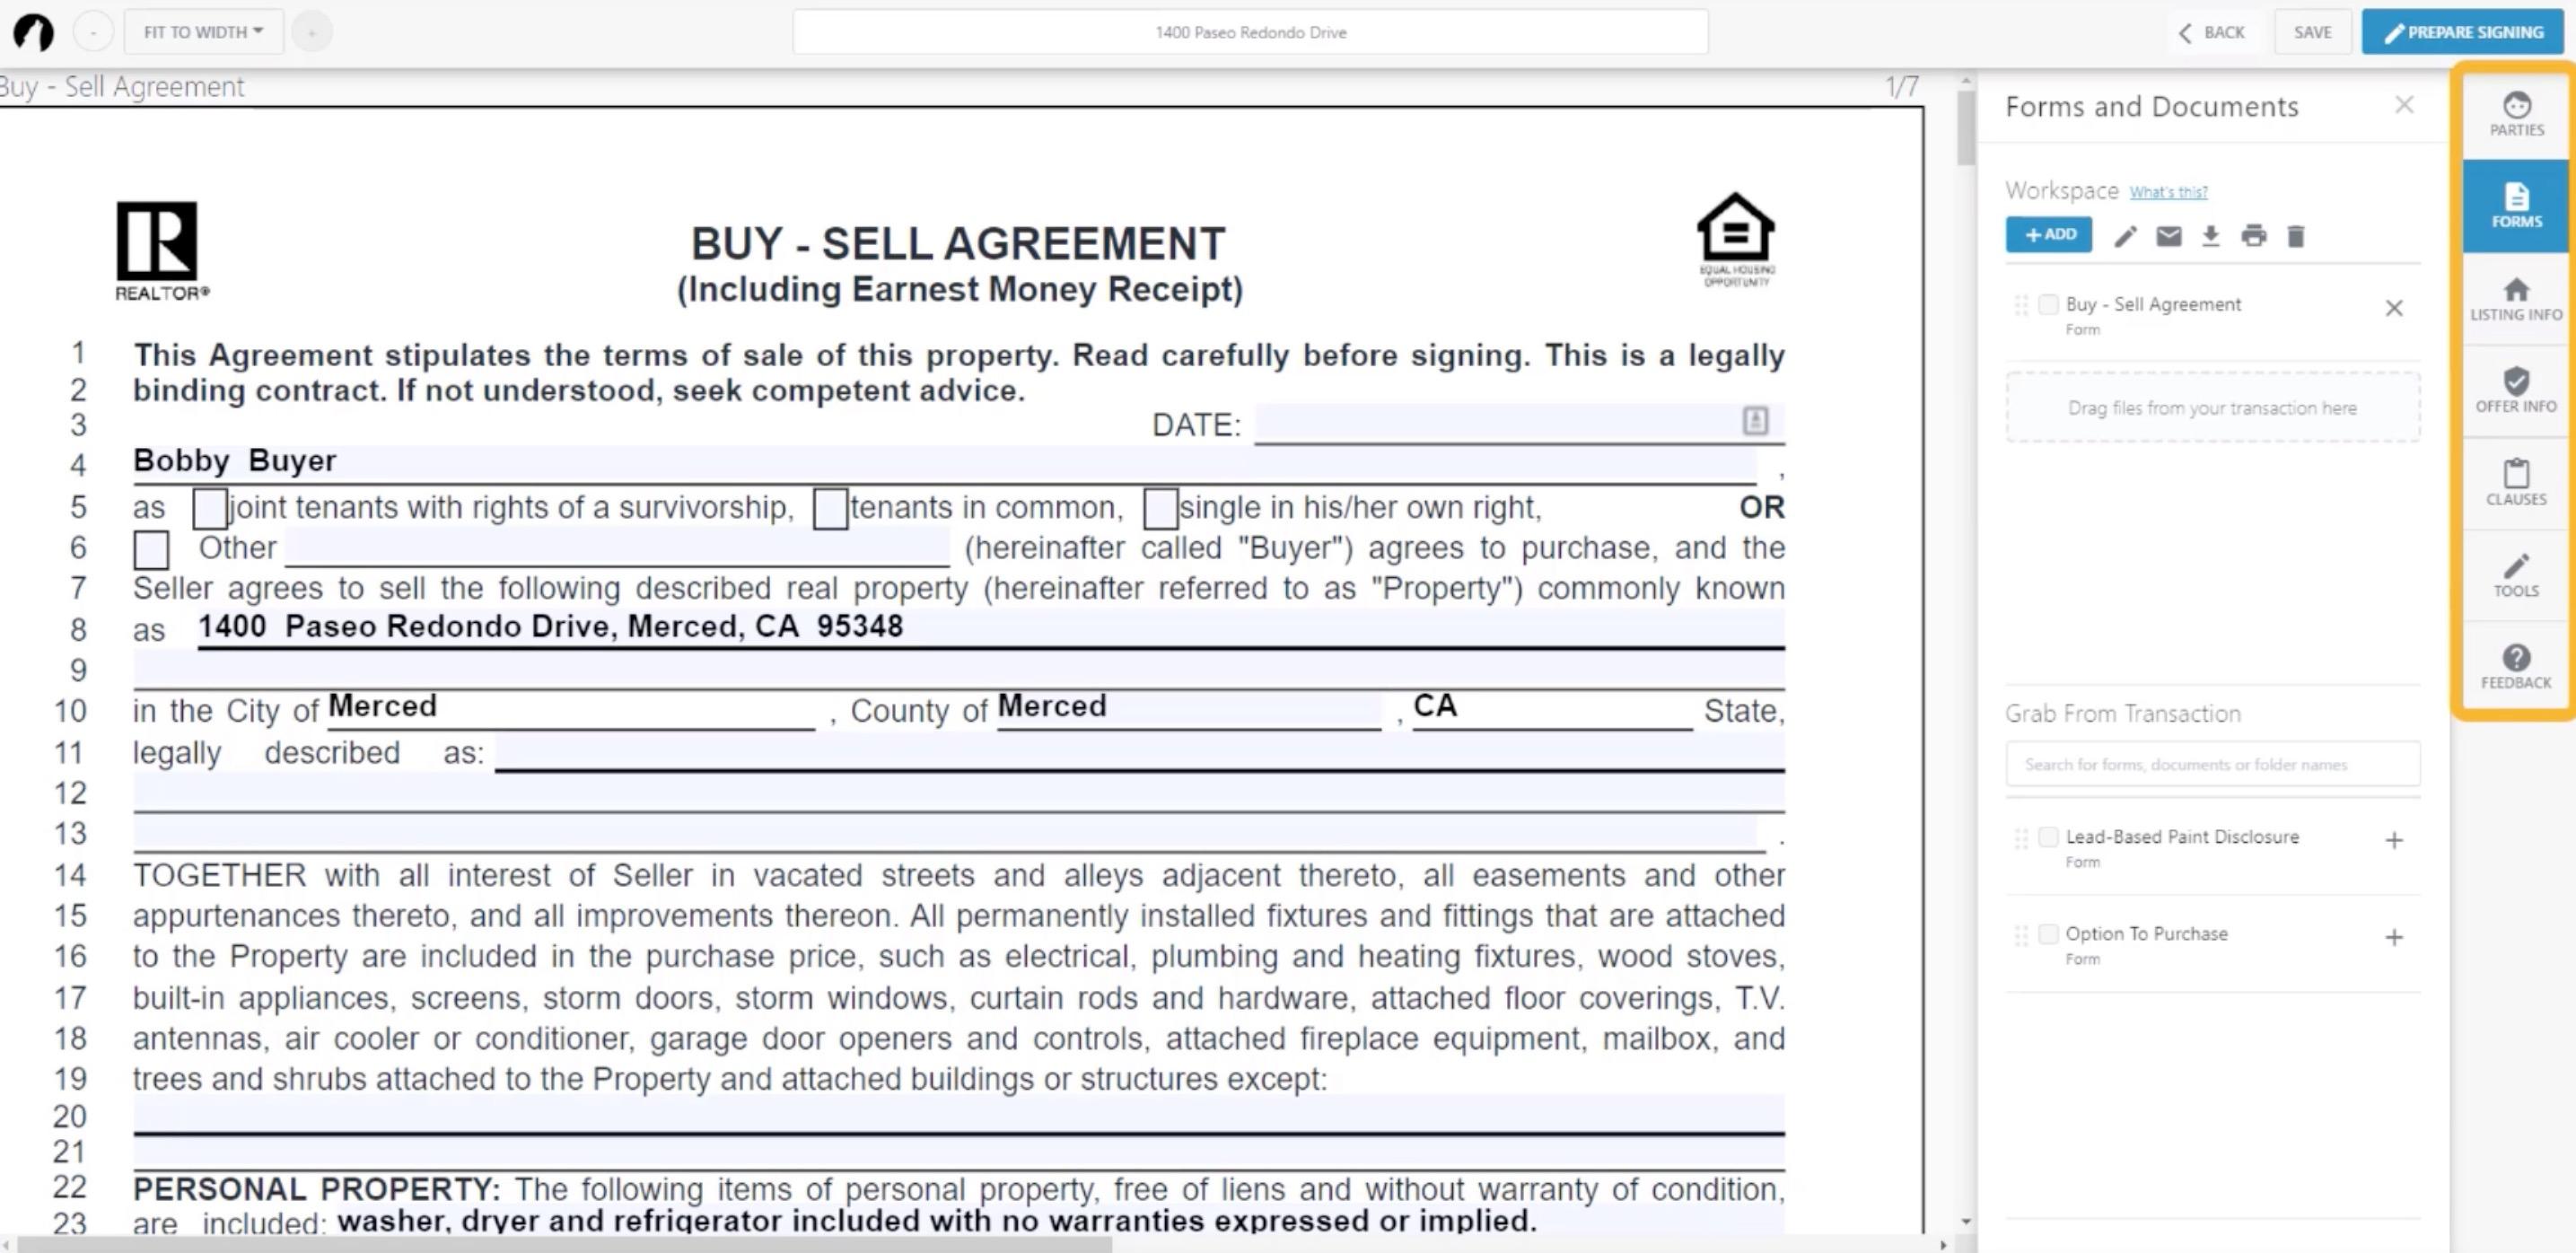
PANE

NAVIGATIONAL
Access different features as needed.

WORKSPACE

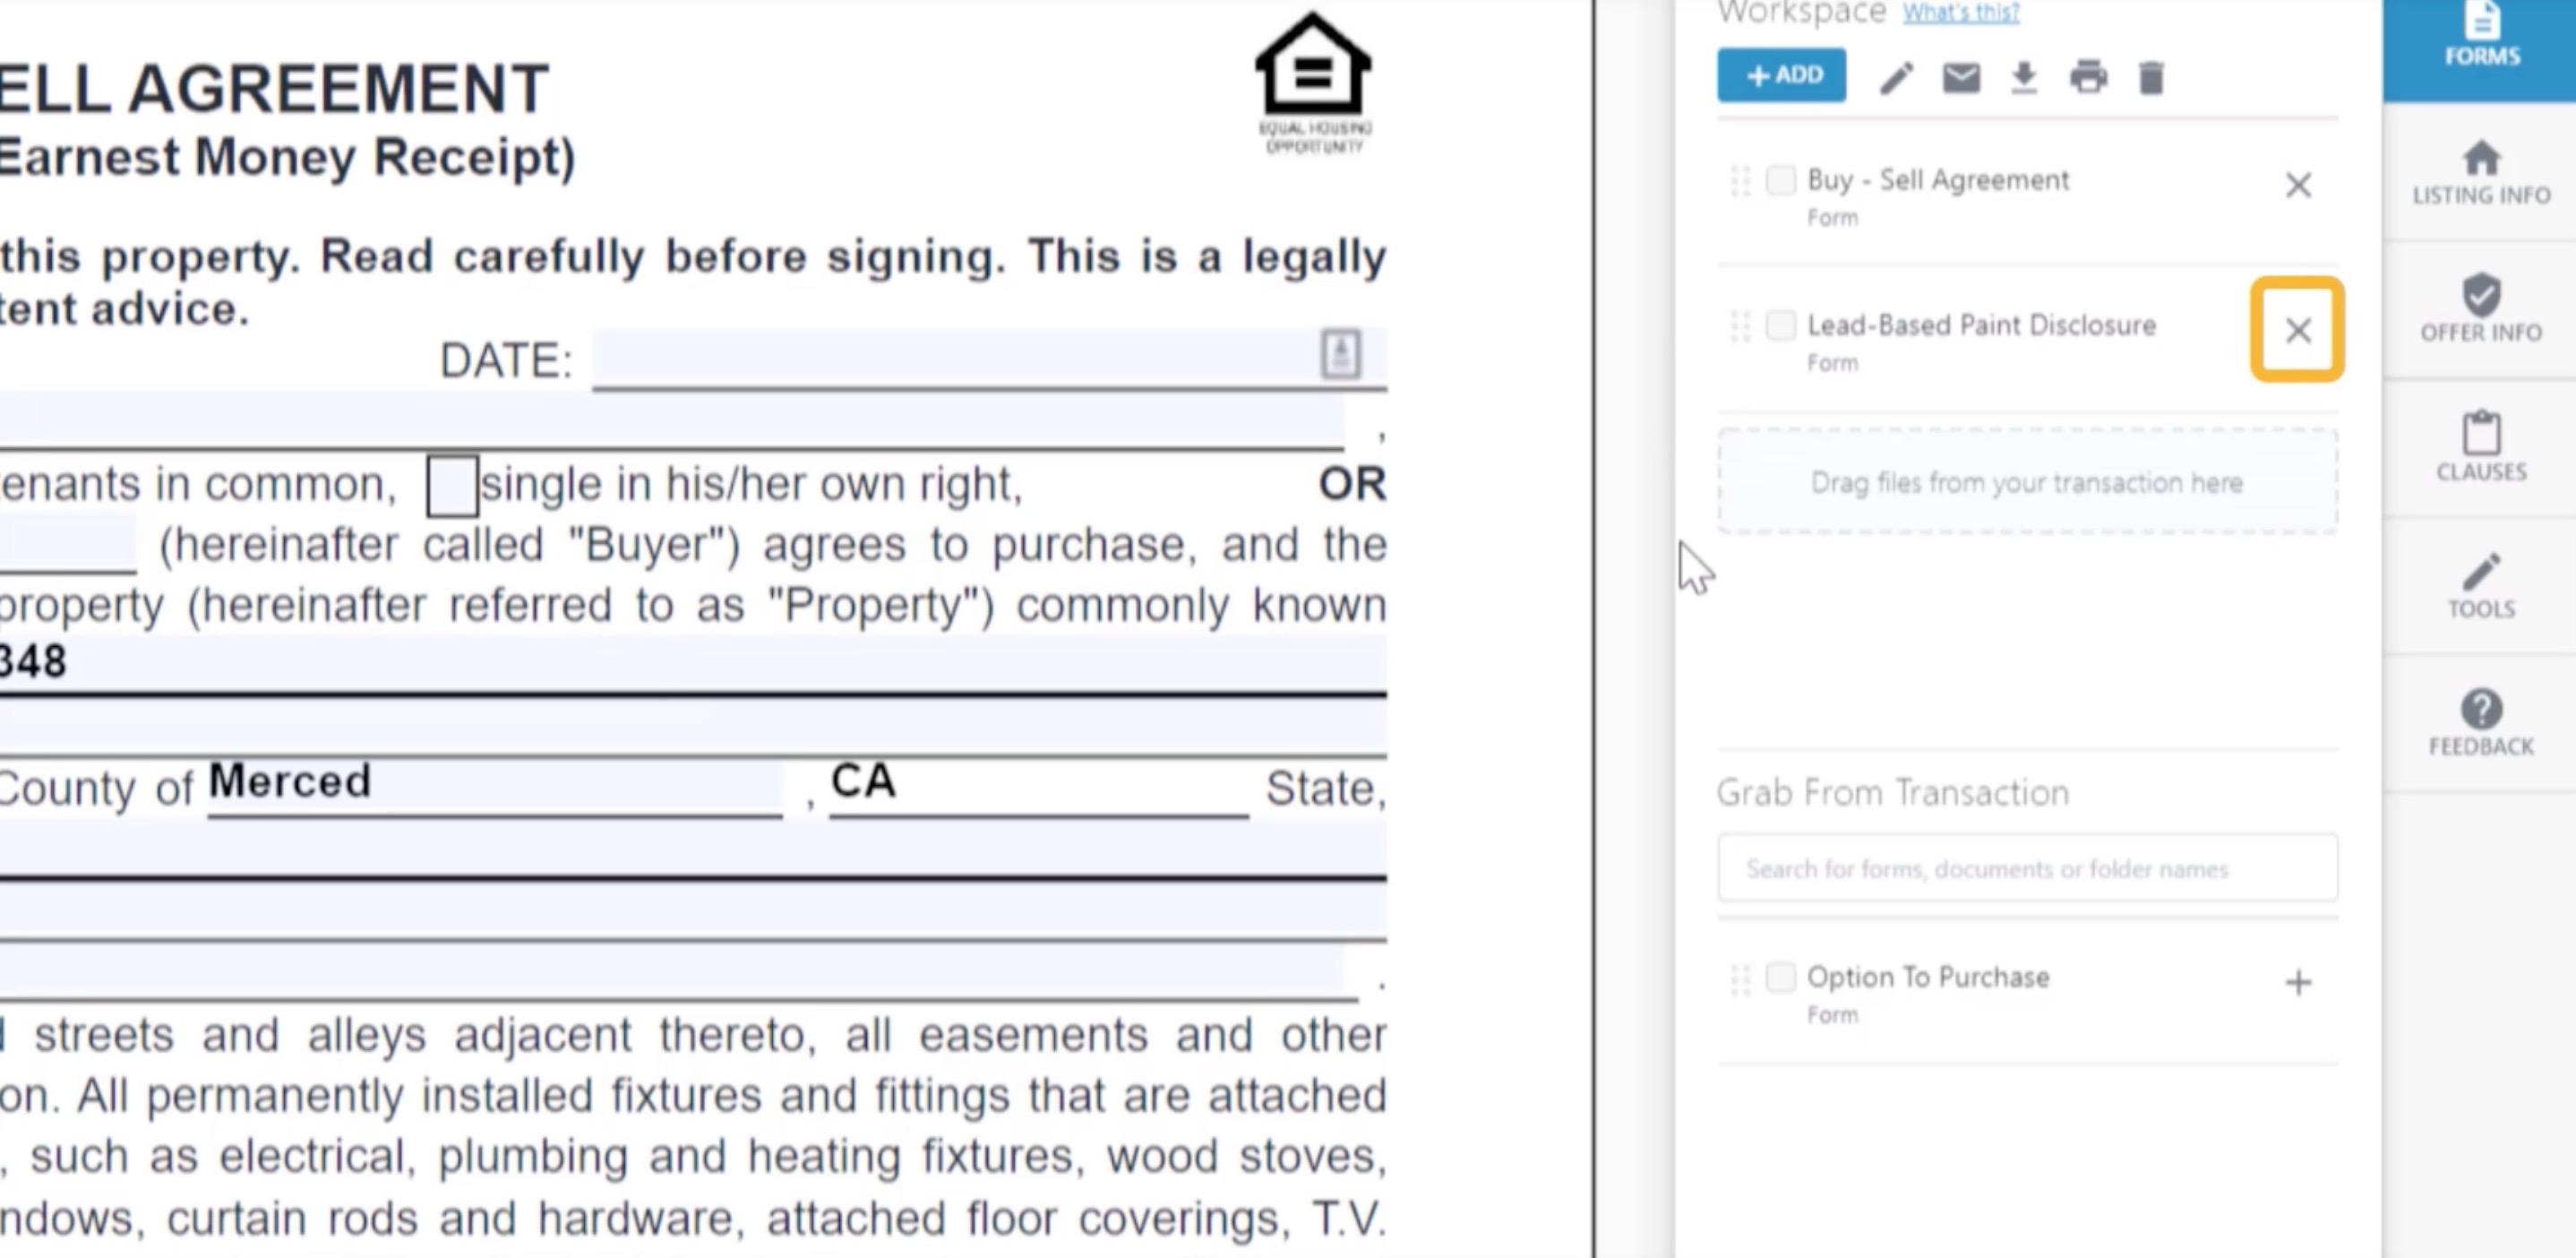
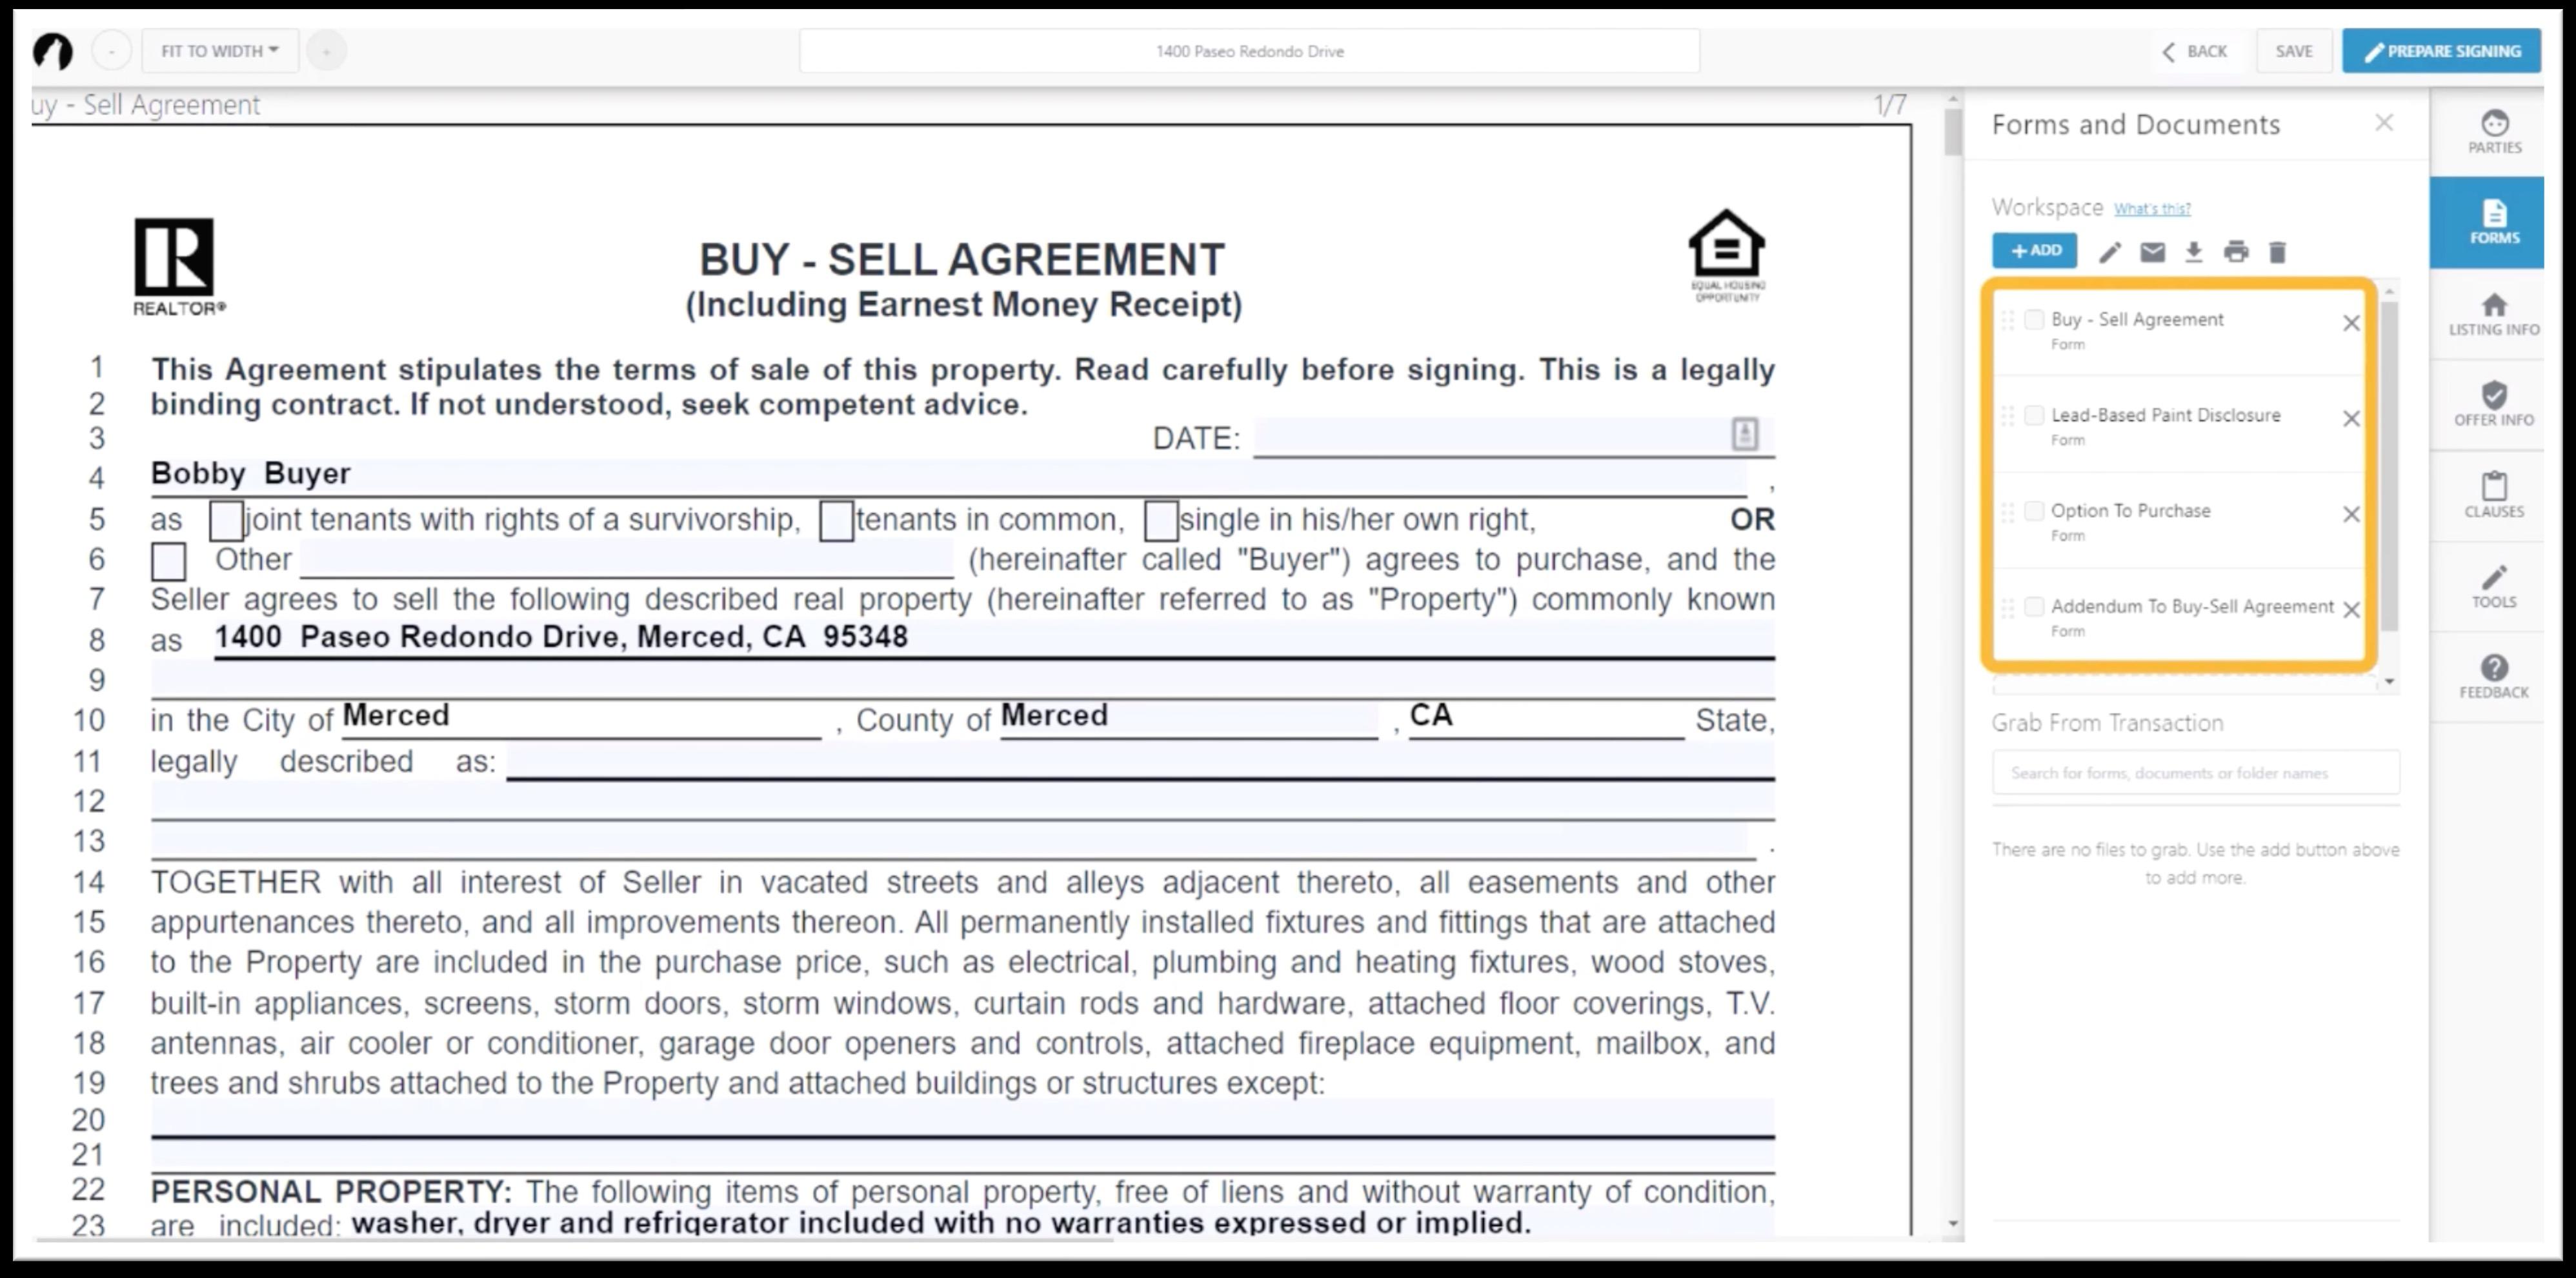
• Pull documents needed, drag and drop into your workspace.
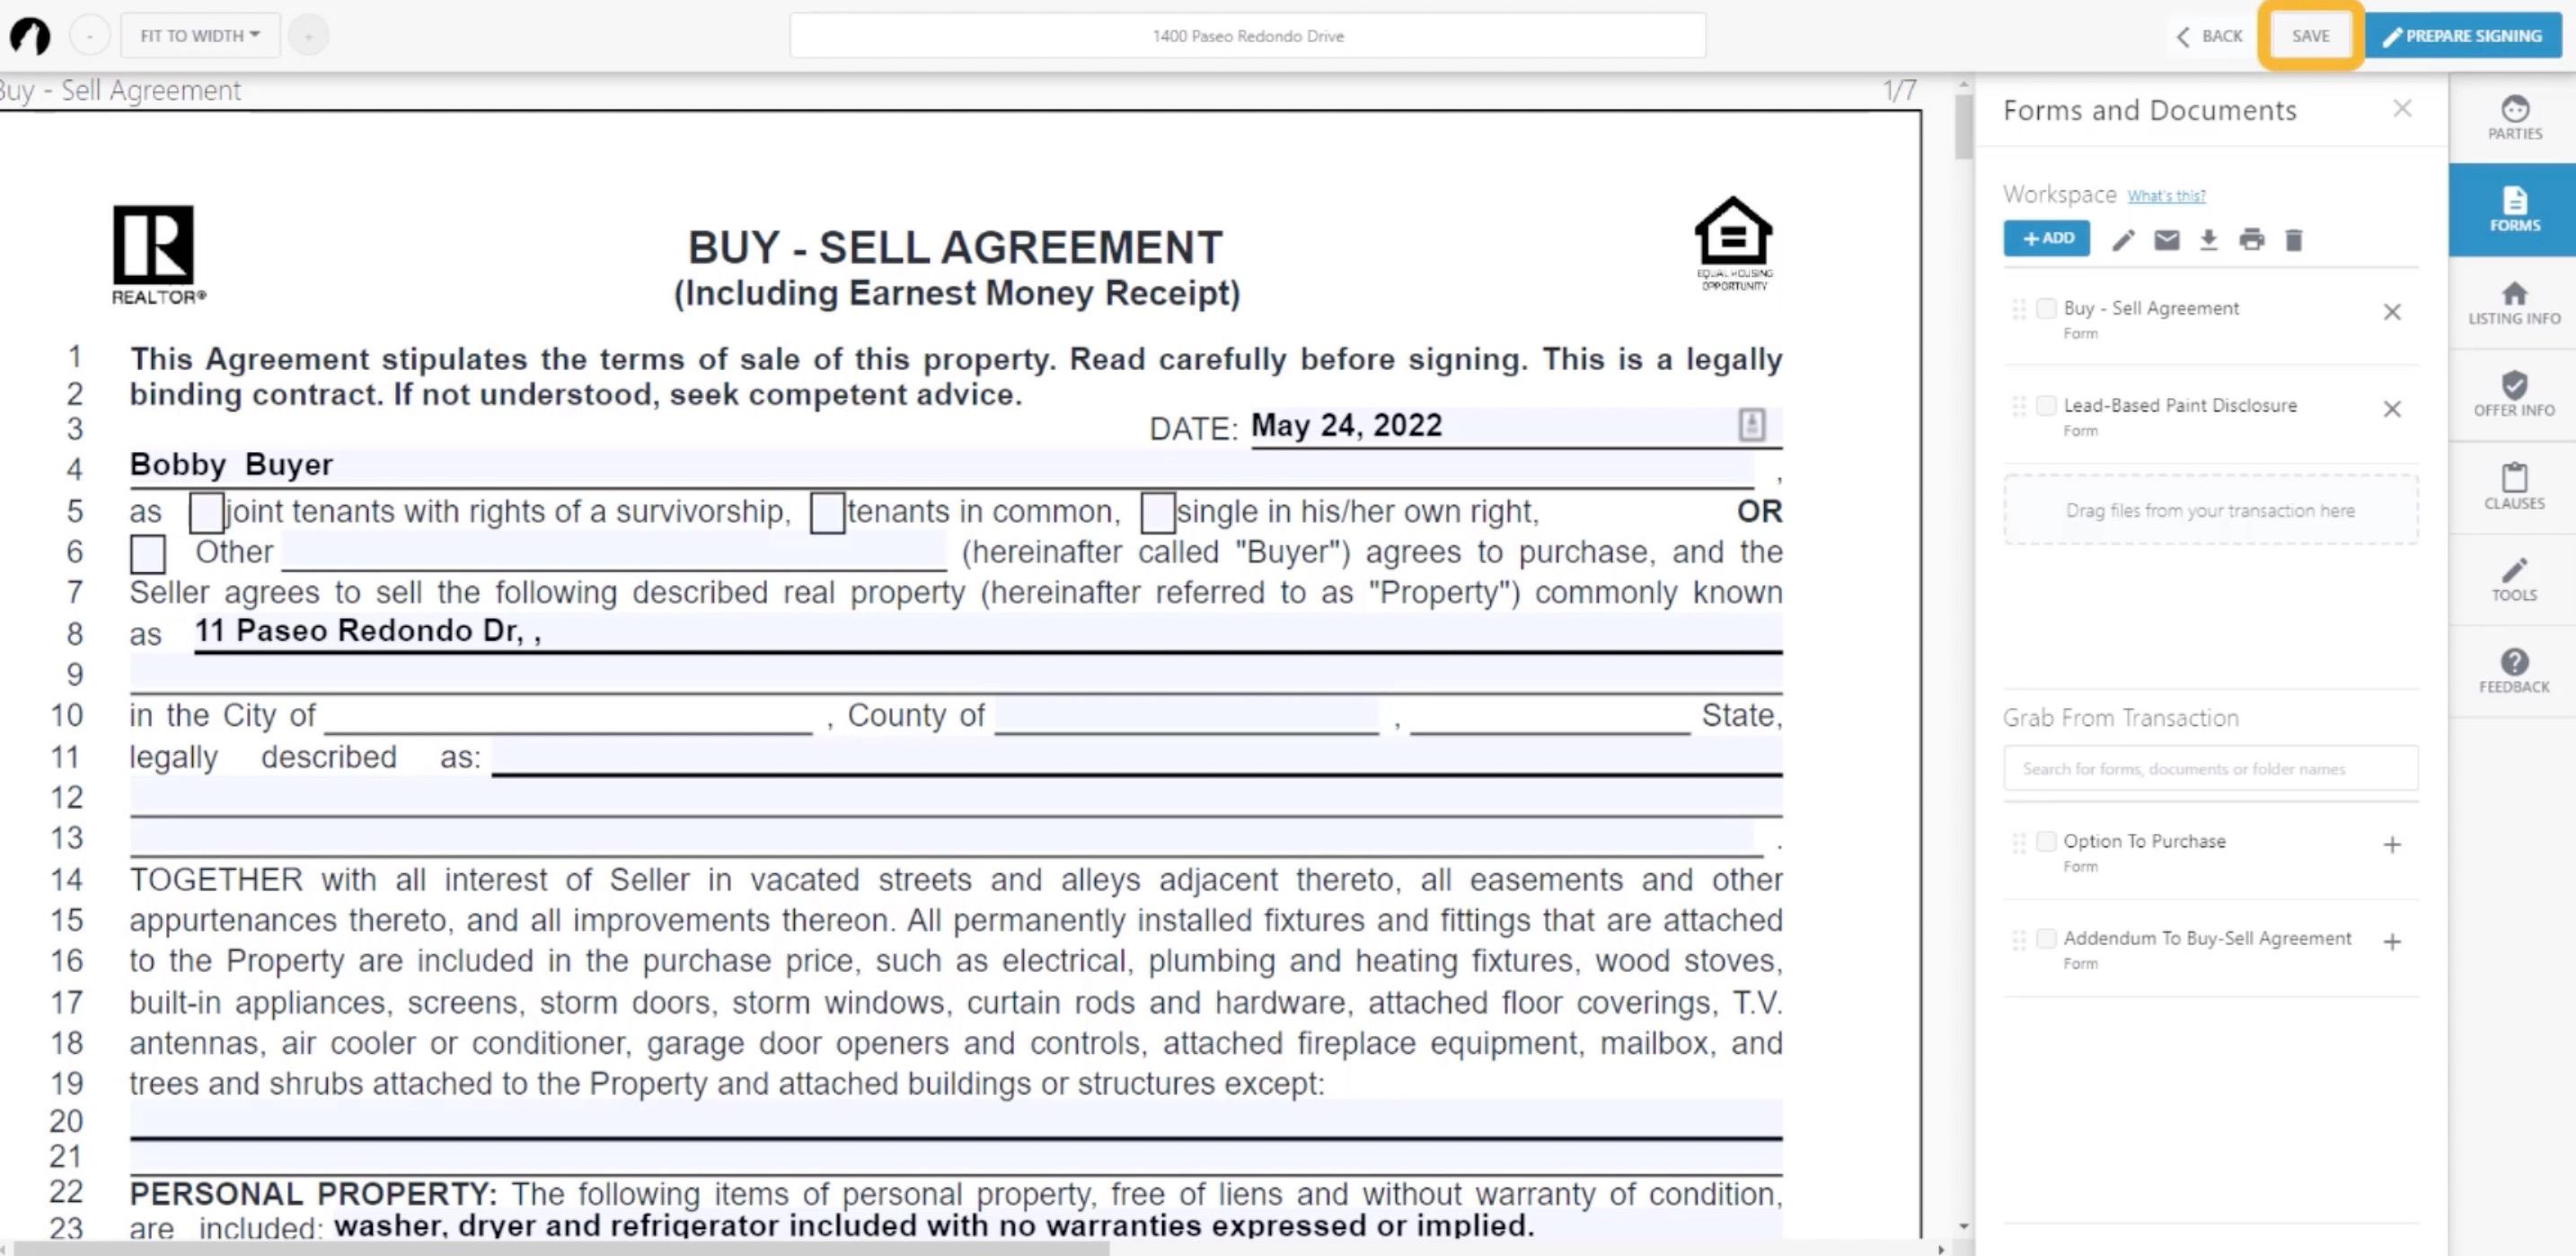
• Easily remove a document from your workspace by clicking on the X.
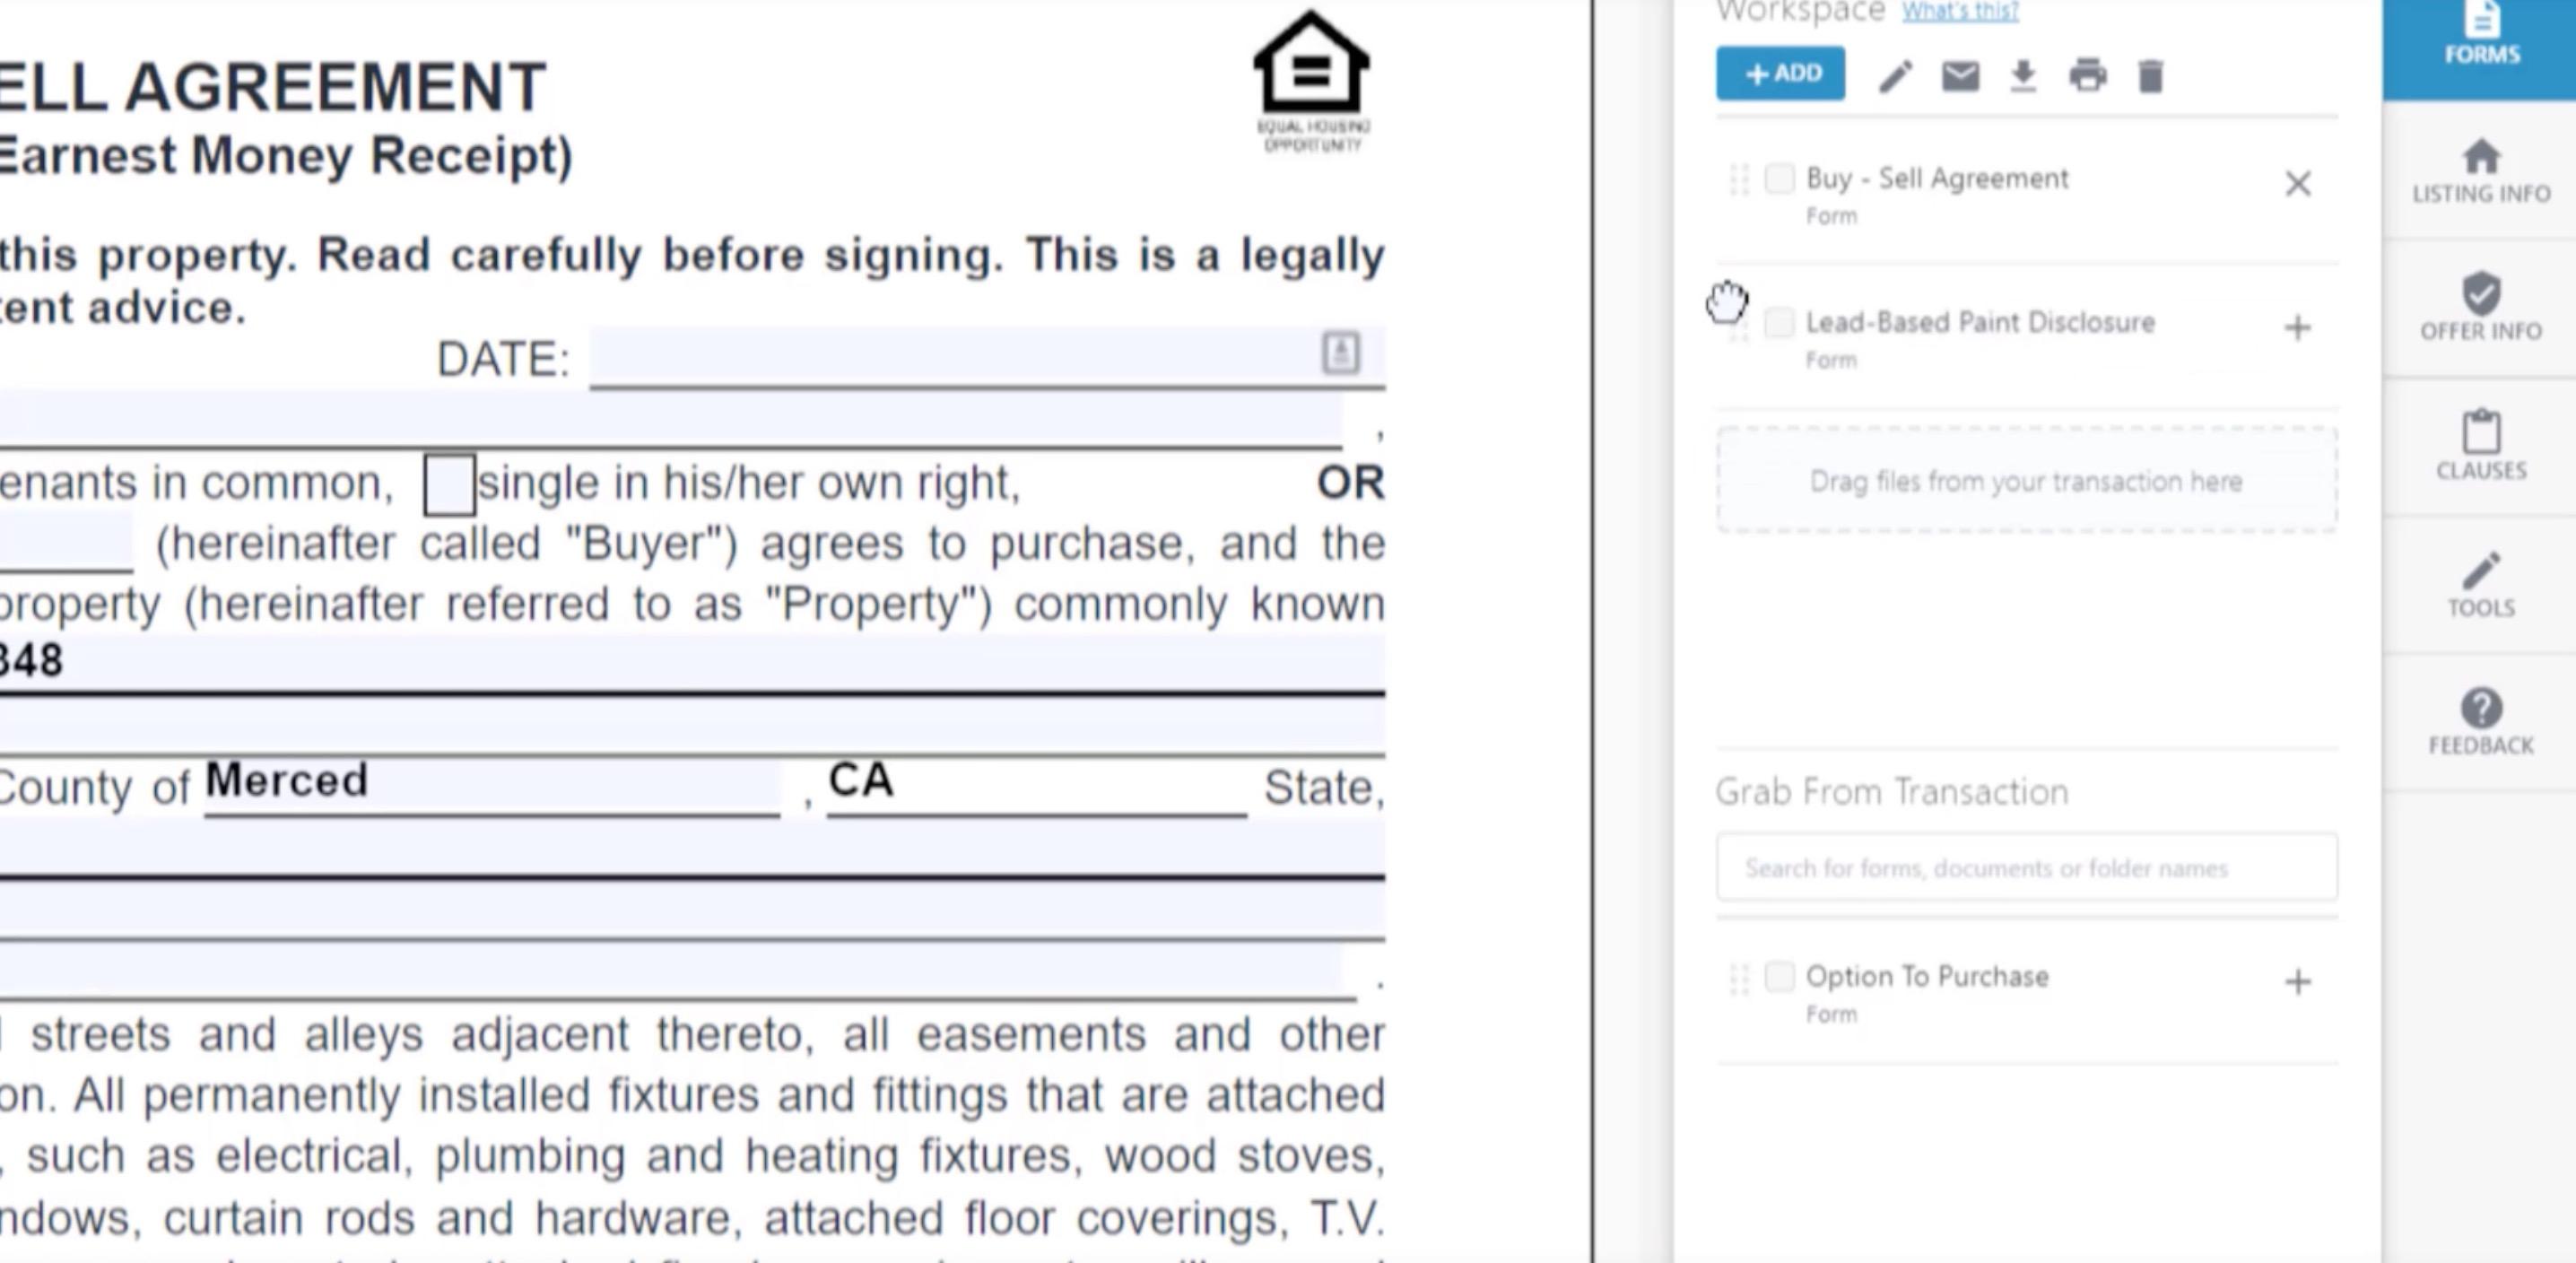
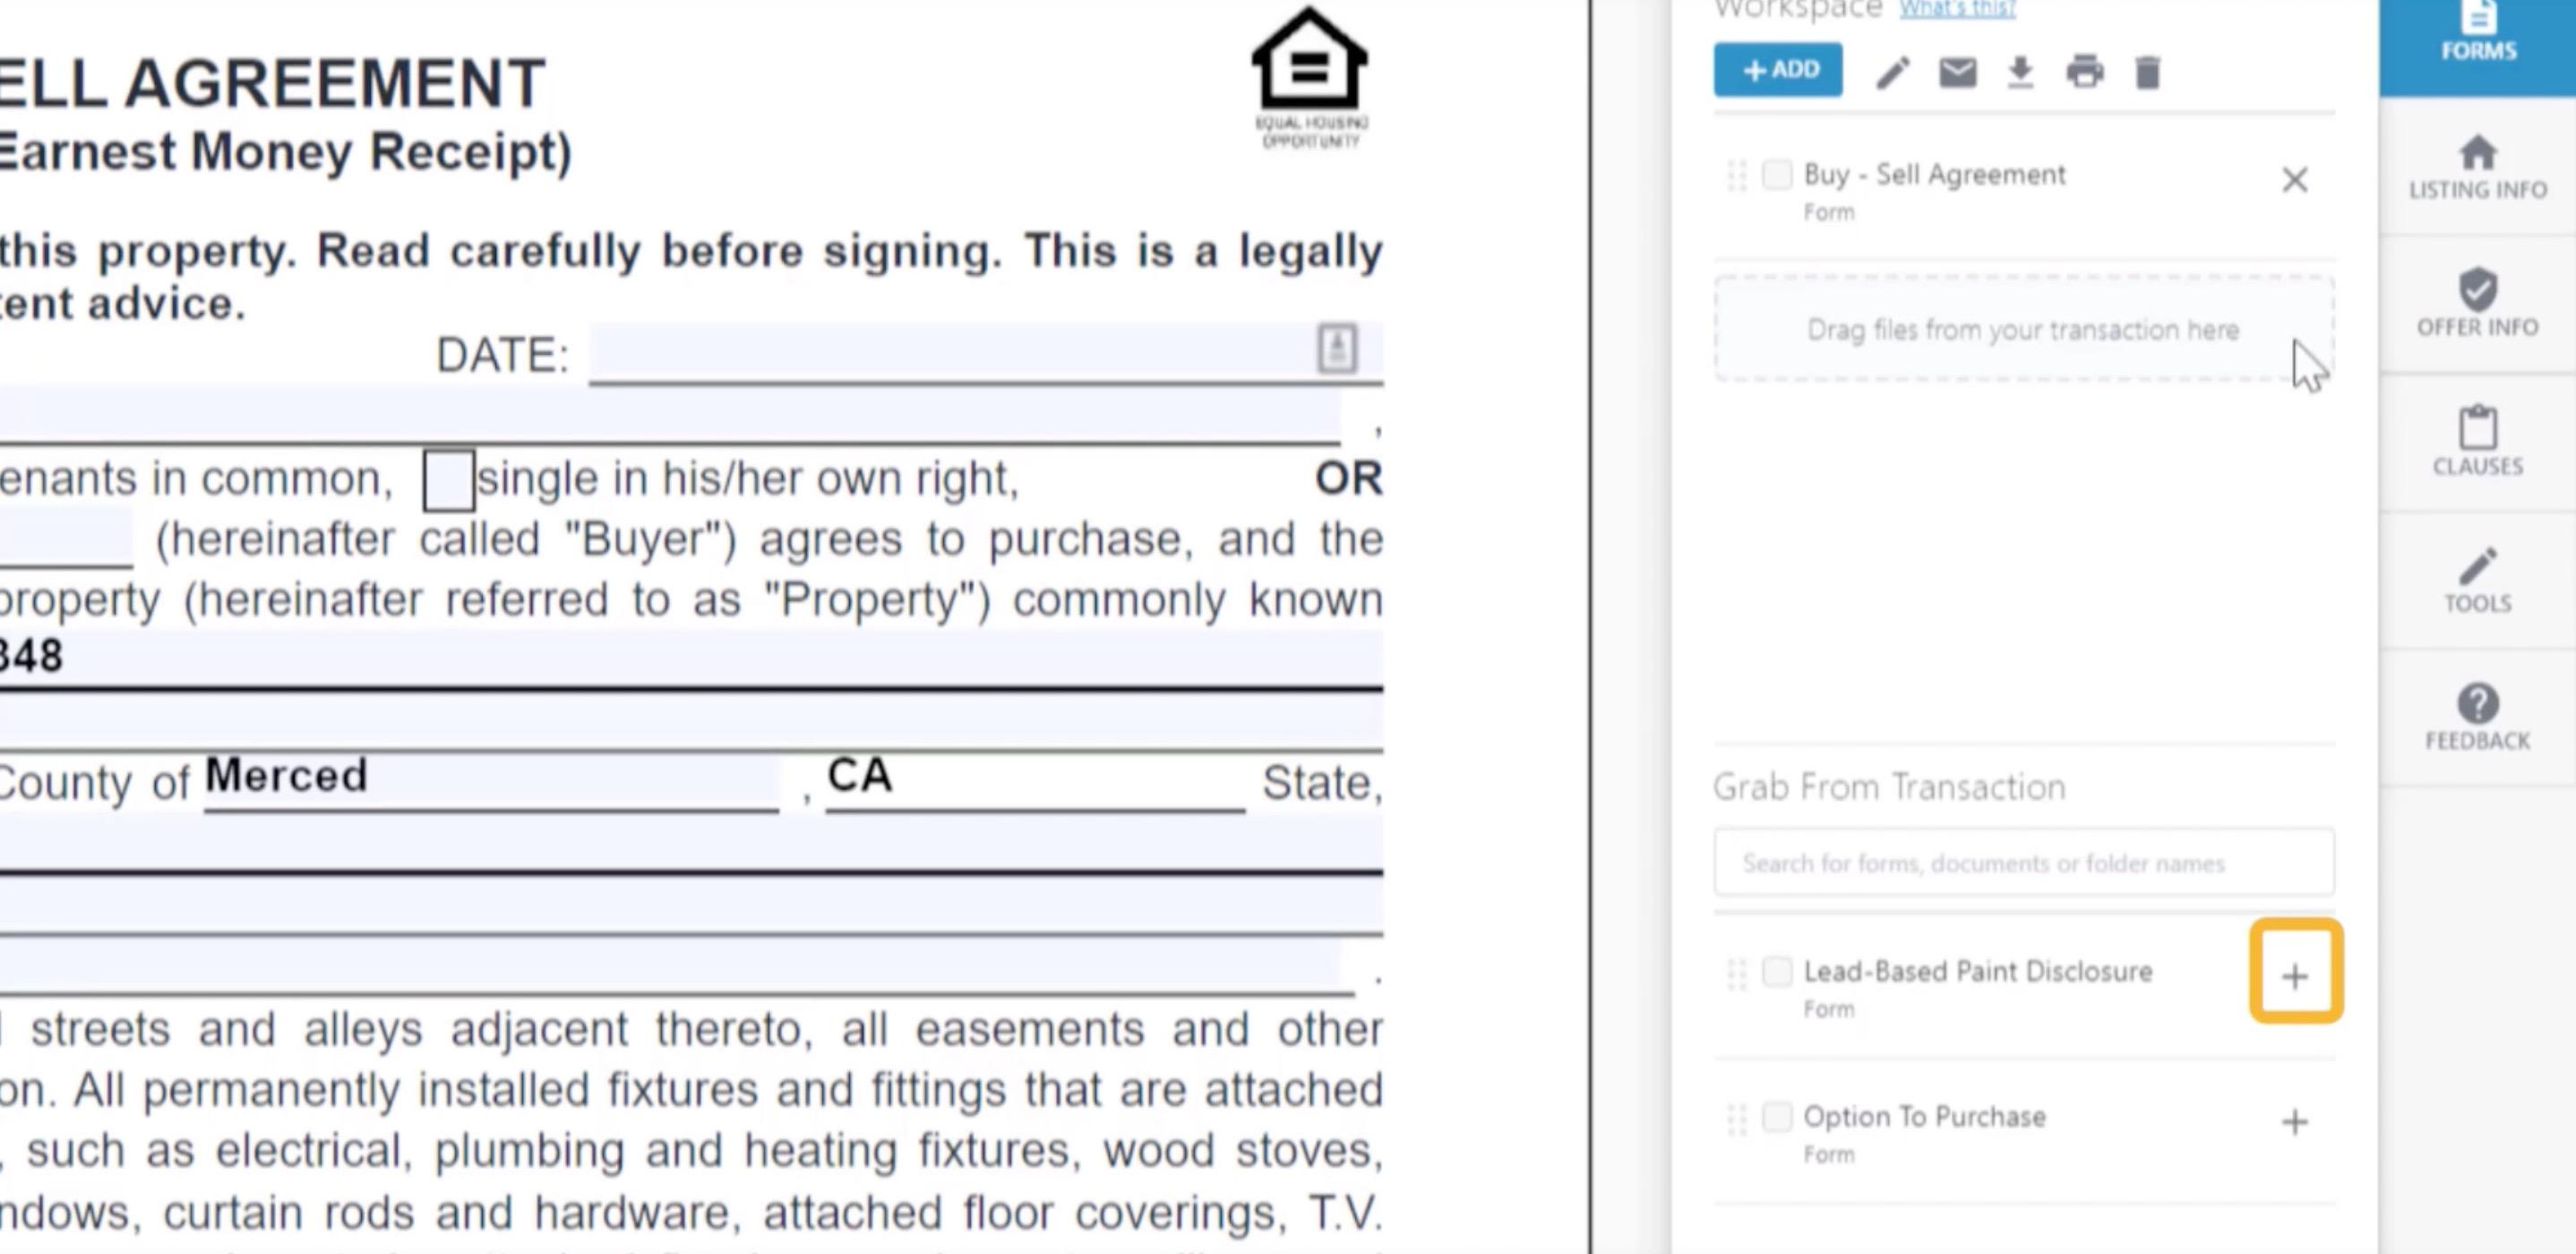
WORKSPACE
• Easily add a document from your workspace by clicking on the +.
WORKSPACE

WORKSPACE

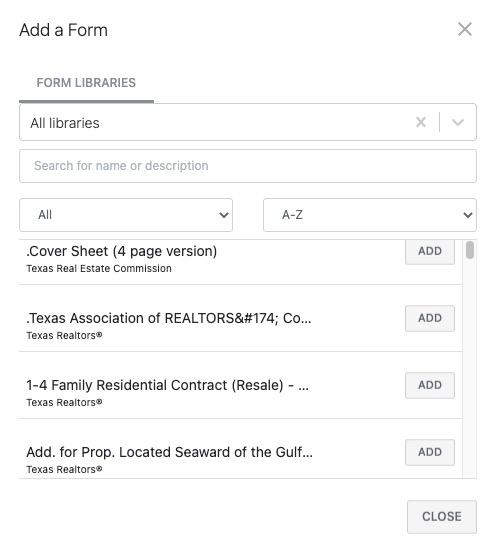
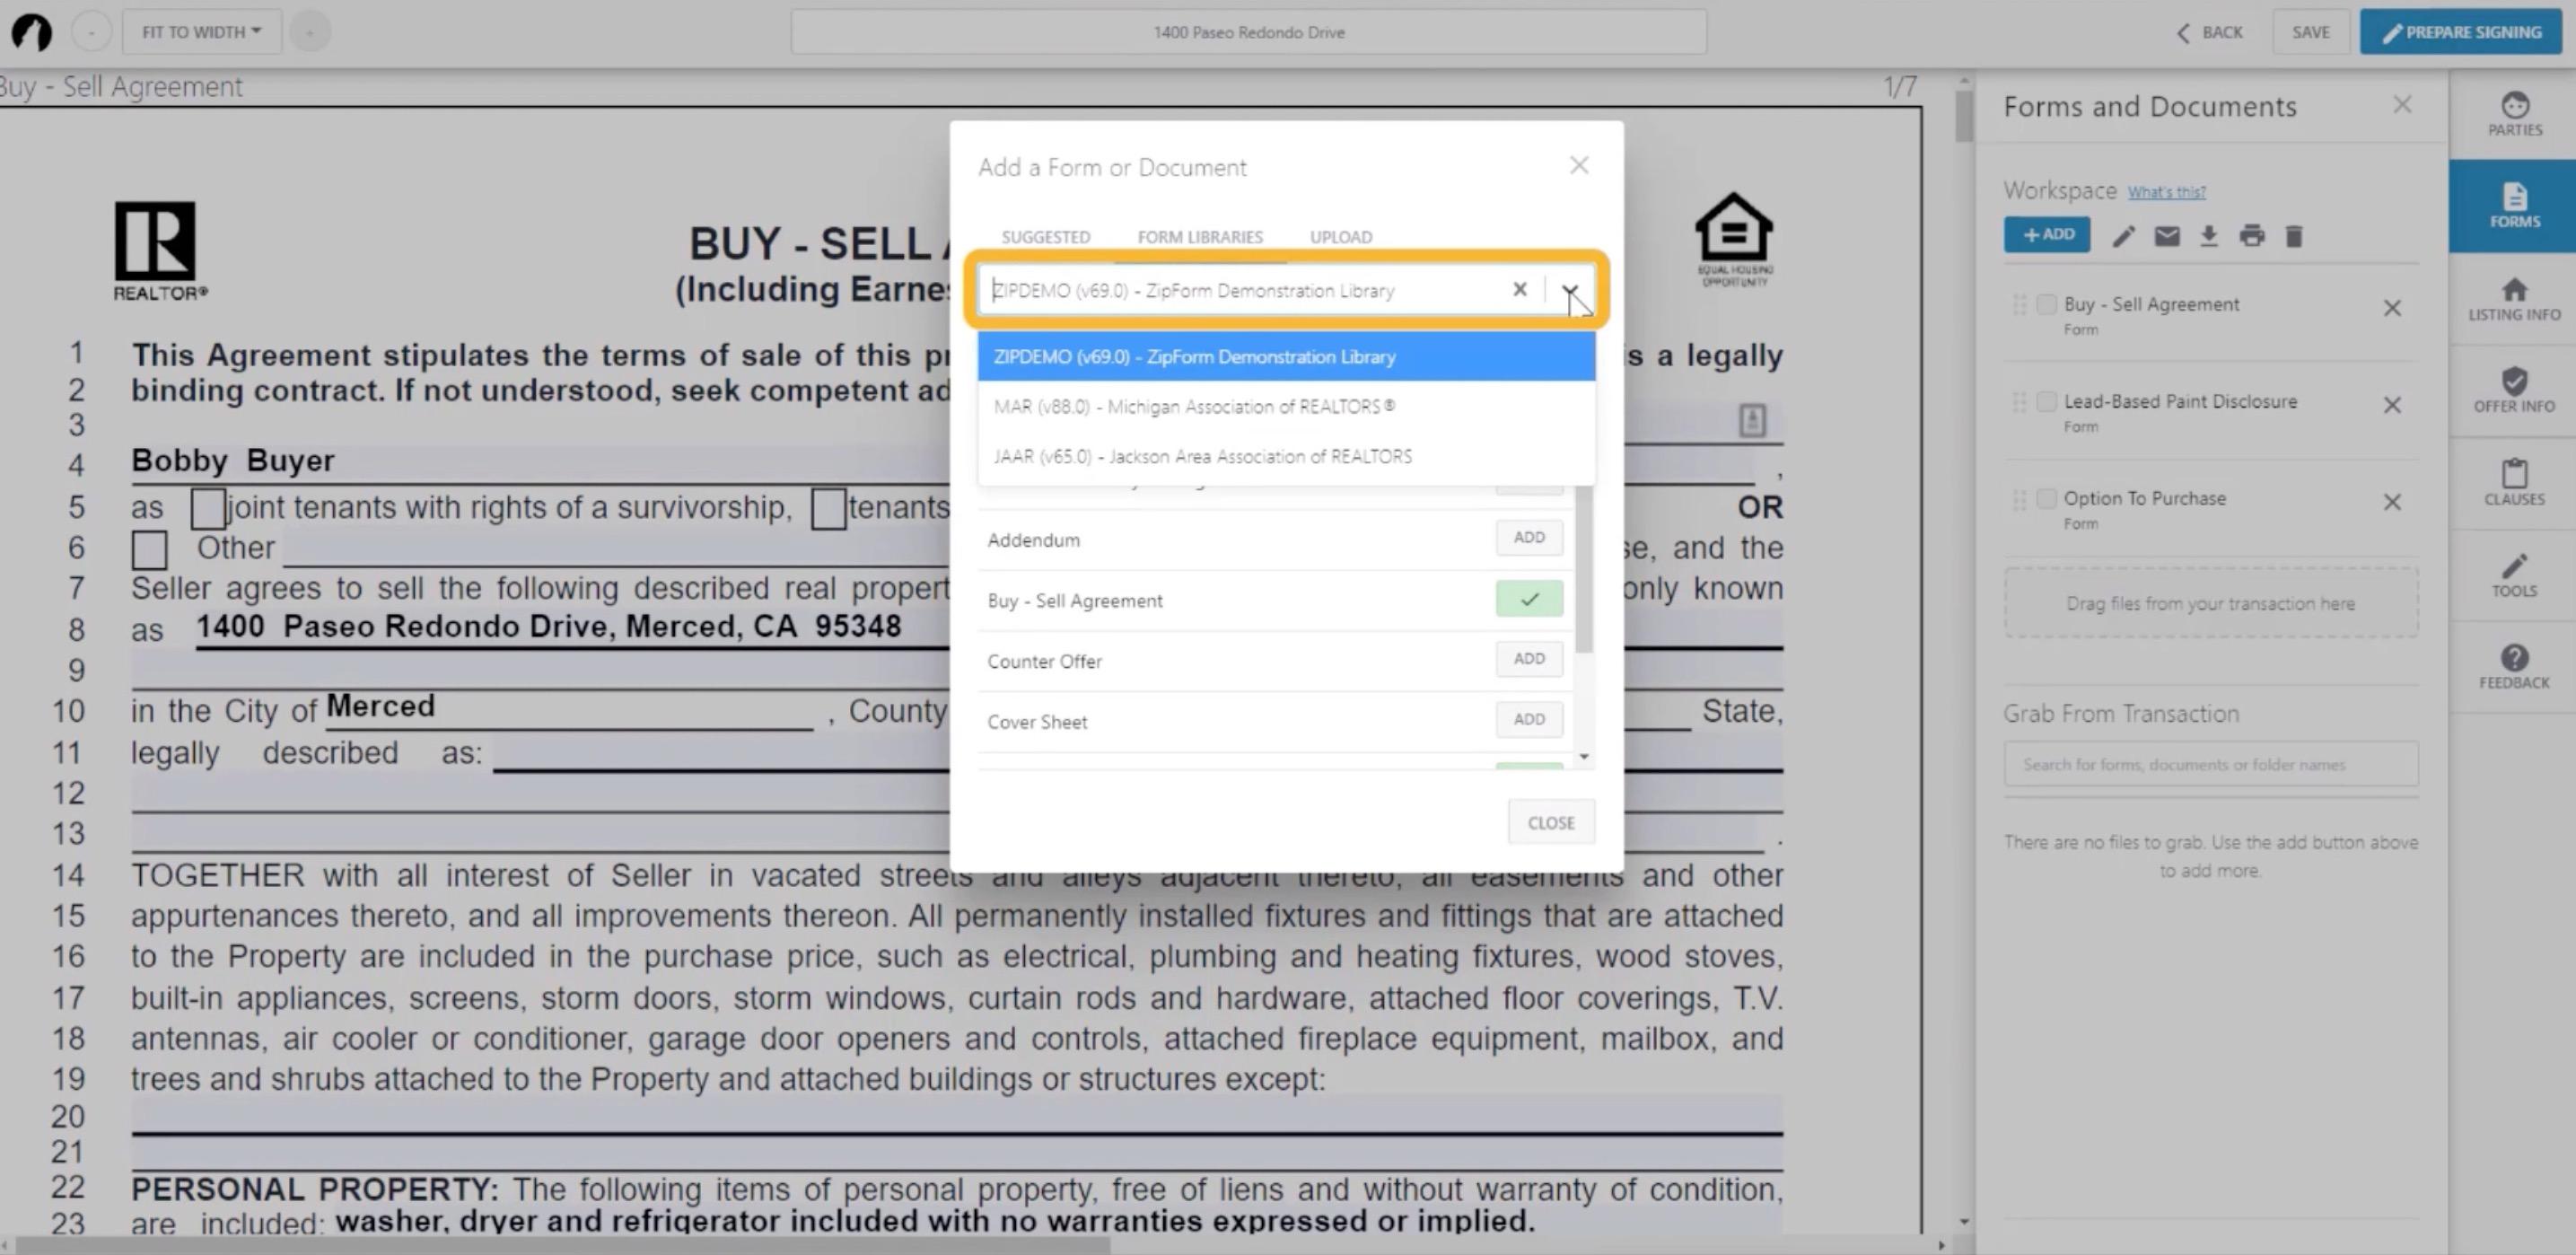
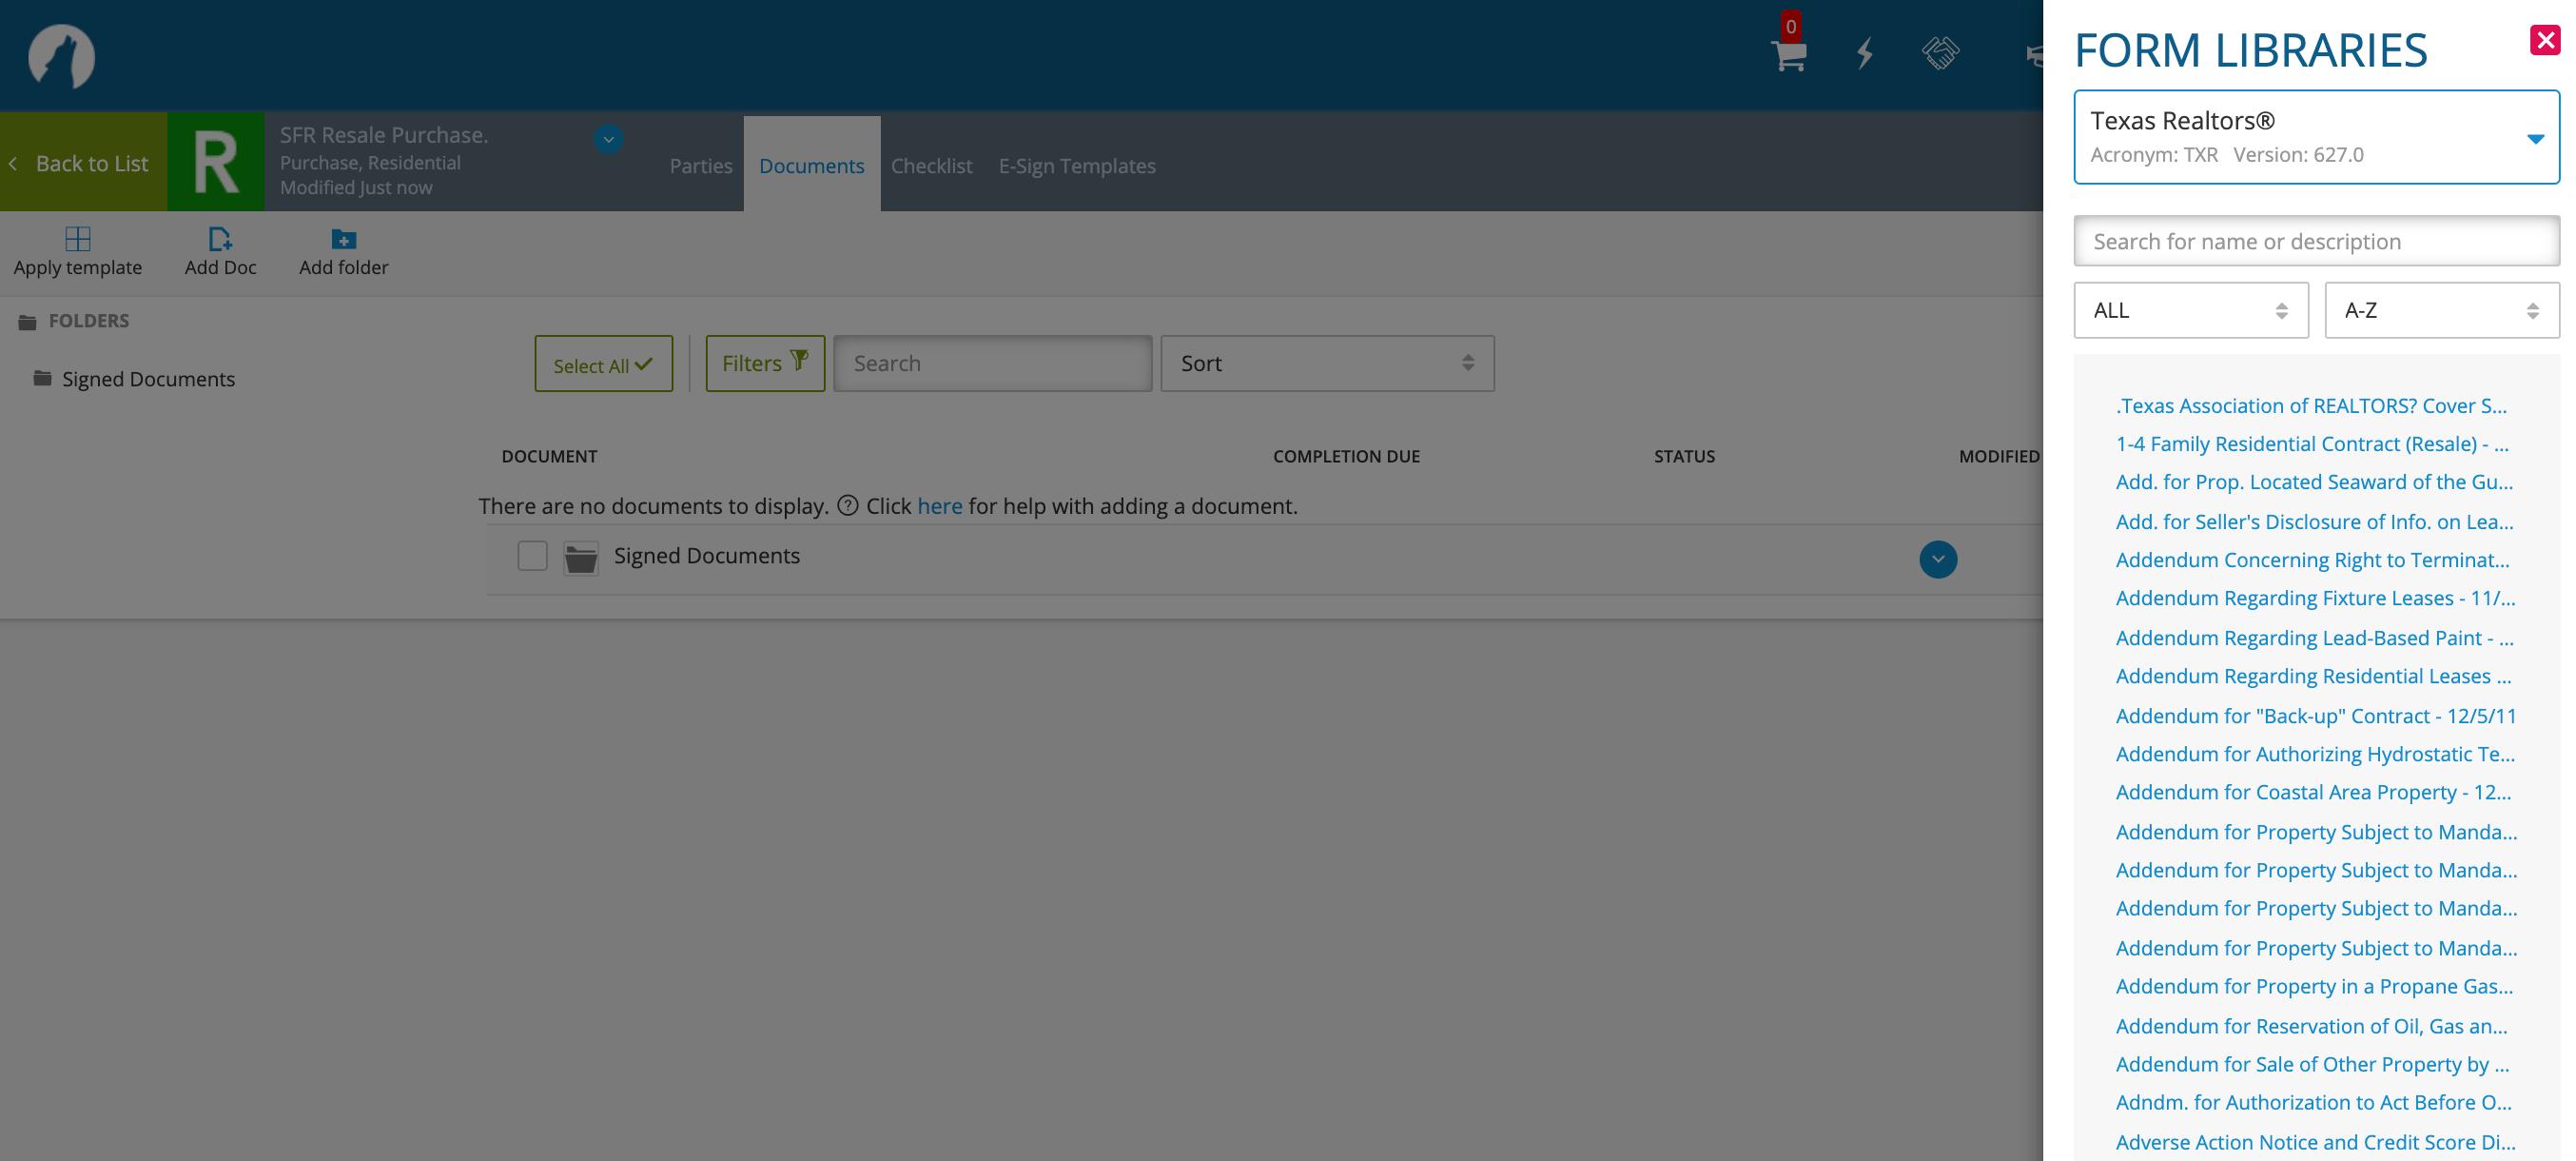
Add documents from a Form
Library.
WORKSPACE • Select Form Libraries.
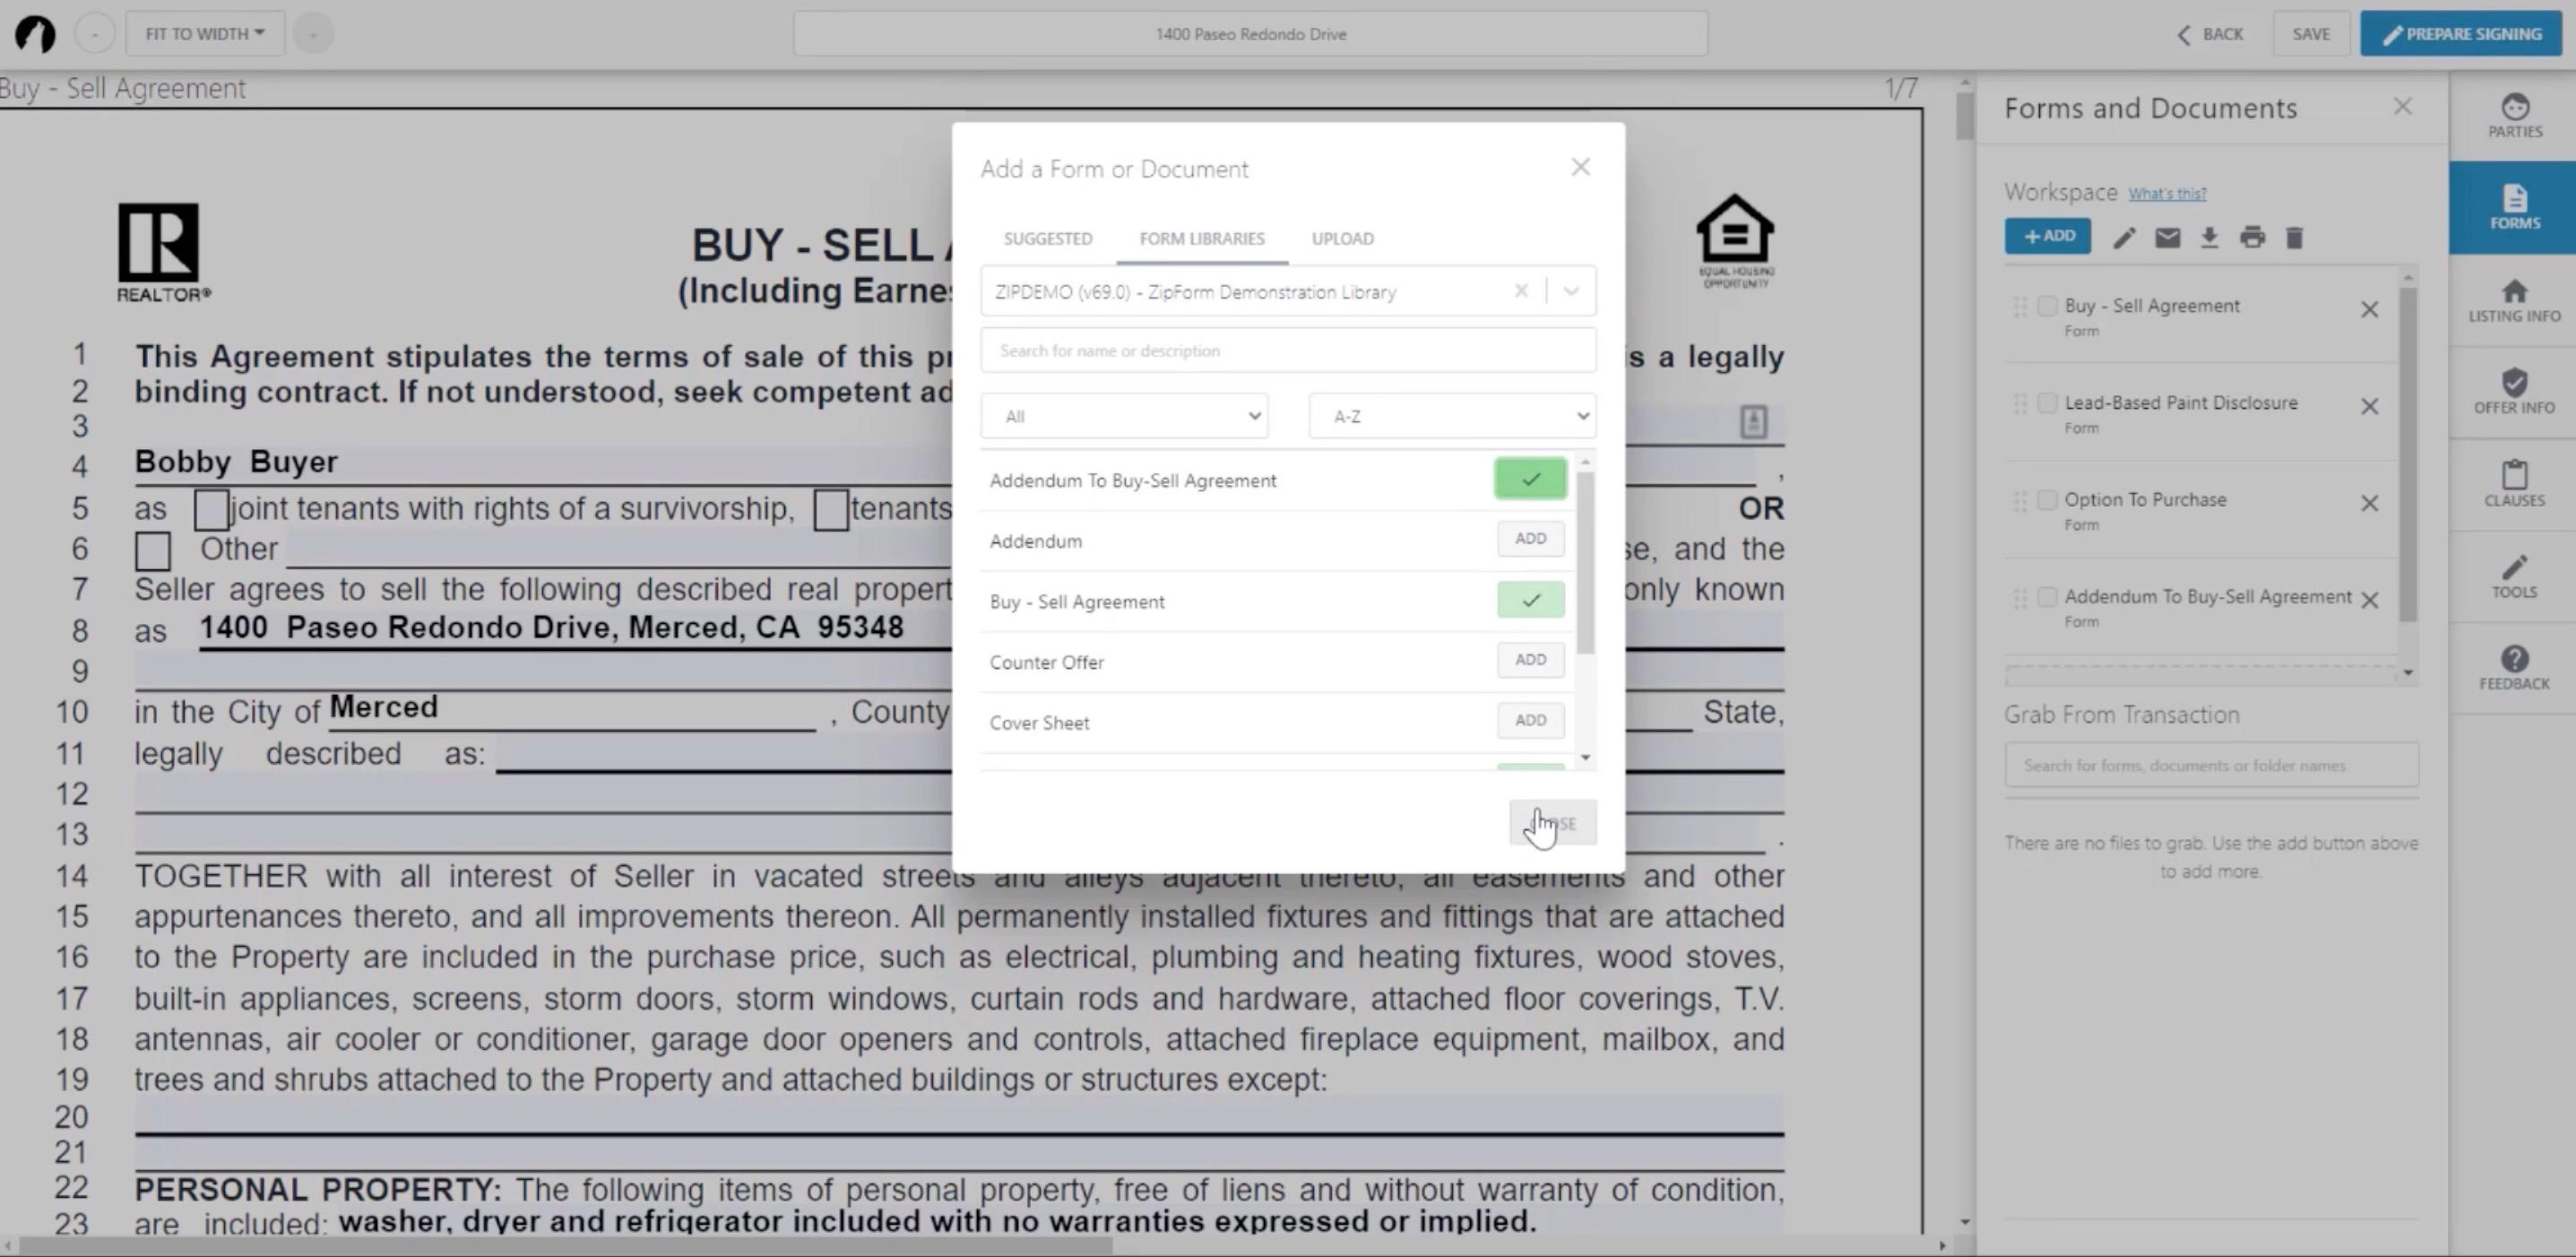
WORKSPACE • Decide which forms you would like to add.
WORKSPACE • Add multiple forms if needed.

WORKSPACE

• You can now work on multiple documents you’ve selected and toggle back and forth without having to leave the editor.
WORKSPACE • Download a document with ease by clicking on it and clicking on the Download Icon.
WORKSPACE • Print a document with ease by clicking on it and clicking on the Print Icon.
SEND DOCUMENTS FOR SIGNATURE • Click on the Prepare Signing Icon
SEND DOCUMENTS FOR SIGNATURE • Select an eSign Service of your choice.

FORMS

Additional Features in Forms

Editor

Internal Back Button & Save Use the internal back button Save your work and come back to it later
Access Saved Work or Start New

PANE

NAVIGATIONAL
Access different features as needed.
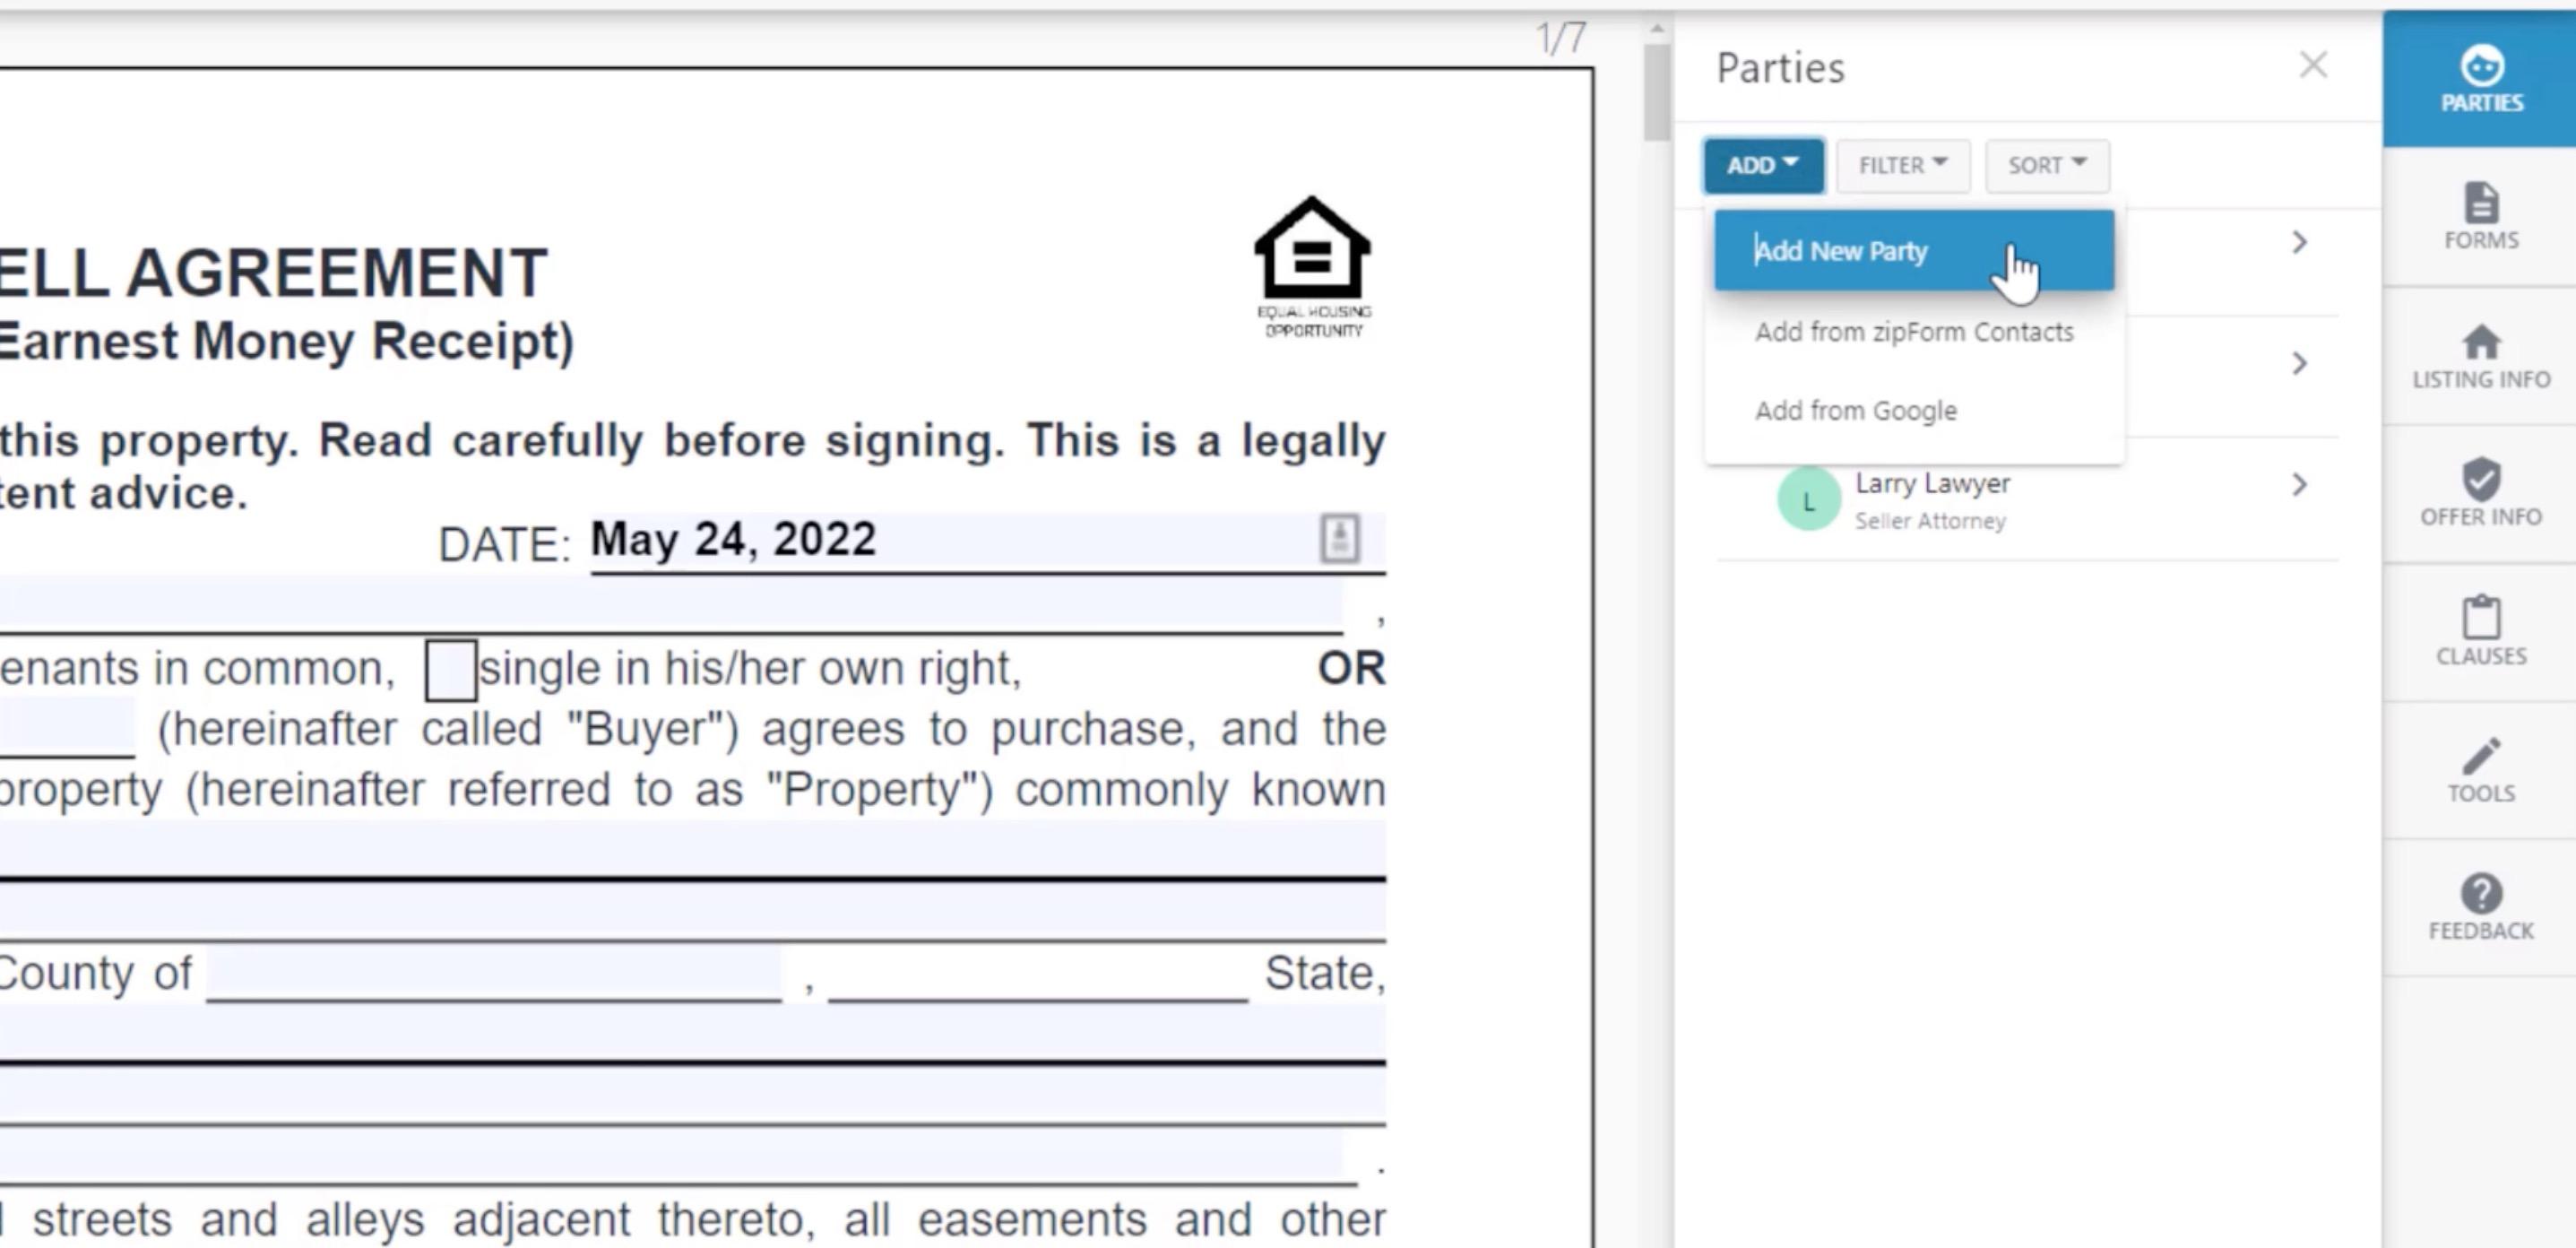
Parties to your transaction will be displayed here.
PARTY SECTION
a member to the
PARTY SECTION Add
party section (ie. Lawyer).
the dropdown menu
include
PARTY SECTION Use
to
the role of the party being added.
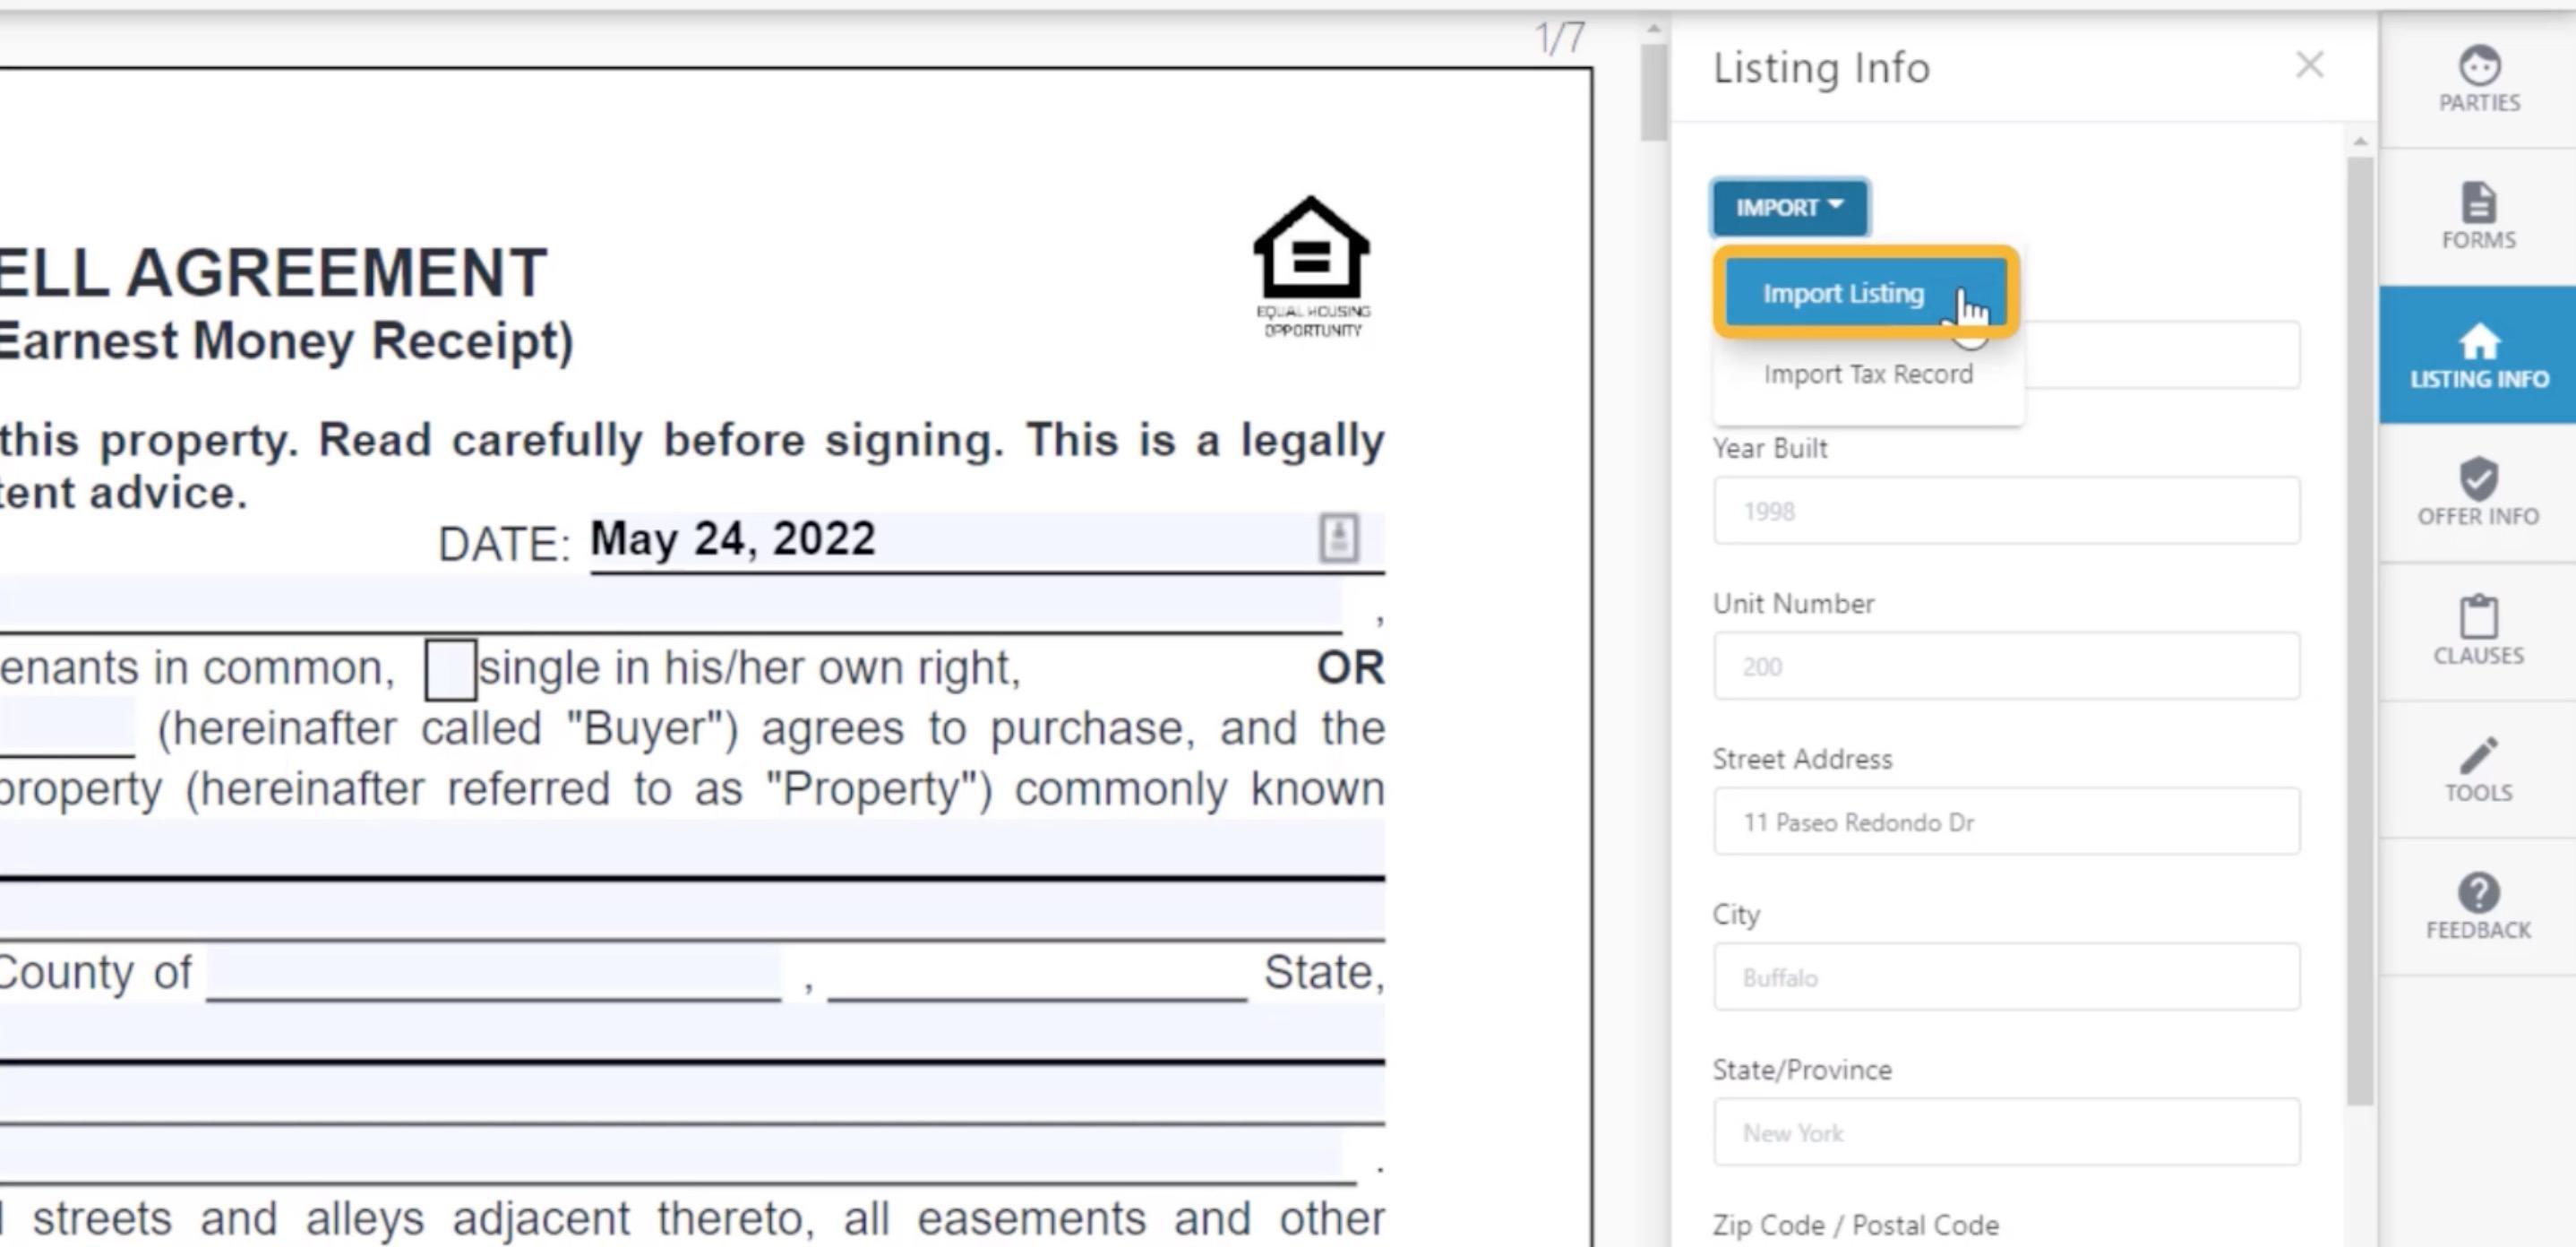
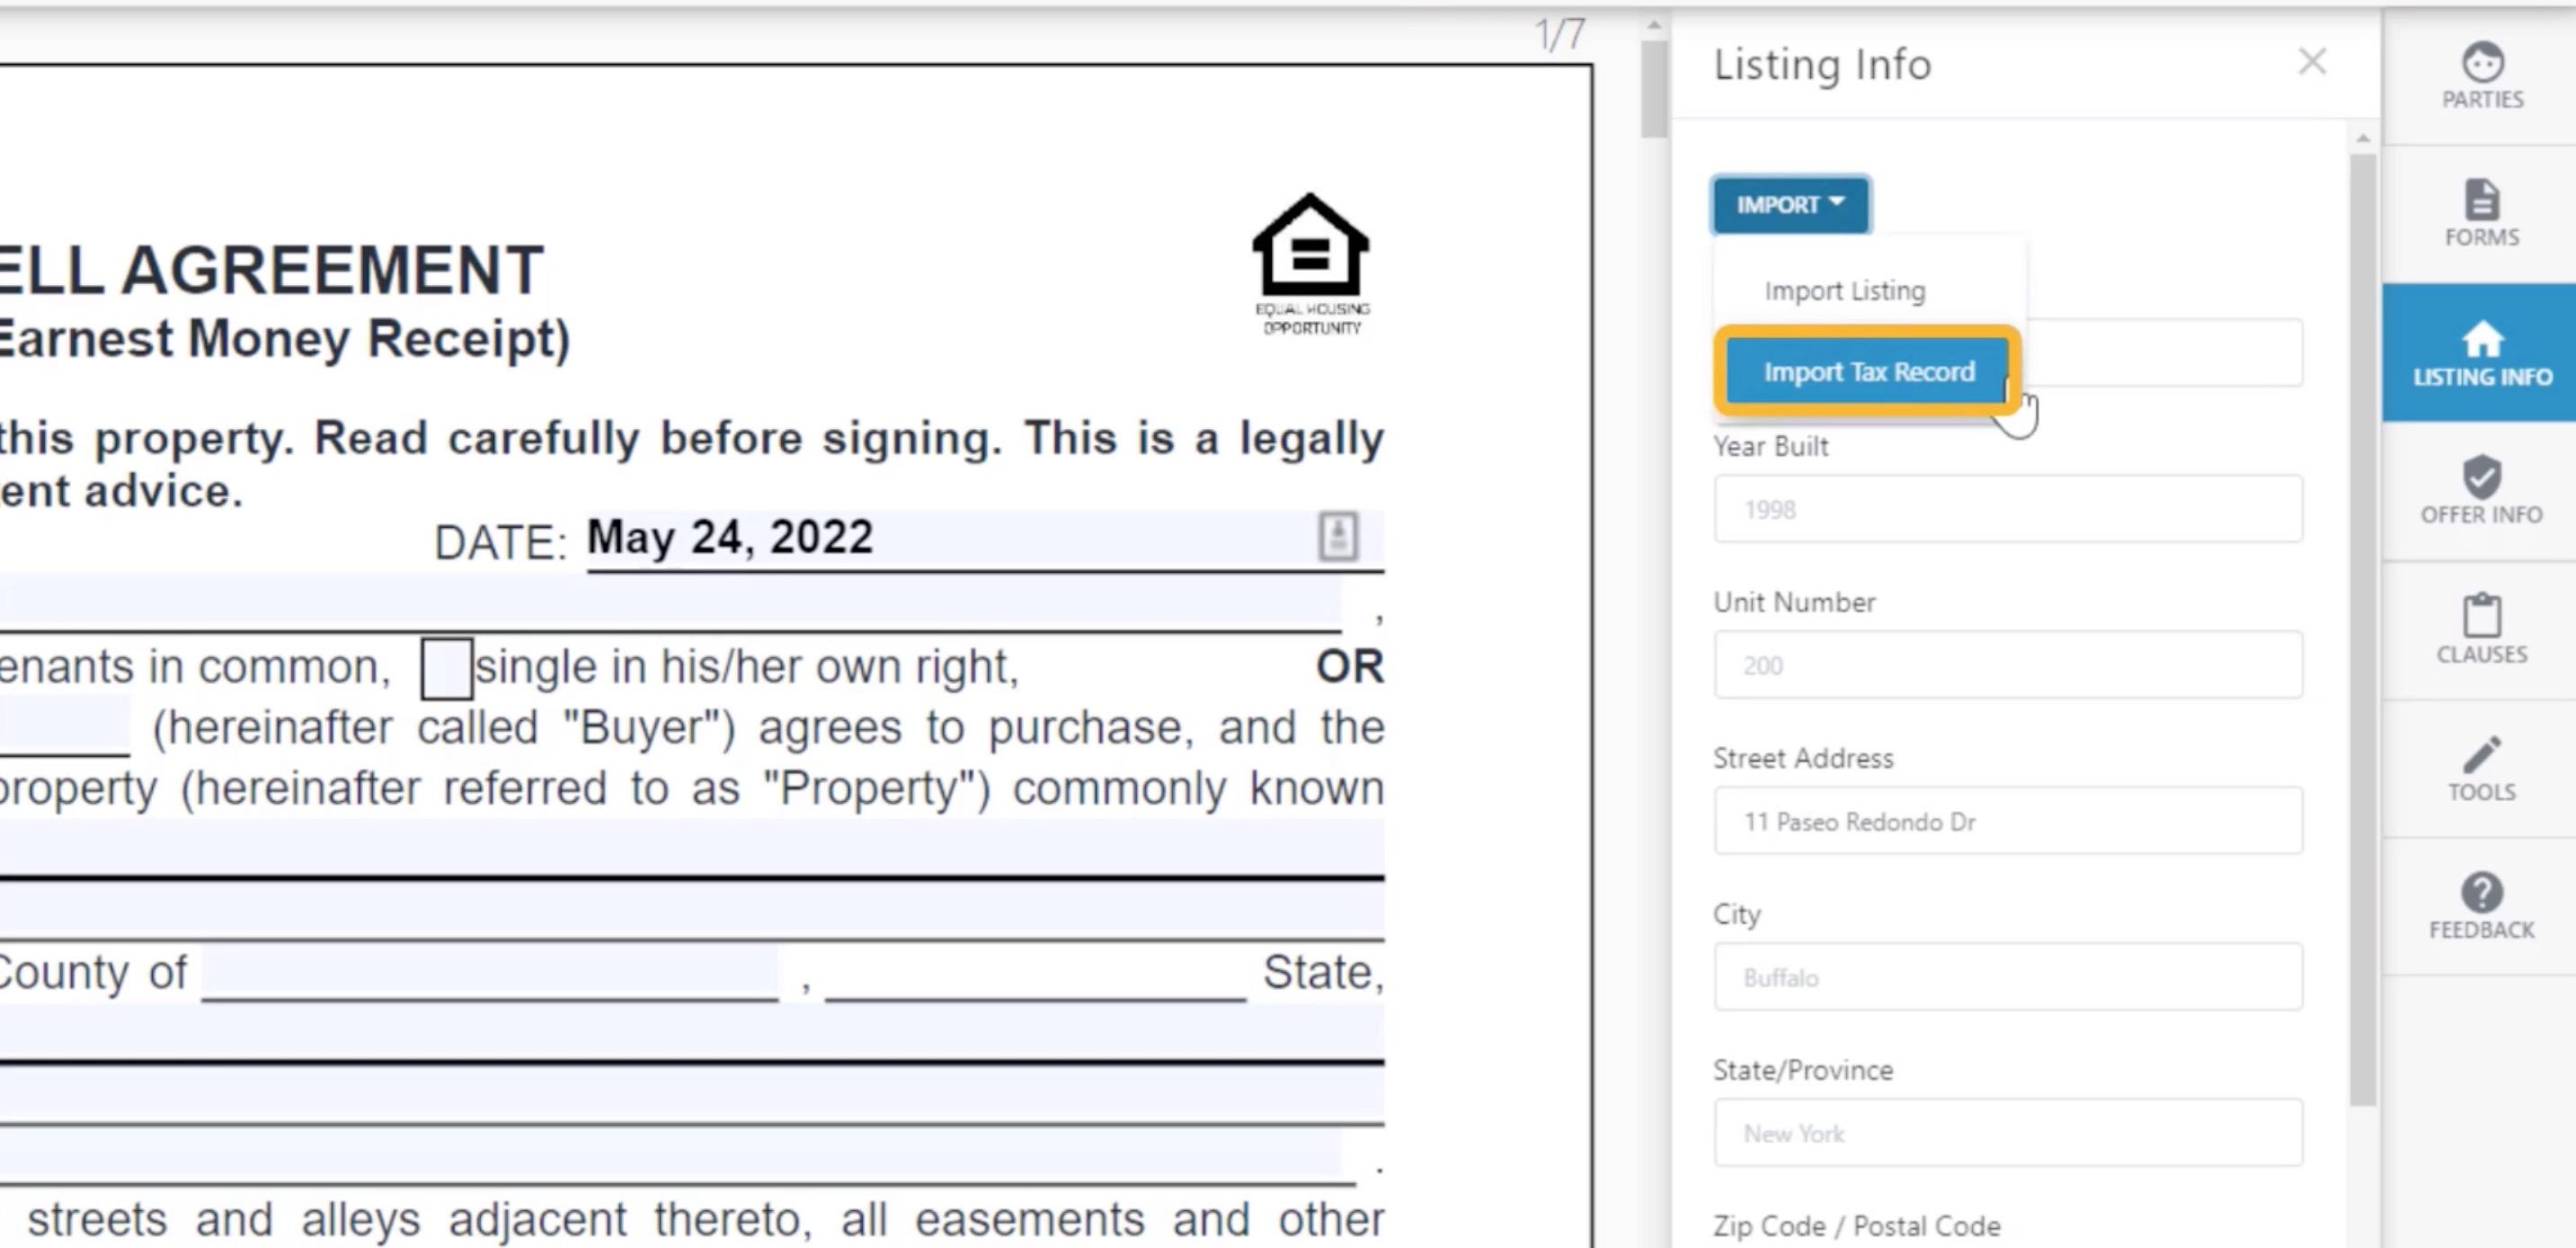
LISTING INFO Add the listing using the Import Listing button to add the listing details to the contract…OR…
LISTING INFO …pull directly from the tax records using the Import Tax Record button.
OFFER
offer details
INFO Add
with easy.
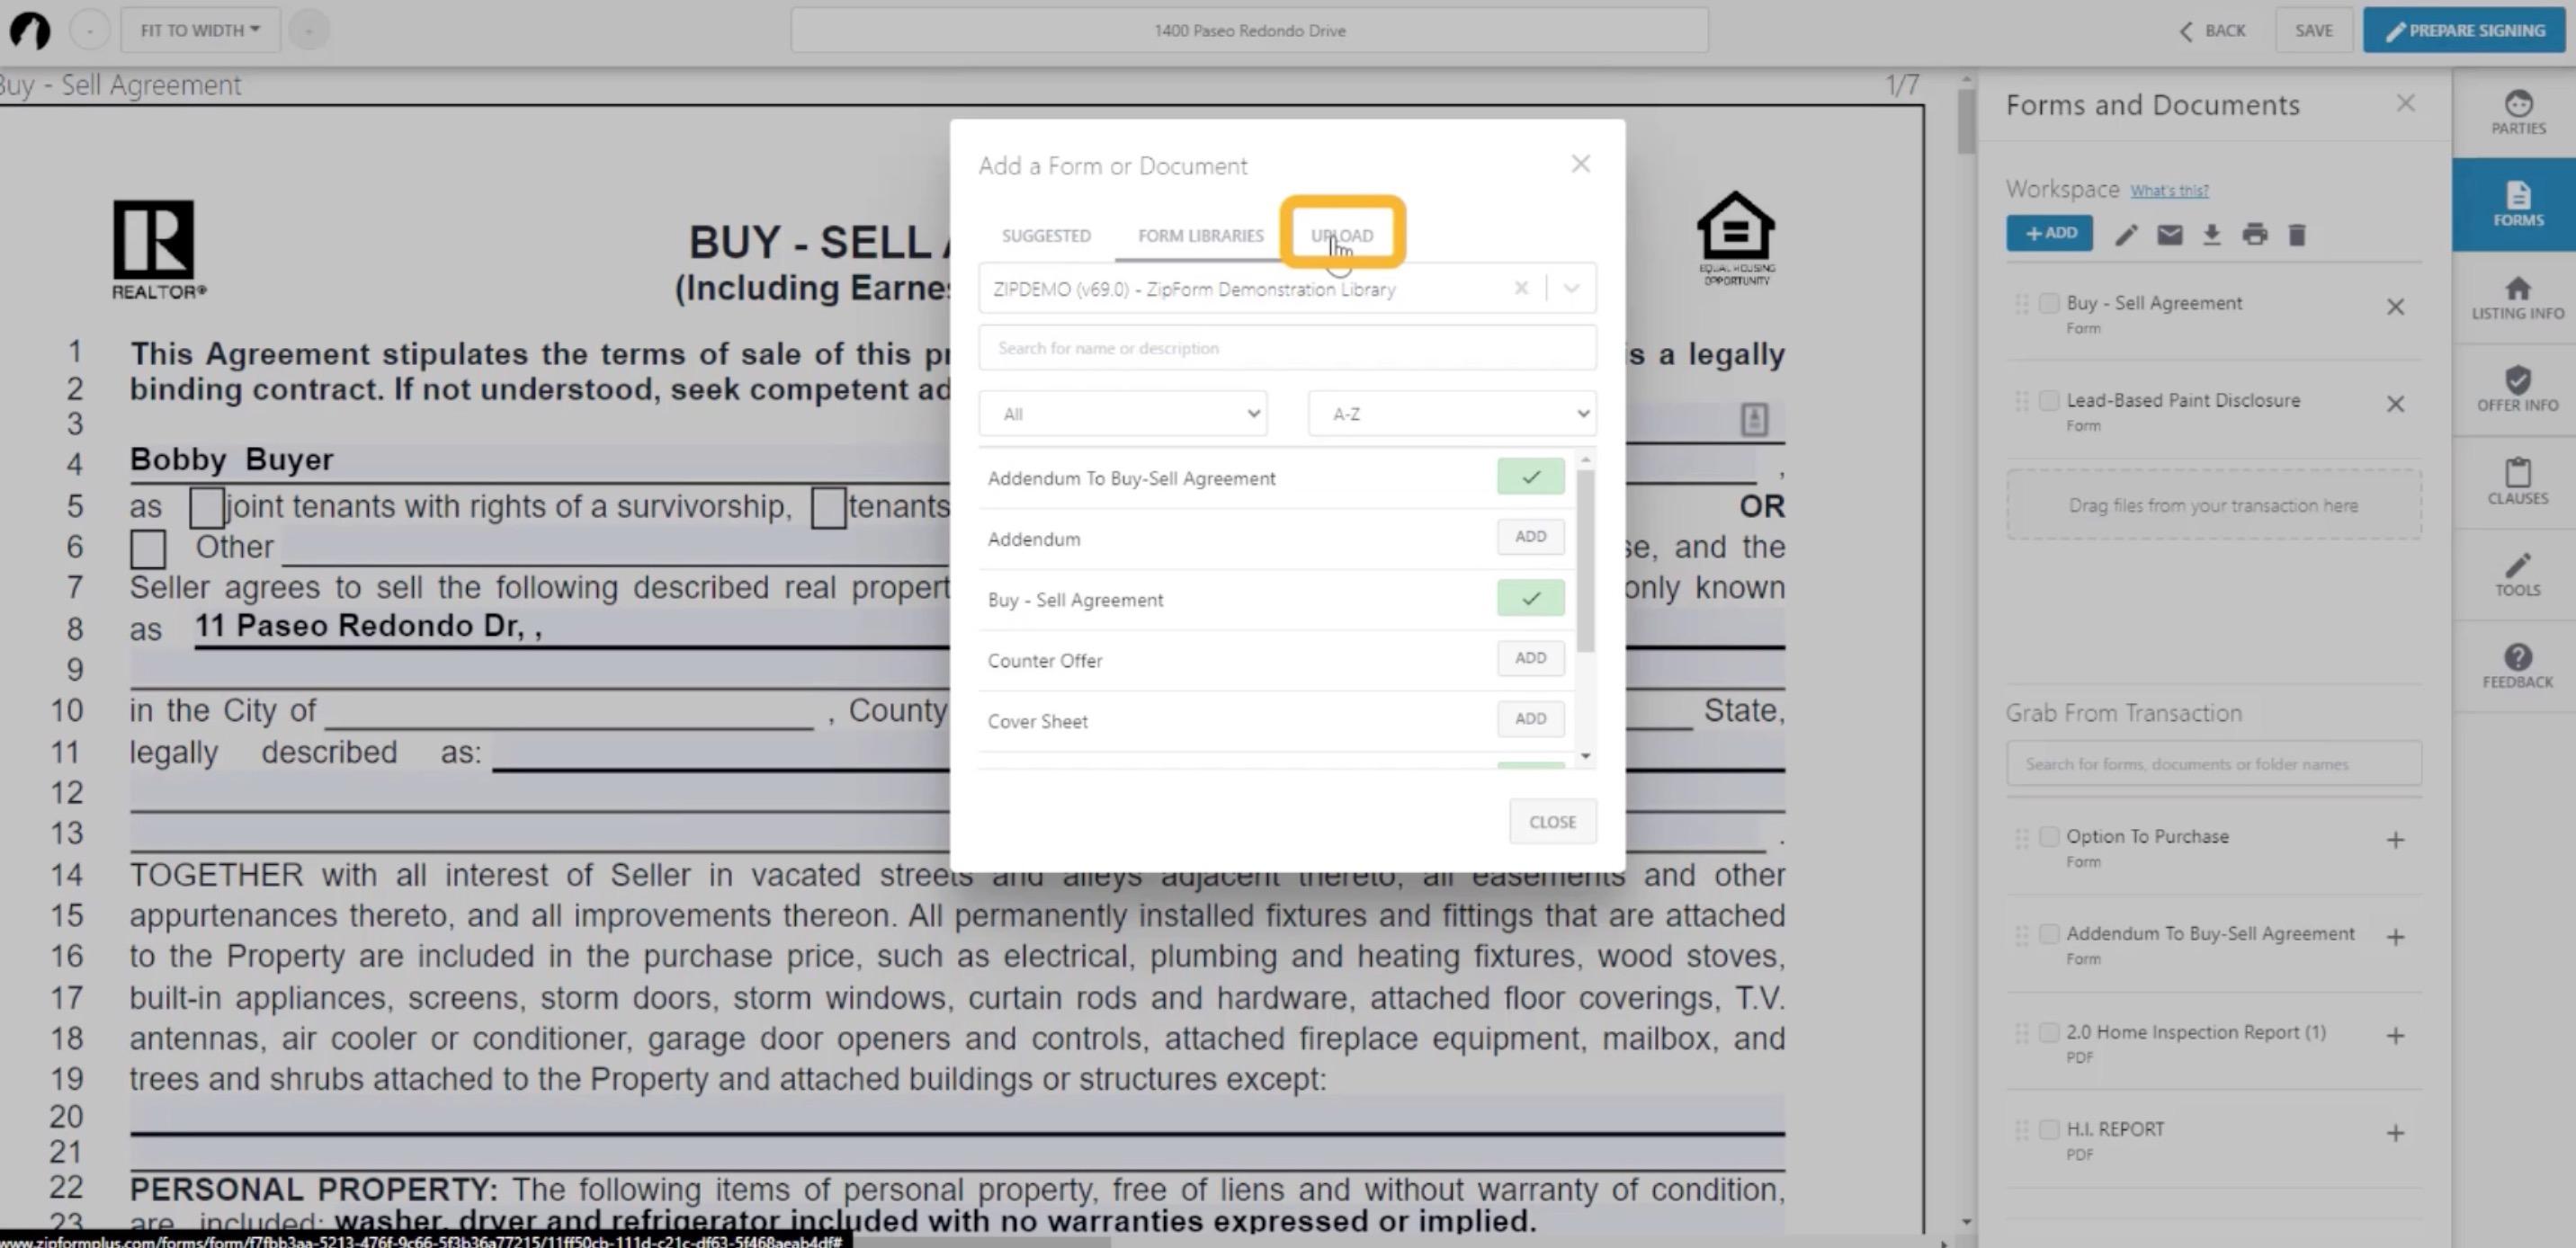
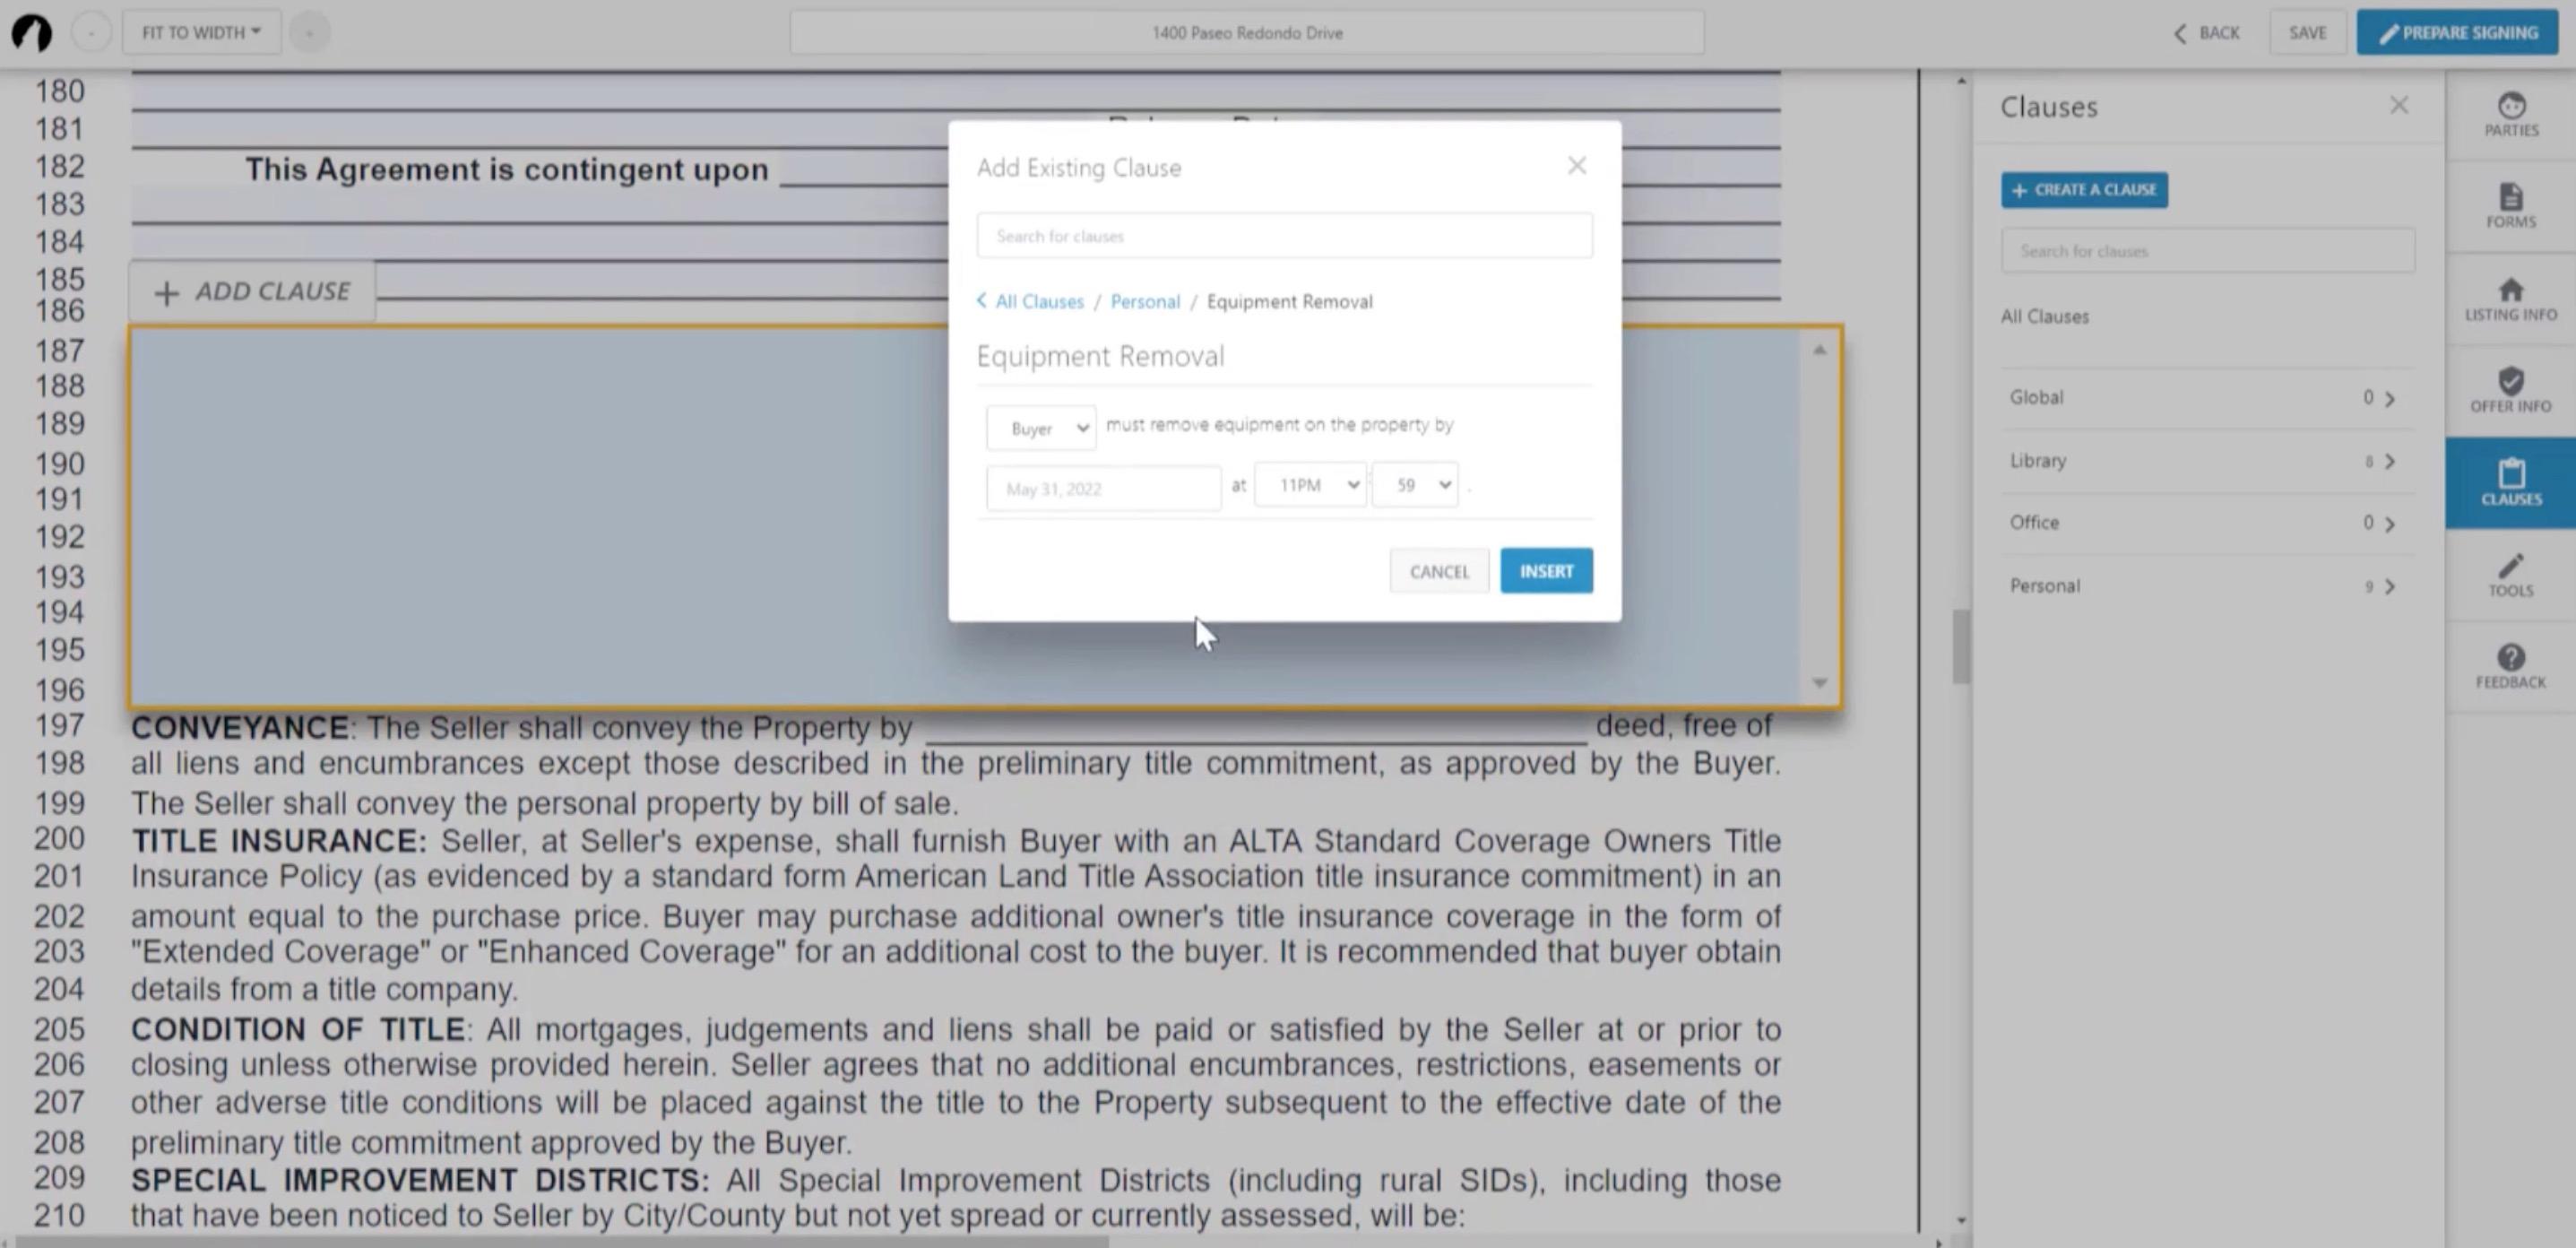
FORMS Upload addendums or associated documents.
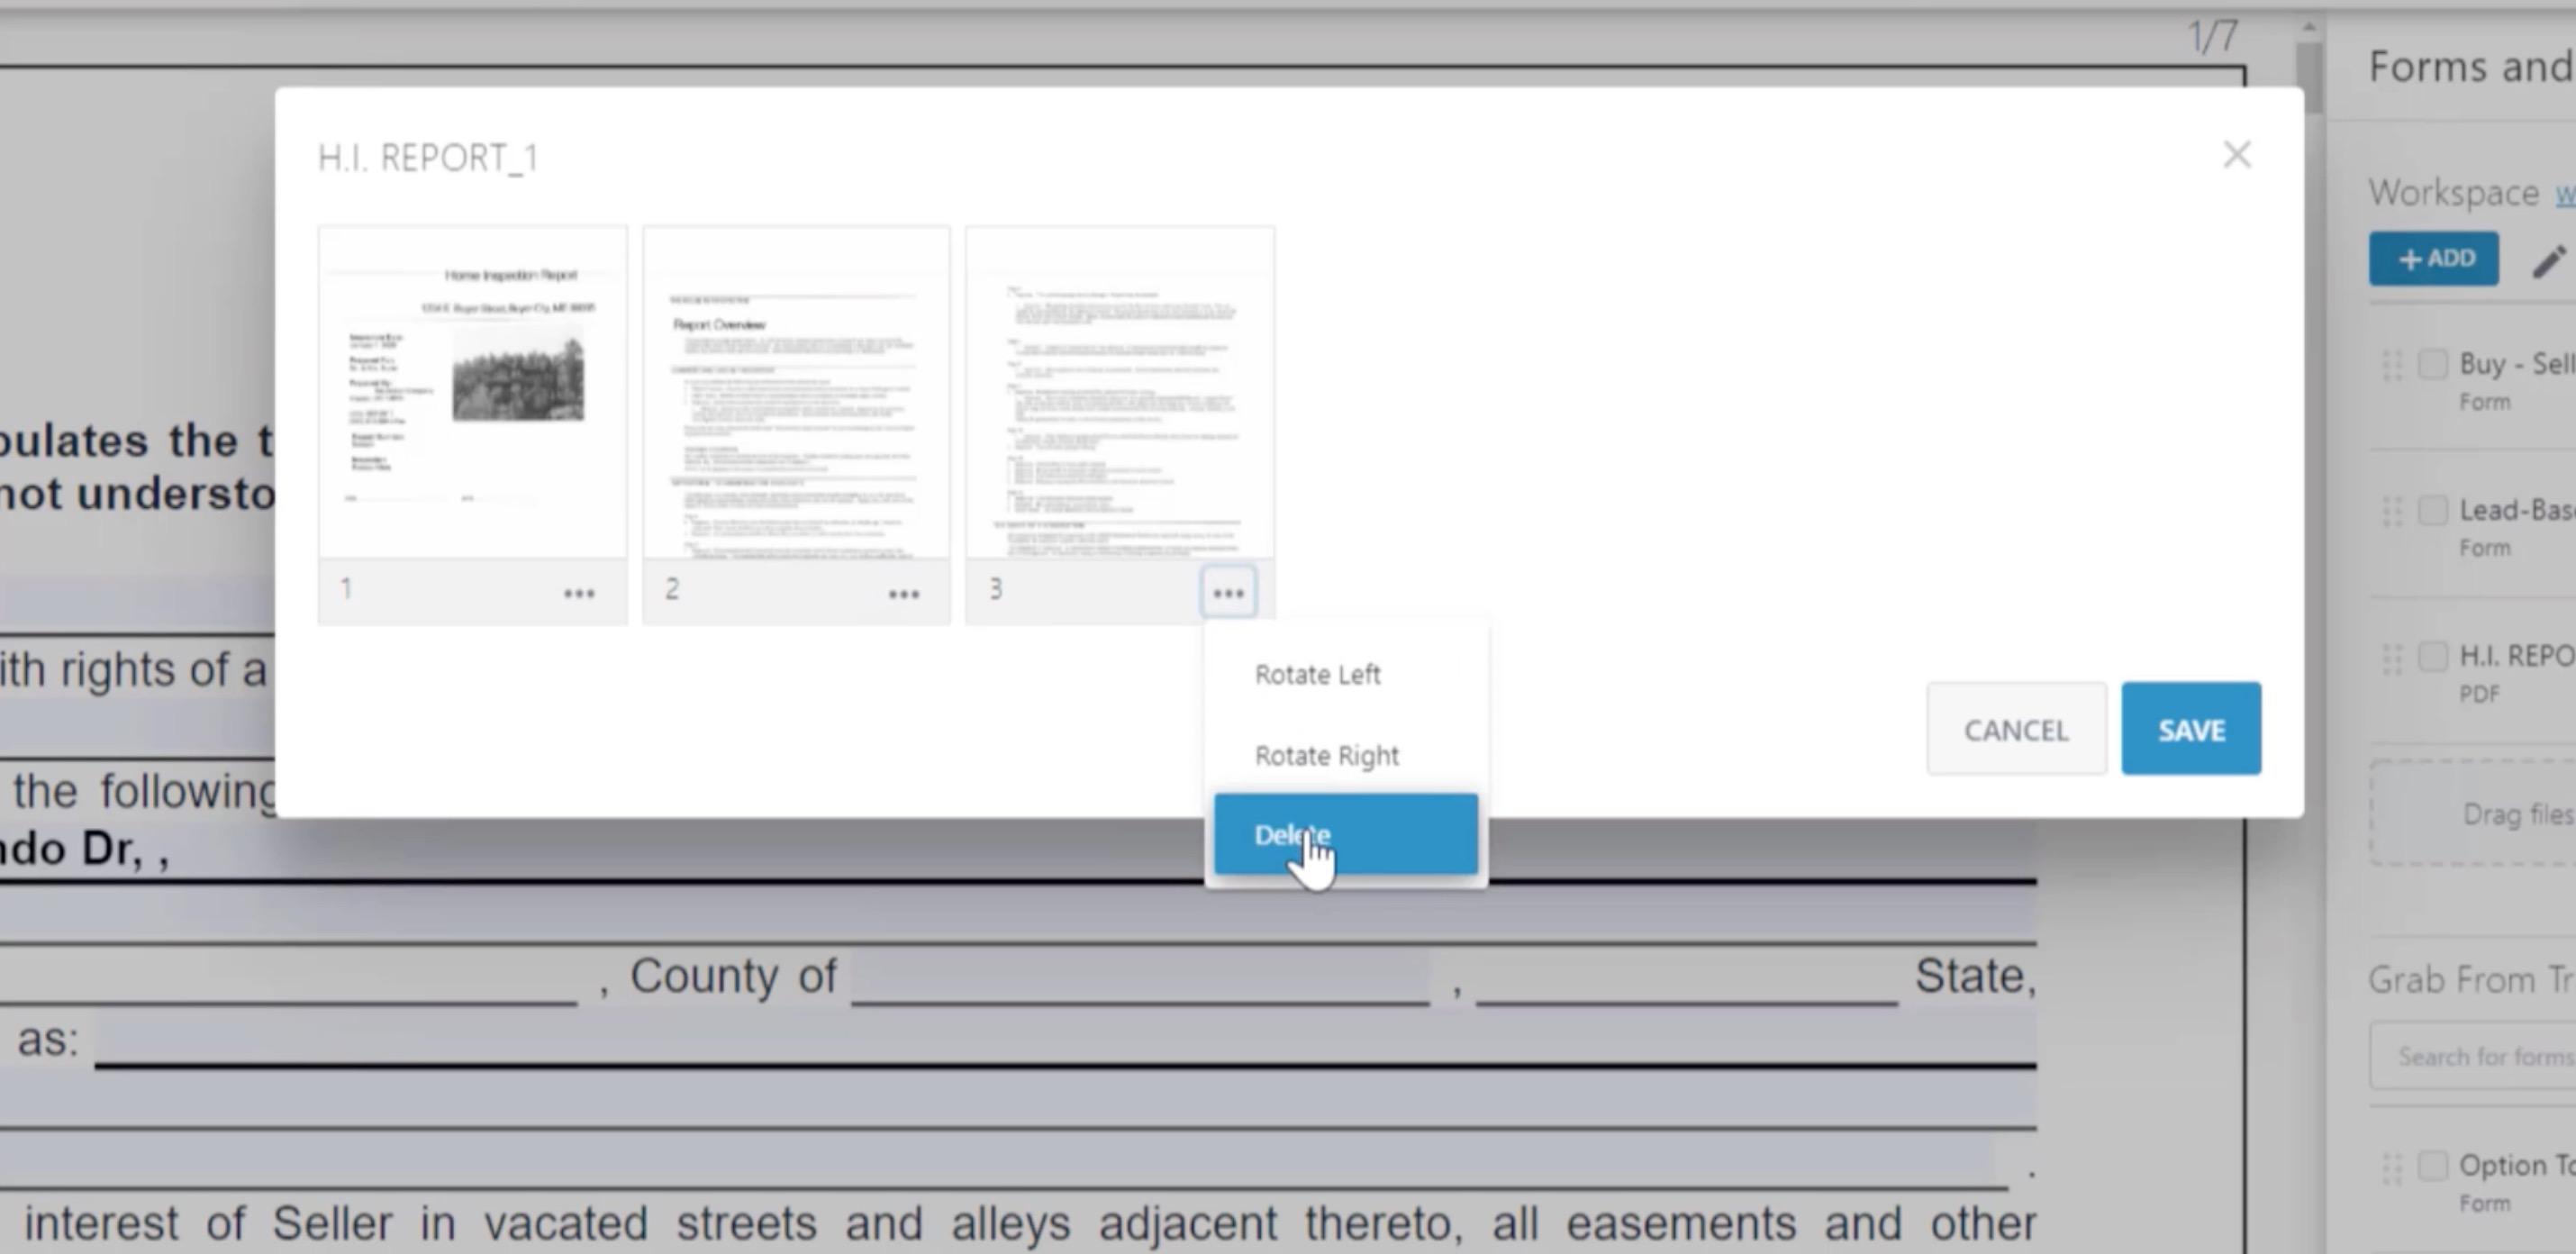
Upload Docs Upload additional documents • Rotate Pages • Adjust the Page Order • Delete Pages
Use the internal back buttons throughout the system.

Creating Templates

Understanding Templates

• Templates are created for specific transaction types.

• listing/purchase/lease/tenant

• property type

• Each template should contain all forms required for that type of transaction. Review the contracts and disclosures for requirements, and always verify with your broker.

• Complete static information on forms in templates like the TXR cover sheet (your information only), the IABS and the listing/buyer representation agreements. This will save you time when working through your transactions.

• Do not add a client’s information to a template. Unless you’re creating a template for a repeat client like an investor.

Understanding Templates

• Templates are created for specific transaction types.

• listing/purchase/lease/tenant

• property type

• Each template should contain all forms required for that type of transaction. Review the contracts and disclosures for requirements, and always verify with your broker.

• Complete static information on forms in templates like the TXR cover sheet (your information only), the IABS and the listing/buyer representation agreements. This will save you time when working through your transactions.
• Do not add a client’s information to a template. Unless you’re creating a template for a repeat client like an investor.

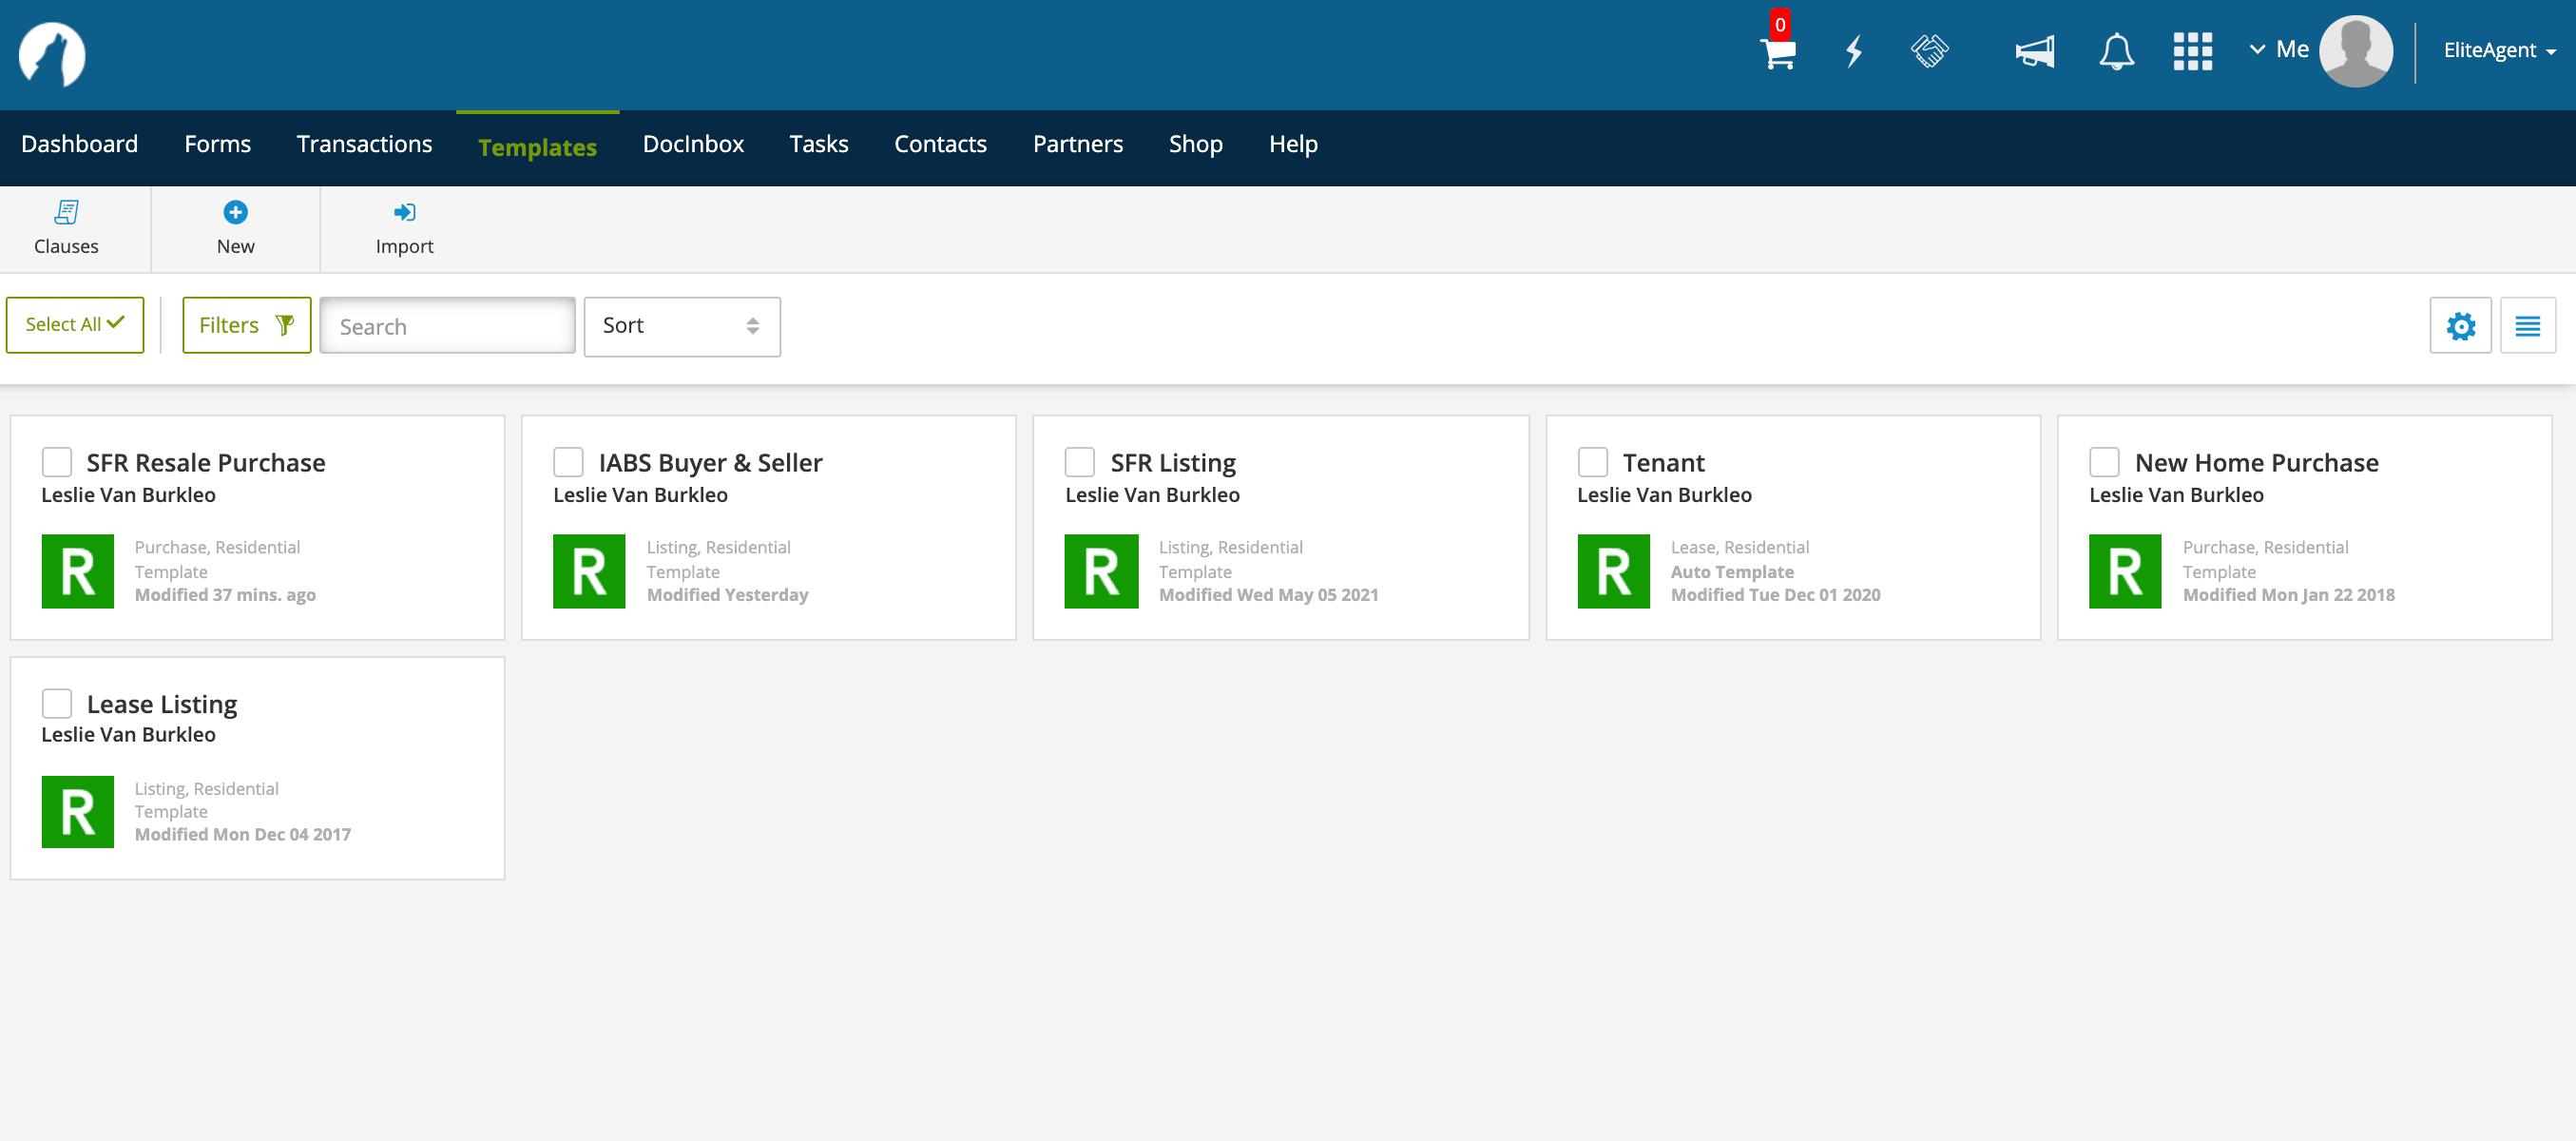
Template Guides

Template Guides

Practice Adding Forms

Search by form Name or Number

Creating Templates

the New
in the Templates screen to get started.
Click
button

Creating Templates

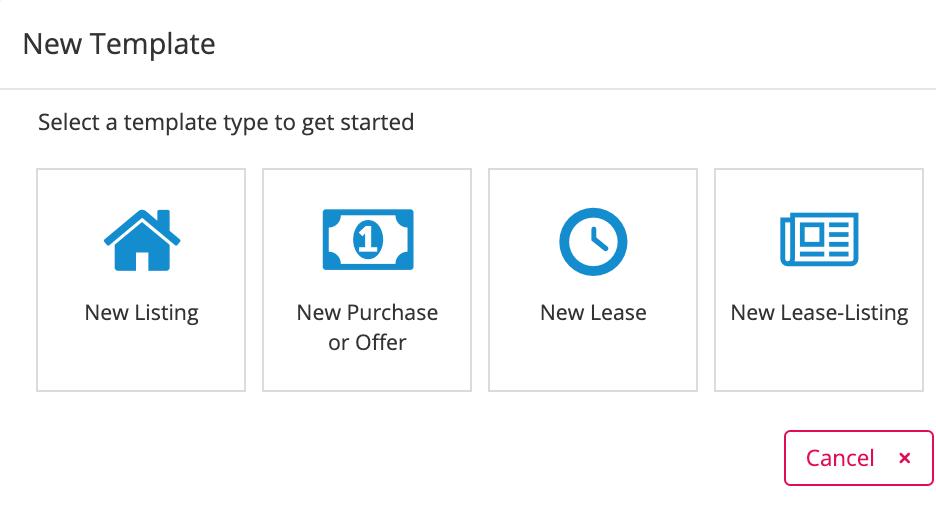
Select

the type of transaction you’re creating the Template for.
for a Purchase/Offer.
This example is
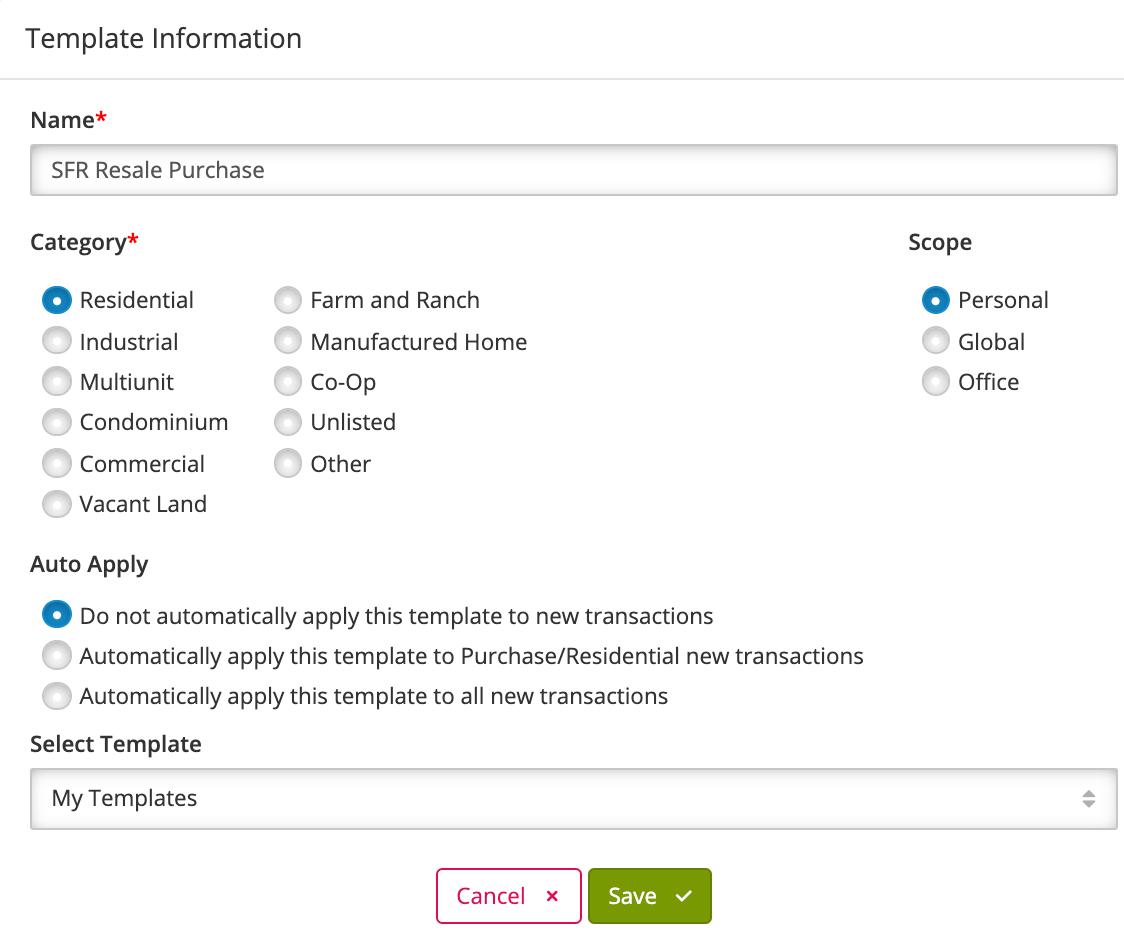
Templates • Name the template • Select the property type • Select an auto apply option • Click Save The template name should identify the following: • The property type, example: SFR for Single Family Residence • Listing/Purchase/Lease/Tenant
Creating
Templates • Name the template • Select the property type • Select an auto apply option • Click Save The template name should identify the following: • The property type, example: SFR for Single Family Residence • Listing/Purchase/Lease/Tenant
Creating
Templates • Name the template • Select the property type • Select an auto apply option • Click Save The template name should identify the following: • The property type, example: SFR for Single Family Residence • Listing/Purchase/Lease/Tenant
Creating
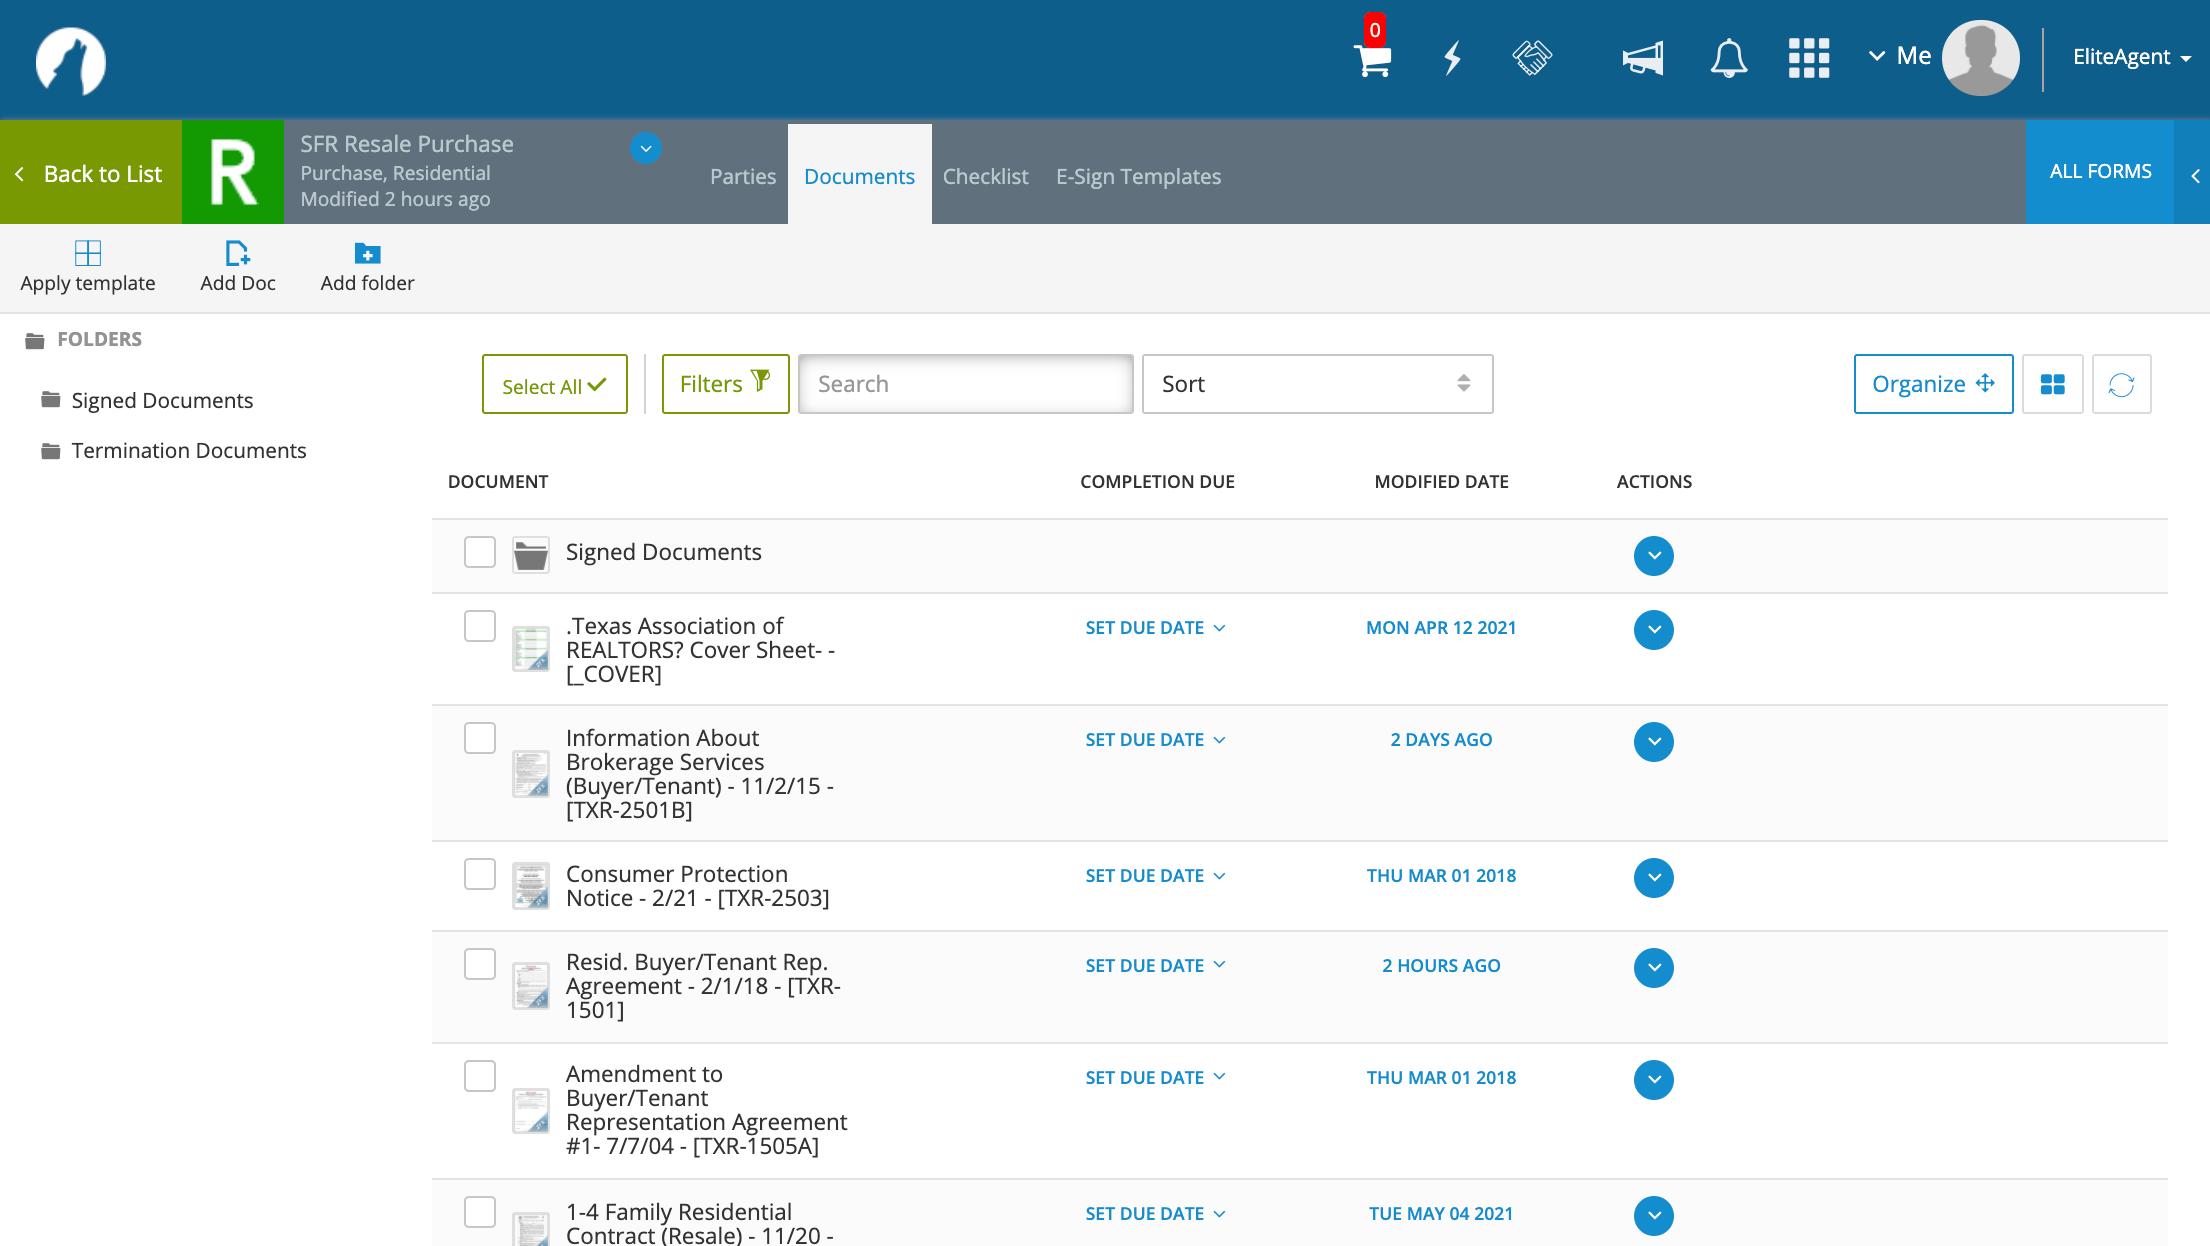
a Signed Document folder to each template.
folders to your template will help you stay organized in your transactions.
additional folders to organize your documents. E.G. a folder for
that aren’t needed in some transaction, but Required in others.
Documents: Add Folder Add
Adding
Create
Notices
a Signed Document folder to each template.
folders to your template will help you stay organized in your transactions.
additional folders to organize your documents. E.G. a folder for
that aren’t needed in some transaction, but Required in others.
Documents: Add Folder Add
Adding
Create
Notices
a Signed Document folder to each template.
folders to your template will help you stay organized in your transactions.
additional folders to organize your documents. E.G. a folder for
that aren’t needed in some transaction, but Required in others.
Documents: Add Folder Add
Adding
Create
Notices

Display Options

List View Grid View

Display Options

List View Grid View

Organizing Templates

Click Organize to re-order forms and folders.

Click Done Organizing to save your changes. Drag and drop forms and folders to re-order.
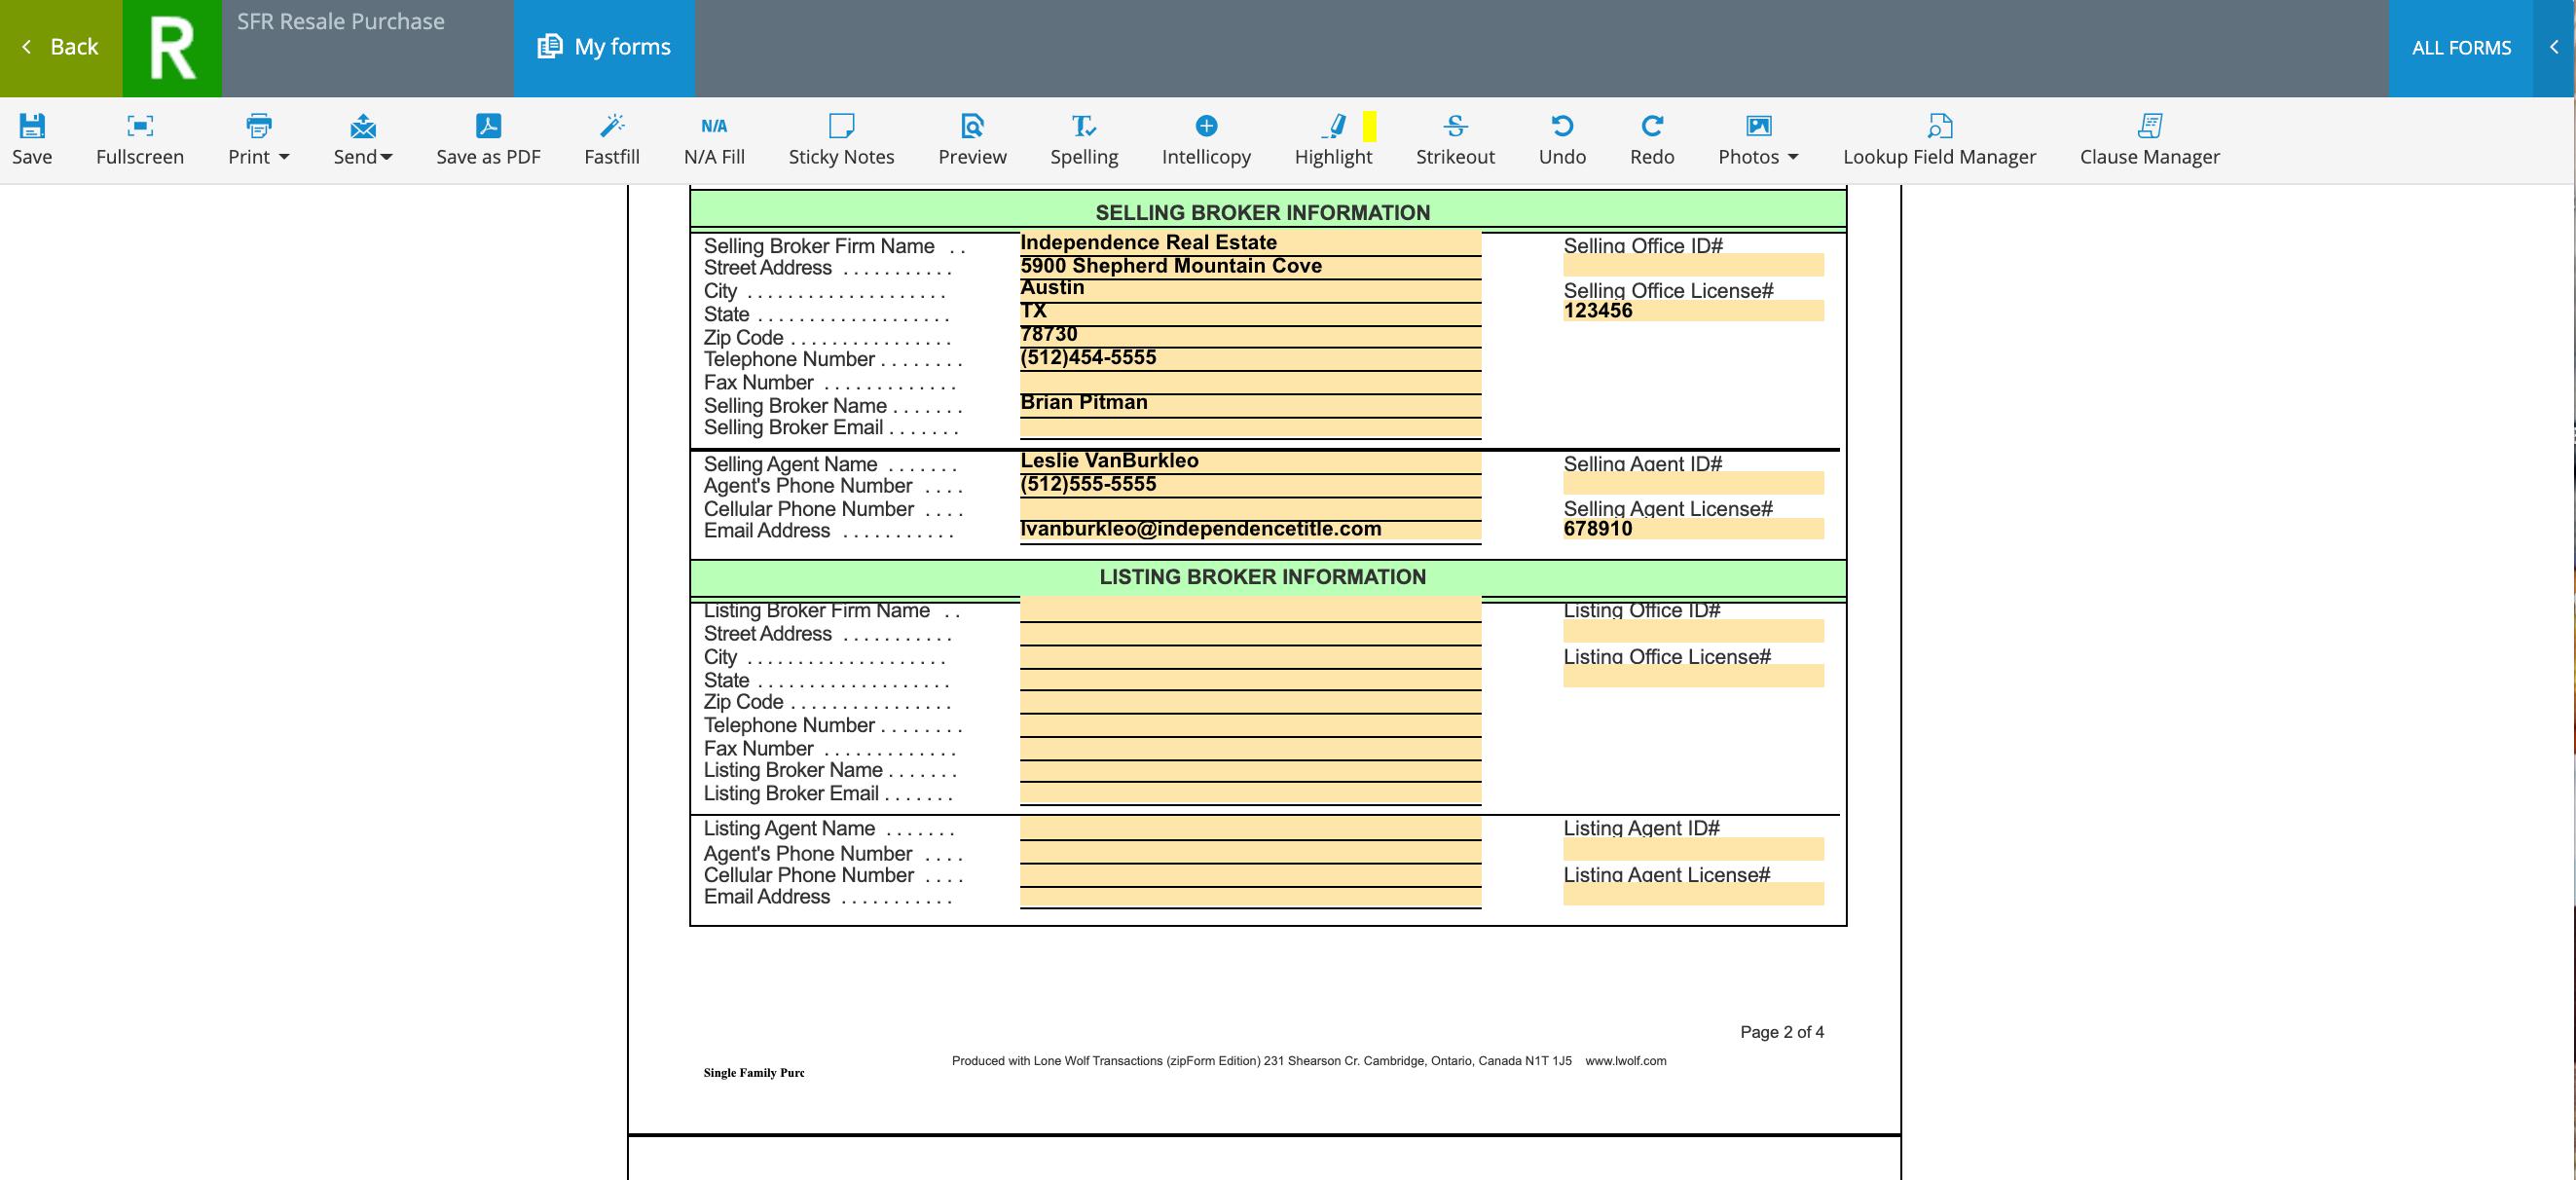
TXR Cover Sheet, IABS and Agreements.
Pre-fill Static Information The

Texas REALTORS Cover Sheet

Information saved to the cover sheet will autopopulate other forms within the template.

Texas REALTORS Cover Sheet

Information saved to the cover sheet will autopopulate other forms within the template.

Sending for e-Signature

The zipForm and DocuSign Flowchart

The boards upload contracts and forms in zipForm. This is always your starting point!

When sending documents from zipForm for e-signature they will “pass through” & send via DocuSign. Signed documents are returned to Both zipForm and DocuSign. All transaction documents should be sent for signature from zipForm. Upload pdf documents that need to be signed by your client to the related zipForm transaction. Signed documents will be automatically returned to the zipForm transaction.

To Delete/Void (stop) or Resend documents that have been sent for e-signature, login to DocuSign and go to Manage.

Name the E-Signature Packet

Select Signing Service

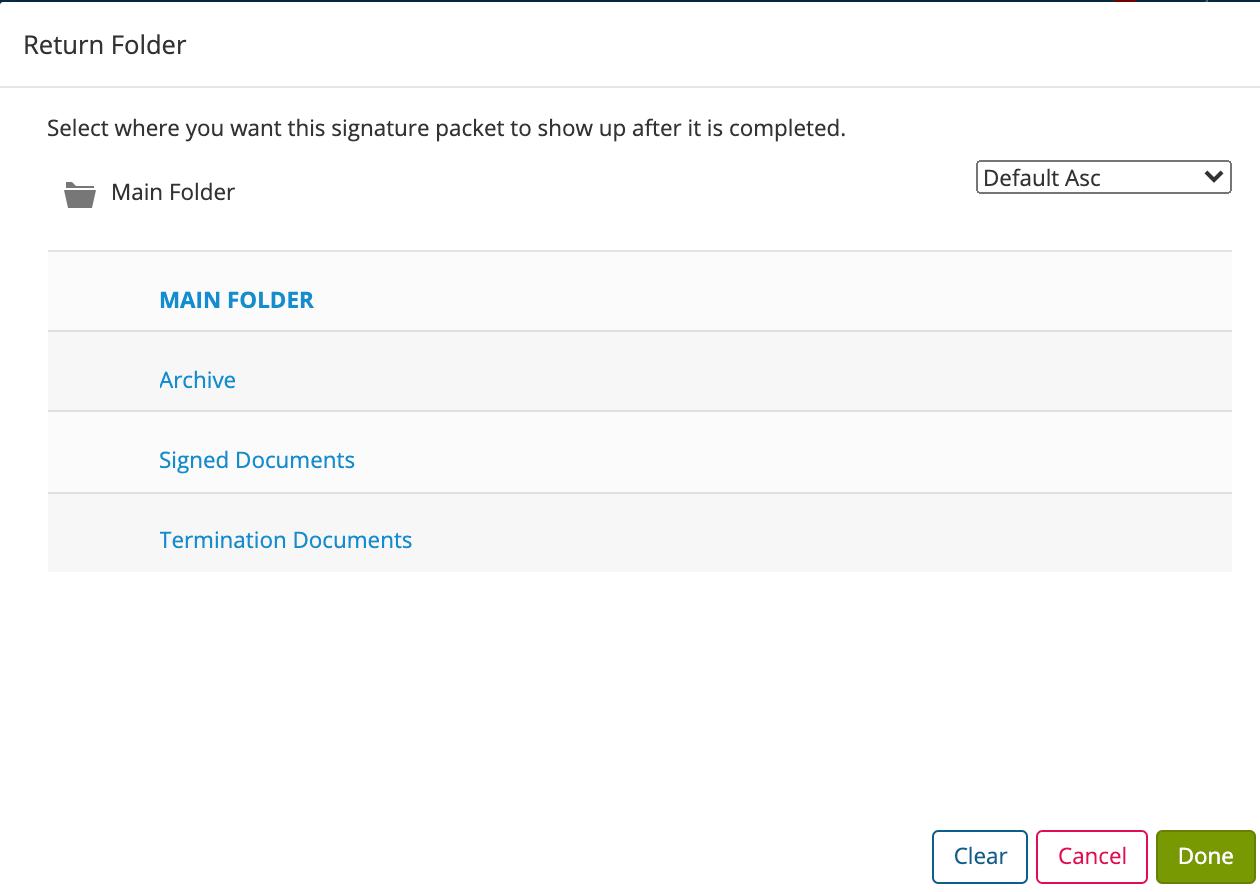
Choose a Return Folder

Re-Order Documents

Next Step: Selecting Parties...

Click Next to proceed.

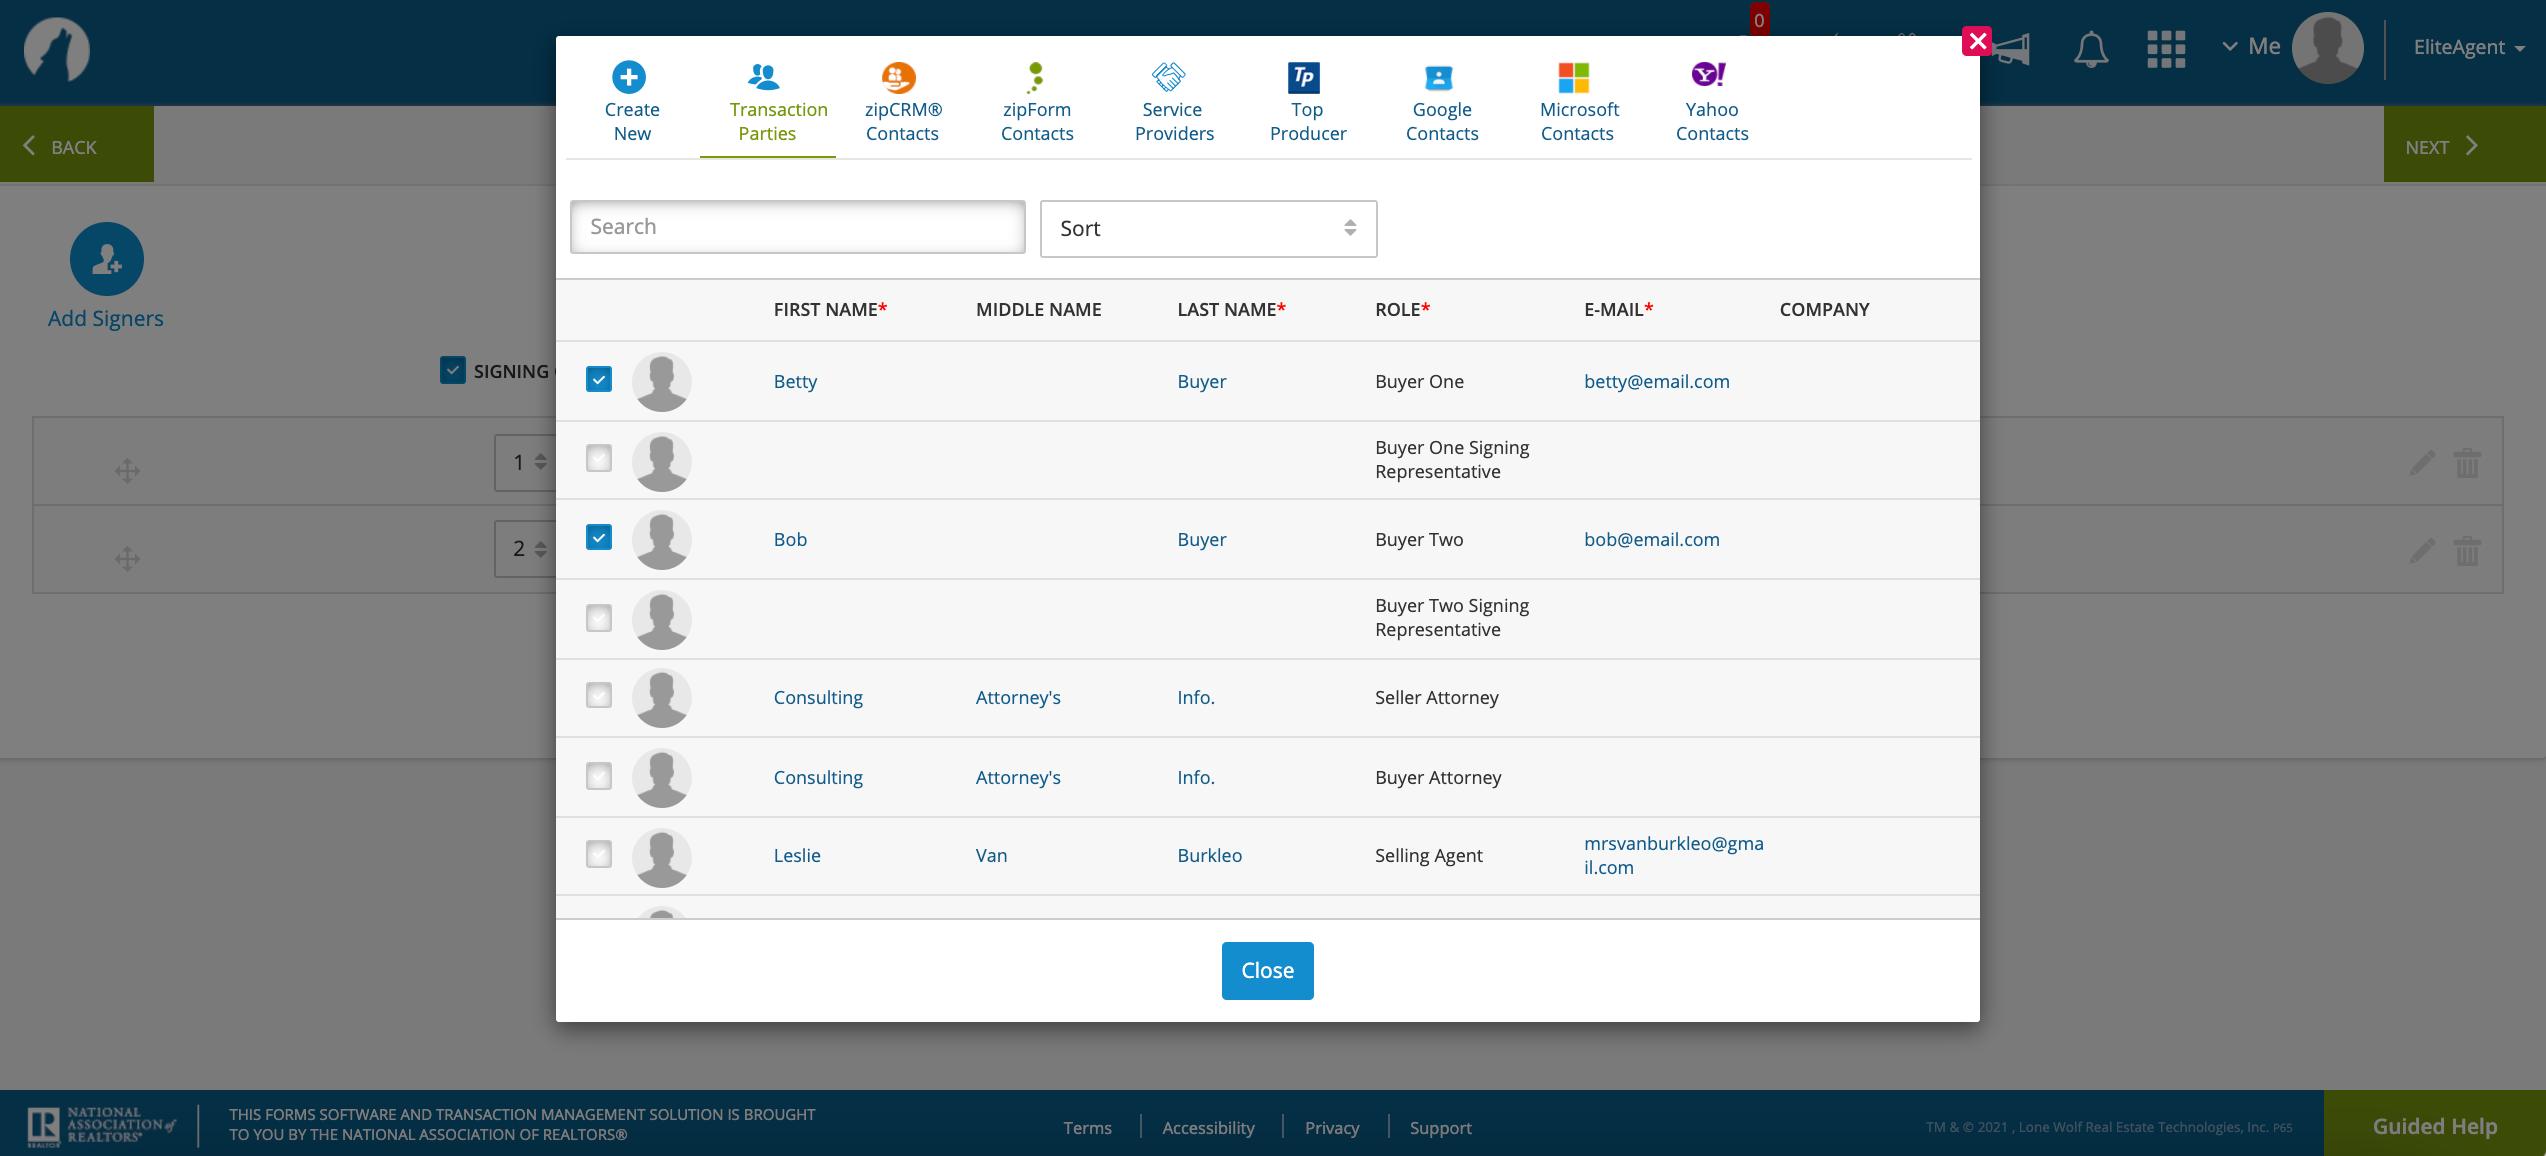
Selecting Signers

Only select individuals who have an action to preform on the documents being sent at this time

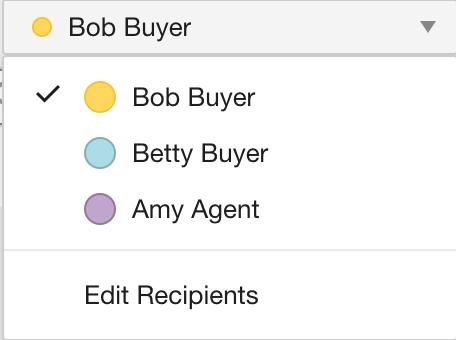
Re-order Recipients

Next Step: DocuSign...

Click Next to proceed.
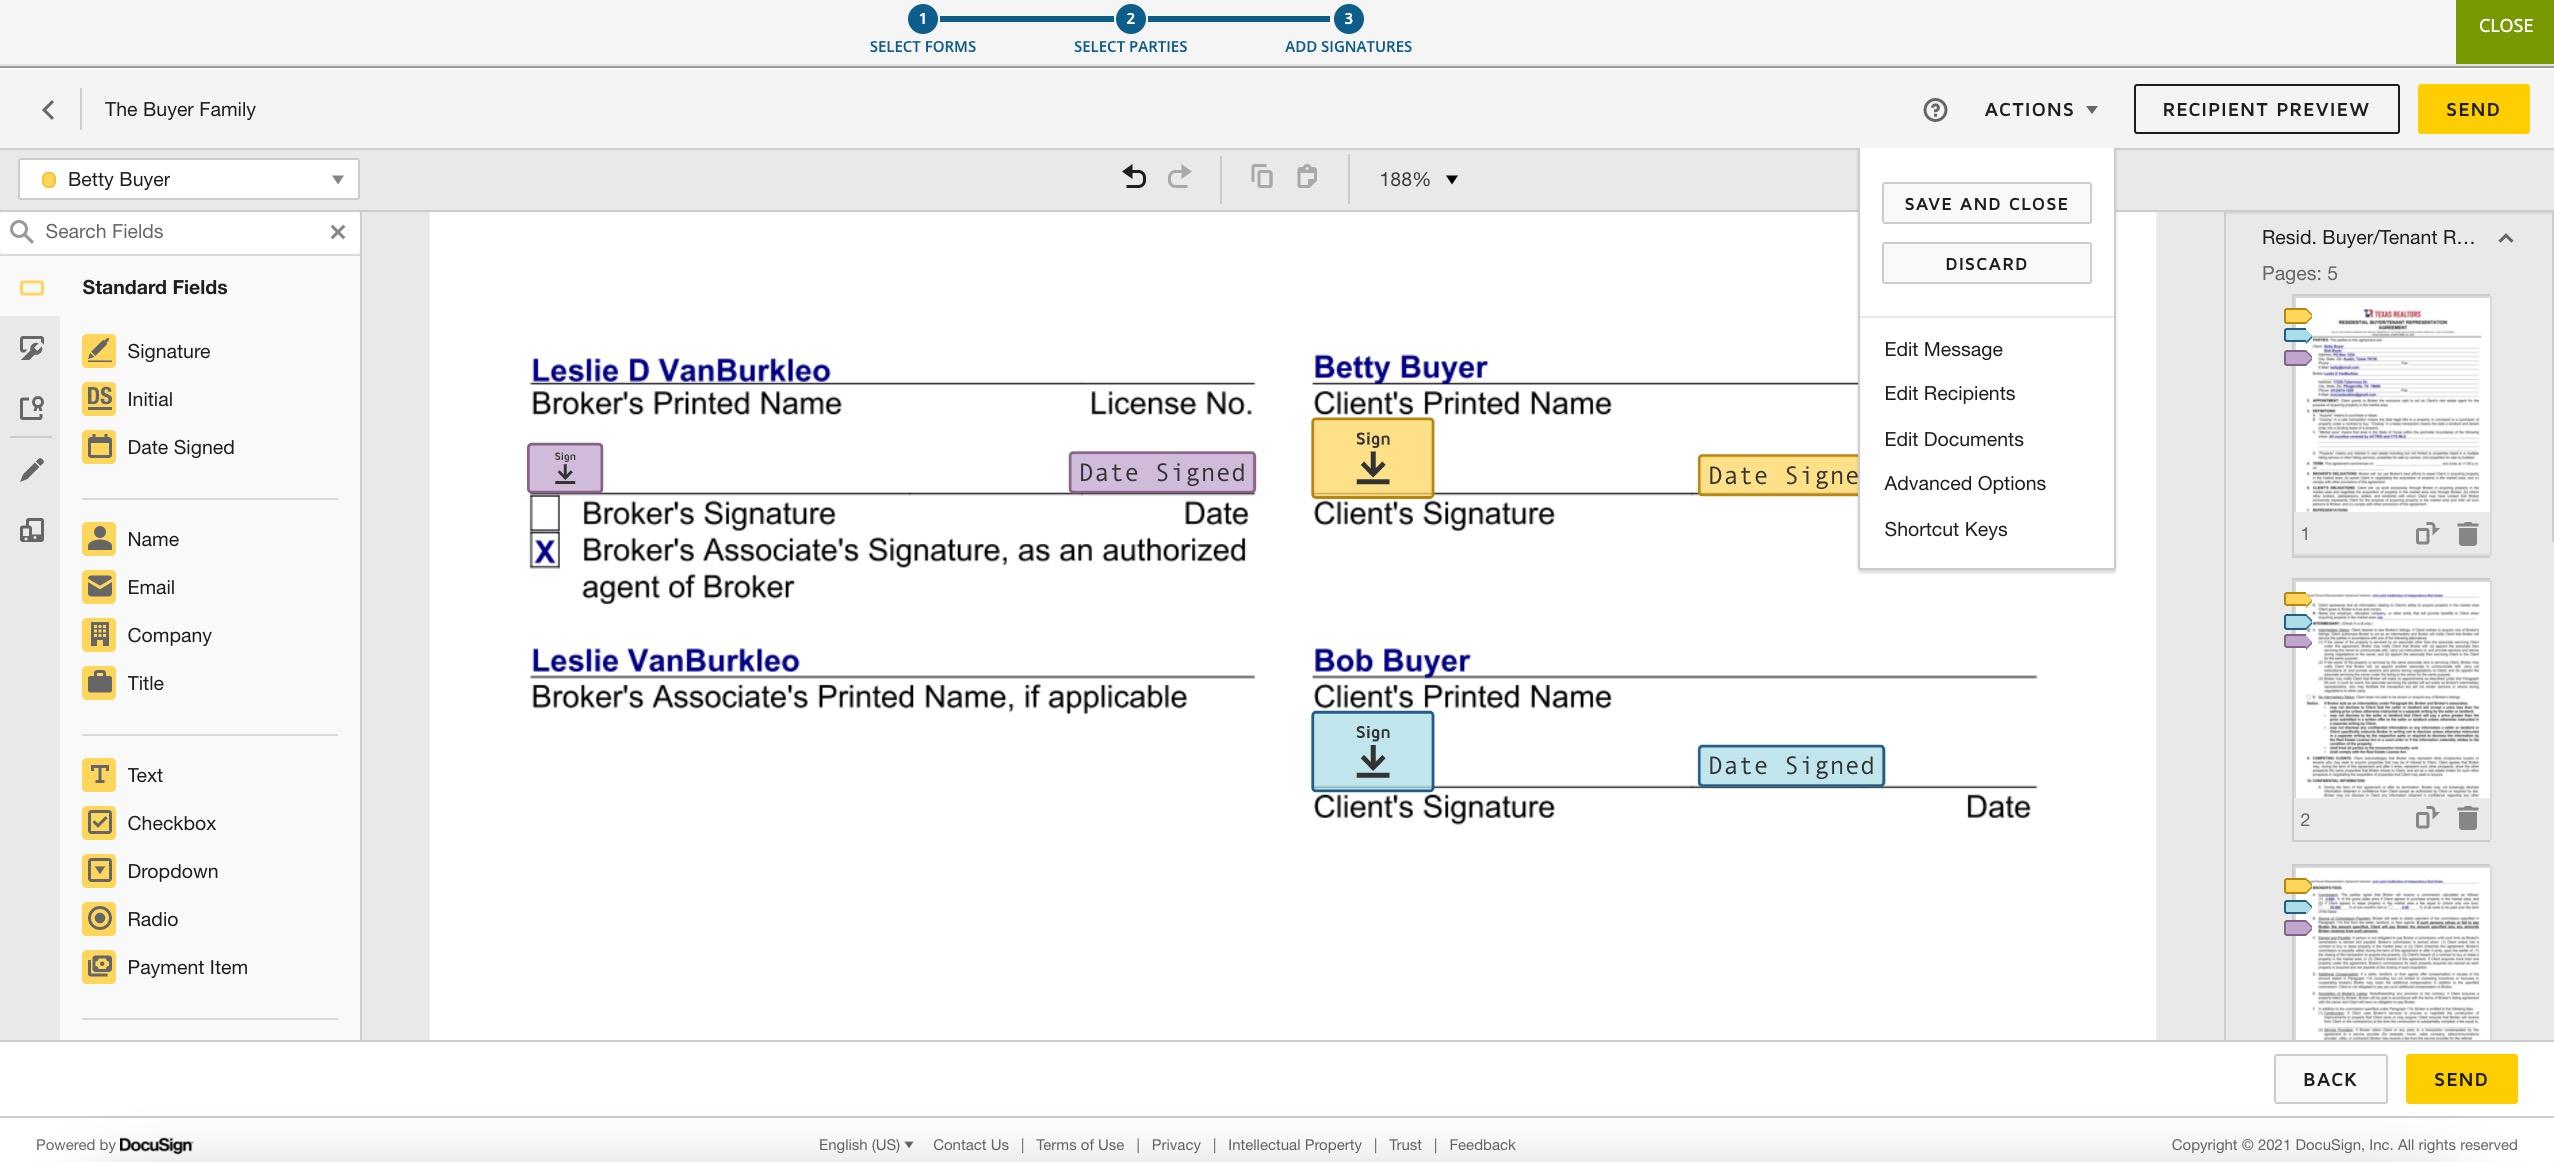
forms will be pre tagged Select the party you need to add Standard Fields for.
DocuSign-Most
Drag/Drop Standard Fields to documents Standard Fields
DocuSign

DocuSign

Standard Field Editing Tools

ABC Realty 552428
DocuSign
Amy Agent
Send for signature ABC Realty 552428 Amy Agent
DocuSign
DocuSign

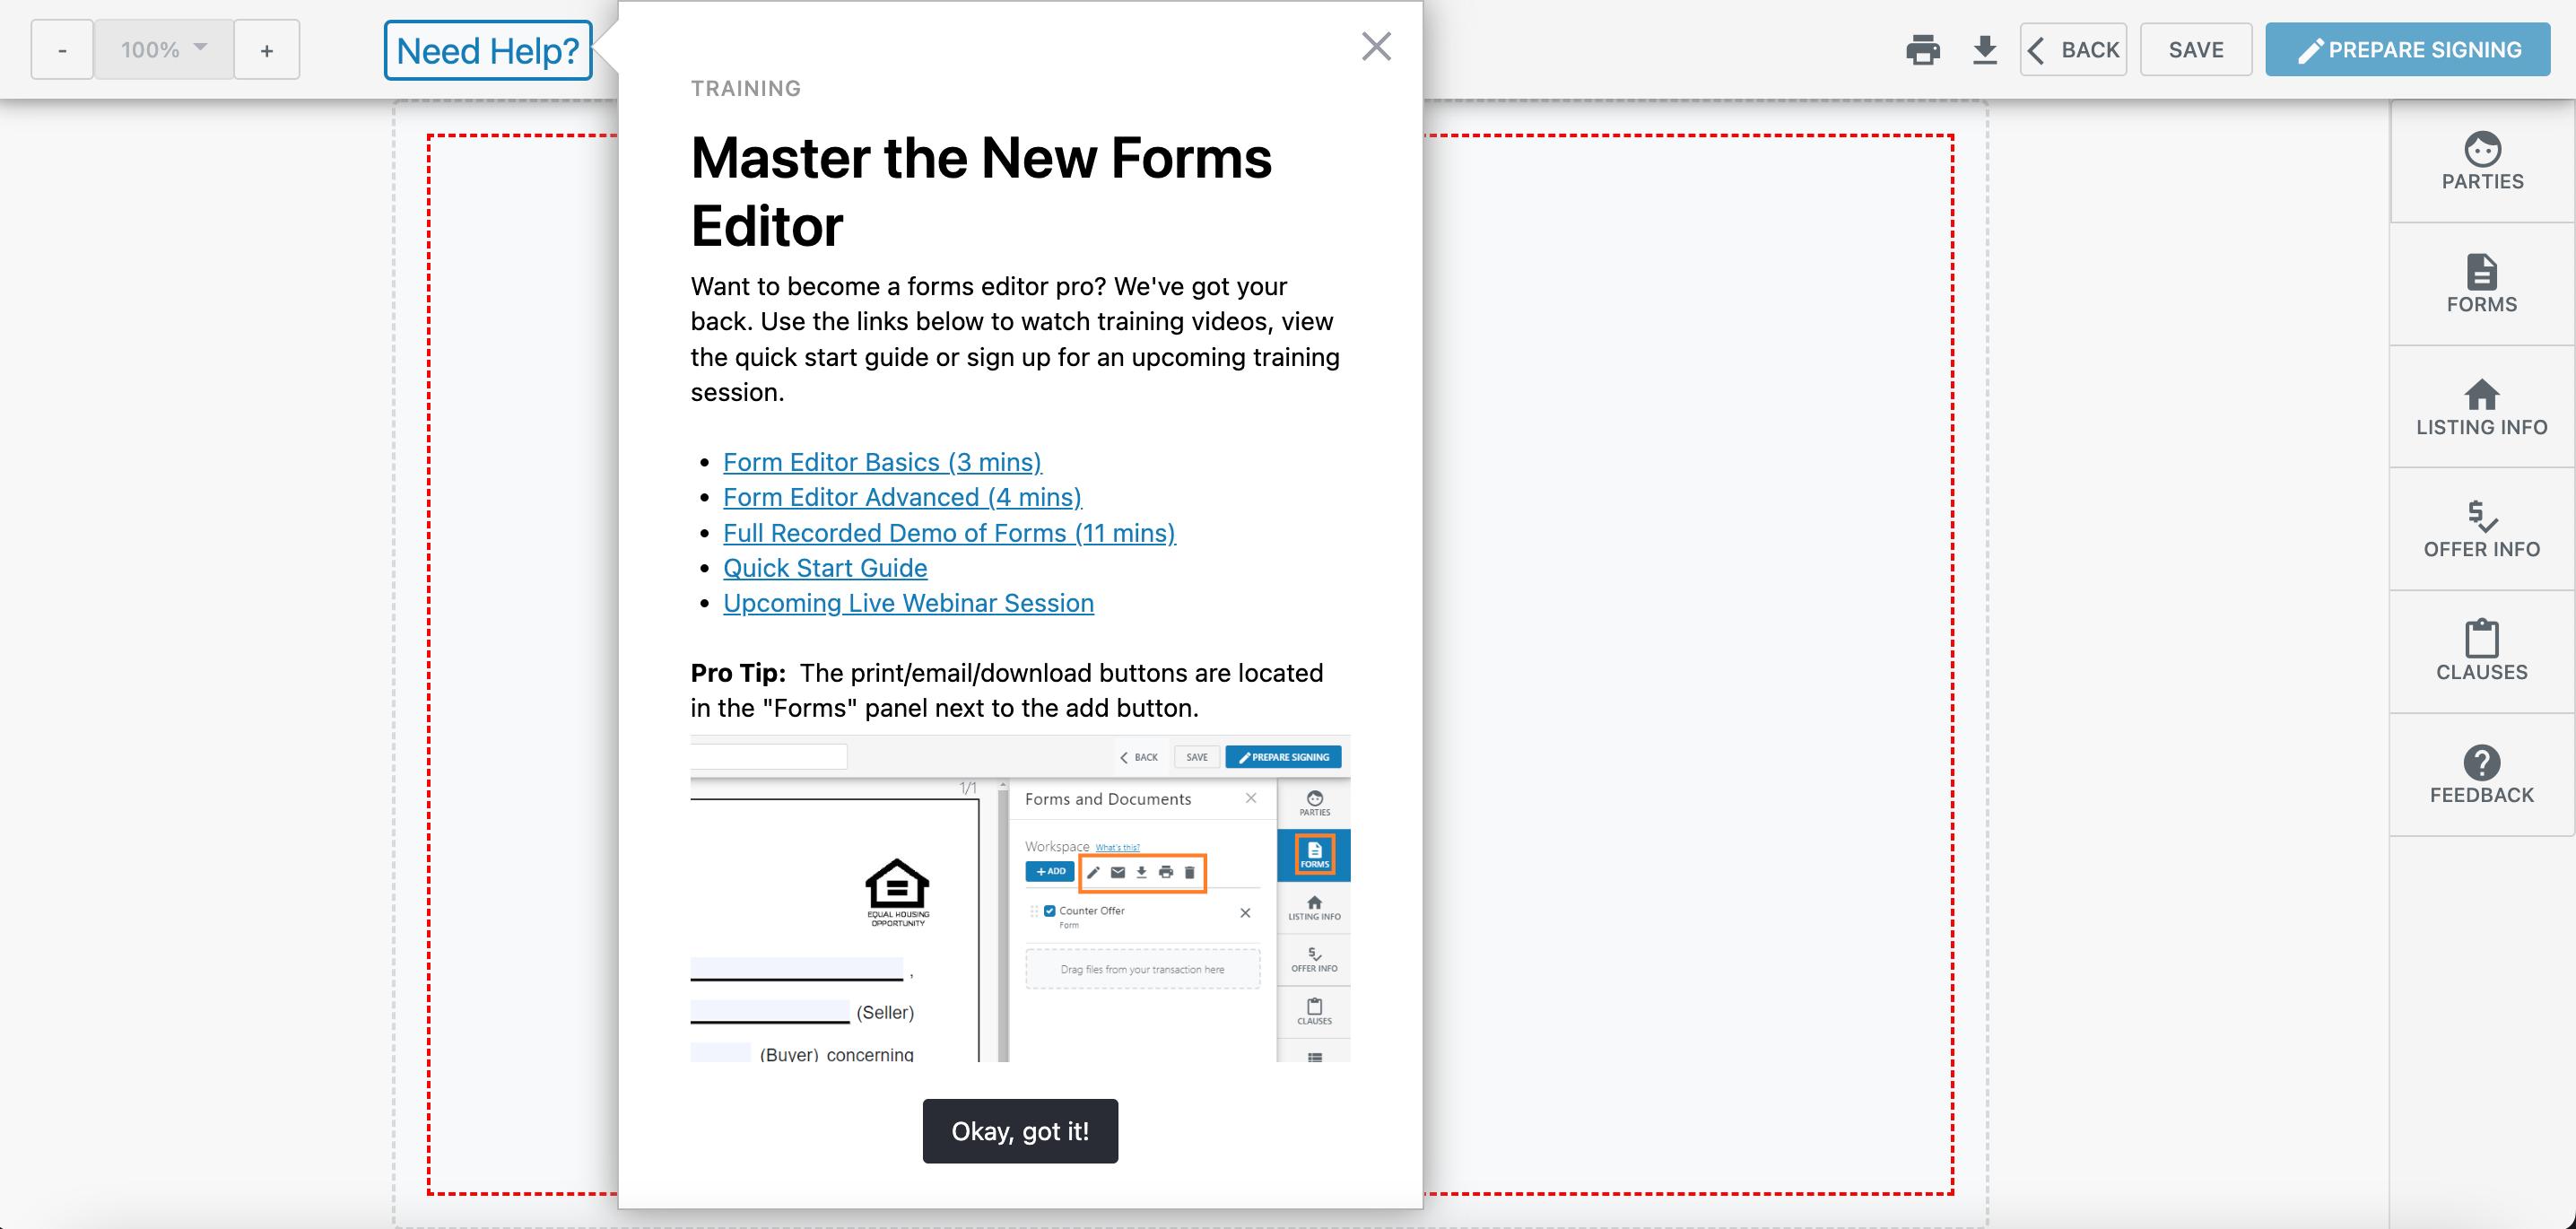
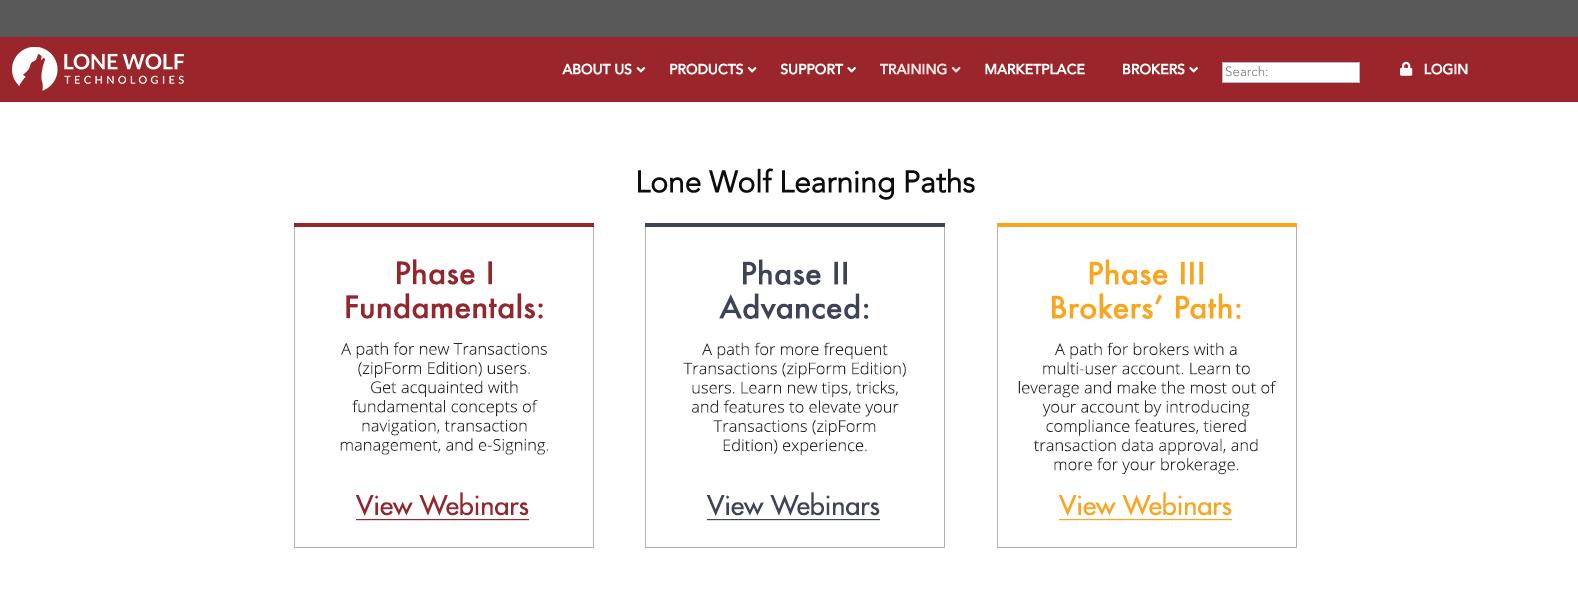
Need More Help?

Want More Training?

Want More Training?

Want More Training?

1-800-379-9973
support.docusign.com
HEY TEXAS! We've got your real estate education. Click the icons below for more information about offerings in your region. Sign up for Classes Educational Videos Tools & Resources Region AUSTIN AUSTIN AUSTIN DFW DFW DFW SAN SAN SAN ANTONIO ANTONIO ANTONIO HOUSTON HOUSTON HOUSTON

Turn static files into dynamic content formats.

Create a flipbook
Issuu converts static files into: digital portfolios, online yearbooks, online catalogs, digital photo albums and more. Sign up and create your flipbook.