2 minute read
Morocco Photo Tour
August 29 - September 10, 2023

All the bird photos in this article were taken with this method because I don’t have the precapture technology yet. Hopefully, within a month or so, the Canon firmware update with change this.
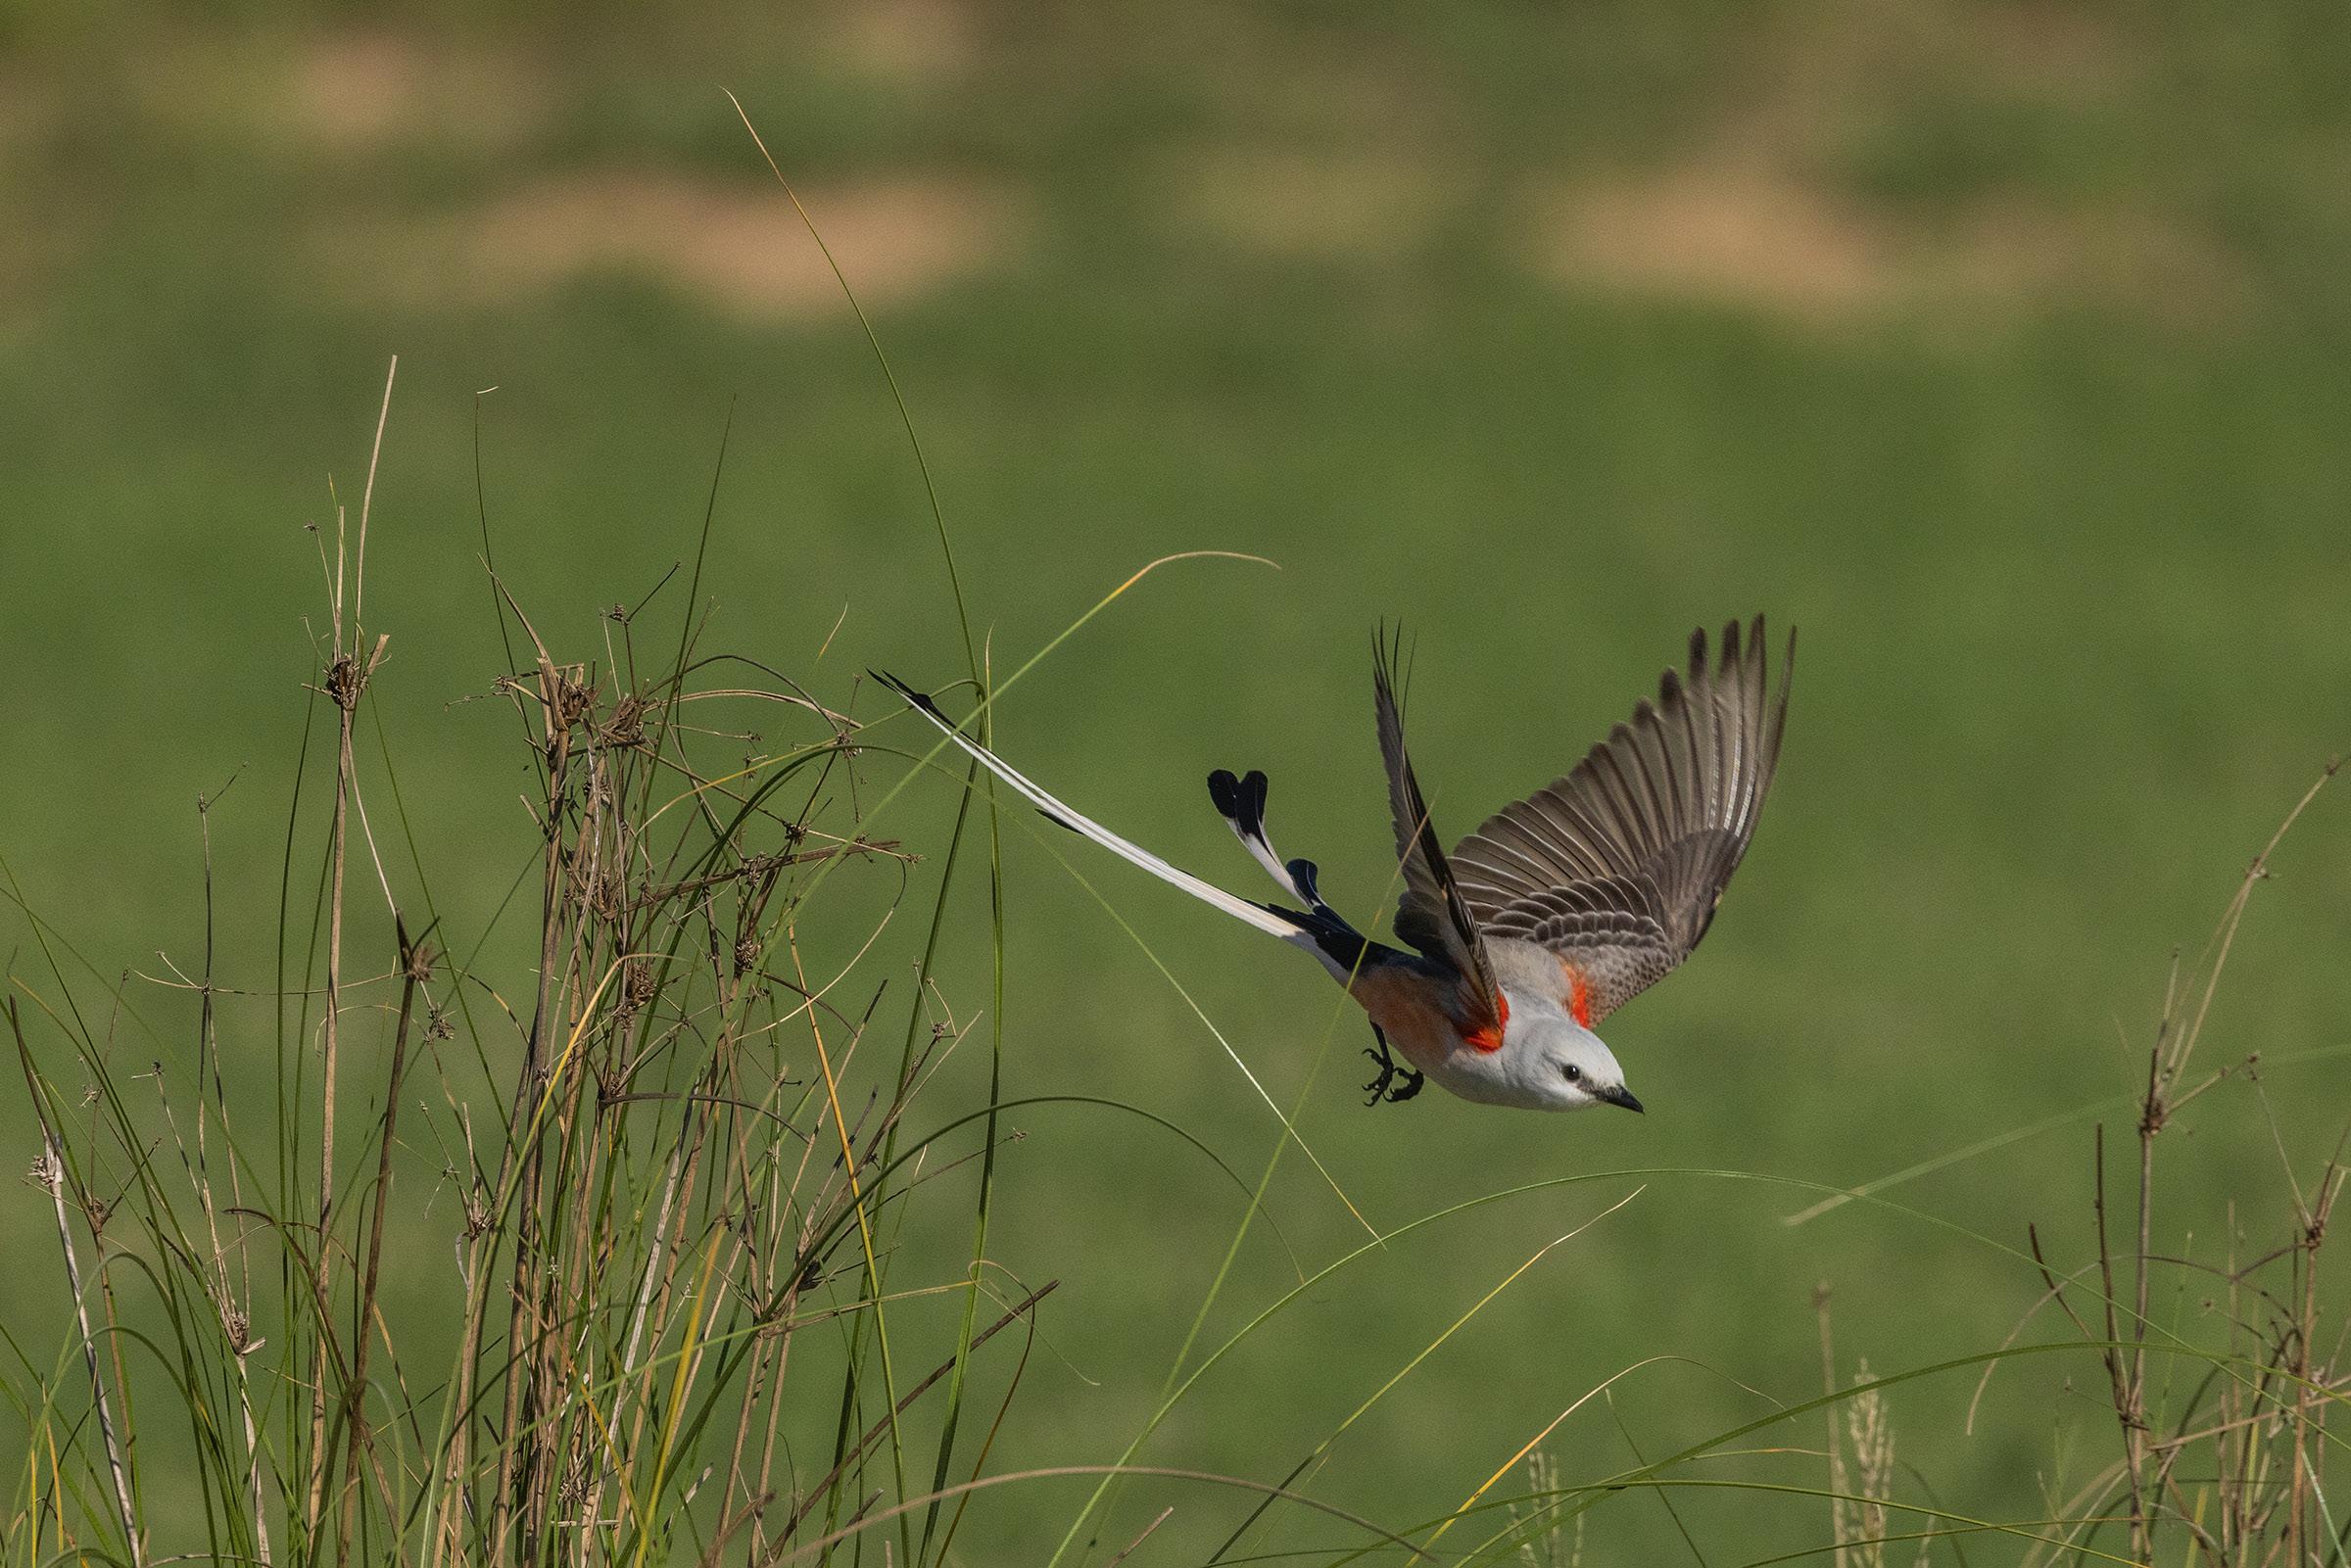
When I photograph medium or large birds, I typically use a shutter speed of 1/3200th of a second. That freezes even the wing tips. However, for smaller birds that are particularly fast, I prefer to use 1/4000th if there is enough light. This usually is fast enough to freeze even the fastest fliers like the scissor-tailed flycatcher, above.

My other settings are f/8 or f/11 (I prefer the latter if there is enough light) because birds have depth, especially when they spread their wings. F/11 provides a little depth of field. I let the ISO setting adjust per the ambient light. Because mirrorless cameras allow you to see the expo- sure in the viewfinder, I never use the exposure compensation feature now. On manual exposure mode, which is what I use for bird photography, it’s a simple matter to change the ISO in order to adjust the exposure to taste.

Even before Photoshop, I experimented with mirrored images. I’d make a print with the correct orientation, and then I’d flip the negative or slide in the enlarger and make another print with everything reversed. I’d then mount them together to create the unique optical illusion.
In Photoshop, you can create a simple mirrored image in about 15 seconds. The results are usually surprising only becaused it’s difficult to fully previsualize the results. But that’s part of the fun. If you go the next step and create a repeating pattern, as I did in the image of Venice, below, you’ll be truly intrigued by what you end up with.

There are two different ways to mirror an image. You can mirror the entire photograph or only a portion of it. Let me demonstrate both of these because the results are quite different.
Mirroring the whole image
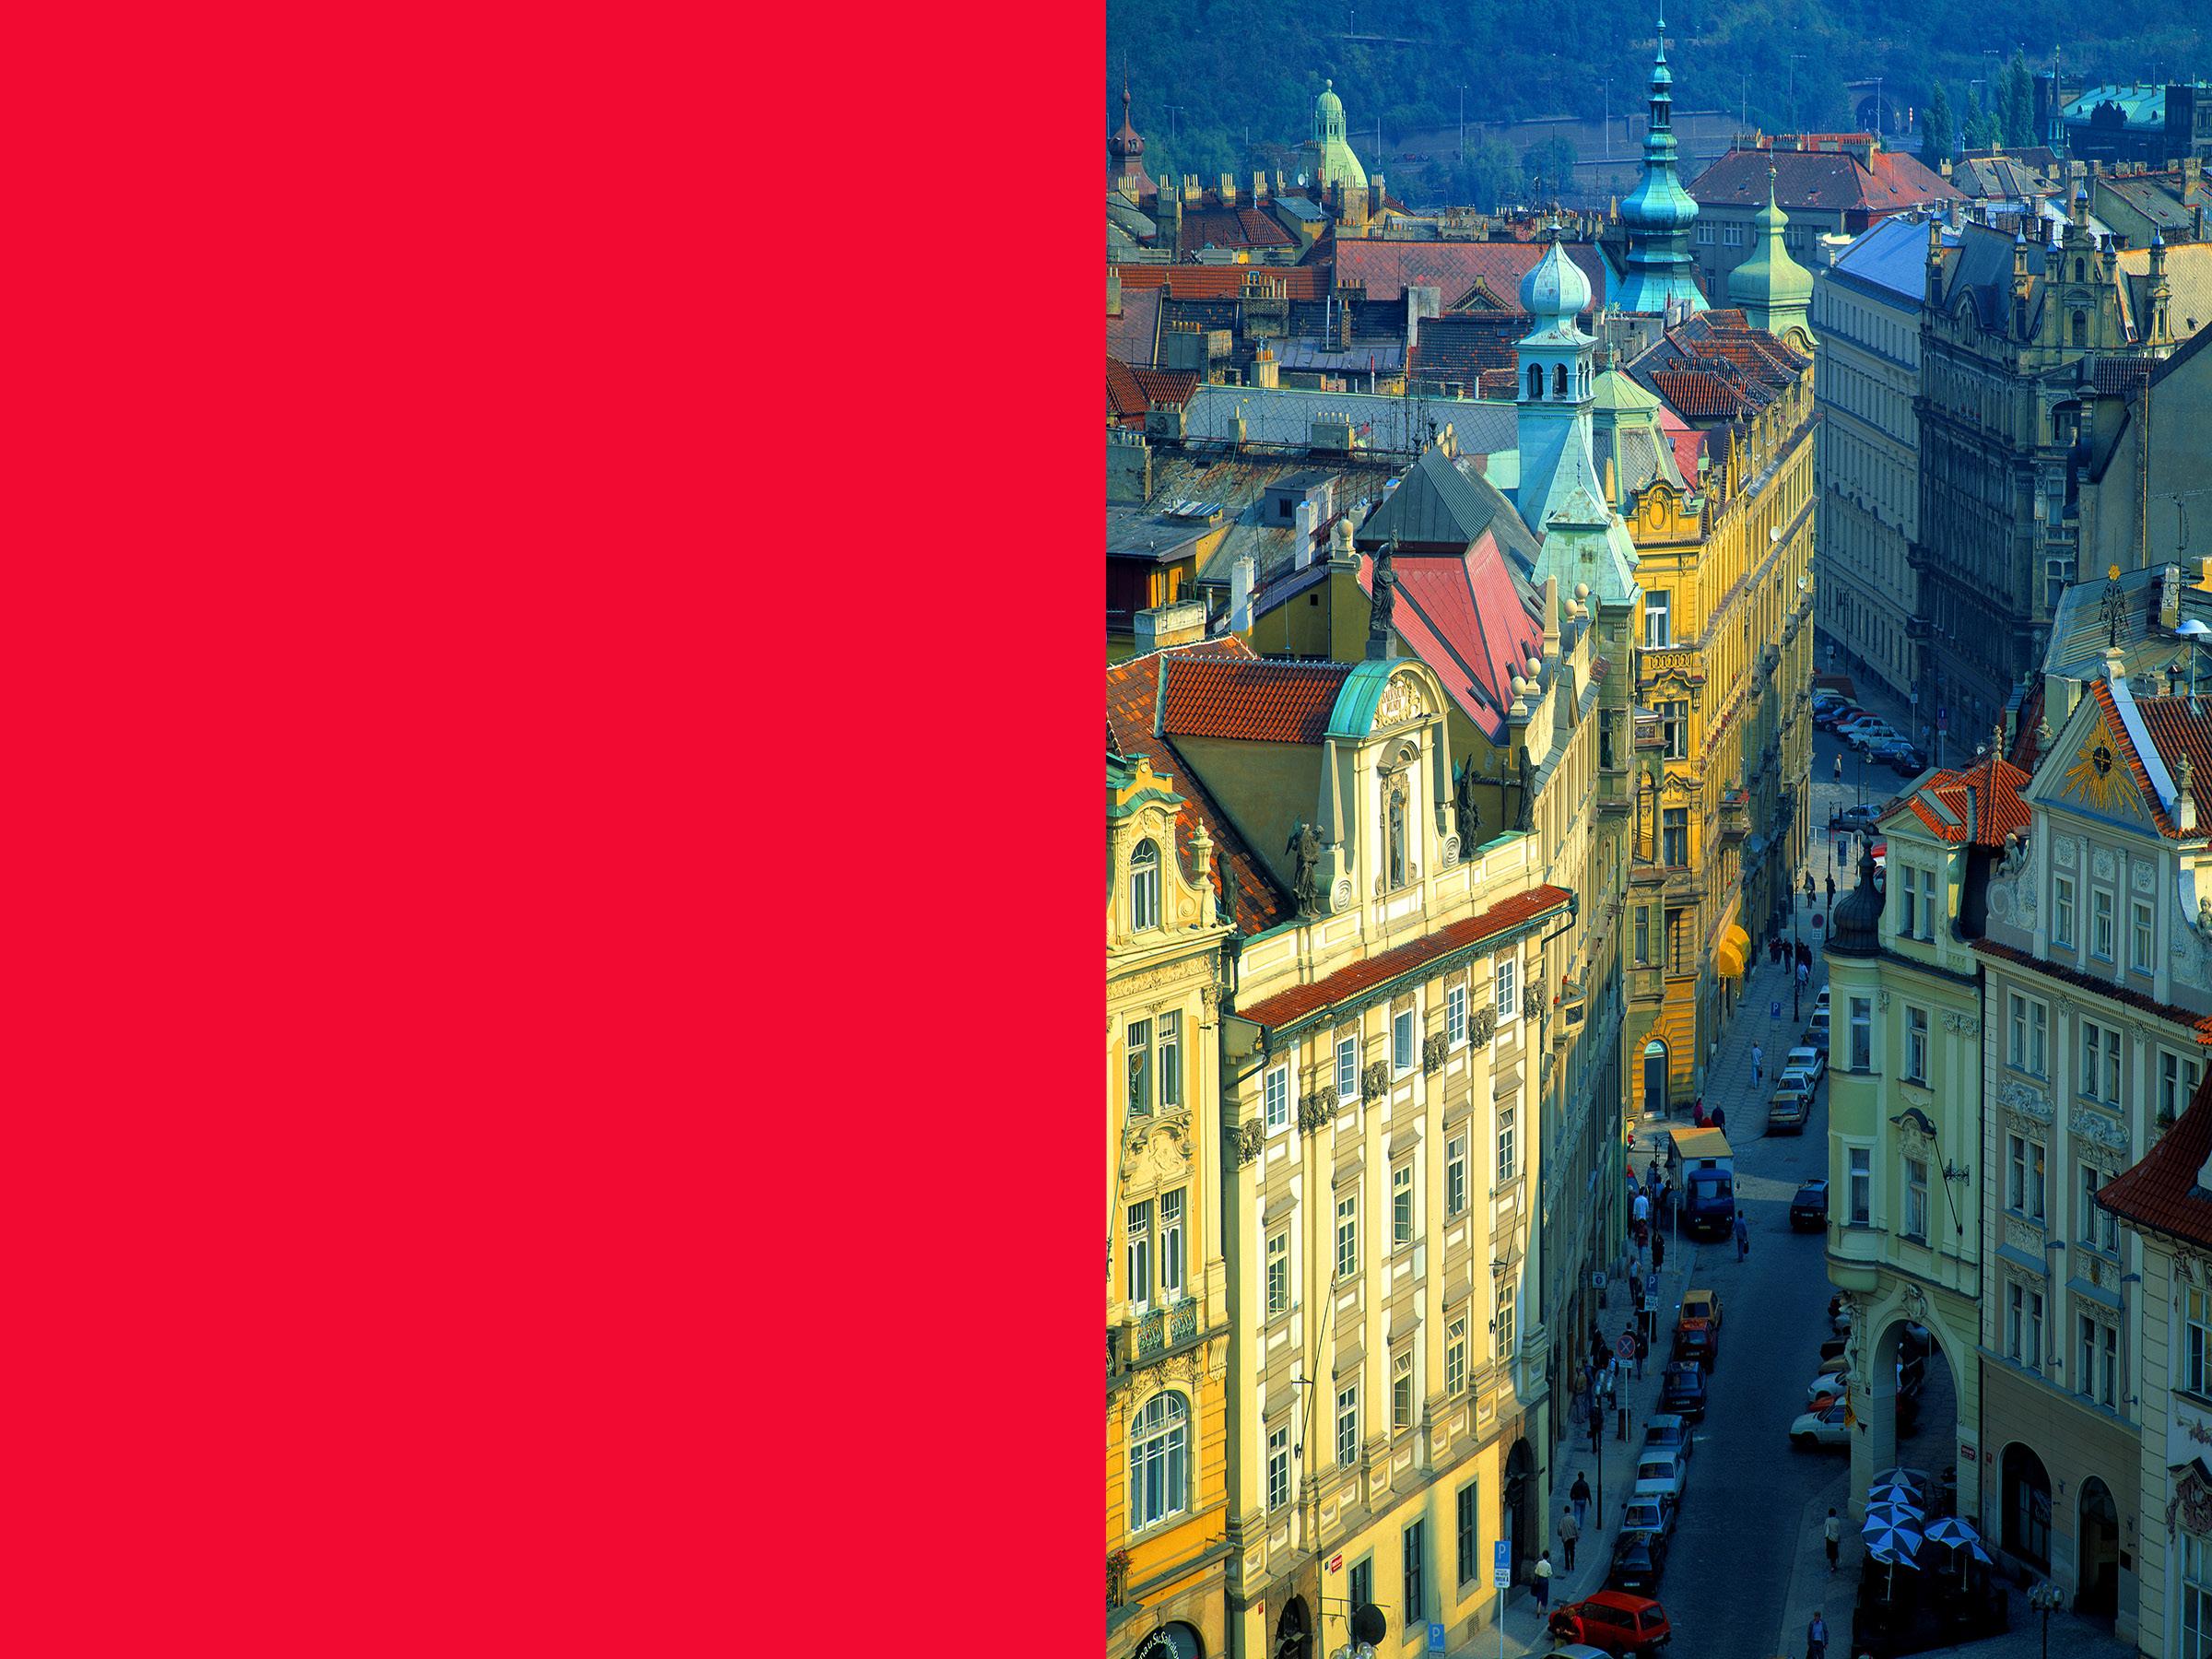
1. Open an image in Photoshop, either horizontal or vertical. For this example, I’m using the elevated view of Prague, Czech Republic (right). Copy it to the clipboard with Select> all then Edit > copy (the keyboard shortcuts are Command/Ctrl A, then Command/ Ctrl C). The photo is now in Photoshop’s clipboard, the temporary holding place for a picture or part of a picture. You can’t see the clipboard, but it’s there.


2. Now choose the command, Image > canvas size. The dialog box that opens is shown at lower right. At this point, you have to make a decision. Do you want the image to be mirrored on the right side or the left side? The results will be very different. In this case, I elected to mirror it on the left. So, in the tictac-toe box (yellow arrow), I clicked in the center right square. The white arrows show you where the new, expanded area will be: to the left.
3. I doubled the width dimension (red arrow) to 2400 pixels. That gave me the image at the top of the next page. The color of the blank area doesn’t matter (that comes from the background color box at the bottom of the tools palette) because it will be covered up.
4. Next, I pasted the clipboard photo into the opened image using Edit > paste.
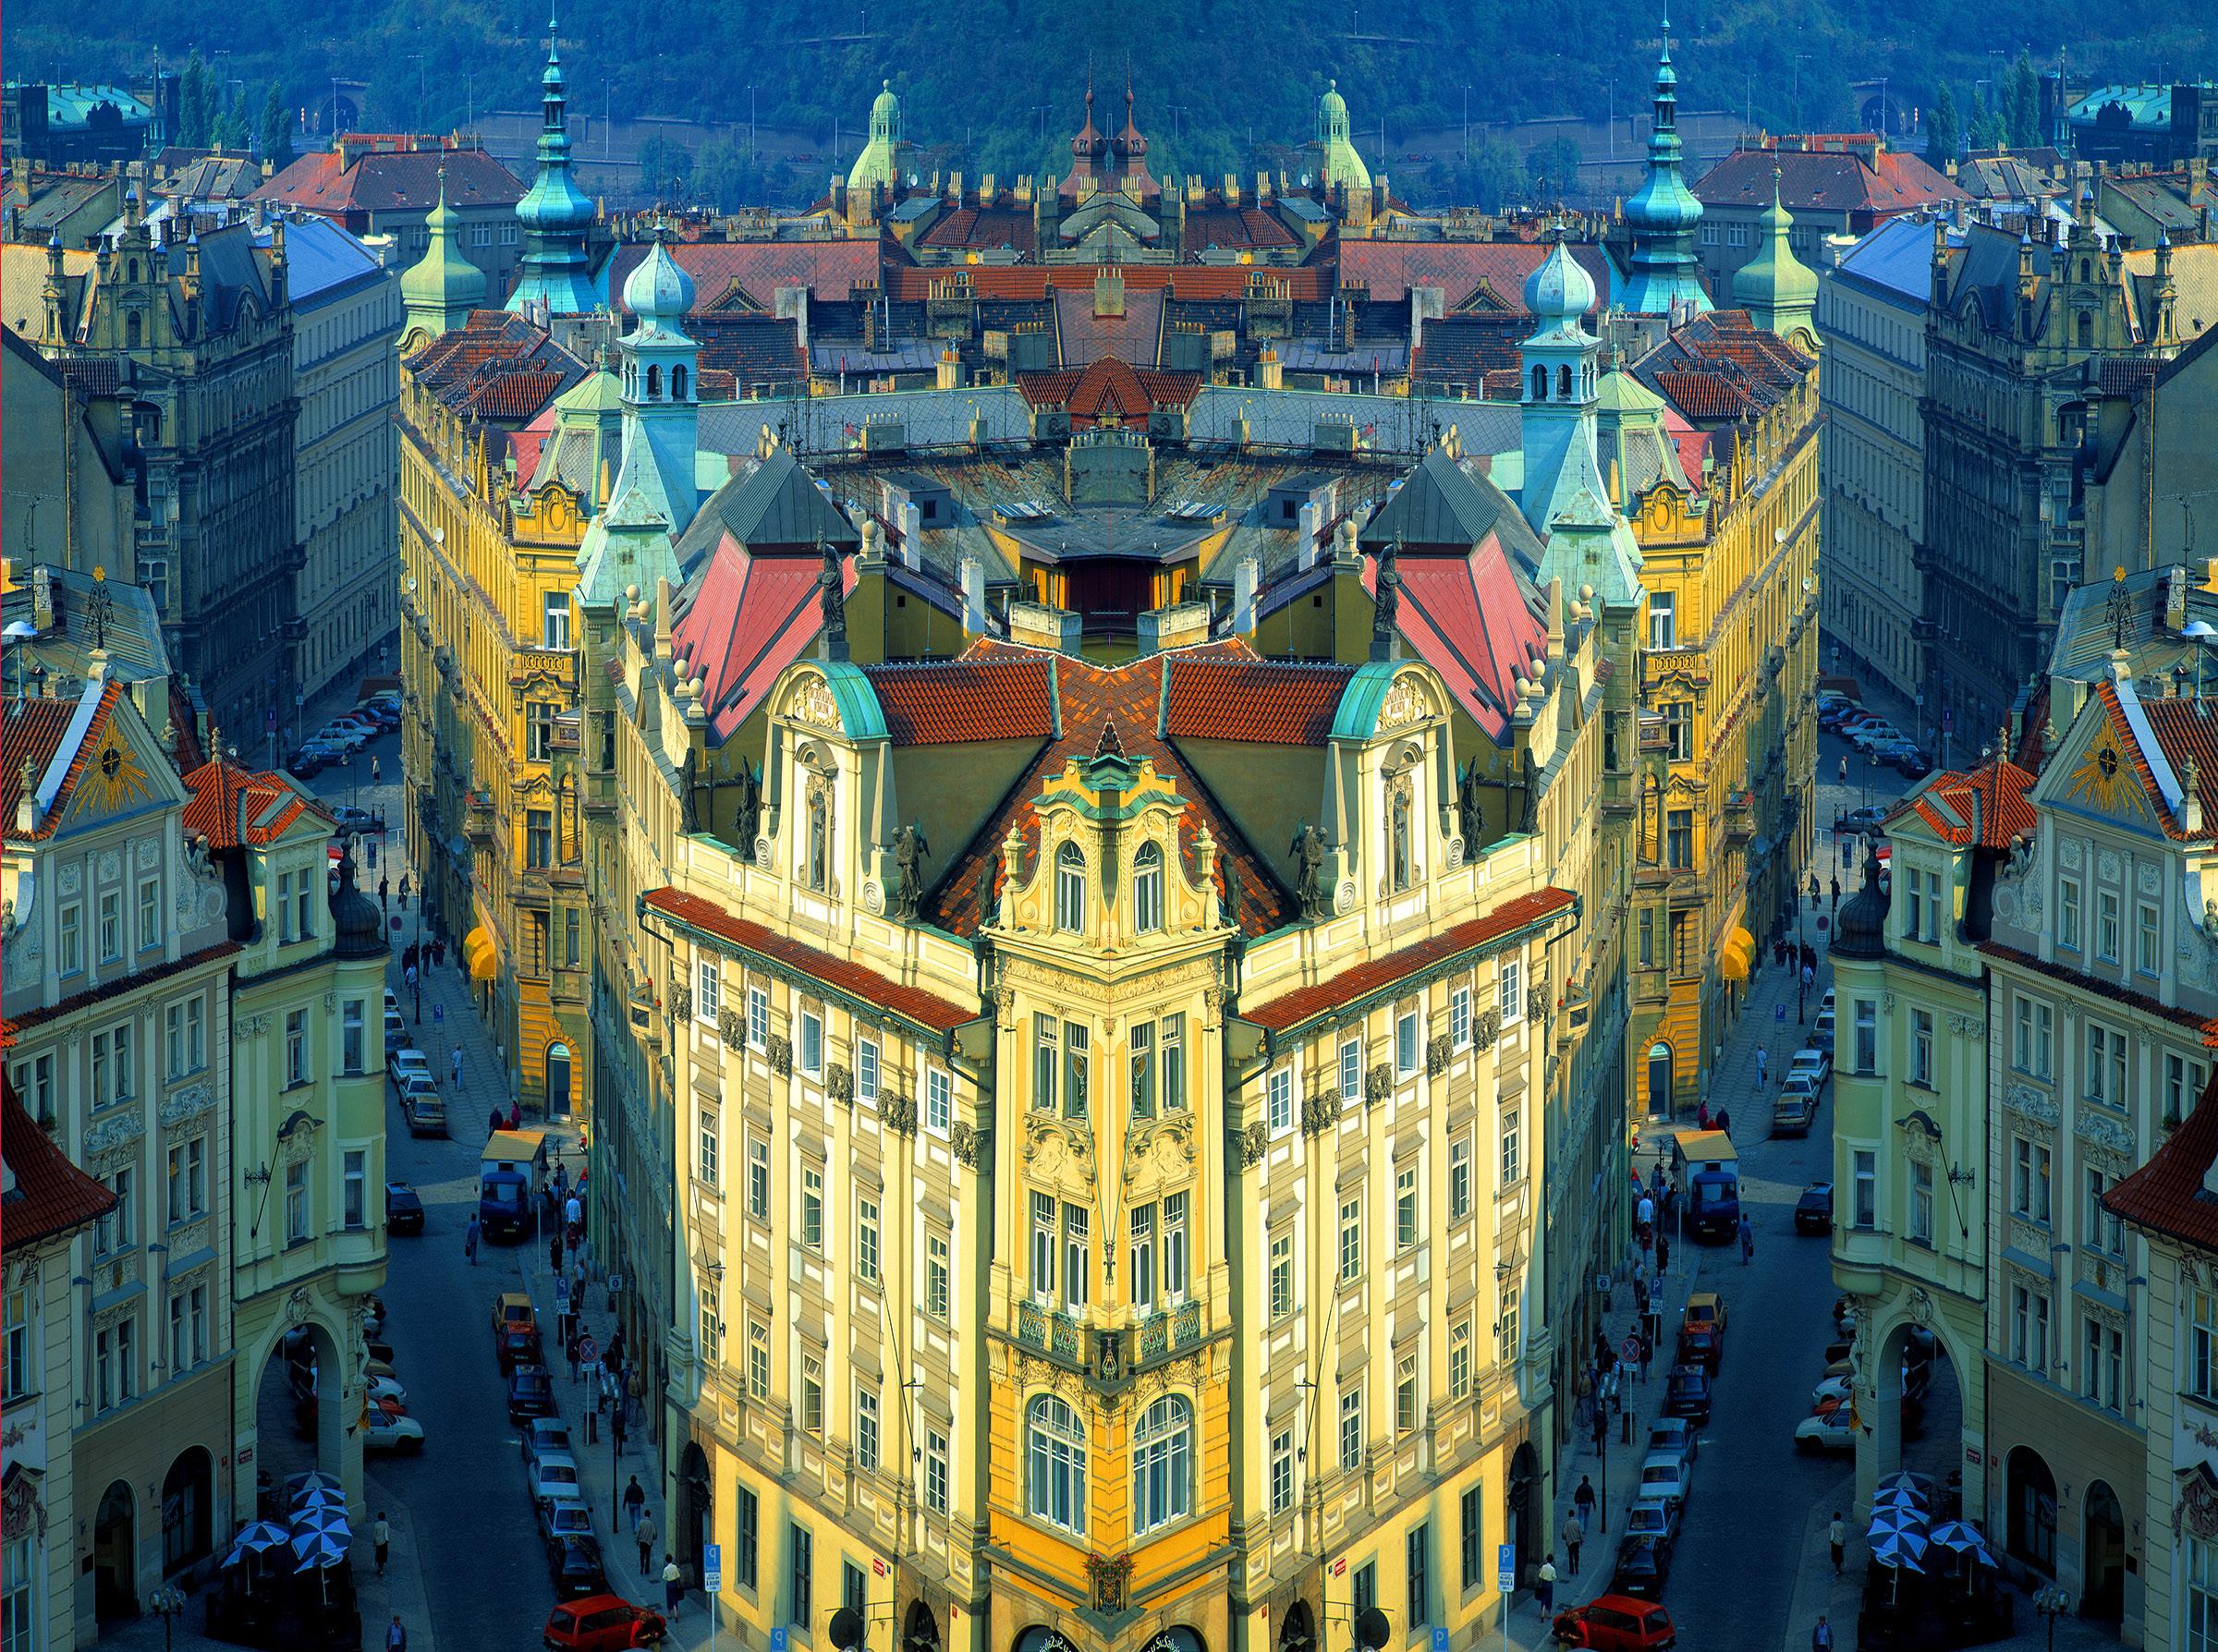
5. Finally, I used Edit > transform > flip horizontal, and then with the move tool I simply moved it into place to create the mirror as shown at the bottom page 11.
It’s a good idea to enlarge the composite to examine how precisely the two images align. If they are not perfect, use the arrow keys (when the move tool is selected) to nudge the layer into place. Then flatten the file with Layer > flatten image.
If you start with a horizontal photo, the mirrored composite will end up looking like a panorama shot because it will be double the width of a normal image. Depending on the subject matter, if you prefer a more normal


