1 minute read
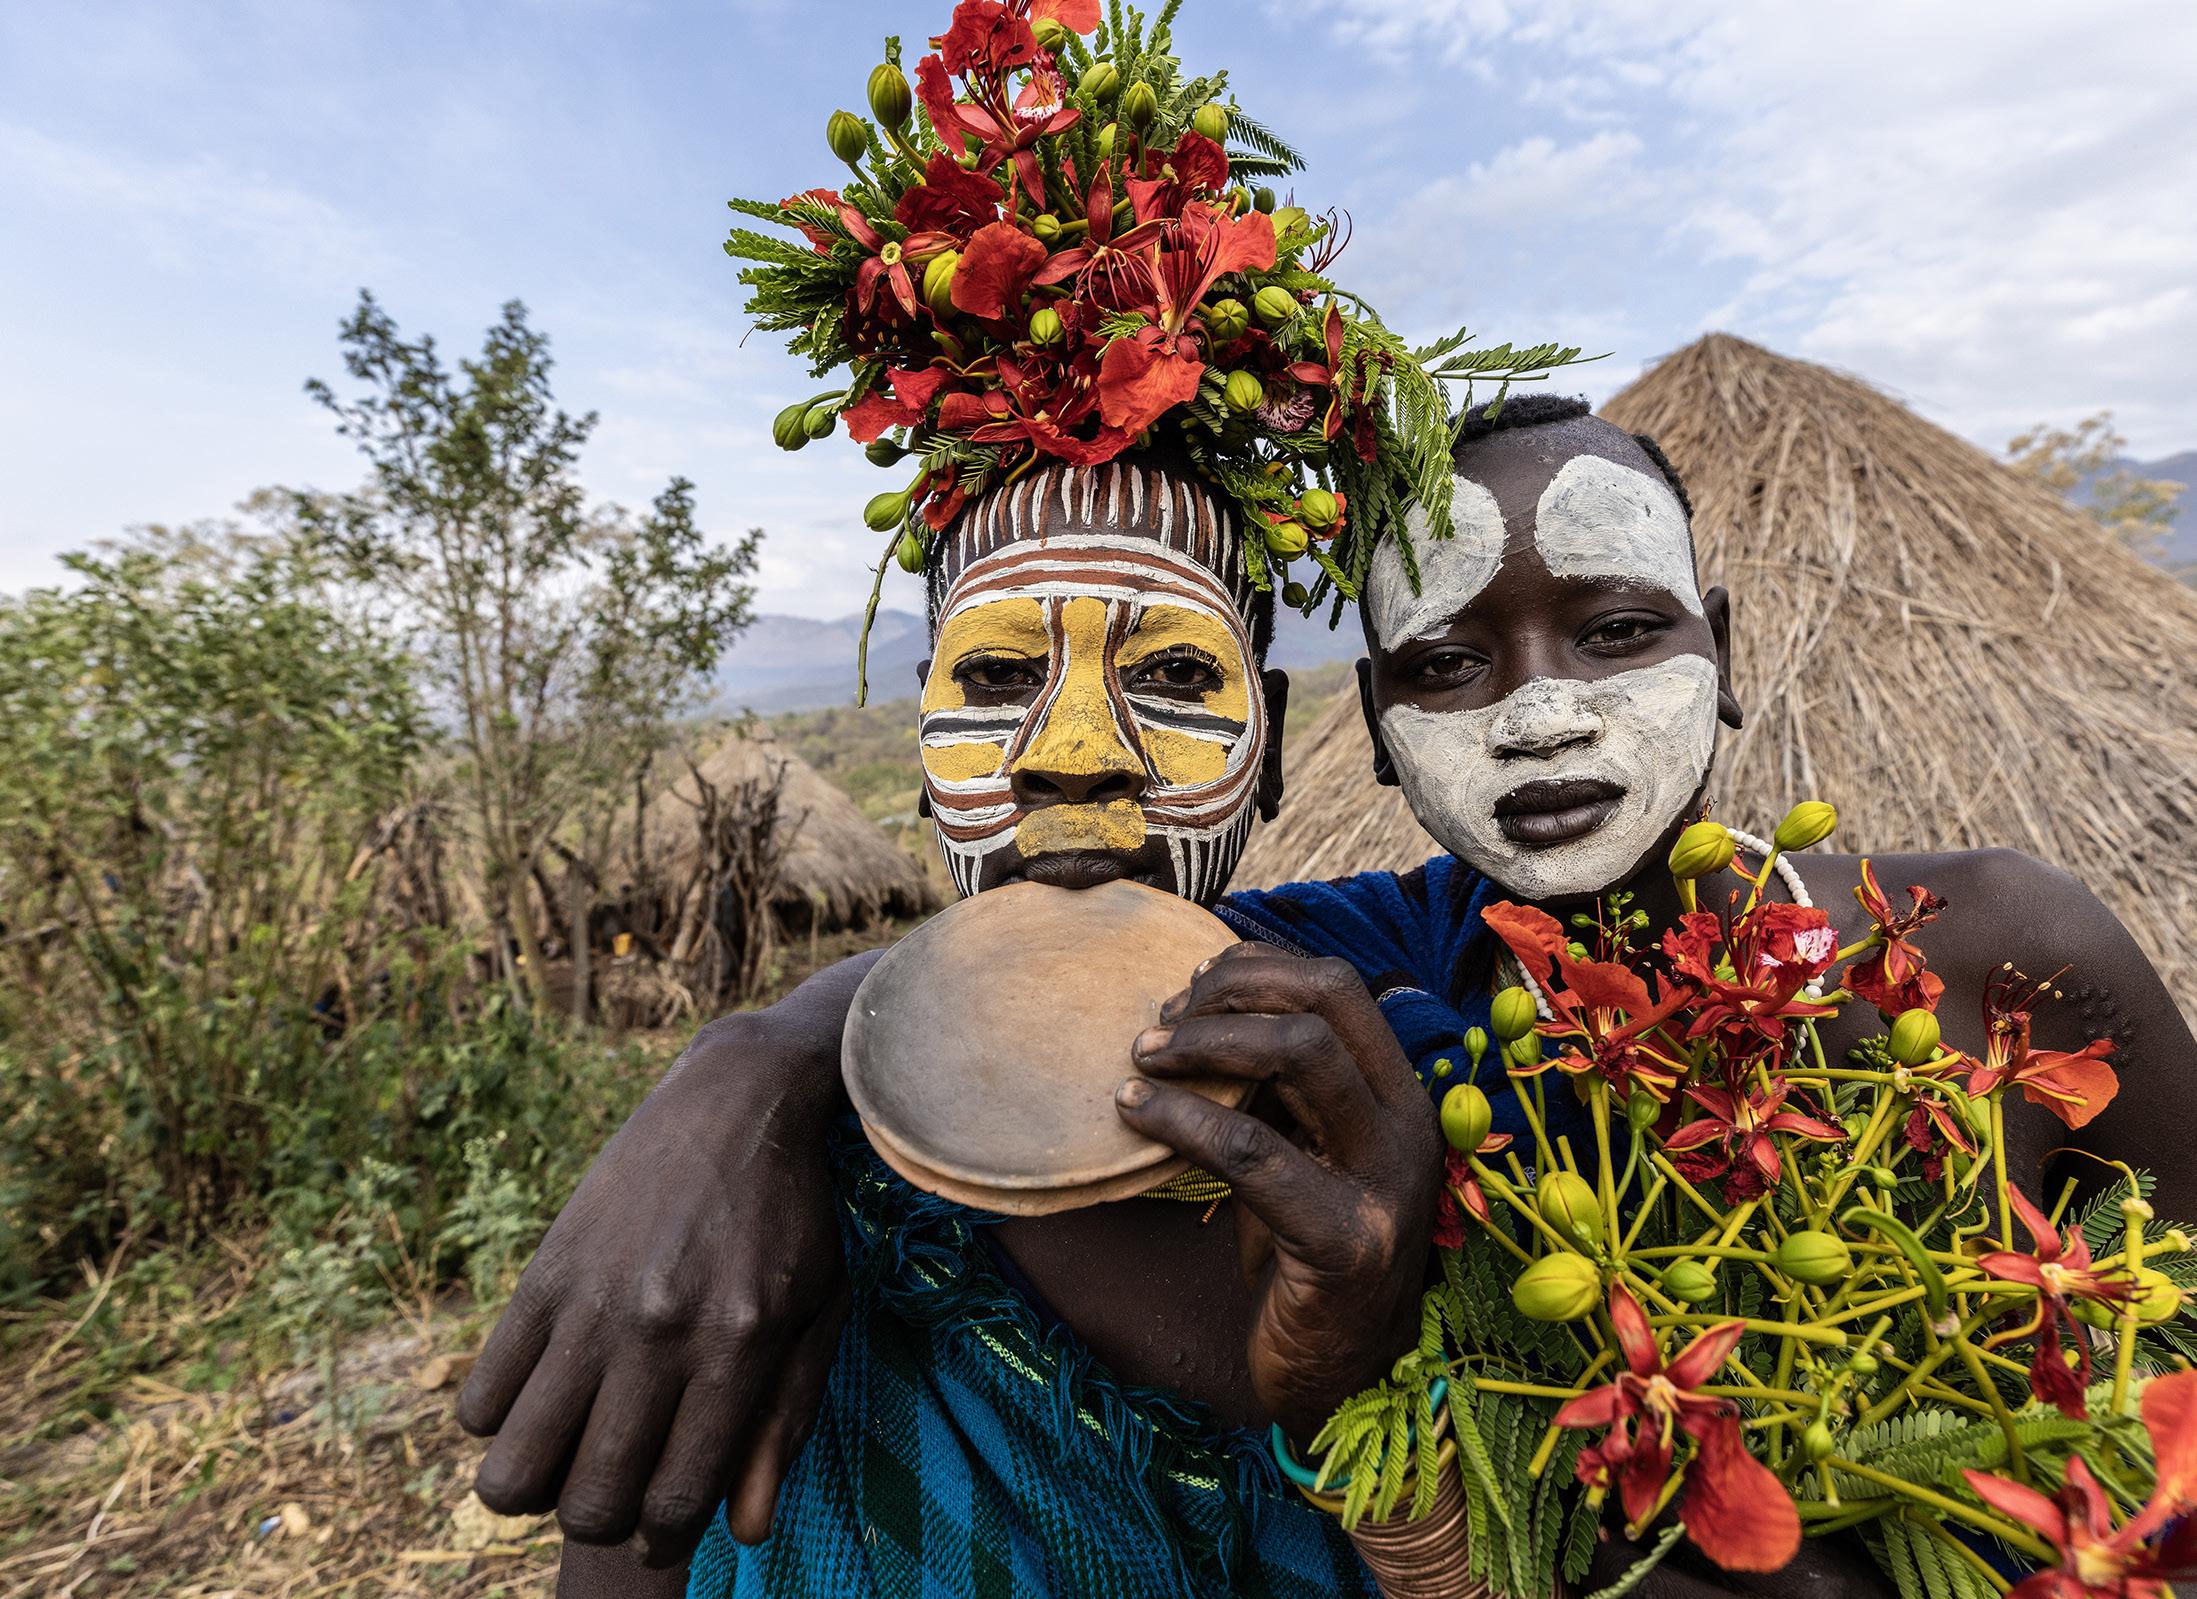
Ethiopia Photo Tour
Jan, 21 - Feb. 3, 2025 aspect ratio, you can resize it to 3:2. This compresses the elements in the scene, of course, but sometimes that turns out to be quite interesting. Alternatively, you can expand the canvas downward with the command, Image > canvas size. This time you double the vertical dimension. Use the Photoshop plug-in Flood to add a reflection at the bottom of the frame. This is what I did with the twilight image of Brugge, Belgium, below. Without the reflection added, this would have been a long, panorama-like picture. I added the stormy sky for drama before I mirrored the image.

Multiple mirrors
Another thing to note about the composite below is that I mirrored the original photograph four times. If you look closely, each of the rows of buildings -- left and right -- are mirrors themselves. I kept expanding the canvas with the command, Image > canvas size to accommodate the broadened image. I did the same with the the mirrored composite on page 9, but in this case I didn’t use Flood. Instead, once I had the four panels composited together, I then copied that entire image to the clipboard, expanded the canvas downward (Image > canvas size with a doubling of the verticle dimension), and then pasted the clipboard image below. With Edit > transform > flip vertical, I was able to create a mirror-like reflection of the entire upper section of the image.
The mirrored composite of tree branches on the next page was done exactly the same way. Any subject can work for this technique: nature, people, macro, wildlife, still lifes, etc.
Mirroring part of the image

For a completely different look, try selecting only part of the image to set up a mirrored composite. See the image at right I took in a 16th century palace in Venice, Italy. The red arrow shows you the selection line. I purposely selected half of the mask, and the entire selection goes to the top of the frame and to the bottom.

I then hit Edit > copy, and now only the right side of the photo per the selection was placed in the clipboard. I chose Select > deselect and then with Edit > paste, half of the image was pasted into the photo.
Using Edit > transform > flip horizontal, the layer was flipped. With the move tool, I carefully moved the left half of the image into place, thus completing the mirror. You can see the results on page 15.
This technique can produce intriguing (and bizarre) composites. You don’t have to select half the image. Instead, for example, you can select 1/3 or 1/4 the image, depending on what the original photograph is and what kind of result you’re looking for. §


