1 minute read
Managing soft focus


Sometimes we want shallow depth of field, but due to the lens we’re using or the camera-subject distance, the background behind a subject is more define, more in focus than we want.
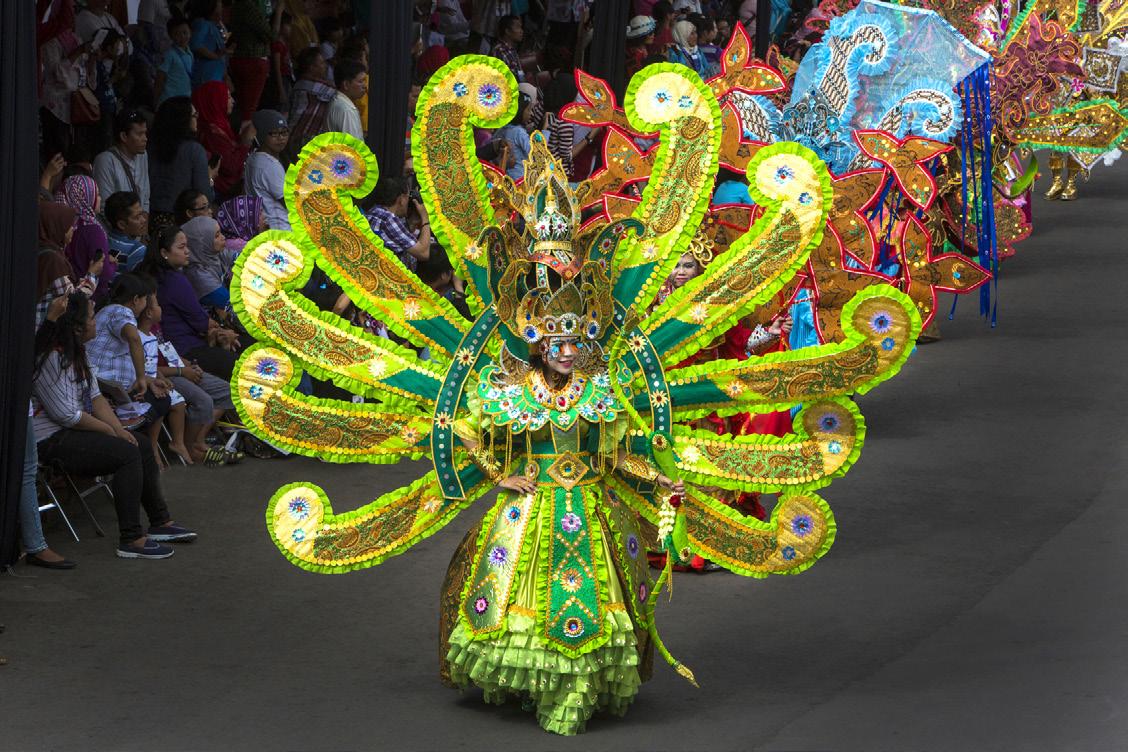
For example, I took the photo below at the Jember Fashion Carnaval (that’s how they spell carnival in Indonesia) in Jember, East Java, Indonesia, and the crowd behind the costumed participants didn’t add anything of artistic value to the image. I darkened the onlookers, and that helped a lot. But the people dressed in street clothing and the unattractive body language divert the eye from the subjects and degrade the picture.
On the next page, I blurred the audience and eliminated all of the detail from that portion of the image. Now there is nothing to look at there, and our attention rests solely where it’s supposed to be -- on the great costumes.

There are two different ways of blurring images or portions of images in Photoshop. Filter > blur > Gaussian blur is a native filter that has been part of the software from the very first version. Most Photoshop users add blur using this tool.
I’ve always felt that Gaussian blur simulates shallow depth of field well, but it doesn’t quite look like optical shallow depth of field produced by photographic lenses. Instead, I use
Filter > Blur Gallery > Field Blur.
When this filter is chosen, a small icon (shown at right, red arrow), appears on the image. You can grab the center white circle and drag it to any part of the image, and this becomes the center of the blur. Place the cursor on the leading edge of the white, curved line and drag it down and to the left. This allows you to adjust the amount of the blur. If you’ve selected an area of the image to blur, as I did in the carnival shot, the blur will be confined just to that area. However, note that when the curved line is rotated around the circular icon, the entire picture will look blurred until you hit return or enter. Then the blur is applied to the selected area.


