4 minute read
Texture mapping in 3D
Texture mapping is the process whereby you wrap a photograph onto a three dimensional object. In Photoshop, there are several 3D shapes that come with the program. For example, a cube, sphere, wine bottle, donut, pyramid, and so on. Decide on the shape you want to use and then choose the two dimensional photograph from your photo library to be texture mapped onto it.
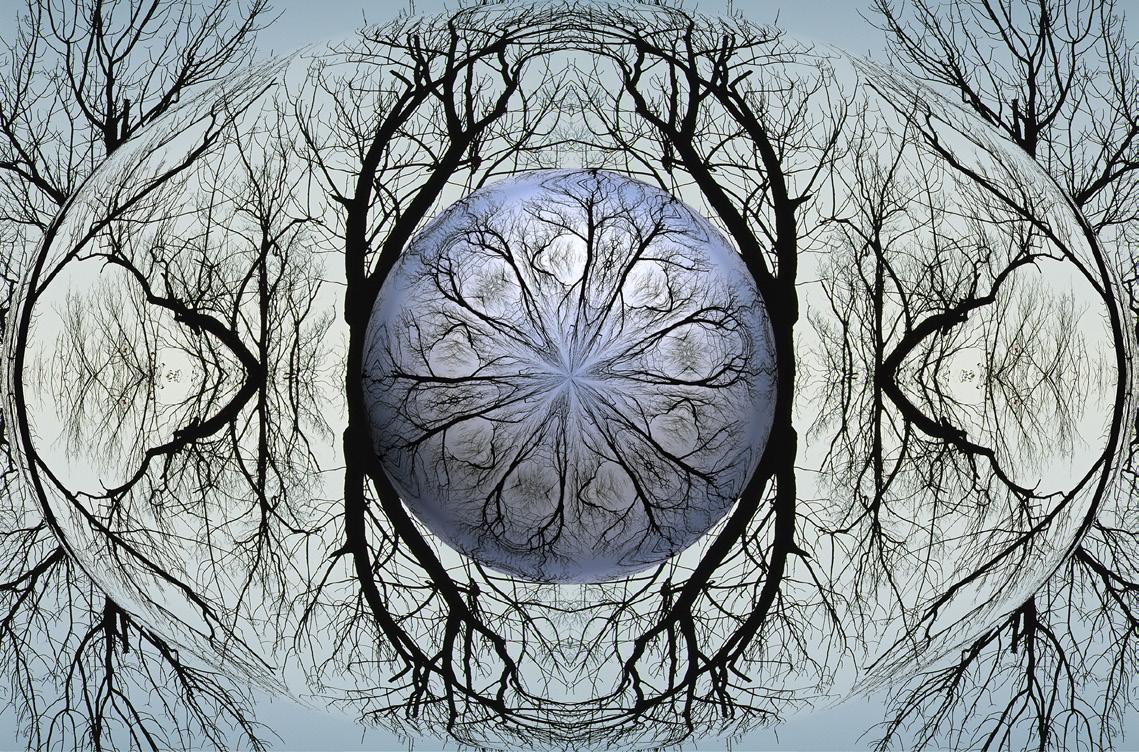
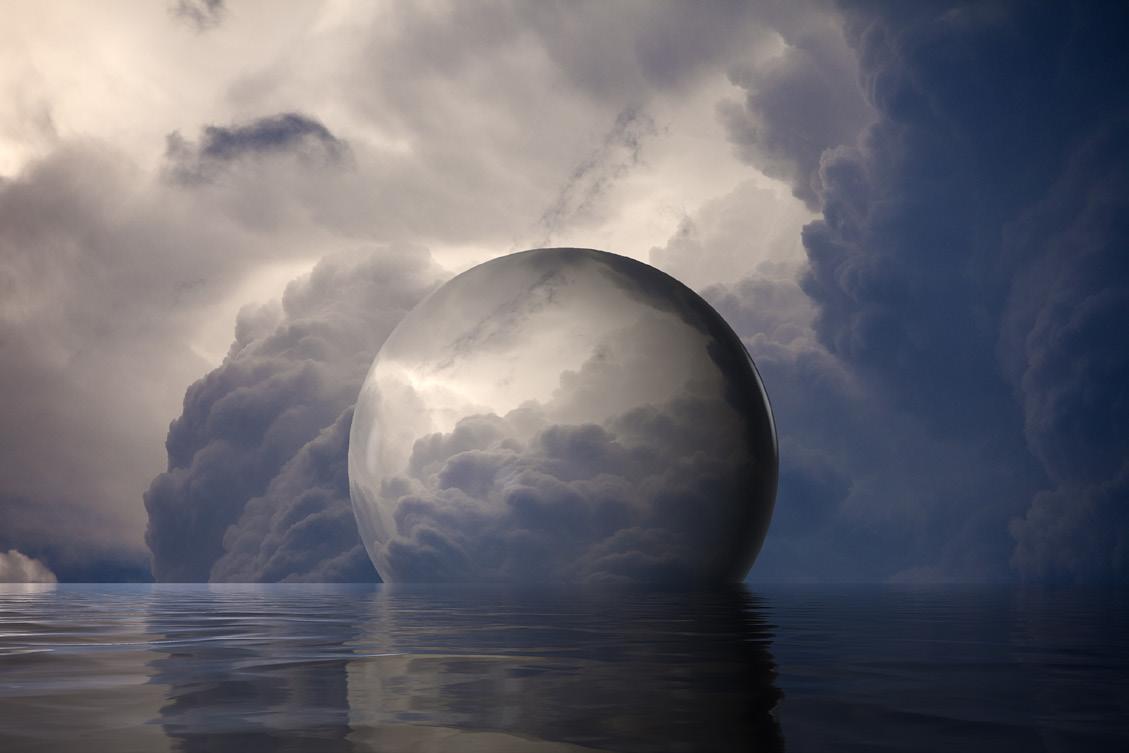
In the composites on this page and the next, you can see I used a cube and sphere, respectively. These are my favorite shapes to work with. Once I created the 3D texture mapped image, I then combined that with a 2D background. You can also import other types of 3D objects into Photoshop, such as human figures, vehicles, buildings, animals, and more, but for now let’s focus on the stock 3D objects that are built into Photoshop.
To start, use File > open and choose the image to be applied to the 3D object. For the photo below, I chose the international terminal in Chicago’s O’Hare Airport as the abstract background..
Next, go to the pulldown menu command:
3D > New Mesh from Layer > Mesh Preset > cube wrap.
Instead of ‘cube wrap’, at this point you could choose one of the other 3D shapes. The difference between ‘cube’ and ‘cube wrap’ is that the former option places the photograph on only one facet of the three dimensional cube shape, while the latter wraps the 2D image on all facets of the 3D cube.
The dialog box you now see (top right) is the 3D space. In the tool bar at the top of your desktop you’ll see a small panel of five tools, shown at right, allowing you to manipulate the texture mapped cube. You


Control panel


can rotate it, turn it around, see the back of it, move it from side to side and move it toward and away from the camera, i.e. our point of view. Try each of the tools and it becomes obvious what each one does.
[ There is a redundant set of tools in the lower left part of the screen that do the same thing as the control panel I’ve shown on page 5.]
If you change the apparent distance from the 3D object and your viewpoint, you are not making the object larger or smaller. You are just changing how you view it.
When working in 3D space, a new dialog opens, shown at right. Several options become available, but the one I want to point out now is the infinite light indicated by the red arrow. When you click this, a graphic appears over the 3D object shown on page 8. By grabbing the


small knob at the tip of the shaft and moving it around, the angle of the light changes. So, you can front light, side light, three quarter light, top light, and even backlight the 3D object.
Once you have positioned the object and directed the infinite light as you wish, the easiest way to incorporate it with a 2D background is to choose, Layer > flatten image. This converts the 3D space into 2D space, and now you can create a composite as you normally do.
When I combine a texture mapped object with a background, I often use the same photograph for both. Pages 4, 5, 6, and 7 show this. I like that kind of surrealistic juxtaposition. For the composite on the next page, I used a completely different image in the sphere.
To make the composite, select the 3D object using the magic wand tool (select the white background and then use Select > inverse to select the object). Copy the image to the clipboard with Edit > copy; then use Edit > paste to place the object into the background. With Edit > transform > scale, adjust the size of the object. Then click on the move tool to move it in place. §
As you move the light, the shadow also moves because it is a true 3D space.


PERU PHOTO TOUR
Sept. 24 - Oct 4, 2021


