3 minute read
Flexify plug-in
FLEXIFY 2: WILD and CRAZY
There are many ways to create abstract images in photography and Photoshop. One of the unique ways of making beautiful and surrealistic imagery is with a plugin called Flexify 2. It is made by the same developer that makes Flood: www.flamingpear.com.
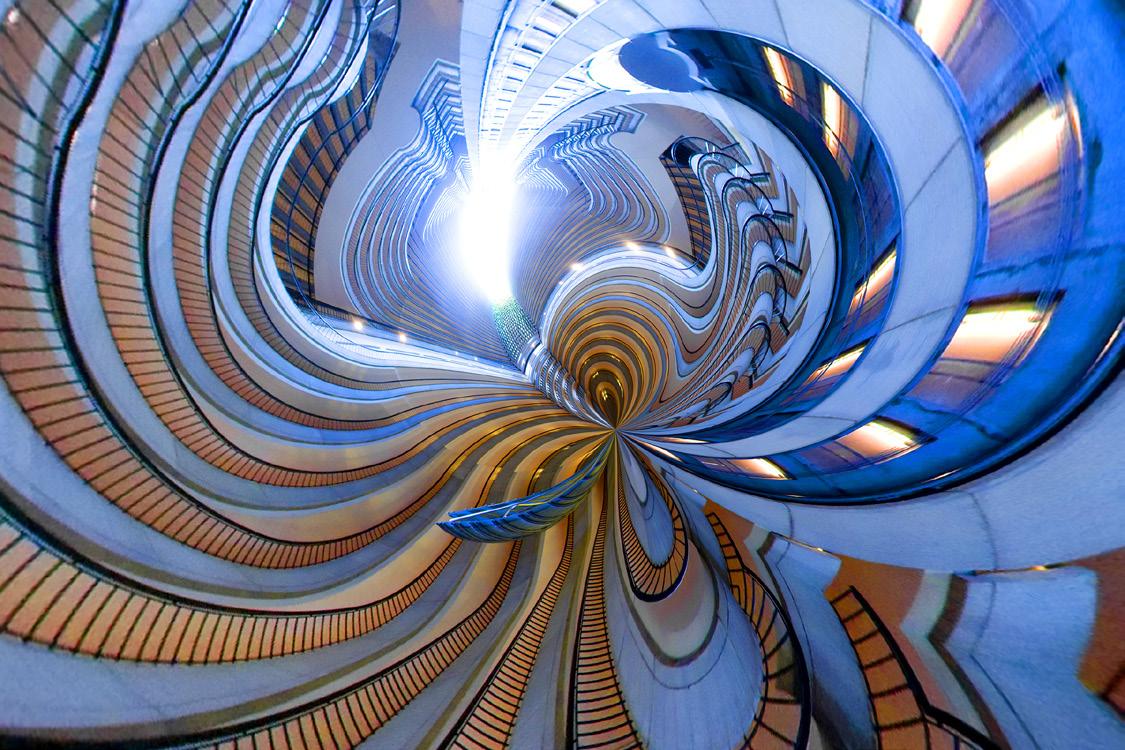
The types of images that can be distorted in Flexify 2 can be pretty much anything. For example, the picture below is a shot of the lobby of the stunning Marriott Marquis Hotel in Atlanta, Georgia, while the abstract on the next page comes from an orchid photographed against a black background. On
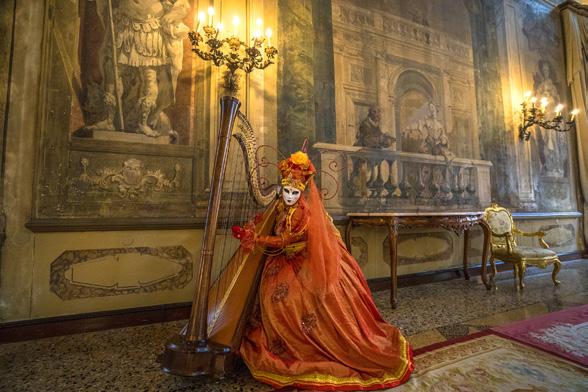
page 6, I used a portrait from Carnival in Venice to create a wild distortion. You can see that the range of subjects applicable to this technique is quite varied.
When the plugin is installed into Photoshop, it is accessed by using the pulldown menu command Filter > flamingpear > Flexify 2 once you open a photo. The dialog box appears on page 7. At first, it seems complex and intimidating. However, there are only three options you need to work with to achieve all of these wild abstracts.
1. INPUT pulldown: The red arrow on page 7 shows a tab that pulls down and reveals a list of options. You need to choose one. This is total experimentation, and its not possible to visualize what you’ll get. With some trial and error, you will, at some point, get a feel for which ones you like.
2. OUTPUT pulldown: The green arrow indicates another list of options, this one being much longer than the input tab. Some of the choices produce strange shapes that really have little to do with photography. They are simply graphic designs. Many of the options, though, produce the familiar rectangular images we are used to.
It is the combination of the input and output options that create the various types of distortions. For example, for the Flexify 2 abstraction of the masked harpist, right and above, I used Tiling cube
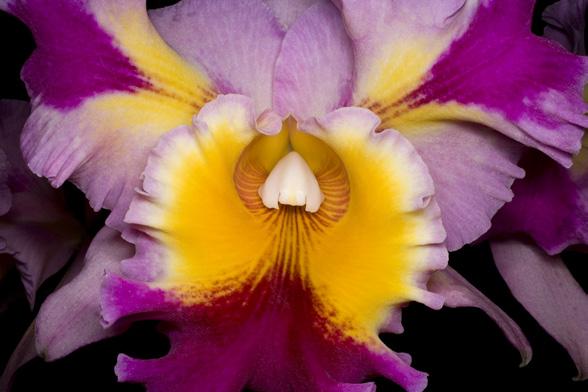
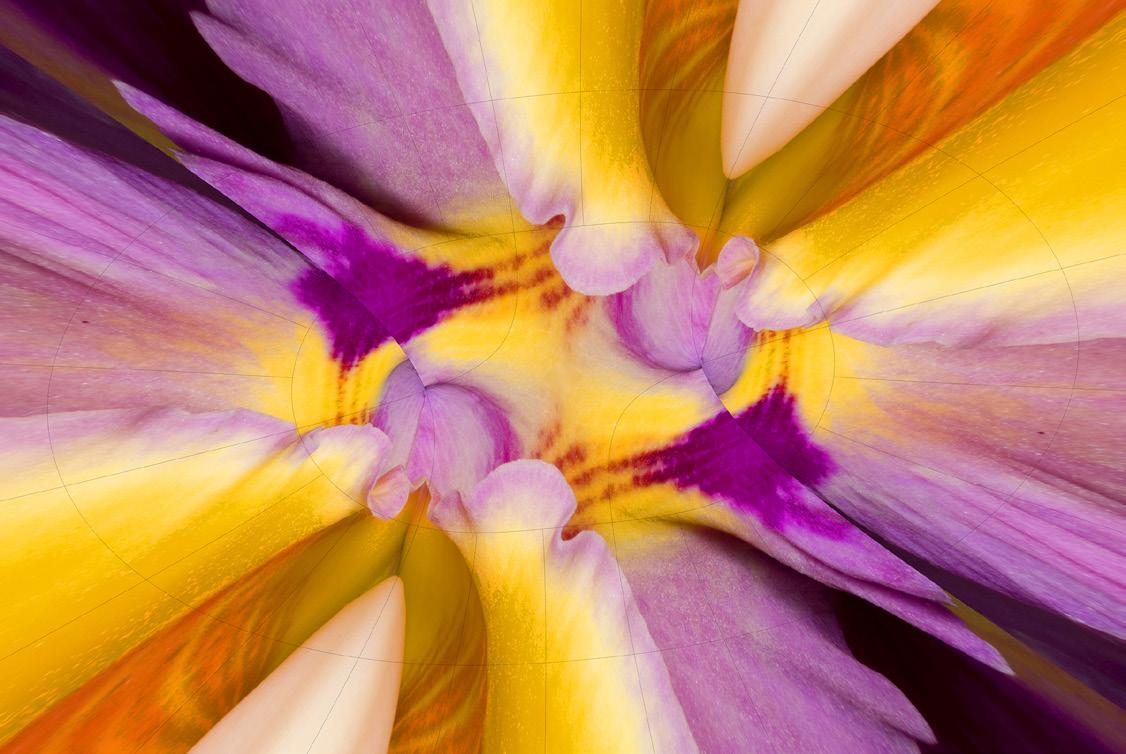
face for the input and Cylindrical for the output. For the abstraction of the orchid on the previous page, Lagrange was the setting for the input and hyperdouble was the setting for the output.

Every time one or both of these pulldown options is changed, the abstraction of the photograph is altered.
3. DIE (singular for dice): The magenta arrow in the dialog box on the next page points to a die, a randomizer. By clicking this, the sliders in the top left portion of the window are changed randomly, and this produces variations on a theme of the particular distortion that the input and output options have dictated.
6 Nothing else is needed to create the surrealistic abstract images shown in this article. Once you like what you see, simply click the OK button.
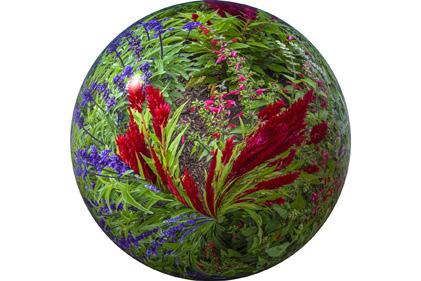
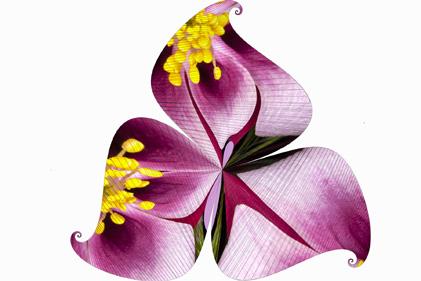
Shown at the bottom of the next page are other types of abstracts in the form of non-rectilinear shapes you can make in Flexify 2. These could be cut and pasted into various backgrounds, used as logos, or they could stand alone as works of art. There are many more possibili-
ties than I’m showing here. Once you experiment with the two pulldown menus, you’ll start to see how many combinations there are. It seems infinite. §

