1 minute read
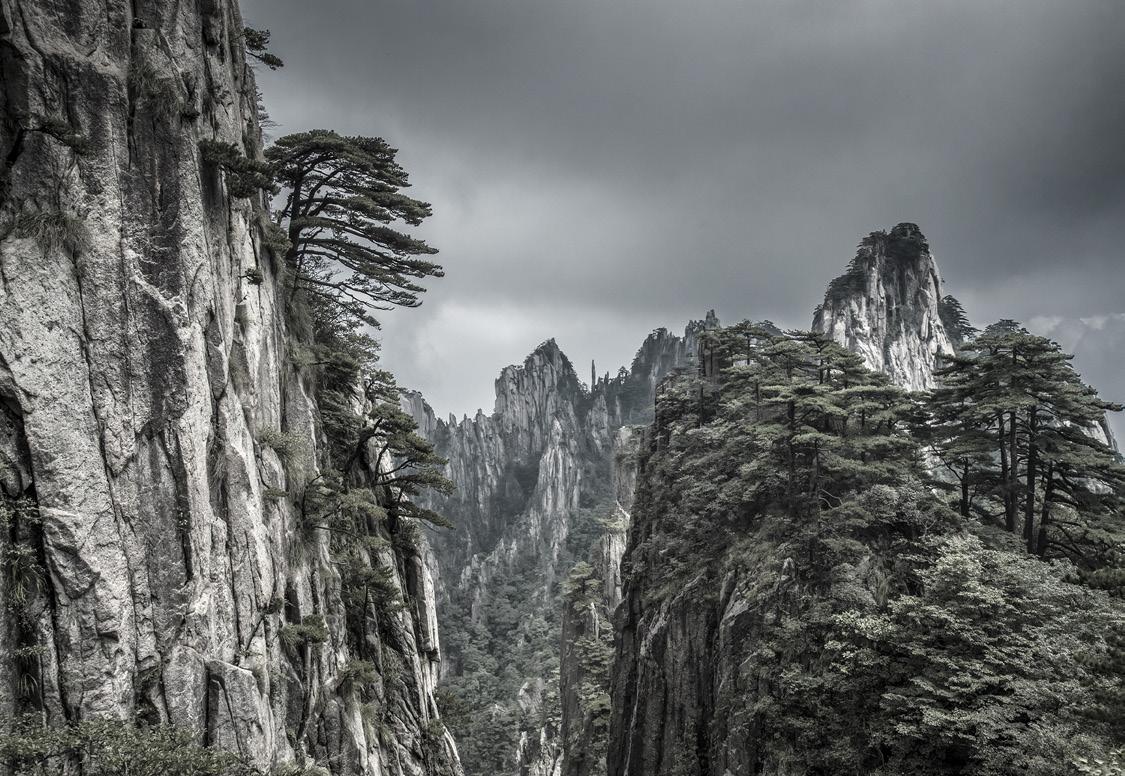
Silvered landscapes
Black and white photography is a beautiful medium and, when it’s done well, the images are outstanding. I never developed a passion for it, though, except when it is incorporated with color. Let me explain.
The landscapes I’ve included in this article consist of two elements. First, they all began as an RGB full color image. I then converted them to black and white and combined the original color with the b&w version. Here is the process:
1. Open a color image and copy it to the clipboard using the Photoshop pulldown menu commands, Select > all, then Edit > copy. The keyboard shortcuts are Command/Ctrl A, then Command/Ctrl C.
2. Choose the pulldown command, Image > adjustments > black and white. The image is instantly converted to monochrome and, using the sliders in the dialog box (shown on page 11), tweak the contrast and tonal values until you like what you see. I usually use the red, yellow, and blue sliders. Hit OK.
3. Now choose Edit > paste. This places the color version that had been placed in the clipboard over the black and white version.

White Horses of the Camargue A photo workshop in France
April 15 - 20, 2021

4. In the layers palette, choose the opacity slider. Move it to the left between 20 and 25% or to your taste.
5. Flatten the image with Layer > flatten image. Once you decide on the ratio of the color image to the black and white version, the layers are no longer needed. This helps save hard drive space.
At this point, you can further tweak the composite to make it really pop. I go back into camera raw (Filter > camera raw filter) and add some clarity plus vibrance. This enriches the subtle colors and adds back some of the contrast. This is necessary because when color images are converted to black and white, contrast is always lost. The clarity slider is a great way to make the highlights stand out without overexposing them. §


