9 minute read
Converting to black and white
During the film era, when you wanted to make black and white prints, you bought black and white film. Converting color negatives or color transparencies to black and white was possible, but the results were never as good as starting with the correct film. The biggest problem was -- and to be honest still is -- contrast.
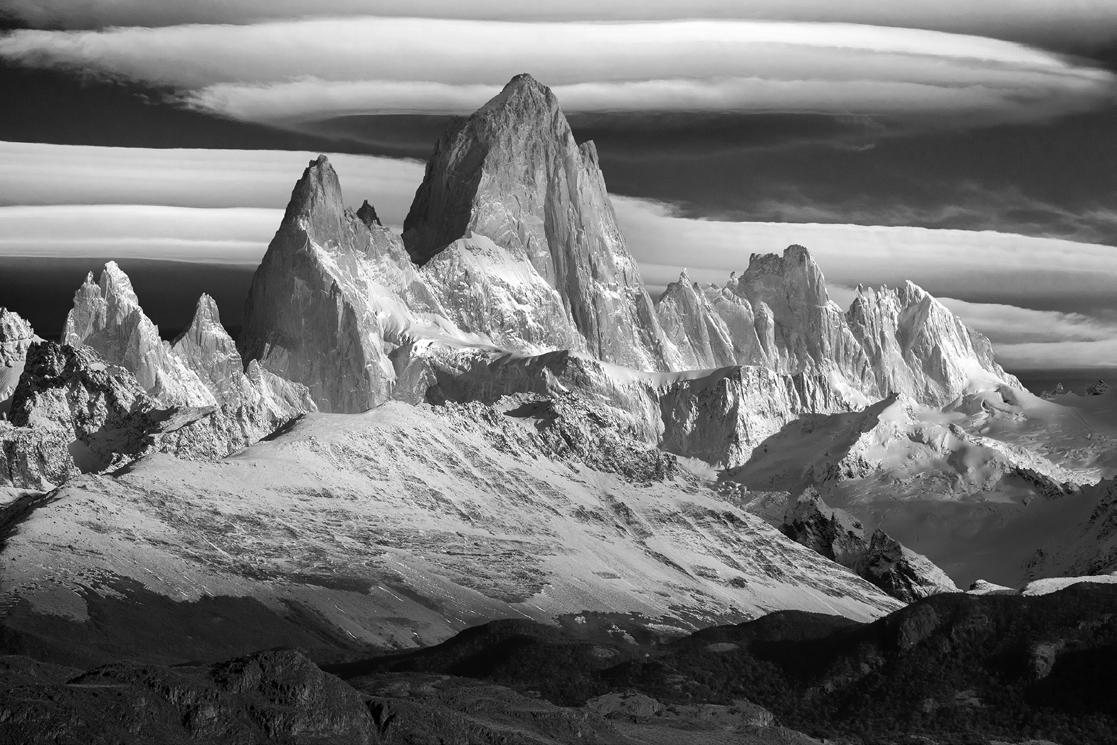
Whenever you convert color to black and white, with film or digital, contrast is lost. The resulting images are flat, devoid of bright whites and lacking rich blacks. They seem lifeless. To give them visual impact and imbue them with the kind of tones masters in black and white like Ansel Adams, Bruce Barnbaum, and John Sexton were able to create, you have to use tools in Photoshop.
Making the conversion
There are three ways in Photoshop to convert color to black and white. There are stand alone software programs that will also do the

conversion like Nik Silver Efex Pro, but without spending additional money, you can do a masterful job within Photoshop itself.
1. Hue/saturation. Using the pulldown menu command, Image > adjustments > hue/saturation, move the ‘saturation’ slider all the way to the left. The photo is instantly black and white, although you’ll see how flat, i.e. low in contrast, the picture looks. Using Levels or Curves, you can re-introduce contrast.
It’s important to note with this method, the photograph is still in RGB mode. In other words, color can be reintroduced into the image in several ways. For example, you can add color by applying the brush tool, by compositing another picture, by cloning from a color image onto the black and white shot, and by using Image > adjustments > color balance. Black and white via hue/saturation is quick and easy, but it’s not the procedure I use because it doesn’t provide maximum ability to manipulate tones.
2. Mode: Grayscale
Using the pulldown menu command, Image > mode > grayscale, Photoshop discards all
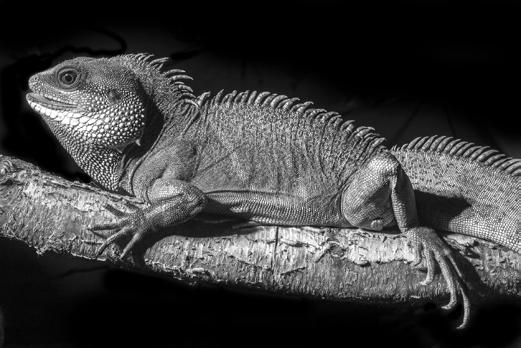

color information and turns the digital file into a grayscale image. In fact, if you look at the channels palette, instead of seeing the individual channels of red, green, and blue, you’ll see only the grayscale channel. In addition, the file size is reduced by 2/3. So, a 30 megabyte file suddently becomes 10 megs.
This type of conversion also experiences a loss in contrast. Again, using Levels or Curves you can replace the lost contrast, but the control you have in tweaking specific areas of the image is compromised unless you make precise selections of those areas.
The best choice
My preferred method of converting color images to black and white is using the pulldown menu command, Image > adjustments >
SPAIN and PORTUGAL Photo Tour
A P R I L 9 - 21, 2022

Ceiling of La Familia Sagrada, Barcelona, Spain

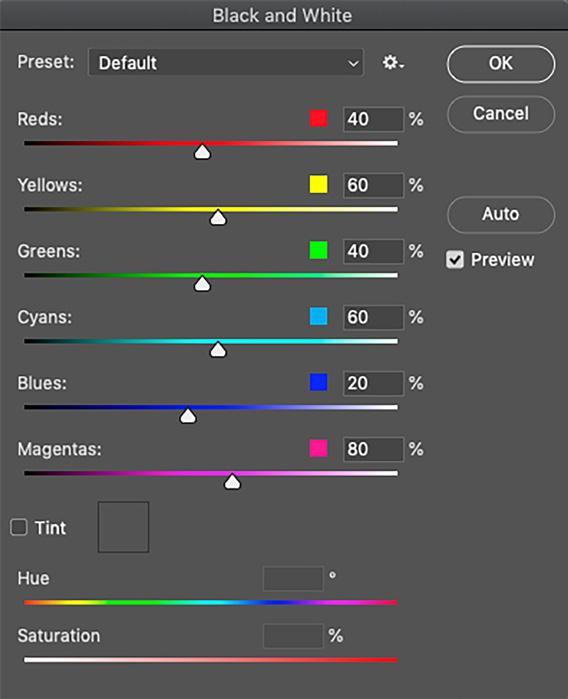
black and white. A dialog box opens (page 6) with sliders representing the basic colors that make up all images. Even though the photo appears black and white, the underlying color information has not been discarded. That gives you two important advantages.
First, you can add color to the image at any time with a composite, by using the brush tool and painting a color into a selection, or adding a tint, like a color filter, with Image > adjustments > color balance.
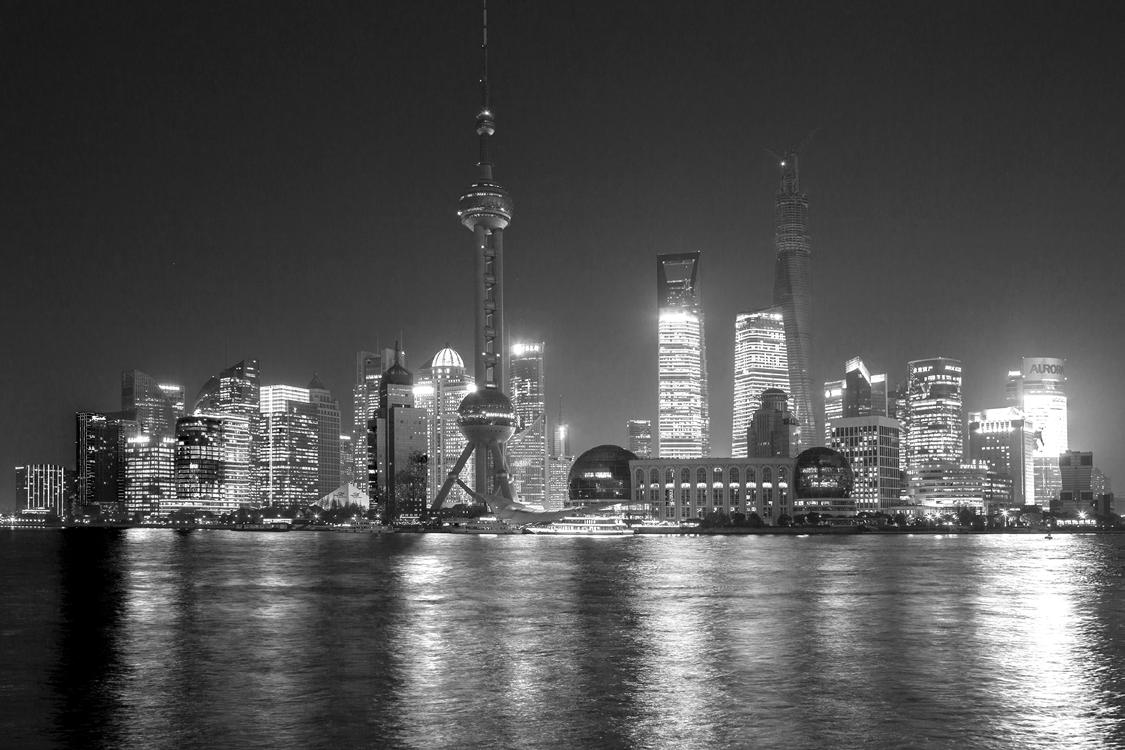
Second, you can use the sliders to lighten or darken individual colors in the image without making a selection. For example, if the sky is blue and you want to darken just that area -- as I did in the skyline shot of Shanghai, below -- simply move the blue slider to the left. If an element in the picture is yellowish, like window lights in the Shanghai highrises, use the yellow slider to adjust their exposure. When I converted the skyline shot to black and white, I moved the yellow slider to the right to lighten all of the lights. In this way, you can manipulate the contrast of the image to produce a visually compelling black and white image.
At the top of the dialog box, there is a pulldown menu that offers you various presets. Some of these presets recall concepts applicable to using black and white film with various filters. A color filter would lighten its own color but darken the complementary colors. For example, a red filter, when used with black and white film, would darken blue and yellow but lighten red elements in the picture. This was a classic way to produce very dark or black skies. A yellow filter, on the other hand, would darken red and blue but lighten yellow. The presets in the dialog box manipulate tones in this way. §
Neutral Density Filters and moving water
Neutral density filters are simply pieces of glass or optically superior plastics that are placed in front of a lens to decrease the amount of light entering the camera. Usually photographers want as much light as possible in a given situation. Bright light conditions mean we can use fast shutter speeds to freeze movement and small lens apertures for depth of field while at the same time using a low ISO for minimum noise. Reduced light scenarios are challenging most of the time because something has to be sacrificed: either the shutter has to be slower than we want, the lens aperture has to be larger than what we want, or the ISO has to be too high.
The shutter speed conundrum
When you want to photograph water to suggest movement by showing blur, especially in daylight, the long exposures required to do that will overexpose the pictures even with the ISO lowered to 100 and the lens aperture

closed all the way down to f/22 or f/32. The shutter speed selection needed to blur water depends on three things: 1) How fast the water is moving, 2) the focal length of the lens, and 3) the distance between the camera and the water.
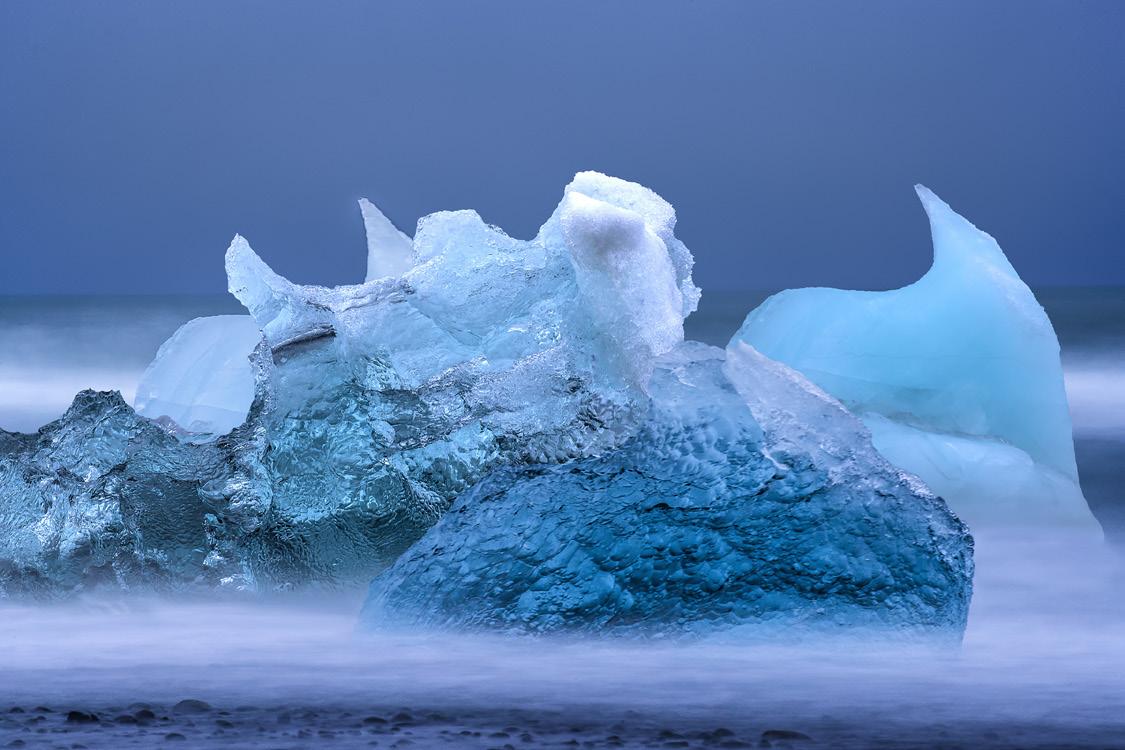
The speed of the water is obviously relevant to shutter speed choice because fast moving water means the shutter doesn’t have to be ultra slow to show blur. The water goving over Niagra Falls on the previous page, for example, was moving extremely fast. I was able to create a total blur with only a .3 second exposure. By contrast, the ocean surf swirling around the calved glacial ice in Iceland, below, required a 30 second exposure to show the amount of blurred movement I wanted to create.
Similarly, the twilight shot of Riomaggiore village on the coast of Cinque Terre, Italy on the next page required a 13 second exposure to smooth the slowly moving water in the small bay.
The focal length of your lens is important because wide angles seem to push elements in a scene further away. Movement as viewed through the lens appears slower in a wide angle compared to a telephoto lens. Therefore, a longer shutter speed is required to blur moving water so it looks very soft and with minimum detail. This is another reason I needed the 13 second exposure for the photograph of Riomaggiore. I took this with a 14mm.
This distance from the camera to moving water is also relevant. A wide angle lens placed 3 feet away from a rushing river sees the water very differently than when the same camera/lens combination views the river from 100 feet. The

water would appear to be going slower from the farther distance; meaning, you’d need a longer exposure to significantly blur the water.
ND filters
Neutral density filters are gray in color, like a polarizing filter. They don’t change the color of your images at all. All they do is reduce the light. For blurring water, they are particularly useful in daylight conditions when you want a longer exposure.
ND filters can be variable or they can be fixed in terms of how much light is lost. For example, the filter shown at right reduces light from 2 to 8 f/stops. This is varied by rotating the metal ring that surrounds the glass. Other ND filters are fixed in the amount of light they reduce. The filter I typically carry with me cuts
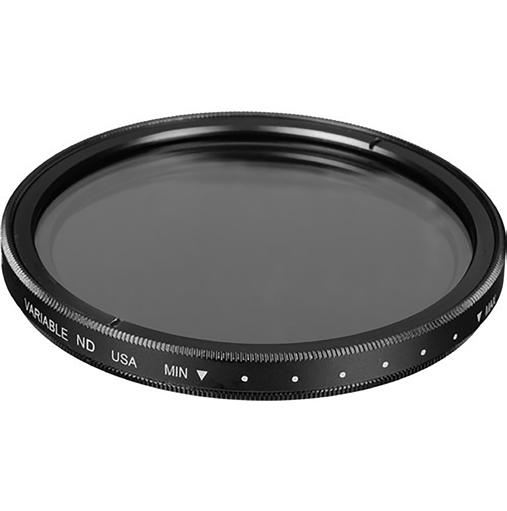
the light down by 10 f/stops.
Glass ND filters are purchased by their filter size. If the lens you intend to use for blurring water has a 77mm filter size, then that’s the size filter you need to buy. Square plastic ND filters fit into a holder that screws onto your lens. The holder itself has to fit your lens per its filter
You can browse the various types of ND filters available online. Some are fairly expensive while others are reasonable. I typically buy either Tiffen or Hoya filters in glass. Plastic filters can get scratched easily when using them in the field.
Experimentation is the key
Even with years of experience in photography, it’s not easy to previsualize exactly how a long exposure is going to render a scene with moving water. Thanks to the immediate feedback on the LCD screen on our cameras, we can judge images as we take them. I captured the image below of Aldeyjarfoss waterfall in northern Iceland, and the 20 second exposure I used was determined after I first tried 5 and 10 seconds. Trial and error will, eventually, produce the results you like. Keep in mind that the longer the exposure, the more detail will be lost in the definition of the water.
I photographed Aldeyjarfoss in the late afternoon, and my other settings were f/14 and 125 ISO. To reduce the light enough so I could use a 20 second exposure, I placed a 10 f/stop ND filter over the lens. These filters are very dark, and focusing through them can be difficult or impossible -- depending on which ND filter you’re using. For example, a 15 f/stop ND filter is so dark you can hardly see through it, and the autofocus system won’t work.
Since a tripod is necessary for these long exposures, you have to focus on the scene before the filter is attached to the lens. Just make sure you don’t bump or jar the focusing ring as you are screwing in the filter. §


