3 minute read
Simulating 3D from 2D
On the editorial page of the January issue of Photo Insights, I was bemoaning the fact that Adobe was no longer going to support 3D capabilities in Photoshop. The aspect of 3D I most enjoyed working with was texture mapping, a technique where you apply a two dimensional photograph onto a three dimensional object such as a sphere or cube. I would then incorporate this object into a 2D photograph.
Below is an example of what I’m talking about. I texture mapped the colorful hotel corridor onto a sphere then placed that sphere in the corridor itself. With the new non-support of 3D in Photoshop, I thought I was not going to be able to do this unless I bought or subscribed to a 3D program. I did some experimenting, though, and came up with a solution.
On the next page, you can see a simulated 3D sphere in the same hotel corridor. The image inside the sphere is from a slightly different angle, but it has the same characteristics of a 3D floating sphere as in the composite below where I used the 3D tools in Photoshop. Here is how I did this:
1. Open the corridor photo, chose Select > all,
and then Edit > transform > scale. A box has now formed around the image. Grab one of the handles at either the far left or the far right and move it into the center of the photo until the rectangle becomes a square. Hit OK. 6. Now choose File > revert, and the image goes back to the original shot (in this case, the hotel corridor).
2. Choose the elliptical marque tool and, holding the option key or the alt key down, start from the center of the picture and drag a circle outward to the edges of the image area. 7. Click Edit > paste. The sphere is now on the background image as layer 1. Use Edit > transform > scale to resize it if needed, and then use the move tool to move it into place.
3. Go to Filter > distort > spherize. In the dialog box choose 100% and hit OK. Repeat this step if you want additional spherical distortion.
4. Feather the edge of the selection slightly with Select > modify > feather. In the dialog box, choose 1 pixel.
5. Copy the selection to the clipboard using Edit 8. With the layer active, use the burn tool to darken the left and right edges as well as the bottom. This gives the ‘3D’ sphere dimension. Finally, use the burn tool to create a shadow on the floor or the ground. Everything casts a shadow. Alternatively, use the Photoshop plugin Flood to create a watery reflection as I illustrate on the next page. The sphere here is a mirrored fractal. §


PANTANAL PHOTO TOUR
Nov. 8 - 15, 2022
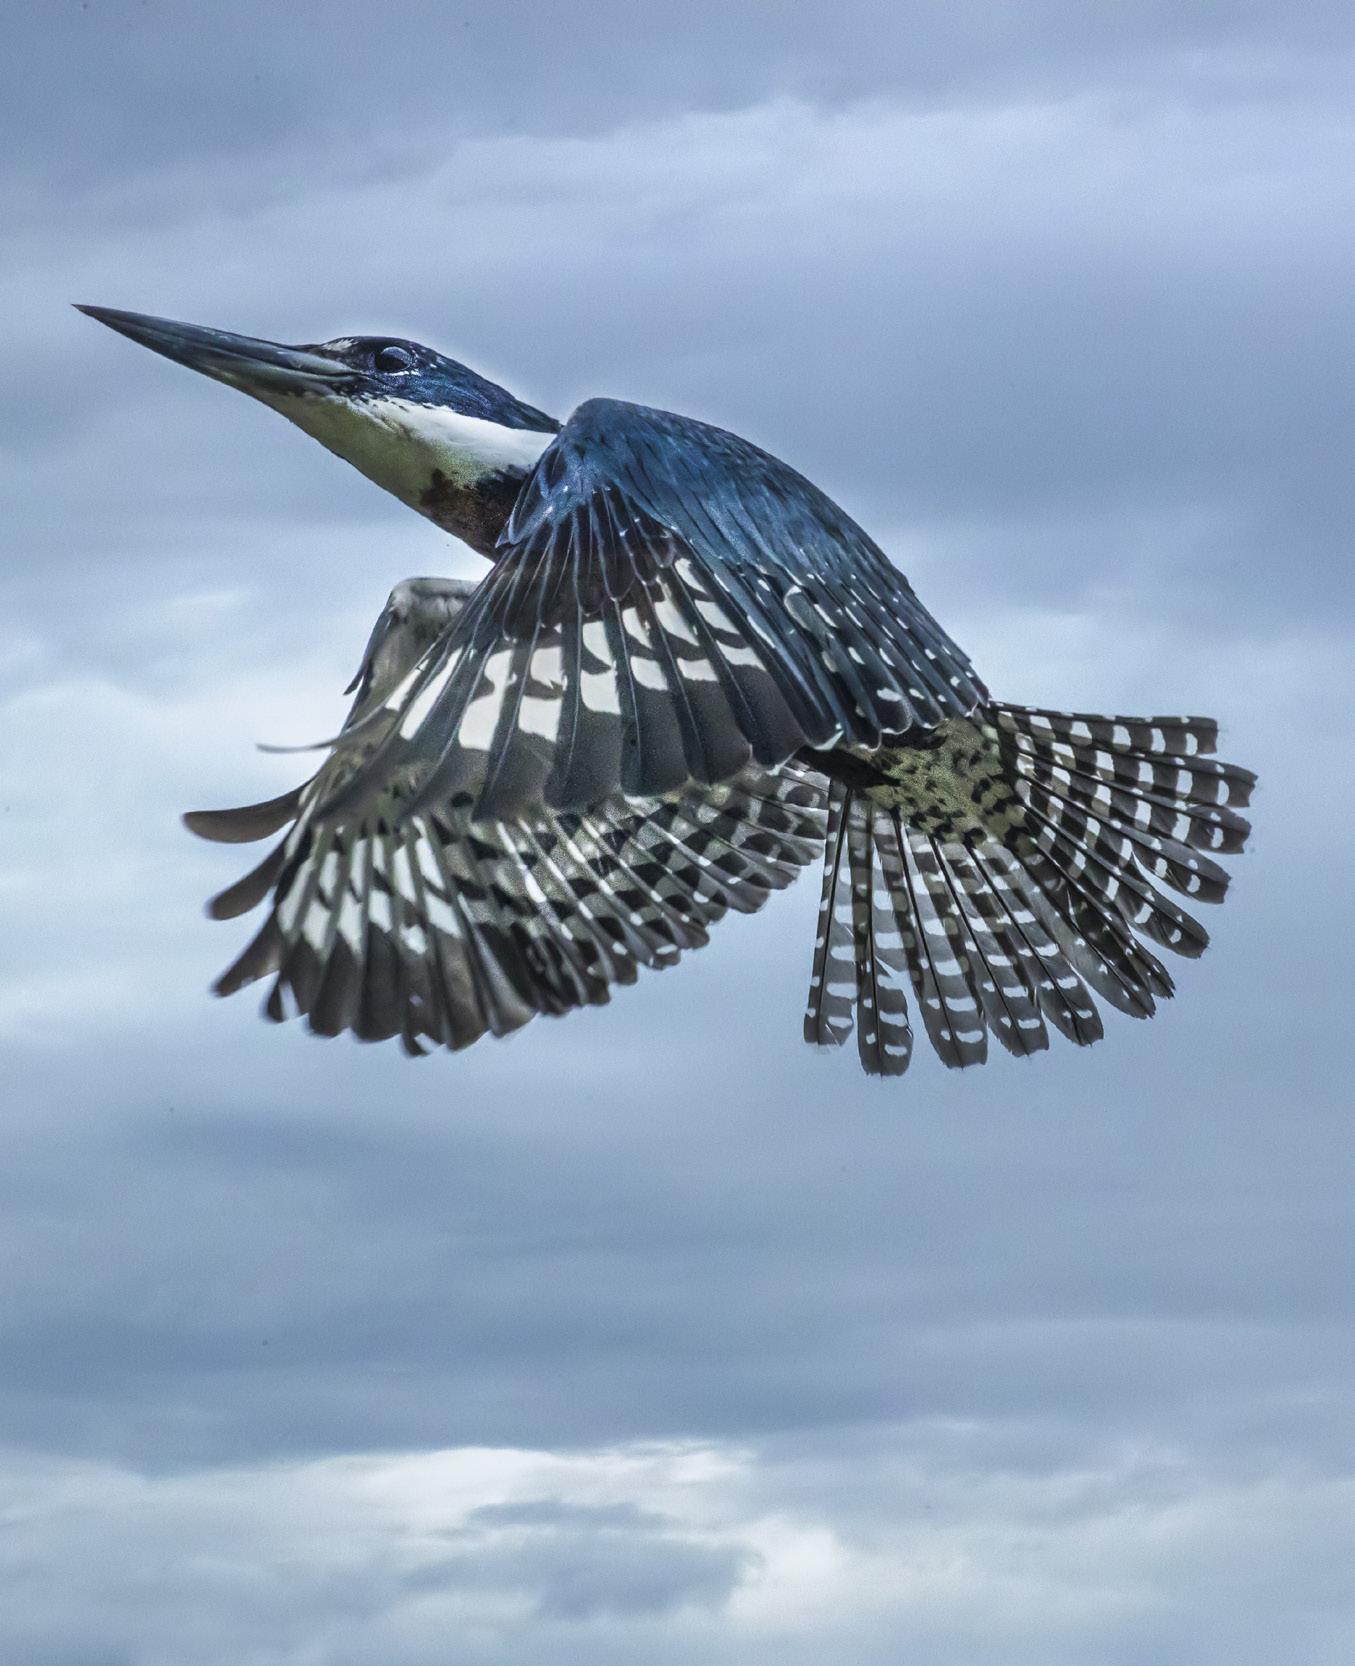
Jaguars in the wild Exotic birds in flight Caiman Giant river otters

UPCOMING PHOTO WORKSHOPS


Frog & Reptile Workshop
This is a macro workshop to photograph beautiful, colorful, and intriguing frogs and exotic reptiles. Learn how to use flash with closeup work, how to use extension tubes, and how to take perfect exposures. Held indoors in a hotel conference room in Kansas City, Kansas.
June 11 - 12, 2022
Abandoned in Georgia
Dilapidated mansions, cars, trains, ghost towns, farmhouses, and more. Looks great in both black and white and color.
June 17 - 22, 2022

Carnival in Venice workshop
Photograph outrageous costumes in a medieval environment! Incredible colors, design, and creativity in one of the most beautiful cities in the world. Learn how to use off-camera flash, photograph models in sumptuous interiors, produce great images at night, and all the while enjoying Italian cuisine. This is a workshop not to be missed!
February 12 - 18, 2023


