

An Introduction towards our Design Studio project. The Edmund. N. Bacon Urban design as part 1 of our design studio. Our site is in China Town, Philadelphia, USA. Gives an overall study area of 50 acres. We decided that the proposal for the new product should respond to issues in China town. The main theme of the studio is “Regenerative Built Environments”. To achieve regenerative Design, we all need to understand basic planetary boundaries and start reusing and recycling as our daily routine and reduce usage of new materials. In responding to the theme and co-requisite with Technologies to create a sustainable Technological built form to integrate into the design.


 Edmund N.Bacon Urban Design Awards , Philadelphia, USA.
The main problem that piqued the interest is Illegal dumping in the streets of all sorts of general wastes, Placing collection pods or units in each and every block to collect the waste will be phase 1, By collecting them and breaking them into raw materials segregating the needed item and reuse is the way of approach in our design, By reducing plastic output from the community will be the beginning to the regenerative approach to the design.


The main source of this material is plastic bottles and other plastic wastes, So before starting recycling we collect them and sort them accordingly, Once it is sorted through their grades from 1 to 7. And trying to make an alternate to the Plywood.
We can recycle various plastics as possible, But some grades of plastics are considered to be safe for humans and animals. Those grades are 2,4 and 5.


These plastic mostly consist of HDPE (High-density polyethylene), LDPE (Low-density polyethylene), and PP (polypropylene). These are accepted by most recycling programs.

It is a usually opaque and low risk of leaching.
Collecting Milk bottles and Juice bottles. With grade 2 Plastic.
High Density
Polyethylene
Detergent Bottles
Grocery Bags
Milk Bottle
Shampoo Bottles

Low Density
Polyethylene
Packing Rings
Cling Film
Bread Bags
Squeeze Bottles
Polypropylene

Yogurt containers
Medicine Bottles
Caps Straws
Segregating the milk bottles before the shredding process.
While searching for the materials which have been previously implemented in the construction field, These are some of the existing material manufacturers and I studied their process of treating the recycling plastic and made my outline of this Ideology.
Clear-Low-density polyethylene

They are trying to contribute to society by recycling plastic bottles collected all over Thailand. Also to promote recycling the plastic waste in the communities of Thailand. And they produce high-quality material recycling chips for filament yarns and produce garments, Seat covers, and Seat belts.
Normal film plastics
Mixed colour-Low-density polyethylene
Plastic paneling and Furniture
This company is based in the UK, they are from Sheffield they try to prevent plastic landfills and focus on virgin plastics and try to recycle them. Mostly they create a variety of Plastic pellets and supply them as raw materials to create desired high-quality product.


Mixed colour-High density polyethylene
High Density - Outdoor furniture
Clear-Poly propylene

High Heat resistant - Car parts
Rpcs is a Plastic Recycling company specializing in recycling post - Industrial plastic waste in the UK. They mostly work with making windows, pipes and food packaging producers. They mostly act as the intermediating company changes the property of the plastic and deliver it to the manufacturers or customers.

Mixed colour-Poly propylene
Speed bumps

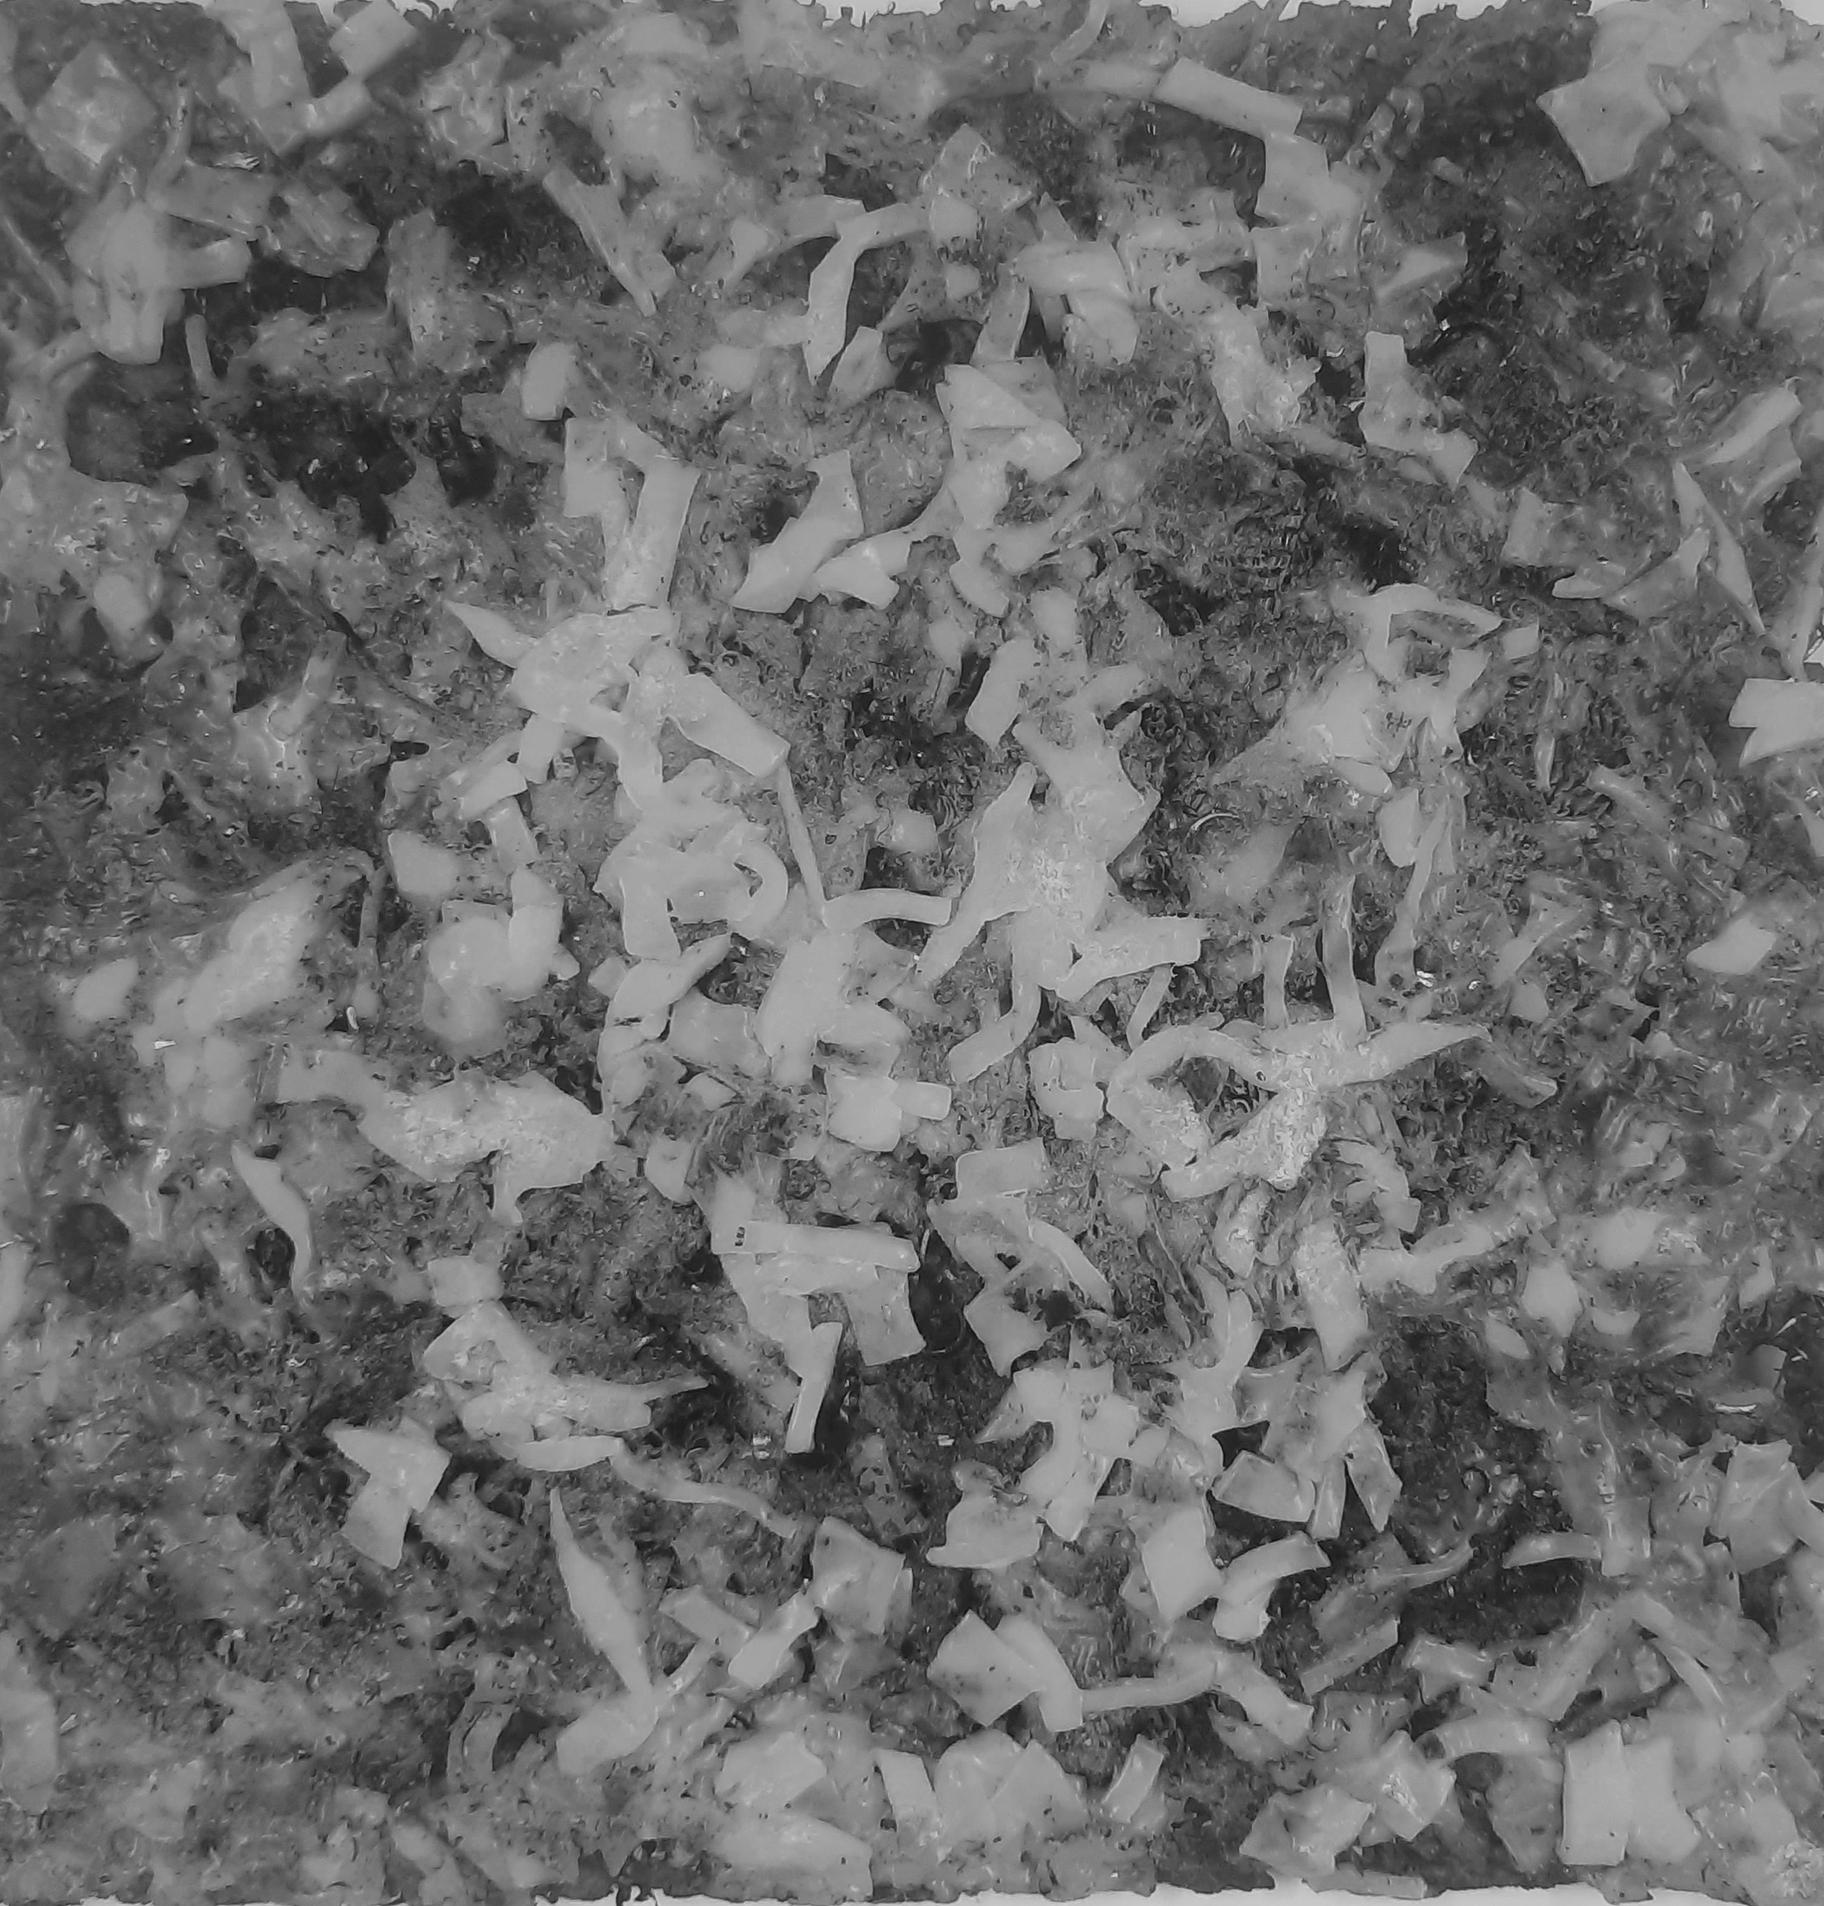
The shredding process begins which goes through a purification process and is made into certain size pellets to use at around industry-level production. After this process, we going to lay them like layers and place the fibres in between them and lay another layer of plastic on top of it. Keep repeating this process to achieve a certain size of panels. We can use them throughout the construction field.


Shredded Plastics


This explains the outline of the work which I tried to achieve throughout the material-making process. Every phase of the material is explained in detail.
This explains the outline of the work which takes place in the Industrial scale mass production.


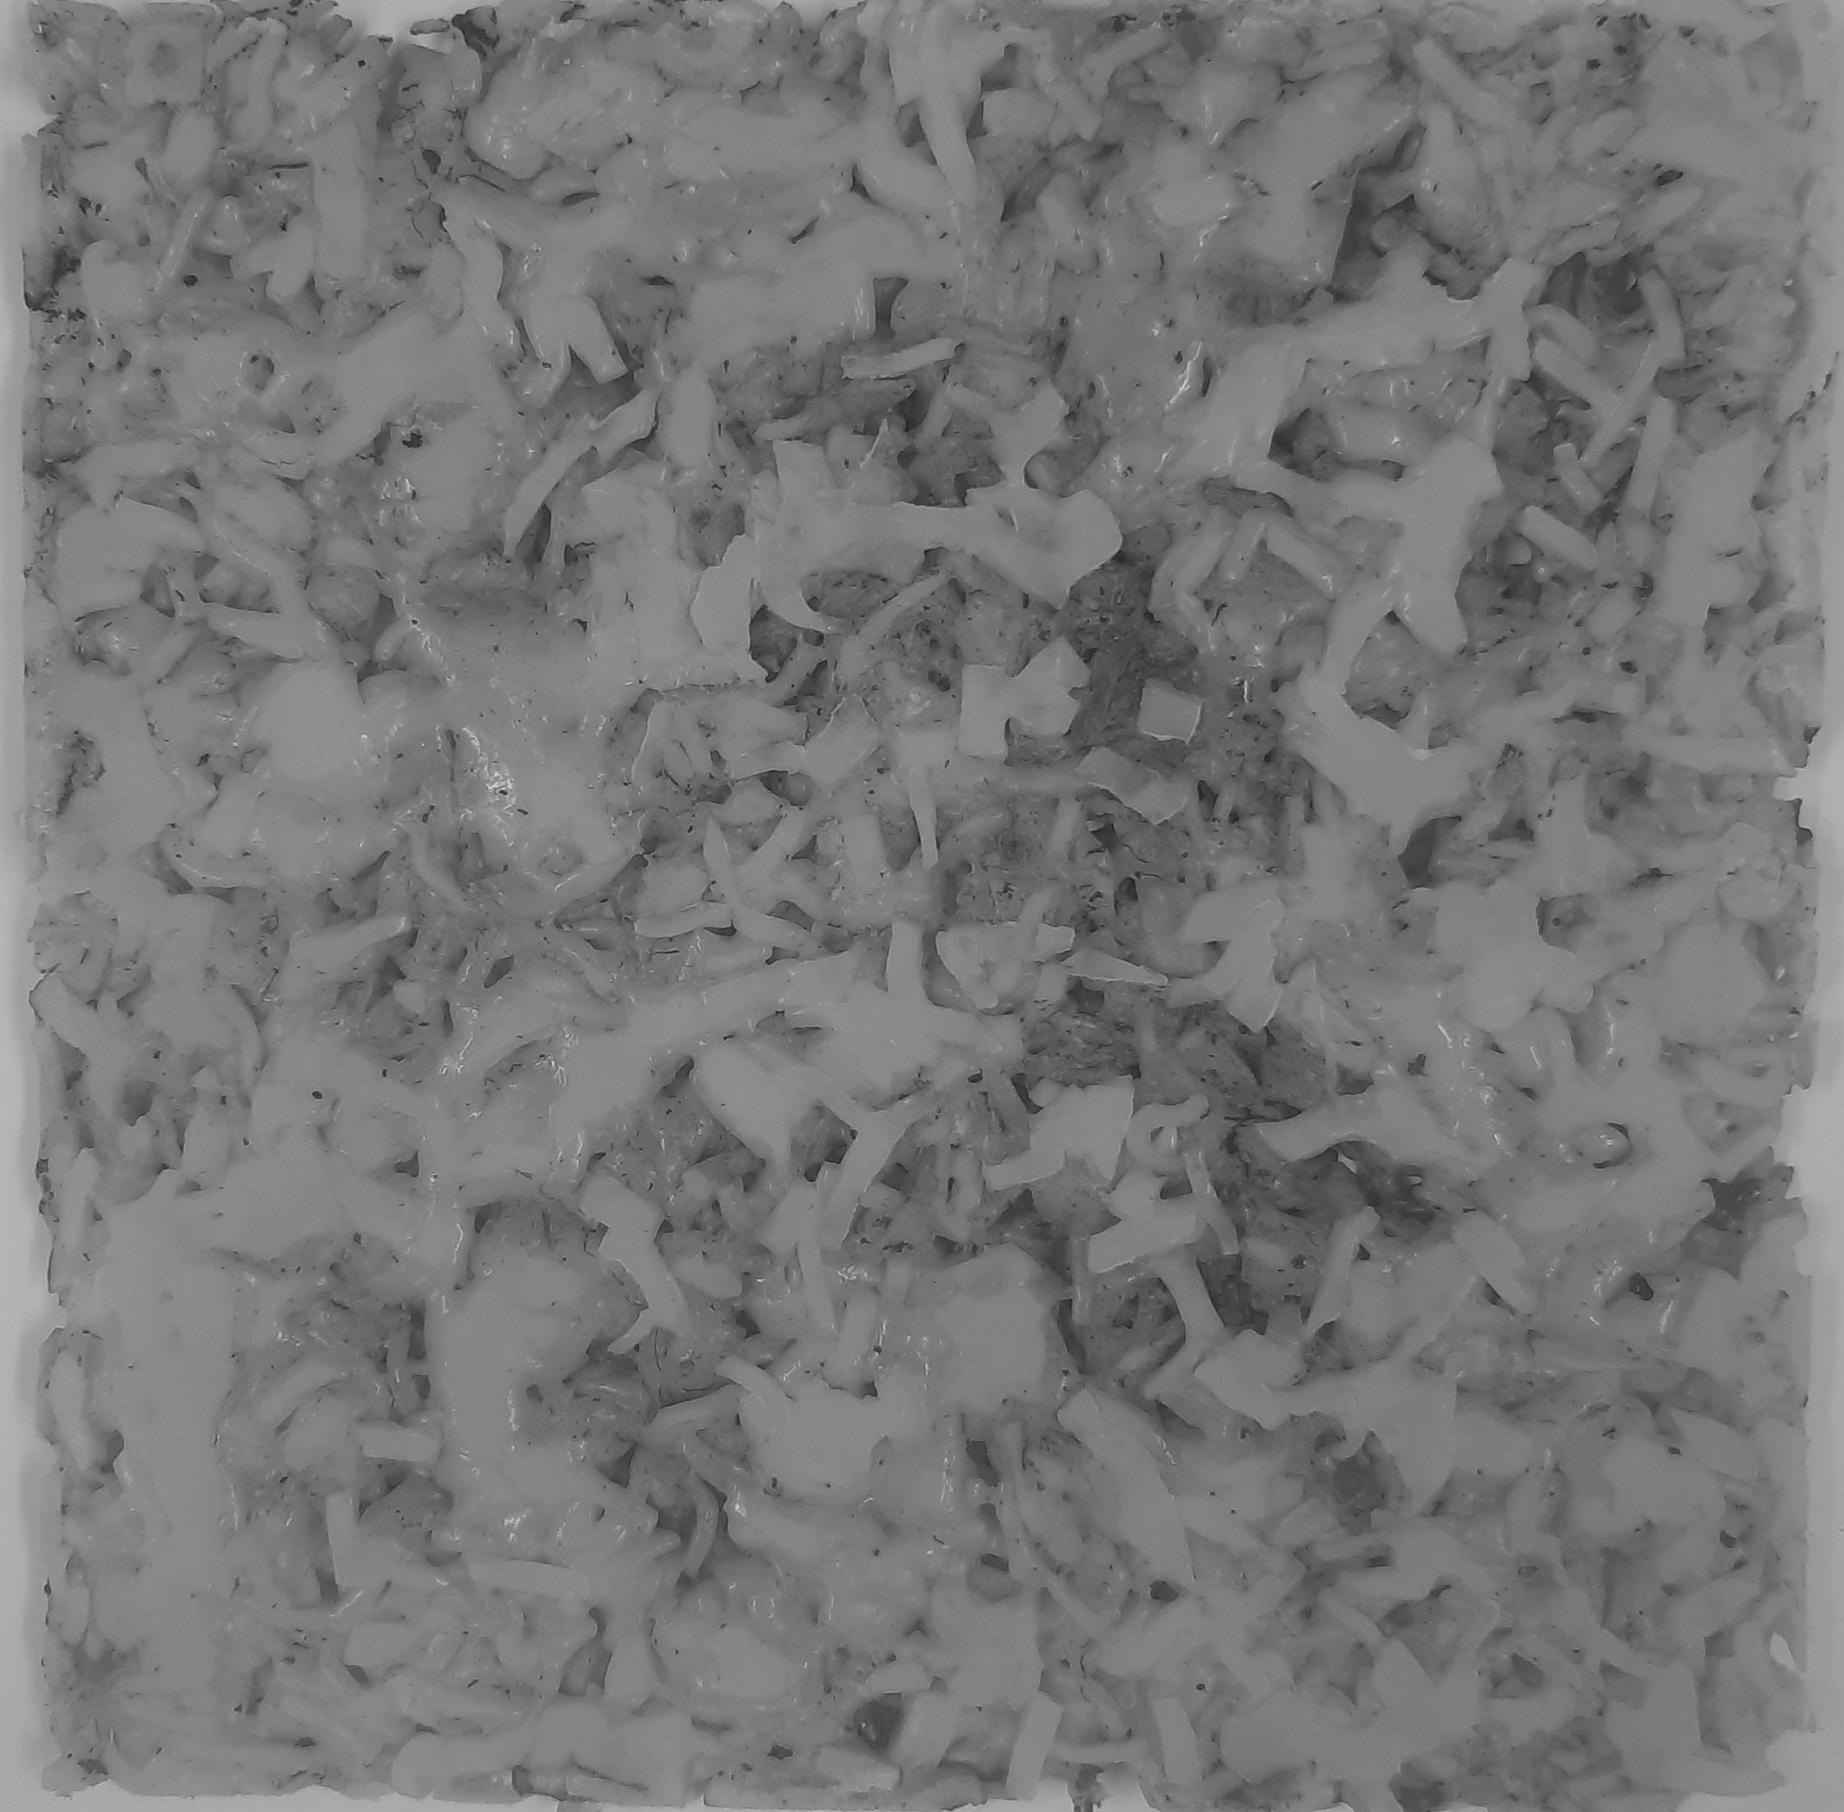
At the beginning of the process, I tried to collect most of the household used milk bottles. I cleaned them and dried and shredded the plastic to begin the phase 1 sample of the study. Most of the plastic used are Grade 2 plastic, which has a melting point of 120 deg Celsius. May be we could try out these same process for other two plastic grades.


 Cleaning
Drying
For Phase 01 create the material with maximum thickness to ensure the concept works. Batch 1 placed plastic in a hot mould so the plastic shreds can stick to it, So it won’t fly using the hot air gun to heat or melt the plastic from the top and compression is given manually through a flat surfaced weight. Repeating the process until the panel reaches the required thickness.


 01
Heating the mould to keep material in place.
03 Adding plastic again and heating from the top.
05
After extracting from the mould sanding is done on both sides to make it flat.
02
Heating from the top to change its form and rigidness.
04 Compressing the plastic during the high temperature to change it’s form.

The end results of phase 01 are three batches of plastic panels batch 1 has the maximum thickness that proved the concept is working, And trying to make that panel thin than the last batch Batch 02 is also a success, But trying to make it slender than the last batch been a failure during the extraction from the mould.
The final output of Batch 01 and Batch 02 Plastic Panels.
The final out of Batch 03 try make thin from the last result.

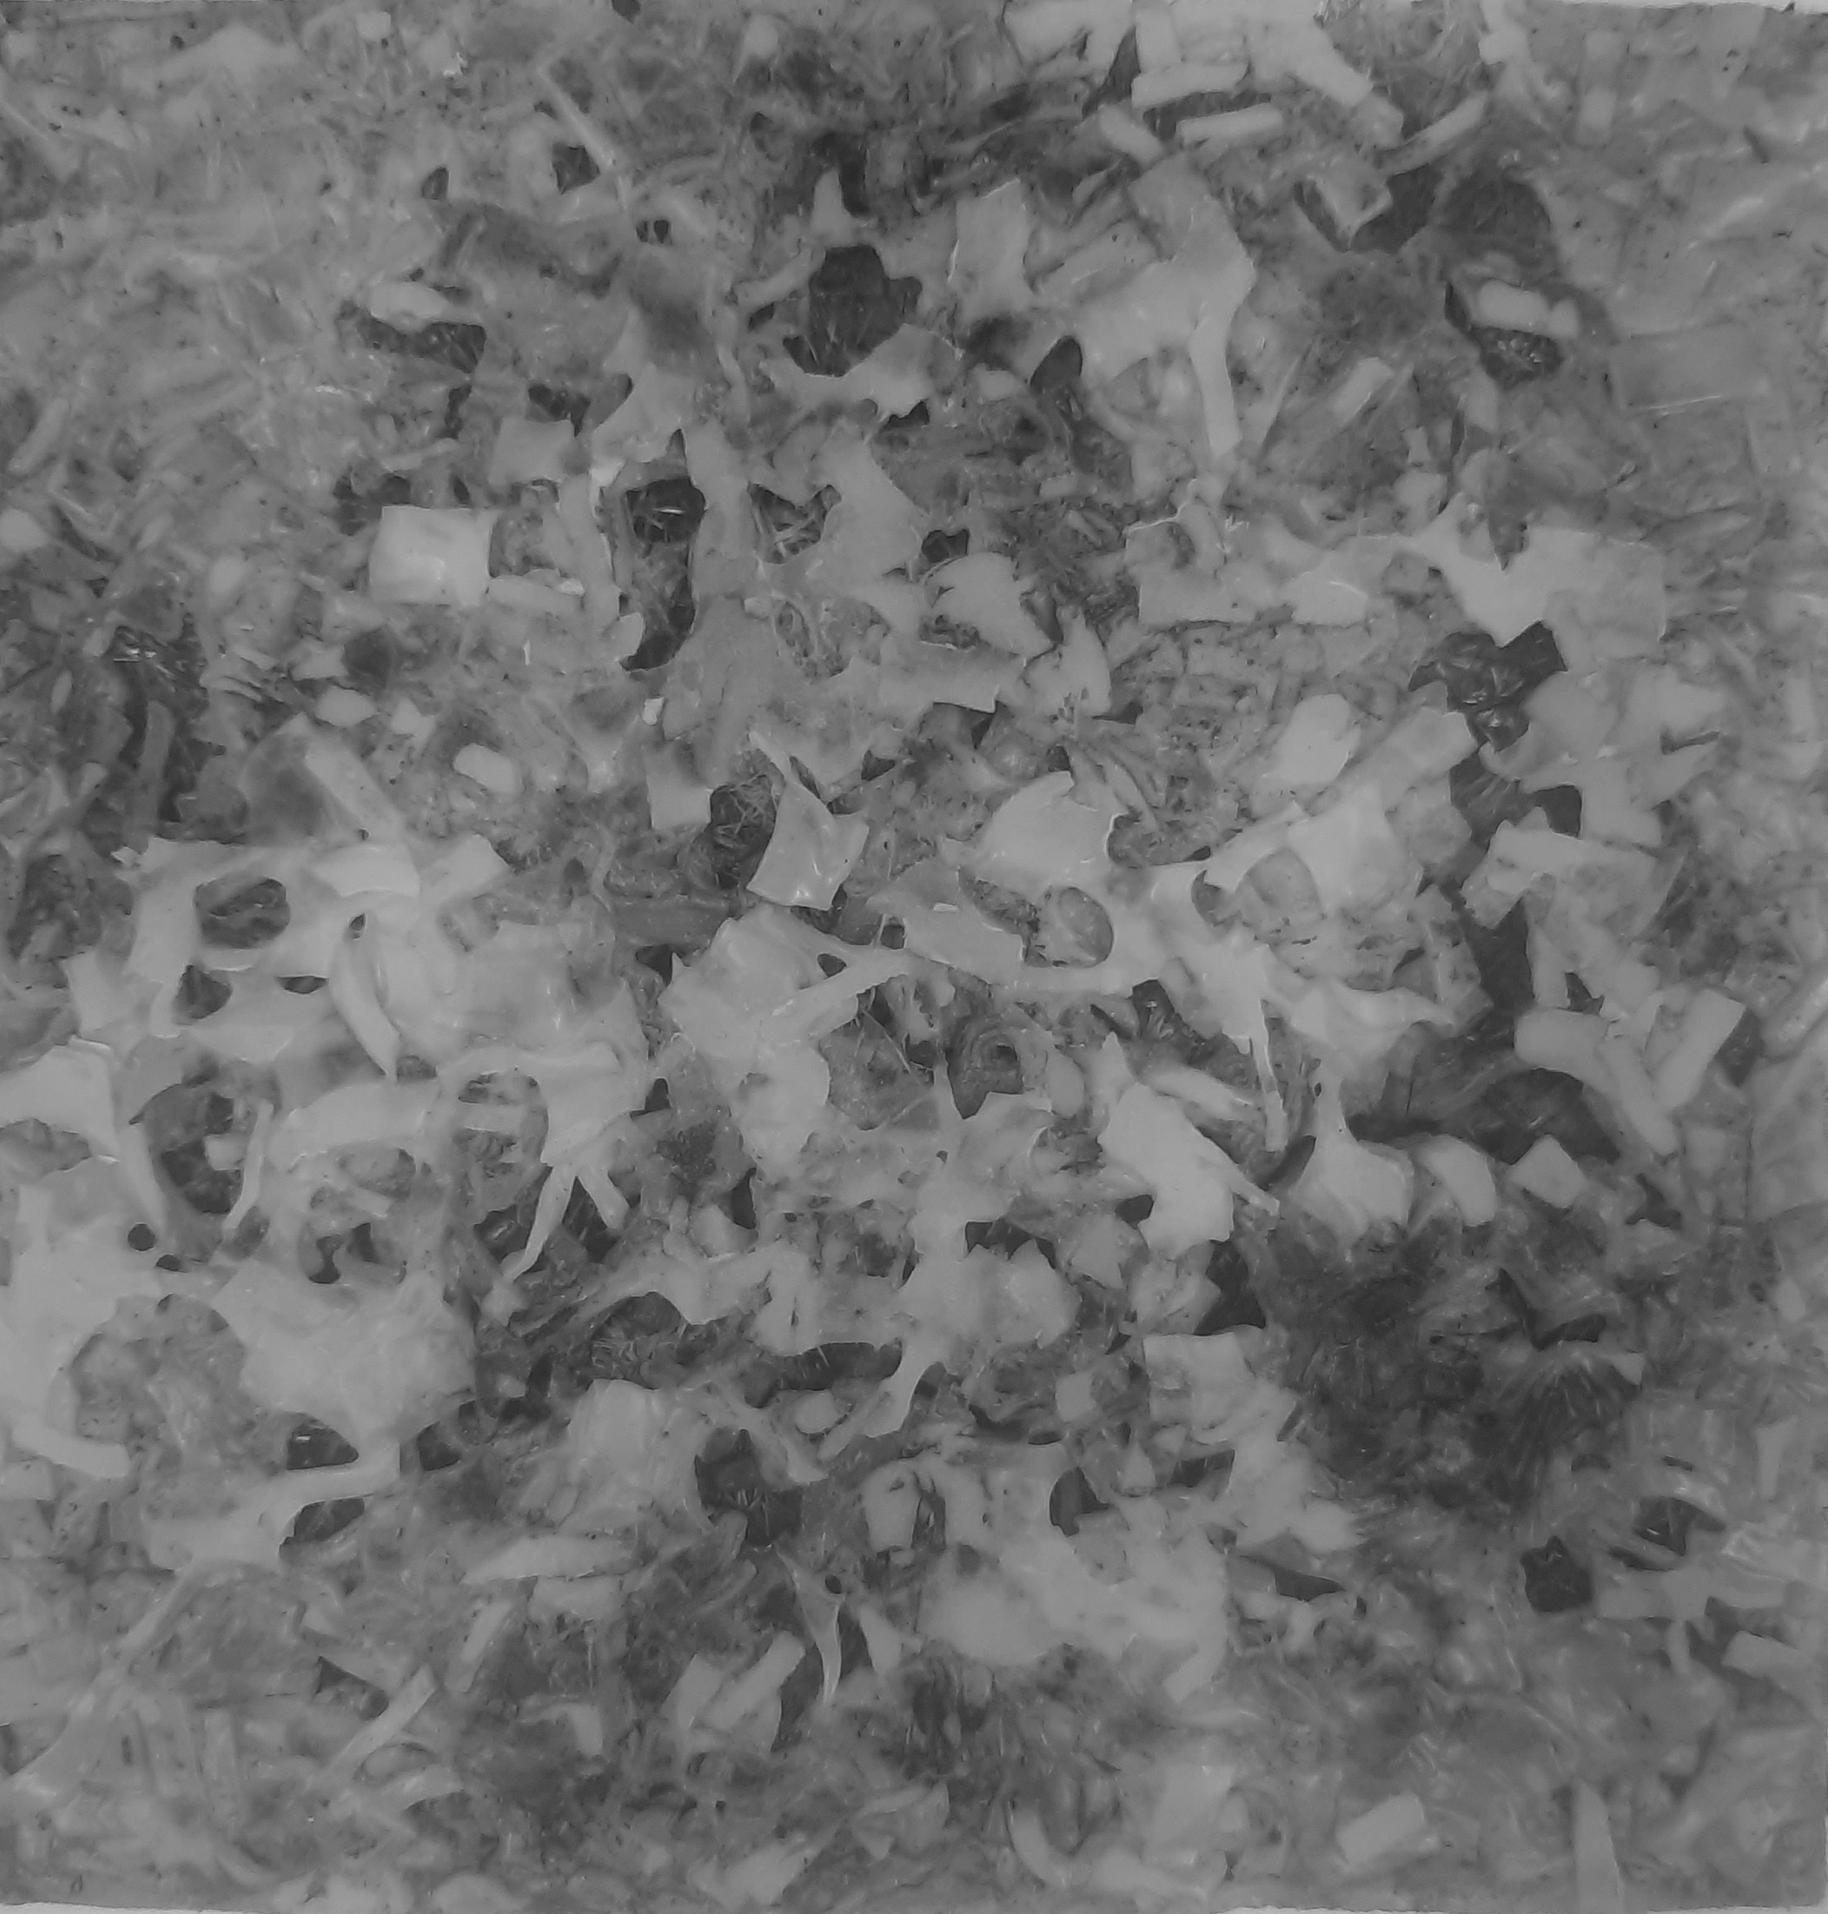
Phase 02 repeats the same process as phase 01 but this time adds fibreglass as a composite to the plastic to attain more strength and rigidity to the material to withhold more weight it will be found out during the tests. 01

Preparing
03
Heat both the layers from top and bottom.
05
Repeating the process to get the required thickness and compressing the whole layer together.
04
Add some plastic shreds on the hot surface and repeat the process.


06
Extract from the mould and sand it for even surface.


 the layer 1 as shown in concept figure.
Phase 02 is successful and the major drawback of manually extracting is only when the mould is heated to a certain limit. Sometimes product gets deformed or breaks but learning from the last phase helped a lot.
 Phase 02 Batch 01
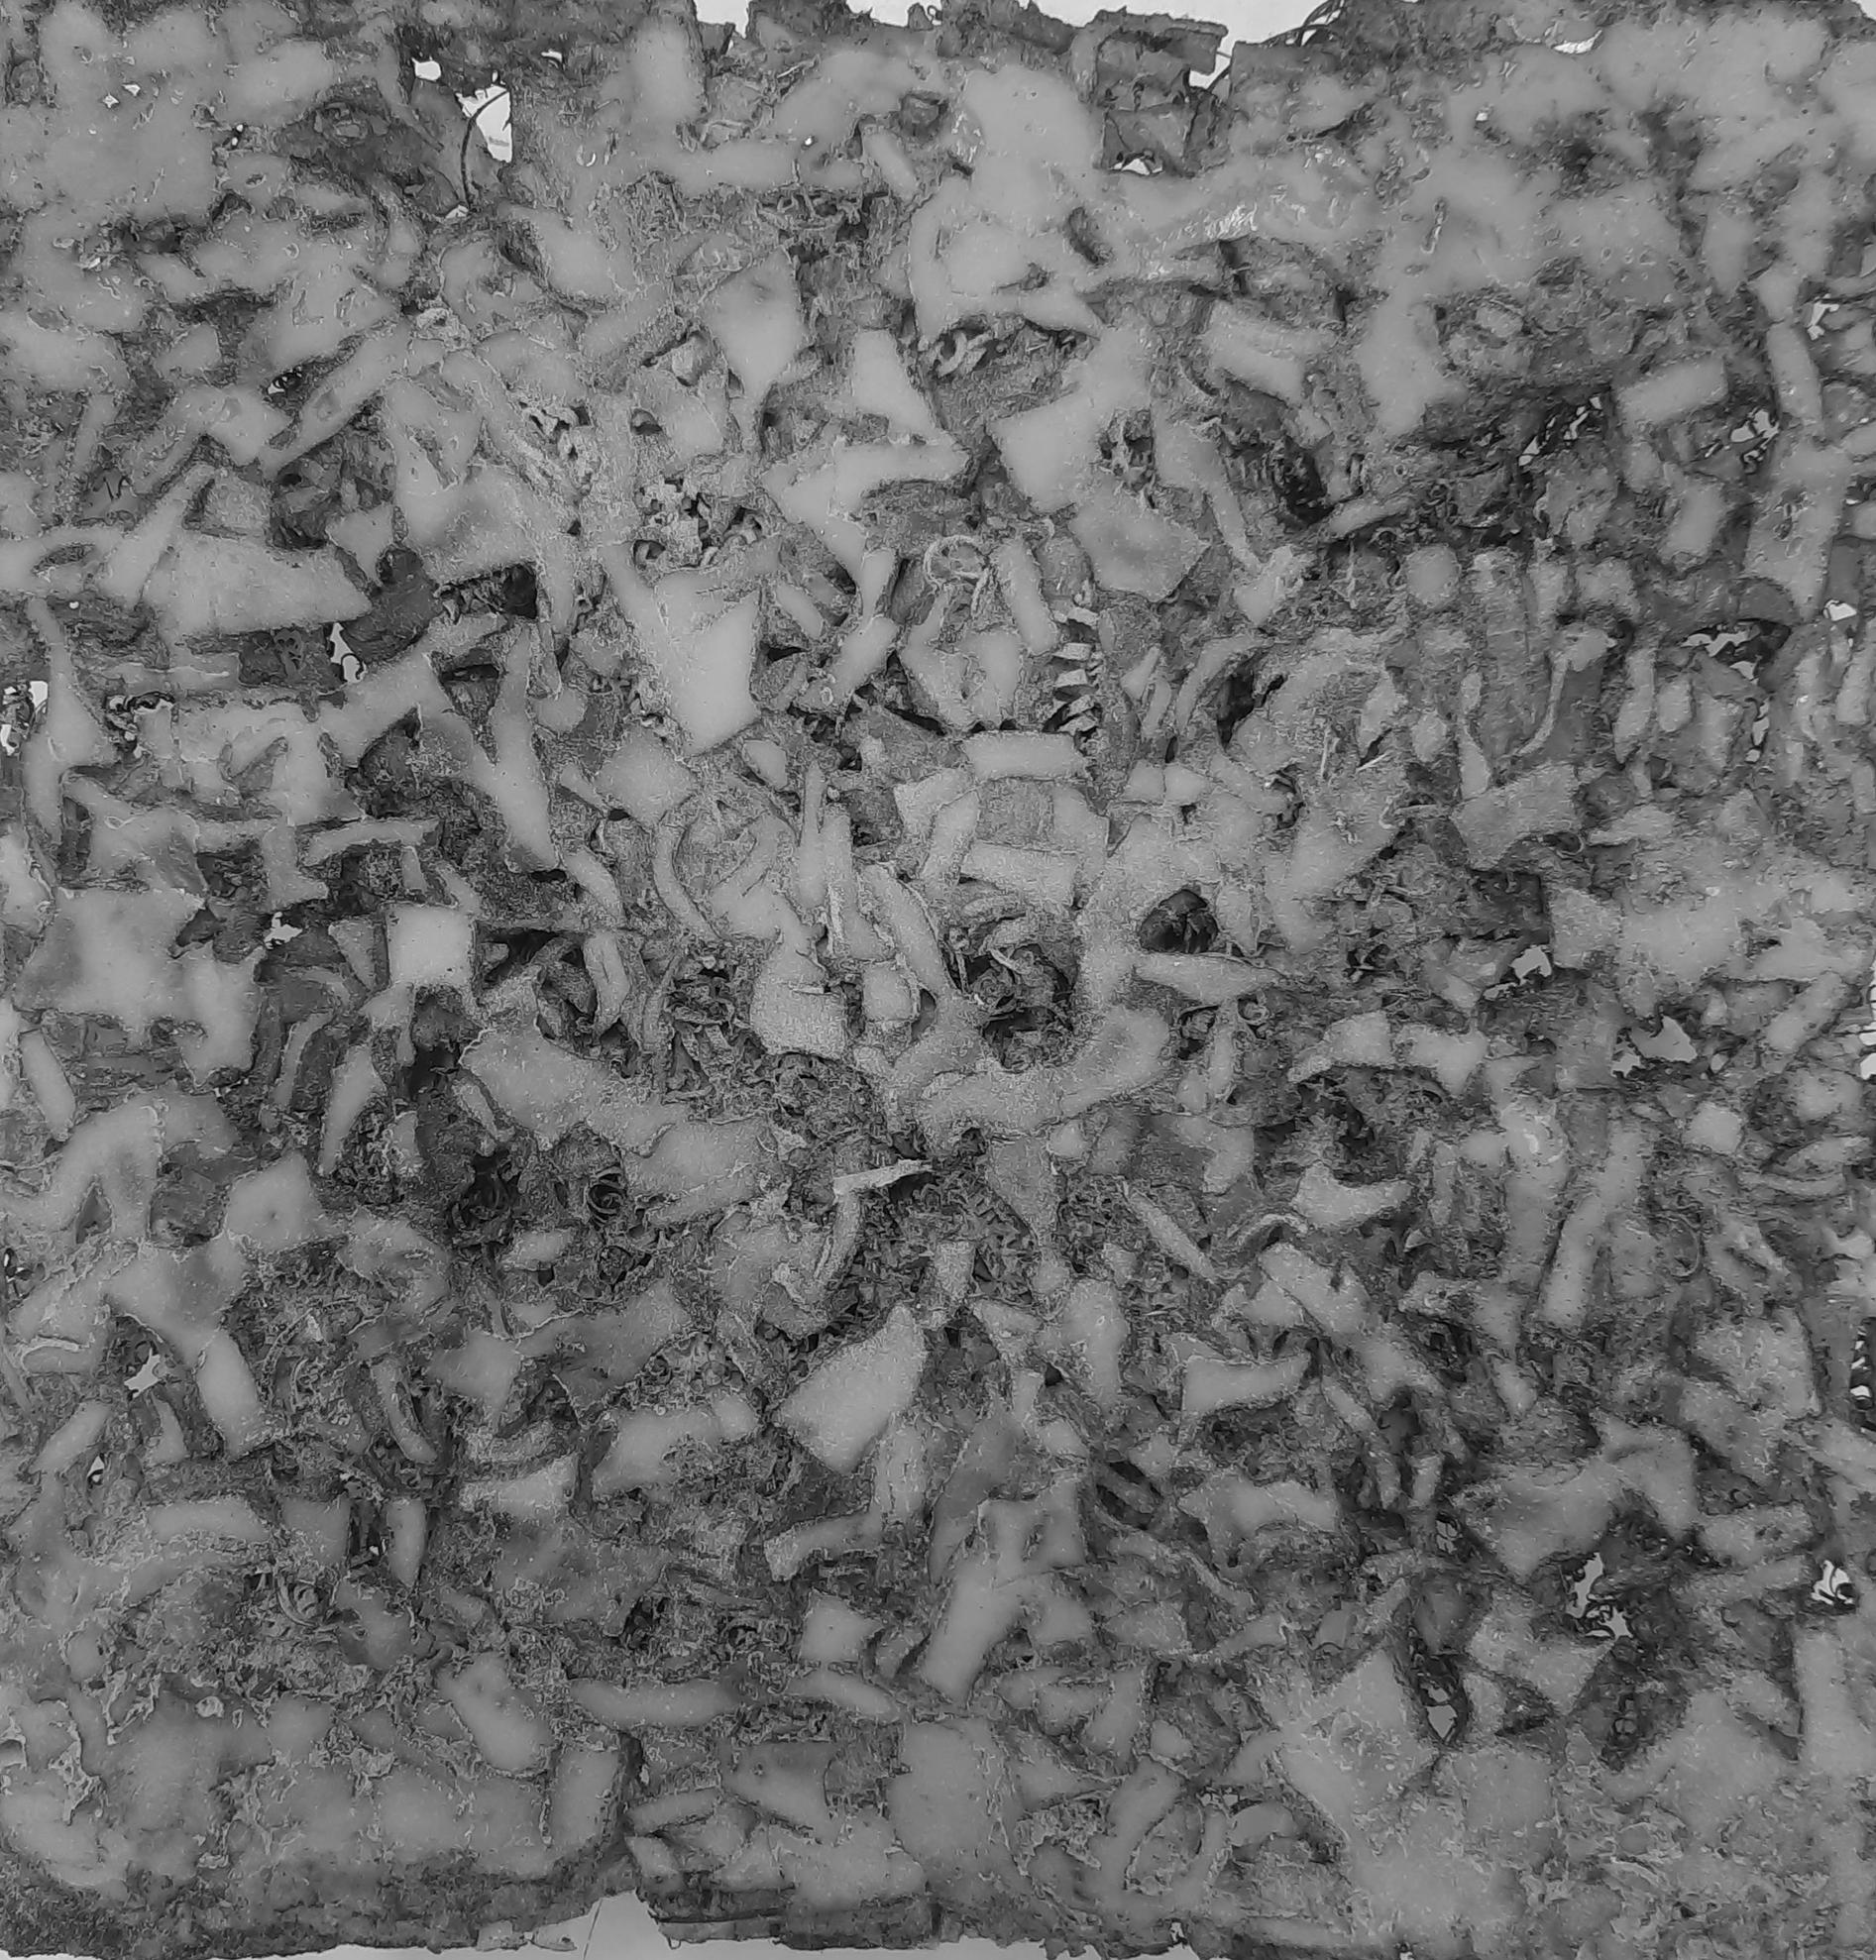
Phase 03 repeats the same process as phase 01 but this time adds metal fibres as a composite to the plastic to attain more strength and rigidity to the material to withhold more weight which will be found out during the tests. But to bind with the plastic needs a lot of compression and heat. 01
03
After adding composite to the layer 1 heat and compression is
05
Applying heat and compression so metal fibers bind with the plastic properly.


04
After
add
over
06
Final material extracted from mould and sand them for even surface.


 Preparing the layer 1 as shown in concept figure. 02
Segregating metal fibres form rest of impurities.
applied.
compression
some plastic
the composite and bind them.
Phase 03 is success and observation from the material while making is that little amount with a size of metal fibres are attaching to the plastic other gets out or not binding properly. Also this phase needs lot of compression and heat to give a proper result.
The final output of Phase 03 Batch 01 of Plastic + Metal Fibre Panel.

After all these phases of materials, I took Phase 01 Batch 02 cut in half and bind them with adhesive to create a Ply-Panel. Through applying the required adhesive and applying pressure on both sides. To figure out to duplicate the plywood process.
01 Panel cut into half the size.
03
Made two sample with Normal Resin and Bio-Resin. To test out the character.

05
Using clamps to presuure the panels from the both sides.

02
Properly sanded for evnsurface ancleaned before applying adhesive.

04
Clamped and dried for a while.


06
Extracted after 24 hours left after drying.


Plastic panels are 15cm x 15cm, there is no facility to test them out. Mostly did basic testing using weights and water to test their strength and Resin resistant to the water. Mostly strength tests and water tests are done.
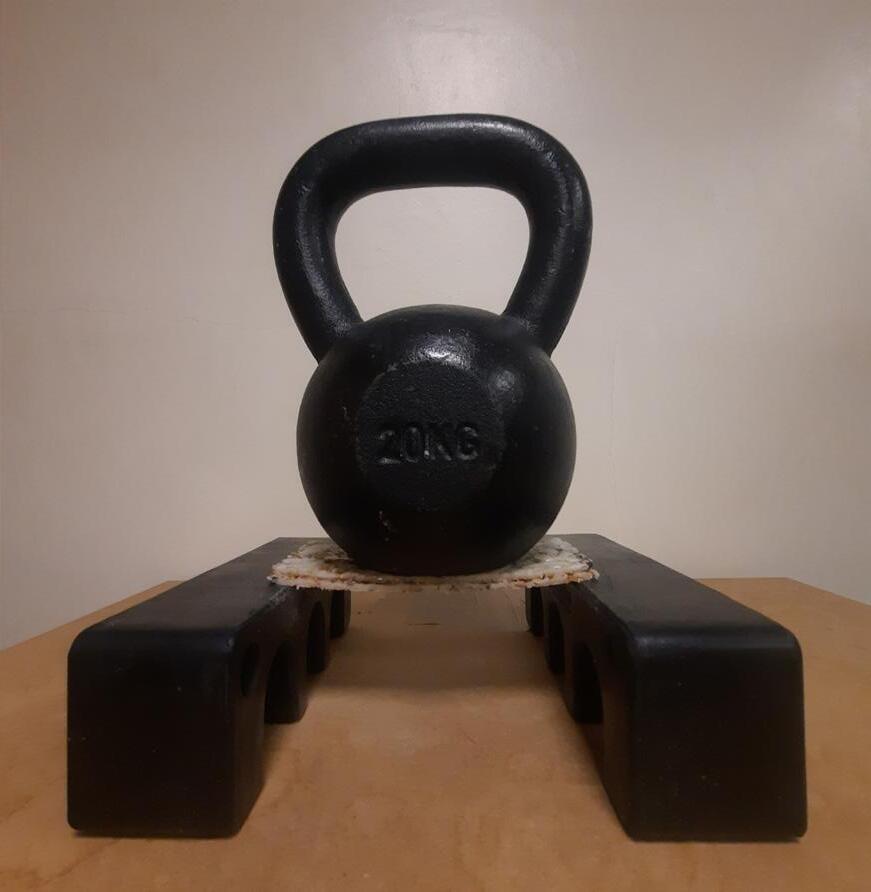


Material passed after submerged in the water for 24 hours still sturdy and resin bond haven’t damaged.

How this material can be used in the construction and make prototypes in all various grades of plastic. More quantifying tests can be made if access to the right equipment. Moreover needs more testing to have to work against the fireproofing or resist them.
- We can apply this method and produce various types of panels with thickness varying from 3mm - 24mm.

- Trying to achieve alternarte solution to Plywood application in the construction Industry.
- Use to make doors, windows shutters , Still for the major application table tops, Even thick enough to make a wall panels.
- we can apply the panel to the steel frame and make a temproary structure or kisosk.
The


