
3 minute read
Resin 101
By Shawna Armendariz , GypsyFinns.com
Materials
MAS Epoxy, Eye Candy Mica powder, stir sticks, 1-3 oz disposable mixing cups, wax paste, table risers, line level, gloves, heat gun, propane torch. MAS epoxy and Eye Candy Mica Powder pigments create high-quality projects. My favorites are Eye Candy Pacific Blue, Okinawa Blue, and Sora-Iro Blue mica, as well as white pigment from MAS epoxy. (I’m an affiliate for both, and my links are available on my link tree!)
Hey, y’all, I’m Shawna Armendariz, owner and creator of Gypsy Finns Texas. I started this journey in 2017, simply as a hobby to keep my mind busy throughout Chemotherapy, fighting stage 4 colon cancer. My business and interests evolved to include resin art, laser projects, and woodworking. We are now a husband-and-wife team, slinging sawdust and glitter, celebrating remission on the Corpus Christi coast. If you can dream it, you can create it. Personalization will further elevate your project, and clients love it.
If you’re interested in following our journey and our soon-to-be-released resin course, please visit Gypsy Finns Tx on all social media and our website at GypsyFinns.com
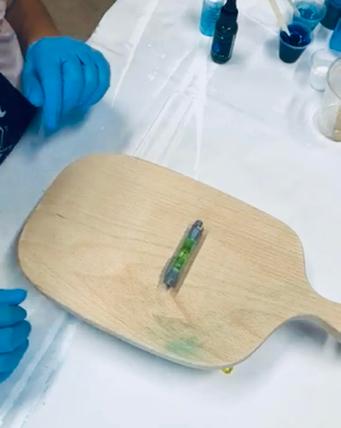
Safety with resin Protect yourself. Non-negotiables are a full-face respirator, gloves, old clothes, a hair tie, and an apron. Resin is messy! I have found covering the workspace with butcher paper makes for quick and easy cleanup.
Step 1:
Prep
Prep your project using 120 grit sandpaper until smooth; this removes any sealer, waxes, and or oil that will prevent proper adhesion to your project.
Step 2:
Prep
Ensure you are using a clean surface by utilizing alcohol and a lint free cloth.
Step 3:
Prep
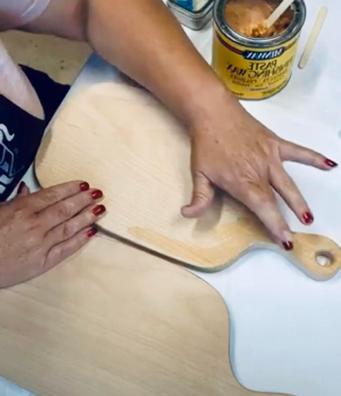
In order to prevent the resin from sticking to the back/bottom of your project, cover the back of your board in Paste wax. Position your table risers to elevate the board off the table, it is imperative that you ensure your board is level prior to beginning your design. If you do not have table risers, disposable mixing cups are a great alternative. Grab your mask and gloves, and let’s get started!
Step 4:
Prep
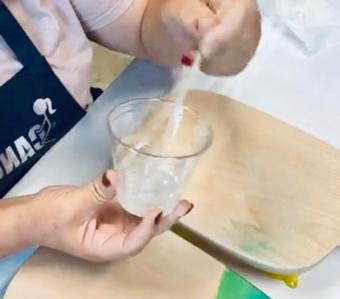
1st layer of resin- Using MAS Epoxy, mix equal parts of A and B or follow the manufacturer’s directions for your preferred brand. I have found that 3 minutes is the average time, so I no longer see any striations or foggy streaks throughout the resin. Ensure you are mixing at a slow tempo; too much speed will add air, causing bubbles in your project. Use small cups to separate each of your different Eye Candy pigment colors. In the example of a Coastal Beach theme project, I recommend Pacific Blue, Okinawa Blue, Sora-Iro Blue mica, Ocean Art White Dye, and one cup with no pigment added.
Step 5:
Slowly stir in your Mica powder pigments until you achieve your desired shade. It is important to mix colors thoroughly or risk uneven coloring in your project.
Step 6:
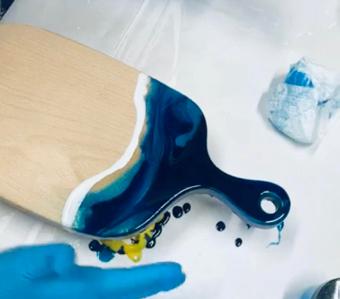
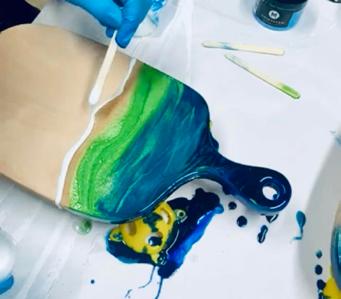
Beginning with your darkest color (Pacific Blue), start at the top of your board, moving downward to the lightest color (Okinawa Blue). Use your gloved finger to encourage the resin down the sides of the board and smooth it out evenly for full coverage. This does not need to be perfect, your focus should be establishing a level base layer. Gently blend your colors to give a gradient effect.
Step 7:
Next, apply a thin line of clear resin to the base of the lightest color; this will help to create and accentuate the beautiful wave shape. Trust the process the gradient may not appear perfect, and that is ok!
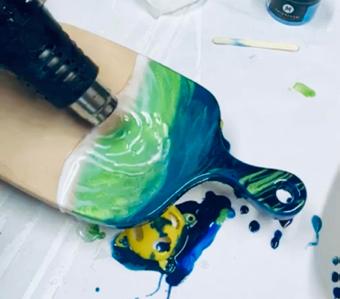
Ocean Wave Technique- Pour a thin line of your MAS Ocean Art White Dye resin along the shoreline of your project. Turn your heat gun on high, hold the gun at a 45-degree angle, and blow upward so the white pigment begins to skim across the clear resin. You will continue to blow until the desired effect is achieved. This is all about your own preference; remember, the waves in the ocean do not roll in the same way every time. The most important thing is that you do not leave your heat in one area for too long, as it’s easy to burn your resin. Your pigment will continue to change and develop as the resin sets up. Allow your project to sit for 5 minutes, then use your propane torch to pop any bubbles that have surfaced.
Step 8:
Cure for 10-12 hours - This allows enough time to add another layer.
Step 9:
Repeat the steps above to give your project additional depth and dimension, I find success with 2-5 layers.
Step 10:
Finishing touches -Once your project has cured for 24 hours, it is ready to be cleaned up. Using a heat gun, heat the resin drips on the back side and remove by cutting with a craft knife or simply just picking them off.


Step 11:
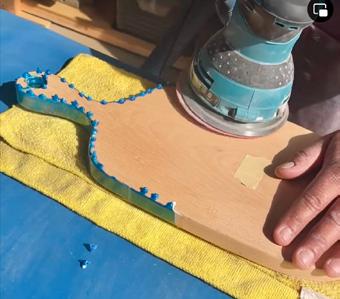
Sand the rough areas with 120 – 150 grit sandpaper to achieve that smooth finish without damaging the integrity of your design.
Step 12:
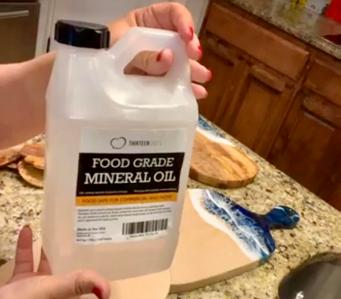
Oil your board with your choice of board oil to reveal the beautiful wood grain.
Step 13:
Engraving The addition of a beautiful quote, name, GPS coordinates, etc provides the ability to personalize each and every item.


