
2 minute read
4. Infrastructures and development| Material & Equipment


November 2021 objectives:
□ Continue the ongoing rehabilitation activities □ Preuss Monkey: Continue the behavioural rehabilitation process □ Mandrill: Continue the behavioural rehabilitation process □ Tantalus monkey: Continue the behavioural rehabilitation process □ Genet: Continue the behavioural rehabilitation process
Advertisement
4. Infrastructures and development| Material & Equipment
Funders
Activities
□ Western Lowland Gorillas: Started the splitting of the enclosure: first enclosure finished (Images 6-18) and second enclosure started (Images 6-19)
□ Putty-nosed monkey: Finished the maintenance of Zulu’s group (Images 20-21)

Image 6. Digging of pillar hole and foundation for the splitting of the gorilla’s enclosure. Image 7. Installing and concreting of metal pillar for the splitting of the gorilla’s enclosure.
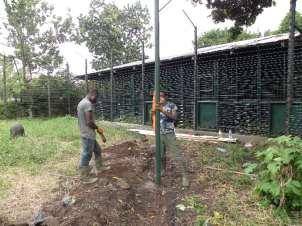

Image 8. Welding rod beam to the pillar for the splitting of the gorilla’s enclosure.
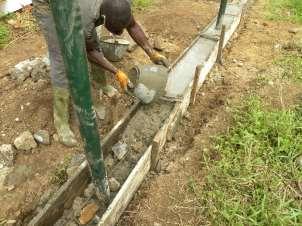
Image 10. Concreting of the foundation for the splitting of the gorilla’s enclosure.

Image 12. Preparation for the keeper safety cage for the splitting of the gorilla’s enclosure. Image 9. Setting wood box for concreting for the splitting of the gorilla’s enclosure.

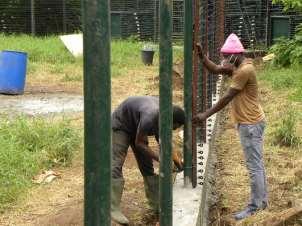
Image 11. Wooden poles installation for the splitting of the gorilla’s enclosure.
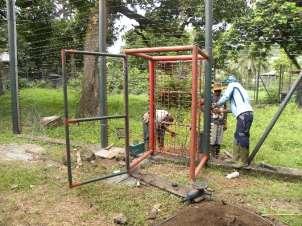
Image 13. Keeper door crafting and installation for the splitting of the gorilla’s enclosure.

Image 14. View of concrete foundation and insulator poles setup for the splitting of the gorilla’s enclosure.

Image 16. Tensioning of the electric fence wire for the splitting of the gorilla’s enclosure.
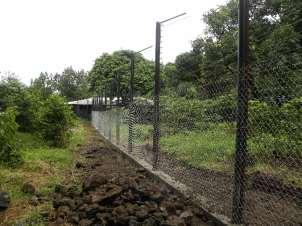
Image 18. Final view of the first separation fence for the splitting of the gorilla’s enclosure. Image 15. Installing of electric fence wire for the splitting of the gorilla’s enclosure.


Image 17. Final view of keeper door and second layer painting. for the splitting of the gorilla’s enclosure.

Image 19. Installing and concreting of metal pillar for the second gorilla’s enclosure.


