8 minute read
An Engineered Approach
AN ENGINEERED APPROACH Douglas McDowell
Editors: What is your usual routine for a day in the studio or throughout a making cycle? Douglas McDowell: I do most of my work at the College of Lake County ceramics studio, in Grayslake, Illinois. First, I see what pieces have been bisque fired. I try to have work in all stages of completion (leather hard, bisque, and fired). This gives me flexibility and allows me to schedule priorities. My goal is to have some pottery in every firing done at the studio. When I am throwing, I usually make 4–6 pieces at a time. I also make some one-of-a-kind pieces to see if I like a certain form. Most of my prep work for glazing is done at home.
Advertisement
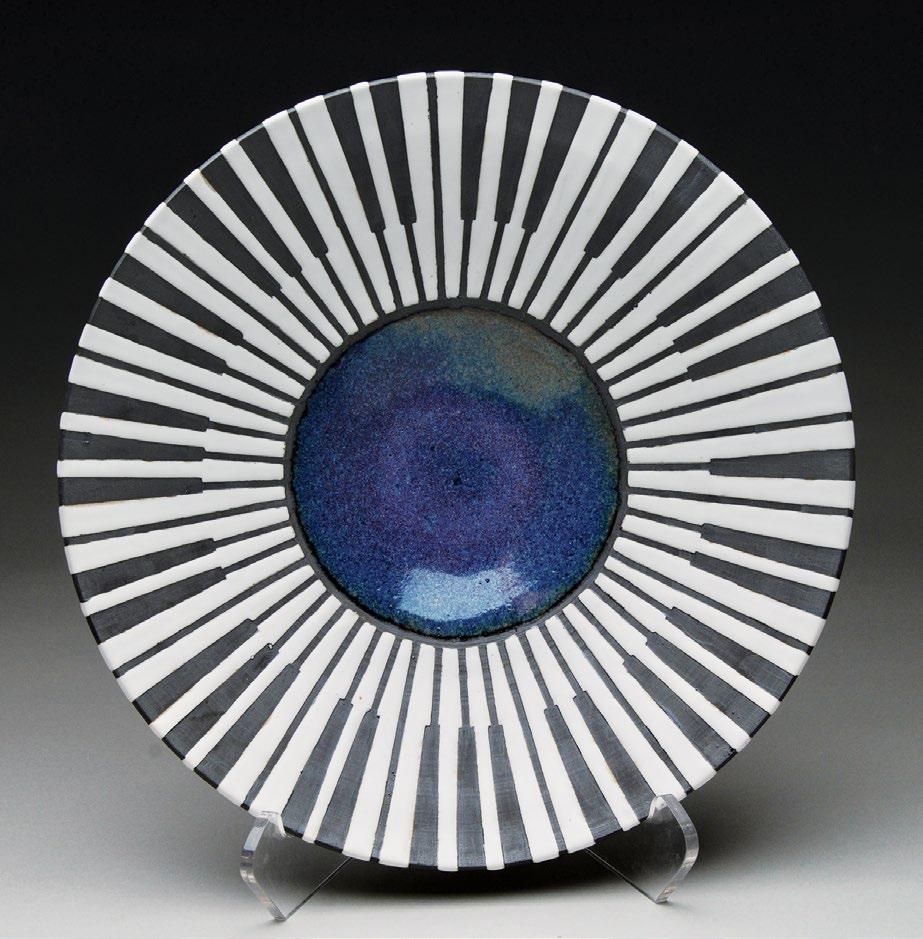
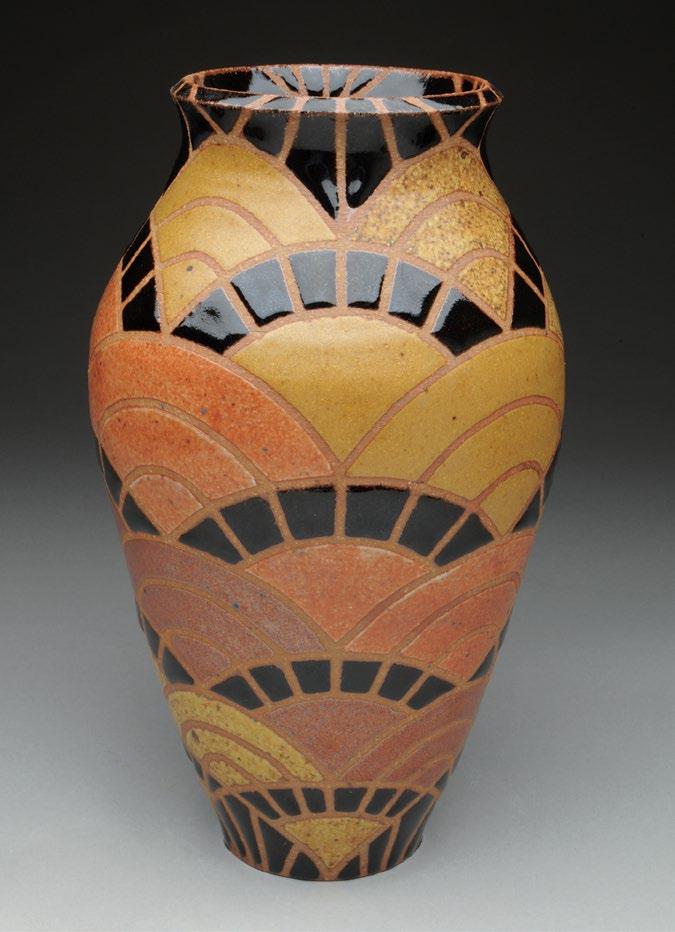
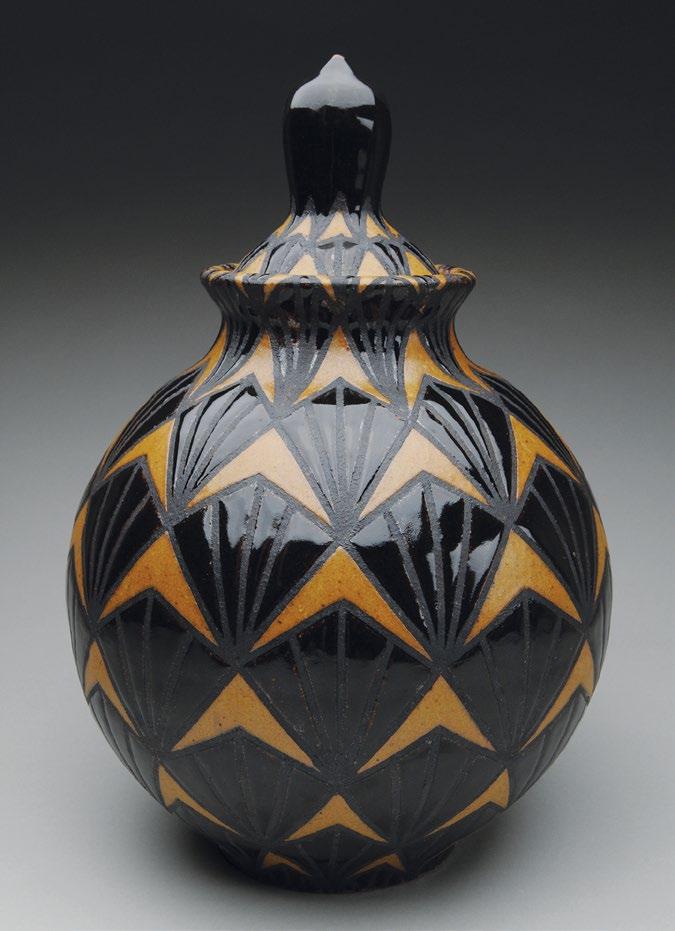
Eds: What role do color and pattern play in your work? DM: My goal is to have a pot be colorful, distinctive, and rich looking (as in luxurious, gorgeous, and exceptional). Since I want the design/pattern to pop, my goal is color separation. I also like to use the raw clay to accent the piece. Most of my work has a pattern, but sometimes I make pieces that are not geometric, just to have a change of pace. Although the patterns are two dimensional, they sometimes appear to be three dimensional.
Eds: What is the most challenging aspect of working in clay? DM: My biggest challenge is to make a pattern or new design work with the piece. I make test tiles for each clay body and test new glazes at cone-6 oxidation and cone-9 reduction to see what the color looks like and to see if it runs.
I participate in the Empty Bowls program at the studio and usually make about 30+ bowls per semester to donate and try out new glazes and designs on them. The best results graduate to larger pieces (it is better to make a small error than a large one). Usually a design or glaze pattern will transfer well, but sometimes it doesn’t fit the piece as I had envisioned. The result might be a nice surprise; I am always optimistic!
Eds: What research and sources do you reference prior to and when creating your work and why? DM: We are all products of our experiences, environments, and genes. I was born with geometry in my head/body (in my firstgrade picture, my shirt had a geometric pattern!). I am an engineer by training and have always used math and precision in my work. I am also a hiker (Appalachian Trail, 2010–2018, and Camino de Santiago, 2019) in the summer, and I do find some designs and patterns when I am on the road. I watch YouTube a lot to virtually visit art galleries, art auctions, and museums to see ceramics shows, as well to see process-oriented videos on throwing and decorating pottery. My fellow students and potters also send me patterns to look at. I am particularly influenced by the Art Deco and Art Nouveau art periods and Native American and Islamic artwork and aesthetics. I am always looking for new patterns or decorating ideas and some have come from other sources like quilting and antiques, for example. The key is to take an idea or pattern and make it your own.
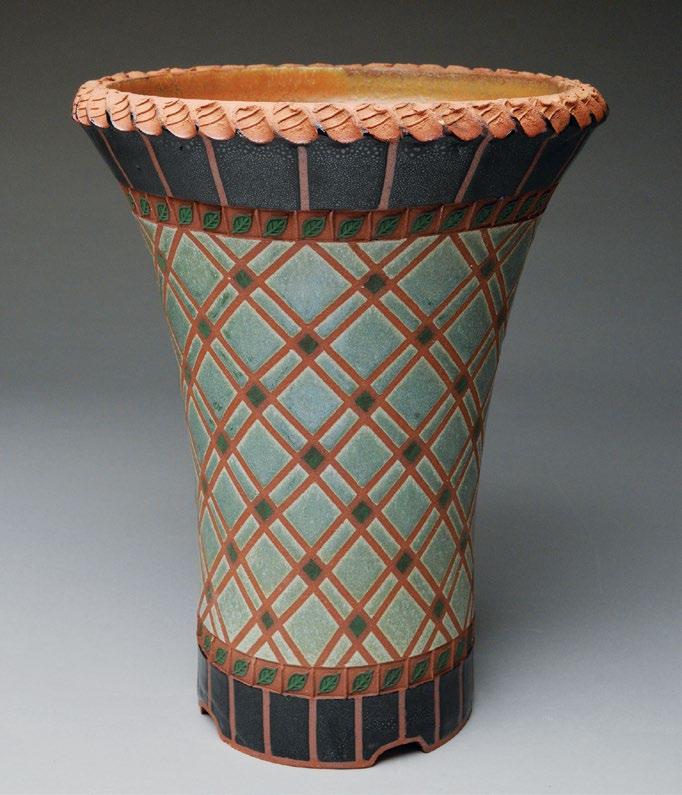
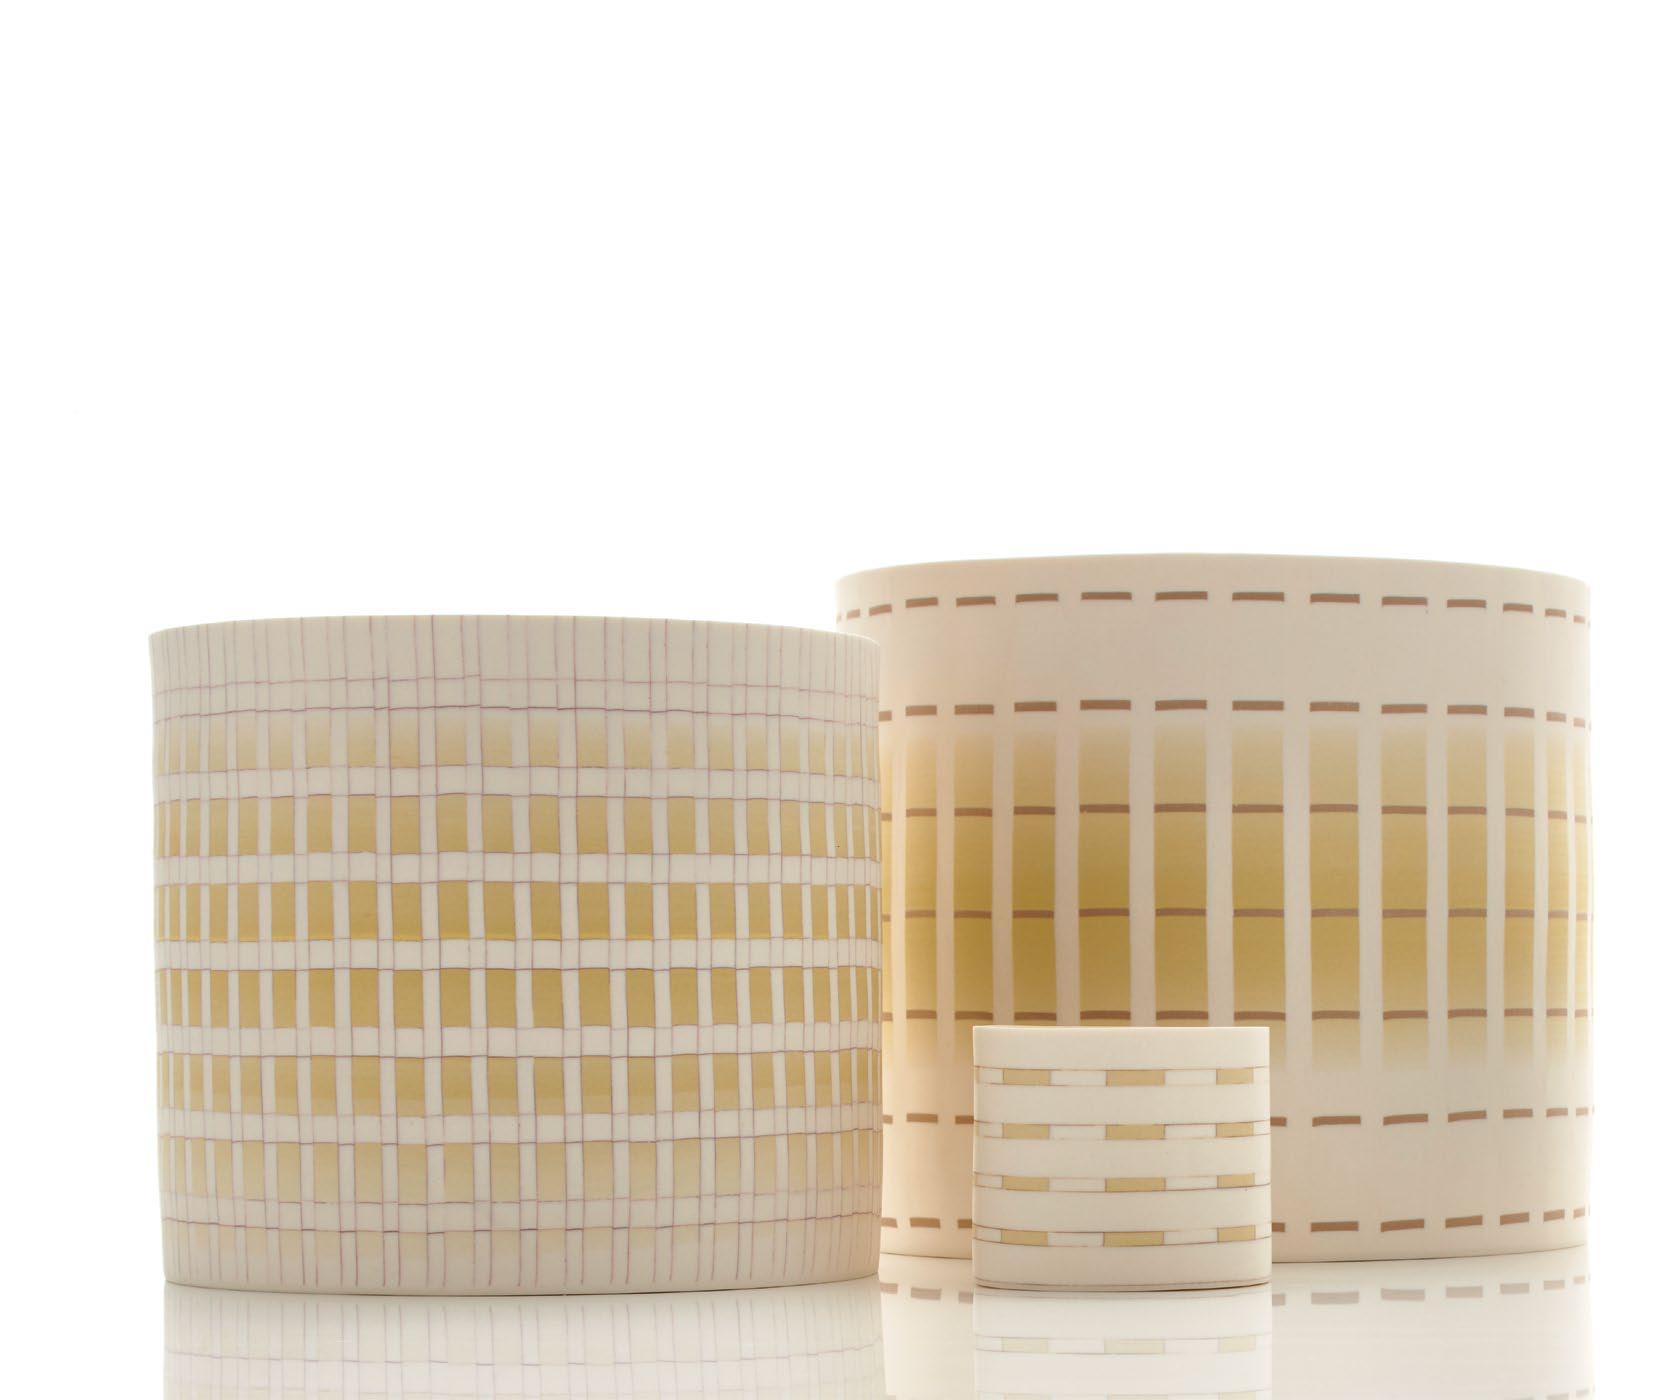
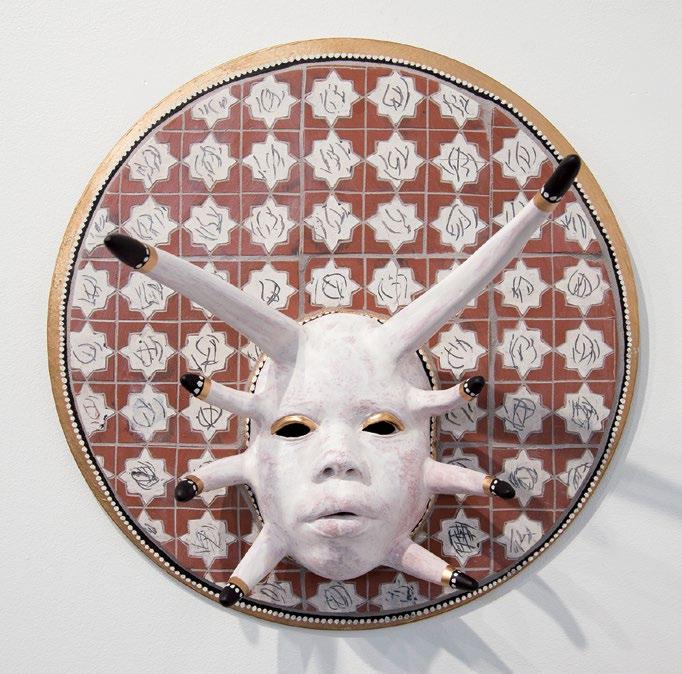
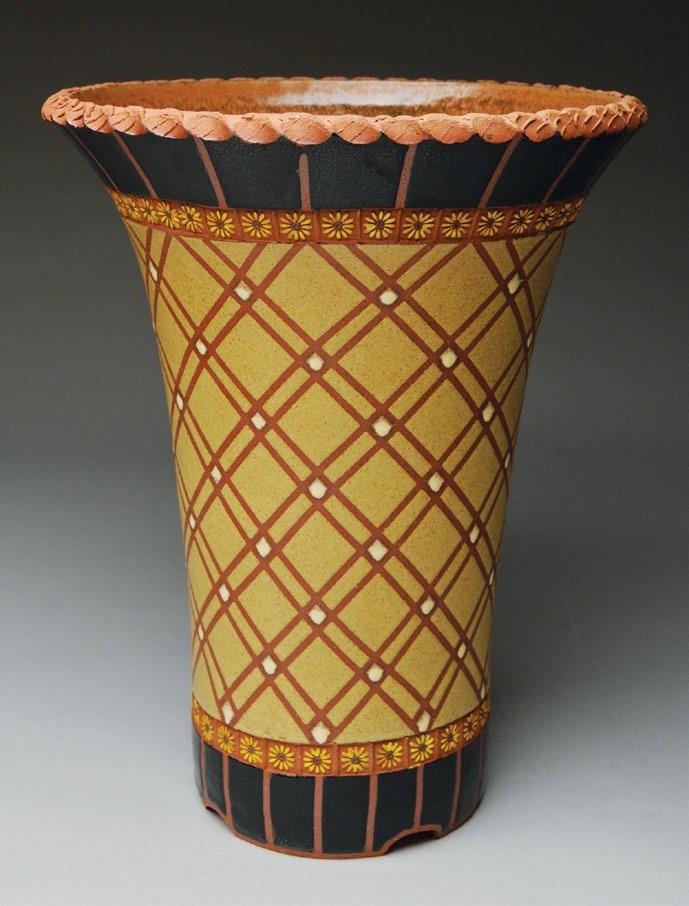
Above: Sunflower Yellow Planter, 11 in. (28 cm) in height, red stoneware, glaze, underglaze, fired to cone 6 in oxidation, 2020. Opposite top: Piano Plate No. 12, 11 in. (28 cm) in diameter, porcelain, glaze, underglaze, fired to cone 9 in reduction, 2016. Opposite bottom left: Four Color Fan Vase, 10 in. (25 cm) in height, stoneware, underglaze, glaze, fired to cone 9 in reduction, 2010. Opposite bottom right: Boomerangs and Kites Lidded Orb No. 11, 15 in. (38 cm) in height, stoneware, underglaze, glaze, fired to cone 9 in reduction, 2016.
Eds: What tools and techniques are integral to your work and why? DM: I use 1/8-inch-wide masking tape, blue painter’s tape, latex, a construction laser, a ruler, a large decorating disk, stamps, and math skills to make and adjust my designs to each form. My goal is to make the design fit the pot precisely and make it aesthetically pleasing to the eye using underglazes and glazes. I always feel that if I like the finished piece, most people will feel the same way.
All photos: David Bolton.
To learn more, visit https://ceramicartsnet work.org/ican/portfolio/mcdowell-douglas.
Decorating the Planter
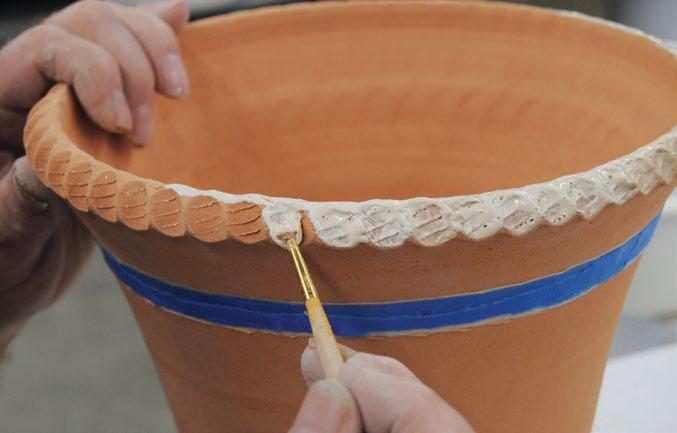
My typical planter form is a flared cylinder wheel thrown from 10 pounds of clay. The planter measures at least 12 inches in height and 10 inches in diameter in the wet state. After the form is partially dry, I use wooden stamps to create bands of repeating shapes slightly below the top rim and slightly above the bottom edge. For this vase I have used an MKM leaf stamp and the handle of a tool to create the repeating band patterns and the ruffled rim texture. I also trim the bottom of the pot and drill 5 holes in the base for drainage.
Once the planter is out of the bisque firing, begin by painting green underglaze on the stamped leaves. After drying, cover the painted leaves with 1/8-inch masking tape first, then with painter’s tape for total coverage. Apply latex on the rim to act as a resist for the next steps (2).
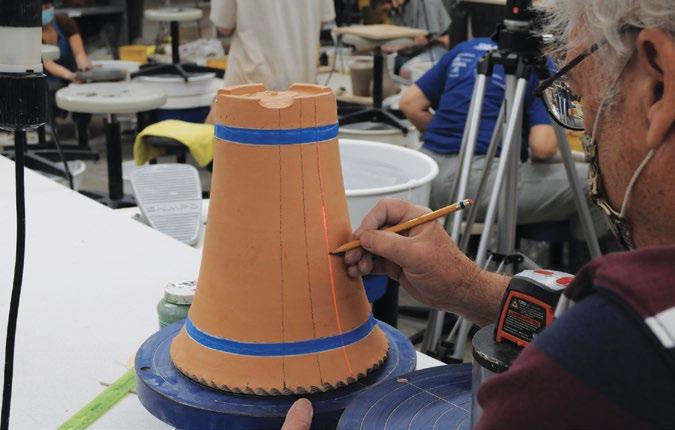
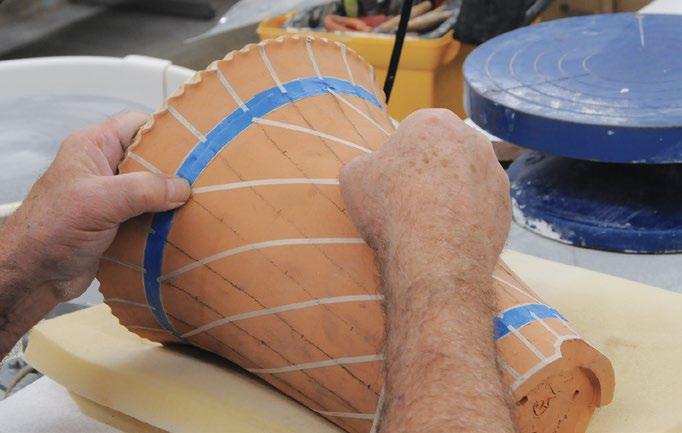
Use a decorating disk to segment the bottom of the planter diameter into 20 sections. Use a laser level to make straight-line drawing easier; line up the segment markings with the center of the planter base (3). Place 1/8-inch masking tape covering the segment lines vertically from the ruffled rim down to the top stamped band and from the bottom of the pot to the bottom stamped band (4). Tape around the bottom perimeter, outlining the side walls of the planter. Divide each of the 20 segment lines into inches using a
1 2

3 4

5 6

ruler (5). These initial taped segments serve as the foundation for the next step of marking diagonals.
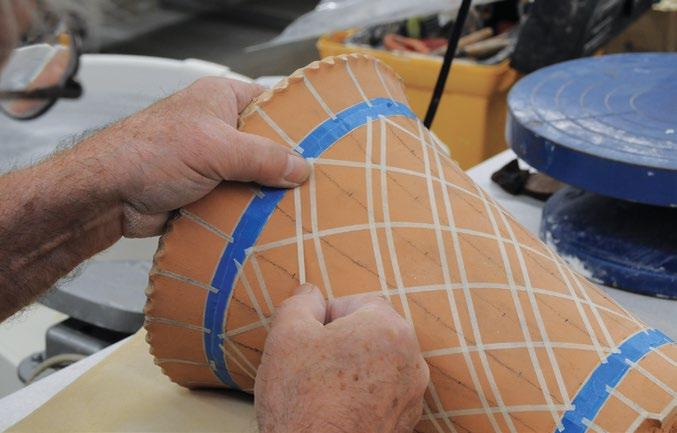
There are 20 segments, but you will be taping only 10 segments (using every other segment line). All of the lines and segment lines will be used in plotting the design. Place tape on the middle segment line and extend it diagonally to the next line to the right from the top and so on, until you reach the bottom. Do this 10 times, skipping every other line at the top (6). Then, place tape on the same middle segment line and extend it diagonally in the opposite direction to the next segment line to the left from the top to the bottom. Do this 10 times as you did before (7). You should now have a diamond pattern.
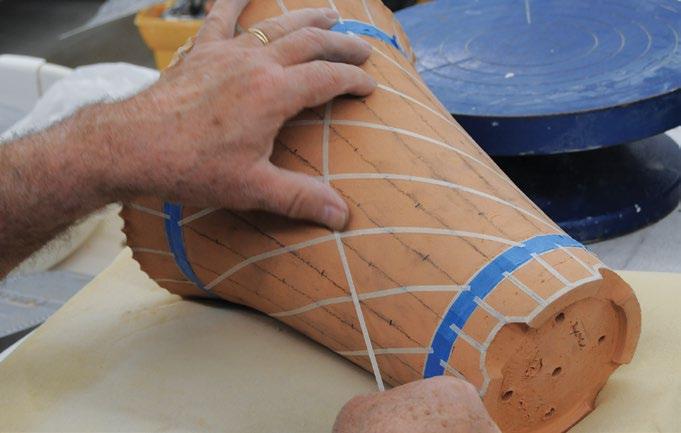
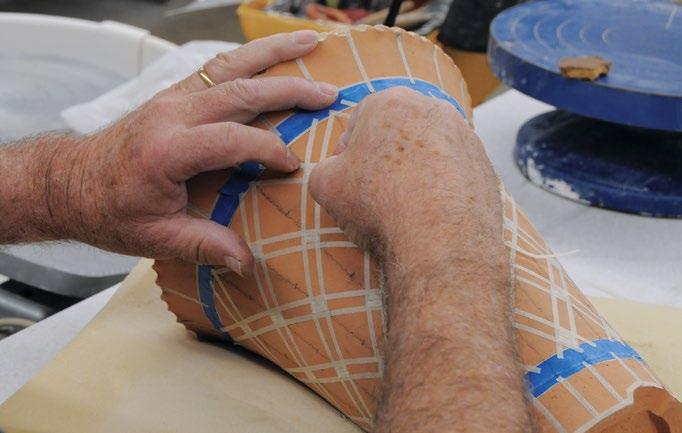
To make this more complex, create a secondary diamond pattern. Start at one line and place tape halfway between the top of the diamond and the start of the next segment line to the right. Apply tape parallel to the side of the diamond and continue to the bottom (8). Repeat this 10 times. Next, do the same to the lines extending horizontally in the opposite direction. Place tape halfway between the top of the diamond and the start of the next segment line to the left. Make a diagonal line of tape parallel to the side of the diamond and continue to the bottom. Repeat this 10 times. Making the doubled diamond pattern in narrow tape should result in a little diamond in each corner. I cover each of these with tape (9).
7

9 8
10
11 12
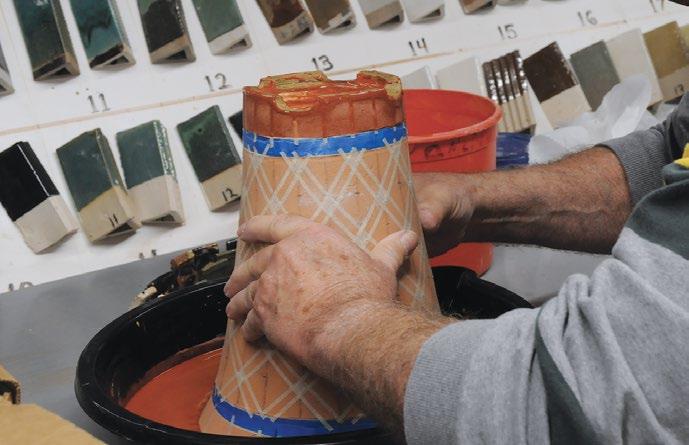
Finally, apply painter’s tape over the five drainage holes in the inside bottom of the planter, then tape over the four legs (which act as water exit holes) on the side of the planter base (see 10). (This tape prevents wax and the bottom glaze from getting on the pot exterior.) Put wet clay plugs in the five planter bottom drainage holes, and apply wax to the bottom legs. Glaze the bottom of the pot and apply latex over the glaze when dry. Remove the tape from the bottom drainage holes (10).
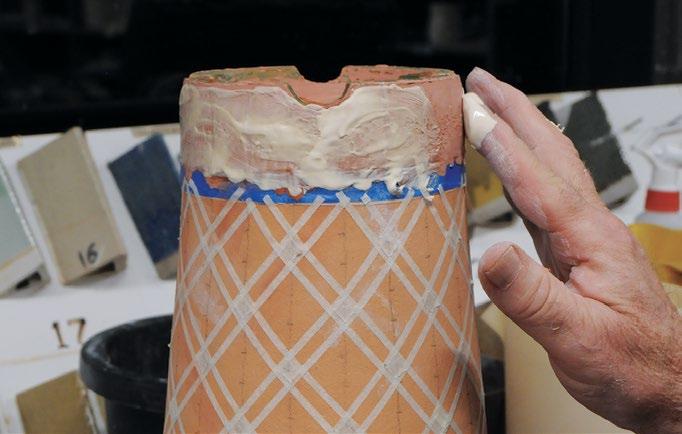
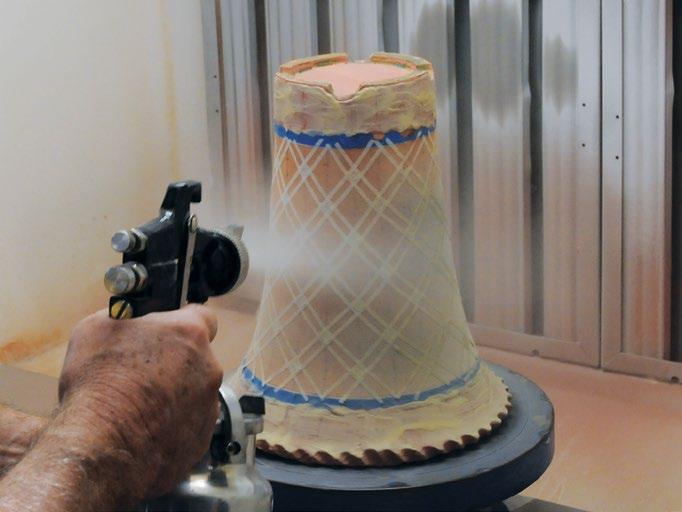
After the exterior is masked and the bottom is glazed, the next step is to glaze the inside of the pot by pouring and putting latex on the top 2 inches of the interior glaze to prevent glaze contamination. Dip glaze on the top and bottom segments of the pot (11). Next, apply latex resist on top of the glaze (12). Now, glaze the middle section of the planter with a spray gun (13).
Once dry (after about an hour) take off the tape covering the inside drainage holes and glaze with a brush. Remove the tape from the small diamonds and paint underglaze into those areas (14). Turn the planter upside down and remove the bottom latex and clay plugs. Remove the latex and tape that covered the bottom segment. Stand the planter upright and remove the inside latex. Next, remove the top segment latex and tape followed by the middle segment tape. (Do this in reverse order of being placed on the planter to reduce glaze flaking.)
Inspect the planter for glaze flaking and damage (15), and touch up as necessary. Fire the decorated planter to cone 6 (16).

13 14

15 16
