
4 minute read
The ultimate guide to underfloor heating


With Google Trends reporting a 200% increase in people searching for underfloor heating compared to 2020, it’s clear that this heating addition to our homes is a popular way of creating a cosy home in the winter months. When it comes to the installation of floor tiles and underfloor heating, many customers have misunderstood and feared the idea. Discover Isabel Fernandez, Director at natural stone flooring business Quorn Stone, expert advice to put an end to any confusion and reservations.
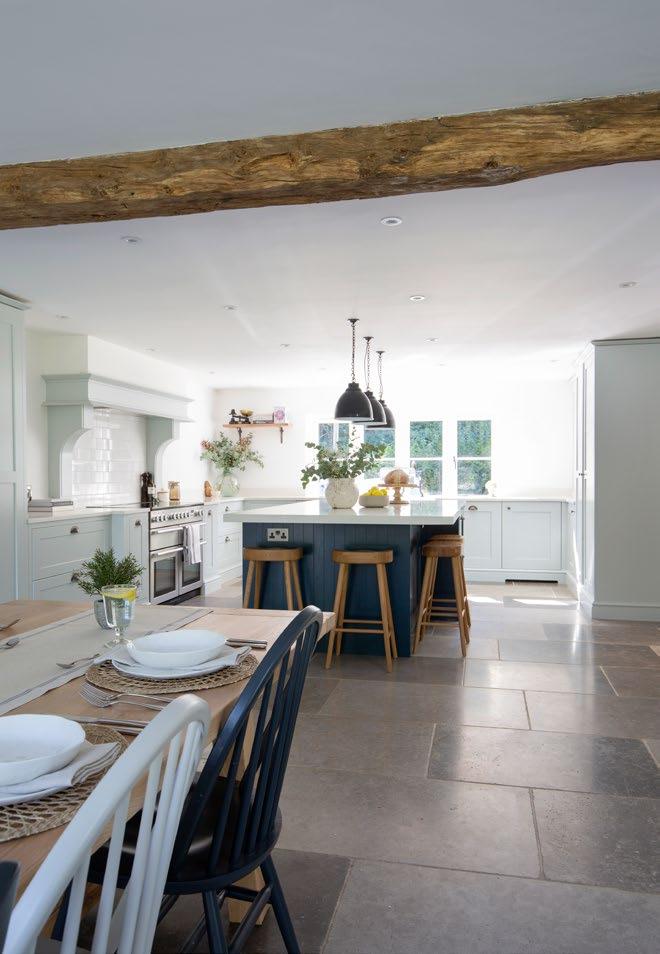
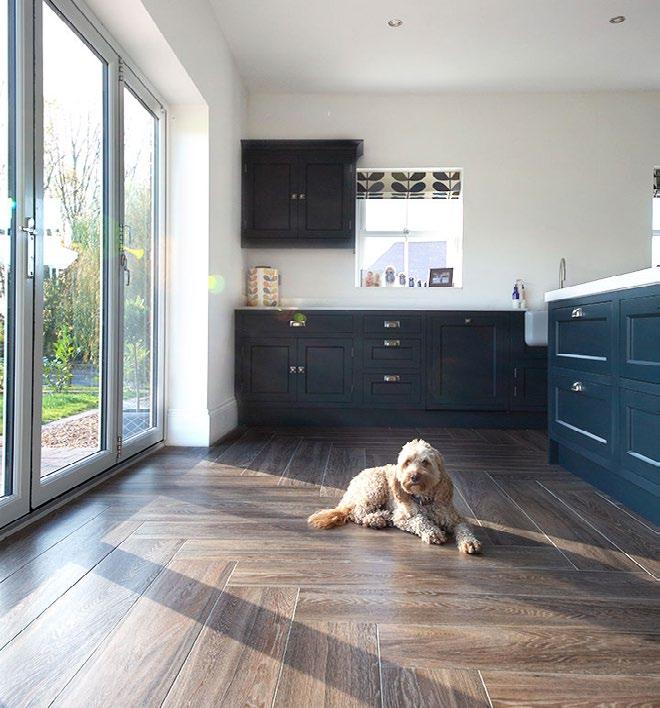
Farrow Grey Limestone Tumbled Floor Tiles, prices start from £45, Quorn Stone, www.mystonefloor.com
Provence Crema Stone Effect Porcelain Tiles, prices start from £42, Quorn Stone, www.mystonefloor.com
1. The benefits of underfloor heating
‘Quite a few homeowners approach us with an apprehensive view of underfloor heating, but there are so many benefits that we couldn’t not mention these first,’ says Fernandez. ‘Now more than ever, we are all aware of our role in being more sustainable. The energy efficiency of underfloor heating is much higher than that of traditional heating systems such as radiators. For most open plan kitchens and ground floor areas, traditional radiators will often cause ‘dead’ spots where the heat does not reach parts of the room. With underfloor heating, the heating is used effectively and efficiently to heat the entirety of a space, meaning less energy is required to reach that same comfortable ambient temperature.’ She continues: ‘Underfloor heating is also much safer for children. A heated floor eliminates the need to have scolding, hot surfaces such as radiators and heaters. This is especially good for those little ones who are prone for grabbing surfaces and pulling themselves up - giving you peace of mind for a safer family home.’
‘Another benefit is of course the cosiness and warmth from the floor up. Say goodbye to cold feet first thing in the morning and last thing at night! Underfloor heating provides a comfortable and continuous temperature underfoot that really does make a big difference to life at home in the winter season - whether it be working from home or slow days with the family,’ she says.

‘There is often a misconception that only a select few tiles are suitable for underfloor heating – this is not always the case! All our natural stone and porcelain are entirely suitable for underfloor heating with the correct installation and have been tried and tested as fit for the job,’ comments Fernandez. ‘Natural stone tiles tend to be thicker, which will take a little longer to heat up, but means it will retain the temperature for longer - thanks to its natural density and thermal conductivity. Porcelain is a manmade product that is fired at an extremely high temperature, resulting in a strong, robust tile. Porcelain is also a good thermal conductor, and tending to be thinner, will heat up faster yet still retain the heat for a long while after.’
3. Installation non-negotiables
Once you’ve chosen your natural stone or porcelain tile to work with your underfloor heating system, there are a few important steps that any homeowner should consider to avoid issues. Speaking to the manufacturer of your heating system and screed for full specifications is a great first step, but there are some other crucial steps to bear in mind.
Firstly, find an experienced tiler. Check your installer is experienced in installing natural stone and porcelain and understands the correct installation process.

The second step is to make sure you carry out a full commission of your underfloor heating, prior to installation. This includes a full heat up and cool down of the system which takes around 7 days. This process will allow any weaknesses in the screed to be identified.
Thirdly, make sure to use anti-fracture matting. The industry standard is to install an anti-fracture matting or membrane between the screed and your tiles. This membrane absorbs any movement caused by the underfloor heating which, in turn, is caused by the expansion and contraction from the heating and cooling process. The matting stops this movement transferring to the tiles and without it, there is a risk of hairline cracking.
Next, check which adhesive you require. In any case, use an S2 graded flexible white adhesive. However, some underfloor heating systems require extra flexibility and need an S1 adhesive. Your installer should be aware of which adhesive is best for the job.
Finally, gradually increase the temperature once your underfloor heating system is installed and your tiles are down. This is to help the adhesive to cure. Starting at a very low temperature, increase your heating by one degree each day. This gives you the control to adjust the temperature at a rate that your new tiles can handle, preventing a shock to the stone or porcelain.


