4 minute read
Hot and Bothered


HOT BOTHERED
Cool your ride before the summer heat arrives with these simple solutions.
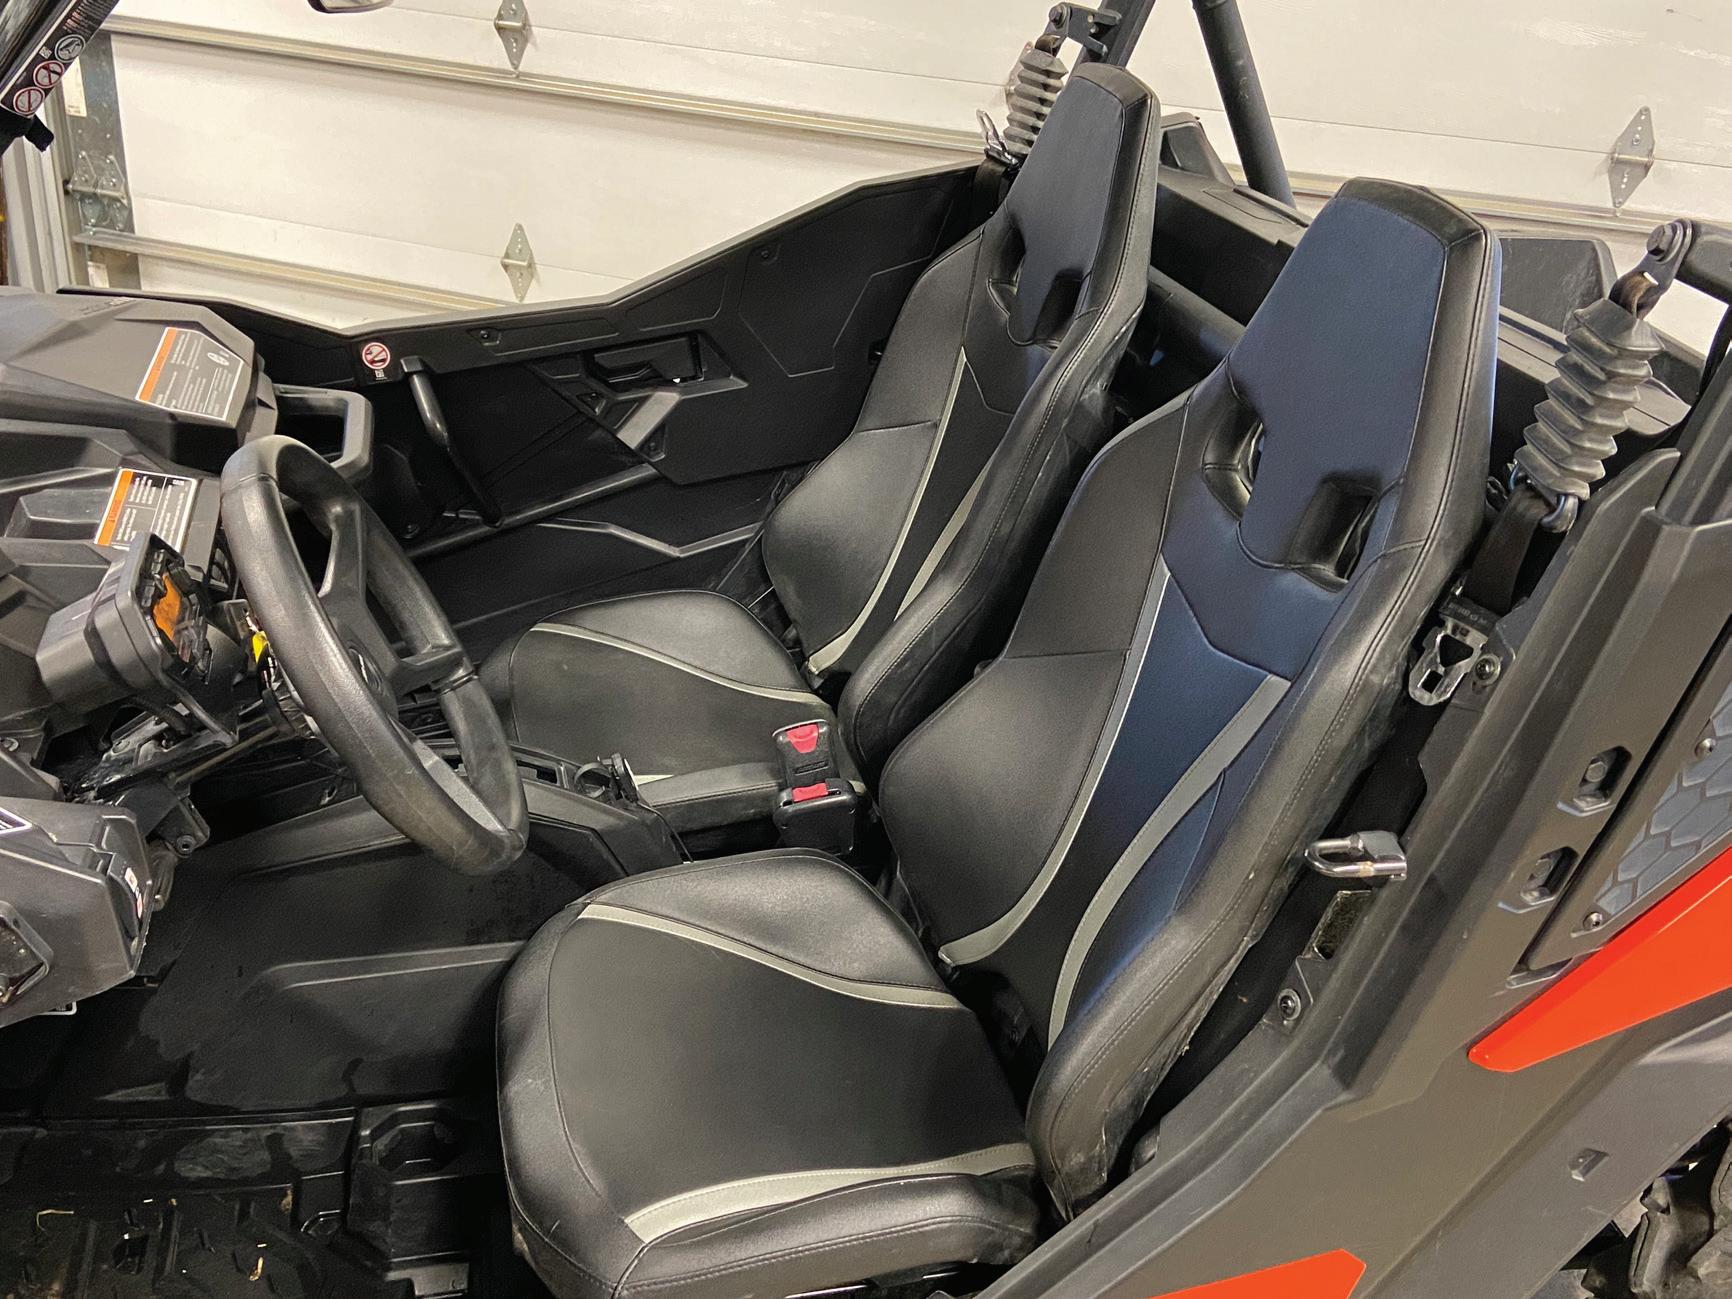
The warm summer days of exploring a wooded trail or an off-the-beaten-path minimum maintenance road are here. If you’re like us, a fully stocked cooler, your favorite navigation tools, and a few good friends is a recipe for a good time. To call Midwest weather unpredictable would be an understatement. Hot and humid one day can quickly turn to just above freezing and overcast the next. For that reason, we outfit our side-by-sides to be quickly adaptable to changing conditions. Flip down or removable windshields, quick conversion half doors, adjustable side venting, and rear close-off panels are all must haves for our side-by-side rides. But despite these popular accessories, many owners often complain about excessive in-cab heat, especially from more compact vehicles such as 50” wide models. The tighter packaging often puts you closer to the engine, radiator, exhaust, and cooling lines. The result is a cab area that can be nearly unbearable during the hottest days of summer. Fortunately, there are some simple do it yourself remedies that will dramatically reduce in cab temps and make for a more enjoyable experience by reducing noise and unwanted rattles and vibrations. The subject for this exercise was a Can-Am Maverick Trail 1000, a 50-inch-wide trail vehicle. While we love the performance of the Maverick Trail, a late season trip last summer had us melting from excessive cab heat. There are really two solutions to reducing in-cab heat (short of having air-conditioning or moving to the Arctic Circle). One is to prevent the heat from penetrating the space through insulation and heat shielding. And the other is to generate more airflow to rapidly remove the heat – both from the cab after it enters, or better yet, from areas where the heat itself is being generated. We first looked at ways to reduce the amount of heat entering the cab. There are several options in the market when it comes to a combination insulation and sound deadening material. Most come in sheets, are self-adhesive, and can be easily formed and trimmed to fit just about any space. Some of the more effective versions include a foil face to further reflect heat. Knowing we didn’t need to tackle the underside of the engine compartment, we went with a non-foil faced solution form Noico Solutions (noico.info). The diamond patterned black finish blended perfectly with the OEM plastic making the finished product indiscernible to the casual eye. While the adhesive qualities of the product are very effective, we took the extra time to thoroughly clean the plastic before application. A warm, soapy water mixture and some elbow grease is all it takes. Another major area of heat production comes from the radiator lines that often run within the middle console up the forward mounted radiator. These often bare-aluminum or rubber lines can emit a ton of heat. To quell the output, we used simple neoprene insulation tubing from the plumbing section of our local hardware store. Lastly, while you have your buggy tore apart and cleaned up, look for any cracks and crevices where air from the engine compartment can leak into the cab. We used memory foam from an old mattress topper, cut the sections to size, and squeezed them into the gaps. Pay special attention to the front firewall area of the cab. With a forward mounted radiator, the rush of air blowing through the hot radiator will find its way into the cab through practically any gap. Use the memory foam or self-adhesive window and door gasket (also found at your local hardware store) to seal up the firewall as tight as you can.
Upon completion, we found in-cab temps to be about 10-degrees cooler than previous. While not the same as enjoying the comfort of an air-conditioned enclosed cab, the results are definitely noticeable and well worth the less than $100 in material and half-day’s time we invested. Have a project or aftermarket product you’d like for us to evaluate and review here? Drop us a line and let us know at info@midwestriders.com

For additional, on-command airflow inside the cab, Wolf Snout offers this easy to install and wire overhead fan. While designed for a Polaris RZR, we suspect it could be easily adapted to just about any vehicle. Cost is just under $300, and you can find it at wolfsnout.net.
We removed the engine access cover and doubled-down the insulation in this area given it is closest to the engine and exhaust.

With the seats removed and the rear panel cleaned, cutting the forming the insulation was straightforward. A good tip is to tackle the space with several smaller pieces versus one or two large ones. The Noico material comes in sheets measuring 36-square feet and is easily trimmed.
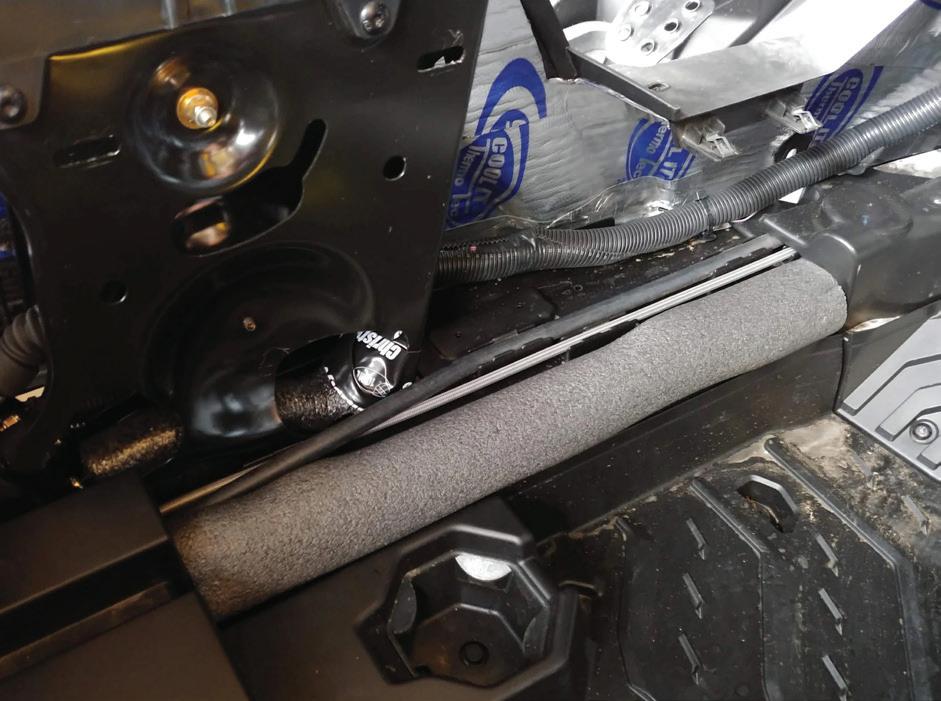
Simple pipe insulation from the plumbing section of your local hardware store is a simple and effective way to shield heat coming from the radiator lines running under the middle console on many side-bysides.


