Model 60010-2 Series 255 SL Model 60010-2 Series
REMOTE CONTROL SEARCHLIGHT FEATURES ●
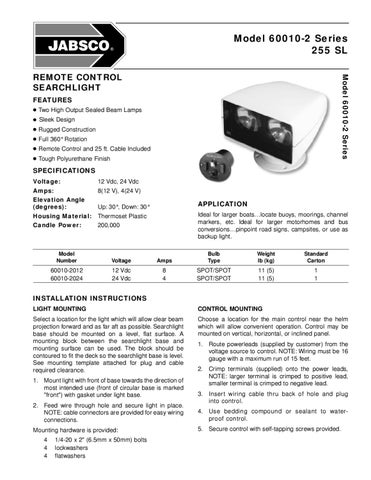
Two High Output Sealed Beam Lamps
●
Sleek Design
●
Rugged Construction
●
Full 360° Rotation
●
Remote Control and 25 ft. Cable Included
●
Tough Polyurethane Finish
SPECIFICATIONS Voltage: Amps: Elevation Angle (degrees): Housing Material: Candle Power:
12 Vdc, 24 Vdc 8(12 V), 4(24 V)
APPLICATION
Up: 30°, Down: 30° Thermoset Plastic 200,000
Ideal for larger boats…locate buoys, moorings, channel markers, etc. Ideal for larger motorhomes and bus conversions…pinpoint road signs, campsites, or use as backup light.
Model Number
Voltage
Amps
Bulb Type
Weight lb (kg)
Standard Carton
60010-2012 60010-2024
12 Vdc 24 Vdc
8 4
SPOT/SPOT SPOT/SPOT
11 (5) 11 (5)
1 1
INSTALLATION INSTRUCTIONS LIGHT MOUNTING
CONTROL MOUNTING
Select a location for the light which will allow clear beam projection forward and as far aft as possible. Searchlight base should be mounted on a level, flat surface. A mounting block between the searchlight base and mounting surface can be used. The block should be contoured to fit the deck so the searchlight base is level. See mounting template attached for plug and cable required clearance.
Choose a location for the main control near the helm which will allow convenient operation. Control may be mounted on vertical, horizontal, or inclined panel.
1. Mount light with front of base towards the direction of most intended use (front of circular base is marked "front") with gasket under light base. 2. Feed wire through hole and secure light in place. NOTE: cable connectors are provided for easy wiring connections. Mounting hardware is provided: 4 4 4
1/4-20 x 2" (6.5mm x 50mm) bolts lockwashers flatwashers
1. Route powerleads (supplied by customer) from the voltage source to control. NOTE: Wiring must be 16 gauge with a maximum run of 15 feet. 2. Crimp terminals (supplied) onto the power leads, NOTE: larger terminal is crimped to positive lead, smaller terminal is crimped to negative lead. 3. Insert wiring cable thru back of hole and plug into control. 4. Use bedding compound or sealant to waterproof control. 5. Secure control with self-tapping screws provided.