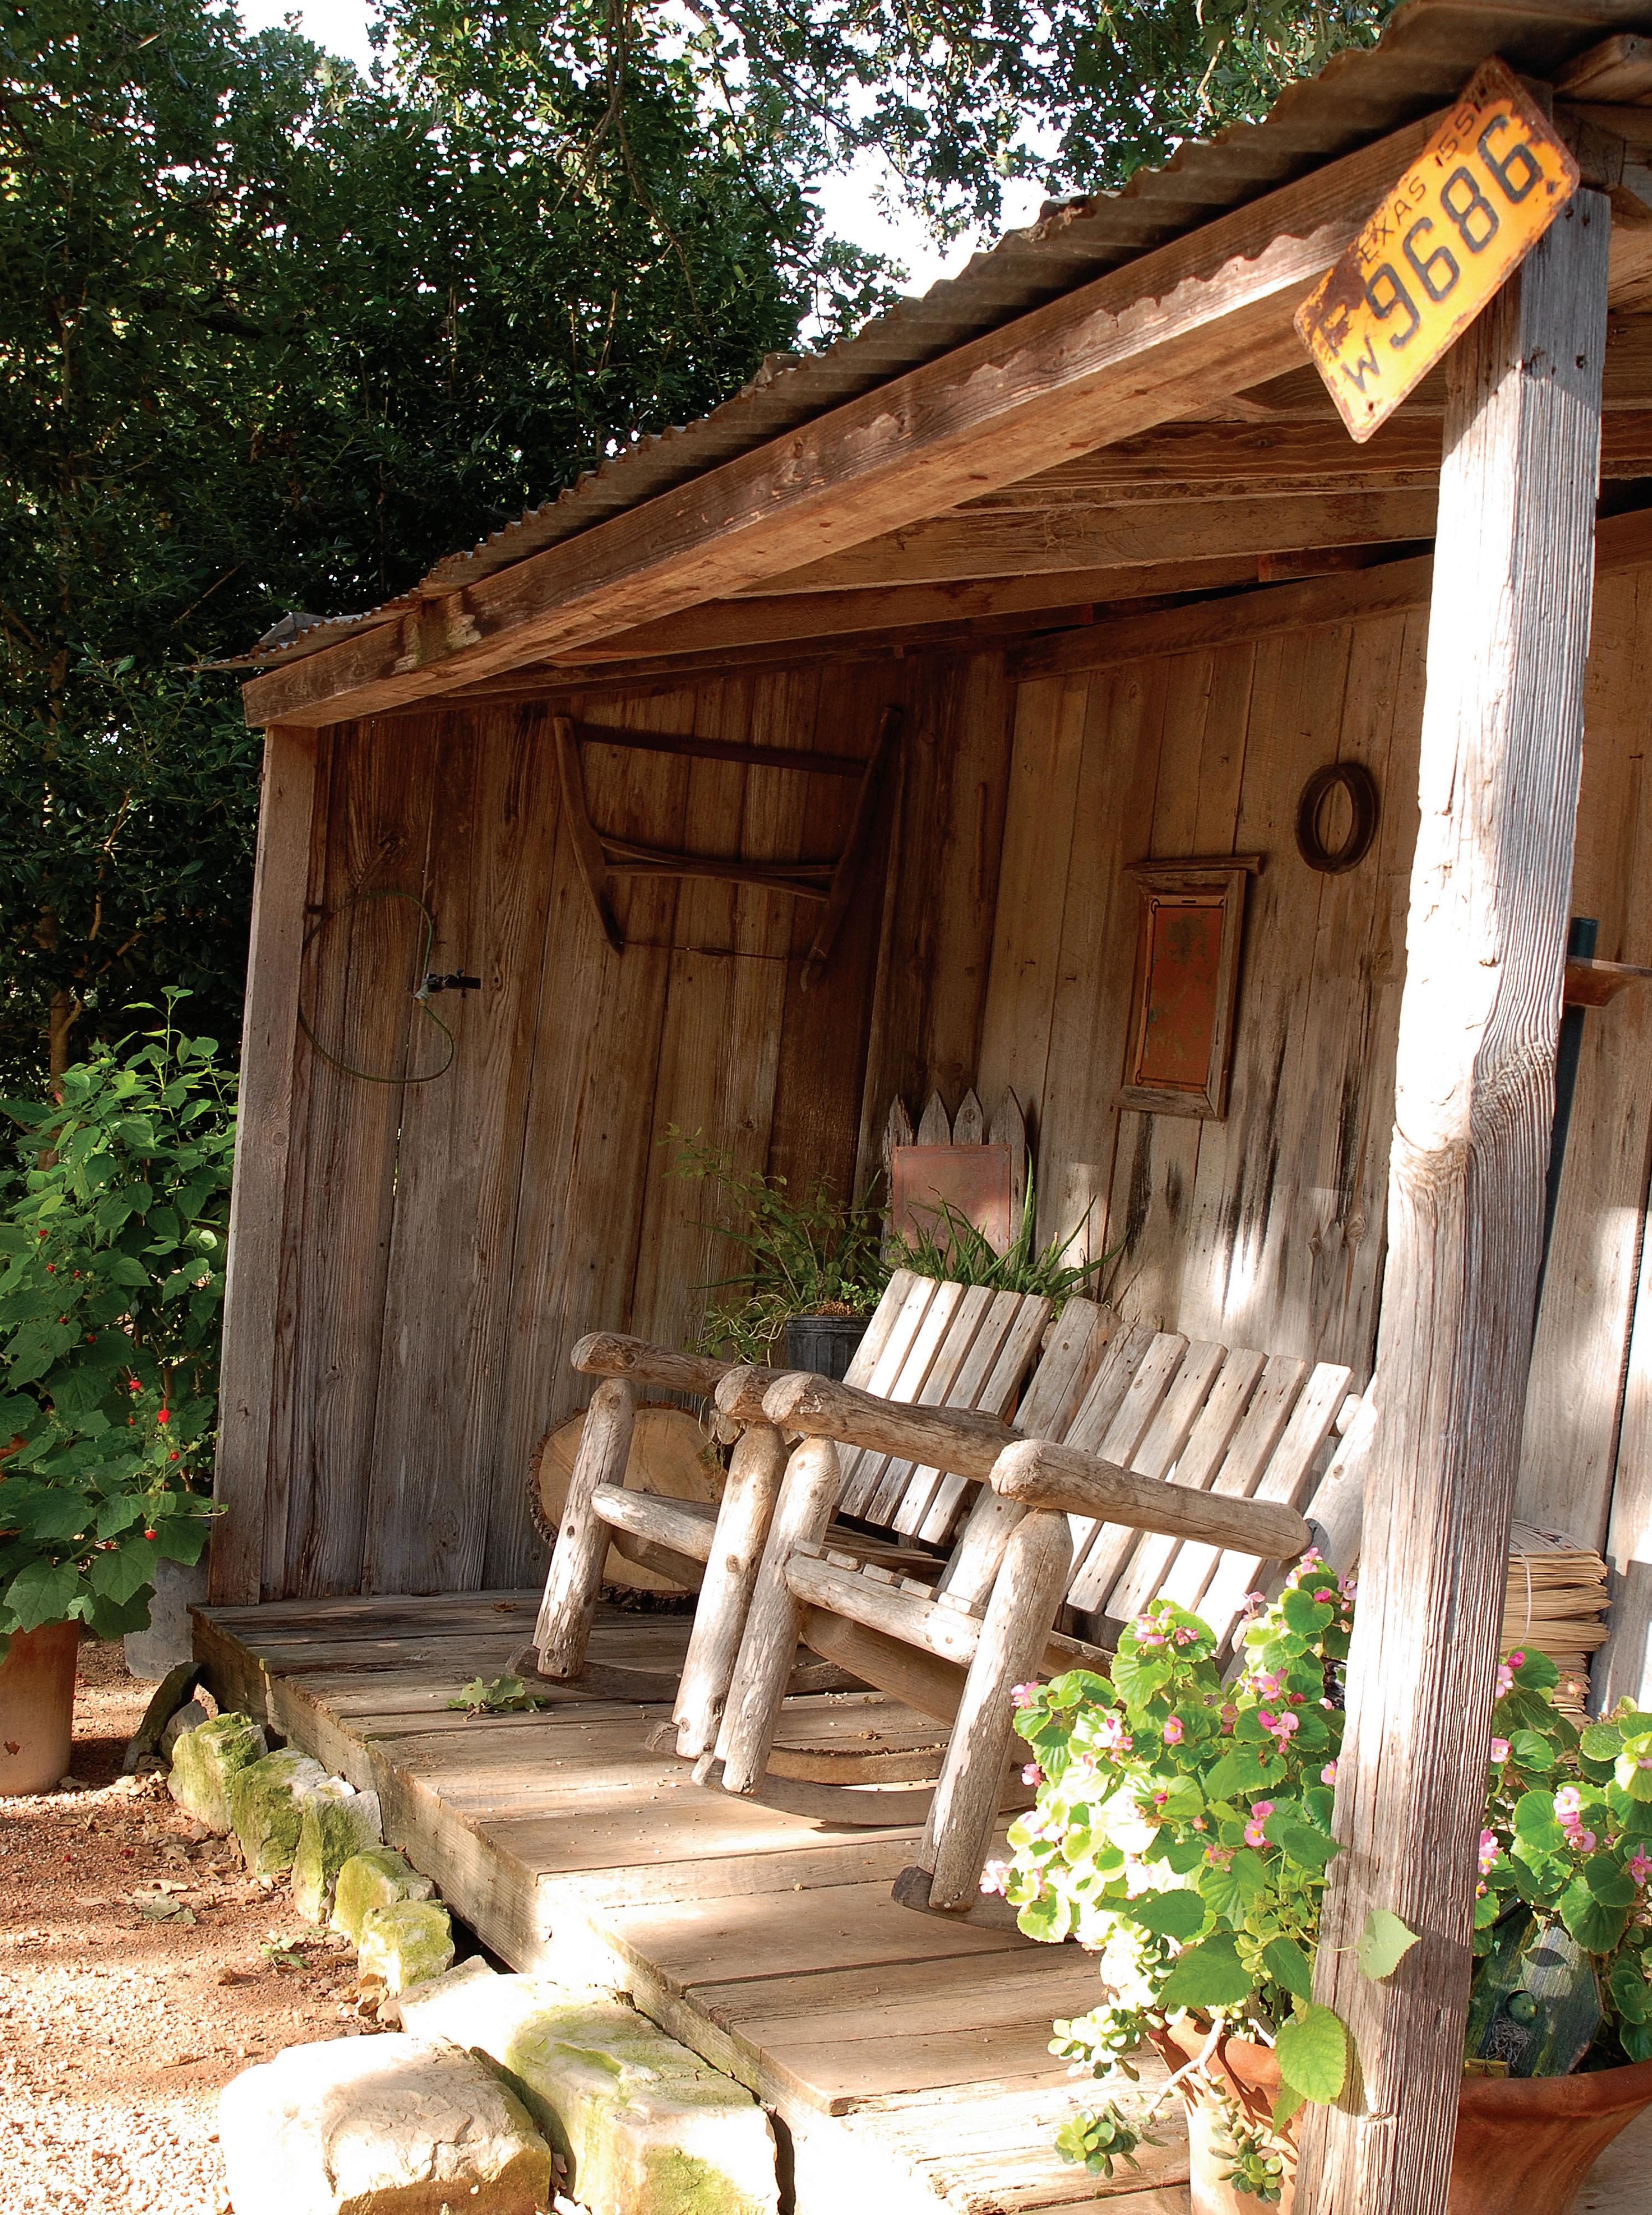





MOTHER EARTH NEWS EARTH NEWS P R E M I U M I S S U E LIVING ON LESS Put Extra Food to Good Use Instant Energy Savings • Make Your Own Gas Spring 2019 • $9.99 • Display until June 3, 2019 • Make Your Own Moccasins • Prepare Pasta From Scratch • Homemade Broth and Stocks • Preserve Your Garden’s Bounty • Try Your Hand at Broom-making • Produce Fresh Syrup From Trees INSIDE
The SA Series provides subcompact tractor versatility for every job. Industry-standard 3-point hitch, power takeoff and 2-pump hydraulics connect you to a universe of standard attachments to grade, haul, mow, till, seed and plant. And only YANMAR delivers Performance Link Technology™ ensuring every major component works in harmony, from front axle to nal drive.

The SA Series is part of a full family of tractors from YANMAR. Whether you need a 21 or 24 horsepower SA model, the 35 horsepower Model YT235 or the 47 to 59 horsepower available in the YT3 Series, each tractor from YANMAR is committed to giving back to the earth a little more than we take out of it.
See the lineup and schedule a test drive at YanmarTractor.com.


SA Series 21 & 24 HP • YT2 Series 35 HP platform & cab • YT3 Series 47 & 59 HP platform & cab ©2019 Yanmar America Corporation
Our favorite activity is productivity.
21-horsepower Model SA221 with M60 mid-mount mower
24-horsepower Model SA324/424 with mid-mount mower, YANMAR loader & backhoe
Try
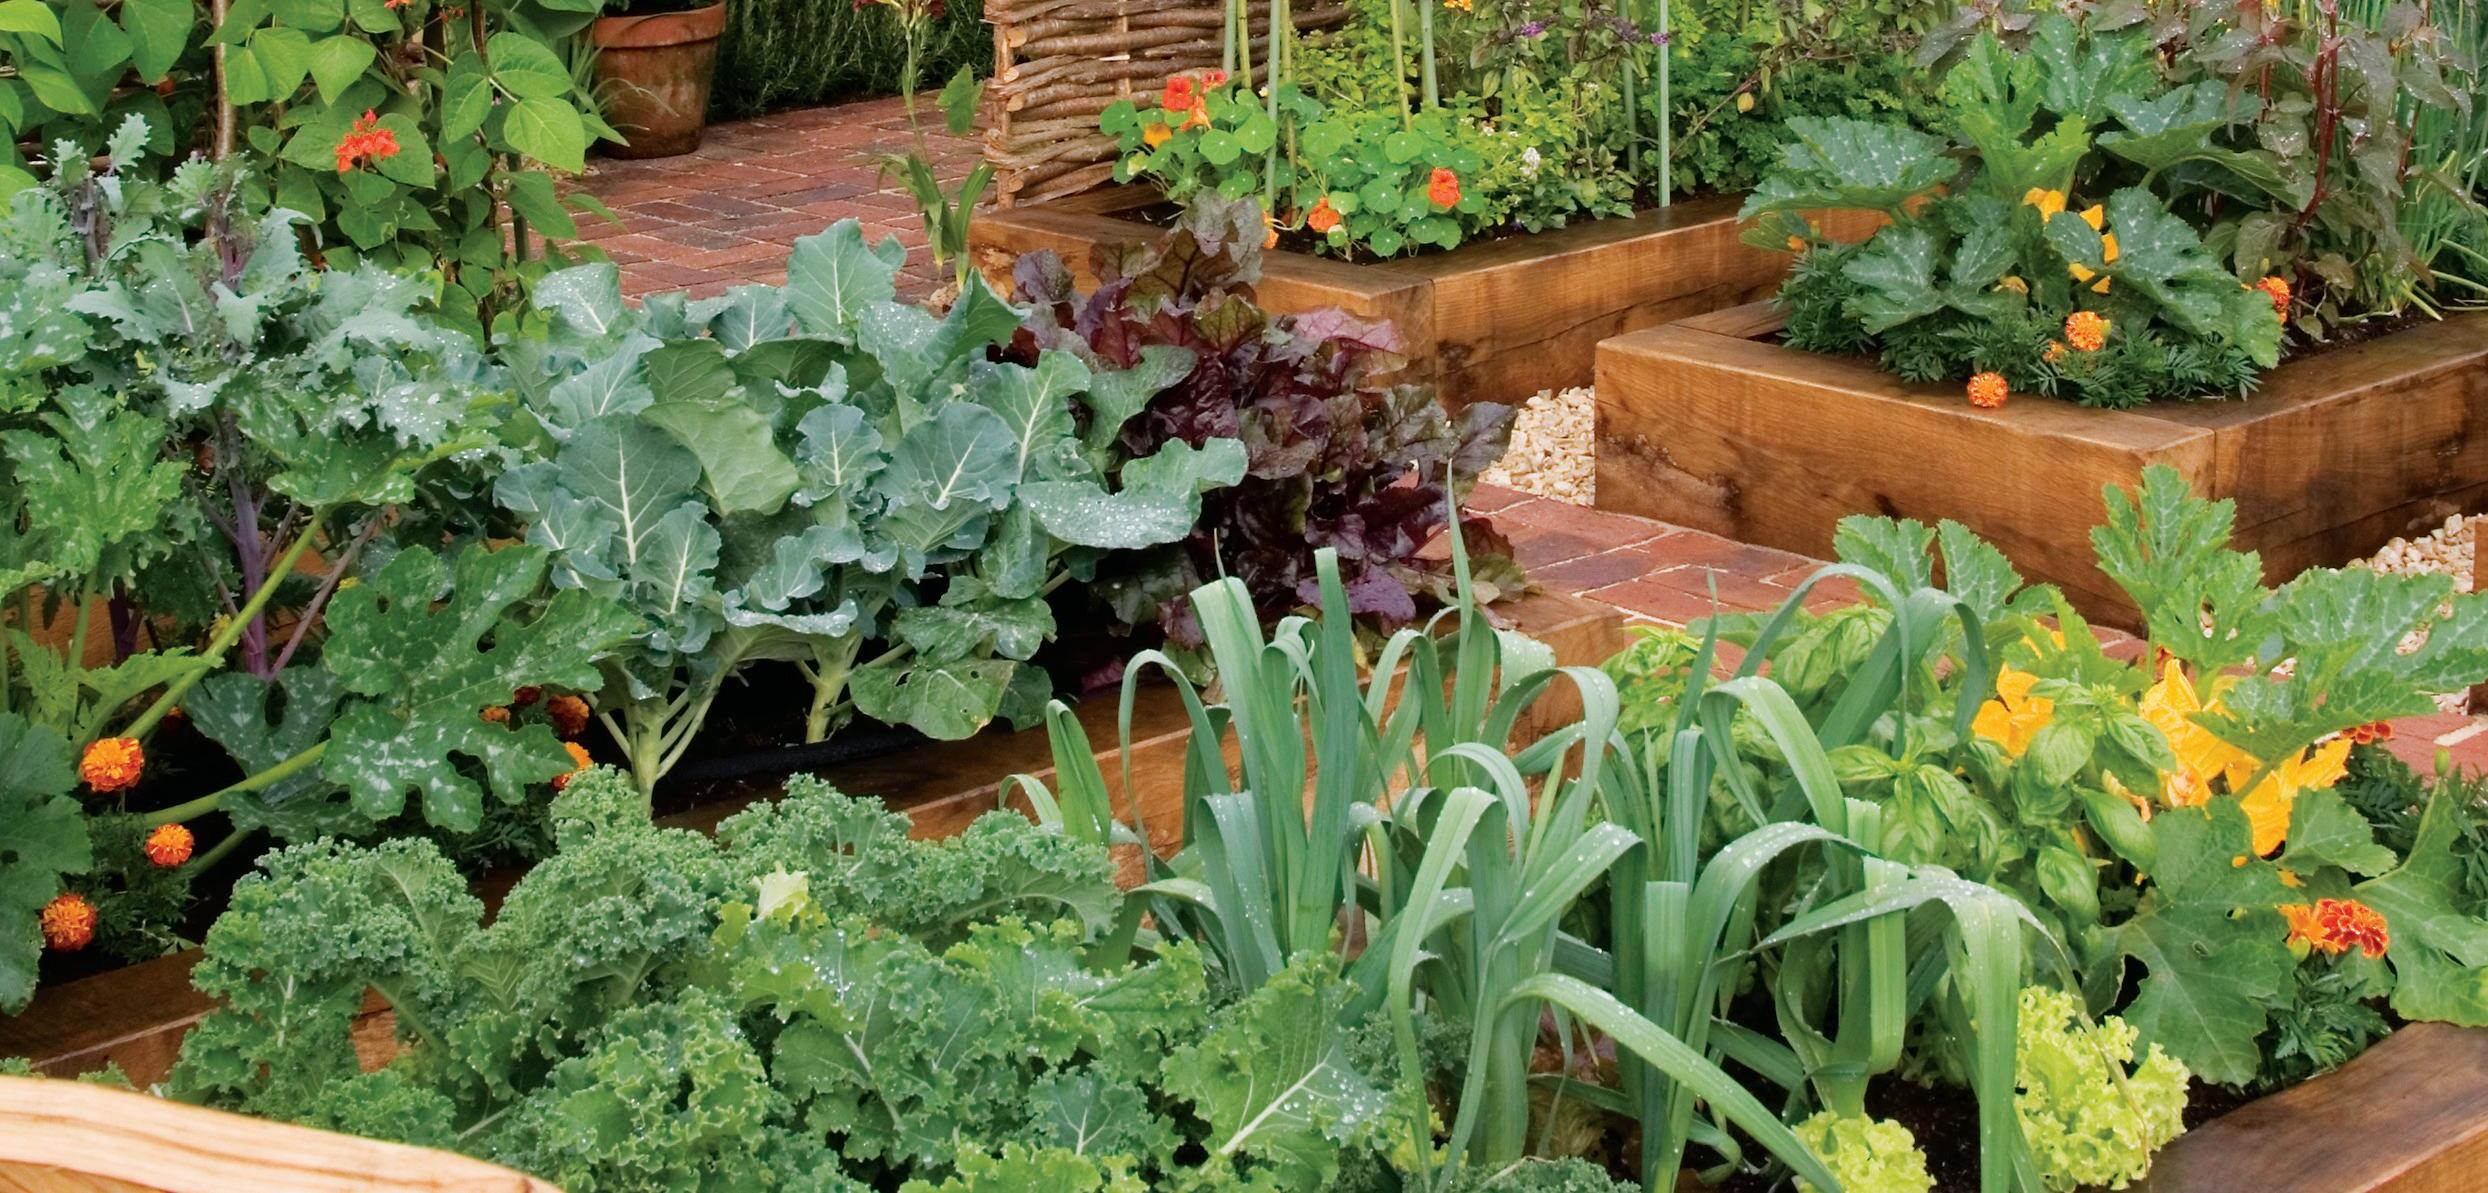
4 Grow $700 of Food in 100 Square Feet
If more of us grew a little food— instead of so much grass—our savings on grocery bills would be astounding.
10 Effortless Homemade Elderberry Syrup
A reader shares how to make medicinal elderberry syrup at home.

12 Freezing Fruits and Vegetables From Your Garden
Follow these straightforward freezing tips to turn your garden harvests into sensational, off-season meals.
16 Buy in Bulk for Big Savings on Better Food
Slash your family’s food costs in half—and support local farmers—by buying meat, produce, and dry goods in bulk.
22 25 Fresh Ways to Put Extra Food to Good Use

Don’t scrap your scraps! Reduce food waste by transforming your leftover morsels into meals.
28 Homemade Broth and Stock

Glean nutrients and flavor from bones and scraps by simmering and seasoning them.
32 Preserve Jams With Less Sugar
These recipes and tips offer a variety of options for preserving low-sugar jams without commercial pectin.
37 Creating Custom Furniture From Salvaged Wood Bootstrap business Baldwin Custom Woodworking transforms diseased trees into handmade heirloom woodworks.

42 Produce Syrup From Birch, Walnut, and Sycamore Trees


Want to branch out from maple? Use this guide to decide which trees to tap and learn to process tree sap into both sweet and savory syrups.

Table of Contents MOTHER EARTH NEWS • Premium Guide to Living on Less 10
your hand at intensive gardening for a highly productive growing system.
COVER: RICK WETHERBEE 102 22 37
45 Foraging and Eating Cattails
This easy-to-identify plant can serve as an everyday staple as well as a superior survival food.
50 How to Dry Food
Dry the harvest to stock up on homegrown snacks and convenience foods for year-round eating.
54 Curing Meat at Home
Bring fancy food to your everyday plate by learning how to make the cold, cooked meats known as charcuterie.

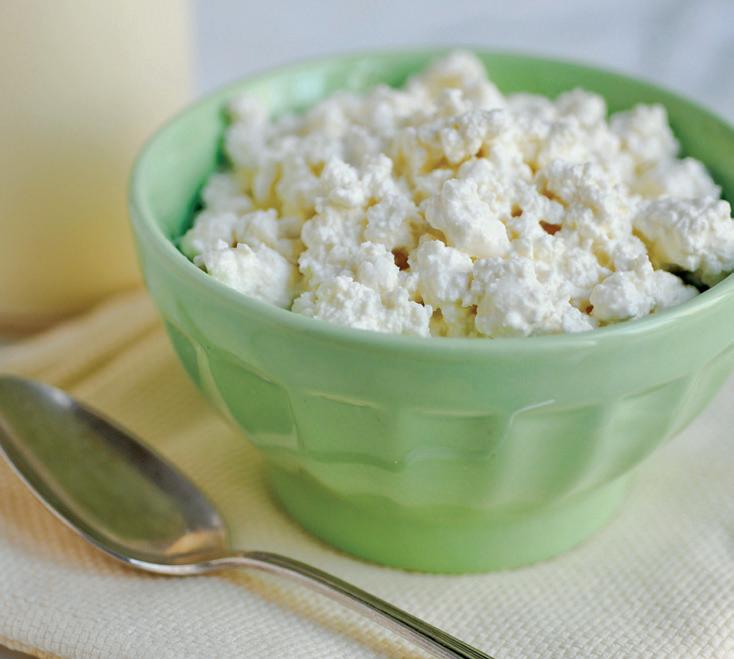
58 3 One-Hour Cheese Recipes
You don’t have to be a professional to enjoy fresh, homemade cheese.
64 8 Easy Projects for Instant Energy Savings
Implement these inexpensive strategies to reduce your carbon footprint and slash your energy bills.
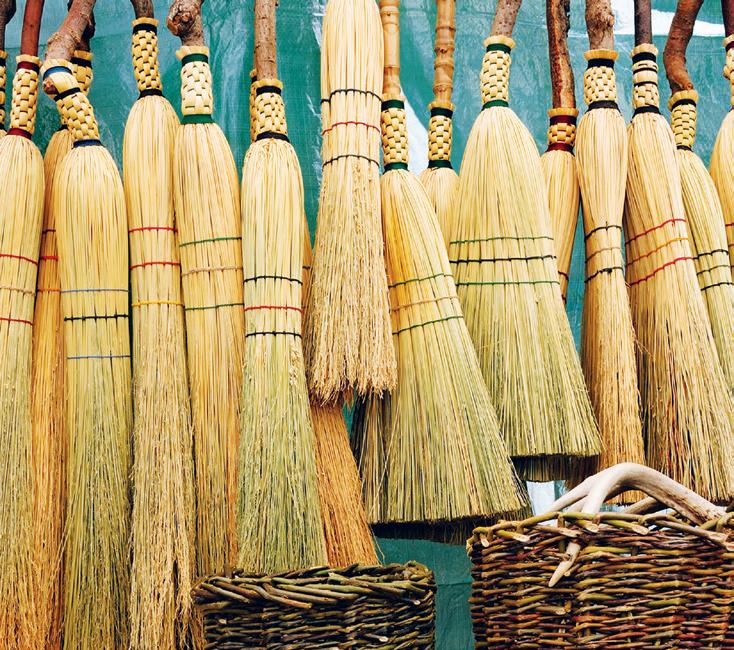
72 Craft a Traditional Hearth Broom
Learn the nearly lost American art of broom-making.
77 Cordage: How to Create Natural Thread
Extract fibers from plants to make your own strong, sustainable string.
80 Make Your Own Gas: Alcohol Fuel Basics
Produce ethanol on a small scale and enjoy the many benefits of this homegrown, renewable fuel.
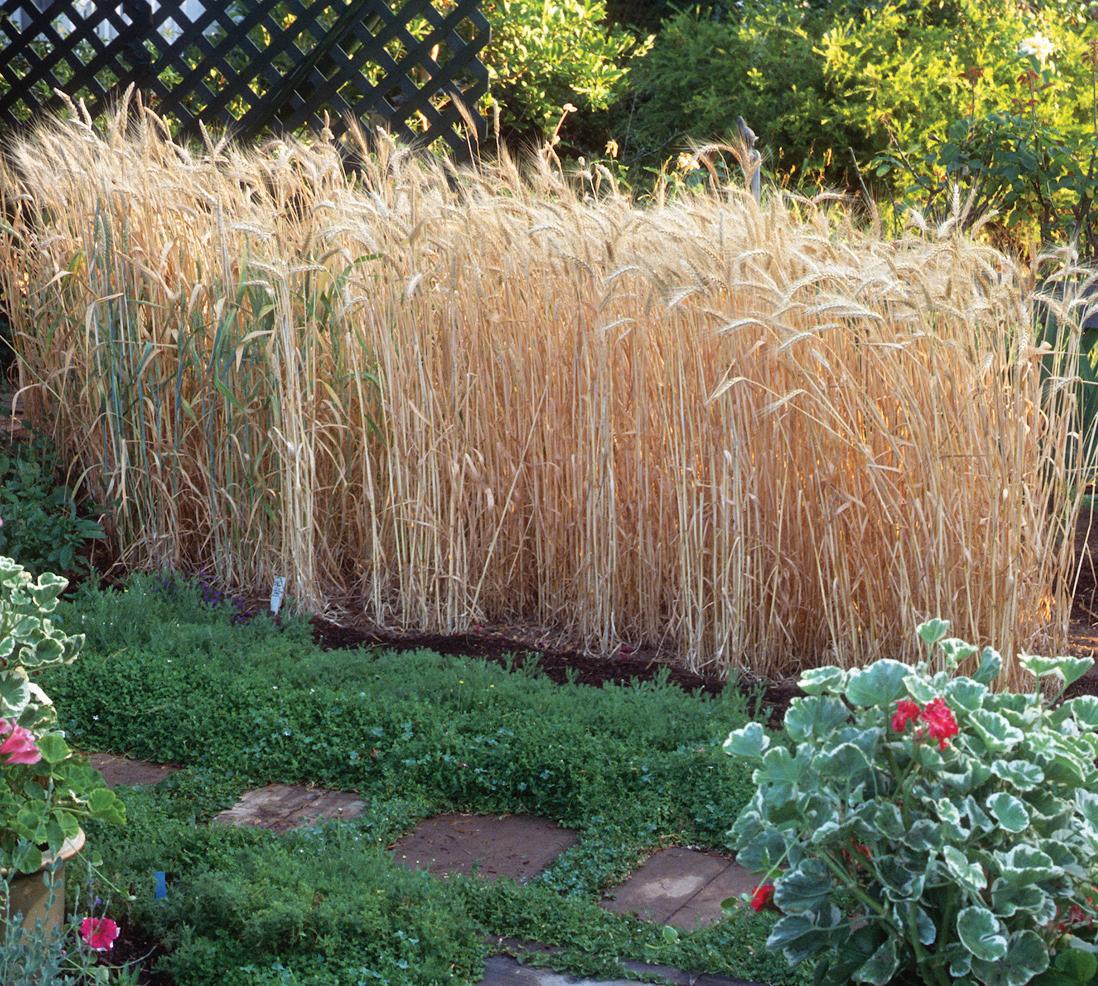
84 From Field to Flour: Harvest Your Own Wheat
Determine which types of wheat you should grow, plus learn how to cultivate and process this staple grain for use in the kitchen.
89 Brew Your Own Beer
Homebrewing is kettles of fun, and it’s the perfect way to make your own uniquely flavored, affordable drinks.
94 Fresh Pasta From Scratch: Traditional, WholeGrain, or Gluten-Free
Fresh pastas are so easy to make that you can enjoy homemade noodles any time.
97 5-Minute Homemade Mayo
Craft this creamy condiment with five natural ingredients.
98 Simply Dill-icious Pickles

These three basic methods put perfect pickling within the grasp of every preserver.
102 Grow More Food in Less Space (With the Least Work!)
Blending the best principles of biointensive and squarefoot gardening will yield a customized, highly productive growing system.
108 Sew Your Own Moccasins
Take your tanned animal skins one step further by turning the leather into comfortable, durable footwear.

54 72 98 58 84 108
Mother Earth News YouTube Channel


Visit
Beeswax Candle Making
Jessica and Q demonstrate how to make your own beeswax candles in this fun, easy project. Learn how to create your own at goo.gl/SCD7X4.

DIY Indoor Herb Garden
Enjoy the convenience of bringing your herb garden indoors. Join Jessica and Nancy as they discuss and demonstrate the benefits of a DIY indoor herb garden. You can watch now at goo.gl/HB3Lfn.

Easy Soap Making
Avoid the harsh chemicals found in store-bought soaps. Tag along with Charlotte and Q as they walk through the steps of making your own custom soap at home. Get started now at goo.gl/Lb8kyd.

Solar Cooking

Harness the sun’s energy for an eco-friendly cooking method. Russell and Jessica test out a variety of solar cookers to help determine which style will best fit your needs. Find out more at goo.gl/ieEY6M.
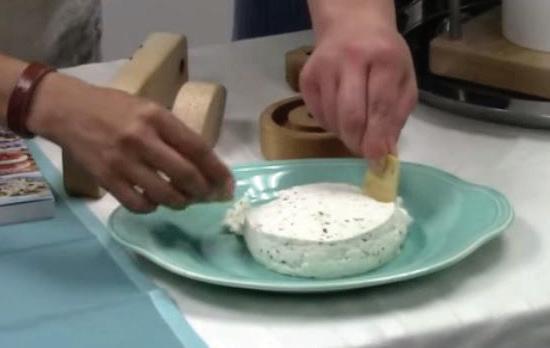
Making and Pressing Easy Farmer’s Cheese
Enjoy fresh homemade cheese and have fun making it. Watch as Q and Jessica prepare and press Easy Farmer’s Cheese. Visit goo.gl/q7Hsn2 now.
PREMIUM SERIES • SPRING 2019
GUIDE TO LIVING ON LESS
Special Content Team Editor Christian Williams
Group Editor Jean Teller
Assistant Editor Haleigh McGavock
Convergent Media
Brenda Escalante 785-274-4404; BEscalante@OgdenPubs.com
Art Direction and Pre-Press
Assistant Group Art Director Matthew T. Stallbaumer
Pre-Press Kirsten Martinez
Website
Digital Content Manager Tonya Olson
Display Advertising


800-678-5779; AdInfo@OgdenPubs.com
Newsstand
Melissa Geiken; 785-274-4344

Customer Service
800-234-3368; CustomerService@OgdenPubs.com
Publisher Bill Uhler
Editorial Director Oscar H. Will III
Circulation & Marketing Director Cherilyn Olmsted
Newsstand & Production Director Bob Cucciniello
Sales Director Bob Legault
Group Art Director Carolyn Lang
Director of Events & Business Development Andrew Perkins
Information Technology Director Tim Swietek
Finance & Accounting Director Ross Hammond
Mother Earth News (ISSN 0027-1535) is published bimonthly by Ogden Publications Inc., 1503 SW 42nd St., Topeka, KS 66609. For subscription inquiries call 800-234-3368. Outside the U.S. and Canada, call 785-274-4365; fax 785-274-4305.
© 2019 Ogden Publications Inc. Printed in the U.S.A.
MOTHER EARTH NEWS DIGITAL 68C 100Y 24K Pantone 363C THE ORIGINAL GUIDE TO LIVING WISELY
youtube.com/motherearthnewsmag to find more sustainable lifestyle videos to help you on your homesteading journey, and be sure to subscribe to receive updates on additions to the channel.

GROW $700 OF FOOD in 100 Square Feet!


 By Rosalind Creasy with Cathy Wilkinson Barash

Ireceive lots of questions about growing food to help save money. While working on my book, Edible Landscaping , I had an aha! moment. As I assembled statistics to show the wastefulness of the American obsession with turf, I wondered what the productivity of just a small part of American lawns would be if they were planted with edibles instead of grass.
I wanted to pull together some figures to share with everyone, but calls to seed companies and online searches didn’t turn up any data for home harvest amounts—only figures for commercial agriculture.
From experience, I knew those commercial numbers were much too low compared with what home gardeners can get.
For example, home gardeners don’t toss out misshapen cucumbers and sunburned tomatoes. They pick greens by the leaf rather than the head, and harvests aren’t limited to two or three times a season.


For years, I’ve known that my California garden produces a lot. By late summer, my kitchen table overflows with tomatoes, peppers, and squash; in spring and fall, it’s broccoli, lettuces, and beets.
But I’d never thought to quantify it. So I decided to grow a trial garden and tally up the harvests to get a rough idea of what some popular vegetables can produce.


The Objective


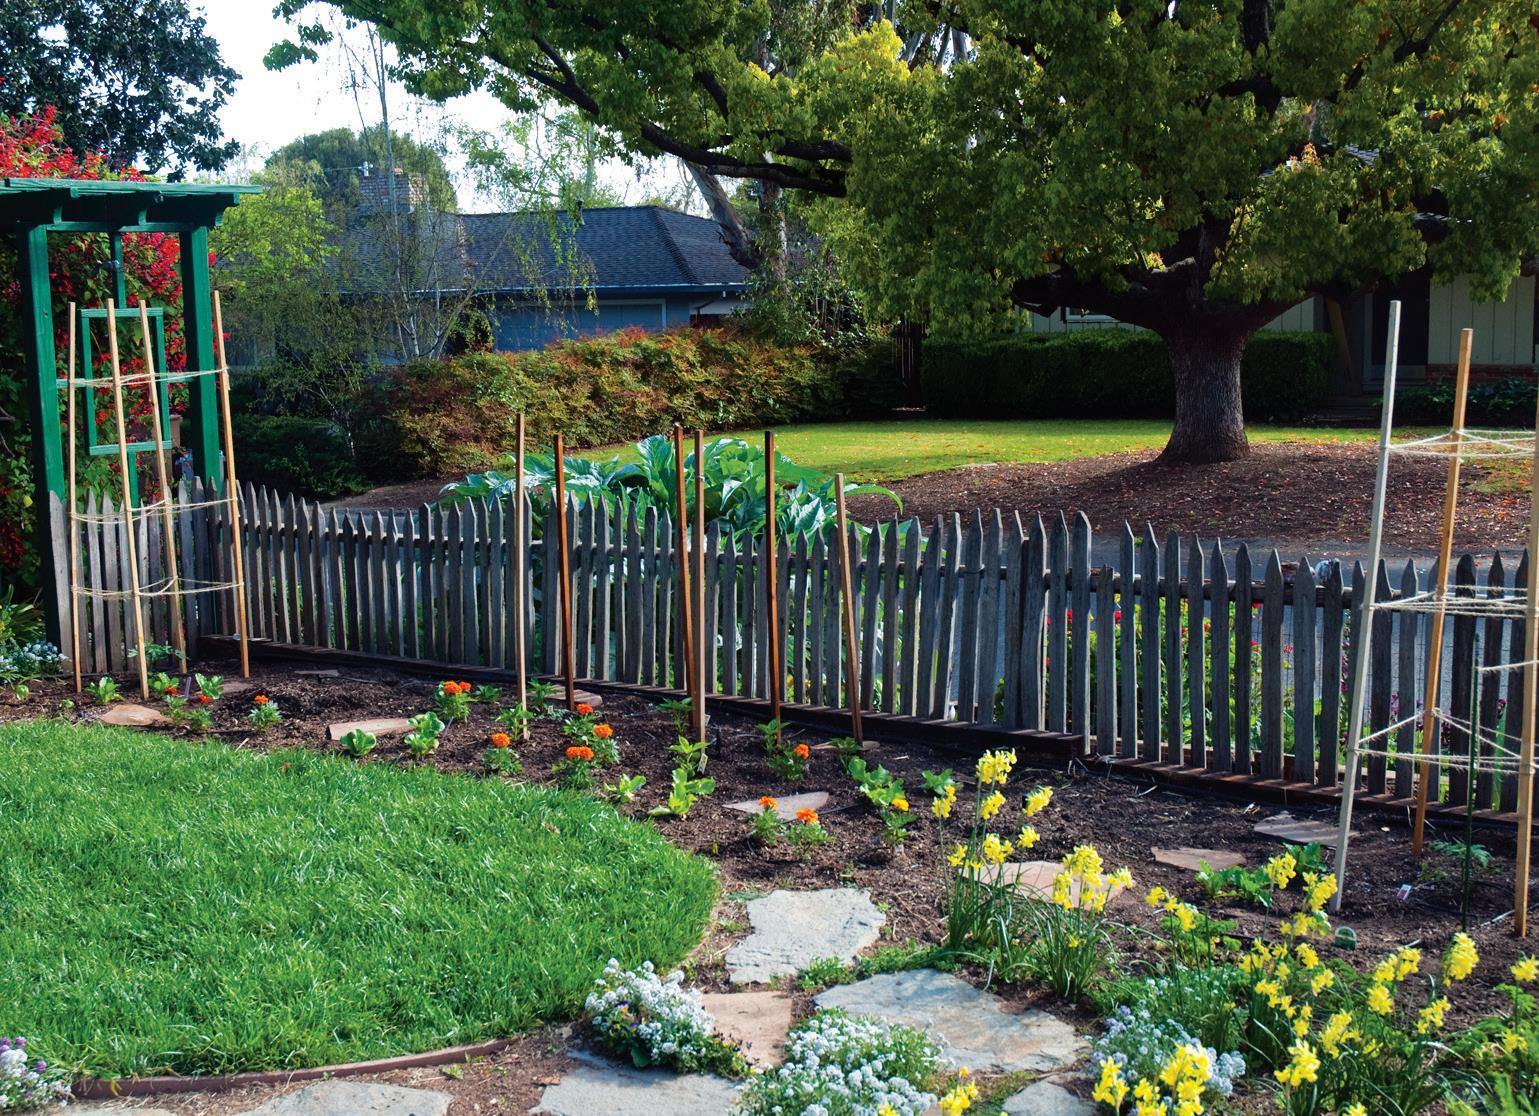
I took a 5-by-20-foot section of garden bed by my tiny lawn to see how much I could grow in just 100 square feet.
My goal was to produce a lot of food,
and because it was part of my edible landscape, it had to look good, too.
The Plants
I wanted to make this garden simple—something anyone could grow. I didn’t include fancy vegetable varieties; I chose those available at my local nursery as transplants. I also selected vegetables that are expensive to buy at the supermarket, as well as varieties that my experience has told me produce high yields.
WWW.MOTHEREARTHNEWS COM 5
If more of us grew a little food—instead of so much grass—our savings on grocery bills would be astounding.
ROSALIND CREASY; PAGE 4: SAXON HOLT & ROSALIND CREASY
By carefully planning each step, Creasy thoughtfully integrated her garden into her yard.
The first season I grew the following:
• Two tomato plants: ‘Better Boy’ and ‘Early Girl’
• Four basils (expensive in stores but essential in the kitchen)
• 18 lettuces: six ‘Crisp Mint’ romaine, six ‘Winter Density’ romaine, and six ‘Sylvestra’ butterhead
• Six bell peppers, which are often luxuries at the market when fully

colored: two ‘California Wonder,’ two ‘Golden Bell,’ one ‘Orange Bell,’ and one ‘Big Red Beauty’
• Four zucchinis: two green ‘Raven’ and two ‘Golden Dawn’

The only plants I grew from seed were the zucchinis. Hindsight is always 20/20: I should have thinned each of the zucchini hills to a single seedling, but I left two in each hill. As a result, I needed to come up with creative uses for zucchini, including giving them away as party favors at a dinner I hosted.
It looked a bit barren at first, but the garden flourished—especially the lettuces. Within several weeks, I started picking outer leaves for salads for neighbors and myself. The weather forecast predicted temperatures in the upper 90s; I was heading out of town and feared the lettuces would bolt, so I harvested the entire heads earlier than I normally would. Within about a month of transplanting
6 MOTHER EARTH NEWS • PREMIUM GUIDE TO LIVING ON LESS
the lettuces
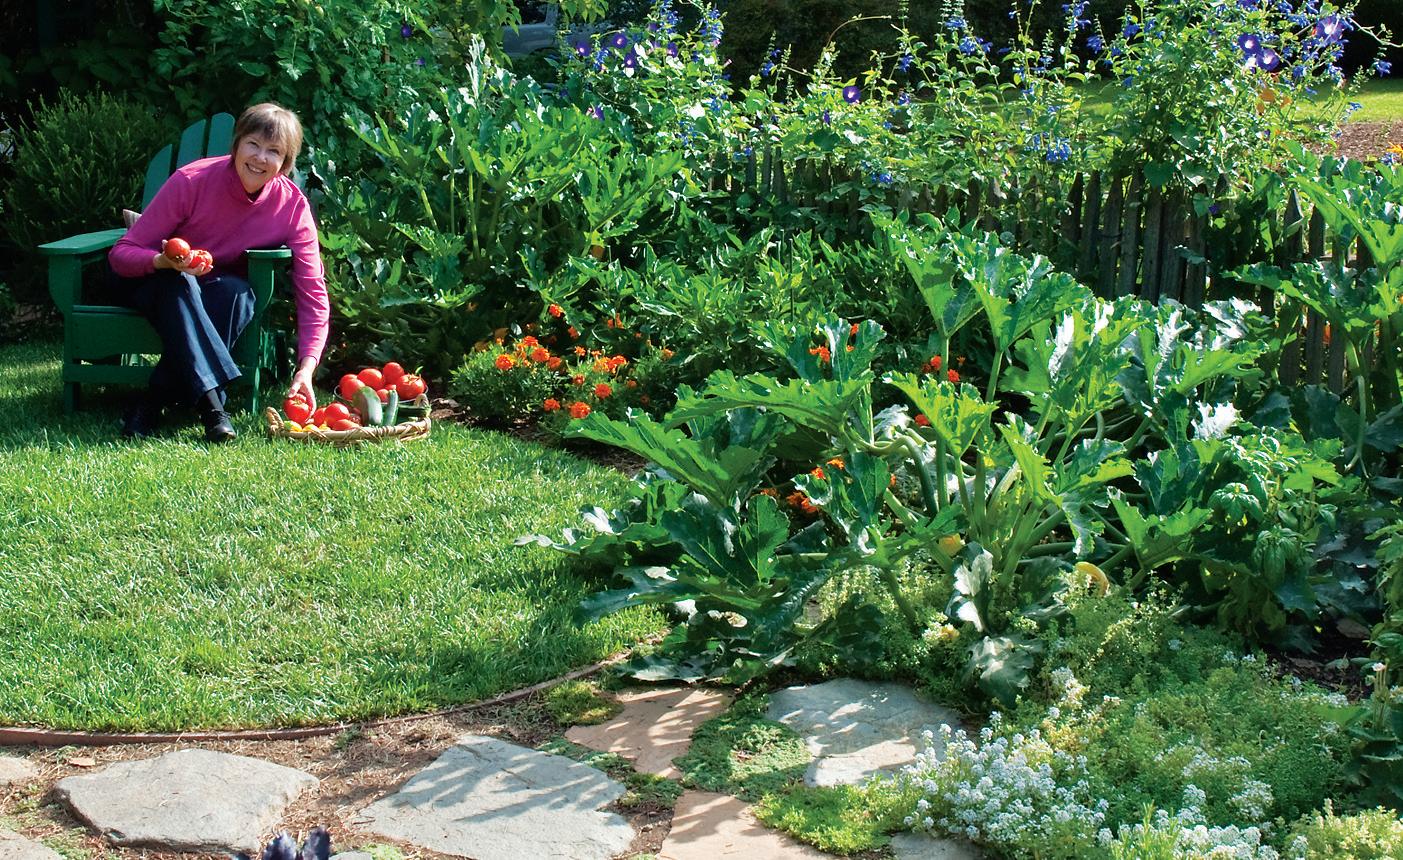
Luscious homegrown tomatoes, spicy basil, robust squash, and always-prolific zucchini were harvested from Creasy’s 100-square-foot garden bed.
In her garden, the author grew (from left) ‘Celebrity’ tomatoes on the green trellis; two basil plants in front; ‘Raven’ zucchini with three chard plants behind it; ‘Musica’ string beans on a tipi; an arbor with ‘Early Girl’ tomatoes; two collard plants; and two ‘Blushing Beauty’ bell peppers.
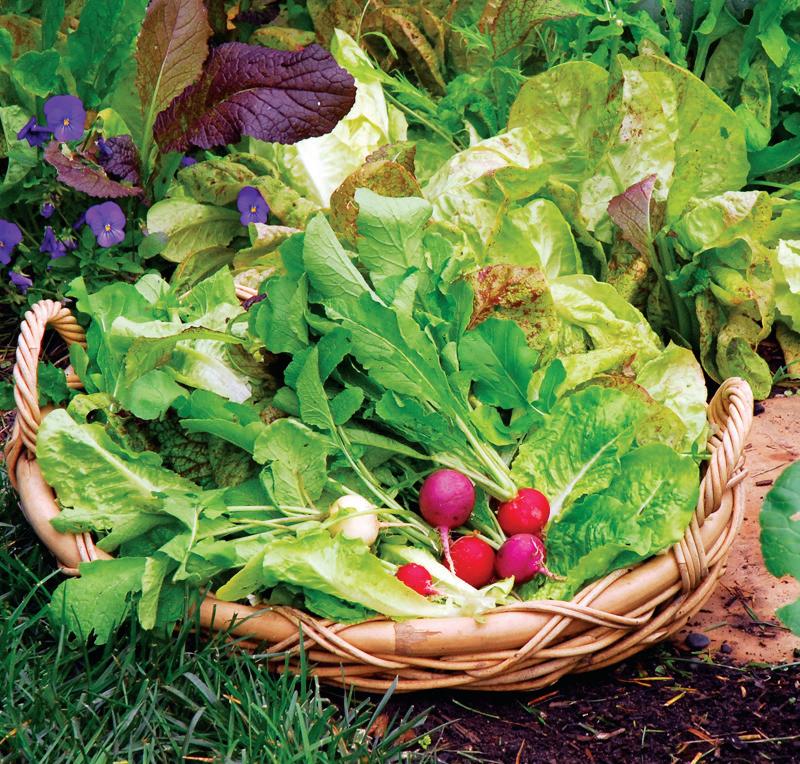
into the garden, I had grown enough for 230 individual servings of salad.
And by that time, the tomatoes, zucchinis, and pepper plants had nearly filled in the bed.
A Living Spreadsheet


Although I’ve grown hundreds of varieties of vegetables over the years and kept rough notes, this garden was different. My co-author Cathy created spreadsheets for each type of plant, and we kept meticulous records each time we harvested.
We recorded amounts in pounds and ounces, as well as the number of fruits (for each cultivar of tomato, zucchini, and pepper) or handfuls (for lettuces and basil).
The Investment: Time and Money
This 100-square-foot plot took about eight hours to prepare, including digging the area, amending the soil, raking it smooth, placing stepping stones, digging the planting holes, adding organic fertilizer, and setting the plants and seeds in the ground.

On planting day, I installed homemade tomato cages (store-bought ones are never tall or sturdy enough) and
drip irrigation. And I mulched well— a thick mulch is key to cutting down on weeding, which is the biggest time waste in the garden, in my opinion. We hand-watered the bed for a few weeks to allow the root systems to grow wide enough to reach the drip system. Three times during the first month we routed out a few weeds, which was only necessary until the plants filled in and shaded the soil.
Tomatoes in my arid climate are susceptible to bronze mites that cut down on the harvest and flavor. To prevent mites, we sprayed sulfur in mid-July
Getting the Most Food from a Small Area
Choose indeterminate tomatoes. They keep growing and producing fruit until a killing frost. (Determinate varieties save space but ripen all at once.)
In spring, plant cool-season vegetables, including lettuce, arugula, scallions, spinach, radishes, mesclun, and stir-fry green mixes. They are ready to harvest in a short time, and they act as space holders until the warm-season veggies fill in.
Grow up. Peas, small melons, squash, cucumbers, and pole beans have a small footprint when grown vertically. Plus, they yield more over a longer time than bush types.
Plants such as broccoli, eggplant, peppers, chard, and kale are worth the space they take for a long season. As long as you keep harvesting, they will keep producing until frost.
and again in mid-August, which took about 30 minutes each time.
In rainy climates, gardeners often need to prevent early blight on tomatoes. To do so, rotate tomato plants to a different area of the garden each year and mulch well.
After the plants are a few feet tall, remove the lower 18 inches of leafy stems to create good air circulation.
For the rest of the season, we tied the tomatoes and peppers to stakes as they grew upward, cut off the most rampant branches, and harvested the fruits. The time commitment averaged about an
WWW.MOTHEREARTHNEWS COM 7 ROSALIND CREASY (4)
Author Rosalind Creasy in her landscaped Northern California vegetable garden.
Even after factoring in the expense of some plants and fertilizer, a small garden can still save you big bucks on groceries.
hour and a half each week. (Our harvesting consumed more time than average because we counted, weighed, and recorded everything we picked.)
The Results
To determine what my harvest would cost in the market, I began checking out equivalent organic produce prices in midsummer.
On a single day in late August, I harvested 49 tomatoes, nine peppers, 15 zucchinis of many sizes, and three handfuls of basil—which would have totaled $136 at my market that day. From April to September, this little organic garden produced 77.5 pounds of tomatoes, 15.5 pounds of bell peppers, 14.3 pounds of lettuce, and 2.5 pounds of basil—plus a whopping 126 pounds of zucchini! Next time I won’t feel bad about pulling out those extra plants.
I figured the total value of my summer trial garden harvest was $746.52. In order to get a fair picture, I also needed to subtract the cost of seeds, plants, and compost (I can’t make enough to keep up with my garden), which added up to $63.09.
That leaves $683.43 in savings on fresh vegetables. Of course, prices vary throughout the season and throughout the country.
I live in Northern California, and for comparison, Cathy, who lives in Iowa, checked out her prices and figured the same amount of organic produce in her area would be worth $975.18.

The Big Picture
I started this garden to see what impact millions of organically grown 100-square-foot gardens would have if they replaced the equivalent acreage of lawns in this country. According to the Garden Writers Association, 76 million U.S. households gardened in 2013.
If just half of them (38 million) planted a 100-square-foot garden, that would total 87,235 acres (about 136 square miles) no longer

in lawns, and there’d be no need for the tremendous resources that go into keeping them manicured.
If folks got even half of the yields I got, the national savings on groceries would be stupendous: about $26 billion! So, a 100-square-foot food garden can be a big win for anyone who creates one—and for our planet.
Looking Forward
I have decided to continue keeping the records from my 100-square-foot garden indefinitely.
In the fall, I planted broccoli, chard, snap peas, cilantro, kale, scallions, and a stir-fry greens mix. This took much less time, as the soil preparation was done and the drip system was already in place.
The following summer, I planted different tomato varieties, added cucumbers, a tipi of pole beans, chard, and collards. Remember, I was growing all of this in a bed that is just 5-by-20 feet!
Read More, Share Your Results

My lecture audiences, the media, and visiting gardeners are excited to report about how much food a garden can produce.
Other organizations are on the same wavelength. In spring of 2008, Burpee started to record harvest amounts; Roger Doiron of Kitchen Gardeners International kept a tally of his family’s summer garden (find it online at www. seedmoney.org); and M E N put out a call for readers to share information about their most productive plants.
You can read this article online (go to goo.gl/gA9SB6), and share your garden totals by posting a comment. We’re looking forward to hearing about harvests from folks all over the country.
8 MOTHER EARTH NEWS • PREMIUM GUIDE TO LIVING ON LESS
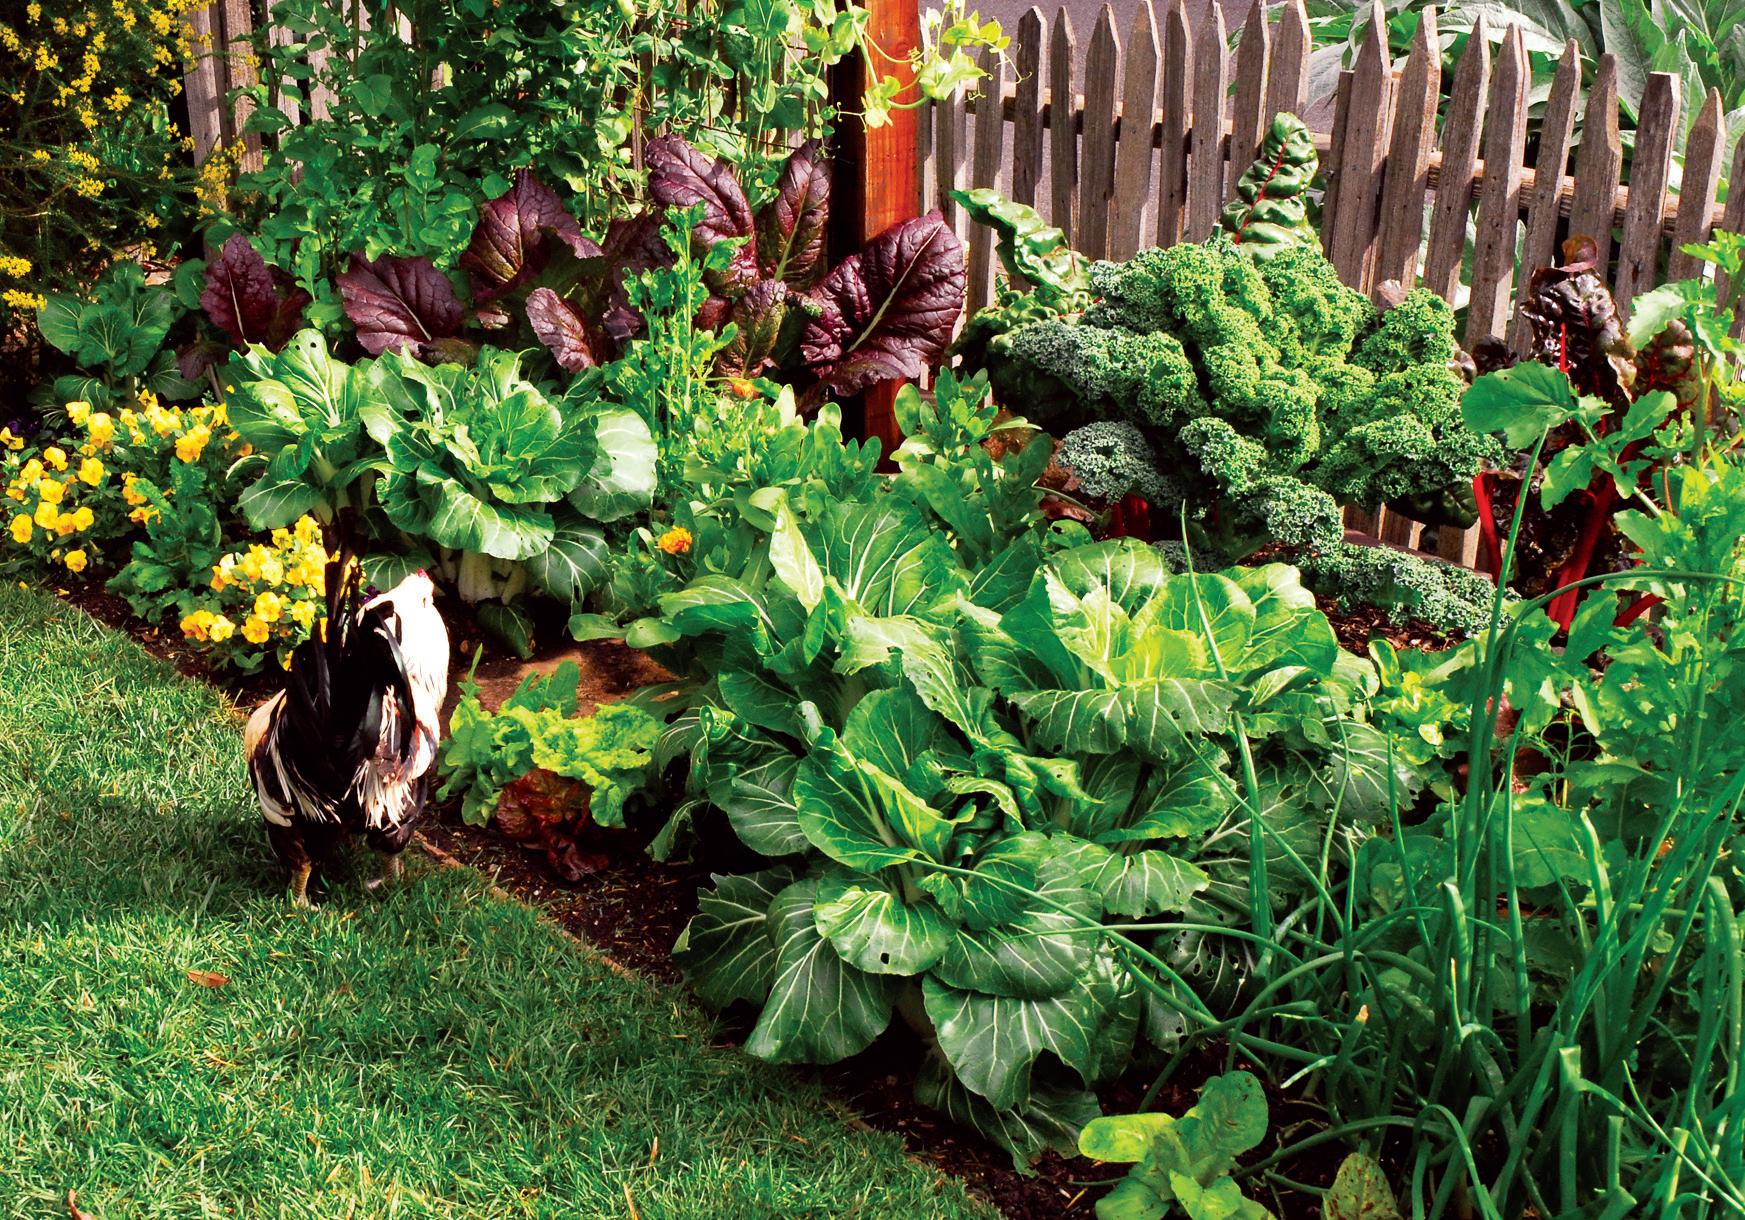
Creasy’s pet rooster, Mr. X, checks out the lush, rich vegetable garden.
ROSALIND CREASY (2)
Within a month, just 18 plants yielded 230 individual servings of salad!

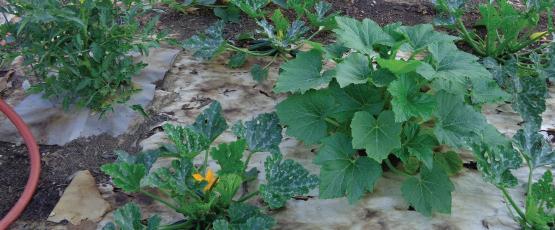
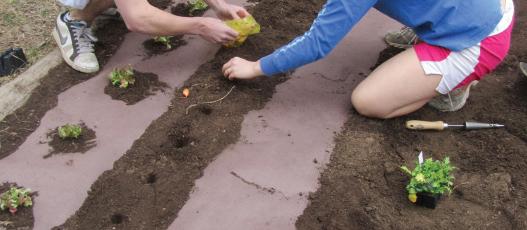


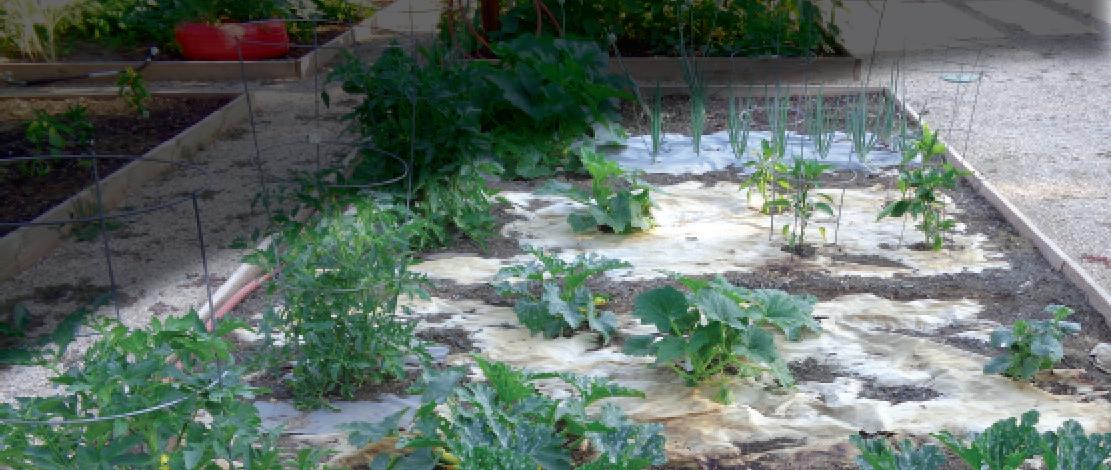


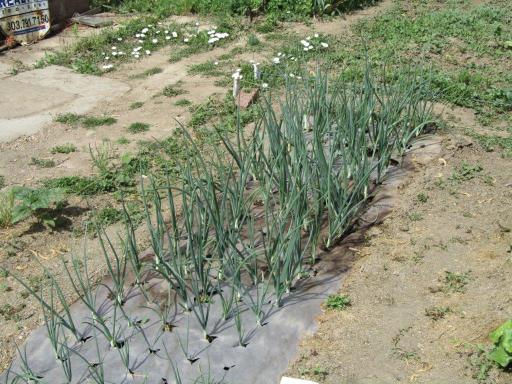
Rolls & Sheets for: • Conventional growers • Organic growers • Landscapers • Small gardens • Large gardens WeedGuardPlus enriched with fertilizer, humic acid to condition soil, or calcium to prevent blossom end rot. plastic, WeedGuardPlus is porous, so rainwater or overhead irrigation can be used for watering. Increases Yields. In a recent study zucchini grown with fertilizerenriched WeedGuardPlus yielded more fruit than the control soil. For more information or to order: 800-654-5432 www.WeedGuardPlus.com Biodegradeable Organic
weeding
yield
tape under weed block
tape over weed block
irrigation Porous -- plants breathe 100% biodegradable
pick up and disposal
under to enrich soil
fertilizing Plastic WeedGuardPlus X X X X X X X X X X X X WeedGuardPlus w/ Fertilizer X X X X X X X X X Please visit our website for special offers www.WeedGuardPlus.com
Paper Mulch Eliminates
Increases
Drip
Drip
Overhead
Requires
Plow
Self
Effortless Homemade ELDERBERRY SYRUP
A reader shares how to make medicinal elderberry syrup at home.
 By Carrie Williams Howe
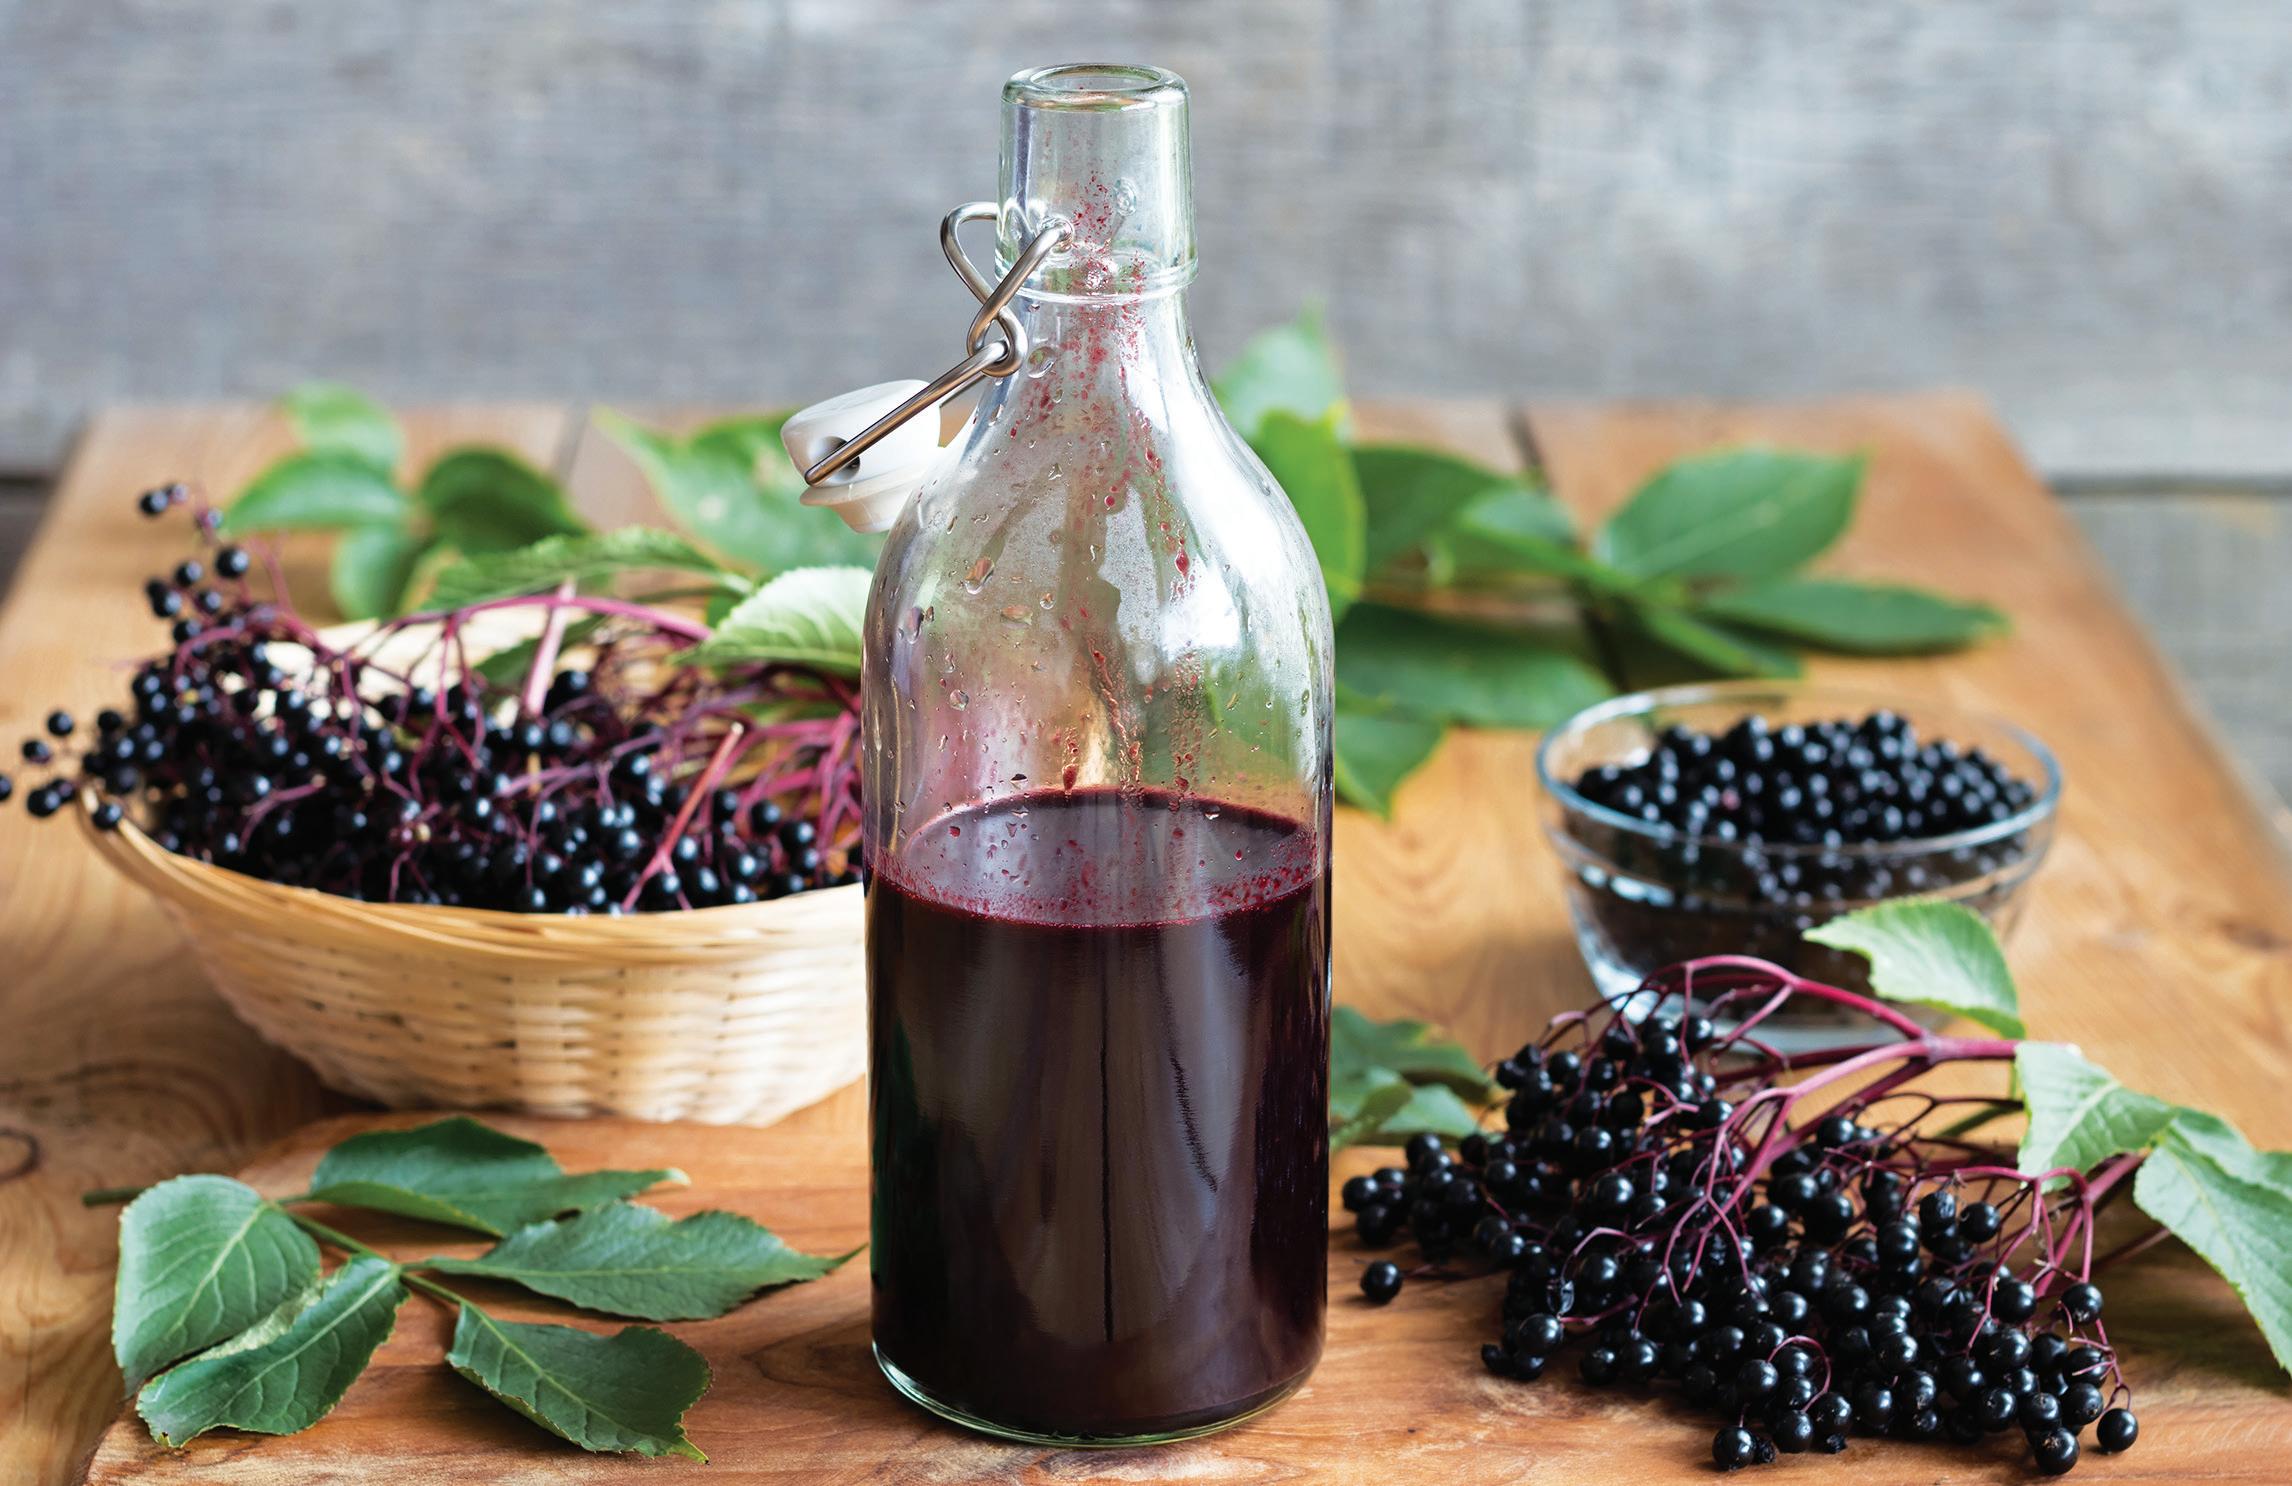
If you’ve walked into a health food store lately, you’ve no doubt seen a proliferation of syrups, tonics, and homeopathic medicines made with elderberries (Sambucus nigra). These products are meant to prevent and treat cold and flu symptoms and to boost your immune system, and often include honey as well.
It’s no surprise that herbalists everywhere are combining elderberry and honey. According to information on the Penn State Milton S. Hershey Medical Center website, “Some evidence suggests that the chemicals in elder flower and berries may help reduce swelling in mucous membranes, including the sinuses, and help relieve nasal congestion. Elder may have anti-inflammatory, antiviral, anti-influenza, and anticancer properties.”
Honey is likewise well-known for its medicinal qualities—it can soothe a sore throat and calm a cough, and it’s thought to boost immunity and fight allergies.
While I’m a huge fan of herbal medicines, and I’ve found success with some of these elderberry supplements, I’ve had two complaints when I shopped for them in the store: cost and ingredients. A small jar of elderberry syrup can cost upward of $20,

Making your own elderberry syrup is both rewarding and cost-effective.
G ETTY I MAGES /M ADELEINE _S TEINBACH 10 MOTHER EARTH NEWS • PREMIUM GUIDE TO LIVING ON LESS
and many products contain alcohol, which doesn’t taste good to me and makes me not want to give the product to my children.
Rest assured, you can make a great elderberry syrup at home with just a few simple ingredients and a little bit of time. This is especially true if you grow your own elderberries or keep your own bees!
If you don’t have fresh elderberries on your property, or you can’t get them from a local farmer, look for a reputable source of dried elderberries, such as an herbalist or a natural foods store (a good online source is www.mountainroseherbs.com). We grow our own black elderberries, the most common elderberry in North America. Many types of elderberries can be toxic when raw, so cook the berries thoroughly.
Here’s a simple elderberry syrup recipe that will keep for a couple of months in your refrigerator. You can dole it out in spoonfuls just like cough medicine, or you can stir it into your morning juice or tea (stick to a dosage of about 1 teaspoon for kids or 1 tablespoon for adults). Just to be safe, consult your doctor before taking elderberry syrup, because it may not be suitable for you.
We add cinnamon, ginger, and cloves to our syrup because these spices also seem to
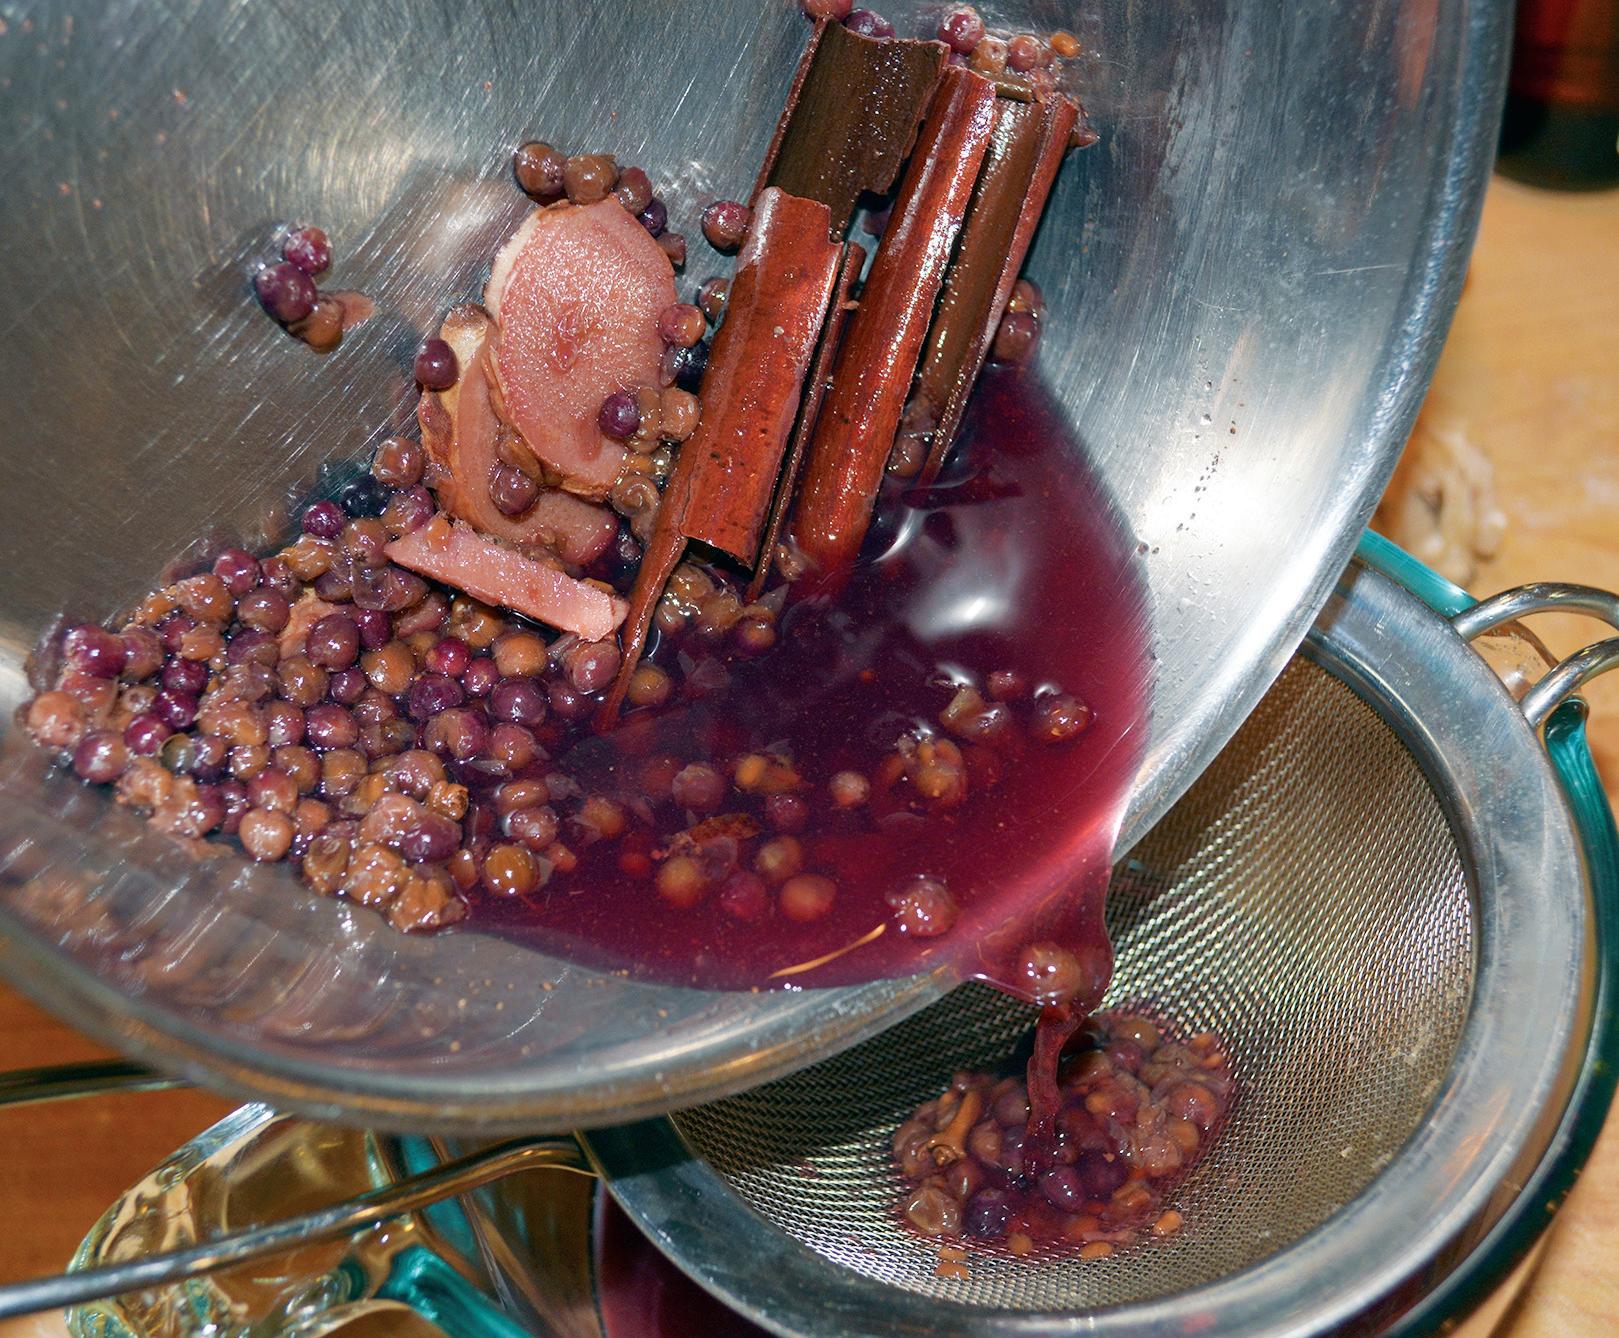
be beneficial for fighting colds. You can use powdered or ground spices, but I prefer dried whole spices because they’re generally fresher and also much easier to strain out.
If you’re brave, you can experiment with adding a little cayenne pepper, but we don’t
think our kids would be quite so cooperative if we did that.
Elderberry Syrup
For a fraction of the cost of storebought, you can make this simple, homemade elderberry syrup.
Yield: 1 pint.
• 1 cup fresh or frozen black elderberries (or 3⁄4 cup dried)
• 2 cinnamon sticks
• 1 tablespoon fresh ginger, sliced
• 1 tablespoon dried whole cloves

• 31⁄2 cups water
• 1 cup local honey
Directions: Place the elderberries, cinnamon sticks, sliced ginger, whole cloves, and water in a saucepan. Bring the mixture to a boil, then reduce heat and simmer until the liquid is reduced by half, about 45 minutes.
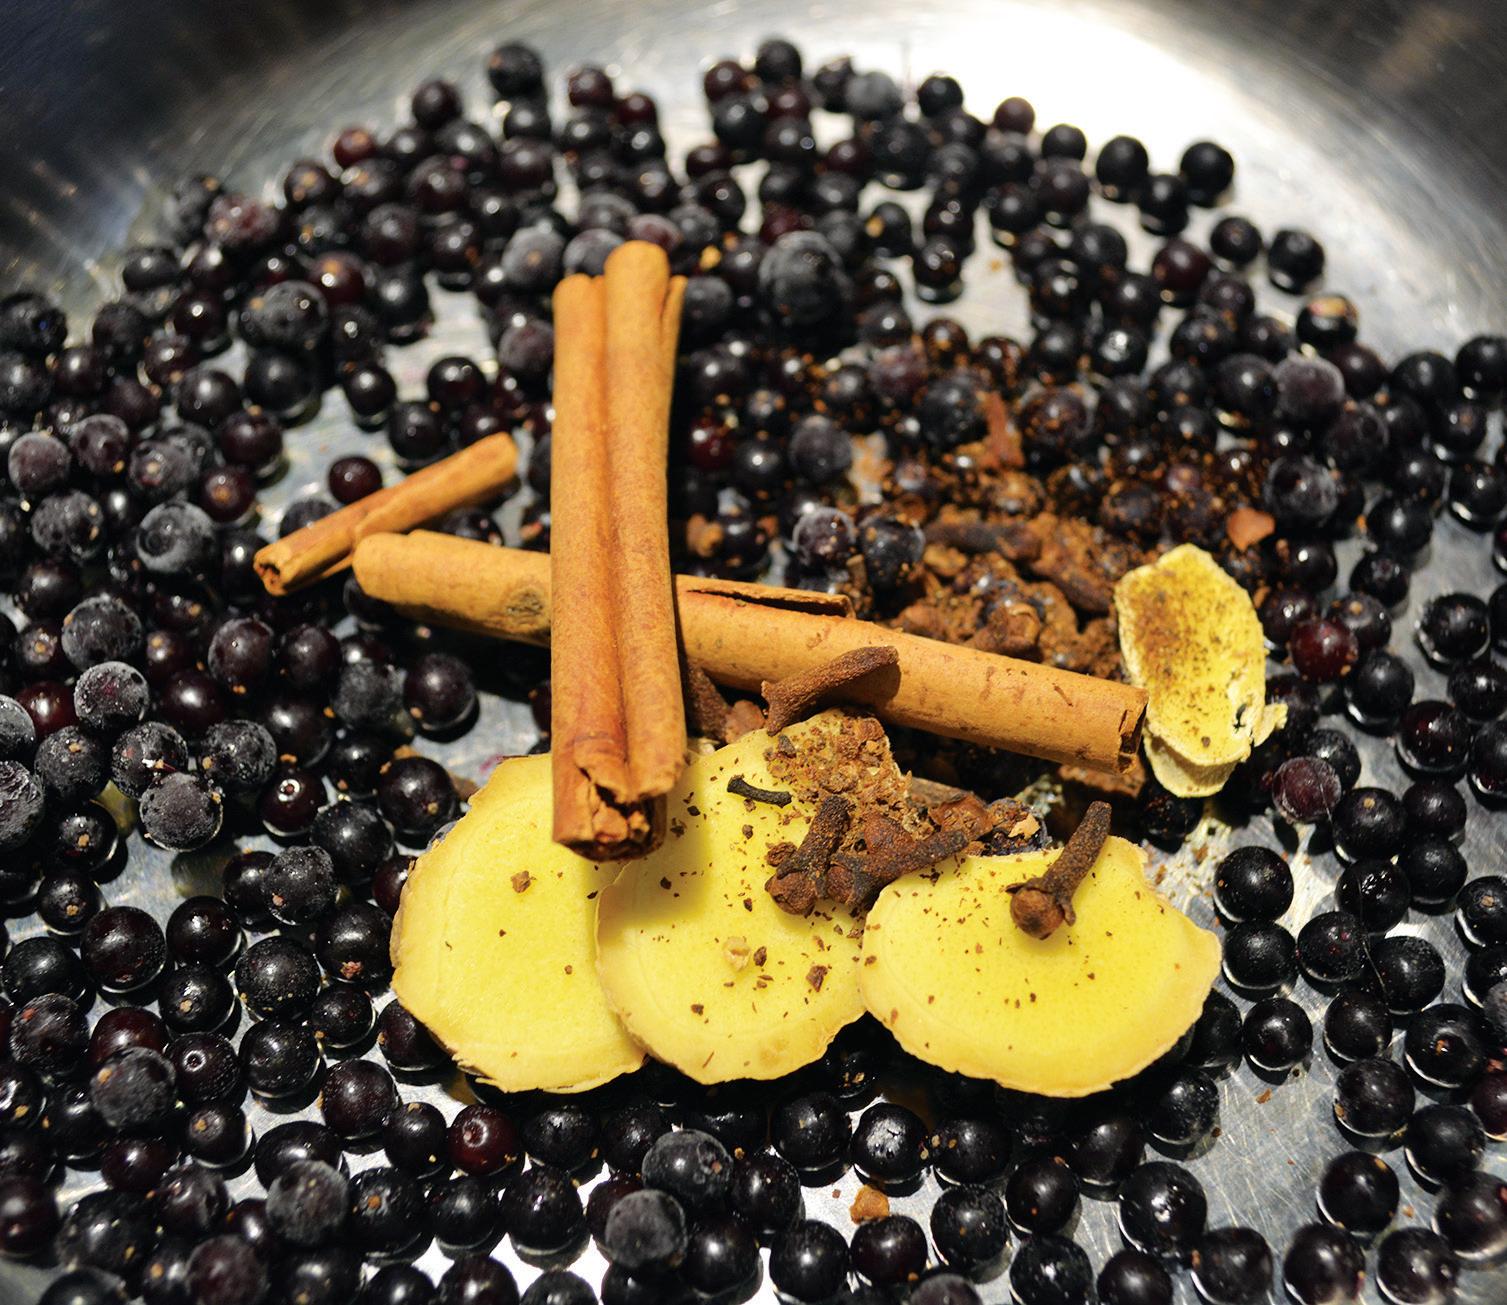
Remove the pan from the heat and allow the syrup to cool. Strain out the berries and spices using a fine-meshed sieve or colander and discard.
Add the honey to the remaining liquid. Pour the mixture into a pint-sized mason jar.
Store your homemade elderberry syrup in the refrigerator, where it should keep for about 2 months.
www.MotherearthNews coM 11 c arr e W I lllams h o W e (2)
Elderberries, cinnamon, ginger, cloves, and honey come together to create a healthful syrup.
FREEZING FRUITS AND VEGETABLES From Your Garden
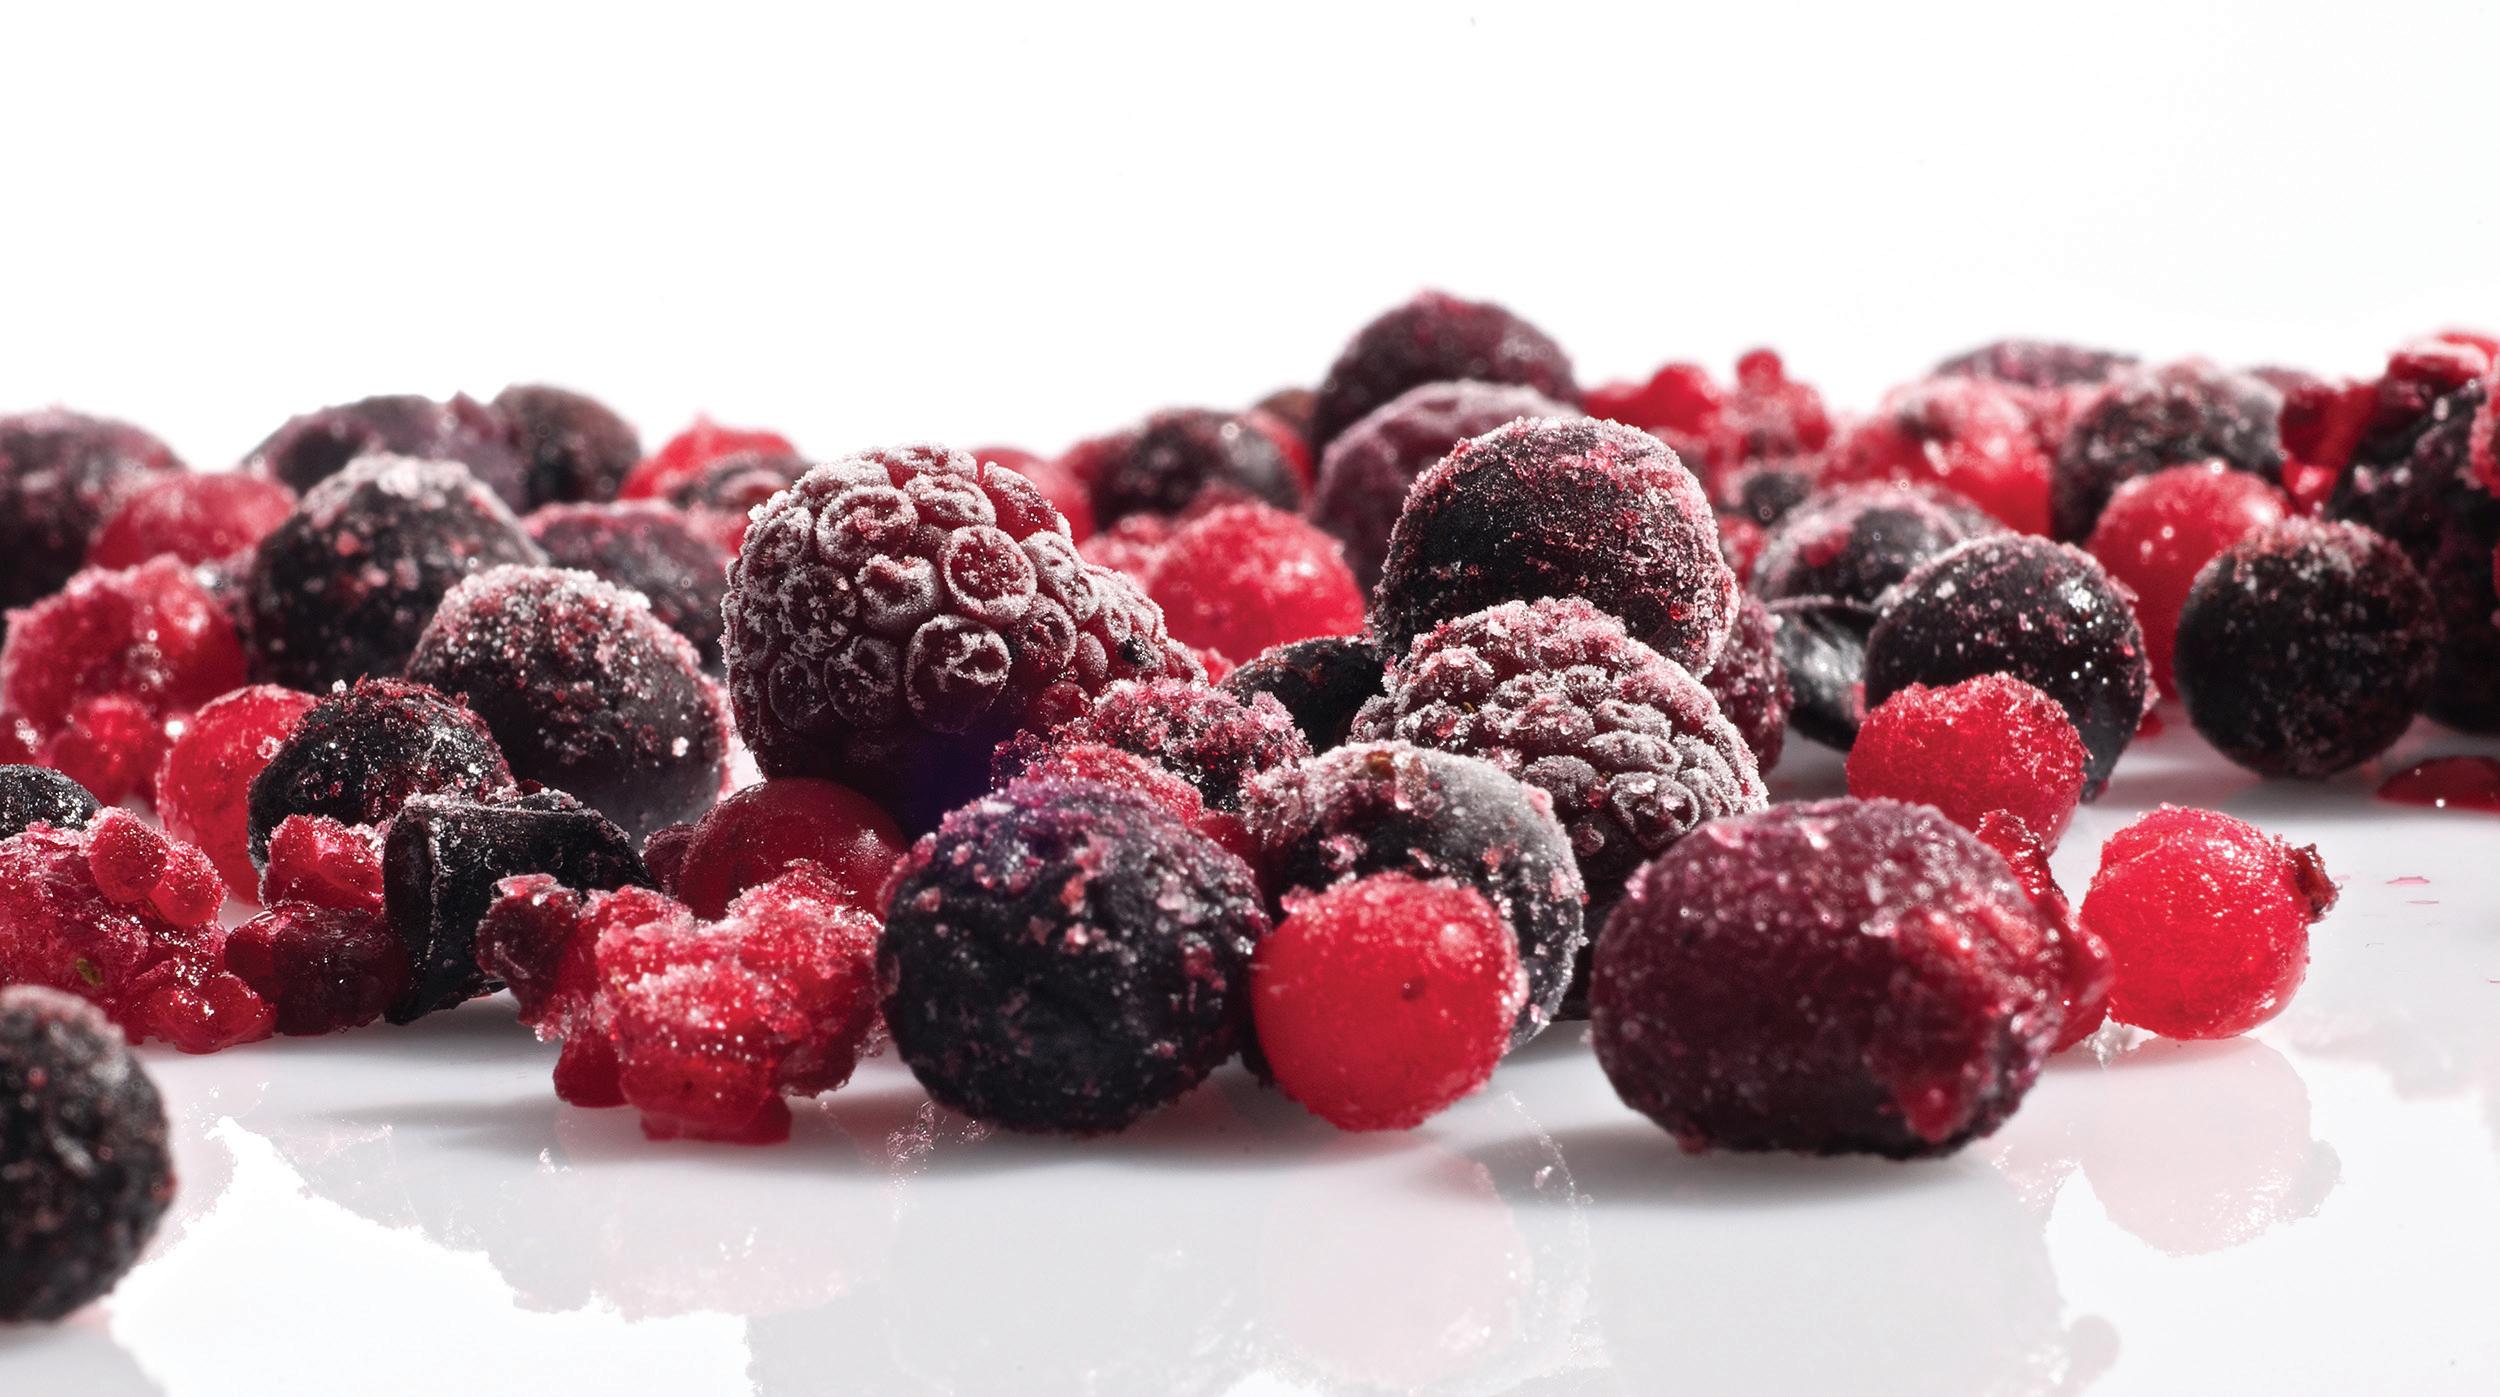
Round out your food preservation regimen! Tap these straightforward freezing tips to turn your garden harvests into sensational, off-season meals.
By Barbara Pleasant
Freezing is a fast and easy form of food preservation, and many crops, including asparagus, broccoli, green beans, peppers, summer squash, dark leafy greens, and all types of juicy berries, will actually be preserved best if frozen. Part of the beauty of freezing fruits and vegetables is that you can easily do it either in small batches—thus making good use of odds and ends from your garden—or in one big batch of your homegrown harvest or of peak-season, discounted crops from the farmers market. Unlike with canning, you don’t have to pay attention
to acidity or salt when freezing vegetables. Instead, you can mix and match veggies based on pleasing flavors and colors—for instance, a combination made up of carrots for color, bulb fennel for texture, and green-leafed herbs for extra flavor. You can include blanched mild onions in your frozen combos (a good use for bolted onions that won’t store well), but don’t include garlic, black pepper, or other “seed spices,” which can undergo unwanted flavor changes when frozen.
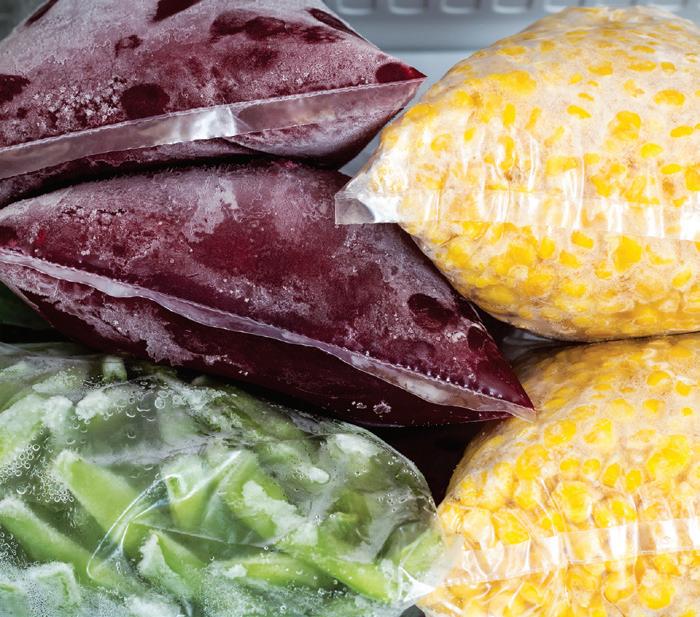
The greatest amount of space in my freezer belongs to vegetables, mostly stored in freezer bags that stack nicely because I first freeze the vegetables flat on
cookie sheets. I also allot freezer space for odd-shaped packages, such as those for cabbage leaves that have been blanched and frozen flat for making cabbage rolls in winter. I even steam-blanch and freeze an assortment of hollowed-out, stuffable veggies, such as pattypan squash, zucchini, small eggplant, and peppers. By season’s end, the contents of my freezer reflect the full diversity of my garden.
Freezing Basics


Only use fruits and veggies in excellent condition that have been thoroughly cleaned. Most vegetables you plan to freeze should be blanched for two to five


Crops That Freeze Well

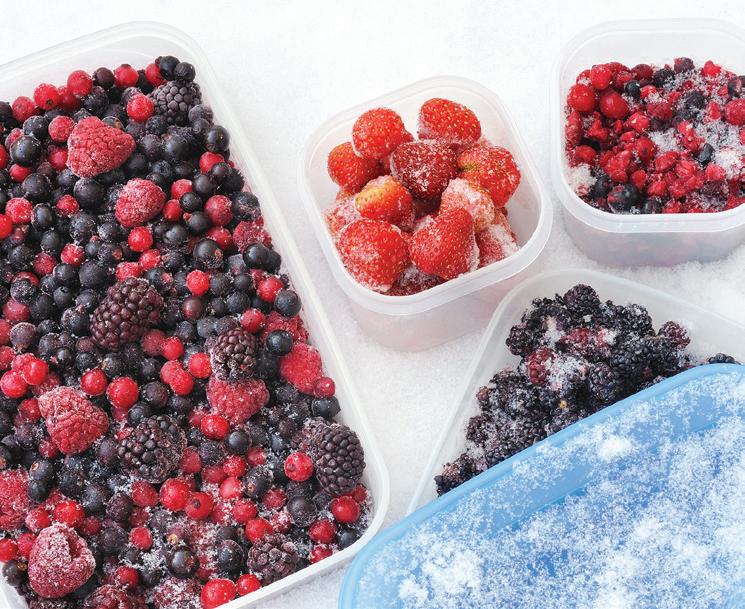
minutes, or until they are just done. Blanching—the process of heating vegetables with boiling water or steam for a set amount of time, then immediately plunging them into cold or iced water—stops enzyme activity that causes vegetables to lose nutrients and change texture. The cooled veggies can then be packed into bags, jars, or other freezer-safe storage containers. Fruits or blanched vegetables can also be patted dry with clean kitchen towels, frozen in a single layer on cookie sheets, and then put into containers. Using cookie sheets for freezing will ensure the fruits and vegetables won’t all stick together, thus allowing you to remove a handful at a time from the container.
Unless you’re freezing liquids, which require space for expansion, you should remove as much air as possible from within the freezer container. With zip-close freezer bags, you must squeeze out the air by hand, whereas a vacuum sealer will suck out air as it seals the bags. Vacuum sealing reduces freezer burn (the formation of ice crystals that refreeze around the edges of the food and damage its taste and texture) because the crystals have no space in which to form. To read more about freezer-safe container options, see “Can You Freeze in Canning Jars?” on Page 14.
According to the National Center for Home Food Preservation (NCHFP, nchfp.uga.edu), fruits and vegetables will last in the freezer for eight to 12 months if prepared and stored properly. Vacuum-seal bags cost more than regular freezer bags, but devotees say they are worth the extra expense because they make frozen foods last even longer.
Great-Tasting Tomatoes
At one time or another, I’ve been so crunched for time that I stored excess tomatoes simply by washing them and tossing them into a freezer bag. This method provides plenty
of tomatoes for soup or sauce, and frozen, whole tomatoes peel like magic when held under running water. If you want to retain the skins for nutritional reasons, you can run half-thawed tomatoes through a food processor. (At this point, you’ll be
glad if you cored the tomatoes before you froze them.)
Frozen, whole tomatoes take up lots of freezer space, and because the tomatoes will not have been heated before they were frozen, enzyme activity may cause some loss of vitamins and other nutrients. This won’t happen, however, if you gently stew your tomatoes in their own juice before freezing them. After removing cores and skins, which you can do by blanching them, bring the coarsely chopped tomatoes to a gentle simmer for about 10 minutes, or until the tomatoes are tender. Allow to cool. If desired, you can ladle off some of the juice from the top and freeze it separately. Removing some of the juice will give you a frozen product similar to diced or stewed tomatoes in cans.
You can also include selected veggies and herbs in the mix when freezing tomatoes, and let the simmering tomatoes serve as the blanching liquid. For example, you could add chopped peppers and cilantro to a batch intended for use as a chili base; combine okra, peppers, and thyme in jambalaya mixtures; or throw in everything from eggplant to zucchini for veggie stews.
I freeze a few quart bags each of whole cherry tomatoes and stewed tomatoes along with dozens of tomato-based veggie mixtures, but the trick to having the best-tasting frozen tomatoes is to dry them halfway first, as is done in the recipe for Half-Dried Tomatoes (see Page 15). Removing some of the moisture from tomatoes will intensify their flavor, save freezer space, and give you the ideal tomato for pizza or pasta sauce.
Tip: If you have a small amount of tomato sauce left over from canning, keep it in the fridge and use it as a broth when freezing vegetables, such as summer squash or eggplant.
Buckets of Beans
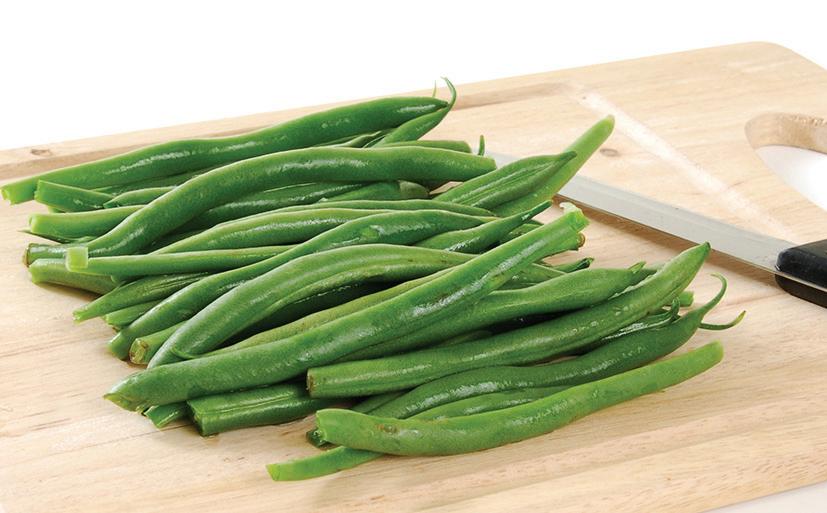
You can freeze most types of snap beans, including yard-long beans.

WWW.MOTHEREARTHNEWS COM 13
To prepare vegetables for blanching, clean them thoroughly. You can cut the vegetables into uniform pieces so they cook evenly.
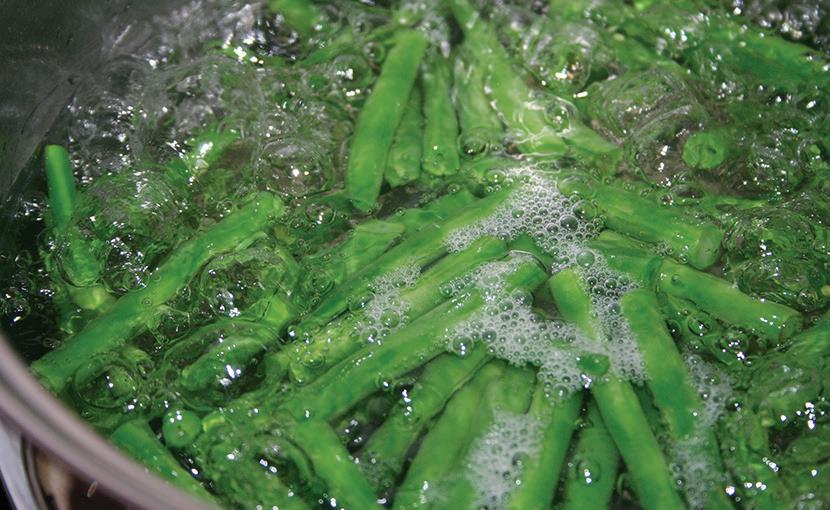
To blanch, submerge the vegetables in boiling water for the amount of time given for what you’re freezing (for more information, go to goo.gl/9at6VE ).
Transfer the vegetables from the boiling water to iced or cold water. The water should be 60 degrees Fahrenheit or colder. After they’ve cooled, pack them into containers.
Asparagus Berries Broccoli Carrots Cauliflower Chard Collards Corn Eggplant Green beans Herbs Kale Kohlrabi Okra Peas Peppers Rhubarb Spinach Squash Tomatoes CLOCKWISE
FROM LEFT: DREAMSTIME/BRIANHOLM; FOTOLIA (3)/MSPHOTOGRAPHIC, CHRISTOPHER HALL, ANDREW LEWIS
The more substantial the bean, the better the finished frozen product. For example, pencil-thin filet beans soften too much when blanched and frozen, but bigger, firmer green beans are fine freezer candidates. Most pole beans freeze especially well, but my best batches of frozen beans come in fall, when I slow-cook savory shelly beans and freeze them.
After blanching your green beans, you can put them directly into freezer containers, or pat them dry and pre-freeze them on a cookie sheet first. You can also freeze shelly beans in their cooking juices. When cooking thawed green beans, try using “dry” cooking methods, such as braising them in a little butter or olive oil, or making green bean oven “fries.”
Can You Freeze in Canning Jars?
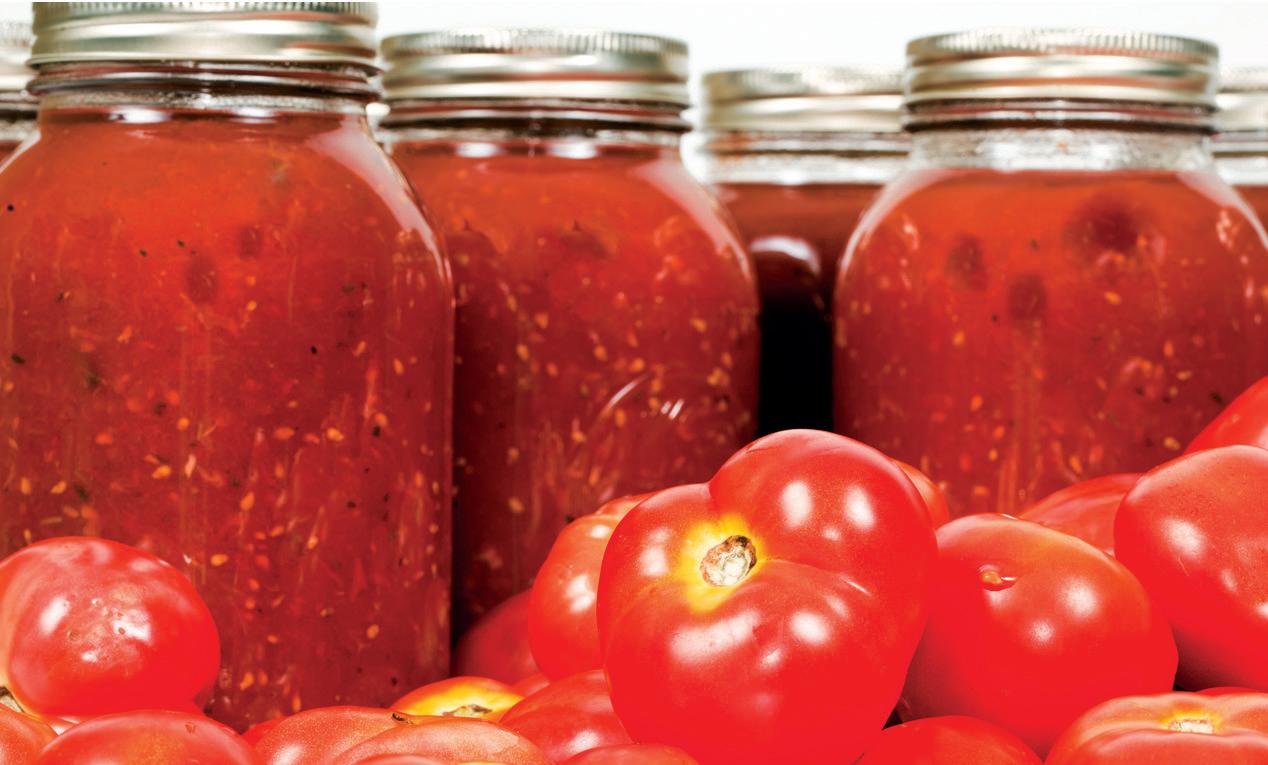
A few summers ago, a visiting friend was aghast when I poured blackberry juice into a canning jar and screwed on a used lid before stashing the container in the freezer door. She said I had broken two rules: freezing in canning jars and reusing canning lids. But some rules can be carefully broken. You can freeze in clean canning jars as long as you leave plenty of headspace, because liquids expand as they freeze. I leave 11⁄2 inches in pints and 2 inches in quarts.
Used lids should never be reused for canning, as these can’t be trusted to form a sound seal. But you don’t want a seal when freezing in canning jars. I screw lids on loosely at first, and then tighten them after the jars have frozen solid. I mostly use canning jars for freezing fruit and veggie juices, which are messy to handle in bags. I also use canning jars for freezing dried veggies, which will last two years in the freezer but only about one year on a pantry shelf.
You may opt to freeze your produce in glass containers if you’re concerned about chemicals that can leach from plastics onto your food. Most freezer bags are made of No. 4 LDPE (low-density polyethylene), which is not known to leach chemicals. If you’re worried about putting hot food into plastic, however, wait until the food cools before packing it into bags. For more on safely storing food in plastic, go to goo.gl/BHf9Gv.
Tip: Purple-podded bean varieties can be used as blanching indicators on freezing day. Their purple hue will change to green when the beans are perfectly blanched.
Preserving Peppers
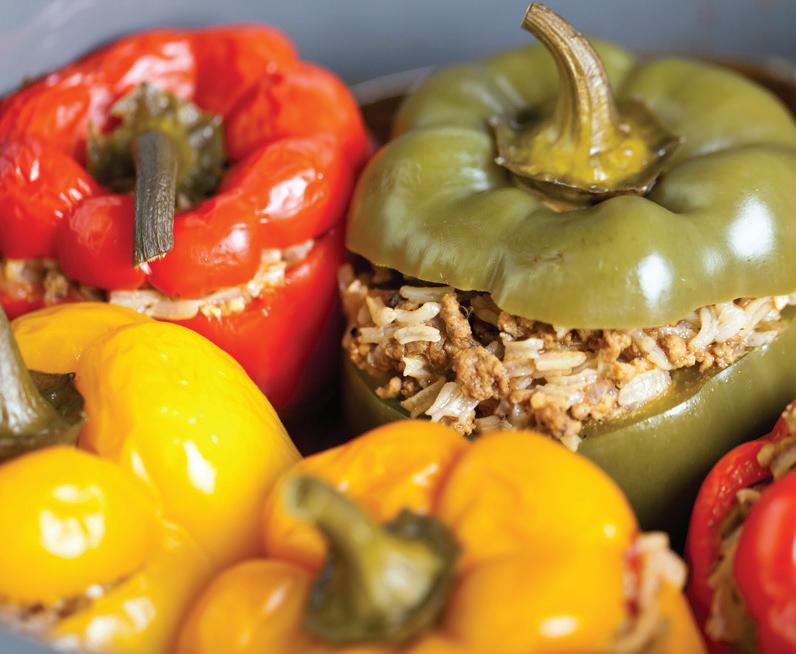
Opinion is divided over whether blanching is required when freezing peppers. Chopped, raw peppers stashed in freezer-safe containers will keep nicely for several months, but you can also try other methods for freezing peppers. I often cut ripe sweet peppers into halves or quarters for stuffing, then steam-blanch and freeze the pepper “boats” individually on cookie sheets. After they’re frozen, they can be nested together and packed in freezer bags. If I run out of chopped peppers, I start using the peppers I set by for stuffing.
Some peppers have wonderfully complex flavors that intensify if the peppers are roasted, grilled, or smoked before they’re frozen (for a Fire-Roasted Peppers recipe, see Page 15). Roasted peppers cooked over a hot fire until just done and then stashed in freezer bags are among the best-tasting foods produced by my garden and kitchen.
Tip: Always wear protective gloves when handling hot peppers. Putting on gloves is much easier (and less painful) than removing capsaicin—the compound that makes peppers hot—from your hands.

Saving Summer Squash


Despite their beauty and productivity, summer squash—including zucchini, yellow squash, and pattypans—are lightweights in the flavor department. They’re also prone to degradation from enzyme activity, so they must be thoroughly blanched before they’re frozen. I like to hollow out single-serving-sized pattypans and zucchinis for stuffing, and then steam-blanch them before freezing.

14 MOTHER EARTH NEWS • PREMIUM GUIDE TO LIVING ON LESS
A freezer of food will lead to refreshingly fruity smoothies, savory dishes packed with summer flavors, and a stuffed-pepper supper in a flash.
The standard procedure for freezing summer squash is to blanch half-inch slices in boiling water or steam for three minutes. Because I’ll use most of my frozen squash in casseroles or soups, I often add more colorful vegetables and herbs to bags of frozen squash—for example, chopped basil, sliced carrots, and ribbons of kale. When thawed, the squash mixtures seem like summer in a bag.
Another method for freezing summer squash is to slice zucchini horizontally into large, flat slices before blanching. These can be grilled or used to make roll-ups. You can also freeze blanched and grated squash to add to all kinds of baked goods.
Sweet Corn Suggestions

When we asked the M E N Facebook community (www. facebook.com/motherearthnewsmag) about their favorite ways to freeze sweet corn, many respondents raved about the flavor of sweet corn that had been frozen raw in the husks, as described by Arkansas reader Betty Heffner: “The best method I’ve found is to pull back the husks to remove the silks and cut off any damage from the tips, then smooth the husk back over the corn before freezing it.” Many folks attested that this easy method preserves fresh corn flavor for six months, though it’s not among the approved processes for freezing corn listed by the NCHFP.
Experts recommend blanching sweet corn before freezing it, which locks in taste, texture, and nutrition. You can freeze whole, blanched ears if you have freezer space, or cut the kernels from blanched, cooled ears and freeze only the kernels. I like to cut the kernels raw, press out some juice, and bring the mixture barely to a simmer before cooling and freezing it. I then compost my cobs, but a tip from Carolyn Vellar of Kansas City, Mo., made me realize I’ve been doing so prematurely. Carolyn simmers her bare cobs to make corn broth, which she freezes for use in winter soups.
New Mexico reader Diana McGinn Calkins freezes kernels cut from blanched, cooled ears when she has no freezer space left for raw ears in the husk. “I get as much air out as possible and


then flatten out the bag of corn. After it’s frozen, I break it up and put it back into the freezer. Then I can take out as much as I want.”
For sweet corn that’s ready to heat and eat, try this easy roasting method from Katrina Steele of Howard, Ohio:
“We cut the corn off the cob and pile it in a big pan with a stick of butter and enough milk to cover the bottom of the pan. Then we bake it at 350 F until piping hot, stirring every 10 minutes. After it cools, we spoon it into freezer bags. Tastes wonderful!”
Flavor-Packed Freezer Recipes
Fire-Roasted Peppers
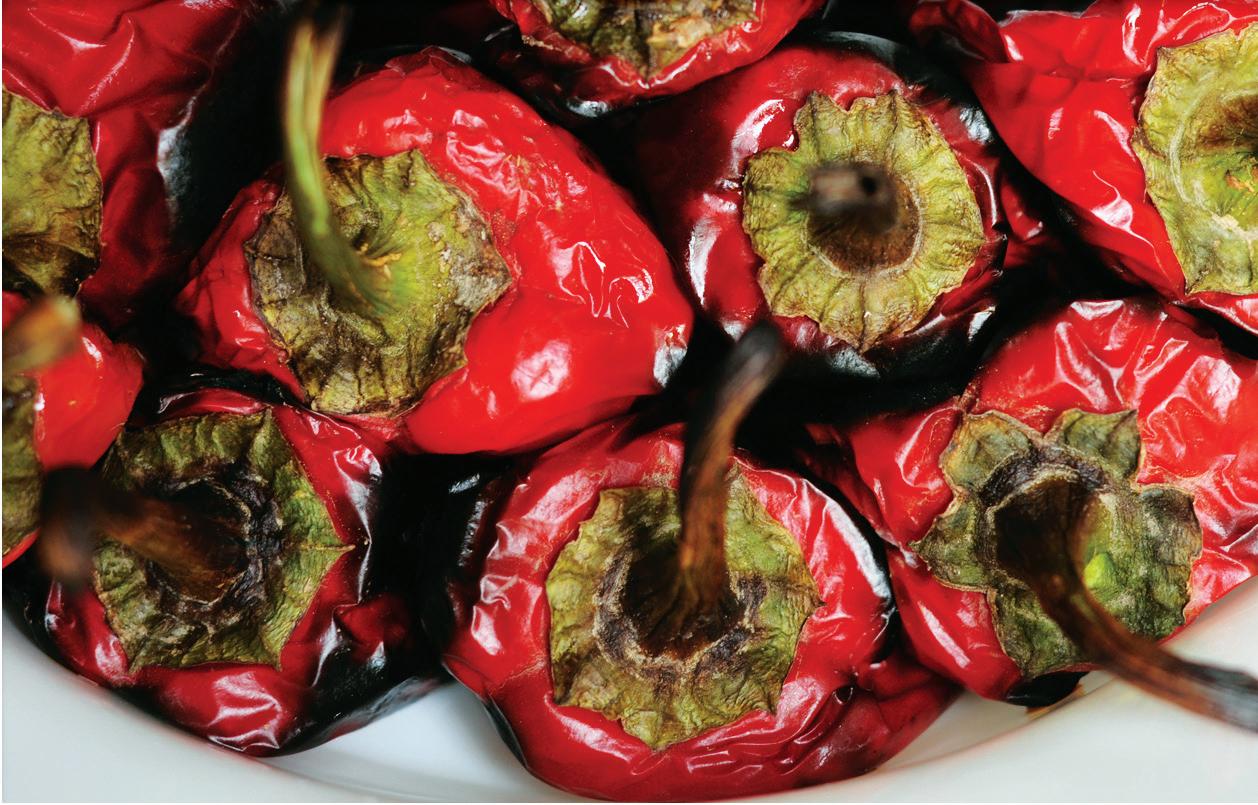
Wash peppers and cut out any blemished spots.

Place whole peppers on a hot grill or under a hot broiler. Use tongs to turn peppers as needed until they’re blistered on all sides, with brown and black patches.
Place the hot, roasted peppers in a large pot with a lid or enclose them in a paper bag. Allow them to cool. When the peppers are cool, use your hands and a table knife to remove loose pieces of skin. Cut peppers in half and remove cores. Freeze the roasted peppers on cookie sheets and then pack into freezer-safe containers. Roasted peppers can be used for dozens of recipes.
If you’re in a hurry, you can freeze whole, roasted peppers and then remove the skins by dunking them in warm water after they’ve been frozen. Their warm-water dunk makes them easy to chop, too.
Half-Dried Tomatoes
You can make these delicious morsels in an oven, in a food dehydrator, or out in the sun on a dry, sunny day.
If using your oven, preheat it to 250 F. Wash and dry ripe tomatoes. Cut paste tomatoes and cherry tomatoes lengthwise in half. Cut slicing tomatoes into quarters. Arrange the prepared tomatoes—with the cut sides facing up—on baking sheets that have rims to catch any juices. Sprinkle with sea salt. You can season the tomatoes with fresh herbs and a light drizzle of olive oil. Place in the oven for 1 hour, then reduce heat to its lowest setting. Dry for 2 more hours, or until the tomatoes flatten and the edges pucker.
When using a dehydrator, dry the tomatoes for about 4 hours.
To dry your tomatoes in the sun, lay them out on a screen or in a solar dehydrator (to build your own, see goo.gl/qNrBj7 ) and leave them outside in full sun until they have fully collapsed. If your tomatoes are exposed, cover them with a light cloth to deter bugs.
Freeze your half-dried tomatoes on cookie sheets, and then pack them into freezer-safe containers. Fully dried tomatoes take longer to dry, and won’t need to be frozen.
WWW.MOTHEREARTHNEWS COM 15
CLOCKWISE FROM LEFT: DREAMSTIME (2)/ALENA BROZOVA, NULLORNOTSET; FOTOLIA (3)/HENK JACOBS, ALI SAFAROV, MARINA KARKALICHEVA
BUY IN BULK for Big Savings on Better Food
seem intimidating if you don’t know beans about it. We’ll walk you through the key steps of buying in bulk from local farmers and, for even greater savings on more items, joining a food-buying club.
By Rebecca Martin and Dan Sullivan

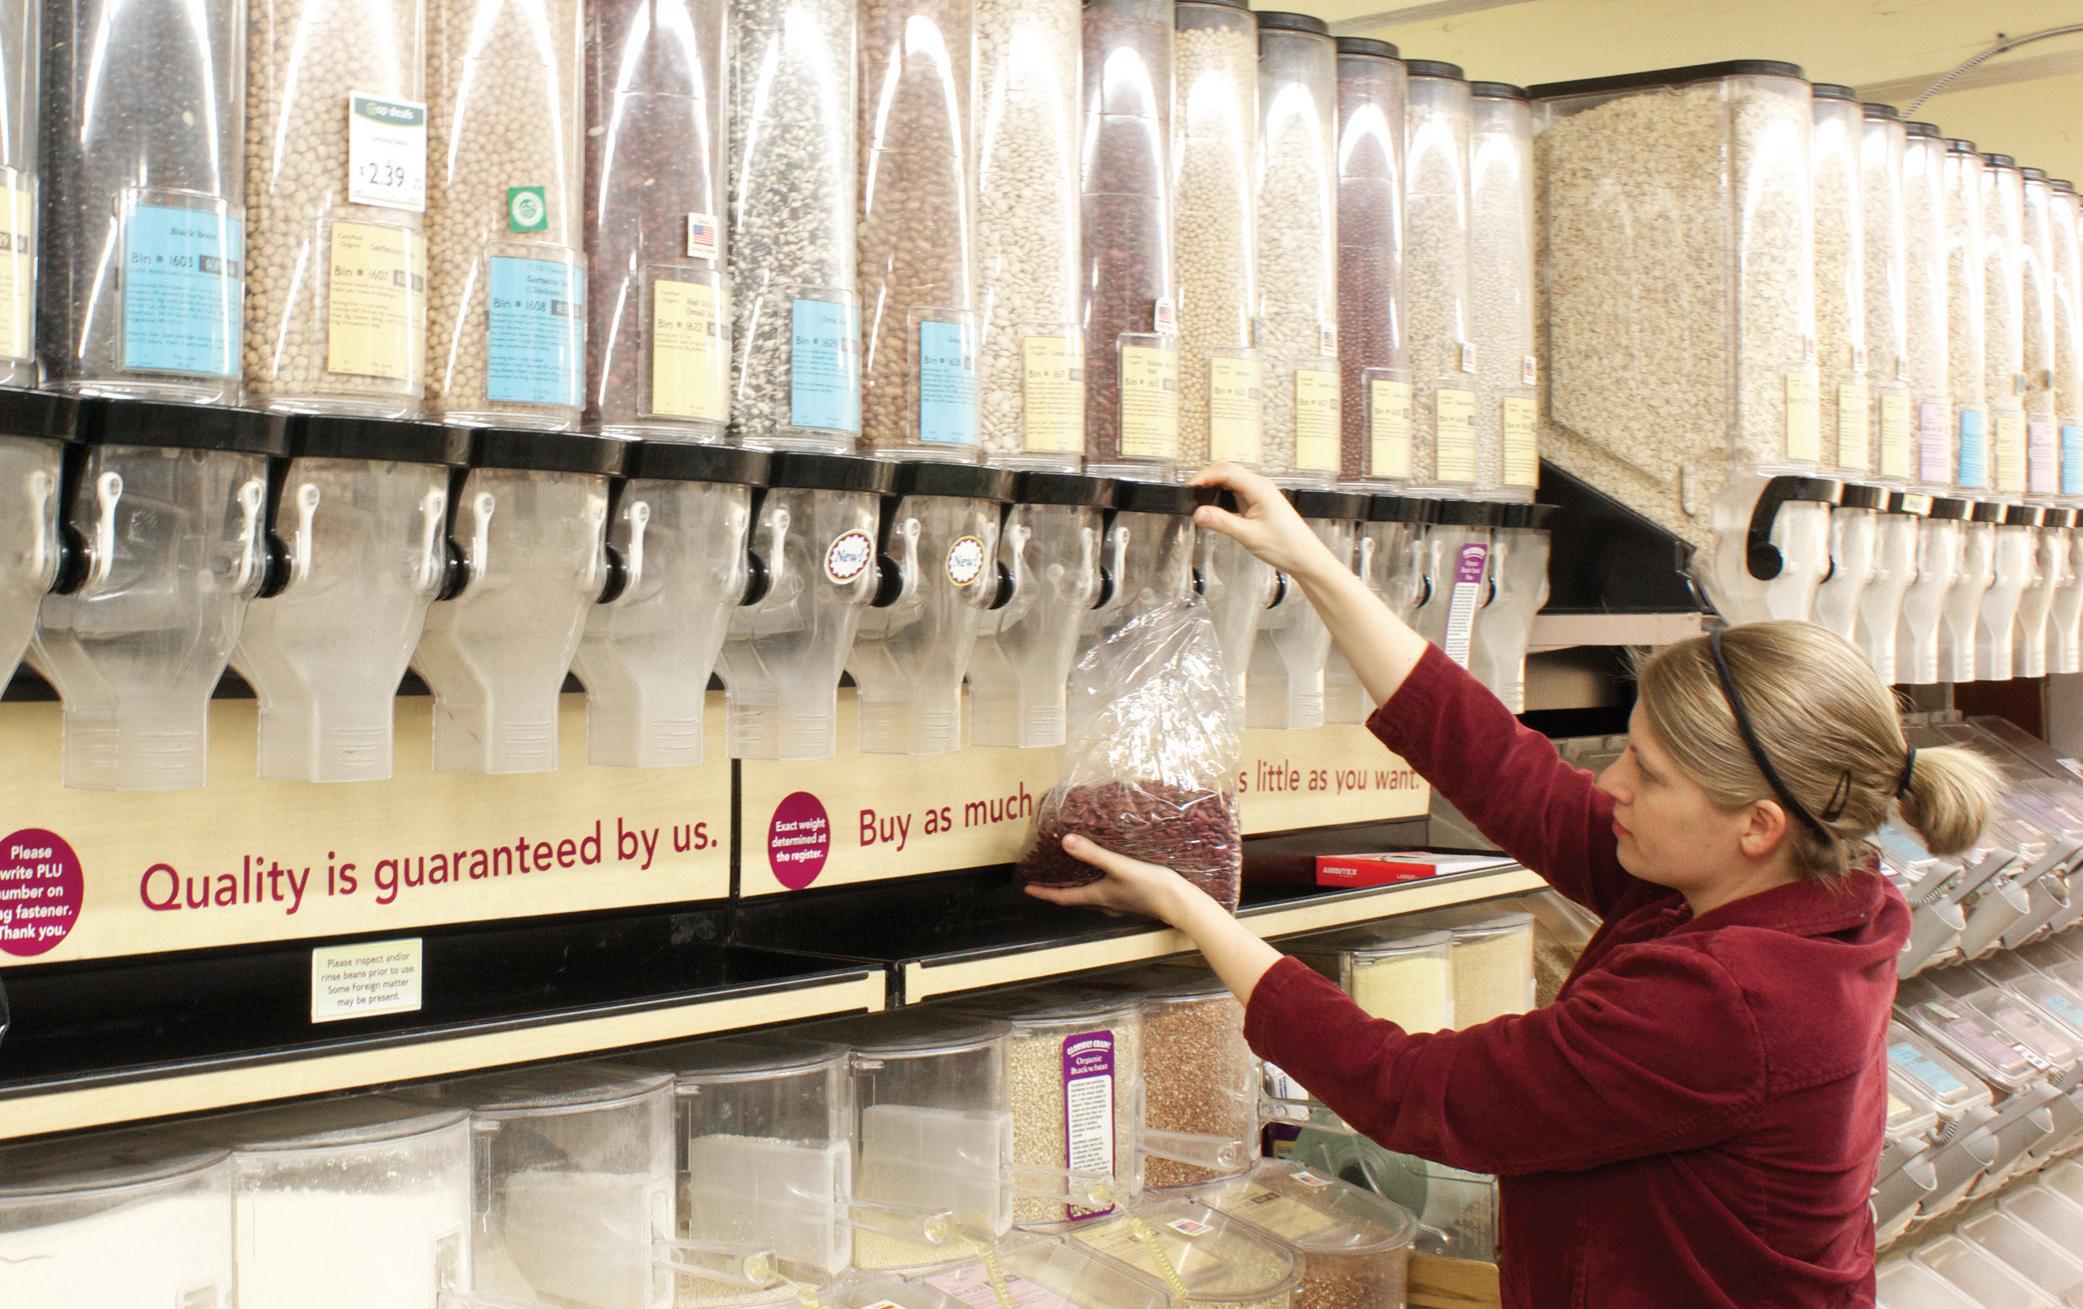
We all have a taste for good food, but quality groceries can come at a high price. Whet your appetite with this money-saving advice: Purchasing bulk food is a highly effective way to cut expenses and eat locally. You may already shop the bulk department of your co-op or grocery store, but cutting out the storefront altogether can offer even more financial, environmental, and gastronomical benefits. Besides making your food shopping
easier and less frequent, bulk groceries are often of higher quality than packaged supermarket products. And the money savings will wow you: See our chart on Page 19 for specific savings on 20 items.
If you choose to eat organic, the savings from buying in bulk can be even more staggering: A 2012 study by the Food Industry Leadership Center at Portland State University found that consumers saved an average of 89 percent compared with supermarket costs when they bought large quantities of certain organic foodstuffs, including grains, beans, and spices. Buying food in bulk may

Member Benefits
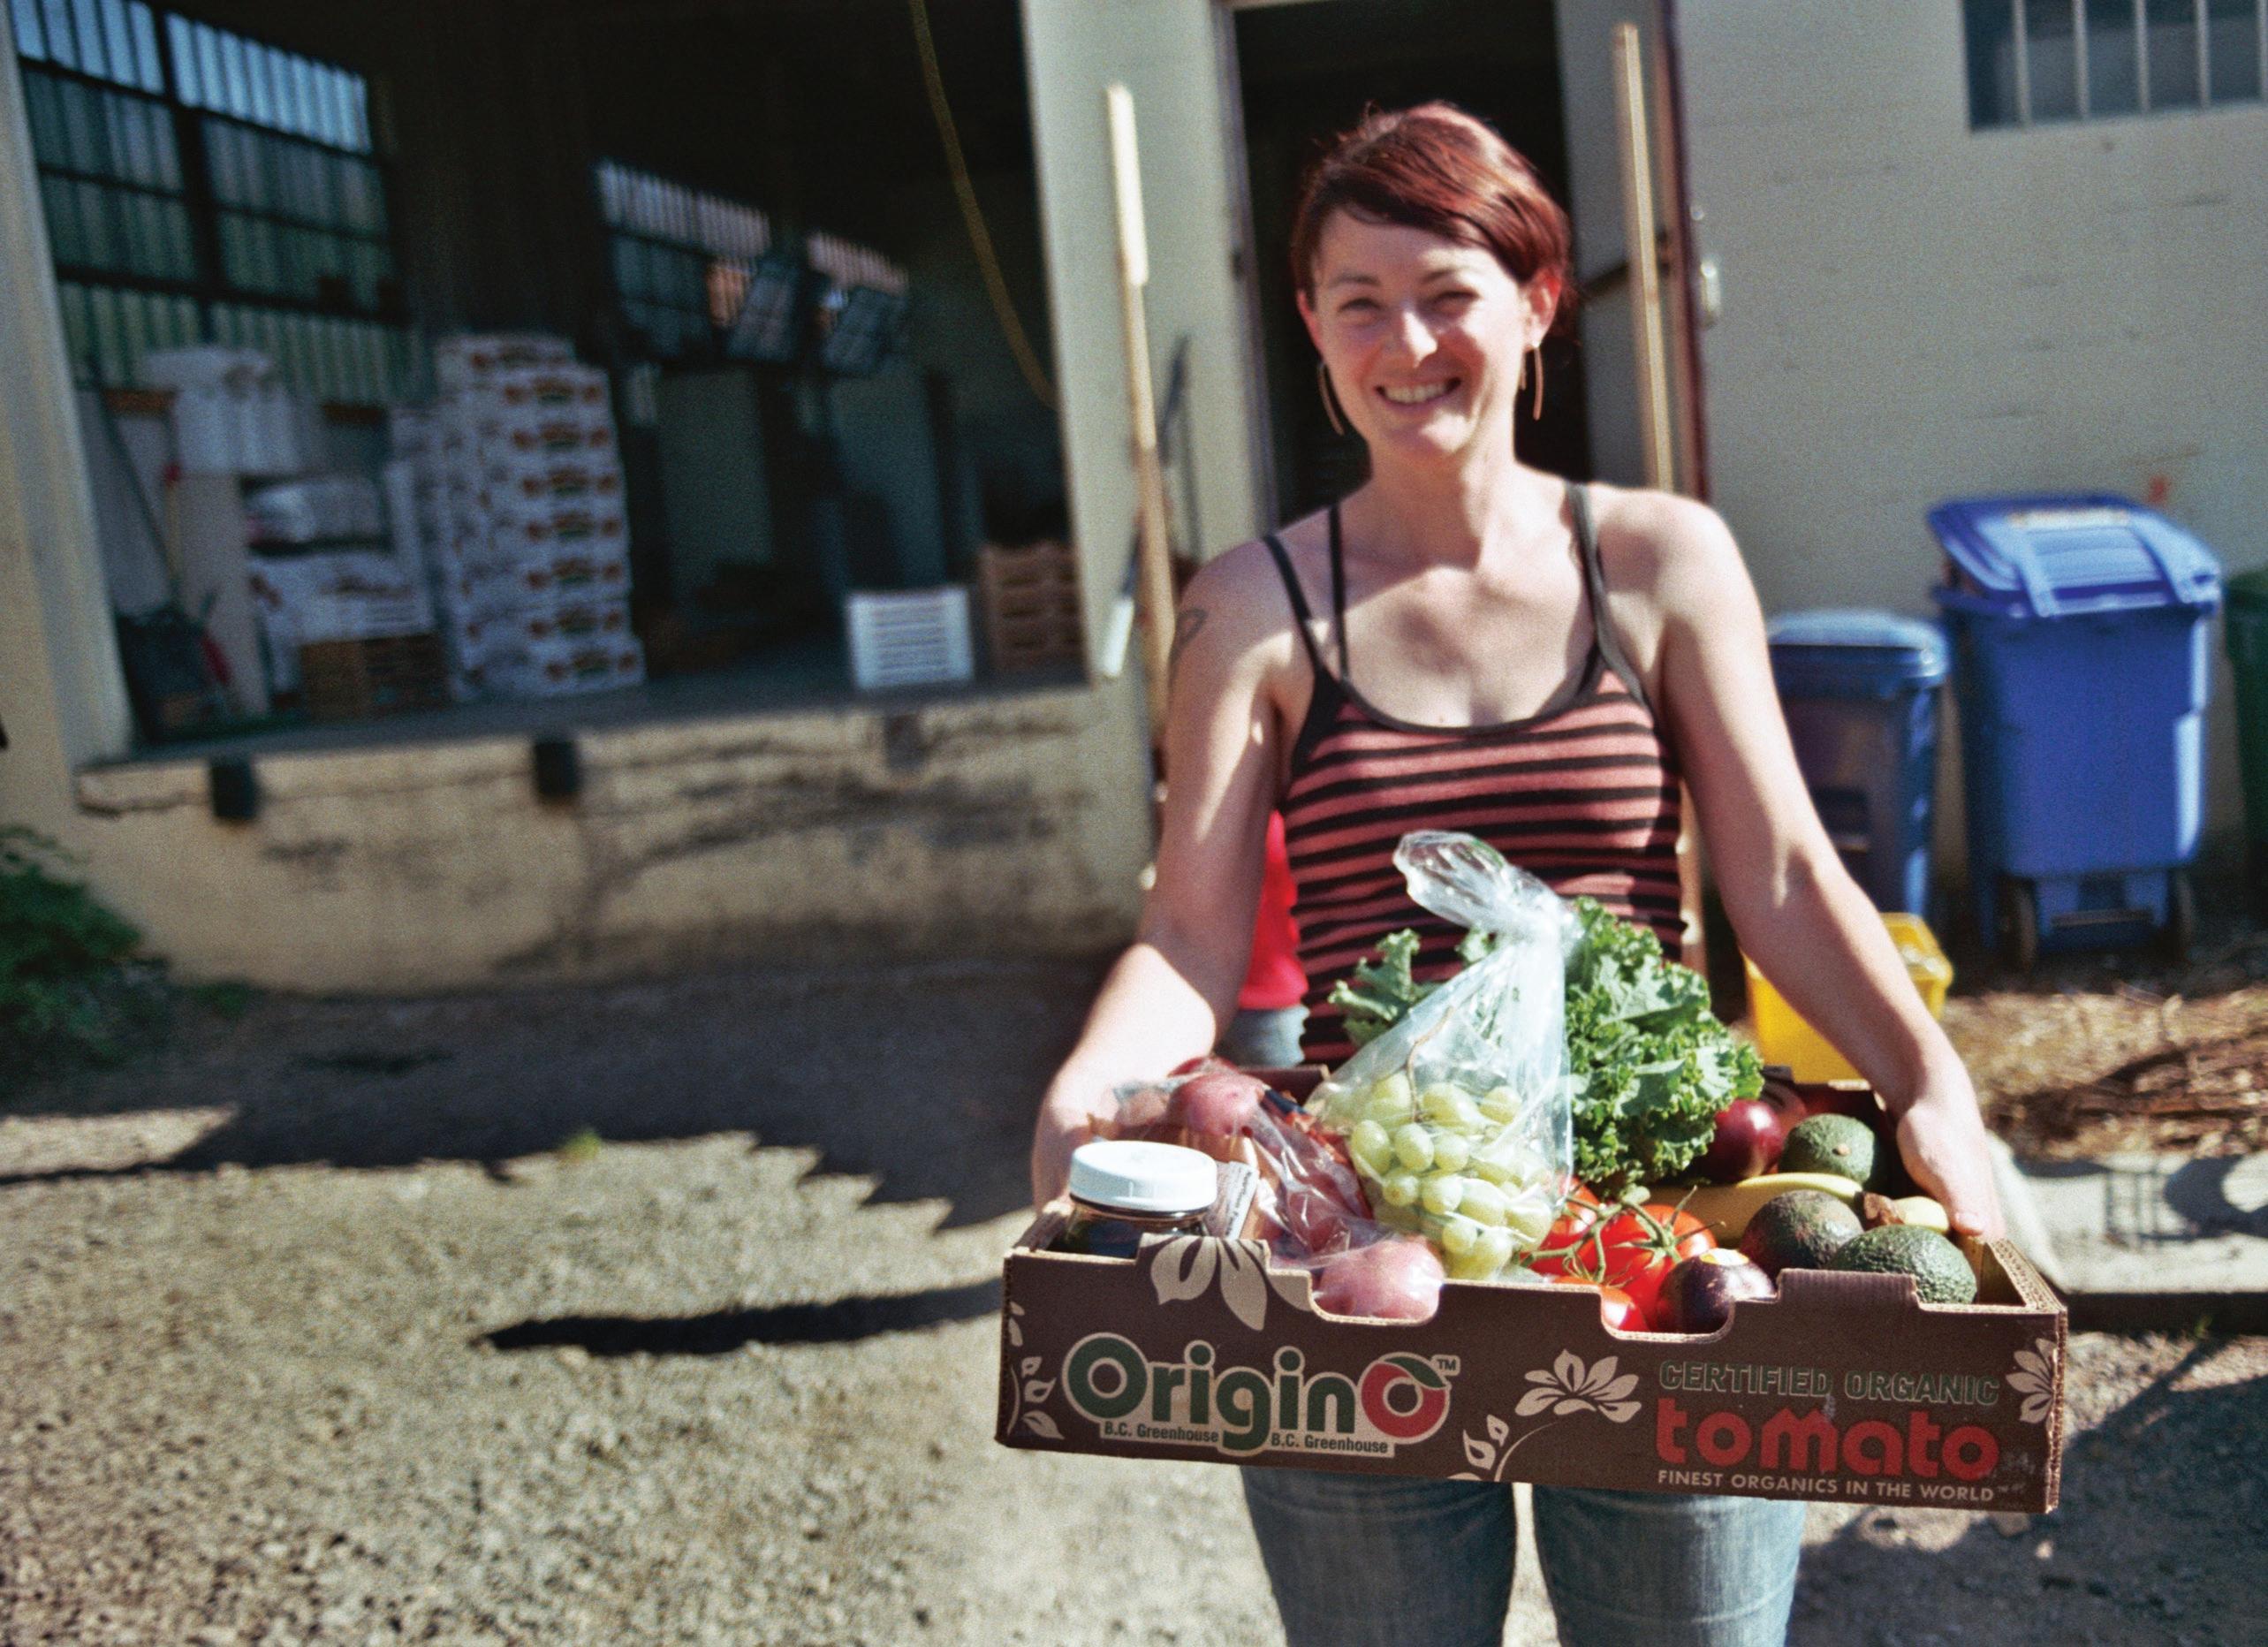
Buying clubs are groups of individuals and families who merge their grocery lists to buy food in big quantities at close-to-wholesale prices. Clubs make a collective purchase once or twice per month, usually through a single wholesaler, nabbing substantial savings on large-quantity purchases of everything from toothpaste to whole grains.
As our chart shows, you can routinely save as much as 50 percent. Food-buying clubs also build community—members get to know each other while coordinating orders and volunteering time to divide the food.
16 MOTHER EARTH NEWS • PREMIUM GUIDE TO LIVING ON LESS
You can slash your family’s food costs in half— and support local farmers—by buying meat, produce, and dry goods in bulk.
SARAH GILBERT; PAGE 16: TOP: DOUG SNODGRASS; BOTTOM, FROM LEFT: SARAH GILBERT (2); TERRY WILD
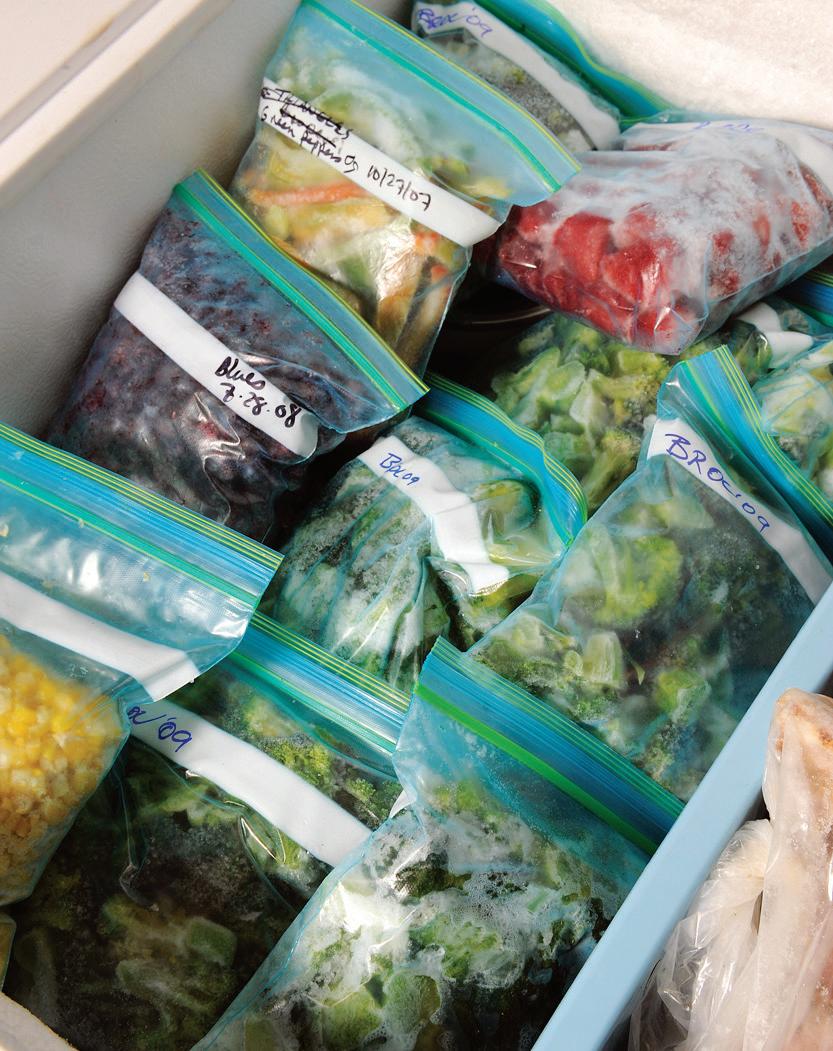
Purchasing bulk food through a club requires thoughtful planning. You’ll need enough jars, bins, and tubs to pick up and store your portion of brown rice, wheat, nuts, and more. A chest freezer is a good investment to prevent large purchases of butter, meat, flour, and nuts from spoiling. Some clubs ask their members to chip in on shared freezers, a scale for dividing orders, and even a grain mill for grinding fresh flours.
Buying-club households usually waste less food because their cooking habits become grounded in a pantry mentality: Meal planning begins with the goods already stocked at home. Avoid purchasing unfamiliar foodstuffs until you’re sure you’ll eat them.
Try a small package from the grocery store first, so you don’t get stuck with a 10-pound bag of hull-intact buckwheat that needs to be ground twice to become a usable flour you end up not liking much. Keep track of what your family actually eats, too, and which foods linger on your pantry shelves despite your best culinary inventions.
Welcome to the Club
Hundreds of food-buying clubs are scattered all across North America. The staff at your local food co-op will probably be aware of any clubs in your area. If you can’t find one nearby, cook one up by following these steps.
(If your club is looking for new members, please add it to the Google map we’ve created at goo.gl/q57rLC so others can find you.)
Recruit members. Many clubs have at least 20 members because some wholesale food distributors require minimum orders of $500 or more. The bigger the group, the greater the savings, because large orders lead to volume discounts and reduced shipping costs. You can recruit members from among your friends, relatives, and groups you’re active in. Tack up a notice in the break room at work. Maybe schedule a brown-bag lunch meeting to discuss the benefits of buying in bulk and how a club might work. How often will
you order? Will you limit the types of goods purchased? Can members share (or “split”) cases and bags? If so, who will coordinate that step? When and where will your club take deliveries?
Select a vendor. You’ll want to choose companies that don’t limit their sales to commercial accounts when selecting a vendor for your club. See “Resources” on Page 20 for companies that sell to buying clubs, or contact an existing buying club for vendor recommendations.
You can also strengthen your area’s food system by buying some items directly from local producers.
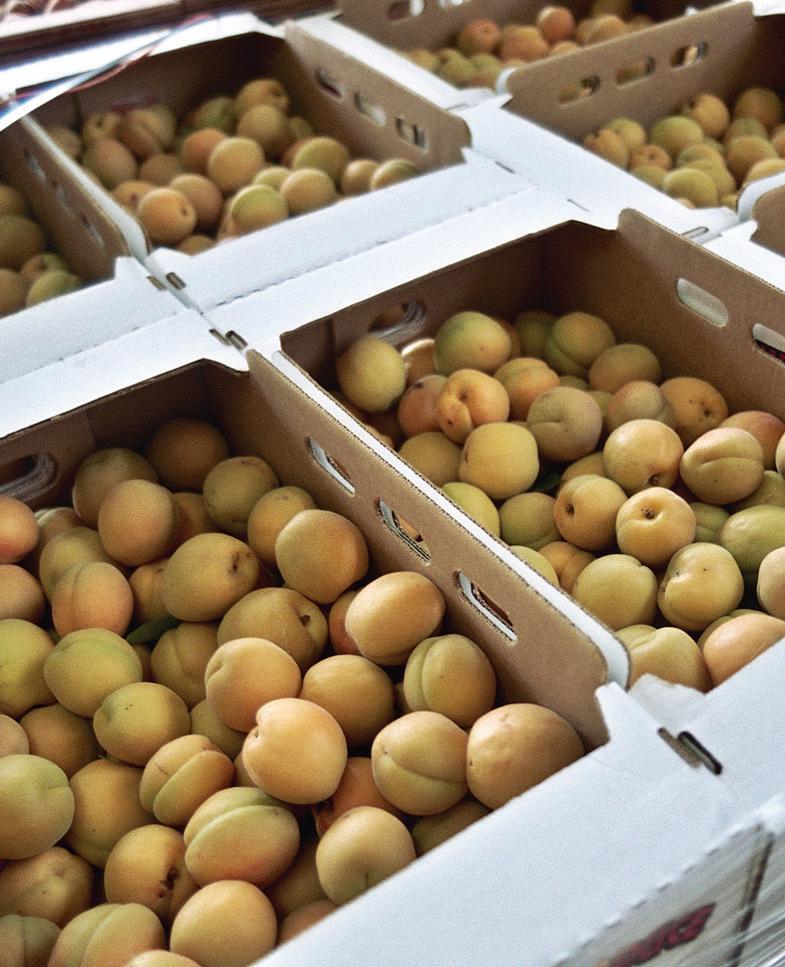
Set up an ordering strategy. The Web has made compiling orders more convenient than ever for food-buying clubs.

www.MotherearthNews coM 17
Consider how you’ll store bulk food before you buy. Freezing fruits and vegetables (right) preserves their flavor and texture for up to 18 months.
Your local co-op is still a good bet for smaller quantities of packaging-free dry goods.
You can place an order with a credit card, and schedule a drop date and location entirely online. A few national distributors use e-commerce software that tallies totals in real time as members add items to a club-specific shopping cart, making it easy to see when minimums are met.

Most food-buying clubs have one or two point persons who take the lead in sending reminders, placing orders, and scheduling distribution. Your club may decide to reward these individuals with a higher markdown.
Distributors generally won’t ship partial cases, so holding monthly meetings is a good way for members to decide on splits. The savings are huge on a 25-pound bag of organic black beans— more than $2 per pound when compared with a 1-pound package—but unless your family truly loves a lot of legumes, dividing that bag with at least one other household will make the purchase more feasible.
Secure a drop-off location. A club can receive bulk food shipments at a member’s garage or possibly at a member’s workplace. Someone will need to be present to accept the goods and check the delivery against the original order for mistakes and out-of-stock items. Keep in mind that delivery locations without refrigeration will limit your ordering options.
Develop a distribution scheme. The cheaper prices your club receives for bulk food are often subsidized by volunteers who split the orders—they open up the bags and weigh, package, and label the contents based on each member’s order sheet.
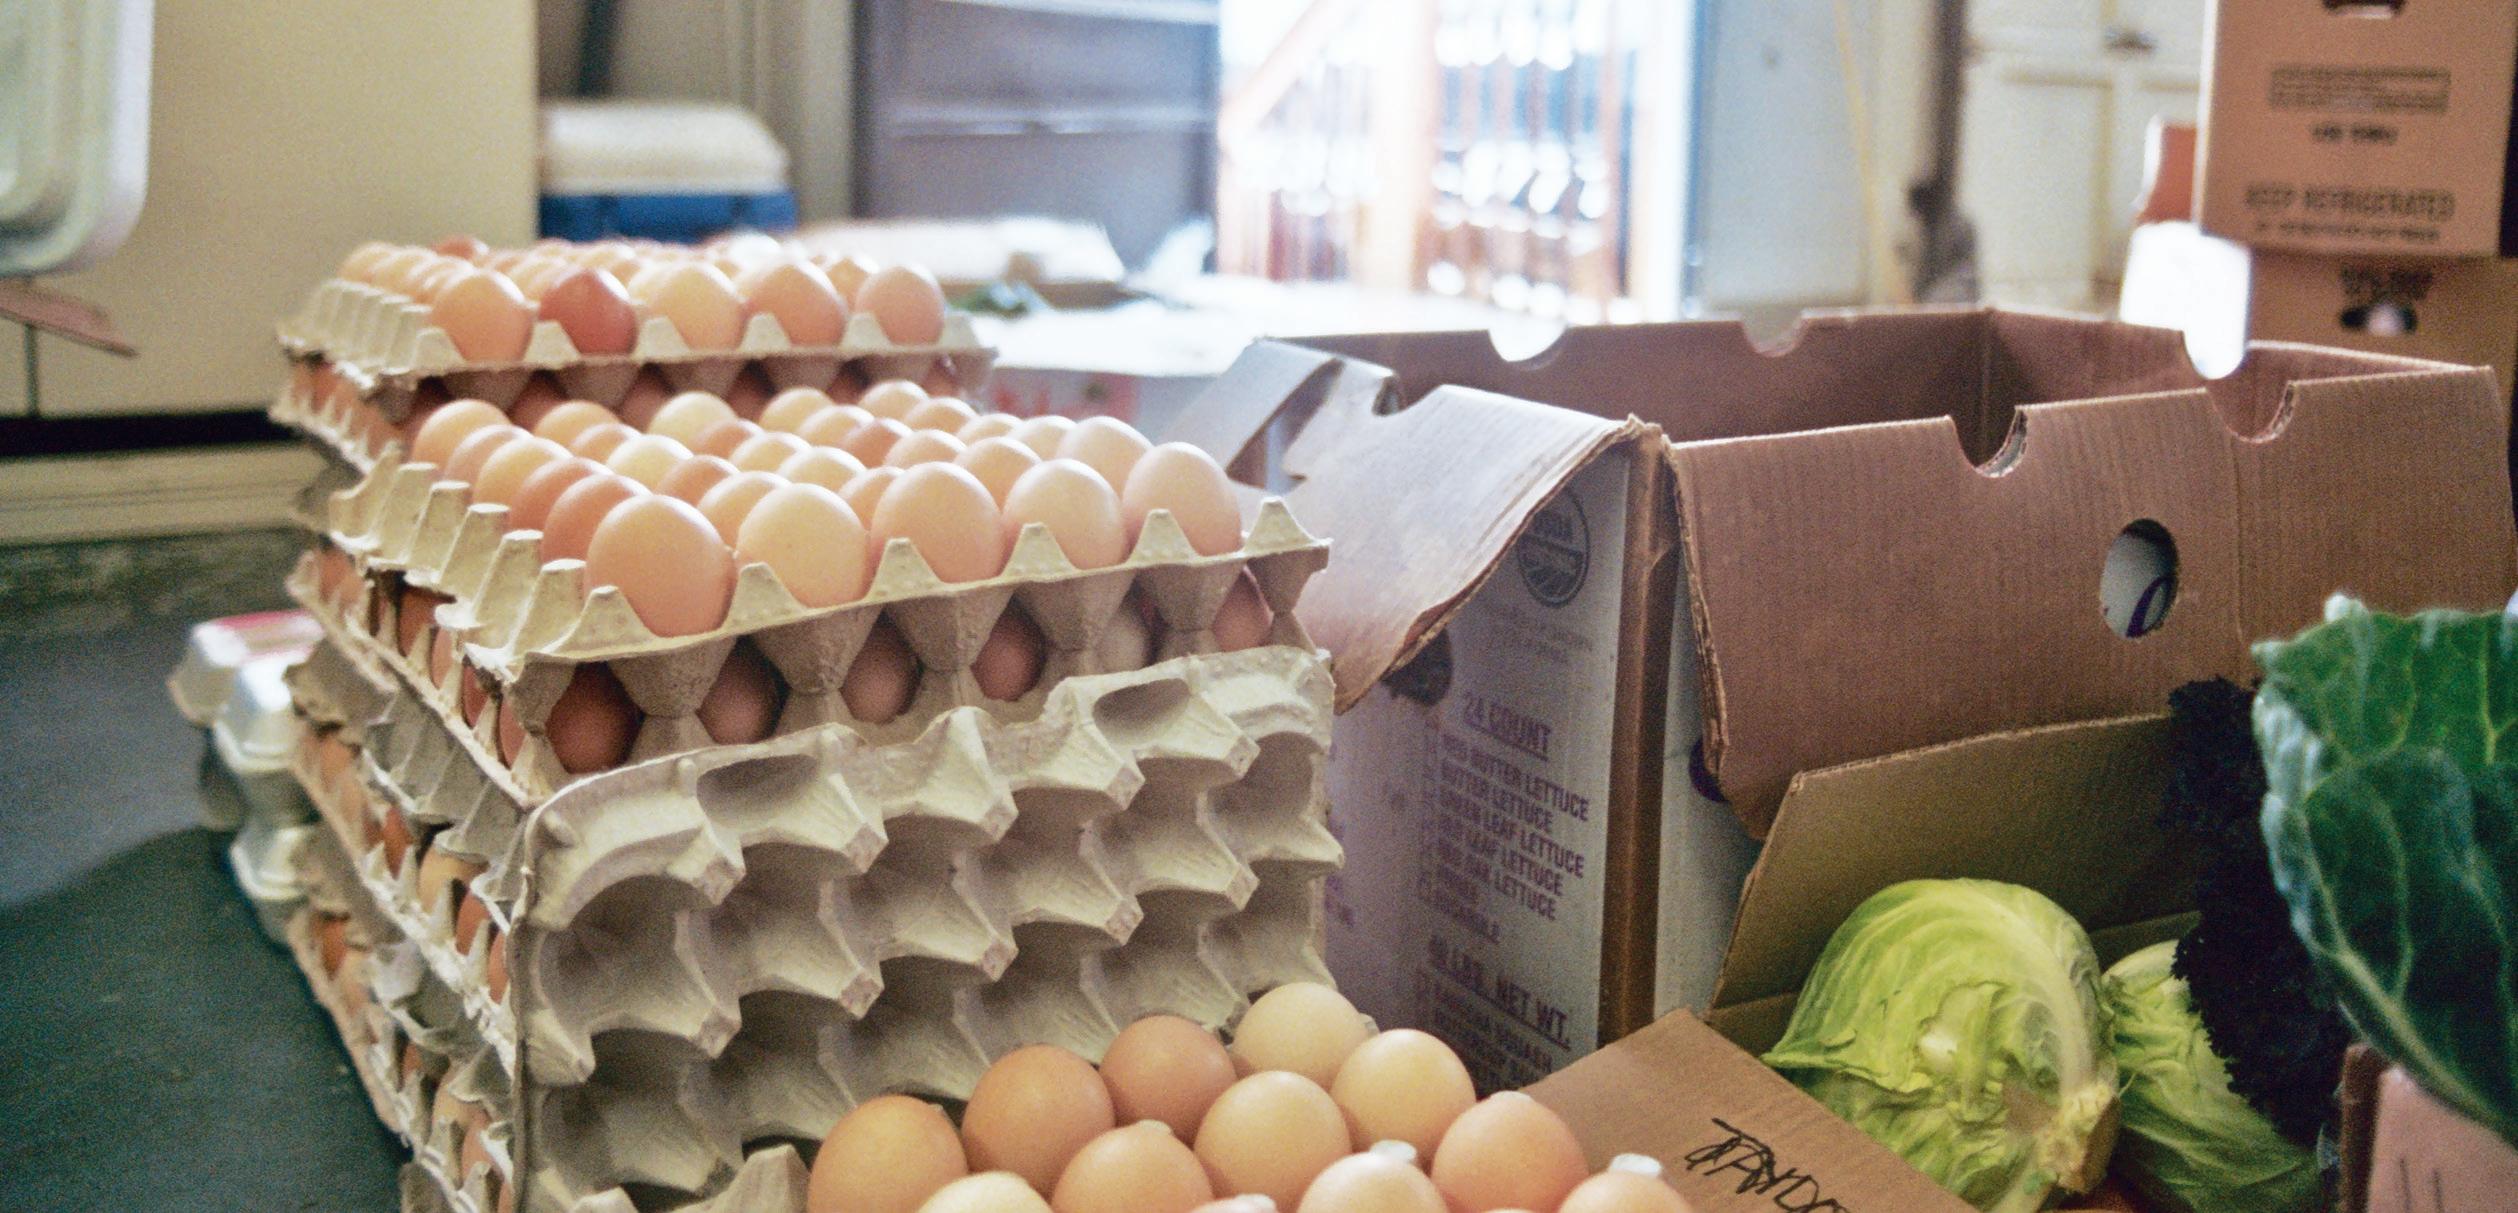
Distribution helpers should receive deeper discounts because they volunteer their time, or the job should rotate through the club so everyone takes a fair turn.

Coordinating this splitting process may be more trouble than the savings are worth to your group. Some clubs forgo splits, so members must choose between smaller bags at a reduced discount or larger bags requiring proper long-term storage at home.
Pay the bills. Perhaps the busiest club member, the treasurer figures splits, sales taxes, and discounts, and ensures that all members pay their share. Some clubs rotate this task among members. Calculating splits is much easier when you use a spreadsheet, or you can register for the free club-specific software offered at www.foodclub.org.
Food for Thought
Now that you’ve learned how to save money on food by starting your own buying club, you’ll need some tips for keeping those volume purchases at optimal freshness and nutritional value until they end up on your plate. In addition to the following advice, “Save Money on Groceries” at goo.gl/Rv7Sb2 has more suggestions on storing sizable amounts of food.
Dry goods. Foodstuffs that don’t contain liquid are among the easiest items to store. Distributors offer dry goods—sometimes including rare varieties of beans, rice, and grains—in bags weighing anywhere from 1 to 50 pounds. The savings can be substantial, particularly on large bags of organic dry goods: A 50-pound sack of wheat berries costs less than 50 cents per pound, for example, while a 5-pound bag of organic whole-wheat flour at the supermarket runs as much as $1.80 per pound—nearly four times more!
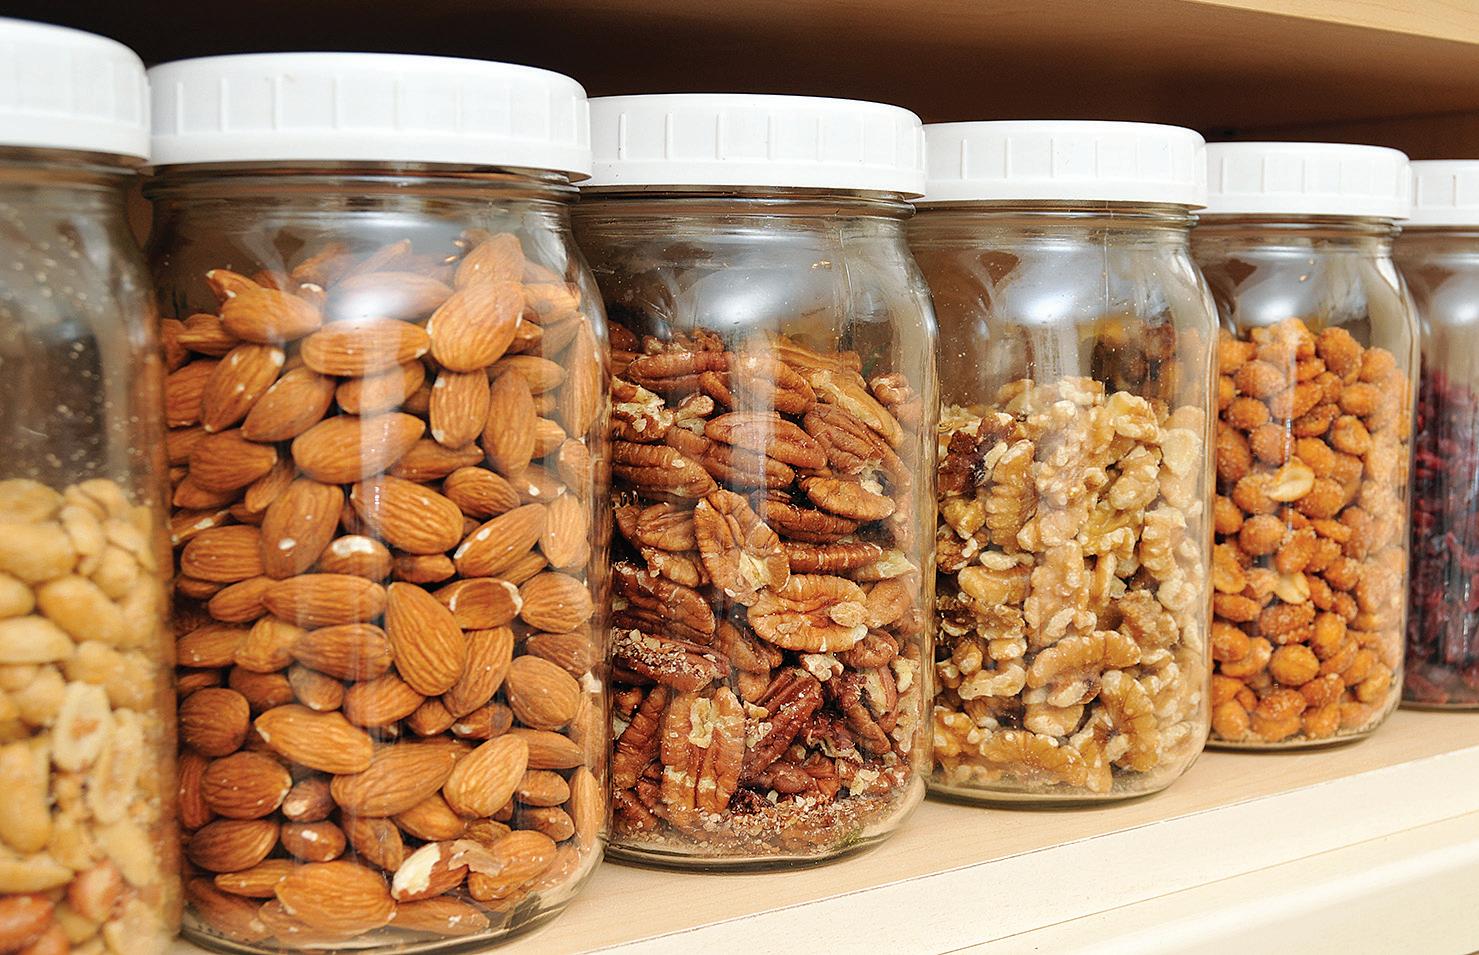
Store dry beans in an airtight container in a cool, dry environment away from direct sunlight, and they’ll last well over a year. Nuts will keep in a refrigerator or freezer for up to two years.
Grains are a staple in almost every larder, but they’re challenging for longterm storage because of meal moths,
The bigger the buying club, the greater the savings: Large orders lead to volume discounts.
Buying in bulk reduces waste, especially when packing materials are reused (as they are in the Know Thy Food buying club in Portland, Oregon.
weevils and other pests. One way to break the life cycle of weevils is to freeze grains for at least a week before storing them in a dry, dark environment at 60 degrees Fahrenheit or cooler. Grains can be stored in a freezer indefinitely. When freezer space isn’t available, store grains
in 5-gallon plastic buckets with tight lids. Two 5-gallon buckets will easily hold 50 pounds of wheat berries. The buckets stack nicely and can be picked up at low—sometimes even no—cost from bakeries and fast-food restaurants. Produce. Mouthwatering, ripe pro-
duce is a lot cheaper if purchased in season from local growers. A bushel of conventional green peppers costs about 80 cents per pound at a farmers market in August, while a handful of peppers will be priced at $2 per pound at a grocery store in February.
Estimated Savings from Buying in Bulk
These estimates are averages of prices obtained from at least three vendors in January 2014.
Beef costs were figured assuming a yield of 225 pounds per side, packaged as 30 lbs. of ground beef, 50 lbs. of chuck and arm roasts, 20 lbs. of rib roasts and rib-eye steaks, 17 lbs. of short loin strip steaks, 20 lbs. of sirloin steaks, 50 lbs. of round and rump roasts, 13 lbs. of brisket, and 25 lbs. of flank and skirt steaks and short ribs. This mix of cuts from a side can vary based on the instructions you provide to the butcher. “Direct-from-Farmer Price” estimates include butchering costs.
All costs are per pound unless otherwise noted. “Food-Buying Club Price” estimates are based on bulk orders purchased from wholesale distributors in the quantities listed.
Fresh Produce In-Season, from-Farmer Price Supermarket Price Savings
“In-Season, from-Farmer Price” estimates are for 25-pound quantities of conventional produce purchased in season at farmers markets or from pick-your-own operations.

www.MotherearthNews coM 19
Side of Beef Direct-from-Farmer Price Supermarket Price Savings Conventional $3.97/lb. $6.56/lb. 39% Grass-fed $6.64/lb. $10.77/lb. 38% Certified organic $8.56/lb. $13.34/lb. 36%
Supermarket Price Savings Rice, long-grain white, enriched $0.50 (20-lb. bag) $0.90 (5-lb. package) 44% Rice, long-grain brown, organic $1.17 (25-lb. bag) $2.22 (2-lb. package) 47% Pinto beans, dry, conventional $0.88 (25-lb. bag) $1.64 (1-lb. package) 46% Pinto beans, dry, organic $1.11 (25-lb. bag) $2.49 (1-lb. package) 55% Pinto beans, canned, conventional $0.03 per oz. (108-oz. No. 10 can) $0.05 per oz. (one 15.5-oz. can) 45% Pinto beans, canned, organic $0.09 per oz. (twelve 15-oz. cans) $0.13 per oz. (one 15-oz. can) 35% Unbleached flour, conventional $0.56 (25-lb. bag) $0.48 (5-lb. package) -16% Unbleached flour, organic $0.73 (25-lb. bag) $1.35 (5-lb. package) 46% Peanuts, conventional $1.05 (25-lb. bag, roasted in shell) $1.90 (3-lb. package, in shell) 45% Peanuts, organic $2.78 (25-lb. bag, dry-roasted, shelled) $6.49 (1-lb. package, dry-roasted, shelled) 57% Potatoes, russet, conventional $0.22 (50-lb. bag) $0.51 (5-lb. bag) 57% Potatoes, russet, organic $0.76 (50-lb. bag) $1.26 (5-lb. bag) 40%
Dry Goods Food-Buying Club Price
Tomatoes $1.01/lb. $2.94/lb. 66% Green peppers $0.84/lb. $2.13/lb. 61% Blackberries $1.75/lb. $5.18/lb. 66% Apples $0.49/lb. $1.07/lb. 54% Strawberries $1.60/lb. $2.28/lb. 30%
SARAH GILBERT
True, freezing or canning all of that fresh produce will take some time, but the job won’t seem onerous if you preserve small batches several times a week or organize a canning bee with friends.
Crops need to be matched with their preferred storage conditions, because some fruits and vegetables like cold and moist settings while others prefer warm and dry ones. Find detailed advice for storing 20 common vegetables and fruits at goo.gl/aNmzRr.
The simplest way to squirrel away your stockpile of potatoes, carrots, and other root crops is to keep them in the ground under a thick blanket of mulch, in a trench silo or pit beneath a layer of soil, or inside a buried garbage can. Find instructions for making five easy outdoor root cellars at goo.gl/7yXAc2. Store winter squash and onions inside your garage, in a basement—even in a cool bedroom.
Canning is the traditional preservation method for most fruits and vegetables. To learn how to can, refer to the online Home Canning Guide at www.motherearthnews.com/canning. Another way to lock in taste and nutrition is by blanching and freezing (check out “Freezing Fruits and Vegetables from Your Garden” on Page 12). Most fruits and vegetables freeze well for up to 18 months.
Use energy from the sun to preserve fresh produce with a solar food dehydrator. Dehydrating with a solar (or electric) food dryer locks in peak flavor and nutrients while removing the moisture that causes fruits and vegetables to spoil. Store dried produce in jars or bags. Learn how to build a simple
solar food dryer using cardboard boxes at goo.gl/NFdJN9 or for a sturdier version, find plans for our Best-Ever Solar Food Dehydrator at goo.gl/kSCSZP.
Meat. The priciest line item in a nonvegetarian budget is usually meat. Buying beef and pork in bulk results in substantial savings, particularly on premium cuts. If you buy half a cow directly from a farmer, your take-home cuts can include roughly 17 pounds of strip and tenderloin steaks at about $3.97 per pound.
The savings are more than 63 percent when compared with 17 pounds of the same cuts purchased from a conventional grocery store at $11 per pound. And that’s just for conventional beef—don’t miss reviewing the savings from buying grass-fed and organic meat in large quantity in the chart on Page 19.
Buying meat in volume is a great way to build relationships with local farmers, too. Ask a butcher—maybe one at a local food co-op—where to buy hormone-free pastured animals from a reputable producer, or locate names via the pastured producers listings for your state online at www. americangrassfed.org, www.eatwild. com and www.localharvest.org.
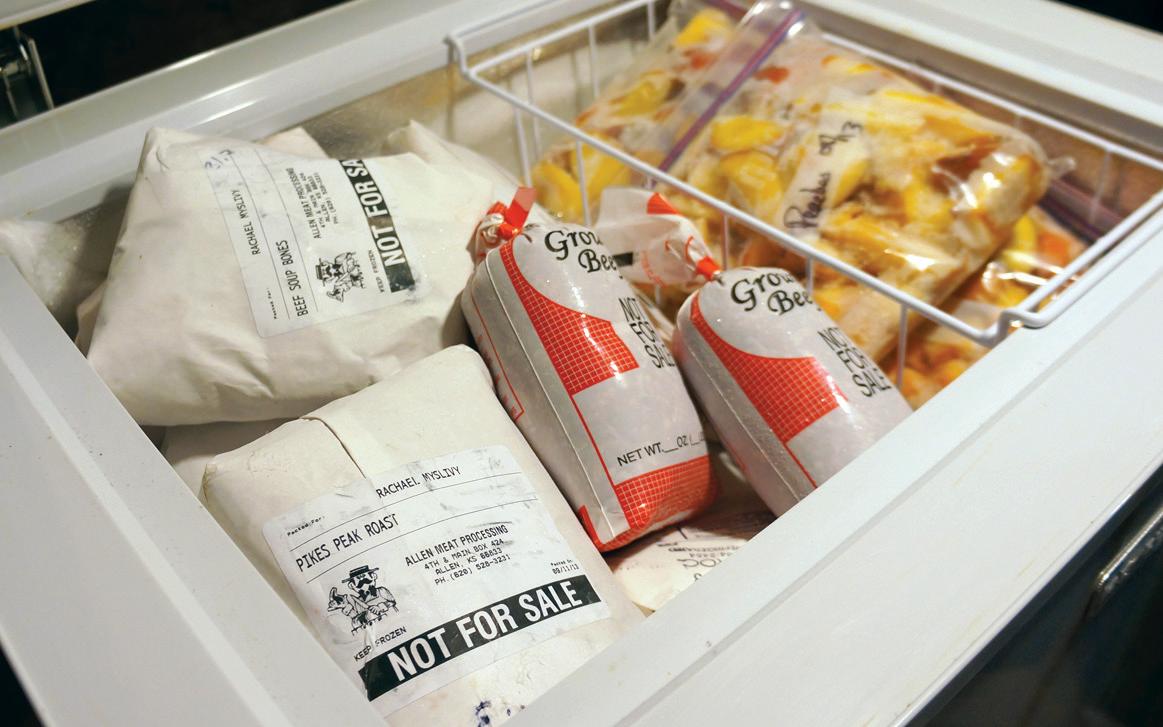
Figure out how to store your portion of the animal before you buy. One cubic foot of freezer space holds 30 to 35 pounds of beef. After subtracting processing waste, a 1,000-pound cow yields about 450 pounds of meat from the whole animal, 225 pounds from a side (half a cow), or 110 pounds from a quarter. A 250-pound hog, slaughtered and dressed, produces about 144 pounds of cuts from the whole animal, or 72 pounds from a half.
Butchers and meat processors typically freeze cuts inside vacuum packs or wrapped in butcher paper. Freezing makes buying in bulk convenient, and fresh-frozen beef and pork are safe to eat indefinitely, although the quality begins to suffer after about six months to a year.
Now that you’re stocked up with tips on how to save money on food, just remember: Plan your household’s bulk purchases carefully, figure out how you’ll store the food, and take pride in keeping your belly full for less.
RESOURCES
WHOLESALE DISTRIBUTORS

SERVING BUYING CLUBS
www.assocbuyers.com (Northeast)
www.azurestandard.com (Entire U.S.)
www.cpw.coop
(Upper Midwest)
www.frontiercoop.com (Entire U.S.)

www.global-organics.com (Entire U.S.)
www.hummingbirdwholesale.com
(Pacific Northwest)
www.unfi.com

(Entire U.S.)
ORGANIC BULK FOODS
www.bobsredmill.com
www.edenfoods.com
www.healthybuyersclub.com
www.pleasanthillgrain.com
FIND LOCAL FARMERS
www.americangrassfed.org
www.eatwild.com
www.localharvest.org
www.pickyourown.org
www.ota.com
www.facebook.com/motherearthnewsmag
20 MOTHER EARTH NEWS • PREMIUM GUIDE TO LIVING ON LESS
Jars, bins, and a chest freezer are wise investments for storing bulk food purchases. One cubic foot of freezer space holds about 35 pounds of meat.
LEFT: FOTOLIA/VLORZOR; RIGHT: HANNAH KINCAID
Over 200 years ago, we grew organically because there was no other way.


200 years later, organic trees are back — and this time they’re USDA Certified Organic.


These special trees must meet rigorous inspection standards. No arti cial anything is permitted to touch them, or the land on which they’re grown. From eld to table, you will know exactly where your food comes from.
For your health ... for your family ... for the environment. It’s time.
Purely grown, from the roots up — just like Mother Nature intended

A
To get your FREE catalog, visit StarkBrosOrganic.com or call 800.325.4180
USDA CERTIFIED ORGANIC FRUIT TREES go �rganic... = 100%NON-GMO ...grow �rganic!
Introducing
A GROWING LEGACY SINCE 1816 D StarkBrosOrganic.com
PUT EXTRA FOOD TO GOOD USE 25 Fresh Ways to
Don’t scrap your scraps! Reduce food waste by transforming your leftover morsels into meals.
Edited by Amanda Sorell
The pleasures of home-prepared food made from fresh ingredients are many, but using up all those odds and ends that don’t make it into the meal can frequently pose a

challenge. Thankfully, conscientious cooks can control what happens to some of the nourishment that would otherwise go to waste. We asked editors, friends and fans how they anticipate and avoid food waste in their homes. Hundreds of responses poured in, showing that food “scraps” have
a solid standing in the kitchen, if only we help them live up to their potential.
Thrifty Tips
Plan ahead. Leftovers from Monday night’s roast chicken can become tacos on Tuesday and a robust salad on Wednesday. Planning your meals in advance is the first step toward buying only what you need, and using every last bit. This will keep you from filling your cart too full when you’re at the store—and from emptying your

22 MOTHER EARTH NEWS • PREMIUM GUIDE TO LIVING ON LESS
DREAMSTIME/ZIGZAGMTART
wallet too fast. Use a mini-chalkboard, whiteboard, or pinned-up printed calendar in your kitchen to list the week’s meals and keep yourself on track. Make your grocery lists accordingly, and when you do plan to cook something substantial, such as a whole chicken or roast, make sure your meals for the following nights incorporate the food that will be left over. Freeze your foods. Jessica Kellner, former editor-in-chief of Mother Earth Living, urges eaters to employ their freezers. “If I have browning bananas but no time to do anything with them, I’ll pop them into a freezer bag and save them for the next time I want to make banana-oat cookies, banana bread, or a smoothie,” Kellner says. “Same with most produce—if you have tomatoes that are about to go bad, stick them in the freezer, and then use them in a sauce, stew, or casserole later.”
Preserve herbs. If you buy bundles of fresh herbs from the store or farmers market—or have a lot to harvest from your garden—former Mother Earth News Managing Editor Jennifer Kongs has a recommendation for saving them: “If you can’t use the whole bunch within a week or two, chop the herbs, press them into an ice cube tray, and then cover them with water or olive oil. Freeze them, and then pull out a cube or two anytime you need to add an herbal lift to a dish. Drying is another good option: For rosemary, sage, thyme, and oregano, bundle and tie the ends together, and hang them in a dry place. When the herbs have fully dried, store them in a spice jar for up to a year.”

Compost. Reader Dorinda Troutman works her food scraps into a productive cycle that incorporates the entire homestead. “I have chickens, so anything left over in the kitchen or the bottom of the fridge ultimately goes to them, and they turn it into manure, which becomes compost and goes back on the garden to create more meals and leftovers,” she says. You can compost, too, no matter where you live or how much space you have. Read “How to Make Compost” at goo.gl/5pFi7k to get the dirt on a number of composting setups, including worm bins, tumblers, and a plain old hole in the ground.
Double up. Former Mother Earth News Senior Associate Editor Robin Mather, author of The Feast Nearby , minds her energy bills while also diminishing food waste: “If I’m going to cook something in the oven for a long time, such as a stew, I’ll typically also bake something alongside it, such as muffins or cookies,” she says. “Even if the secondary dish goes straight into the freezer, I’ve saved the energy needed to bake it.” You can tap this tactic by roasting a tray of vegetables while baking dinner or dessert, for example.
Mather also takes water conservation into consideration. “I use leftover water from my kettle to rinse off my dishes before putting them into the dishwasher,” she says. This water and any greywater you collect can also be used to water plants or even flush your toilet.
Remnant Revival
Those commonly discarded bits in your kitchen can add zeal to new meals. The following tips, which range from familiar to unique, will help you pull as much as possible out of your perishables.

www.MotherearthNews coM 23
FOTOLIA/BRENT HOFACKER; TOP: DREAMSTIME/PEPMIBA
Dry bundles of herbs for long-term culinary use (top). Give yesterday’s mashed potatoes new life by frying them up into herbed potato pancakes (bottom).
Reuse cooking oil several times by straining it after each use. Place a funnel in the mouth of a canning jar, and then line the funnel with a paper coffee filter. Slowly pour cooled oil into the funnel, and allow it to filter through and drip into the jar. Put a lid on the jar and store it for your next use. You can save the oil-soaked filter to start a fire in your fireplace or fire pit.
—Mary Ann Wall Yancey
When your hens lay a surplus of eggs, whisk them up and freeze them raw in containers with ⅛ teaspoon salt or 11⁄2 teaspoons sugar for every four beaten yolks to keep them from becoming sticky. Label each container with the number of eggs inside. The eggs will come in handy in winter, when fresh eggs are scarcer. To thaw, place the containers in the refrigerator overnight, and then use the eggs as you would fresh eggs.
—Roberta Bailey
Freeze milk that’s on the edge of turning sour in recipe-sized portions—
Beef ‘Stoup’
My wife, Gwen, makes a soup/stew—we call it “stoup”—that’s great for using vegetables that are close to turning. These ingredients are just a suggestion; you can use any vegetables you may have. Yield: enough servings for an army.
3 pounds ground beef or stew meat
1⁄4 cup white flour


3 cups whole tomatoes
8 carrots
1 bunch celery
Potatoes, squash, zucchini, corn or any other veggies on hand, about 1 cup, chopped
Beef stock or water
1 cup barley
usually a cup or half-cup—and use it for cooking. It’s even better to go ahead and sour it before freezing by adding 1 tablespoon of vinegar or lemon juice per cup, and then to treat it as buttermilk. Use it in pancakes, muffins, quick breads, and other baked goods that call for buttermilk.
Save bones and vegetable scraps in the freezer to make stock. You can also freeze bits of cooked roasts, chicken, pork, etc. After you have enough to fill your slow
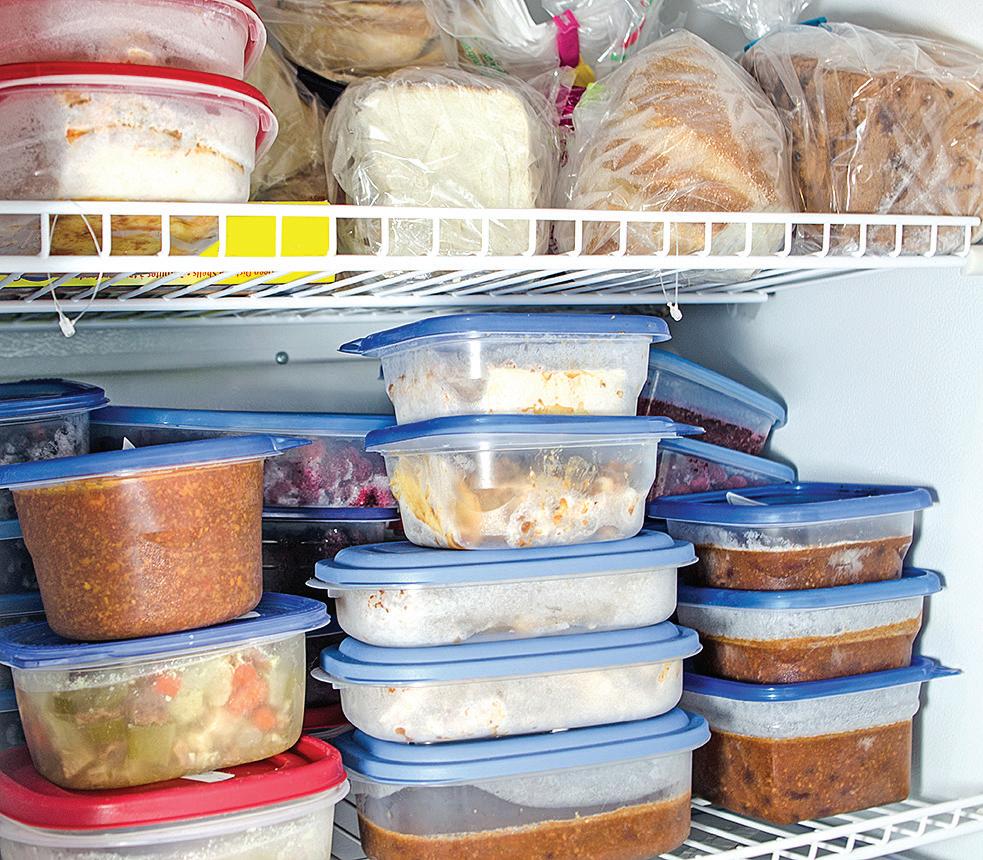
cooker, start the stock by covering the food scraps with water, and then cook on low for 12 to 24 hours.
Freeze the small odds and sods of hard cheeses, such as Parmesan, cheddar, Swiss, and Gouda. When you have a bagful, thaw them and whiz them together in a food processor or heavy-duty blender along with half the cheeses’ weight in butter and a tablespoon or two of brandy. You’ll then have potted cheese spread.
—Robin Mather
I never throw out the tops of celery stalks. Instead, I dehydrate them and grind them up to use as a seasoning.
—Jessica Kaml
I chop up the outer leaves and stalks of cauliflower and use them in soups and stir-fries. —Ros Tosi
My favorite way to use leftover mashed potatoes is to make potato pancakes for breakfast. Here’s how:
Spices or dried herbs, such as basil, oregano, Greek seasoning, black pepper, thyme, or garlic powder
Brown the beef in a large stockpot over medium-high heat. Drain the excess fat, sprinkle flour over the beef, and cook, stirring, until

flour has browned. Chop your vegetables, including the whole tomatoes, and add them to the pot. Fill the pot with stock or water until the veggies and meat are covered. Bring to a boil, and then reduce heat. Add barley and spices. Simmer on low until the barley is cooked and the vegetables are soft, about 45 to 50 minutes.
—Caleb D. Regan, former editor at Grit magazine
24 MOTHER EARTH NEWS • PREMIUM GUIDE TO LIVING ON LESS
DREAMSTIME/ROBYNMAC; TOP: ISTOCK/WWING
Make friends with your freezer to keep your leftovers fresh. Label each container with its contents and the date to fend off forgetfulness.
While about a tablespoon of oil or butter is heating up in a frying pan, mix rosemary, salt, and pepper with the chilled mashed potatoes, and then shape them into patties. Dredge the potato patties in flour for a nice crust, and then fry them up into potato pancakes. I enjoy them with eggs, Brussels sprouts, and coffee.
I put cut-up chunks of stale bread in the freezer until I have about 1 pound. When I’m ready to use the pieces of bread, I fetch them out of the freezer, let them defrost a bit, and then bake them with raw eggs, vegetables, cheese and a bit of cream to create a satisfying strata. —Hannah
Kincaid
Loaded Enchiladas

This one-pan classic is perfect for incorporating all kinds of vegetable scraps and other “extras” you may have lying around. Make sure you have good tortillas and enchilada sauce, but other than that, you can put practically anything inside enchiladas and end up with a delicious meal. Here are some ingredients I’ve added and loved, most of which are optional.
Finely chopped vegetables, such as broccoli, cauliflower, squash, peppers, or potatoes
Chopped greens, such as spinach or kale
Finely diced garlic, onions, or shallots

Olive oil

Cooked beans
Diced, shredded or ground meat, such as seasoned hamburger, chicken, roast, or steak

Cooked grains, such as brown rice or millet
Salt, to taste
Herbs, such as cilantro or chives
Spices, such as cumin, chili powder, or paprika
Enchilada sauce


Enough corn tortillas to hold ingredients
I turn dry bread into breadcrumbs, or I cut it into cubes and season it with garlic, butter, and herbs for homemade croutons. —Janette
Hartman
I save the last pieces of fruit that no one wants to eat, such as the final few grapes, strawberries, or blueberries. I keep them in the freezer, and then a couple of times a year, I haul them out, put them all together in my food processor, add a little sugar and a little pectin, and voilá!—it all becomes some of the best jam you’ll ever taste. If you don’t believe me, just ask any of the recipients of my special mixed-berry jam! —Cindy
Really ripe fruit that we aren’t able to eat goes into the blender. Blend 2 cups of fruit, 1 tablespoon of sugar if needed, and 1 teaspoon of lemon or lime juice, and then put the mixture into molds and freeze for fruit popsicles. My personal favorite is 1 cup of nectarines or peaches mixed with 1 cup of strawberries. Sometimes, if I have extra pie crust, I’ll make mini-pies with the fruit, too. —Stephanie
Figg
After squeezing limes or lemons , I freeze them to later stuff into a chicken before I roast it. This imparts a citrus flavor and also helps keep the meat moist. —Sarah
Matteson
Cheese, such as cheddar, pepper jack, goat cheese, or queso fresco
In a large pan, sauté any raw ingredients in olive oil until tender. Chop cooked items—such as steamed broccoli, baked potatoes, roasted squash, or leftover meat—into small pieces and add them to the pan, along with any cooked grains. After everything is combined, season the mixture with salt, spices, and herbs to taste.
Next, pour some enchilada sauce into a baking pan large enough to hold the number of enchiladas you want to make. Coat tortillas with sauce on both sides, and then place a bit of your filling on each tortilla. Sprinkle on some grated cheese, and then roll
up the tortillas and arrange them in the pan. Pour the rest of the enchilada sauce over the top, cover the pan, and bake for 25 minutes at 350 degrees Fahrenheit. Pull out and uncover the dish, and sprinkle the top of the enchiladas with a bit more cheese. Bake them for 5 minutes more, then serve.
If you have extra filling, store it in the fridge, then eat it with a bit of cheese melted over the top sometime in the coming days.
You can do practically this same thing with lasagna. Just layer your tomato sauce, cooked lasagna noodles, a cheese/herb blend, and your anything-goes filling mixture in a pan and bake it for 30 minutes or so at 350 F, until bubbly. Or, consider adding your leftovers to a pot of noodles along with tomato sauce for a hearty spaghetti.
—Shelley Stonebrook, former editor at MOTHER EARTH NEWS

WWW.MOTHEREARTHNEWS COM 25
FOTOLIA/MONART DESIGN
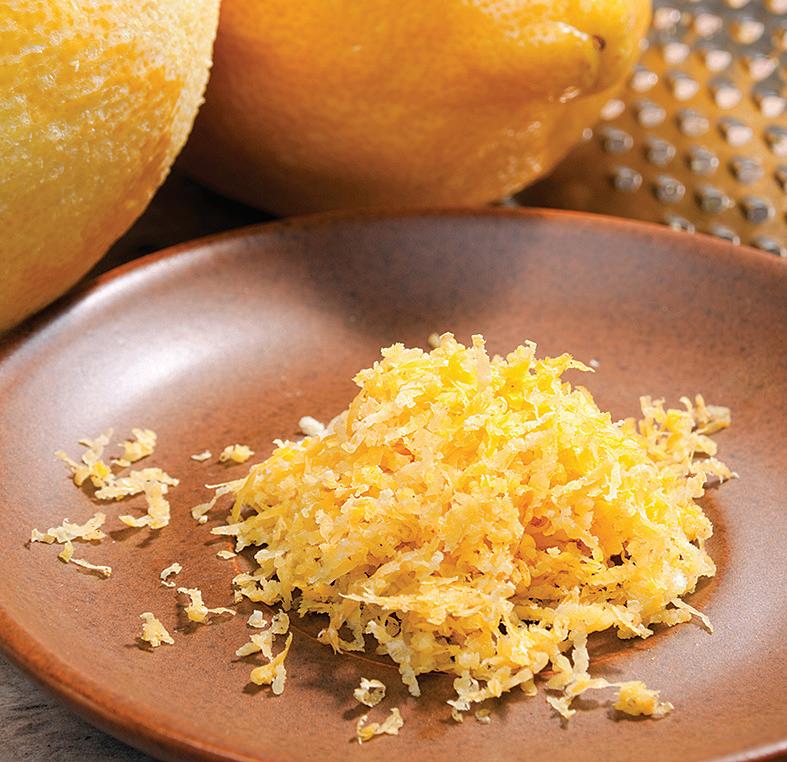
I always zest my lemons, limes, and oranges before peeling, slicing, or juicing them , and then I freeze the zest. The next time I need citrus zest for any recipe, I just pull it out of the freezer.
—Trina Reynolds
I use the pulp left in my juicer to top salads or other dishes. I also use it in homemade quick breads and veggie burgers. —Lori
 Bonner

Don’t throw away the pulp from juicing fresh vegetables. Instead, add it to soups and stews to thicken and stretch them. —Anne-marie
De Waal Coetzee

Breakfast ‘Muffins’
To make these breakfast bites, you’ll need a muffin tin, but you won’t need paper liners. Think of this as a formula, not a recipe.

Any vegetables you have, such as onions, celery, green peppers, spinach, or potatoes
Butter or oil

Spices and herbs, such as basil, oregano, rosemary, cumin, or garlic powder
Grated cheese, such as provolone, mozzarella, cheddar, Swiss, Parmesan, or Asiago
Leftover meat, such as ham, bacon, ground beef, or diced chicken
2 eggs per muffin
1 tbsp milk or cream per muffin

Salt and pepper, to taste
When I make a pie, I use the pastry bits left over from cutting around the edge of the pie to make an appetizer. I scatter a bit of grated Parmesan cheese over them, and bake them at 400 F for 10 minutes. —Katherine
Britton
I grind up leftover roasted meat and mix it with mayonnaise and relish to make a filling for sandwiches.
—Jean Ray Weddle
Add 2 cups of leftover cooked vegetables to a food processor with an egg, 1/4 cup of flour and a tablespoon of cream. Using a small ice cream scoop,
drop the mixture onto a cookie sheet, and then place the sheet in the fridge to chill for 30 minutes. Then, place leftover meat from a pot roast in a saucepan with your favorite barbecue sauce, and simmer it on medium-low for 30 minutes. Finally, remove the balls and deep-fry them. Put the meat on bread for a barbecue sandwich, and enjoy it along with the fried vegetable balls.
—Xris Hess
We steam a big batch of rice and keep it in the refrigerator to use later in all kinds of quick dishes throughout the week—in burritos, with red beans, and as fried rice. Our favorite version of fried rice uses up all the standard neglected vegetables in the crisper—especially mushrooms, bell peppers, and the butts of onions—and sometimes we throw in leftover sausage from the night before. For extra protein, we’ll add an egg. We drop all the ingredients into a large skillet, fry them with sesame oil and toasted sesame seeds, and serve with soy sauce on the side. —Rebecca
Martin


Preheat your oven to 350 F. Cook the vegetables until tender in a skillet with some butter or oil, seasoning them with spices and herbs, to taste.
Butter each cup of the muffin tin, and put about 2 tablespoons of grated cheese into the bottom of each one. Add about 1/4 cup of sautéed vegetables. If you’re using leftover meat, add it now.
Beat the eggs with the milk or cream, if using, and pour the mixture into each cup, to about a half-inch from the top. Season with salt and pepper. Sprinkle more grated cheese on top. Slide the tin into the oven and bake until the egg is cooked and the cheese is nicely browned, 10 to 15 minutes. These breakfast muffins will keep for a week in the fridge.
—Robin Mather, former editor at MOTHER EARTH NEWS

26 MOTHER EARTH NEWS • PREMIUM GUIDE TO LIVING ON LESS
FOTOLIA/BEORNBJORN; TOP LEFT: DREAMSTIME/LEPAS; TOP RIGHT: DREAMSTIME/ISABEL POULIN
Be frugal with your fruit! Zest your lemons before use (left) and shape aging fruit into popsicles (right).
TRYING TO LIVE WITH LESS?

TWO-WHEEL TRACTORS


WHY BUY A SEPARATE ENGINE FOR EACH SEASONAL OUTDOOR TASK?


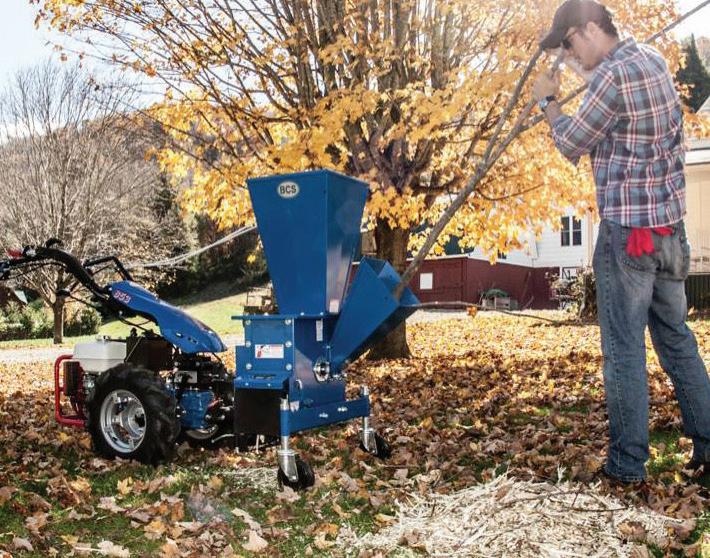


LESS STORAGE SPACE WITH A SINGLE POWER UNIT
LESS SOIL COMPACTION AND MORE MANEUVERABILITY


ONE POWER UNIT.
LESS TIME MAINTAINING ENGINES AND MORE TIME ENJOYING YOUR PROPERTY


DOZENS OF APPLICATIONS.


 TWO-WHEEL TRACTORS

HOMEMADE BROTH & STOCK
Glean nutrients and flavor from bones and scraps by simmering and seasoning them.
By Andrea Chesman
Nothing beats the convenience of having homemade broth and stock on hand in your kitchen. Homemade broths and stocks taste better than canned broths, bouillon cubes and pastes, and even expensive boxed broths. In addition, you’ll reduce your kitchen waste if you extract the flavor that remains in bones and vegetable peelings after the other parts are consumed.
But what do you call the simmering mixture in your pot? Is it broth, or is it stock? The two terms are often used interchangeably, and definitions do vary, so it depends on who you ask. But, in a nutshell, stock is the gelatinous result of cooking vegetables and bones in unseasoned water for several hours to extract flavor, while broth is made out of vegetables and meat simmered in a seasoned liquid for a shorter
Poultry Stock
period of time. Either one can serve as a foundation for other dishes, but because broth is typically seasoned, it’s often consumed on its own, while stock is the perfect rich-tasting base onto which you can layer other flavors.
The two basic types of stock are white and brown. White stocks are made with aromatic vegetables and bones (usually raw or roasted poultry or fish bones) that are simmered for hours. Brown stocks are made by roasting vegetables and bones first, and then boiling them with aromatic vegetables. This technique most often includes beef and pork bones, but poultry bones can be turned into brown stock too. Lamb and goat bones can also be used, but not everyone appreciates the resulting flavor.
To make your own stock, select a mixture of jointed bones and meaty bones. The jointed bones add collagen for mouthfeel, and the meaty
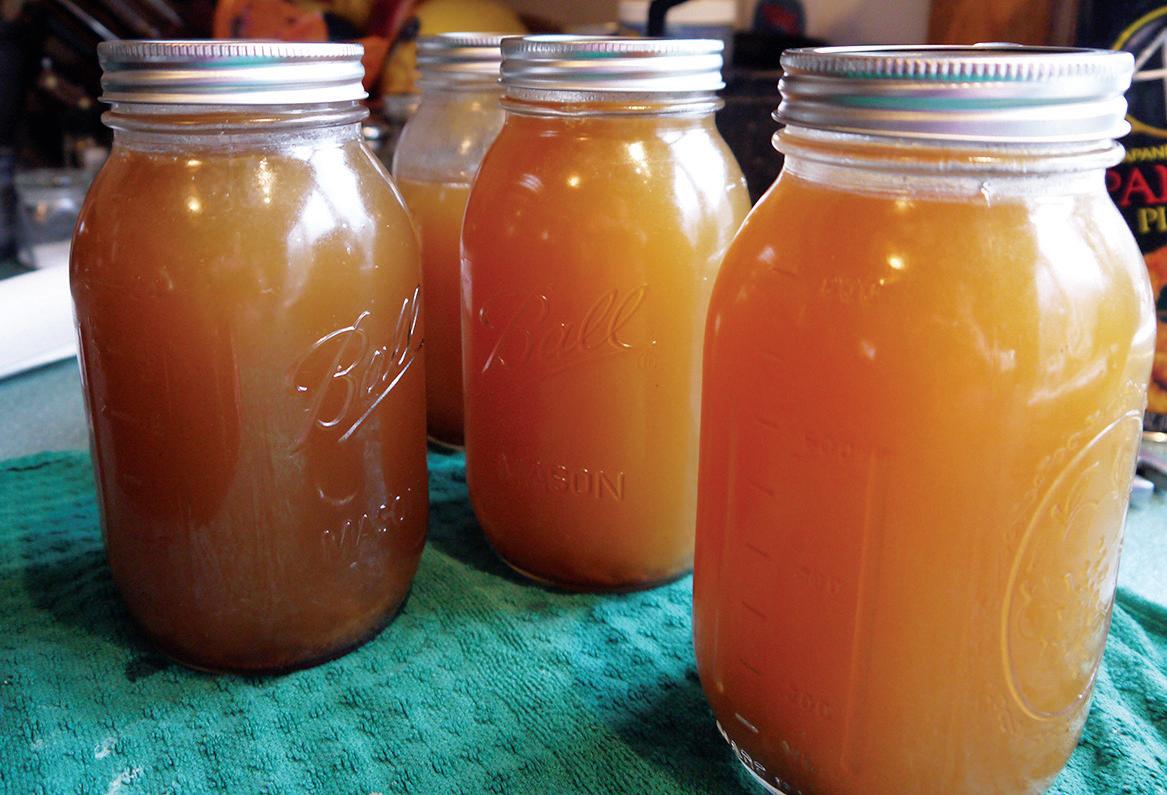
Use either the raw bones of poultry or the carcasses from a roast. Chicken feet make a particularly rich-tasting stock, with plentiful gelatin. You can also use this method to make ham stock, but rather than save up the bones in the freezer and risk freezer burn, halve the recipe and make the stock soon after enjoying the ham. Yield: about 7 quarts.
Directions: Combine the bones, water, and all the vegetables in a large stockpot. Bring to a boil, then reduce to a simmer. Skim off any foam that emerges on the surface until no more appears. Partially cover the pot, and simmer over low heat for 5 to 8 hours. Strain the stock by pouring it through a strainer lined with cheesecloth into another bowl or pot, and discard all the solids.
Refrigerate the stock for several hours, until a hardened layer of fat congeals on top and can be lifted off. Refrigerate and use within 4 days, freeze for up to 6 months, or pressure can in quart jars for 25 minutes.
bones add flavor. If you’re making a poultry stock, nothing beats chicken feet for adding richness—and you can’t make much else with them. I generally roast my poultry by spatchcocking or butterflying, meaning cutting out the backbone and then flattening the breast. This significantly reduces the roasting time and provides me the backbones for making stock; backbones are almost as good as feet for making a flavorful stock.
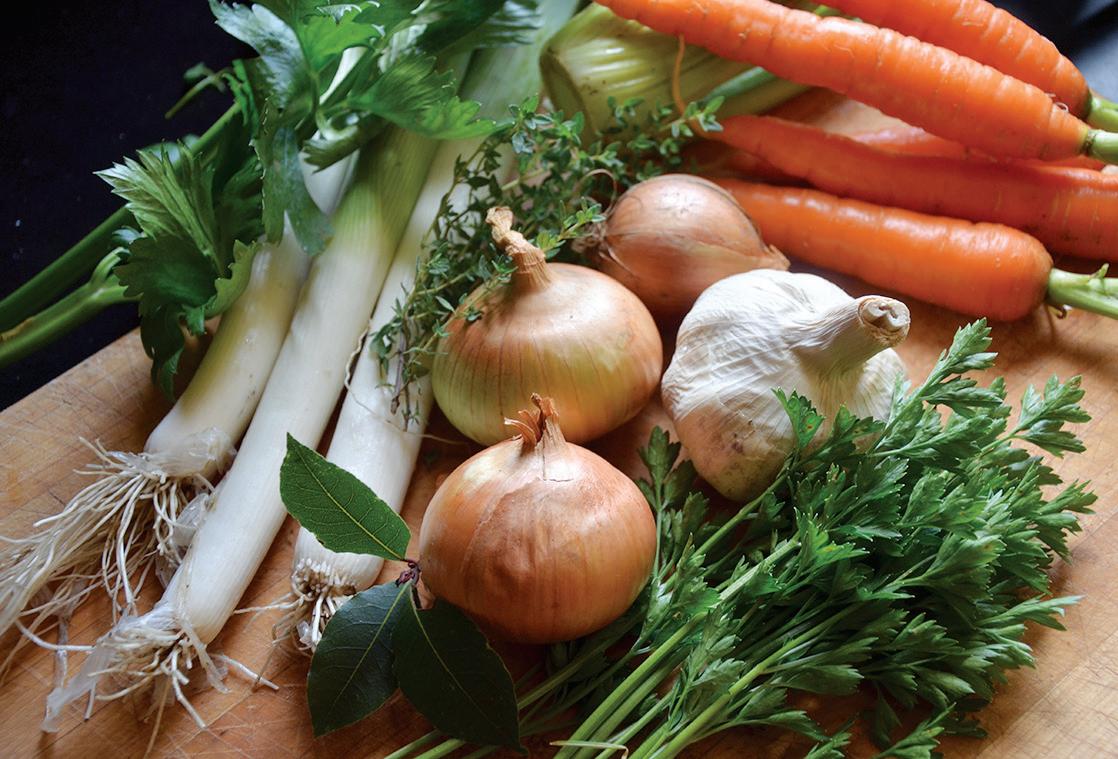
You’ll need a large stockpot or saucepan for making stock. If you’re making a brown stock, you’ll also need a couple of large rimmed sheet pans or roasting pans. The vegetables are a suggestion only; use what you have on hand, but avoid brassicas (such as broccoli and cabbages), which add an unpleasant flavor when cooked at length. I save onion peels, parsley stems, and leek greens in the freezer for this purpose. You can also save up mushroom stems and gills.
Skim the fat off the top of the meat and poultry stocks, and save it to cook with later. It’s a great cooking medium that adds flavor and


Ingredients
• 7 pounds raw chicken or turkey backs, wing tips, or feet, or the carcasses of roasted chickens or a turkey
• 8 quarts water
• 1 pound fresh or frozen vegetable trimmings (onion peels, celery tops, leek tops, parsley stems)
• 1 bunch parsley
• 2 onions, quartered
• 2 celery roots, peeled and chopped, or the top half of a bunch of celery
P AGE 28: A DOBE S TOCK /F OM A WWW.MOTHEREARTHNEWS COM 29
excellent browning qualities to any dish. The fat is perishable, though, so use it within a week or freeze it.
Stock can be the base of any quick soup or stew. Chicken stock, kale, and sausage with white beans is one of my family’s favorite dishes.
Stocks can also be used as braising liquid for stews and vegetables, as well
as cooking liquid for grain dishes, risottos, and pilafs.
Stocks can also extend gravies and sauces, and will punch up the flavor rather than dilute it.
Once you have a supply of stock on hand, your weeknight dinners will be quicker and easier to make, and more enjoyable to eat.
Andrea Chesman cooks, writes, and teaches in Vermont. She’s the author of Serving Up the Harvest, The Pickled Pantry, and The Backyard Homestead Book of Kitchen Know-How. You can find all three at www.motherearthnews. com/store.
Mushroom Broth
Ingredients
• 3 tablespoons olive oil

Many vegetable broths take on too much flavor from the veggies, tasting too sweetly of carrots or tomatoes. This broth tastes distinctively of mushrooms and can be used in any dish that calls for chicken or beef stock or broth. It also makes an excellent base for a vegetarian gravy. You can use any variety of mushrooms. Yield: about 5 quarts.
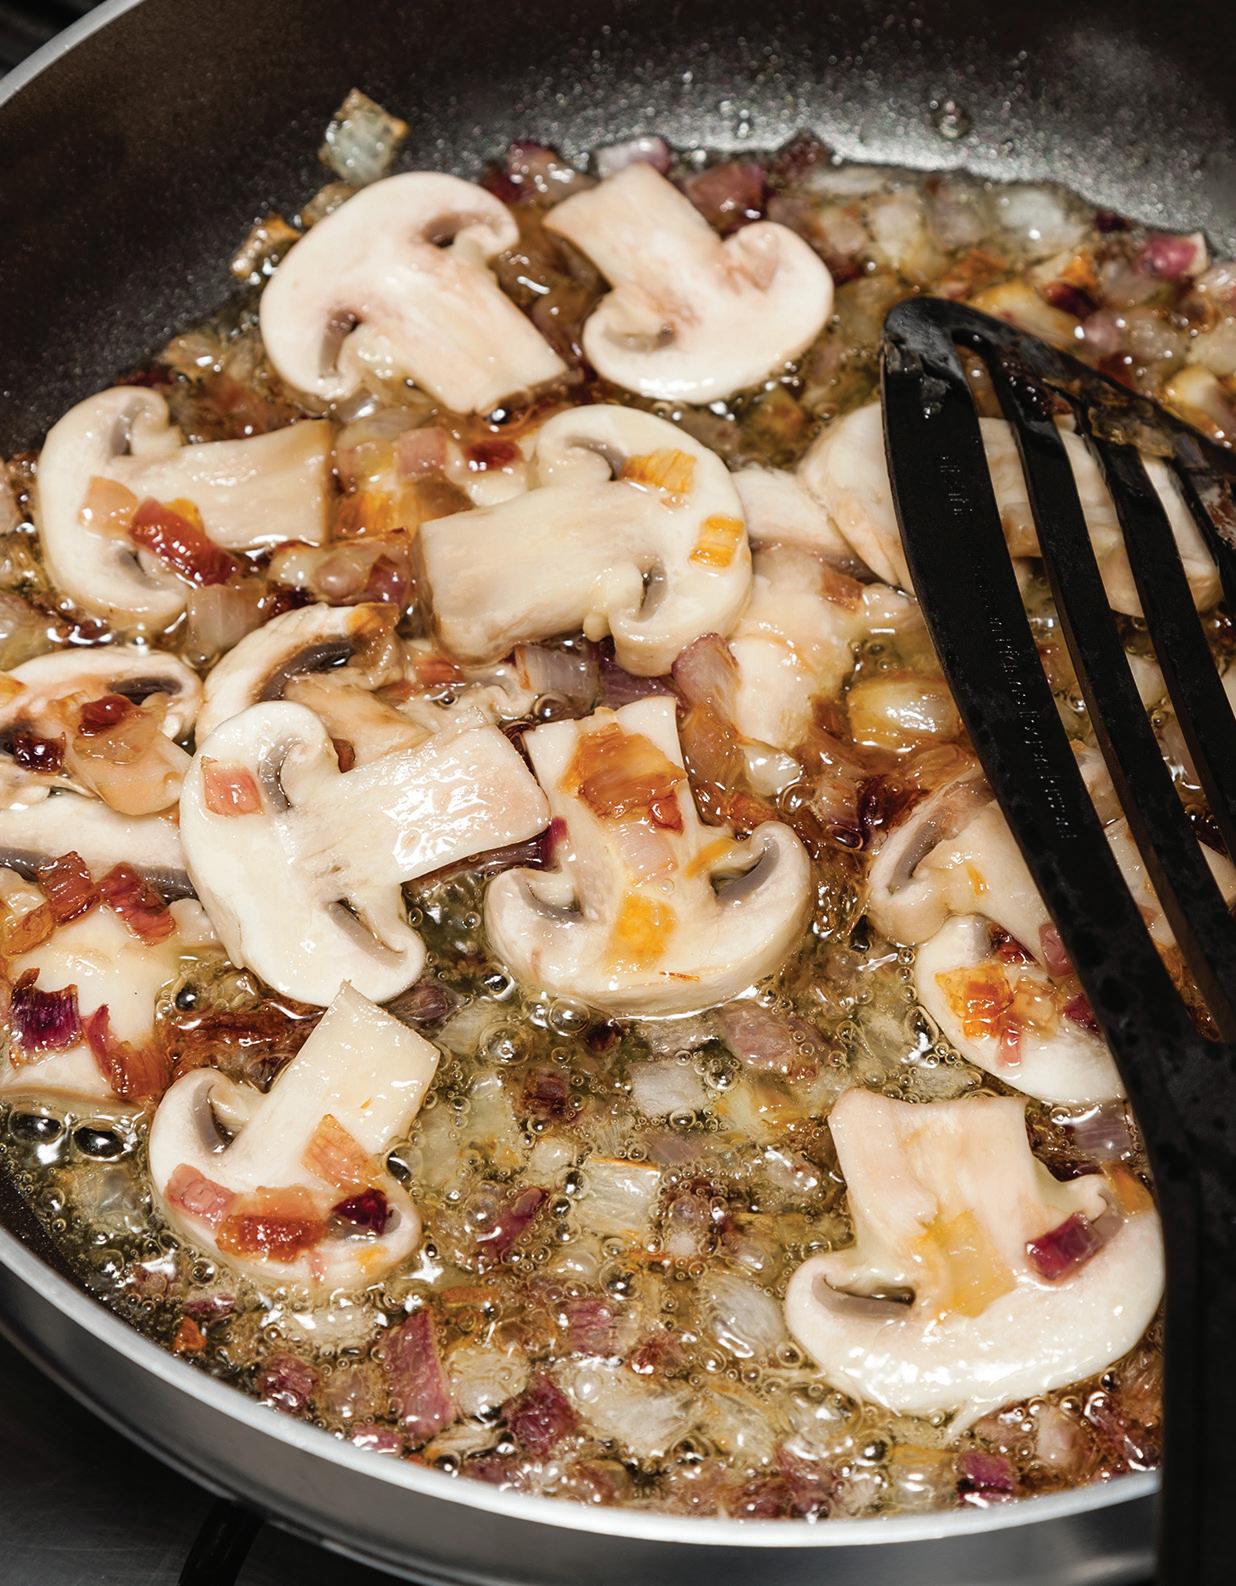
Directions: Heat the oil in a large stockpot over medium-high heat. Add the carrot, onions, celery root, and garlic, and sauté until they soften, about 8 minutes. Add the mushrooms and cook, stirring occasionally, until the mushrooms begin to give up their liquid and their volume reduces significantly, about 15 minutes.
Add the water, soy sauce, bay leaves, and peppercorns, and bring to a boil. Reduce heat to low and simmer until the vegetables are completely soft and the stock has a pronounced mushroom flavor, about 1 hour.
Remove from the heat and strain through a fine-mesh strainer; discard the solids. Refrigerate and use the broth within 4 days, freeze for up to 6 months, or pressure can in quart jars for 25 minutes.
• 1 carrot, coarsely chopped
• 2 onions, unpeeled, or 5 leeks, white and green parts, coarsely chopped
• 1 celery root, or the top half of a bunch of celery, peeled and chopped
• 6 cloves garlic, smashed
• 3 pounds white button mushrooms, coarsely chopped
• 5 quarts water
• 1⁄ 4 cup soy sauce


• 4 bay leaves
• 2 teaspoons whole black peppercorns
From left: Aromatic vegetables flavor both broths and stocks. Keep canned chicken stock on hand for flavoring sauces, soups, and stews.
30 MOTHER EARTH NEWS • PREMIUM GUIDE TO LIVING ON LESS C LOCKWISE FROM LOWER LEFT : A DOBE S TOCK (3)/G RESEI ; B ARBARA D AMROSCH ; A NDREA C HESMAN ; P AGE 31: A DOBE S TOCK / JUEFRAPHOTO
Brown Stock


A butcher shop is the best source for bones. If you have the option, select a mixture of bones that have meat clinging to them and those that have lots of joints (such as neck bones or knuckles). Yield: 5 to 7 quarts.
Directions: Preheat the oven to 425 degrees Fahrenheit. Put the bones and half the vegetables in a single layer in a large roasting pan. Roast for about 45 minutes, turning the bones occasionally, until well-browned.
Drain the fat from the roasting pan and reserve for cooking. Transfer the bones to a large stockpot, and set aside. Place the roasting pan over 2 burners on top of the stove, and add about 2 cups of the water. Bring to a boil, stirring to scrape up all the browned bits on the bottom of the pan.
Pour this browned liquid into the stockpot with the bones. Add the remaining water, remaining vegetables, bay leaves, and peppercorns. Bring to a boil, then reduce to a simmer. Skim off any surface foam until no more appears. Partially cover the pot, and simmer for 5 to 8 hours.
Strain the stock by pouring it through a strainer lined with cheesecloth into another bowl or pot, and discard all the solids.

Refrigerate the stock for several hours, until a hardened layer of fat congeals on top and can be lifted off. Refrigerate and use within 4 days, freeze for up to 6 months, or pressure can in quart jars for 25 minutes.
Ingredients
• 8 pounds uncooked beef or pork bones
• 2 large onions, unpeeled, chopped
• 1 bunch parsley or parsley stems
• 2 celery roots, or the top half of a bunch of celery, peeled and chopped
• 2 leeks, or the tops of several leeks, chopped
• 8 quarts water, plus more as needed
• 4 bay leaves
• 1 tablespoon whole black peppercorns


WWW.MOTHEREARTHNEWS COM 31

PRESERVE JAMS WITH LESS SUGAR
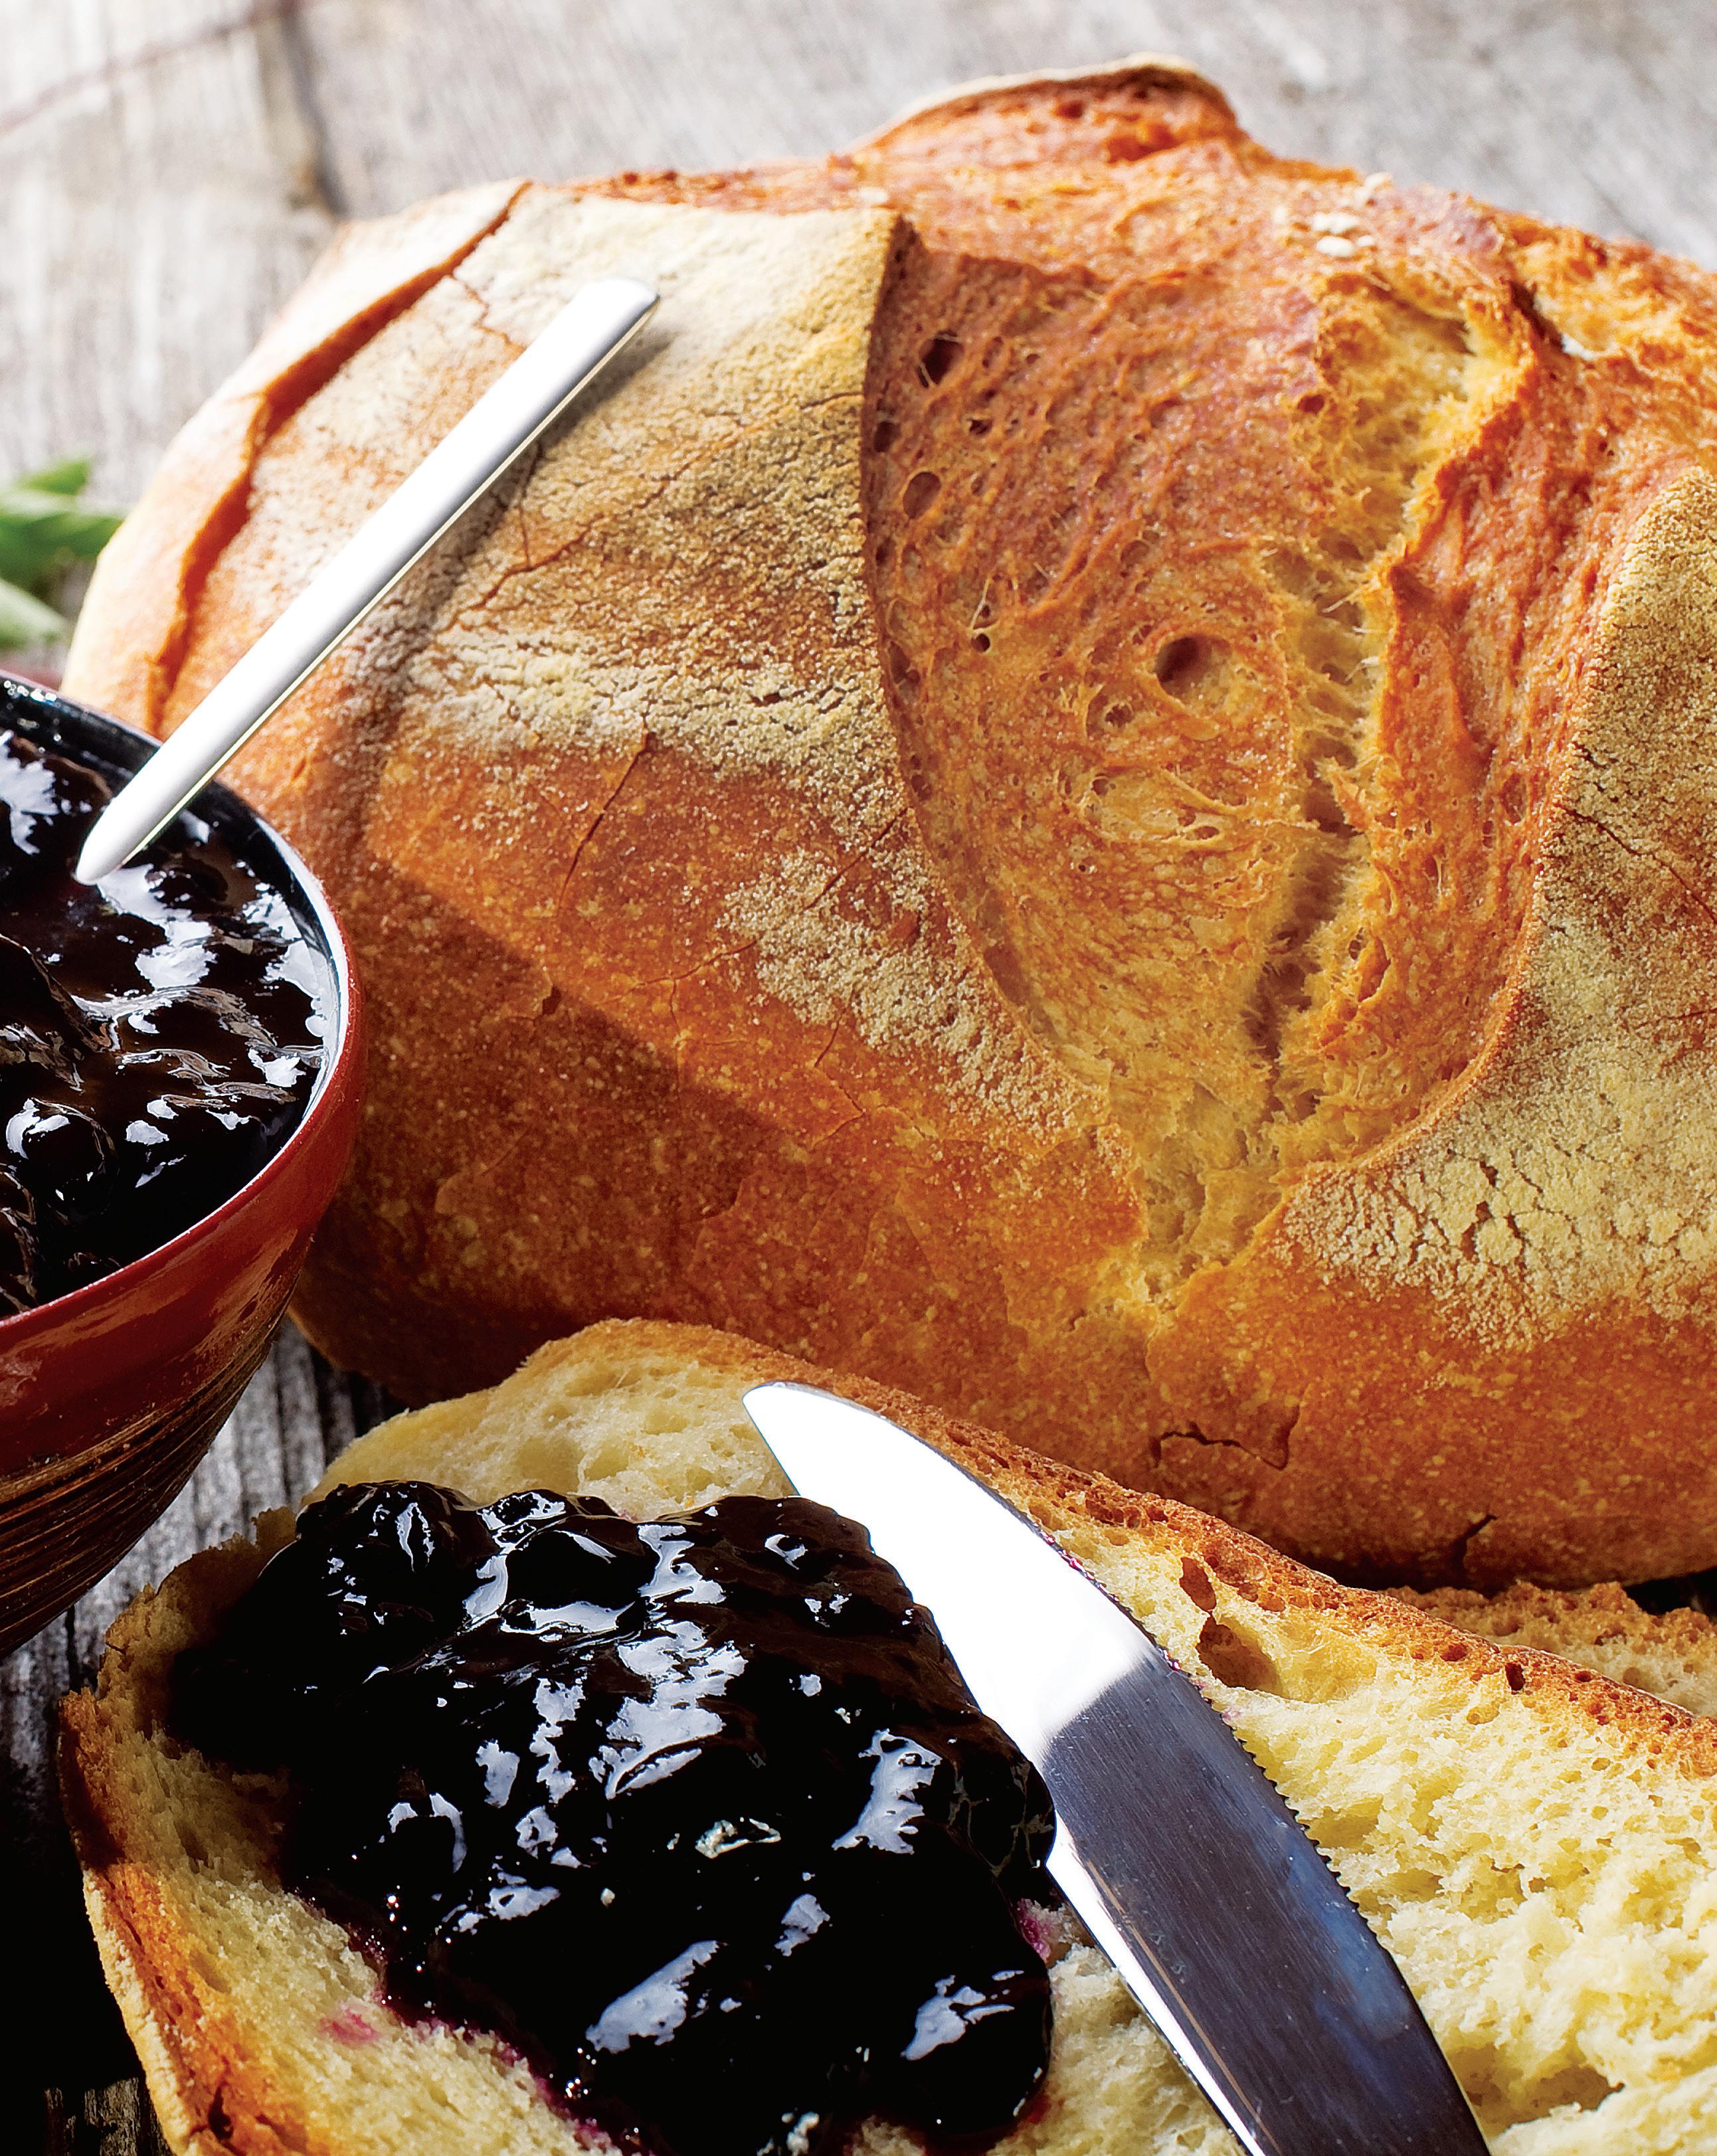
These recipes and tips offer a variety of options for preserving low-sugar jams without commercial pectin.

 By Andrea Chesman
The first time I made jam, our neighborhood grandmother, Agnes, told me I needed to buy a box of commercial pectin so my jam would set. I was pretty appalled by the amount of sugar required and thought the resulting jam was too sweet. It tasted more like sugar and less like the strawberries I had laboriously picked under the hot sun.
So I set about learning how to make preserves with less sugar, figuring people must’ve made jam before commercial pectins were sold. Pectin is a naturally occurring substance in the cell walls of ripe fruits and vegetables. When fruit is cooked and broken down, the pectin gives the preserve some structure and
thickness so it doesn’t soak unpleasantly into toast or PB&Js.

Back before the advent of the supermarket, home cooks made preserves by simply cooking down their fruits with sugar. And even if they didn’t know anything about pectin, they knew that some fruits, such as ‘Concord’ grapes, jelled easily, but other fruits, such as strawberries, needed to be cooked down a lot. And they knew that all preserves benefited from a splash of lemon juice to help them set.
When commercially extracted pectin was introduced in the United States in the 1920s, cooks embraced this new convenience product. It took the guesswork out of fruit preserves and vastly reduced the time required to make jams and jellies. Of course, those original
WWW.MOTHEREARTHNEWS COM 33
commercial pectins required that jams be made with white sugar and that the final jam be 60 to 65 percent sugar by weight. On the other hand, yields were greatly increased with commercial pectin because the fruit didn’t have to be cooked down so much, and little time had to be spent stirring the fruit to prevent scorching.
In the 1980s, Pomona’s Universal Pectin arrived on the marketplace. This pectin was formulated to work with the addition of calcium instead
Blueberry Jam
of great amounts of sugar. Soon, a few more brands of low- or no-sugar pectin became available.
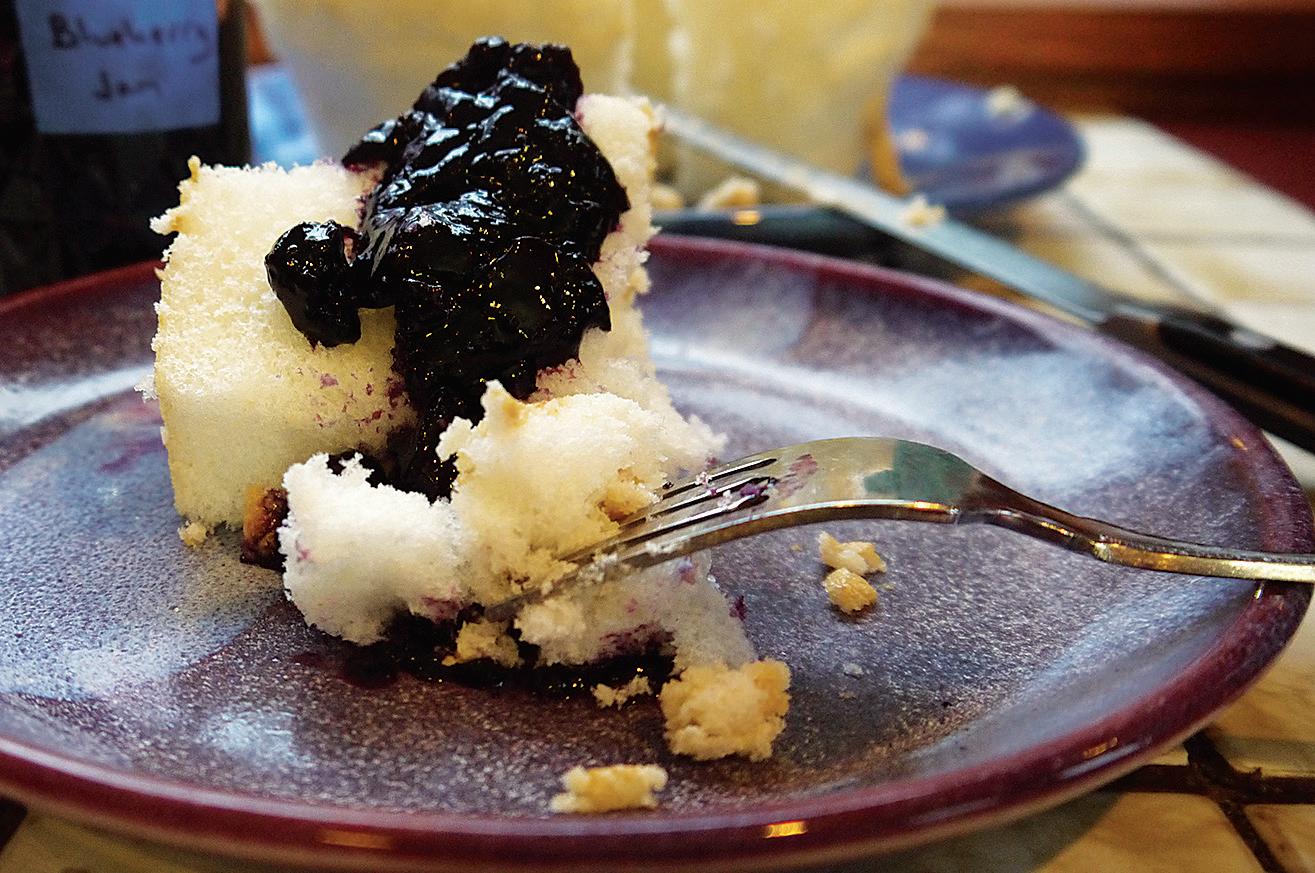
If you want to make a preserve with a low- or no-sugar pectin today, you can just look for such a product wherever canning supplies are sold (usually hardware stores, supermarkets, or online) and follow the directions on the packaging.
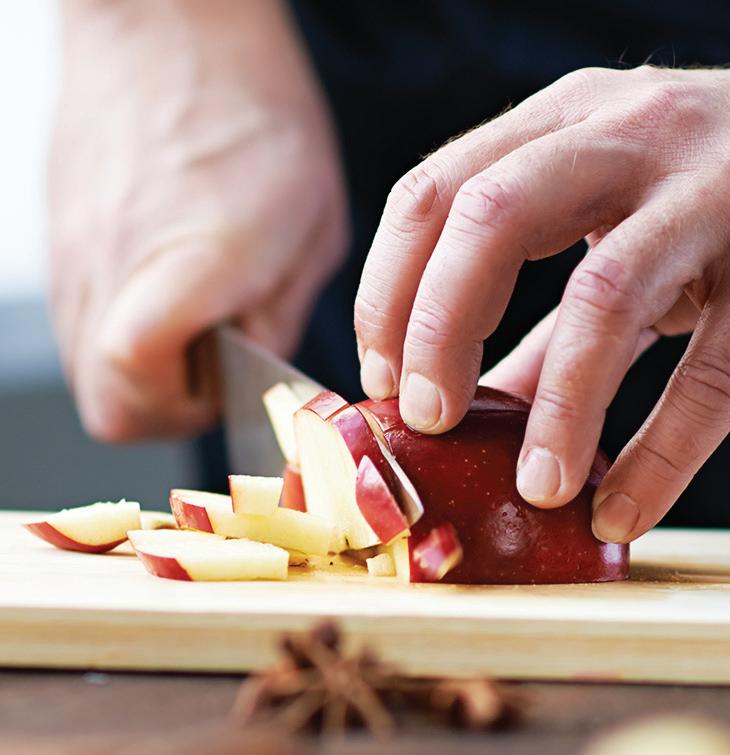
Some brands are easier to use than others. Some contain tiny amounts of dextrose or preservatives. Some break down over time, so after a few months
Blueberries are less juicy than strawberries, making them an easy fruit to work with. The final amount of sweetener is up to you. I usually add the full 2 cups because my family prefers it sweet. Yield: about 8 half-pints.
Directions: Place a small plate in the freezer for testing the set. Combine the blueberries and lemon juice in a large, heavy saucepan over low heat. Let the berries cook for a few minutes, until they begin to break down, and then crush them with a potato masher.
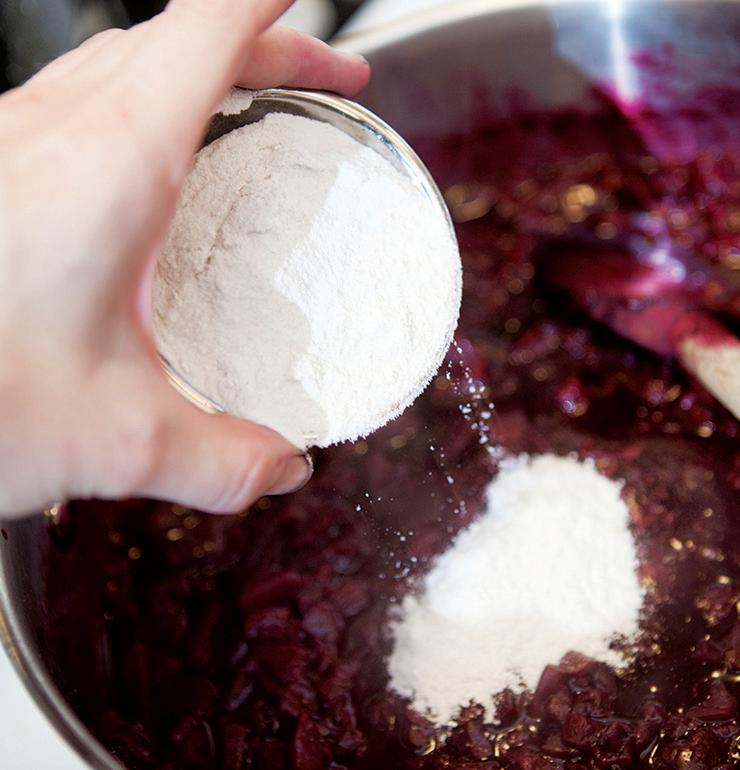
After the mixture is juicy with crushed fruit, increase the heat and add 1½ cups of the sweetener and the cinnamon, if using, and bring to a boil. Boil vigorously until the mixture is fairly thick, about 30 minutes. You’ll have reached the jam stage when a spoonful of jam dropped onto a cold plate holds its shape and you can leave a clean trail by passing your finger through the mixture. Remove from the heat and skim off any foam. Taste the jam and add the additional ½ cup sweetener if desired. Ladle the hot jam into clean, hot half-pint jars, leaving a ½-inch headspace. Install new canning jar lids. Process in a boiling water bath or atmospheric steam canner for 15 minutes. Remove from the canner and allow jars to cool undisturbed for 12 hours. Store in a cool, dry place. Store opened jars in the refrigerator.
you may have runny jams or jams that separate in the jar. You can find plenty of opinions about different brands online. I happen to prefer Ball’s low- or nosugar pectin (see goo.gl/TM26uH ). It’s less fussy to use than some of the other brands, it holds its set longer, and it allows me to sweeten to taste because I don’t have to pre-mix my sweetener with the pectin to prevent lumps (which is required by Pomona’s).
Before proceeding, there’s one important point to consider: Sugar in
Ingredients
• 12 cups (about 4 pounds) wild or cultivated blueberries, fresh or frozen

• ¼ cup bottled lemon juice
• 1½ to 2 cups sugar, maple syrup, or honey, divided
• ½ tsp cinnamon (optional)


34 MOTHER EARTH NEWS • PREMIUM GUIDE TO LIVING ON LESS
You can add pectin, which thickens jams, by using a commercial product (left), by adding apples, or by cooking down naturally pectin-rich fruit.
any form—granulated white, brown, maple syrup, and honey—is a preservative. Without any additional sweetener, preserves taste flat and don’t keep well. No-sugar jams with added pectin do just fine on the shelf if they’re processed in a boiling water bath or steam canner for 10 minutes. Likewise, no-sugar jams with no added pectin that are cooked down and processed for 15 minutes are also fine on the shelf. However, after they’re opened, they may develop mold or ferment quickly. Open jars of low- or no-sugar jams will keep for 10 to 14 days. High-sugar jams that are made with standard commercial pectin will keep for months in the refrigerator; they also tend to be lighter in color and have a firmer set.
If you’re worried you won’t finish a jar of low- or no-sugar jam before it goes bad, process the jam in 4-ounce jars (quarter-pint jars), but keep the processing time the same as specified in the preceding paragraph.
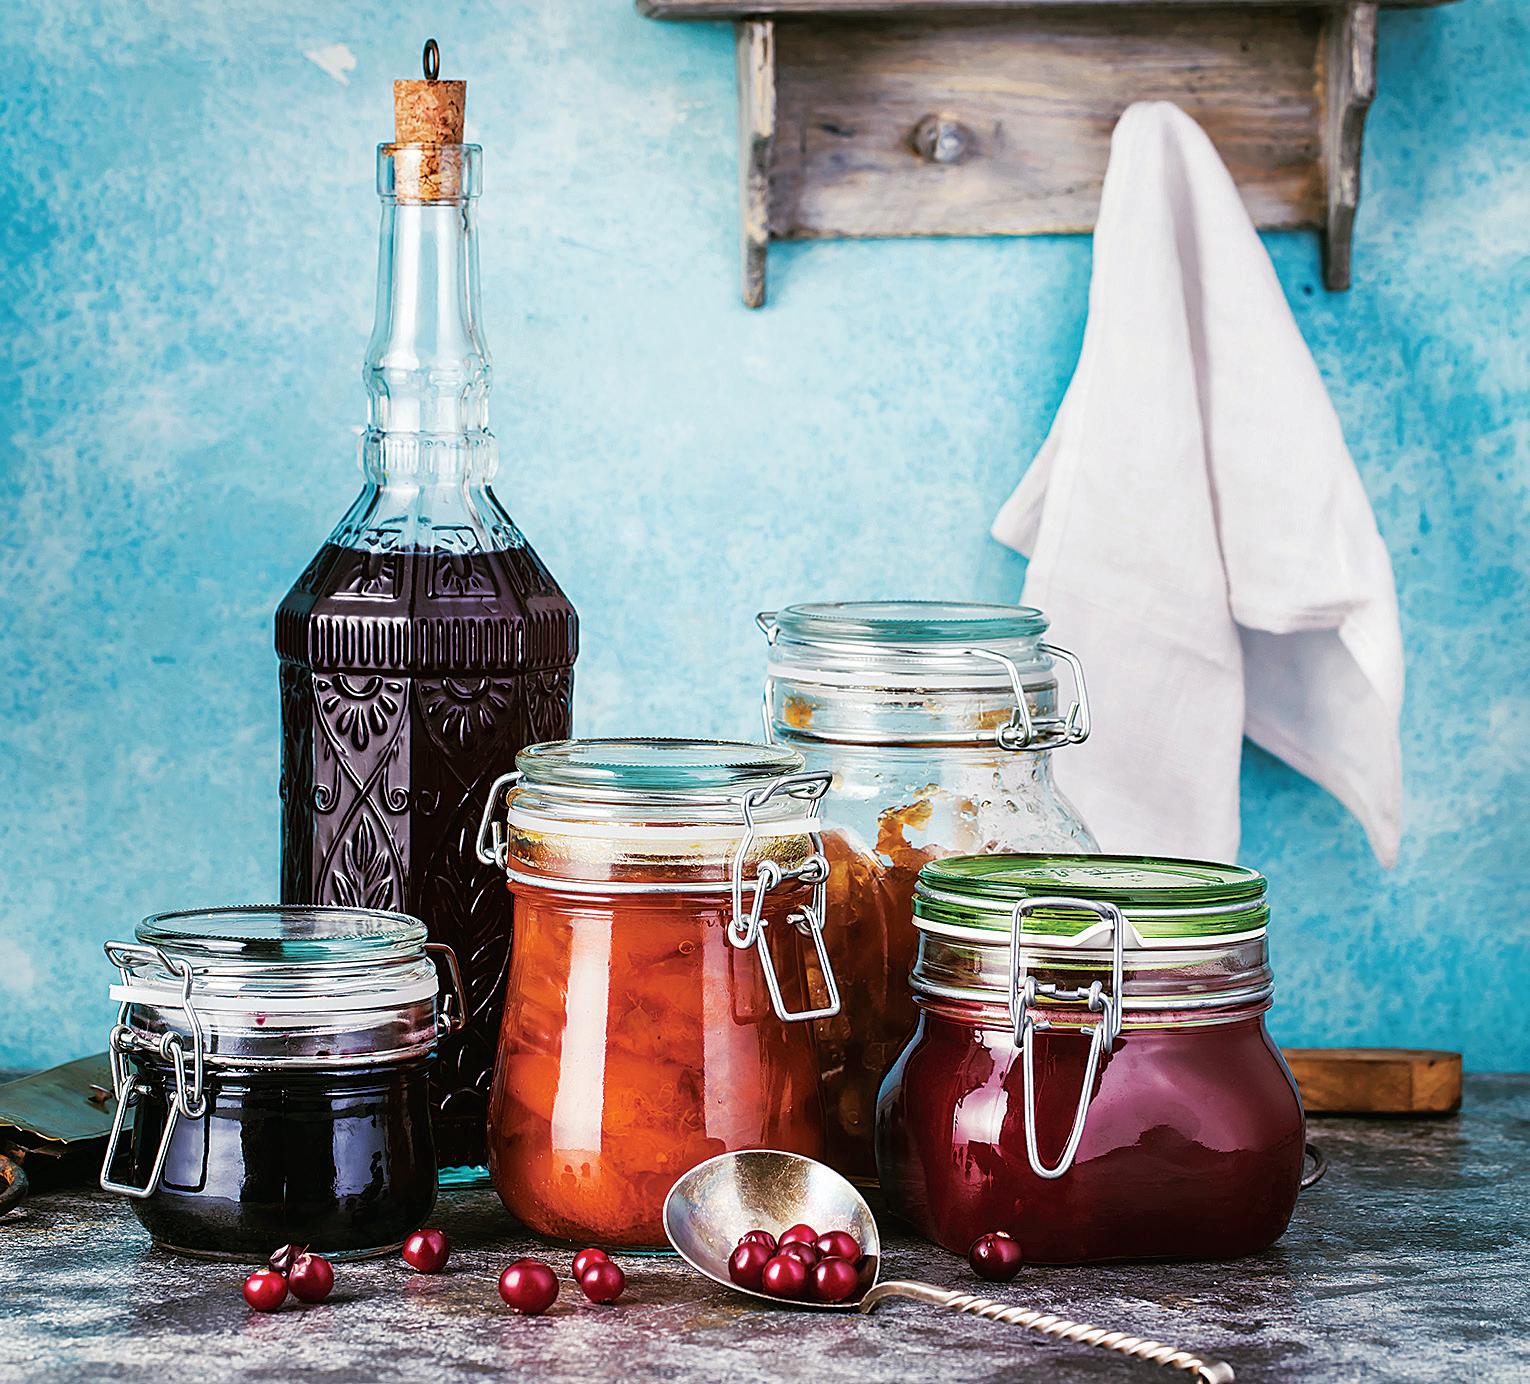
Maple Peach Jam
I love the combination of maple and peaches, but honey also works well with peaches. A hint of nutmeg enriches the flavor. Yield: about 8 half-pints.

Directions: Bring a large saucepan of water to a boil. Fill a large bowl with ice water. Lower the peaches into the boiling water for 30 to 60 seconds. Drain, cool, and peel. Working over a bowl to catch all the juices, use a sharp knife to cut each peeled peach in half around the pit. Gently twist each half to expose the pit. Using the knife or your fingers, pry the pit out of the peach. When all the peaches are peeled and pitted, chop into small pieces, again trying to save all the juices.
Combine the peaches with their juices along with the lemon juice, maple syrup, and nutmeg (if using) in a large, heavy saucepan. Bring the mixture to a boil and boil for about 30 minutes, until thick, stirring frequently. You’ll have reached the jam stage when a spoonful of jam dropped onto a cold plate holds its shape and you can leave a trail by passing your finger through the mixture.
Remove from the heat and skim off any foam. Ladle the hot jam into clean, hot halfpint jars, leaving a ½-inch headspace. Install new canning jar lids. Process in a boiling water bath or atmospheric steam canner for 15 minutes. Remove from the canner and allow jars to cool undisturbed for 12 hours. Store processed jars in a cool, dry place. Store any opened jars in the refrigerator.
Ingredients
• 5 pounds ripe peaches
• ¼ cup lemon juice, bottled
• 1½ cups maple syrup
• ½ tsp freshly grated nutmeg


WWW.MOTHEREARTHNEWS COM 35 CLOCKWISE FROM BOTTOM LEFT: ANDREA CHESMAN; GETTY IMAGES (2)/SARASANG, MEDIAPHOTOS; ADOBE STOCK/ANDREWHAGEN; GETTY IMAGES/YINGKO; ANDREA CHESMAN; PAGE 34: GETTY IMAGES/MARCOMAYER
Once opened, jars of low- or no-sugar jams will last 10 to 14 days in a refrigerator.
Over the years, I’ve played around with different fruits, different sweeteners, and different amounts of sweeteners. Here’s what I’ve learned.Honey and maple syrup work fine in a jam, but they often compete with the flavor of the fruit, so consider using at least half white sugar and half other sweetener. Very-low-sugar jams can taste flat or sour. My family prefers a lightly sweetened jam. With added pectin, I generally use 2 cups of sugar or another sweetener to 6 pounds of fruit.
When I’m cooking the fruit down, I generally use about 11⁄2 to 2 cups sugar or another sweetener to 4 pounds of fruit.You can cook your fruit with a couple of finely chopped apples to add pectin to the mix, but apples will mute the other fruit’s flavor. You can make jams and other preserves from frozen fruit. You can also make them with mixtures of fresh or frozen fruit, especially when you combine different types of berries or different types of stone fruits (peaches, nectarines, cherries).
Sour Cherry Jam

When you make a preserve without added commercial pectin, you’ll have to figure out when the preserve is ready to be taken off the heat. Take it off too soon, and you’ll have a runny preserve; too late, and you’ll have an almostsolid spread with the taste of caramelized sugar. The easy way to tell whether your preserve is ready is to drop a small amount of the fruit mixture onto a chilled plate. If your finger leaves a distinct trail through the preserves, it’s done; if liquid flows back into your finger trail, it’s not done.
Process jams and other preserves in a boiling water canner or atmospheric steam canner to achieve a 1-year shelf life and to eliminate the chance of mold. A very short 5-minute processing time using sterilized jars is recommended only for full-sugar preserves. If you’ve added pectin to your low-
or no-sugar preserve, process for 10 minutes. If you haven’t added pectin, process your lowsugar jam for 15 minutes, in accordance with the guidelines from the National Center for Home Food Preservation.

Jams are more than a spread for toast! Use them instead of maple syrup on pancakes and French toast; ripple into homemade ice cream about 5 minutes before it’s done; use instead of fresh fruit for filled fruit bars (cookie base, jam middles, crumble topping); or use as a topping for angel food cake or pound cake. Jam can dress up any dessert.
Jams made with commercial pectin have a texture that’s more jelled; jams made without commercial pectin are more like a thickened fruit spread. You can make unique jams by adding flavorings, such as herbs and spices or liqueurs and spirits.
If you want to go that route, add flavorings sparingly so as not to overwhelm the fruit. I prefer my jams to taste like fruit, pure and simple.
If you have an abundance of sour cherries, you know you won’t be enjoying them out of hand as you would with sweet cherries, so putting them up as jam or pie filling makes sense. If you’re fortunate enough to have more sweet cherries than you can eat fresh, follow this same recipe, but cut back on the sweetener and add 3 tablespoons bottled lemon juice. Yield: about 6 half-pints.
Directions: Stem and pit the cherries. You should have 12 cups. Purée the fruit in a food processor until it’s finely chopped. Or, if you prefer, process it until it’s puréed.
Transfer the cherries to a large, heavy saucepan and add the sweetener. Bring the mixture to a boil and boil for about 30 minutes, until thick, stirring frequently, 10 to 15 minutes. You’ll have reached the jam stage when a spoonful of jam dropped onto a cold plate holds its shape and you can leave a trail by passing your finger through the mixture.
Remove from the heat and skim off any foam. Ladle the hot jam into clean, hot half-pint jars, leaving a ½ -inch headspace. Install new canning jar lids. Process in a boiling water bath or atmospheric steam canner for 15 minutes. Remove from the canner and allow jars to cool undisturbed for 12 hours.
Store processed jars in a cool, dry place. Store opened jars in the refrigerator.
Ingredients


• 4½ pounds cherries
• 2¼ cups sugar or honey

36 MOTHER EARTH NEWS • PREMIUM GUIDE TO LIVING ON LESS
Use jam instead of maple syrup on pancakes, or ripple it into homemade ice cream.
ANDREA CHESMAN
SALVAGED WOOD Creating FurnitureCustom from
Bootstrap business Baldwin Custom Woodworking transforms


 By Kale Roberts
Peel back the bark on millions of trees throughout the Western United States, and you’ll find the telltale signs of beetle infestation: a criss-crossing network of narrow channels that emboss otherwise smooth wood. Since the late 1990s, more than
60 million acres of forest in the West have experienced tree die-offs resulting from an unprecedented mountain pine beetle epidemic. Although mountain pine beetles are native to the region, two decades of warming temperatures and drought have weakened trees, giving the insects a foothold.
While entire mountainsides turn from green to rusty red and then to


gray—the characteristic palette progression of a forest in beetle-borne decline—elm, ash, and walnut trees are also being attacked by pests and removed at increasing rates in communities such as Denver, Boulder, and Fort Collins. One Colorado woodworker has been working to give new life to the pest-pocked trees removed from urban forests in northern Colorado.

WWW.MOTHEREARTHNEWS COM 37
Photos by Cara Baldwin
diseased trees into handmade heirloom woodworks.
Ryan Baldwin owns and operates Baldwin Custom Woodworking, a small sawmill and woodworking shop on the outskirts of Fort Collins. Since 2008, he and his wife, Cara, have built the business by salvaging the area’s damaged trees and transforming them into milled lumber for building projects and elegant custom furniture, cabinetry, and other products.
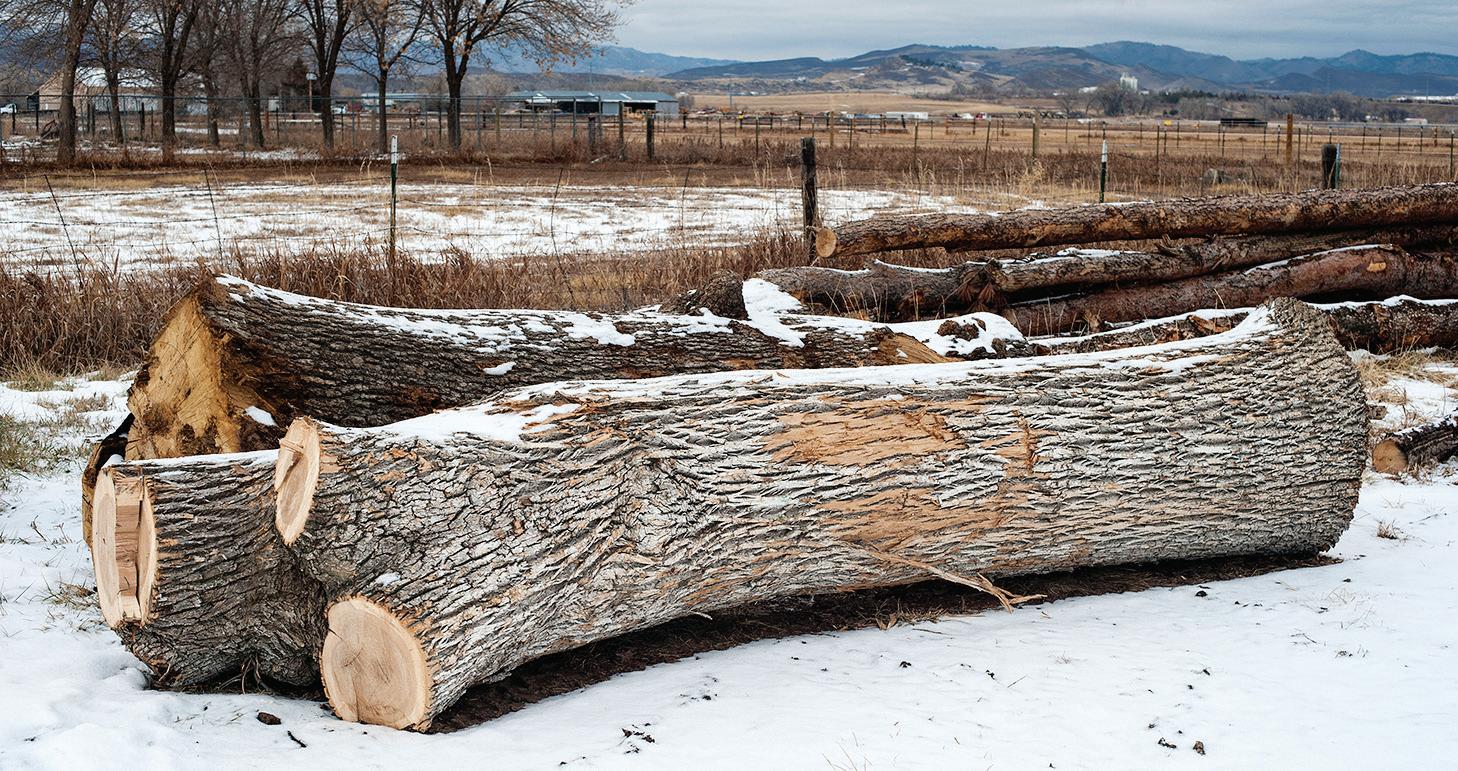
“Nine times out of 10, wood is coming to us because the tree is diseased or dying,” explains Ryan, adding that despite the havoc beetles wreak on the local ecology, the color and texture of the trees’ interior wood can remain largely unharmed. The human impact tends to be more noticeable: Because
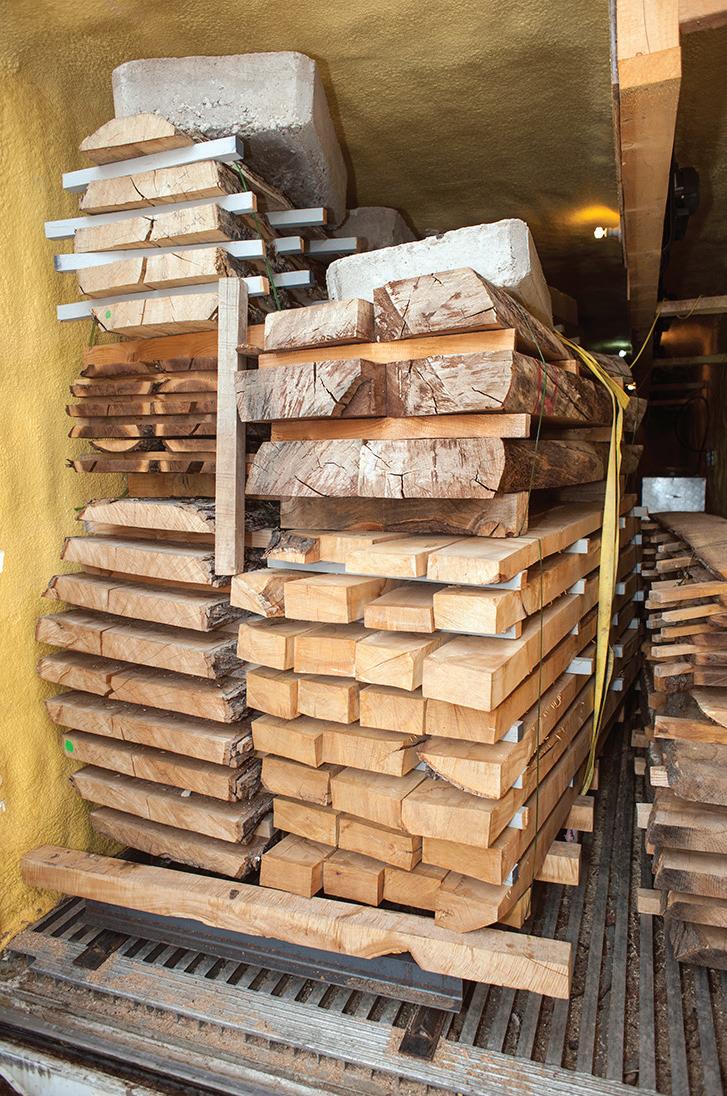
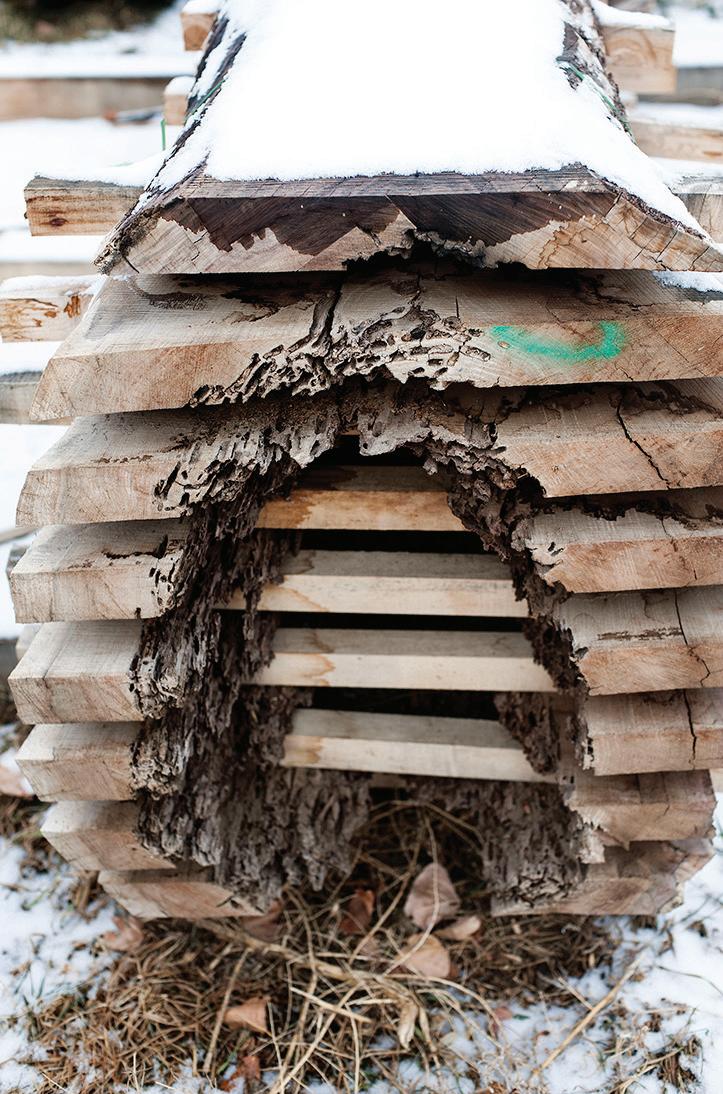
90 percent of the wood coming into Ryan’s shop is from the immediate Fort Collins area—much of it from within city limits—interesting items, such as nails, barbed wire, and even bullets, can be found inside. And unlike farmed lumber, the rough-cut slabs Baldwin and his four-person crew work with are rarely straight with uniform grain.
“We have local student groups come out (for tours), and when you ask where wood comes from, the students respond with ‘Home Depot’ or ‘Lowe’s,’” Ryan says. “What we’re doing is sort of this throwback to half a century ago when there was a small sawmill in nearly every community.
We’ve seen that disappear during the past 50 years, causing people to become disconnected from their lumber, their trees.”
LEED-ing on Green Building
This disconnect may be allaying somewhat. In recent years, Ryan has seen resurgent demand for locally sourced materials, thanks in part to the construction community’s growing aspiration to meet LEED building standards.
Leadership in Energy and Environmental Design, or LEED, is a rating system developed by the U.S. Green Building Council to certify building projects that comply with a stringent list of requirements pertaining to water efficiency, energy performance, and other measures. Points are awarded for reusing on-site materials—and this is where Ryan and his crew come in. The cities of Fort Collins and nearby Loveland, Colorado State University, and local firms have all tapped Ryan to incorporate urban wood into their building designs. “The builder receives credits toward LEED for reusing material, and the building occupants have an incredible story to tell about their staircase or other features,” Cara says.
Homeowners make up the remaining portion of customers who commission finished products. For many, the idea storm that occurs before a piece goes into production can last many times longer than the three to five weeks it will take Baldwin’s crew to make the piece. Visitors to the workshop are often struck with inspiration as they peruse possibilities for tables and chairs, countertops and stools, or bar tops with live edges—a trending request.
“People walking through a lumberyard may have trouble imagining what the end result might be,” Cara says. “But walking through the workshop, seeing other finished products, they get creative. In this way, the workshop is complementary to the lumberyard and vice versa.”
38 MOTHER EARTH NEWS • PREMIUM GUIDE TO LIVING ON LESS
Logs await processing to be turned into live-edged slabs or dimensional lumber.
From left: Lumber dries inside a kiln, and a milled walnut tree reveals decay that made it unstable.
Building the Business Over Time
The Baldwins contend that building the furniture is the fun part—building the business is the hard part. As seasoned entrepreneurs know, the bootstrap businessperson wears many hats.

Ryan is the shop mechanic, the janitor, the roof repairperson, the salesperson, the accounts manager. He taught himself QuickBooks, invoicing, payroll, and taxes. “He doesn’t give himself the full credit for not only designing and building the furniture but also for running the business,” Cara says.

Cara’s background is in journalism and marketing, and, like her husband, she has used her skill set to support the business’ journey by creating the company’s marketing materials, writing emailbased newsletters, and photographing pieces for the website. “In the early days, I dragged studio lights out to the garage and put up a black background to shoot studio photos of Ryan’s work,” she says. “Now, we have adopted more of a rustic look.”
“She makes really great cutting boards,” Ryan adds.
The pro bono nature of Cara’s contributions underpinned the business’ early viability. “As much as I helped behind the scenes, I’m not
an employee and have maintained a full-time job outside of the business. It would have been tough to not have that outside paycheck coming,” she says. “It let Ryan jump headfirst into this.”
www.MotherearthNews coM 39
Baldwin’s lumber inventory includes boxelder, black walnut, English elm, green ash, and more.
Ryan Baldwin (left) and Kevin Woodward review a furniture piece in design.
Tools Up for Trade
Ryan has been a do-it-yourselfer since the age of 6, when he began repairing chains on chainsaws and fixing lawn mowers. He gained some design background in school, which helped him to understand proportions and sizing—important skills for making furniture. And he stands by resources from The Taunton Press, publisher of Fine Woodworking and Fine Homebuilding magazines, for their ideas, tool guides, and product reviews.
Home improvement shows also have had a place in Ryan’s education.
“I am a total nerd for ‘This Old House’ and ‘New Yankee Workshop’ and shows like that,” Ryan says.
He began woodworking as a profession in his garage with homeowner-grade tools: a table saw, miter saw, router, planer, and joiner. These worked well for producing furniture while eliminating the need for outside financing.


“Many shops will start up with a lot of expensive equipment. For me, getting the tools I needed was organic—if I did a project where I needed a certain tool, then I added it,” he says.
However, two large investments in equipment allowed Baldwin Custom Woodworking to greatly expand its milling component to about 50 percent of total business. First was the addition of a Wood-Mizer brand portable sawmill, which allowed the crew to quickly mill raw logs into lumber. The second was the addition of two kilns.
Freshly milled lumber can require up to a year of drying time. By kiln-drying milled slabs, Ryan is able to dry lumber in as little as three weeks. The kiln allows him to work with contractors and homeowners who are just
From left: Ryan Baldwin, Joel Peggram, and Colton Krook carefully cut, surface, and sand pieces of furniture.
months away from completing a project. “If you had to wait one or two years for your material to dry, those opportunities just wouldn’t exist.”
Although Ryan would like to add more equipment (such as a larger planer), he cannot justify the space needed to house it. To deal with these limitations, he collaborates with other local sawmills and woodworkers.
For example, he has access to a planer from a company that manufactures doors. “Leaning on other contractors is key. If you don’t need a large piece of equipment every day of the week, then you need to find someone who will let you use it once a week or a few times a month,” Ryan says.
Advice for Would-Be Woodworkers
If you want to start your own wood-


working business, the Baldwins warn that you can’t be afraid of cozying up to seeming competitors in your community. Although other sawmills are located in Fort Collins, each has developed a niche around the wood they work with—Baldwin Custom Woodworking is milling ash, three varieties of elm, walnut, maple, and less common species, including catalpa, hackberry, mulberry, and apple, while its potential competition is dealing more in pine and fir. “We have all ended up helping each other rather than hurting,” Ryan says.
They also advise to supplement self-teaching with apprenticeships and classes to learn both how to work with wood and how to run a business. Finally, be sure to seek out adequate space. A lumber operation—even a relatively small one—needs enough
land to accommodate 20 to 30 trees waiting to be milled, room to process this volume efficiently, and the ability to store the lumber.
Looking ahead, no material shortage is in sight for Ryan’s team. The mountain pine beetle epidemic shows signs of subsiding for now, but another pest—the emerald ash borer, an invasive beetle from Asia that feeds on ash trees—is moving in to take its place. “This means that over the next two to 10 years, we will have ash coming in,” Ryan explains.
For the Baldwins, the business boom brought on by these pests is bittersweet, knowing that it coincides with a bust for local trees. “I got into this because I really love trees,” Ryan says. “It’s sad to see them die like this, but I’m happy to know I’m doing something good to give them new life.”
www.MotherearthNews coM 41
This black-walnut-and-steel set is now in the Sky Hotel in Aspen, Colorado.
PRODUCE SYRUP from Birch, Walnut, and Sycamore Trees


Want to branch out from maple? Use this guide to decide which trees to tap and learn how to process tree sap into both sweet and savory syrups.
By Brett McLeod
Perhaps the greatest disappointment when first exploring my woodlot was the realization that not a single sugar maple tree exists on the entire homestead. While I’m fortunate enough to have a neighbor who allows me to tap his sugar maple trees, I found myself looking for other opportunities to produce more food from the forest. I began to explore birch syrup production, which I first encountered when I lived in Southeast Alaska. After birch syrup, I quickly discovered an entire world of saps and syrups derived from more than 50 tree species around the world.
Sweet or Savory?
As you explore syrups, you’ll see that they’re subject to just as much enthusiasm as craft beer, with styles varying by region and maker. You’ll also find that while we use the term “syrup” to describe any tree sap that’s condensed, not all syrups are sweet. Birch syrup, for example, has a savory and almost spicy flavor, well-suited for use as a demi-glace over wild game or for a salad dressing. Walnut, however, has a sweet, nutty taste, and the flavor becomes stronger later in the tapping season. The first run of sycamore syrup is usually very light, resembling honey in both appearance and taste. Late-season sycamore syrup has a distinct butterscotch flavor.
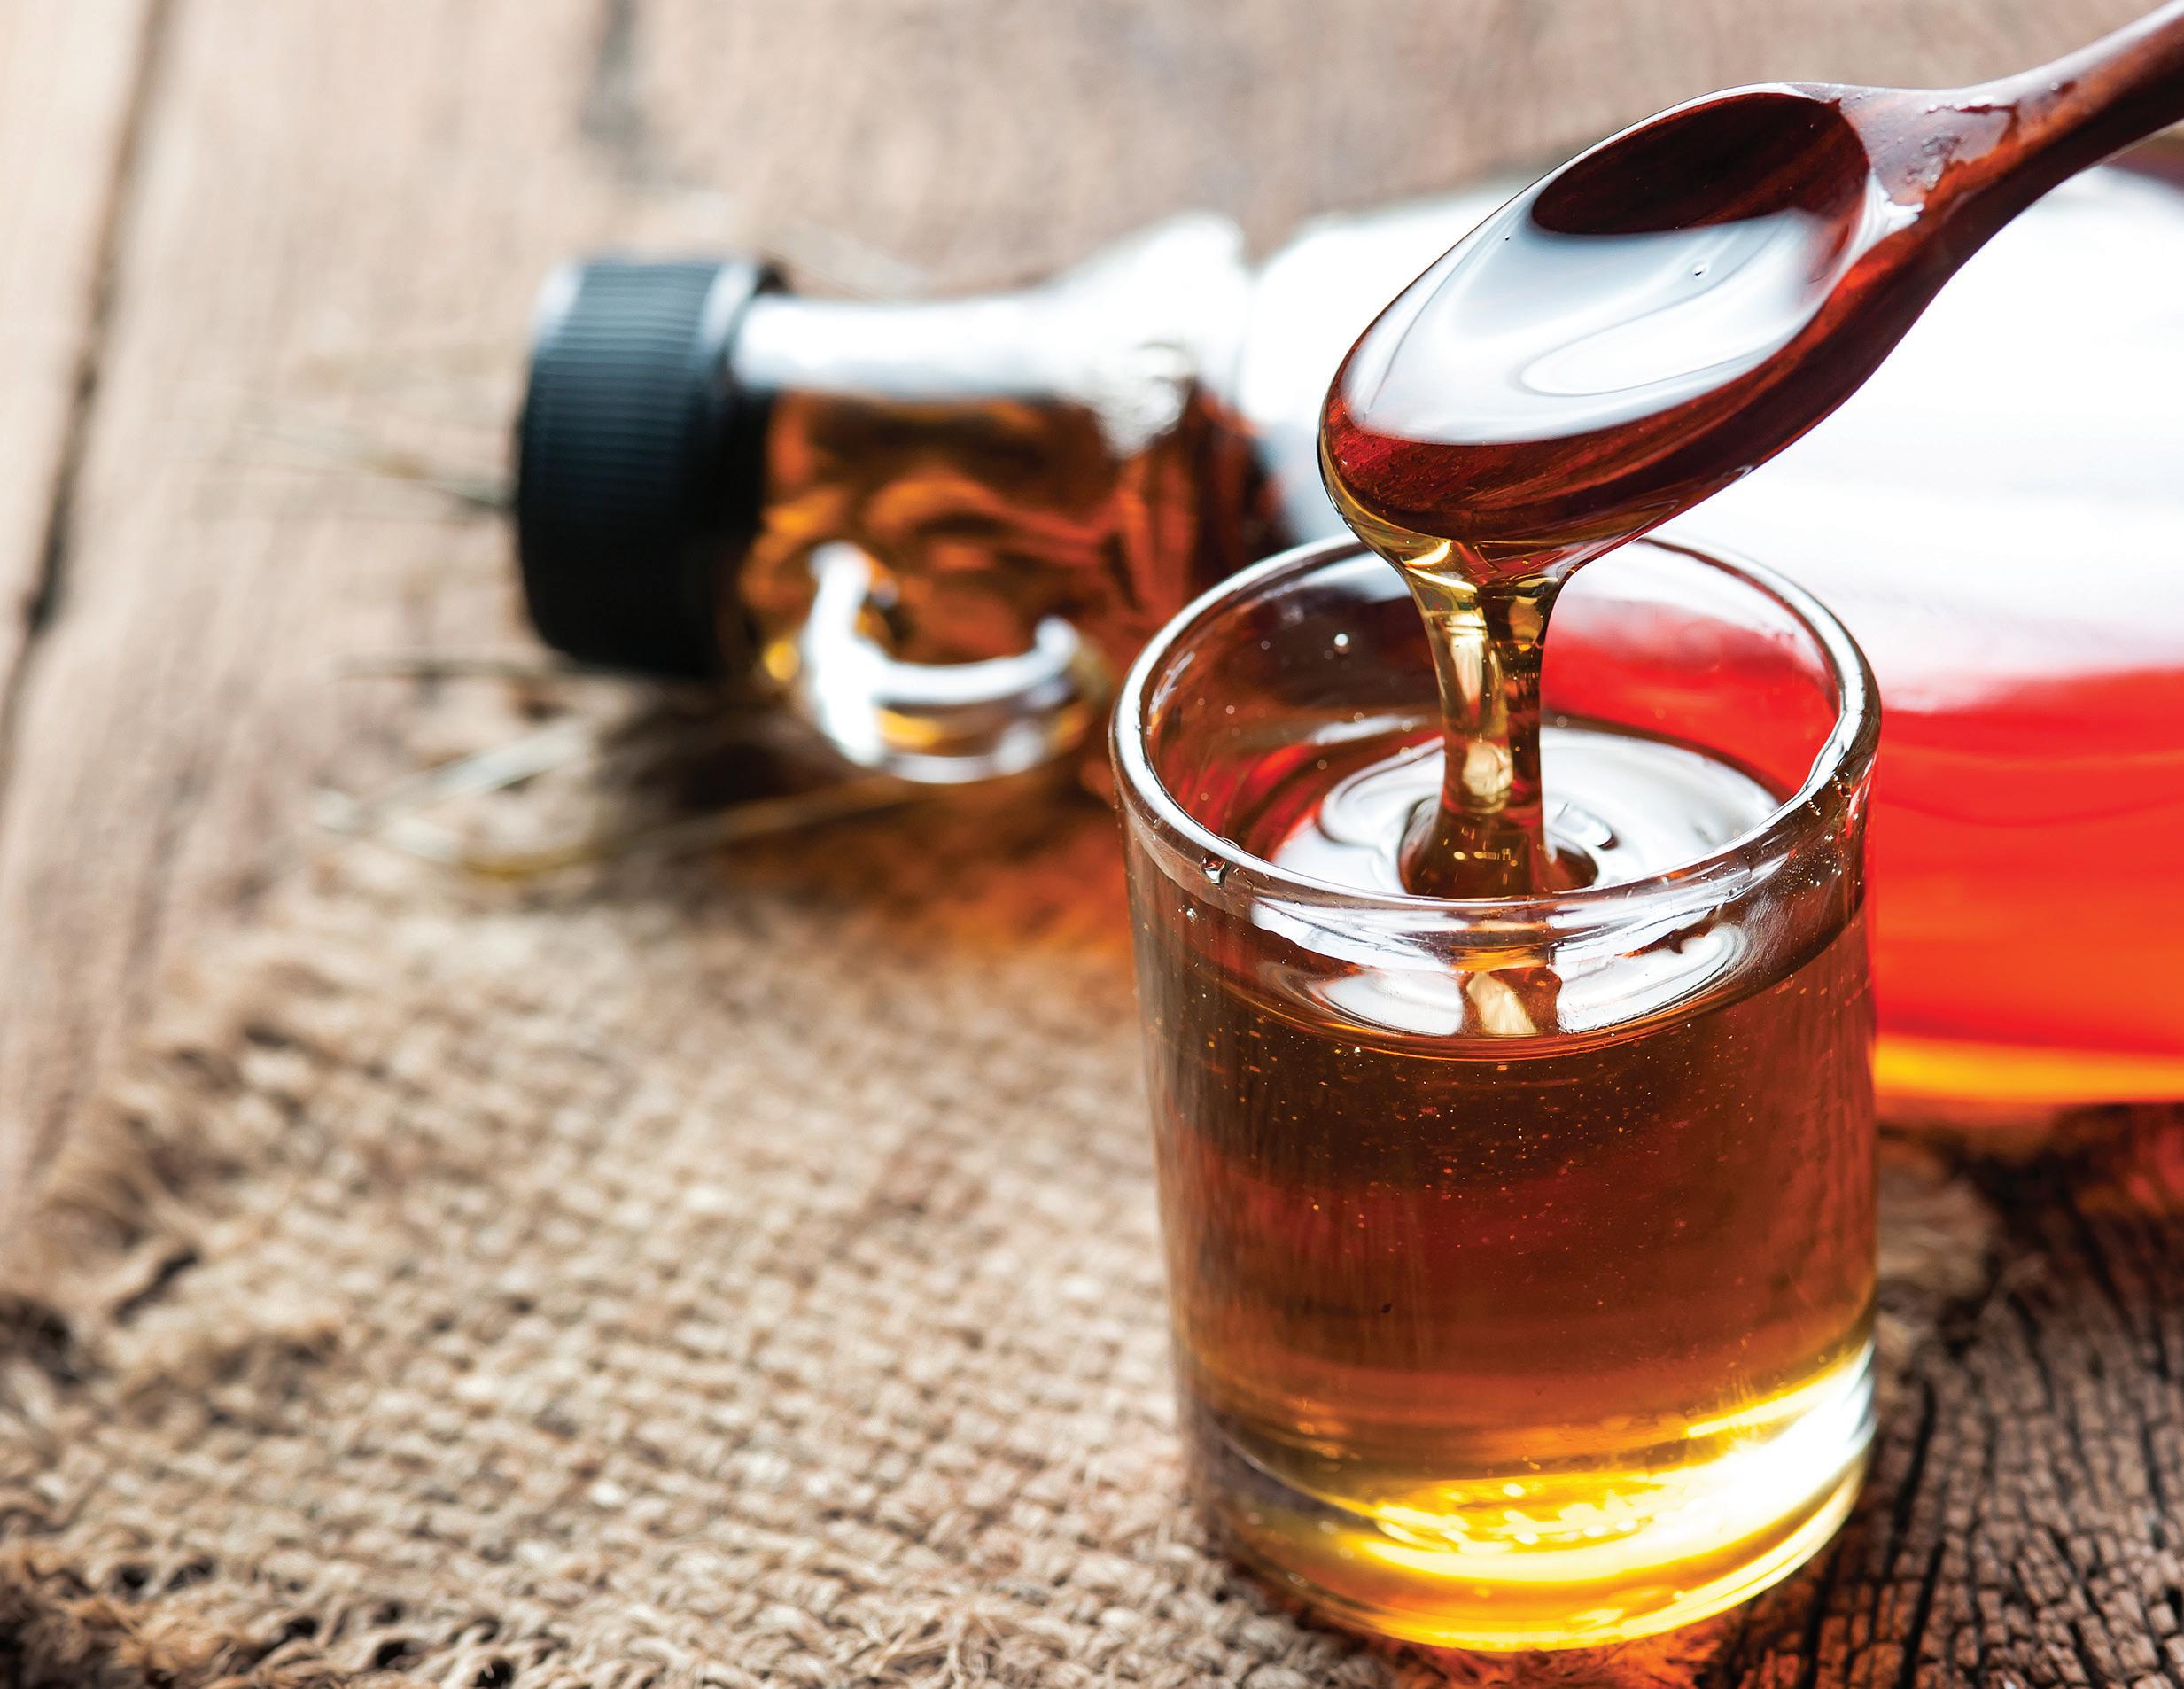
42 MOTHER EARTH NEWS • PREMIUM GUIDE TO LIVING ON LESS
What to Tap
A walk through your backyard or woodlot will give you a good idea of your sugaring possibilities and limitations. While paper birch (Betula papyrifera) is the most commonly tapped birch, all birches in the Betula genus will work. On my property, I happen to have mostly gray birch (Betula populifolia), which is small and short-lived but makes wonderful syrup.
If you’re in the Midwest, Northeast, or Southeast, chances are good that you have walnut (Juglans spp.) or sycamore (Platanus occidentalis) trees nearby. Regardless of the species you choose, realize that making syrup requires a significant time investment. To get just one gallon of syrup, you’ll have to process about 40 gallons of sugar maple or walnut sap, or as many as 100 gallons of birch or sycamore sap!
Also, be mindful that tapping creates a wound that may harm the tree and render it less valuable for other purposes, such as lumber production. This is particularly true for walnut because it’s a high-value wood. You could tap only those trees that have poor form and aren’t likely to be used for lumber. Another approach is to tap a few dedicated sap trees, knowing they won’t yield commercial lumber but will make great syrup.
How many taps can you put into a tree without hurting it?
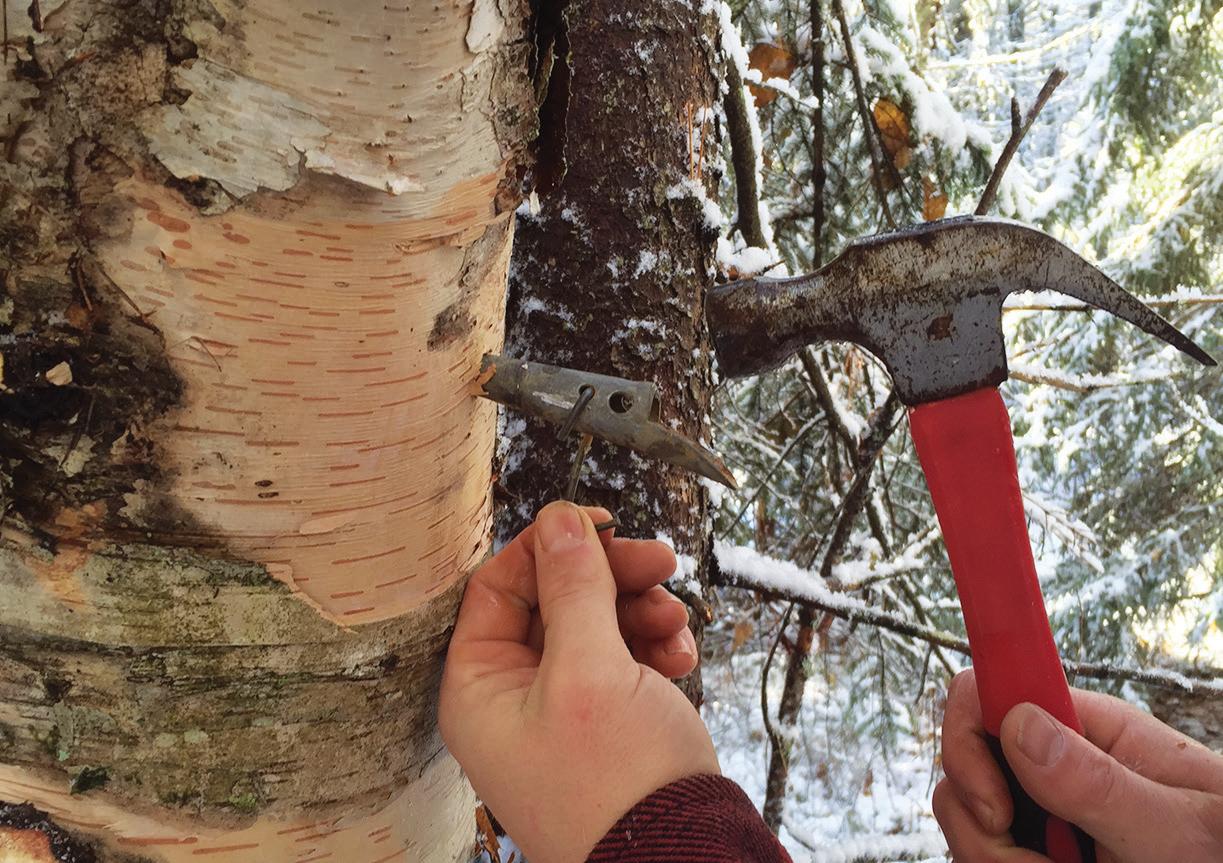

Relatively little research has addressed this question for nonmaple species, but commercial producers have erred on the side of caution. Most recommend a minimum 8-inch diameter tap at 41 ⁄ 2 feet above the ground and just a single tap for all but the largest trees. An exception would be birch trees, such as gray birch, which are naturally small and short-lived. My tap for these trees may be as small as 5 inches in diameter, and then I’ll cut the stem under a coppice regeneration system.
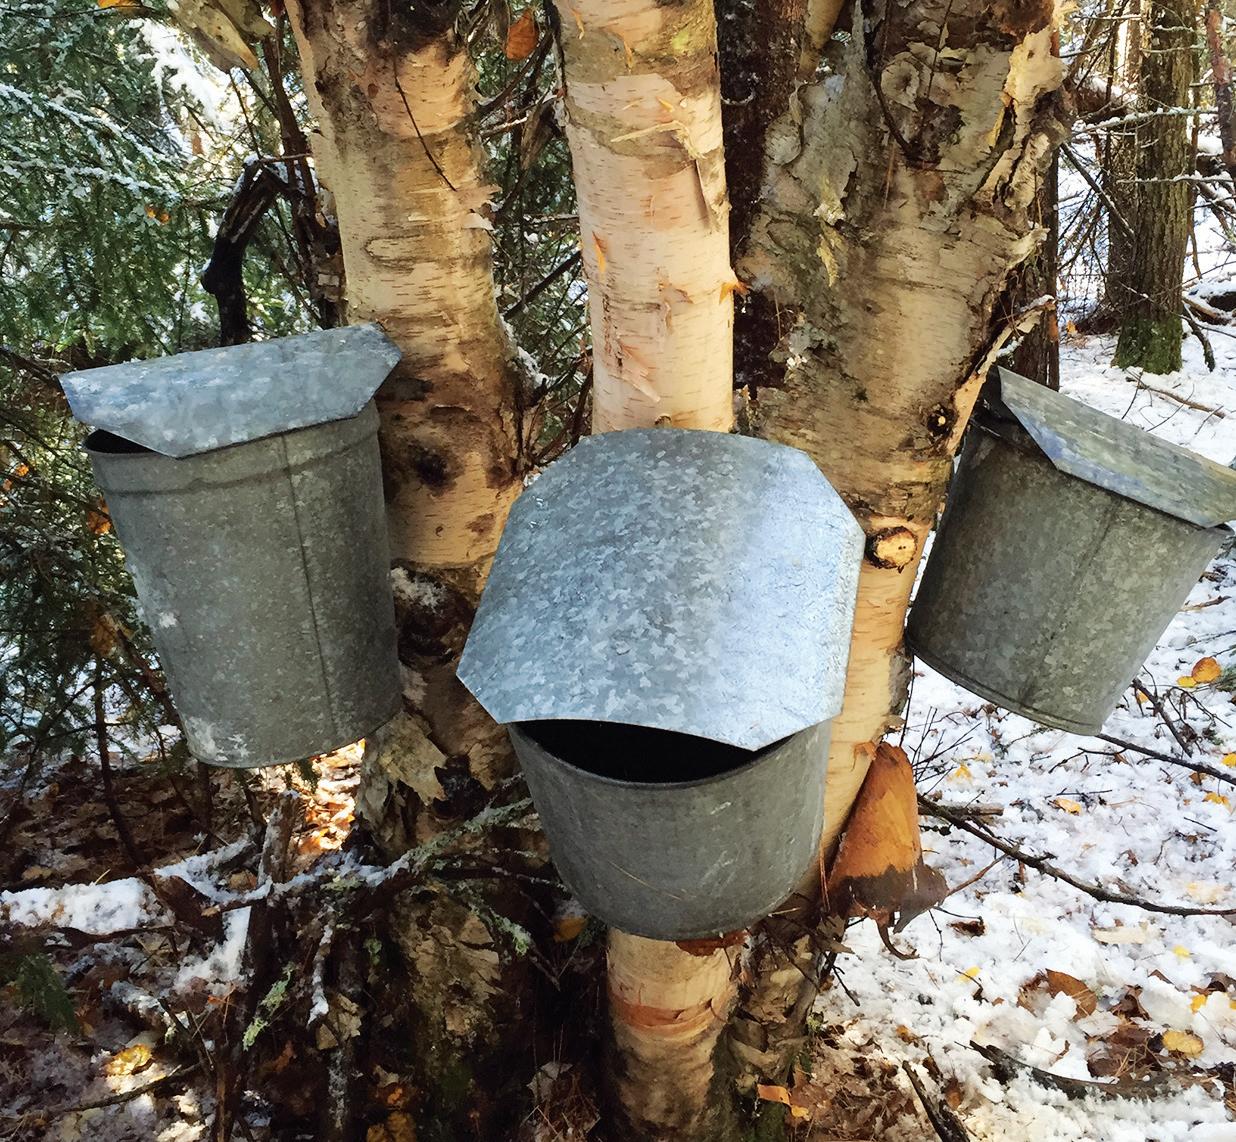
When to Tap
Birch. Tapping birch is popular partly because tapping season immediately follows maple sugaring season. In maples, freeze-thaw cycles produce stem pressure, causing sap to flow, but birches pump sap based on root pressure after most of the snow has melted and the soil has adequately warmed. This allows commercial producers to extend the season by up to six weeks. In most parts of the country, this means birch sugaring season extends from mid-March to the end of April.
Walnut and sycamore. Like sugar maples, both walnut and sycamore trees rely on nighttime temperatures below freezing and daytime temperatures above freezing for sap to flow. These temperature swings create pressure in the trunk of the tree, thereby causing the sap to “run.” In most parts of the Mid-Atlantic and Midwest, this process begins in early to mid-February.
Tapping and Harvesting
Tapping. The basic process for tapping birch, walnut, and sycamore trees is the same as it is for maple trees. Select a healthy tree with a large crown. Avoid old wounds and signs of decay, such as mushrooms or conks growing on the tree. Because tapping the tree will create a new wound, make sure your drill bit and taps are clean to avoid introducing bacteria
www.MotherearthNews coM 43
Drill at a 15-degree, upward angle to allow sap to flow more easily.
Before inserting taps, sterilize the taps and drill bit by boiling them in water.
BRETT MCLEOD (3); OPPOSITE: ISTOCK/SHOWCAKE
Each stem of this paper birch tree is capable of supporting one tap.
or fungi, which could compromise both the quality of the sap and the health of the tree. The standard tap requires a 7 16-inch drill bit. In recent years, smaller taps have been developed (5⁄16-inch and 19⁄64-inch) that allow the tree to heal faster. Regardless of the tap you choose, make sure you use a sharp bit and have a spare battery for your cordless drill. On a mature walnut tree, you’ll want to drill approximately 2 inches into the tree. Because birch and sycamore trees have thinner bark, 11 2 inches will offer sufficient depth for sap flow. Bore your holes so that they slant slightly upward into the tree (to facilitate sap flow), and insert your spiles. You can collect in buckets hung from hooks on the spiles, although some folks use flexible tubing fed into a container on the ground or a wagon.
Harvesting. While birch sap typically offers an unimpressively low sugar content of 1 percent or less, it produces impressive amounts of sap, oftentimes double that of similarly sized maple trees. Given that a single birch tap may produce more than a gallon of sap in a day, you’ll need to develop an efficient system for collecting and boiling the sap. Because the birch sap run is later in spring, when temperatures are warmer, processing the sap before it spoils is imperative. In some cases, it will take just a couple of days to process the entire harvest. For this reason, I recommend starting off with just a few trees.
While the sugar content of walnut is similar to that of sugar
maple, the sap yield per tap is usually only about two-thirds of sugar maple trees. Sycamore has sap yield on par with walnut but has significantly less sugar content.


Boiling, Canning, and Enjoying

You can use a maple-syrup-style evaporator to make birch, walnut, or sycamore syrup, but I recommend that you boil the syrup on a stovetop because it’s easier to prevent scorching. Boil the sap until it reduces sufficiently. Whether you’re using birch, walnut, or sycamore, your final syrup should be 66 to 67 Brix, as measured with a hydrometer (which measures the relative density of liquids).
You’ll need to filter the syrup while it’s hot to remove minerals and impurities. Use an unbleached coffee filter for small amounts, or try a cone-style felt filter for larger batches of syrup. A filter press is the most effective means of removing impurities, but it’s costprohibitive for most home-scale producers.

After filtering, the syrup may need to be reheated to attain the proper canning temperature of 180 to 190 degrees Fahrenheit. Fill sterilized mason jars, leaving 1 ⁄ 4-inch headspace, seal with a sterilized lid and band, and store in a cool place or a refrigerator. For long-term storage, keep your syrup in a sealed container in the freezer. Any of these syrups will keep for two years after packaging, assuming you don’t eat them before then!
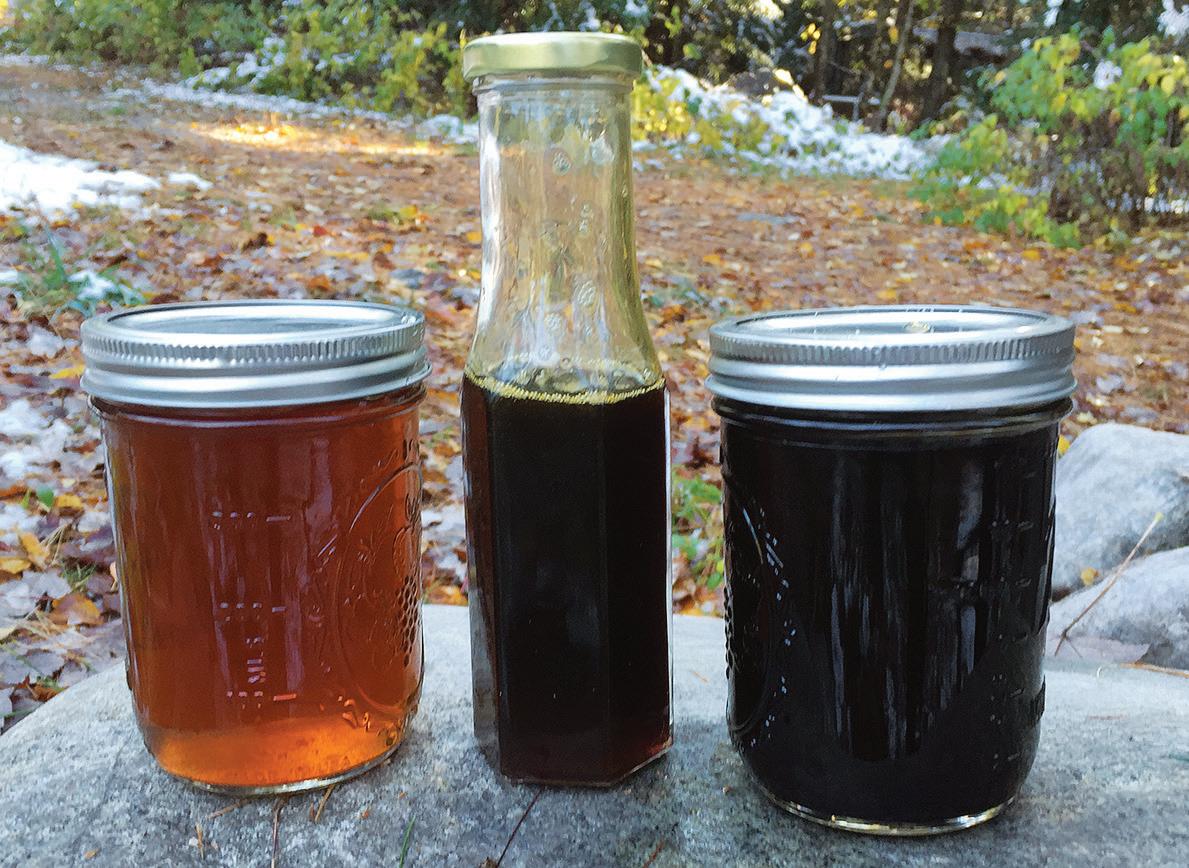
44 MOTHER EARTH NEWS • PREMIUM GUIDE TO LIVING ON LESS
Left: A tubing system is an alternative to buckets. Right: Early-season maple, mid-season black walnut, and late-season birch syrups vary in color.
Birch syrup has less sugar than maple, but try it in a demi-glace on a salmon dish, or use it to flavor a sweet dish, such as caramel custard.
CLOCKWISE FROM TOP LEFT: BRETT MCLEOD (2); TRACEY KUSIEWICZ AND CHRISTINE COUVELIER FOR CANADIAN BIRCH CO.;
ISTOCK/LARIK_MALASHA;
CATTAILS Foraging and Eating
If I had to choose between surviving barehanded for a spell near a pond with catfish or one with cattails, I’d probably opt for the cattails, and not just because they’re easier to catch with your hands. Sure, catfish are nutritious, but they’re only one kind of food; cattails contribute many kinds of meals, and you can lay up a supply for winter or travel. Cattails can also provide medicine, clothing, and shelter, to boot.
By Fred Demara

The cattail plant has been a staple of both Native American and rural European diets since prehistoric times. It’s one of my favorite survival foods because it grows in wet places all over the world, and virtually every part of the plant is edible at some time of year. You won’t have to look far to find it—cattails, the most common and largest being Typha latifolia, grow in moist soil or standing water, such as around the edges of ponds or in marshes. The plant is easy to identify and harvest. This makes it a fine staple in addition to being a great survival food.

Cattails are perennials and spread out in favorable habitats, creating an incredibly dense food resource, from the high-protein pollen at the top to the high-carbohydrate rhizome network in the soil. Considered objectively, the cattail is the king of wild plants, and not just because it’s one of the most widespread grass-like plants with a worthwhile root (actually a rhizome, an underground lateral stalk).
Preserved cattail starch found on grinding stones in Paleolithic excavations across Europe indicates that cattails were a common staple tens of thousands of years ago, and these scenes suggest that early humans ground the rhizomes before leaching or roasting them.


WWW.MOTHEREARTHNEWS COM 45
This easy-to-identify plant can serve as an everyday staple as well as a superior survival food.
CHARLES KENNARD
Cattails thrive all over Europe. I’ve never seen many forsaken stands there, because folks eat them up. They peel and boil tender young stalks and call them “Cossack asparagus.” Stalks prepared this way are excellent with a hollandaise sauce at home; in the woods, you can just graze. Depending on the cleanliness of available water, you may want to eat raw only above the waterline.
The best beds of cattails I’ve seen have been in North America, probably because few people in that region eat them. Cattails could be an immense resource if we could retain our wetlands in pristine conditions rather than polluting or draining them.
Some people are allergic to the fluff on cattails that emerges from the mature flowers. It can trigger asthma or cause skin rashes on contact, much like wool does to some folks. But the fluff, if you’re not allergic, is an excellent insulator for clothing and quilts. Ground raw or macerated, the root pulp makes a nice poultice, much the same as a potato or onion poultice, for cuts, burns, stings, and bruises.
Dried tops can be used as a punk to carry fire, or fluffed for the best tinder I’ve ever found to catch a spark. Dried flower heads dipped in fat make great torches. Cut green, dried, and re-soaked, cattail leaves make great baskets, mats, hats, ponchos, and thatch. Dried stalks can serve as dowels.
How to Identify Cattails
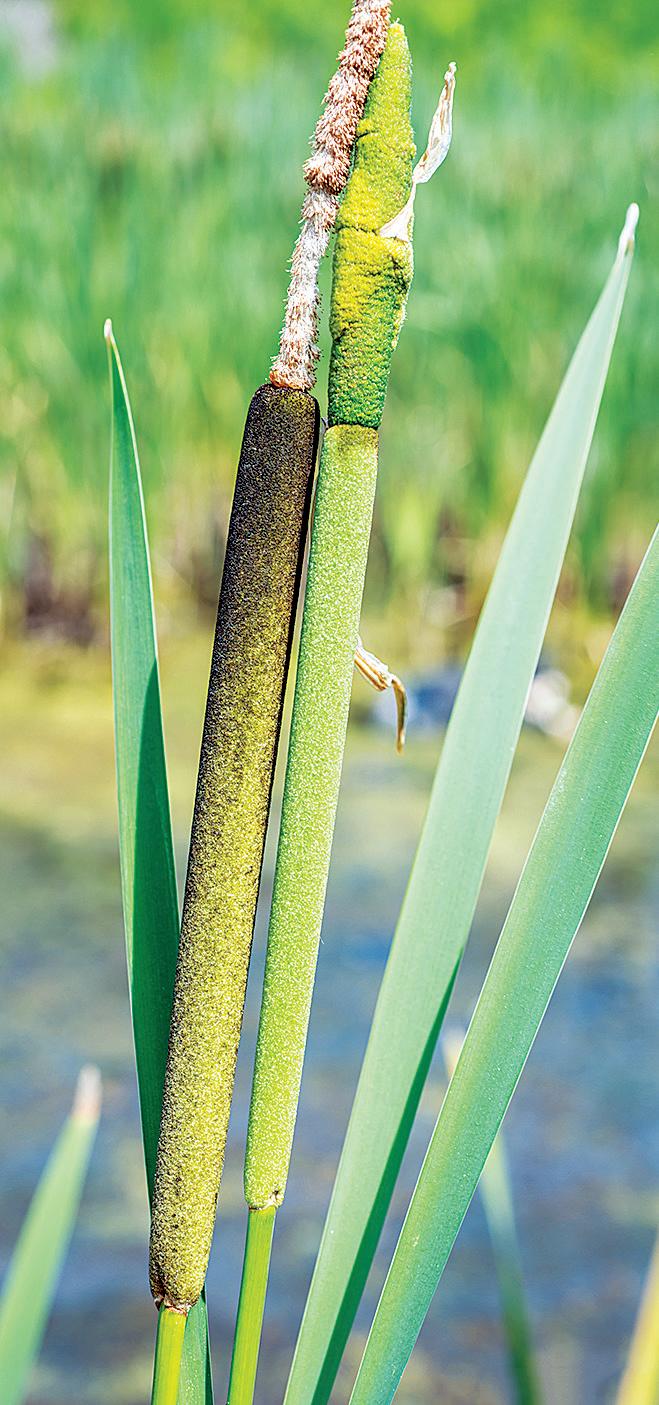
Some plants with the same wet venue bear a superficial resemblance to cattails, and a few are either inedible or down -

right toxic members of the iris family. But positive identification is simple: If it doesn’t have a cattail at the top, then it’s not a cattail! Even in a hard winter in the Rocky Mountains, you can find dead-standing round stalks, usually with tattered, fuzzy remnants of the cattail at the top to guide you. Follow these stalks into the mud to find the rhizome they grow from. If you see remnants of a seedpod, then it’s not cattail and is likely iris. Because plants that look similar to the untrained eye can grow side by side, if your hand can’t follow an obvious cattail stalk to its rhizome, move on.
Eating Cattails in Spring and Summer
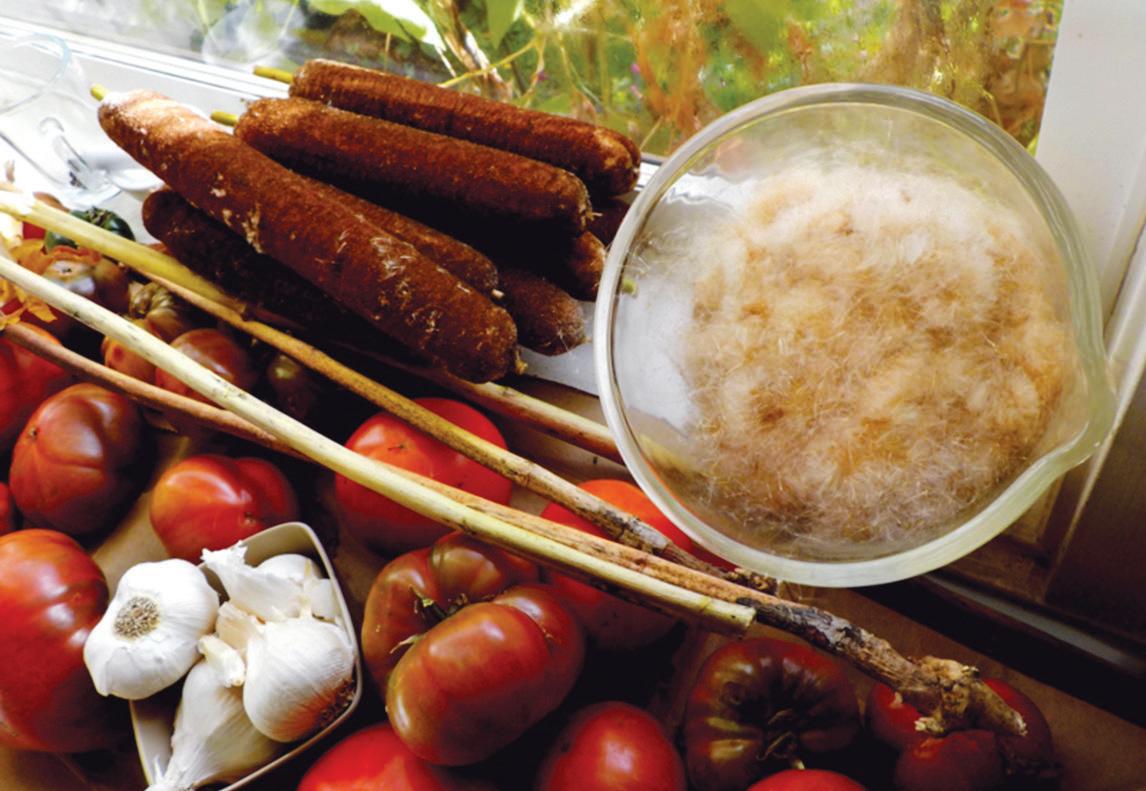
In spring, the first young shoots near the base that sprout up from the rhizome (“corms”) are good raw or cooked. You can break off the pointed little corms and, if the water is clean, eat them on the spot. Some folks think they taste like cucumbers or zucchini. As the shoots grow upward, you can peel them and use them like you would asparagus; they taste like mild celery when eaten raw.
The easiest way to harvest shoots after they break water is to grab the stalk and pull straight up. The crisp, white lower part is what you’ll want. The ratio of food to fiber will vary with the size of the shoot. For efficiency, go for the biggest ones that are still tender. On the upper portion of a shoot, peel away the outer layers until you get to the crisp and tender inner parts. Then, you can boil or sauté it, can it, or pickle it.
46 MOTHER EARTH NEWS • PREMIUM GUIDE TO LIVING ON LESS
From left: Pinch off the tender green “meat” of the male portion of the flower and use it in recipes to lend a corn-like flavor. In fall, fluff emerges from the mature flowers, and can be used as an insulator.
BOTTOM RIGHT: FLICKR/GEORGE WESLEY & BONITA DANNELLS; THE 3 FORAGERS/WWW.THE3FORAGERS.BLOGSPOT.COM (2)
Every part of the cattail plant, from the underground rhizome to the spike on top, is edible at some time of year.
Around the end of June, you can get tender inner stalks, immature flowers, and pollen all at the same time from different plants in the same stand. The female part of the flower (the part that looks like a hot dog at the end of the stalk) can be eaten before it’s mature. Just peel the leaves away from the developing flower spike, boil it, and eat it like a very small corn on the cob. The male shoots at the very top, which produce pollen, can also be boiled and the soft parts eaten early on, before the larger female parts have started to form. In short, any tender part can be eaten raw or cooked, any time you can get it. Think salads, stir-fries, and casseroles.
The male part of the flower, the spike on top of the “hot dog,” will mature and produce an incredible amount of pollen in summer (by the end of June in most areas), and it’s very high in protein, as is most pollen. Cattail pollen is easy to harvest—just bend the top over into a paper bag, hold the bag closed, and shake. You can do so many things with this fine, flour-like staple, such as boil it for a porridge or gruel, or roast it and add it to meatloaf.
In a good stand, if the wind hasn’t robbed it, you can get pounds of pollen per hour, and then put some up to use all year. It’s yellow and so fine that it doesn’t have to be milled before being used to upgrade or extend flour. It’s a quick and easy protein for a woods traveler, and it has a nutty flavor. Like the starch, it’s a good component or extender for all kinds of recipes, from soup to cinnamon rolls. When mixed with wheat flour, it imparts a yellow cast for attractive cookies and muffins. After you start using it in your kitchen, you’ll find yourself substituting pollen for flour in all kinds of breads, biscuits, cakes, and cookies—just like our frontier forebears.
Eating Cattails in Fall and Winter
When we were kids in the Pacific Northwest, my best buddy Gilbert and I used to go “cattail camping.” Our rules allowed us to carry only matches, salt, a poncho, jackknives, a No. 10 can to cook in, a Daisy Red Ryder BB gun, and a mailorder bowie knife we bought from an ad in Boy’s Life with strawberry-picking money.
We ate a lot of crawdads and birds, plus the occasional poached fish—and cattails. Cattails often ended up being the staple part of our groceries and a good part of our shelter. During fire sea-
son, we were unwitting vegans until Gilbert read an article about cooking with a foil reflector. But cattails are good raw too—even just the pounded-out starch water if you’re genuinely hungry!
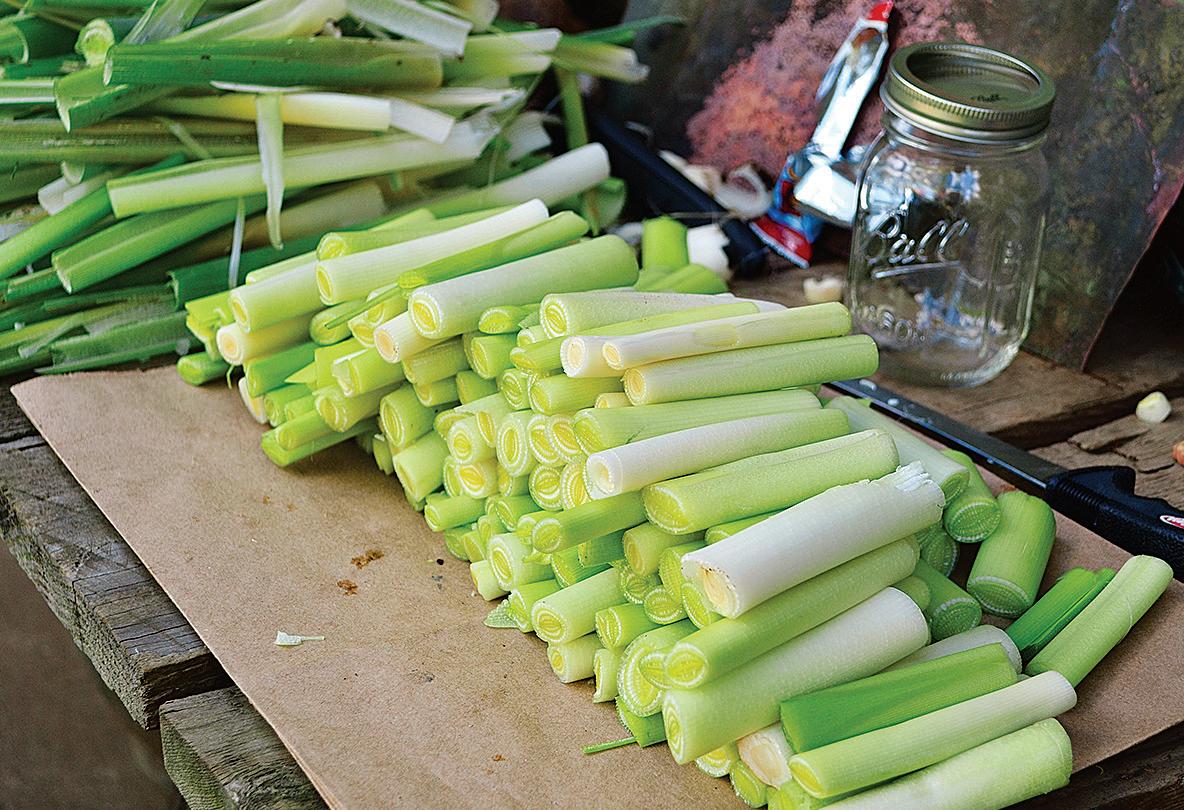
The tough, fibrous root is edible any time of year, though it’s best in late fall or winter, when the starch is stored in the rhizome. Thoroughly clean the roots and pound them in a container of water to separate the starch, which you can collect by filtering out the fiber and letting the starch settle, or by boiling it all down. You can dry the roots and then mill them for flour, which I haven’t tried, but the starch water I pound out using the method I described acts very much like cornstarch when used as a thickener.
Cattail Pollen Pancakes Recipe

If you like buckwheat cakes, you’ll love these. Yield: about 10 pancakes.
Directions: Mix dry ingredients in bowl. Add eggs, milk, honey, and oil, and mix well. If the batter is too thick, add a little water.
Cook on a lightly greased griddle, and top with your syrup of choice.
Ingredients
• 1 cup flour
• 1 cup cattail pollen
• 2 tsp baking powder
• 1 tsp salt
• 2 eggs
• 2 cups milk
• 1⁄ 2 cup honey
• 1⁄ 4 cup cooking oil
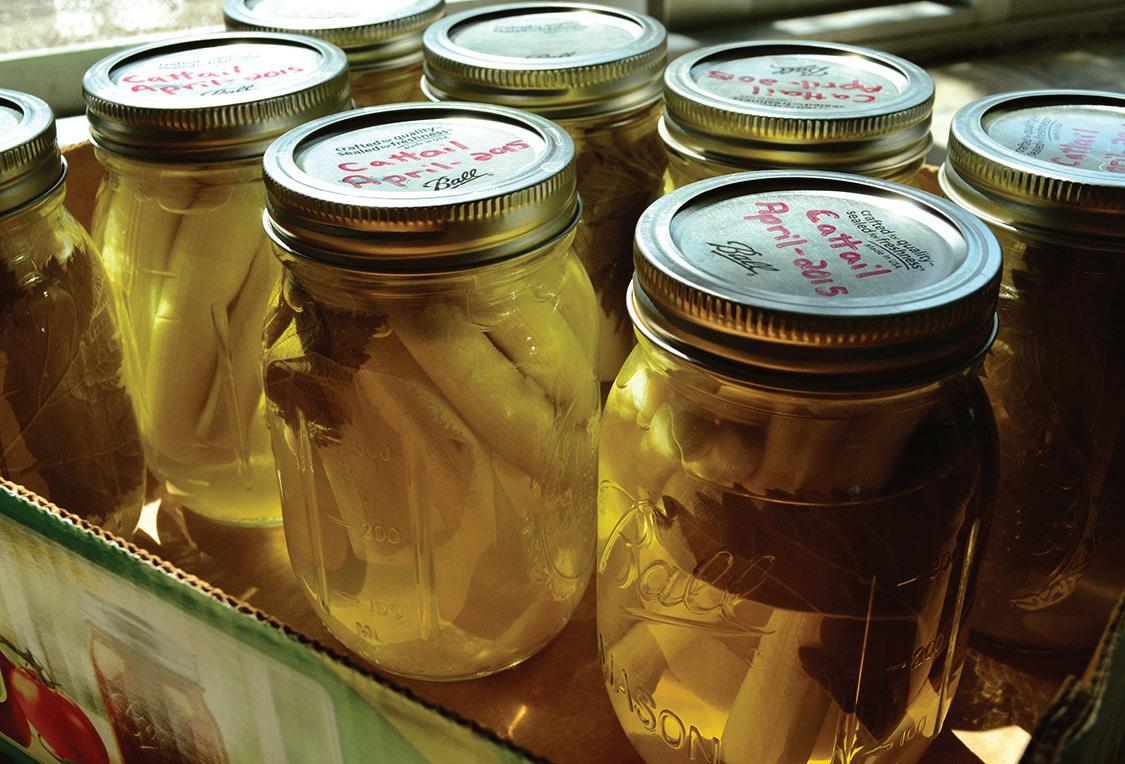

WWW.MOTHEREARTHNEWS COM 47
CLOCKWISE FROM TOP LEFT: HANK HOLLY/WWW.THENORTHWESTFORAGER.COM (2); THE 3 FORAGERS/WWW.THE3FORAGERS.BLOGSPOT.COM
From left: Remove the outer leaves from cattail stalks to reveal a tender interior that you can prepare like asparagus or preserve by pickling.
You can dry and keep cattail starch to use all year. Cattail starch contains a fair amount of gluten, which is good news if you want to make flatbread or tortillas, or need it to stick together because you’ll be eating without utensils. In the woods, we just washed and peeled the roots, cut them up, and pounded them with water in our can with a blunt stick until the starch washed out.
Then, we strained out the fiber as well as we could, let the good stuff settle, and poured off the water. You can also split the root and scrape out the starchy part, which is still fibrous, and wash the starch out of that. Depending on your setting, you can wash, cut up, and dry the roots; then, pound them as fine as you can, put them in a cloth, and boil the starch out.

Our best method was to boil it down until it had the consistency of porridge and then add pollen, if in season, until the porridge got thick like biscuit dough. We’d put a wad of that on a forked stick and roast it in the fire like a marshmallow or stick biscuit, or we’d cook it on a hot rock. Once, we mashed in blackberries for pudding. In a frontier
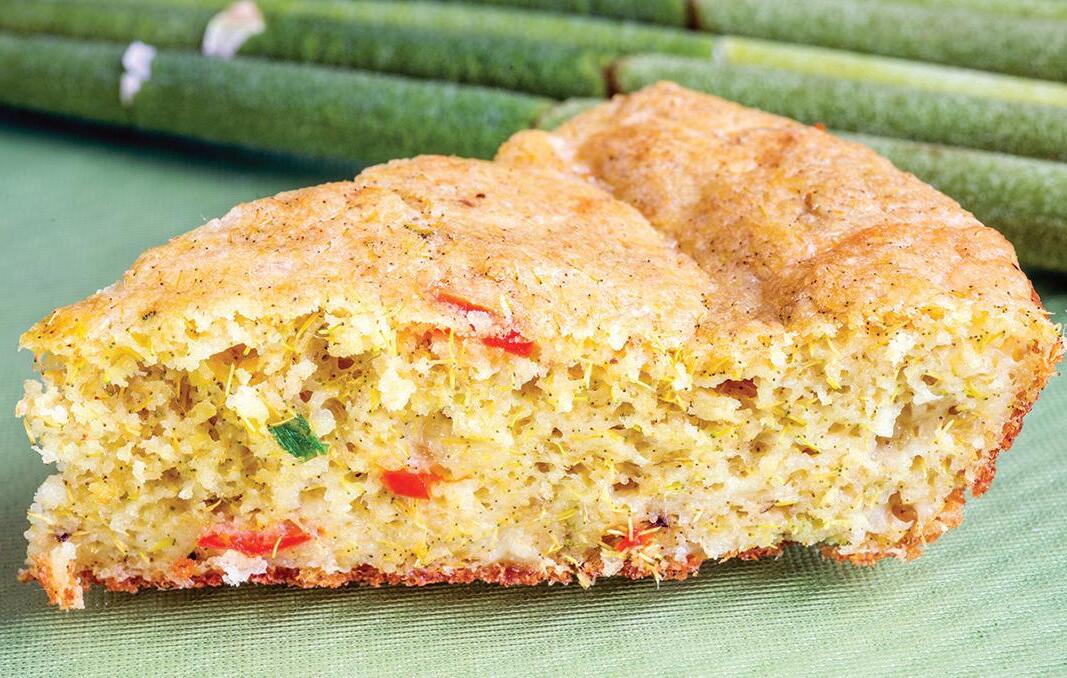
kitchen, of course, you’d have all kinds of options for preparing and cooking cattails. The starch can be quite sweet, but different species of cattail in different growing conditions will vary in flavor and quantity. Some people think the starch tastes like mashed potatoes when seasoned like them; some think it tastes like poi.
As with most starchy foods, adding your seasoning of choice will really help. The seeds are also edible after you burn the fluff, but they’re so small I’ve never bothered. I’ve also read that some cooks mash and boil the roots and then boil the juice down to a thick syrup, but I’ve never tried that either. No matter what you choose to cook, there’s a lot to like about this versatile, nutritious plant. You’ll never have to return home from foraging empty-handed if you can find a stand of cattails!
 Protein-rich cattail pollen can be used to extend flour, and it gives baked goods a bright-yellow hue.
THE 3 FORAGERS/WWW.THE3FORAGERS.BLOGSPOT.COM
Fred Demara is the author of Eating on the Run: Survival Foraging for Plants, Grasses, Nuts, and Berries (available online at www.motherearthnews.com/store).

3BZN9CA 2019 Key Code:
Reap the Garden & Market Bounty HOW TO DRY FOOD
Dry


 By Barbara Pleasant
Many gardeners freeze, can, or give away surplus zucchini and tomatoes, but what about drying them? Not only is drying a delicious way to preserve and concentrate the flavors of your fruits, veggies, and herbs, but if dried, produce requires little
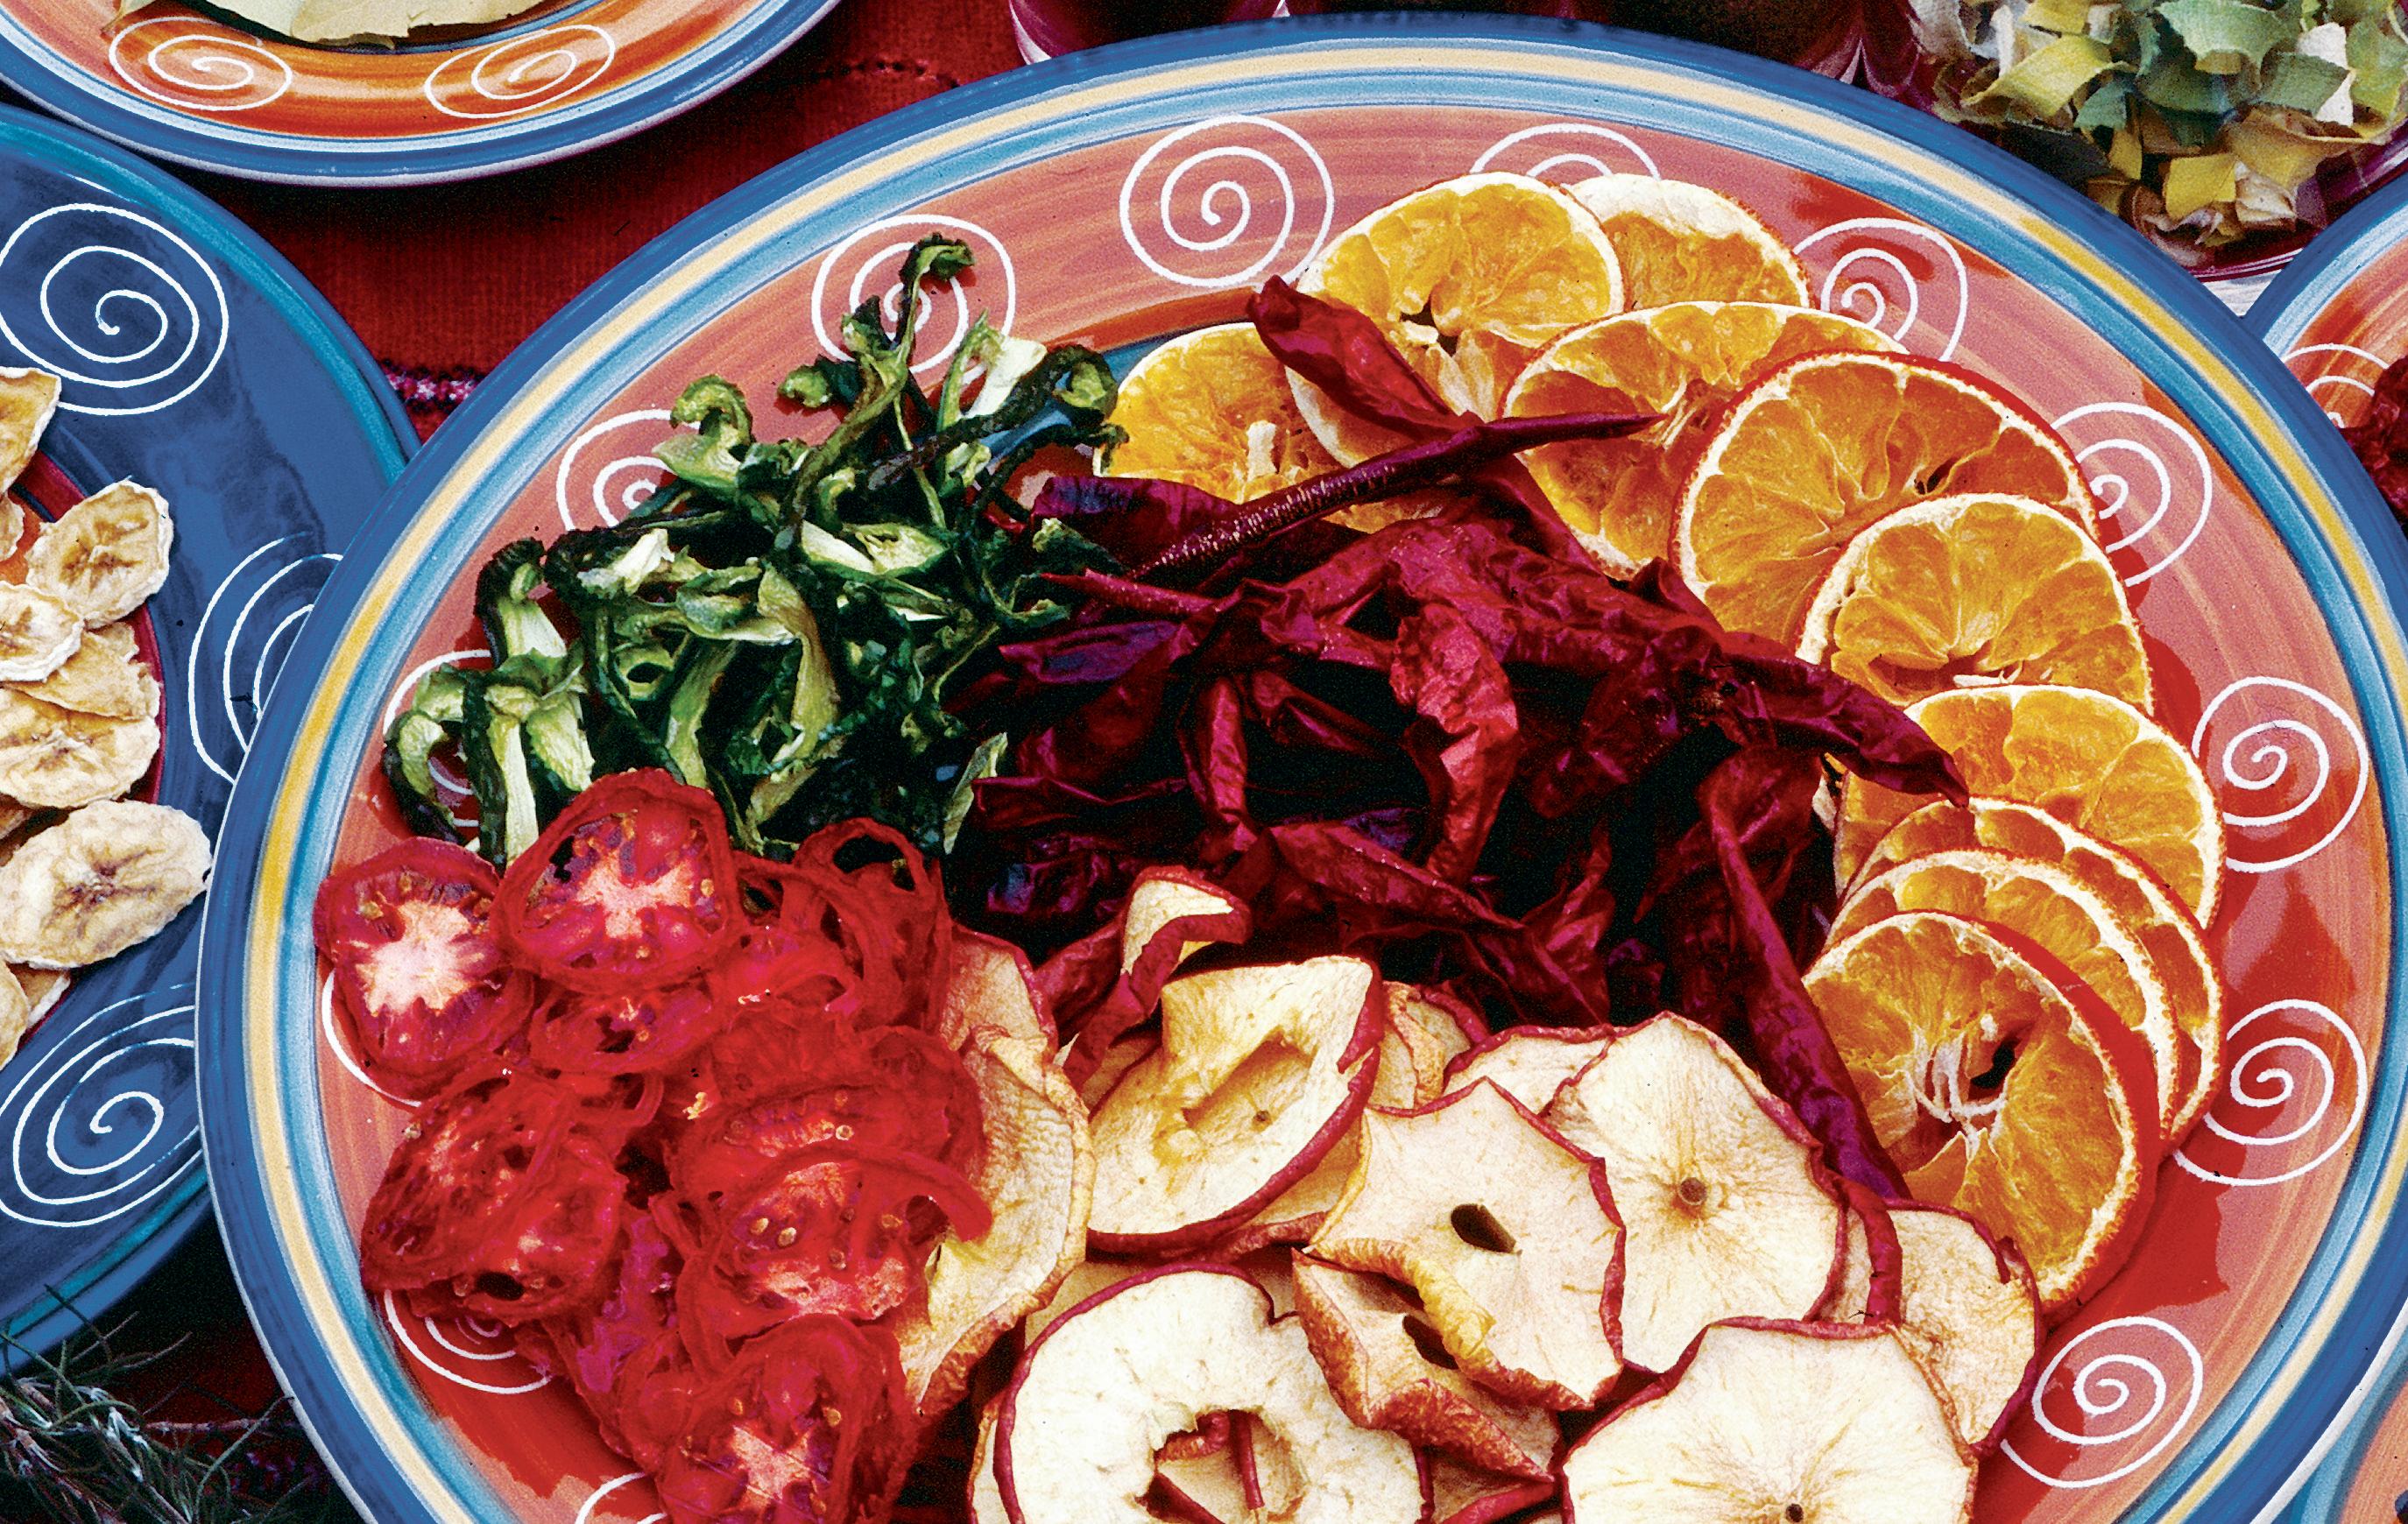
space—and no electricity—to store, so you can enjoy it in fall and winter, too.
Last year I dried peppers, squash, garlic, and quite a few cherry tomatoes, which brought much comfort when a power outage pushed my frozen treasures to the brink of thaw. The biggest revelation came in early spring, when I began using dried foods as other stockpiled veggies ran low. I discovered that cooking with home-dried foods is as easy as cooking with packaged convenience foods, at a fraction of the cost. Sweet dried fruits and crunchy veggies are great in meals, but they’re good enough to enjoy as snacks, too.
What can you dry? From tomatoes and beets to sweet corn and green beans, almost any vegetable that can be blanched and frozen is a likely candidate for drying, along with apples, strawberries, peaches, and most other fruits. In times past, people waited for a spell of dry, breezy weather to dry bunches of herbs or peppers threaded on a piece of string. The first dehydrator I ever used was a parked car (just lay the goods on the dash or under the rear window). You will need only a warm oven to
50 MOTHER EARTH NEWS • PREMIUM GUIDE TO LIVING ON LESS
the harvest to stock up on homegrown snacks and convenience foods for year-round eating.
dry a basket of shiitake mushrooms, but unless you live in an arid climate where sun-drying is practical, you’ll eventually want a dehydrator. David Cavagnaro compares plug-in options in “Choosing a Food Dehydrator” (goo.gl/qNSkDn), and Eben Fodor shares his expertise on how to build simple, nonelectric food dryers in the article “Build a Solar Food Dehydrator” (goo.gl/4y8kPG). (For a lot more options, see www.motherearthnews. com/solar-food.)
But back to the food. Do you want the simplicity of scalloped potatoes from a box—but homegrown? Or how about the makings for dozens of pasta salads in which everything but the noodles came from your garden or a local farm? With a stash of dried foods you really can drag through the door after work, set some dried veggies to soak, and then flop down for a few minutes, talk to the kids, or change your clothes.
By the time you’re back in the kitchen, you’ll be greeted by plump, pre-cut, organically grown veggies ready to be stir-fried, sautéed, simmered, or tossed with dressing for a fast salad. You’ll see that drying foods
to stockpile is one of the easiest ways to achieve a local diet.
Back to the money. Organic convenience foods have their place in busy lives, but you pay for the time and energy involved in their creation. You subsidize the growing, drying, packaging, shipping, and marketing, and it all adds up to some hefty retail prices. A dried organic vegetable soup kit costs $2 to $3, and a frozen entrée can push $5. The organic “skillet dinner” category runs somewhere in between, and it’s a great example of a situation where you could make your own for about 50 cents using home-dried foods.
Drying peppers and herbs can save you big bucks at the spice rack, too. And if you make your own smoky sweet paprika or hot pepper blend, your cooking improves as you discover new ways to use the blends to punch up your favorite dishes.
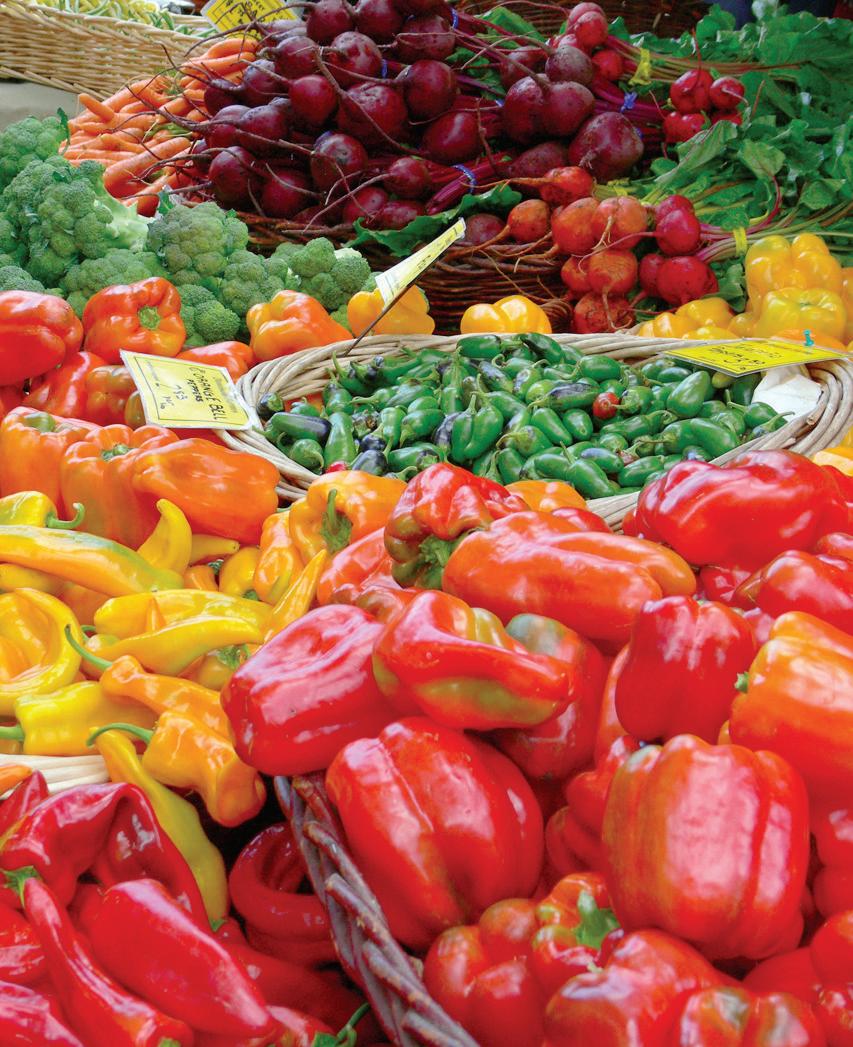

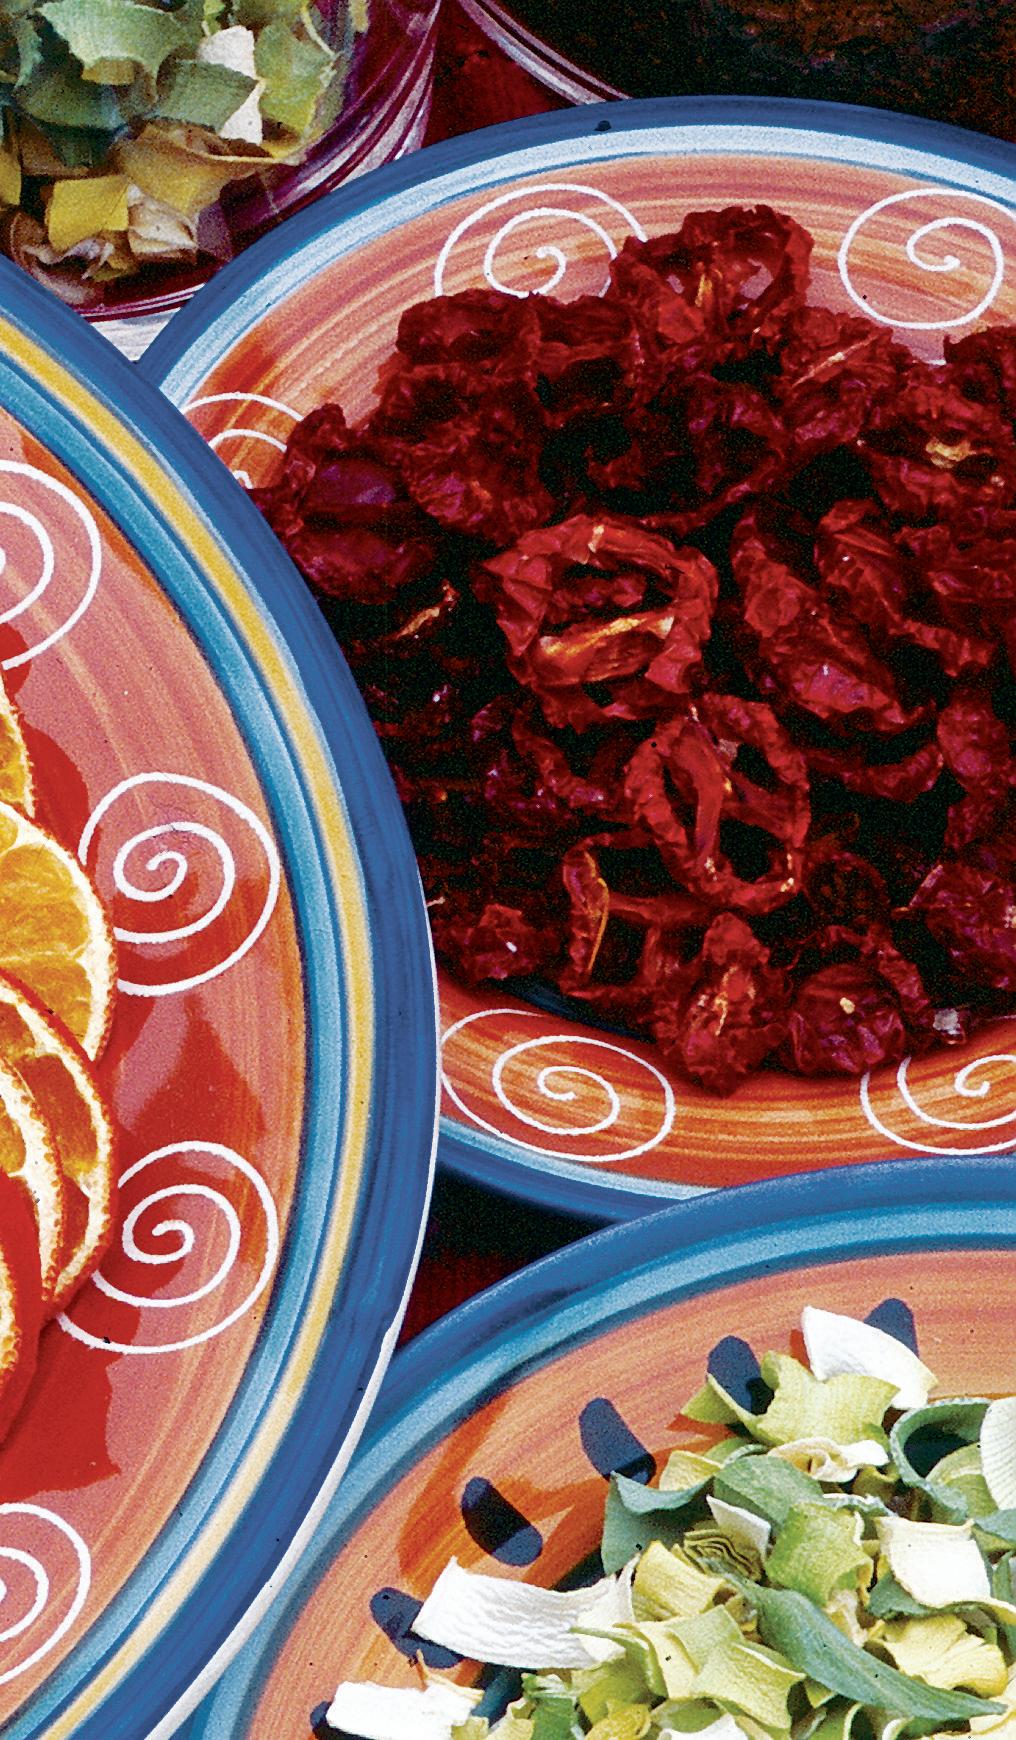
Drying with Attitude
In Lanesboro, Minnesota, organic gardener and food-drying expert Mary Bell thinks people should look at food drying with a creative eye. Bell has invented what can only be called new foods, such as succulent “half-dried tomatoes” seasoned with basil and thyme or “Can’t-A-Loupe Candy”—chunks of cantaloupe seasoned with ginger and powdered sugar before drying. To deal with bountiful crops of hard-to-preserve eggplant, she figured
out how to cut eggplant into strips, soak them in a salt/lemon juice solution and dry them into pasta-like strands. For overripe zucchini, she marinates thin slices before drying them into chips.
According to Bell, the principle behind her book Food Drying With an Attitude (available at www.motherearthnews.com/ store) is sustainability. “I want everybody to have food they can supply for themselves year-round,” Bell says. “Drying can provide a way to use things you already have instead of buying from some other place.” Bell removes ribs from big kale leaves, dries them raw, and crushes them into a jar to use as all-purpose potherbs. She also sells them at her farmers market booth alongside her locally famous fruit leathers and dried tomatoes—a springtime treat that satisfies customers’ appetites for fresh flavors.
www.MotherearthNews coM 51 DAVID CAVAGNARO (2);
TOP RIGHT: EBEN FODOR
If you don’t have a garden, stock up on in-season produce from a farmers market to dry at home. You can dry almost any fruit or vegetable you enjoy eating.
“If people are given permission to try new things, they are often surprised at what they can dry—such as markeddown bananas at the store,” Bell says, adding that drying food is a simple skill to master.
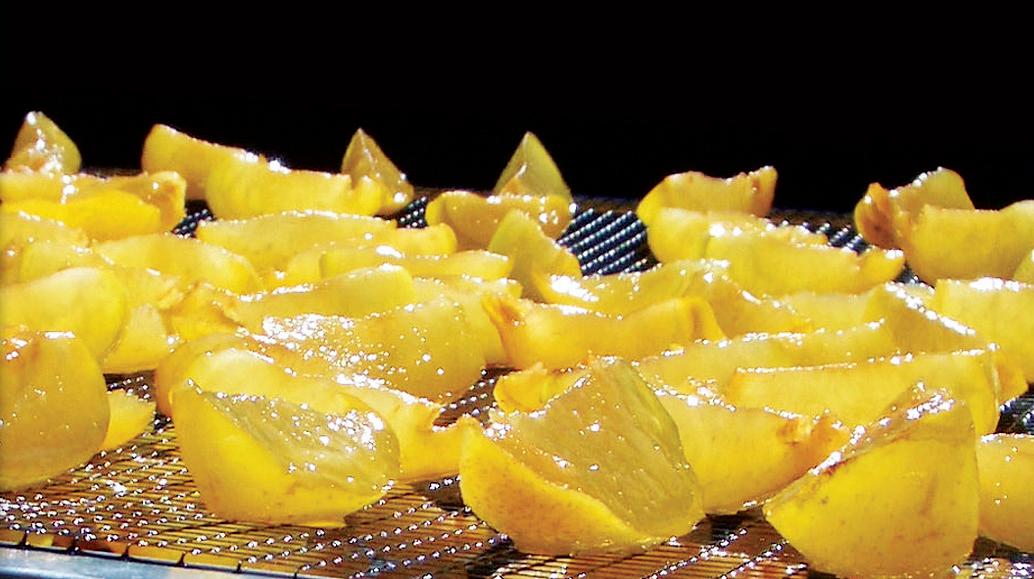
Food Drying Is 1-2-3 Easy
1. Slice or dice food into small, uniform pieces.


2. Dip the pieces in an acidic solution or blanch them to enhance the quality of the final product.
Tap free solar energy to create amazing sun-dried tomatoes.
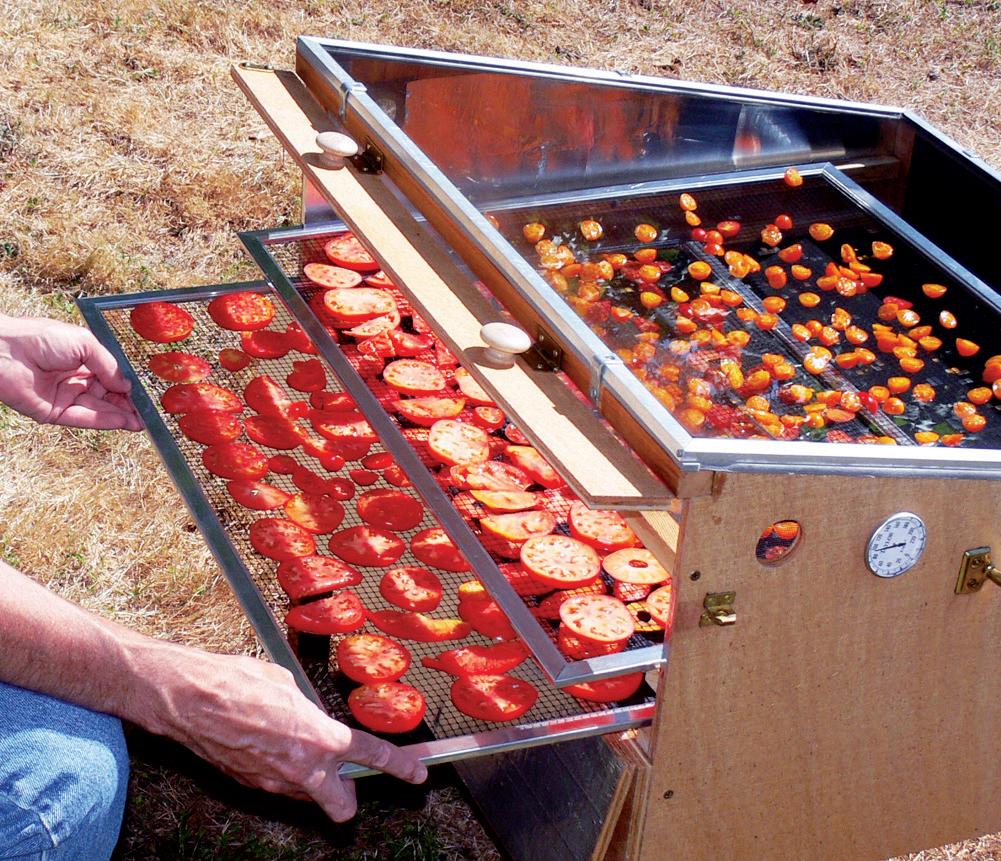
3. Place the pieces in single layers to dry, and turn as needed to help them dry more quickly.
Most vegetables are dried to a crisp, but fruits are done when they become leathery. Bell points out, however, that there

Drying Tips

is plenty of room in between, such as savory chunks of half-dried tomatoes. If you want to try drying using only a sunny windowsill during the day and a warm (from the pilot light) oven at night, start with veggies that can be dried raw—garlic, mushrooms, cherry tomatoes, and
Make creative cuts. Try using an egg cutter or other unusual blades to slice mushrooms or carrots into attractive serrated slices or matchsticks before drying them. If you do a lot of drying (or pickling), a manual mandoline slicer can be a huge timesaver. Do it outside. When using an electric dehydrator, run it outdoors—in a place protected from rain—to avoid heating up your kitchen. Or run it at night.
Dry on a shrub. If you suddenly need lots of space to dry a tree’s worth of apples or pears, spread an old sheet over a dense bush (such as a boxwood), spread out the fruit, and cover it with cheesecloth to keep out insects. With good weather, the fruits will dry in two days. At night when it’s damp, bring the fruit indoors and spread it on an unused bed or table. Make fruit leathers. Cut them into kid-pleasing roll-ups by combining equal parts of any fruit purée with thick applesauce before drying on lightly oiled sheets. A small amount of gelatin mixed into the fruit mixture helps leathers set up and dry more rapidly.
Powder your culls. Dry onions, garlic, asparagus, snap beans, and other vegetables, then grind them into a vegetable powder. Mixed with a little water or oil, vegetable powders work like vegetable bouillon. Use a small coffee mill to chop dried vegetables and herbs into coarse pieces or fine powders.
Pick up your scissors. Before rehydrating dried tomato or zucchini slices, cut them into smaller pieces with kitchen shears to help them plump up faster. Get wet. When cooking, add dried vegetables to the moistest part of a dish. For example, sprinkle dried tomatoes and peppers over the sauce layer of a pizza rather than on top of the cheese.
peppers—and fresh greens such as kale or chard. First wash greens in cool water, then pat dry between towels.
Onions, okra, horseradish, and many herbs are dried raw, too, but don’t wait until your onions get soft. Instead, select onions for drying that may not store well.
As I harvest garlic, I set aside the best bulbs for replanting, and then dry some of the rest. When the fresh garlic runs out (usually in February), the dried garlic fills in until the new crop is ready.
The high sugar and acid content of apples, pears, and peaches makes them great candidates for dip-and-dry treatments, in which cut pieces are dipped in an acidic solution to stop the oxidation process that darkens them. Orange, pineapple, or cranberry juice work well, and you can drink the leftover juice when you’re finished. You may like the flavor enhancement from using pineapple juice, or the colors you get from letting apple slices soak in cranberry juice for an hour before drying. Some vegetables also darken when dried, but that’s easy to prevent by soaking the pieces in a mixture of one part lemon juice to four parts water.
Check Your Berries
If you want to replace the organic trail mixes you’ve been buying with a homemade version, go for it! Blueberries, cherries, cranberries, seedless grapes, and figs do require extra steps to get great results, but if you can boil water, you can dry them.
After they’ve been washed, drained, and pitted if necessary, “check” the fruits by dipping them in rapidly boiling water for two seconds, or pour boiling water over them for a count of four.
After the water drains away, spread the fruits on cookie sheets, pat dry, and pop them in the freezer for one to two hours. Then take them out and dry them right away. The boiling water cracks the skins and the brief freezing breaks down cell walls, transforming
52 MOTHER EARTH NEWS • PREMIUM GUIDE TO LIVING ON LESS
EBEN FODOR (2); PAGE 53: BOTTOM, CLOCKWISE FROM LEFT: RICK WETHERBEE; DAVID CAVAGNARO; EBEN FODOR; TOP, CLOCKWISE FROM LEFT: ISTOCKPHOTO/DEBRA WISEBERG; RICK WETHERBEE (2)
the fruits into incredibly tasty nuggets for snacks, cereals, or baking. Try drying them halfway, to the chewiness of raisins, which will require refrigerated storage because of their high moisture content. Fruit dried until near-crisp can be stored in any cool, dark place. To rehydrate, just soak it in water for an hour before eating.
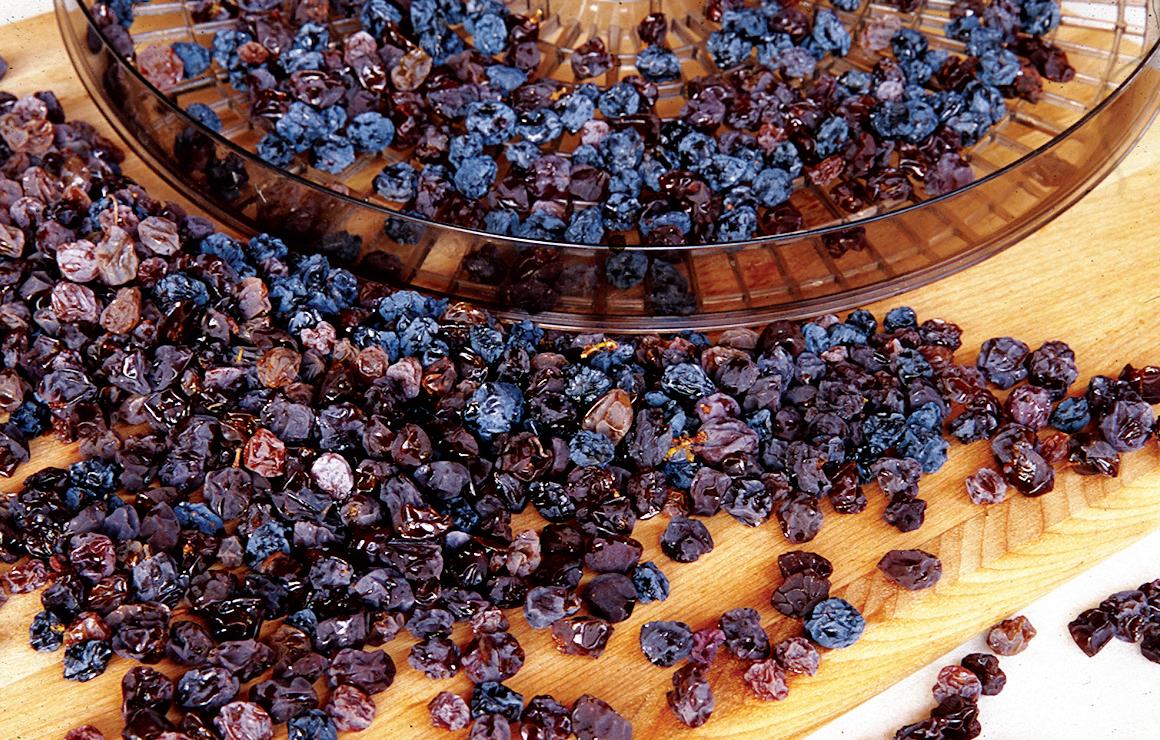
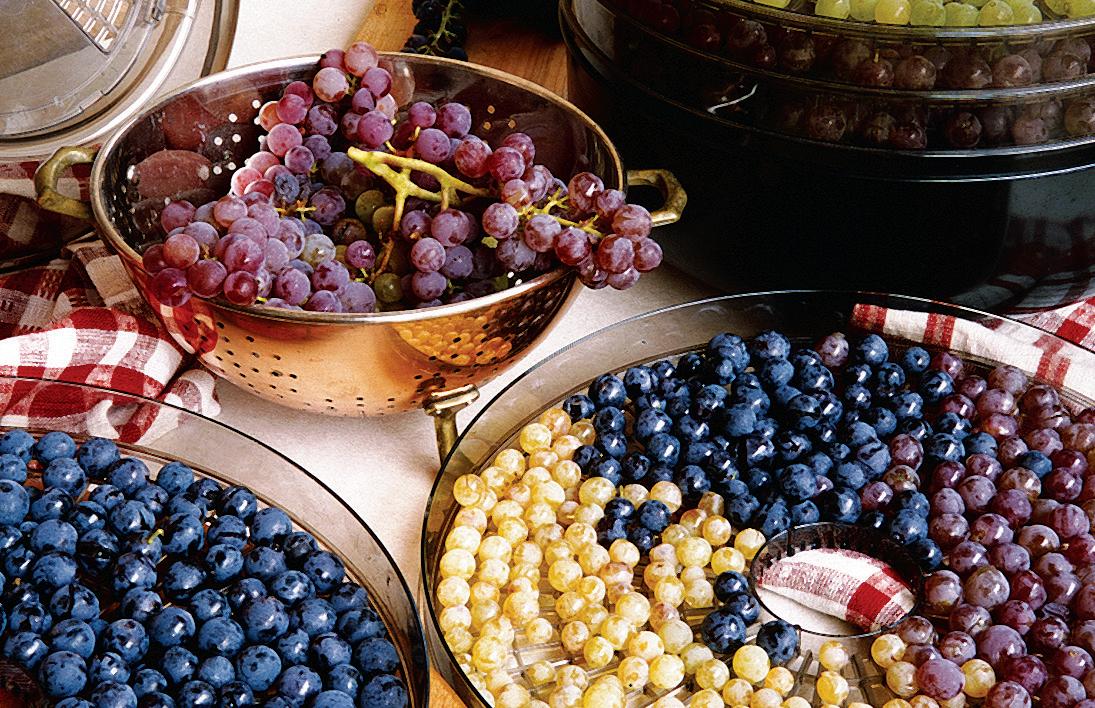
Steaming and Blanching
When preparing veggies for drying, blanch them in boiling water, or better yet, use a steamer to limit their uptake of water and fix enzymes. Broccoli florets and carrot slices that are steam-blanched and dried transform into soup in minutes (just add

Many herbs can be dried simply by hanging them upside down (above). We heard it through the grapevine: You don’t have to have California sunshine to make great raisins (right).

stock), and rehydrated steam-blanched green beans almost pass for the freshly picked version.
Sweet corn dries beautifully, too, and it’s easiest to handle if you blanch the whole ears before cutting off the kernels. Instead of blanching beets, winter squash, and pumpkins, roast them until almost done before peeling, cutting into slices or chunks, and drying them.
Simple, Safe Storage
Many foods that seem to be dried to perfection when you stash them in airtight containers may surprise you by going soft again as moisture levels equalize inside the container. Putting the pieces back into the dehydrator for an hour or two will fix the problem, making it possible to store the food at cool temperatures for up to a year. Keep chewy cherries, half-dried herbed tomatoes, and other dried foods that are still slightly moist in your refrigerator or freezer to prevent mold. Freezer storage also is a good idea for foods dried outdoors because it will kill any insects hiding in crevices.
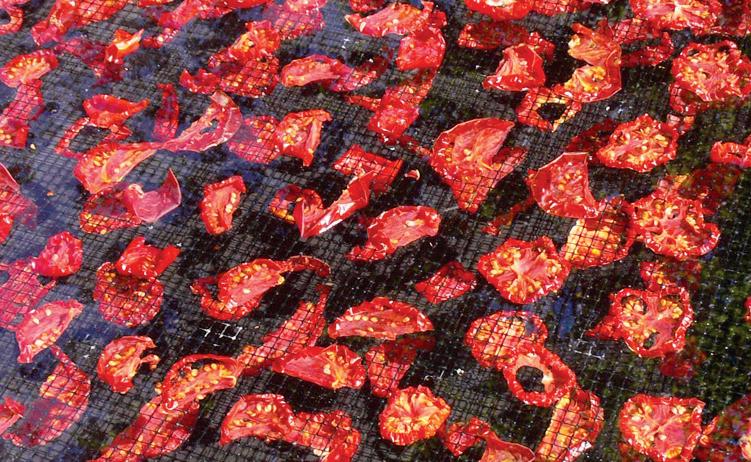
Prepare to be amazed at how little storage space your dried foods require. I can fit five big zucchinis, three butternut squash, 12 fat garlic bulbs, and 20 pounds each of tomatoes and peppers on one basement shelf after they’re dried. I never have to worry if the power stays off for days, but best of all, I always have something fast and easy to cook that came from my own organic garden.
Of course, non-gardening cooks can also stock up at the farmers market when harvest is high and you’re likely to find the best deals. It’s a great way to support local farmers now, save money, and keep eating delicious local foods all winter long.
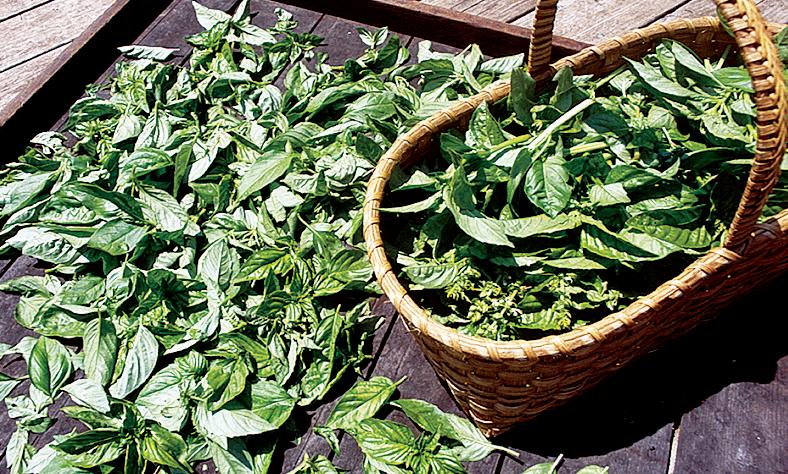

www.MotherearthNews coM 53
Lots of foods lend themselves to drying, and several methods can get the job done. Clockwise from left: dehydrator-dried parsley, oven-dried basil, and sun-dried tomatoes.

CURING MEAT AT HOME
Bring fancy food to your everyday plate by learning how to make the cold, cooked meats known as charcuterie.
By Meredith Leigh
Cured meats are growing in popularity, and that’s a very good thing. Our modern notion of charcuterie as gourmet has created cultural and culinary blockades against the best representation of cured meat. The truth is, home cooks can cure meat. Good charcuterie starts with good meat and good fat from an animal that had a good life, a good death, a good butcher, and a good cook. The surest way to find
Rabbit Andouille
such meat and fat is through direct relationships with farmers. Look for meat that has healthy lean muscle, is deep in color, and is firm but springy in texture. The fat should be creamy and white, and at least somewhat plentiful. As you develop your charcuterie practice, you’ll be able to recognize quality meat and fat almost instantly via texture, scent, and color.
Ground meat has more surface area, which means a bigger playground for bacteria, so safety and sanitation are very important when preparing charcuterie.
Rabbit is on the rise as a nutritious source of lean meat, and it’s perfect for any homestead. Rabbit meat has twice the protein of poultry, and a deep flavor that lends itself well to this Cajun-style andouille. Dial down the cayenne, and even some of the black pepper, if you don’t want too much spice. Yield: about 3 1 ⁄ 2 pounds stuffed sausage.
Be sure to keep your work area, your hands, and your equipment as clean as possible. You’ll also want to keep everything as cold as possible. You may want to take a break in the middle of processing to let the meat chill in the refrigerator to ensure everything stays around 40 degrees Fahrenheit.
Finally, store your cured meats in a cool, dark place. You can seal the surfaces of cured meat with fat. Do this by rendering lard and cooling it until it’s whitened but still pliable.
Ingredients
• 2 1⁄ 2 pounds rabbit meat
• 1 pound pork back fat
• 1 ounce salt
• 0.5 ounce black pepper


Directions: Mix rabbit meat, pork back fat, salt, peppers, thyme, ground bay leaves, and red wine, and freeze uncovered on a pan lined with parchment paper. Grind through the coarse plate of your meat grinder, then re-grind half of the mix. Combine the mix thoroughly and test for taste. Adjust seasonings if necessary before stuffing into the prepared hog casings.
• 0.4 ounce cayenne pepper
• 0.4 ounce dried thyme
• 2 bay leaves, ground
• 3 ⁄4 cup red wine

• 5 feet natural hog casings, rinsed
Dry overnight, then smoke using pecan wood until the internal temperature of the sausage is 145 F. This dish is tasty served with peppery rice and some tart tomatoes.

WWW.MOTHEREARTHNEWS COM 55
GETTY IMAGES/STANISLAV OSTRANITSA; OPPOSITE: GETTY IMAGES/OLGAKR
Working (Wo)Man’s Lunchbox Pâté
This is a recipe I make every weekend, so that during the week I can rush in from the farm, kick off my boots, and have a wholly delicious and nutritious sandwich meat in a flash, accompanied by some good cheese, a crusty bread, fresh greens, and mustard. Yield: one 4-pound loaf.
Directions: Grind 1 pound of the pork lean trim and all the fat, plus the liver or heart, garlic, onion, and parsley, through the coarse plate of the meat grinder, then through the fine plate. Set aside.
Grind the rest of the pork lean trim and the hazelnuts through the coarse plate. Add to the meat and fat mix. Chill it in the refrigerator.
Combine the egg, crème fraîche, brandy or port, and orange zest to make a thick binder known as “panade.” Measure out 2.5 ounces of the pâté spice mix and add it to the panade.
Remove the meat mix from the refrigerator and place in the bowl of a stand mixer fitted with the paddle attachment. Add the panade, salt, and brown sugar, and mix on speed 2 or 3 for about 2 minutes. Taste, and adjust seasoning if necessary.
Line a loaf pan with plastic wrap, and then line it with the strips of bacon, leaving a bit of overhang. Fill the pan with the pâté mixture, fold the bacon over, then the plastic wrap, and then wrap the top with foil.
Cook in a water bath at 300 F until the internal temperature of the pâté reaches 145 F.
Cool to room temperature, weighted on top (a heavy cutting board will do). Then, transfer it to the refrigerator and chill overnight, still weighted. Turn out onto a wooden board before slicing. Serve chilled with crusty bread, cheese, and condiments.
This pâté will keep in the refrigerator for at least 2 weeks.
Pâté Ingredients
• 28.8 ounces pork lean trim
• 9.6 ounces pork back fat, trimmed
• 9.6 ounces pork or beef liver or heart
• 2 cloves garlic, minced
• 4 ounces onion, minced
• Small handful of parsley, minced
• 4 ounces hazelnuts
• 1 egg
• 1.2 ounces crème fraîche

• 0.7 ounce brandy or port
• 0.3 ounce orange zest
• 2.5 ounces pâté spice mix (recipe below)
• 1.5 ounces kosher salt
• 1.5 ounces brown sugar
• Bacon, sliced thin for wrapping pâté
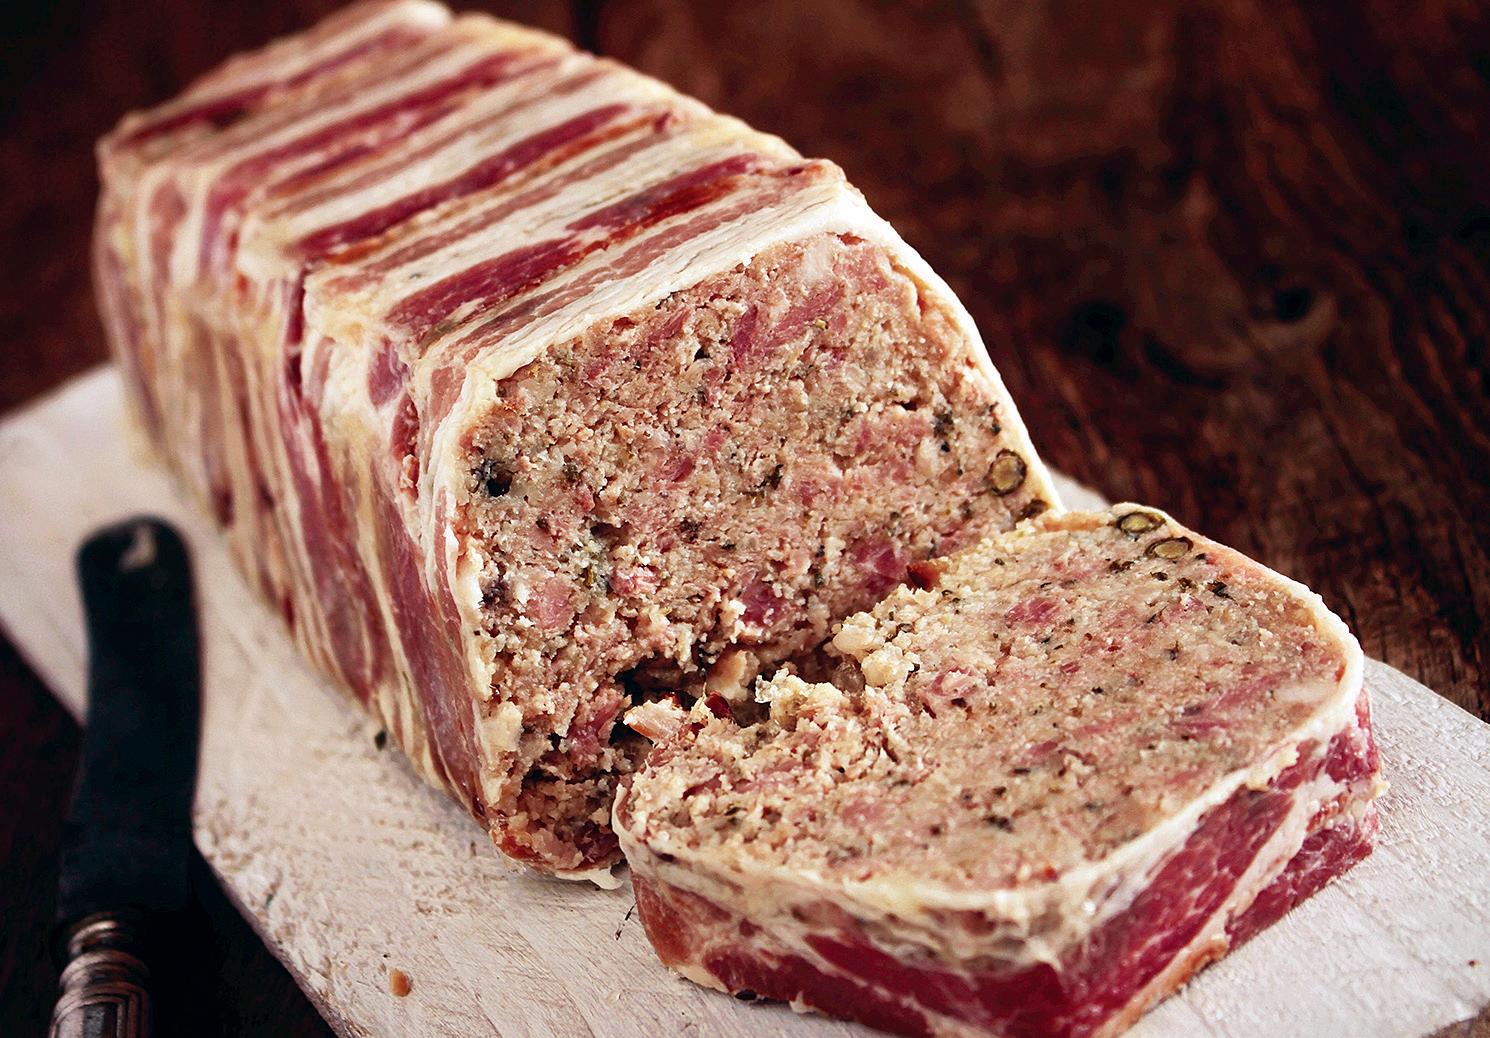
Pâté Spice Mix
Yield: about 13 ounces
• 3 ounces ground cloves
• 3 ounces ground coriander
• 2 ounces dried thyme
• 1.5 ounces white pepper
• 1.5 ounces ground nutmeg
• 0.75 ounce ground mace
• 0.5 ounce bay leaf
Then, combine it with rice flour to produce a soft icing-like consistency. Spread the fat mixture over the exposed surfaces of cured items you want to store for longer periods.
How to Make Mortadella
Mortadella is very similar to bologna, but true bologna doesn’t include whole spice. If you’d rather have bologna, feel free to omit the whole spice in this recipe, and you won’t be disappointed. That being said, bologna has many variations, so you can alter the grind process for coarser textures and tweak the spice mix, and you’ll still end up with bologna.
Producing the finest textured suspension, as in the case of mortadella, usually involves what’s known as the “5-4-3 ratio” of sausage-making. That is, by weight, 5 parts lean meat to 4 parts fat to 3 parts liquid. This ratio will come into play in the following recipe, as will higher ratios of salt and spice; other than that, you’re making a very large sausage. You’ll notice that I’ve included ice as the entire liquid component. This is because I wanted a traditional recipe, but also because mortadella must remain very cold as it’s processed to preserve its texture. You can also use some frozen stock as your liquid component. One ingredient that may stand out to you is the dried milk powder. It’s included as a binder here.
Lastly, you’ll notice the inclusion of curing salt No. 1, also known as pink salt. Many people include a curing salt in their mortadella, but this is chiefly for rosy coloration, so it’s optional. Yield: about 4 ½ pounds stuffed sausage.


• 4 ounces back fat, cut into ½ -inch or 1-inch cubes (omit if you want a more proper bologna)
• 4- to 5-inch-diameter, 20-inch-long collagen or plastic casing, rinsed
• 26.4 ounces pork back fat
• 33.6 ounces lean pork trim
• 20 ounces crushed ice
• 1.6 ounces salt
• 0.8 ounce pure cane sugar
• 0.5 ounce fresh ground nutmeg
• 0.24 ounce ground cinnamon
• 0.24 ounce cayenne
56 MOTHER EARTH NEWS • PREMIUM GUIDE TO LIVING ON LESS
AGE FOTOSTOCK/NEILLANGAN
• 0.24 ounce ground coriander
• 0.2 ounce curing salt No. 1

• 1.92 ounces dried milk powder
• 0.5 ounce garlic

• 1.36 ounces whole black peppercorns (omit if you want a more proper bologna)
Directions: Place the moving parts of your meat grinder and the bowl you plan to use into the freezer.
Meanwhile, blanch the 4 ounces of cubed back fat in boiling water for 10 to 12 seconds, and then set aside.
Soak the casing in room-temperature water until you’re ready to stuff.
Assemble the grinder, and send all ingredients except for the peppercorns and the blanched back fat through the coarse plate of the meat grinder. Repeat. Chill the mixture while you exchange the coarse plate for the fine plate on your grinder, and then send the mixture through this plate twice as well. Chill the mix while you wash your grinder parts.
In a stand mixer fitted with the paddle attachment, combine the meat mixture, blanched back fat, and peppercorns, and process on low to medium speed until the mixture is well-combined.
Chill while you assemble your stuffer and then prepare a large kettle of poaching water with a few generous pinches of sea salt. Place the kettle
on the stovetop and bring it to a temperature of around 170 F.
Place the mortadella mixture into the stuffer’s hopper. Using the largest stuffing horn available with your stuffer, pull the casing as far onto the horn as possible, and begin cranking the meat mixture into it, keeping an even and tight fill as you progress. When you’ve stuffed everything in, tie off the end with butcher’s twine.
Carefully lower the mortadella into the poaching water. Monitor the temperature as it cooks (from 45 minutes to more than an hour) to ensure the water stays just under a boil. Try not

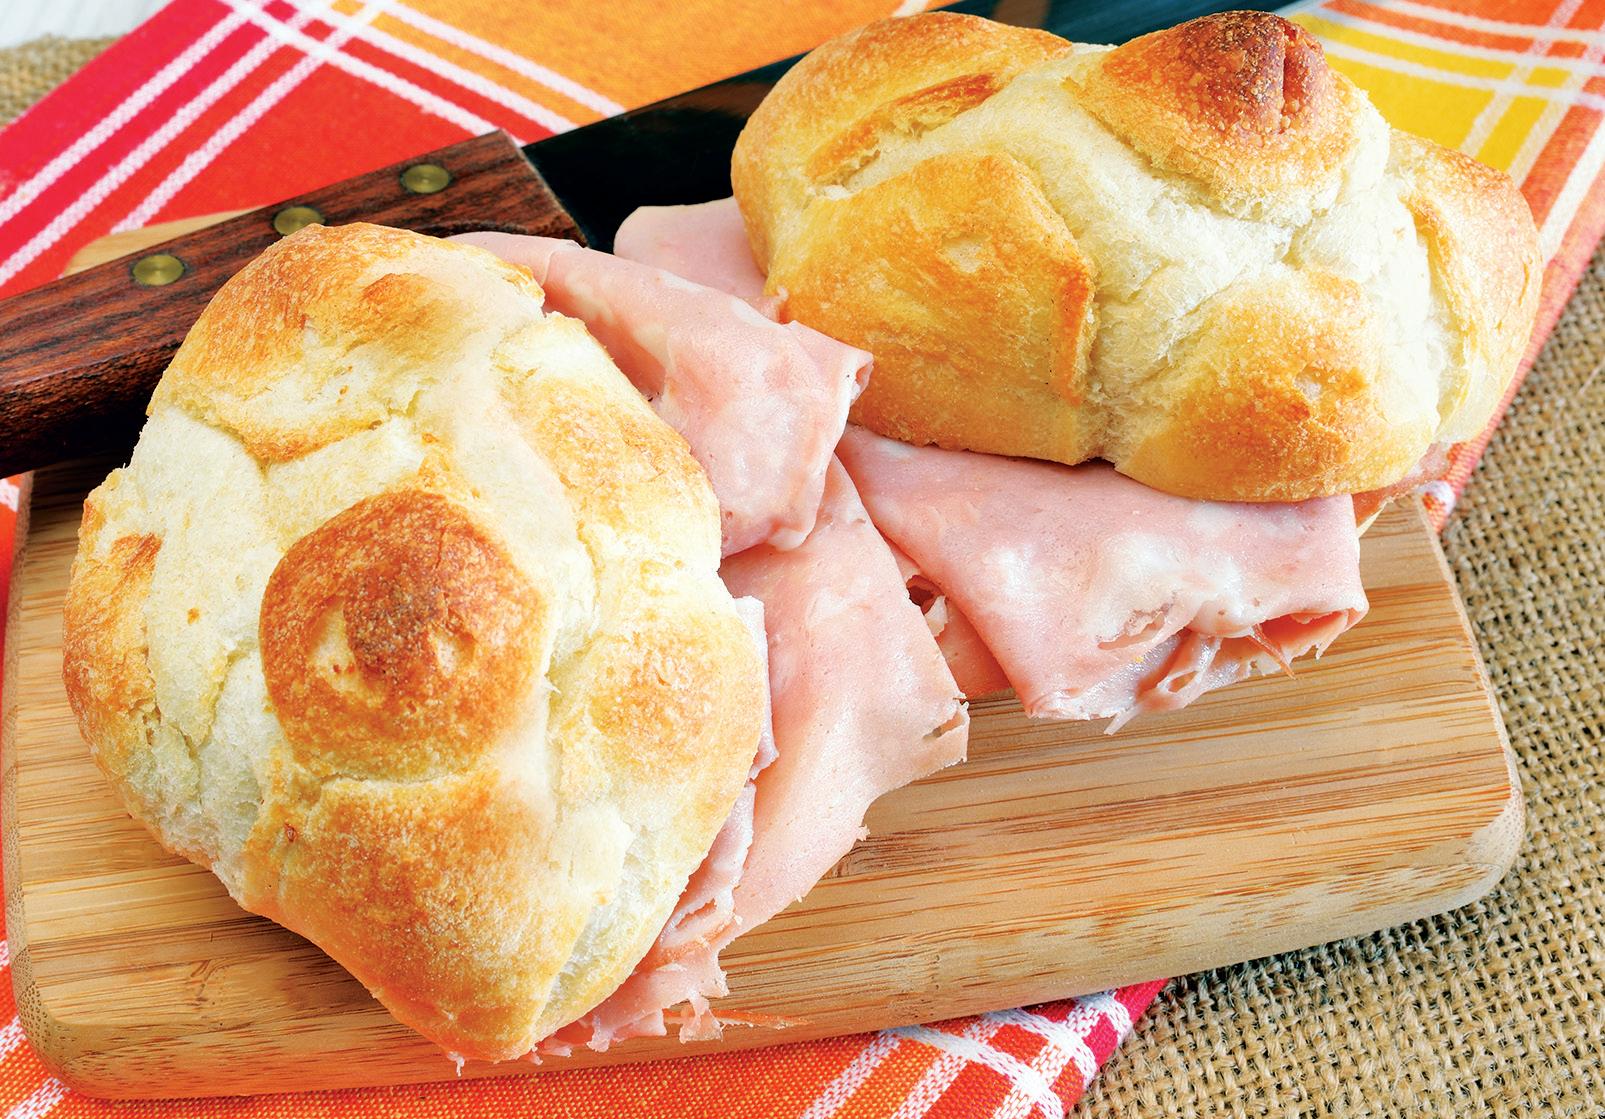
to check the temperature of the mortadella until you’re pretty sure it’s done, unless you have an infrared thermometer. The hole created by a traditional meat thermometer can allow water into the casing, which can screw up your texture quite a bit.
When the internal temperature of the mortadella reaches 145 F, remove it from the poaching kettle and plunge it into an ice bath or a tub of the coldest water you can muster. Allow it to chill there, and then place it in the refrigerator to chill completely.
To serve, peel back the casing, and slice as thin as you can manage.
www.MotherearthNews coM 57
GETTY IMAGES/ENZODEBERNARDO
Meredith Leigh has worked as a farmer, butcher, chef, teacher, nonprofit executive director, and writer. She’s the author of The Ethical Meat Handbook. Her latest book, Pure Charcuterie, is available onlie at www. motherearthnews.com/store.
First-rate charcuterie begins with quality meat from a reliable butcher.
Keep cured meats on-hand for easy grab-and-go meals.
CHEESE RECIPES 3 One-Hour


You don’t have to be a professional to enjoy fresh, homemade cheese.

A cup of creamy cottage cheese is only 60 minutes away with these recipes!
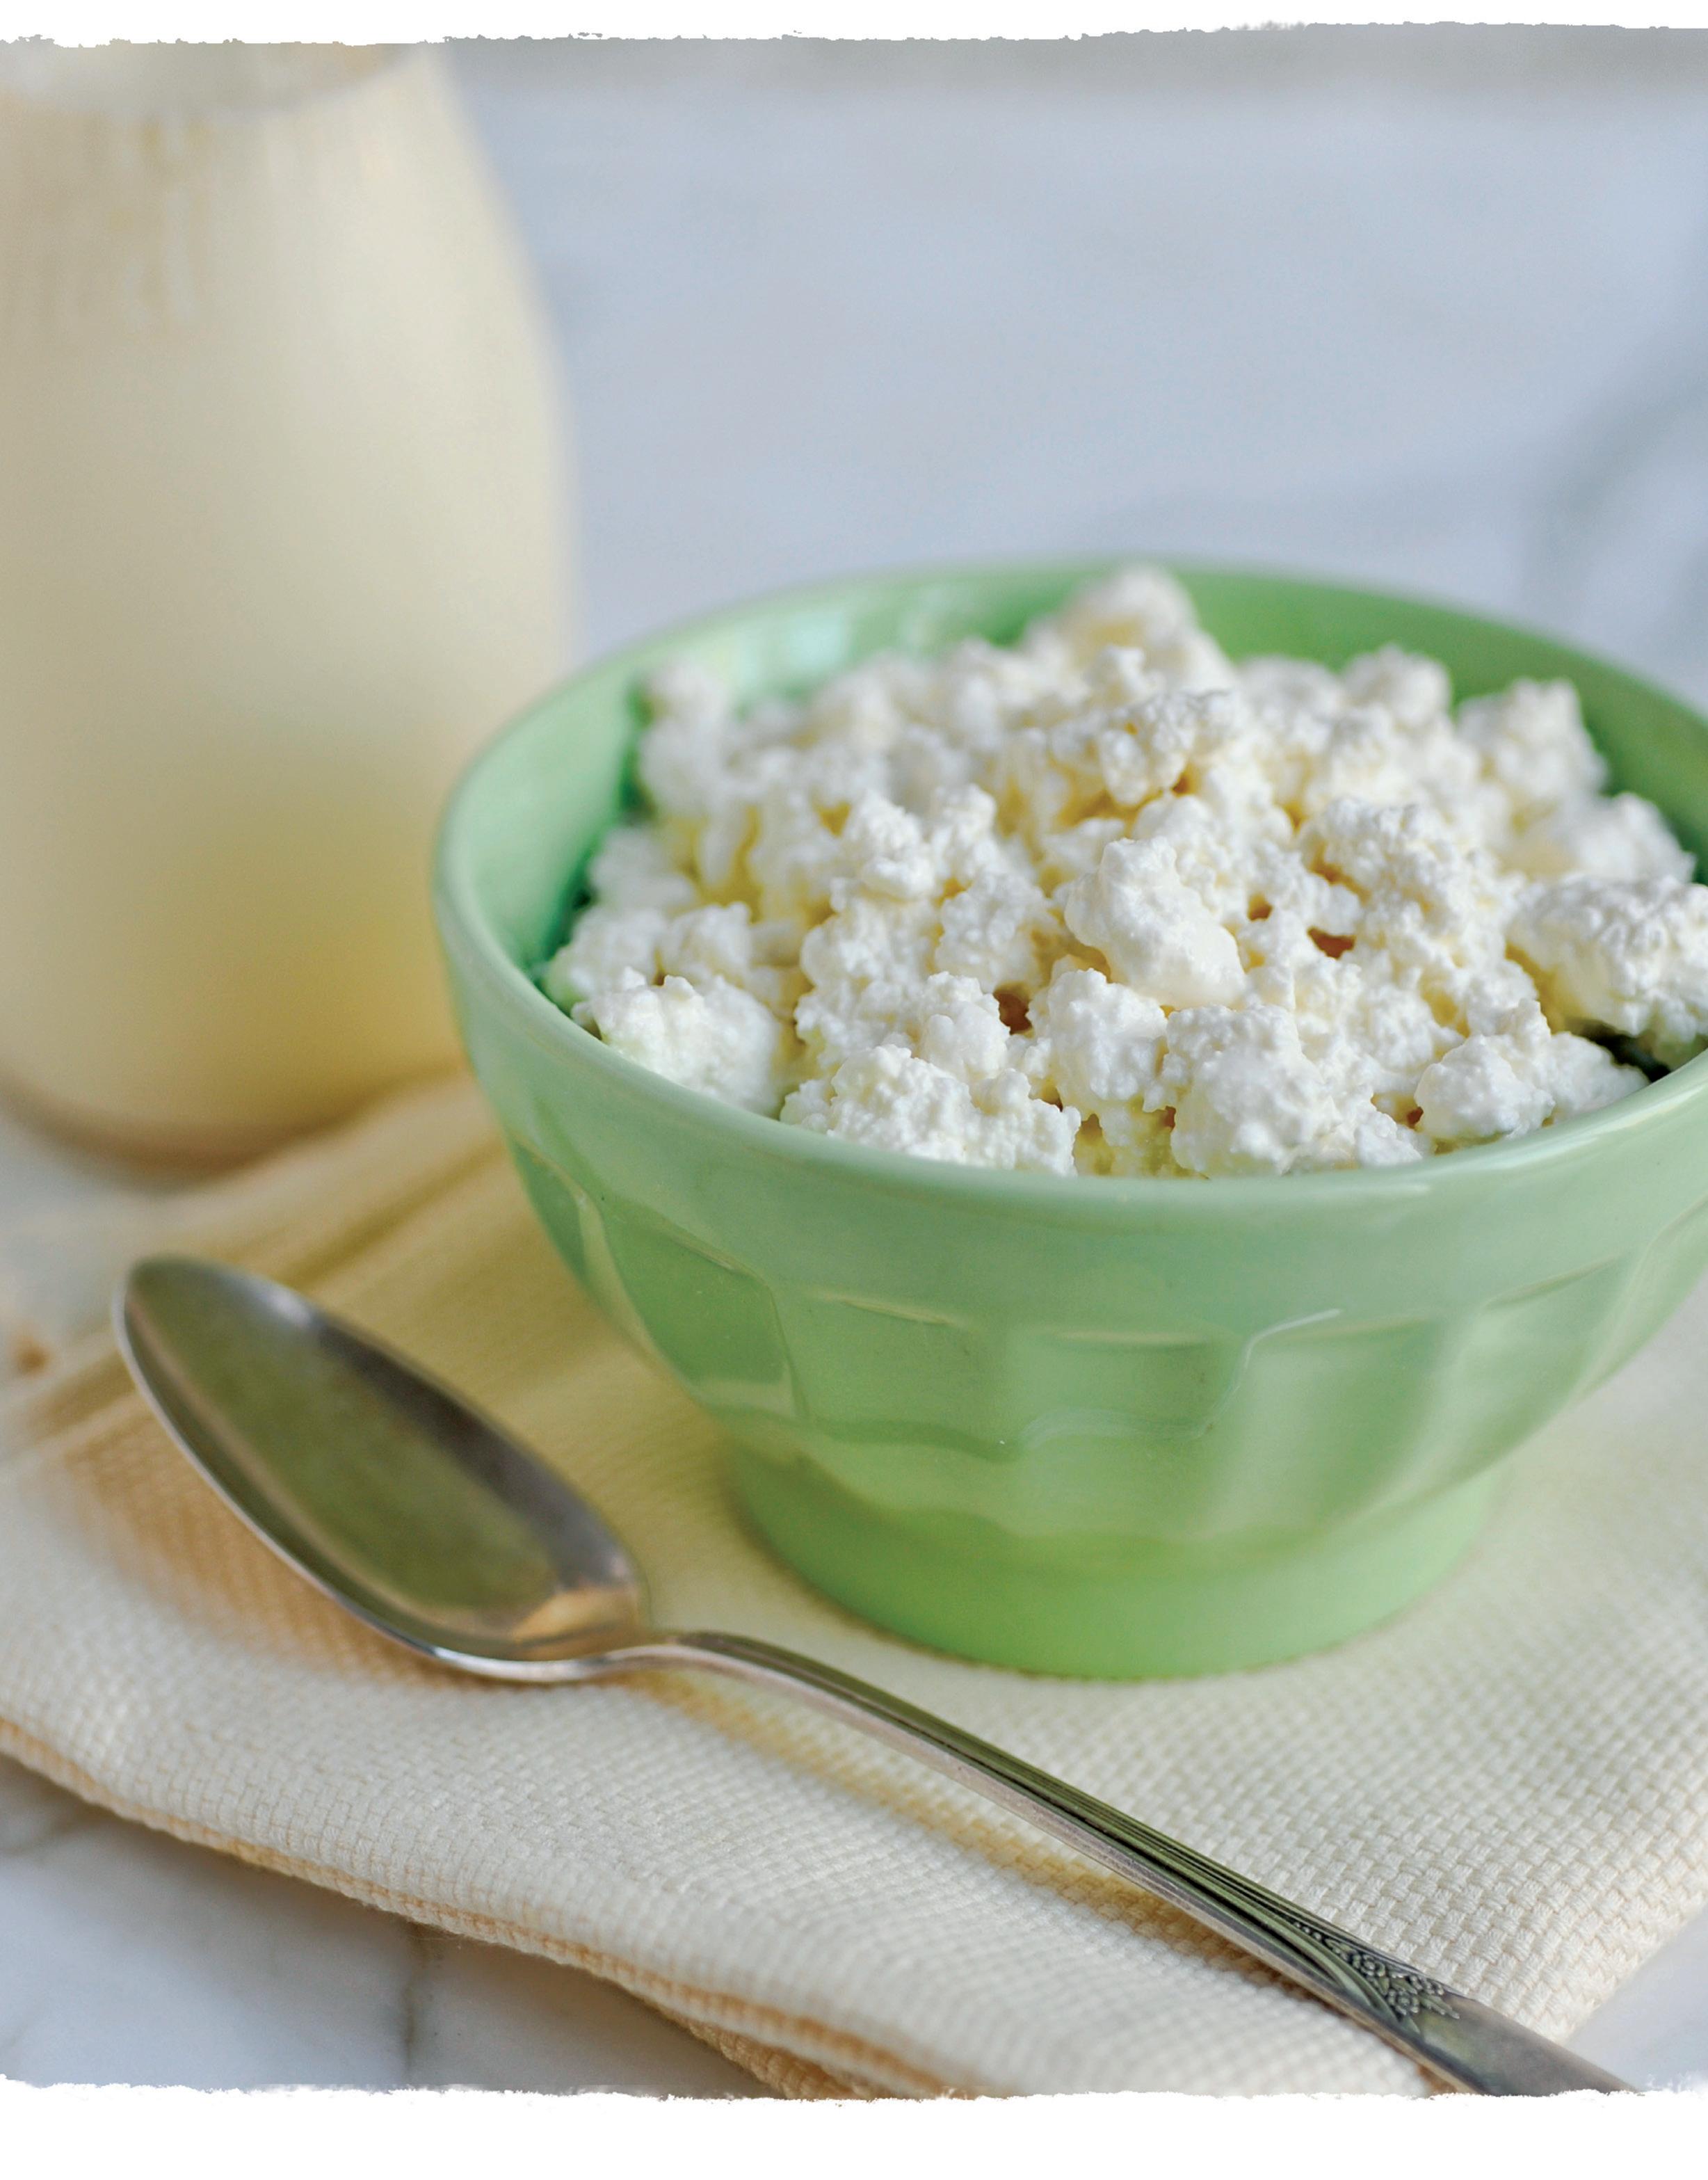 By Claudia Lucero
Cheese in one hour? Is it really possible? It is! In some cases, you can have ready-to-eat cheese in well under an hour. One-hour cheese making, like any craft, requires certain tools, practices, and tricks—just stick to the simple guidelines below, and you’ll be a cheesemaker in no time.
The Workspace
The parameters for prepping your space for making fresh cheese are far more flexible than if you were making aged cheese. Use the same cleanliness habits and common sense you would for any type of cooking—no bleach needed. Biodegradable soap, hot water, and fresh kitchen towels will do the trick.
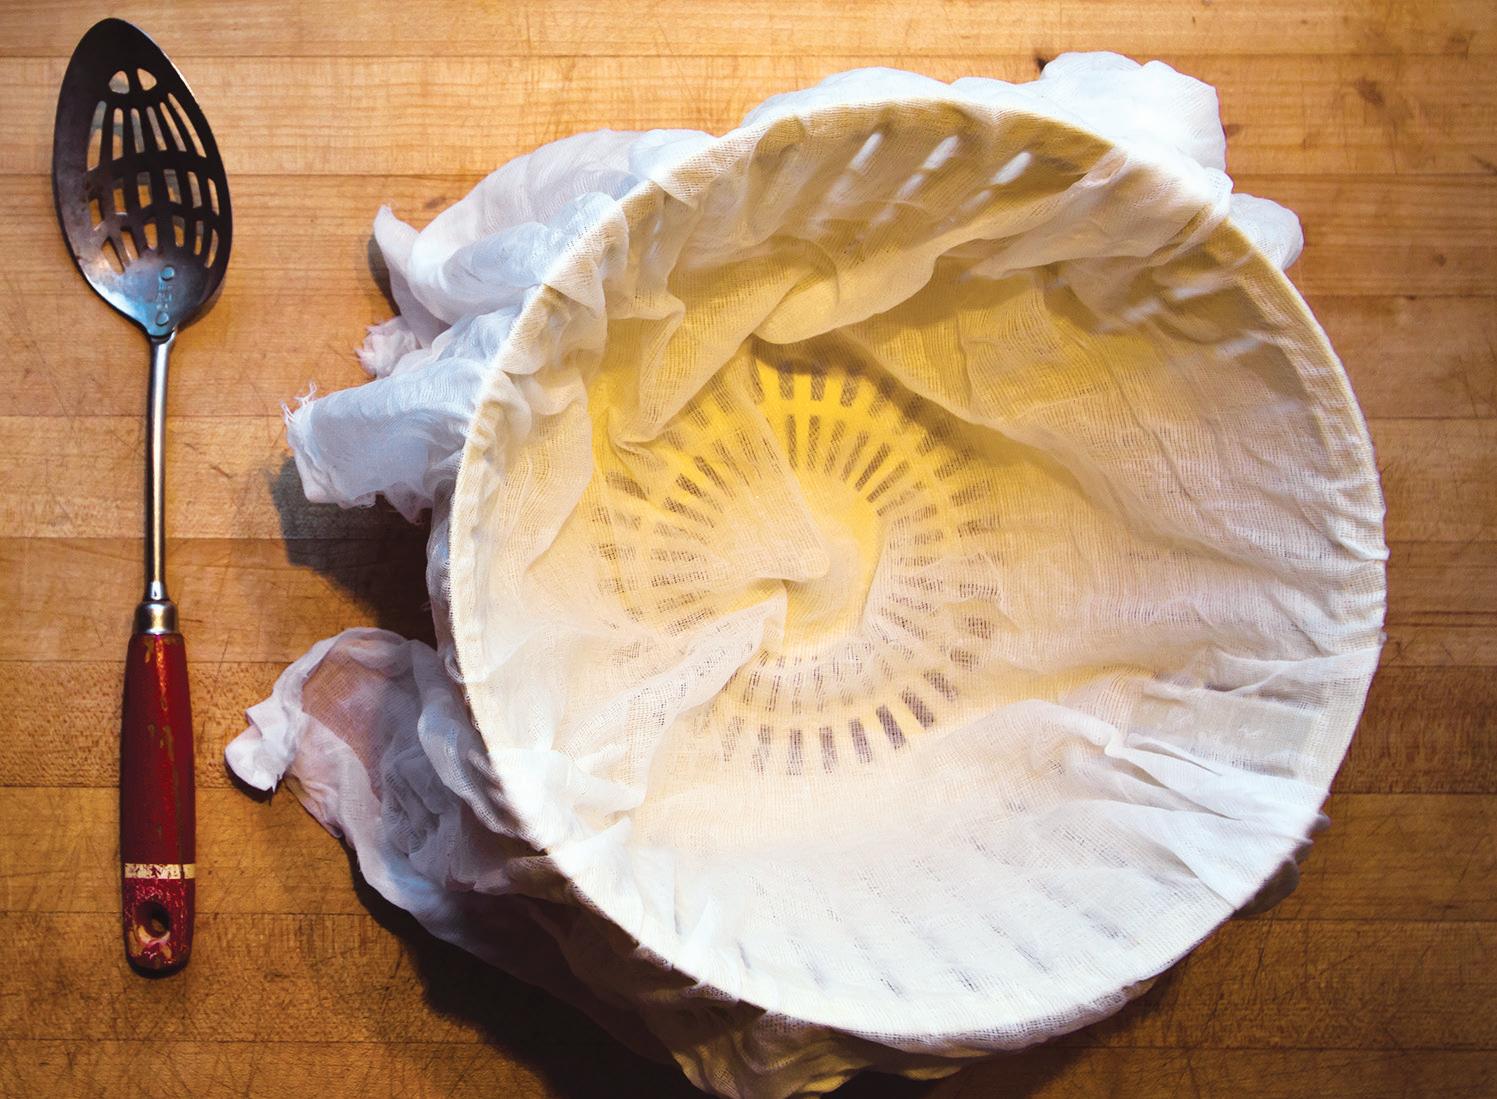
Specialized Equipment
These micro-batch recipes call for a gallon or less of milk, and that makes gathering tools in an average kitchen a breeze—no need for 5-gallon vats here! Aside from common measuring spoons and cups, a large spoon, a colander, and bowls, you’ll need three additional tools. Cheesecloth. The disposable cheesecloth you’ll find at most grocery stores—with huge holes—will sadly let your precious curds slip through

the “cracks.” Get your hands on reusable “butter muslin” or Grade 90# or 120# cheesecloth. In fact, a brandnew washed handkerchief or a lintfree tea towel will work better than the grocery-store gauze.
Stockpot. An average stainless-steel or enameled pot is ideal when it comes to cheese making. The kind used to make pasta can usually hold a gallon of milk perfectly. If you must purchase one, select a pot with the thickest base you can
afford, because thin bases tend to scorch milk. Avoid uncoated aluminum and cast-iron pots as well—they can corrode with acids and impart a metallic flavor.
Thermometer. A thermometer will be invaluable while you’re learning. A common 5-inch metal probe meat thermometer, a simple digital thermometer, or a food-safe glass milk thermometer will do. An analog thermometer should span 0 to 220 degrees Fahrenheit with markings at least every 2 degrees.
www.MotherearthNews coM 59
Use fine cheesecloth or “butter muslin” to line your colander for draining curds: You won’t want any precious cheese slipping away through too-wide gaps in the fabric.
Most of the supplies you’ll need for the following recipes are already in your kitchen, and the remainder are easy to find at a local grocery store.
FLICKR/BRIAN BOUCHERON (2); PAGE 58: WORKMAN PUBLISHING
Essential Ingredients
Milk. Of course you’ll need milk. It can be store-bought or farm-fresh, raw or pasteurized, or even homogenized. Avoid ultra-pasteurized milk as it won’t coagulate properly. Organic milk isn’t always best, but local milk is usually less likely to be ultra-pasteurized. Grass-fed and local milk is the jackpot!
Acids. Many cheese recipes use common ingredients, such as vinegar, citrus juice, and buttermilk, to coagulate milk, but if you continue your journey into the world of cheese making, you’ll
encounter recipes that call for citric acid—a purified form of the weak acid naturally found in citrus fruits.
Rennet. This is the compound of enzymes that transforms milk into a sturdy curd. You can find animal, microbial, and vegetarian rennet in tablet or liquid form, but for best results with the following recipes, I recommend that you use vegetarian rennet tablets. I use vegetarian rennet tablets because they keep for years in the freezer and because I have lacto-vegetarian friends who enjoy my cheese.
Simple Farmers Cheese
This mild, creamy, multiuse cheese is simply great to have on hand. It’s easy to make, easy to use, and easily one of my all-time favorite cheeses. Buttermilk gives it a slight tang, and the result is something between cream cheese and ricotta. Coagulation is swift and visually dramatic for this one, making it an impressive cheese to make with kids or for dinner guests (double the recipe for a crowd). The entire process is low-stress and gratifying, and takes about 30 minutes.
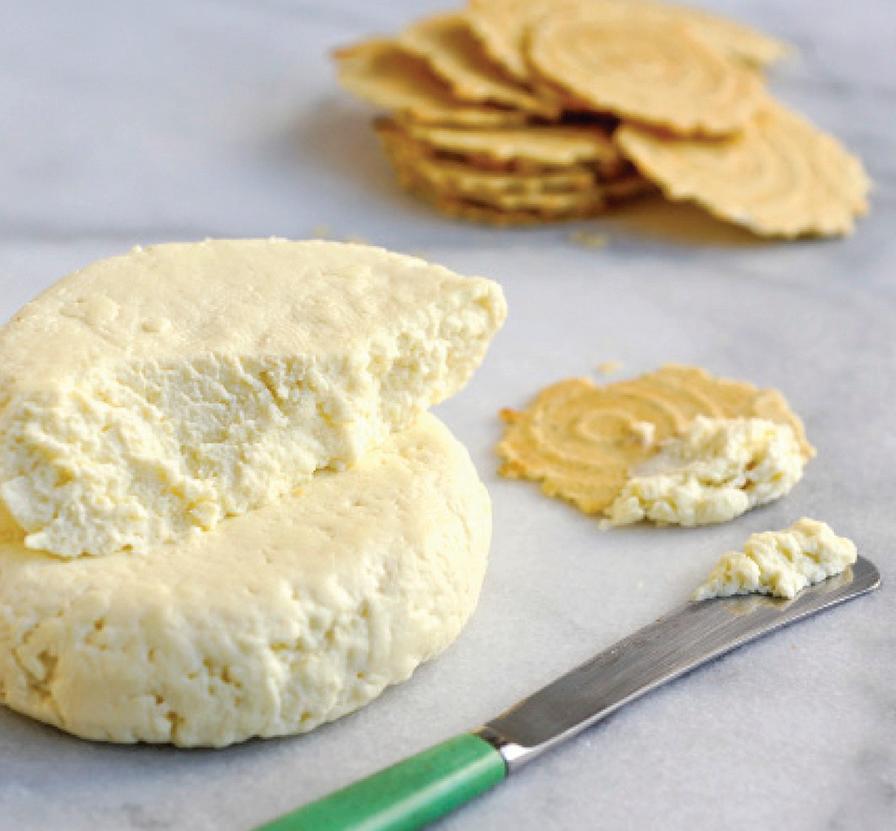
I love dipping garden-grown veggies in a dish of farmers cheese, but you can also use it for baking—or spreading on breakfast pastries. Alternatively, you can shape the cheese into a log and cover it with dry herbs for a lovely and delicious gift to bring to a party. Yield: 6 ounces.
1 Line the colander or strainer with wet or dry cheesecloth. Place a bowl underneath if you want to collect the whey to use in cooking; otherwise, place the lined colander in your clean sink.
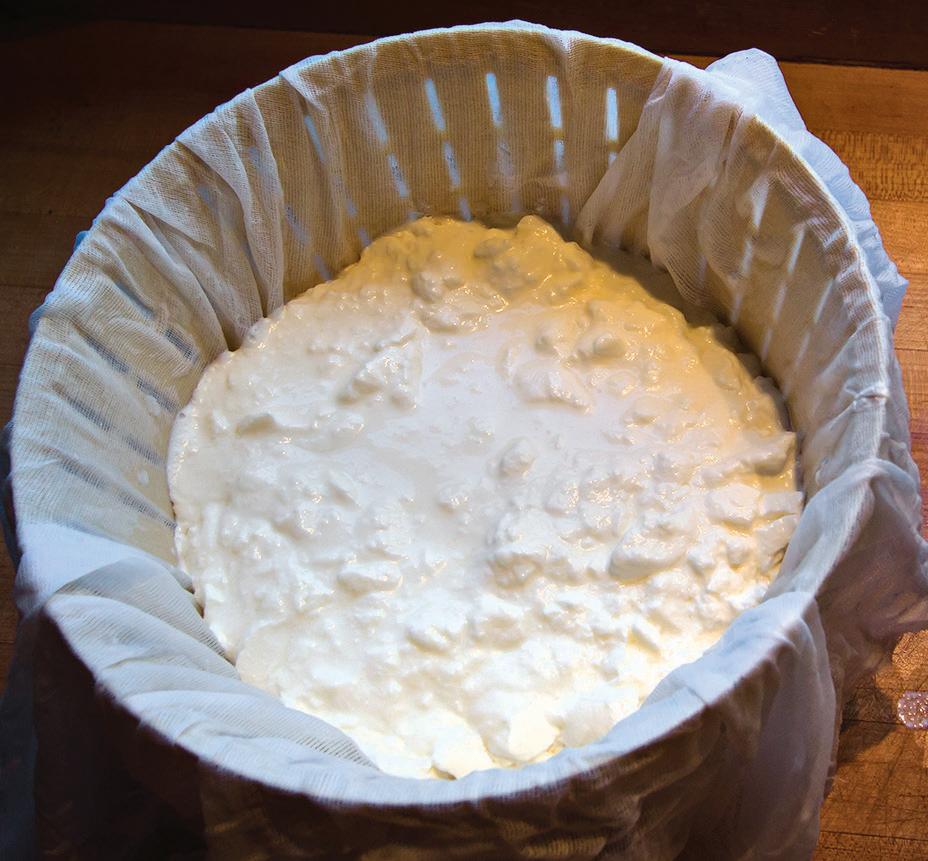
2 Pour the cow’s milk into the stockpot. Then, heat the milk over medium heat to 175 F.
Ingredients
Flair. Good additions to homemade cheese include herbs, spices, honey, fruit, and anything else you make (apple butter), enjoy (hot peppers), or grow (figs). They’ll make your cheese special! This is my favorite part.
No Time Like the Present
A general mystique surrounds the cheese-making process, but you shouldn’t fear failure. Don’t overthink it when you’re starting out. Dive in, take notes, and name your cheese after it’s
3 Stay close and monitor the temperature, stirring every few minutes to prevent a skin from forming on the surface of the milk. Reduce the heat if you feel any milk sticking to the bottom of the pot when you stir.
4 When the milk reaches 175 F, add the buttermilk and lemon juice and stir thoroughly. You should start seeing coagulation.
5 After you’ve completely stirred in the buttermilk and lemon juice, take the pot off the heat. Leave it undisturbed for 5 minutes.
6 After the 5 minutes are up, you’ll see a clear separation between curds and whey. Stir the curds gently for a few seconds to check out the change in texture, and then pour the curds and whey into the cloth-lined colander.
7 Allow the curds to drain until they resemble thick oatmeal; this should take just 1 to 2 minutes. Stir in the salt and herbs, if you’re using them.
• 4 cups whole cow’s milk, not ultra-pasteurized
• 1 cup cultured buttermilk
• 2 tbsp fresh lemon juice
• 1⁄ 4 tsp flake salt, or to taste

• Herbs, to taste (optional)
Supplies
• Medium colander or mesh strainer
• Fine cheesecloth
• Large heat-resistant bowl for whey collection (optional)
• 2-quart stockpot
• Cooking thermometer
• Large mixing spoon

• Parchment paper


8 Pack the cheese into a paper-lined dish to form it into a wheel.
9 Flip the dish onto a serving platter and peel away the paper. Your farmers cheese is now ready to eat!
60 MOTHER EARTH NEWS • PREMIUM GUIDE TO LIVING ON LESS
RECIPES EXCERPTED FROM ONE-HOUR CHEESE
(WORKMAN
COPYRIGHT © 2014
BY CLAUDIA LUCERO
PUBLISHING).
made. “Cheese of the Day” is a perfectly fine title. Perhaps the greatest thing about one-hour cheese is that it’s all safe and edible, and you’ll only need 60 minutes to try again if you aren’t happy with your results.
Classic Cottage Cheese
Whenever I mention cottage cheese in one of my classes, Little Miss Muffet
inevitably comes up, since her curds and whey were likely to have resembled cottage cheese. Cottage cheese is a nostalgic treat for many, but don’t dismiss this cheese as simply old-fashioned, or you’ll miss out on its versatility and satisfying tang. This batch is generous in size, so you can enjoy a scoop with ripe fruit, mix it into pancake batter, and use it in lasagna, all in one week.
Herb-Infused Chèvre
This recipe is my homage to a French-style chèvre covered in herbes de Provence (aromatic herbs including lavender). I decided to infuse the milk with fresh herbs as it warmed to keep the floral flavors without the fibrous bite of dried herbs and flowers. To stay truly Provençal, you can hand-shape the cheese into little “kisses” for tempting bites, perfect for a cheese platter.
You can use other herbs, spices, and even dried fruit to get different, but no less enticing, results. You can also opt to leave this chèvre as a spread or shape it into logs. Yield: about 1 ⁄ 2 pound.
1 Pour the milk and cream into the stockpot.
2 Add the washed herbs to the milk. Then, turn the heat to medium.
3 Stay close and monitor the heat, stirring every few minutes to prevent a skin from forming on the surface of the milk. Reduce the heat if you feel any milk sticking to the bottom of the pot.
4 Dip the thermometer in and start checking the temperature when you see steam and little foam bubbles forming. (Don’t let the milk boil, or your creamy cheese will become firm.)
5 Just before the milk reaches 185 F, scoop out the herbs with the slotted spoon.
6 When the milk reaches 185 F, add the vinegar and stir it in thoroughly with just 7 quick strokes.
7 Lower the heat to the lowest setting. Gently stir the milk every few seconds for 2 minutes. You won’t want to break up any newly forming curds, so don’t stir vigorously or continuously.
8 You should see coagulation after 1 minute. If you don’t, heat for up to 2 minutes longer.
Ingredients
• 8 cups goat’s milk
• 1 cup cream
• 4 to 6 fresh sprigs organic herbs, such as lavender, basil, sage, thyme, and rosemary, washed thoroughly and patted dry
• 1⁄ 4 cup white wine vinegar
• 1 tsp flake salt, or to taste
Supplies
• 3-quart stockpot
• Cooking thermometer
• Large mixing spoon
• Slotted spoon or spider skimmer (optional)
• Large colander or mesh strainer
• Fine cheesecloth
• Large heat-resistant bowl for whey collection (optional)
Yield: 1 1 ⁄ 2 pounds.
Ingredients
• 1 1 ⁄ 4 cups cultured buttermilk, divided


• 1⁄ 4 tablet vegetarian rennet


• 1⁄ 2 cup cool dechlorinated water
• 16 cups whole cow’s milk, not ultra-pasteurized
• 3 cups ice cubes
• 1 tsp flake salt, or to taste
9 Take the pot off the burner and allow the curds and whey to sit undisturbed for 10 minutes.
0 Line the colander with the cheesecloth and place the colander over a bowl if you want to collect the whey; otherwise, place the lined colander in your clean sink.
! After 10 minutes, you should see increased curd formation.
@ Pour the curds and whey through the cheesecloth and allow the whey to drain for about 10 minutes, or until the curds are the creamy texture of smooth mashed potatoes.

# Add salt and stir thoroughly. This will flavor the cheese, but also help drain the last of the whey.
$ The whey that’s left behind will appear milkier than in other recipes. This is normal for this creamy goat cheese.
% After cooling a little, your goat cheese will be ready to shape. Scoop out little 2-bite portions of cheese with your fingers and smooth them into balls in your hands.
^ Pinch the top of each cheese ball and flatten the bottom when you place it on a platter. Your chèvre is now ready to serve and eat as is, or it can be decorated with leftover herbs or edible flowers.
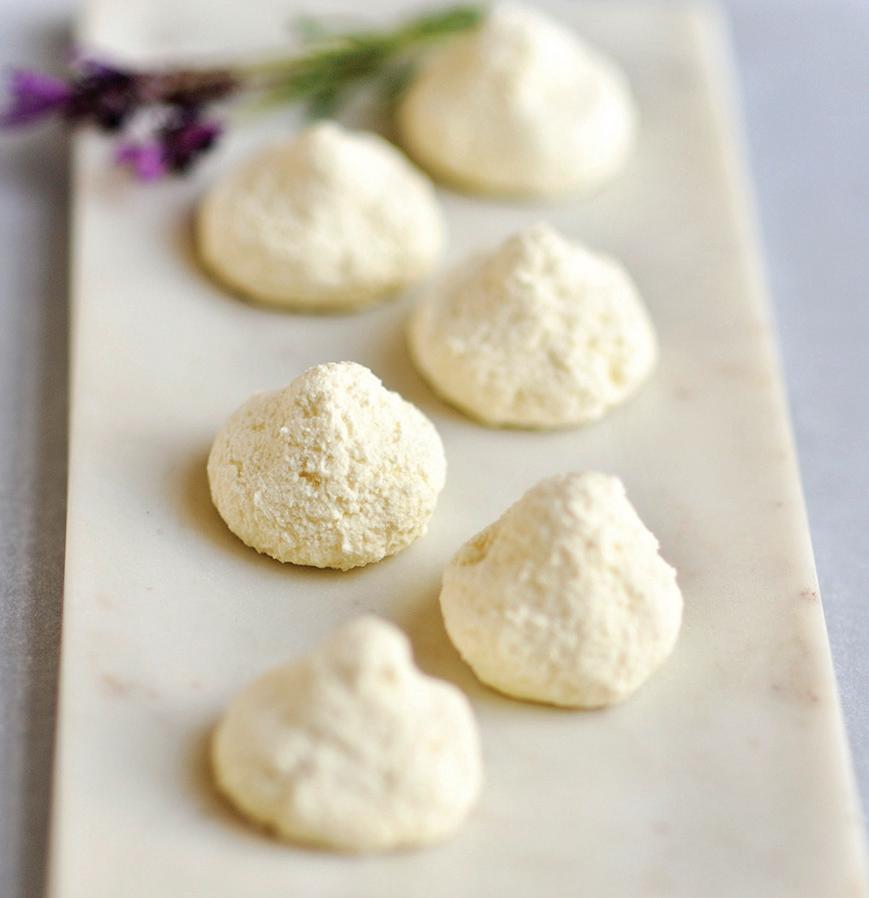
WWW.MOTHEREARTHNEWS COM 61
FROM TOP:
FLICKR/REBECCA SIEGEL; WORKMAN PUBLISHING; PAGE 60, FROM LEFT: FLICKR/BRIAN BOUCHERON; WORKMAN PUBLISHING
Supplies
• 5-quart stockpot
• Large whisk
• Cooking thermometer
• Fine cheesecloth

• Large colander or mesh strainer
• Large heat-resistant bowl for whey collection (optional)
• Large mixing spoon
• Knife (optional)
• Large bowl for ice bath
1 Measure out 1⁄4 cup of the buttermilk. Set aside the rest.
2 Dissolve the rennet in the cool water and set aside.
3 Pour the cow’s milk into the stockpot.
4 Whisk the 1⁄4 cup of buttermilk into the milk and heat both on medium to 95 F.
5 Add the rennet solution to the milk and mix it in with 20 quick strokes to make sure the rennet is incorporated evenly.
6 Turn off the heat. Remove the pot from the stove and cover it. Don’t disturb for 15 minutes.
7 Use this time to prepare a cloth-lined colander and bowl if you want to collect the whey; otherwise, place the lined colander in your clean sink.
8 After 15 minutes, you should have a pot of curd that looks like yogurt. The curd should pull away from the edges when you press it with the back of your spoon, but yogurt-like curd pieces floating in clearish whey will work too.
9 Use the spoon or a knife to chop large pieces of curd into 1-inch chunks, but don’t stir yet.
0 Turn the heat back on to medium and allow the curds to cook for 1 minute, and then gently move the chunks around while heating to 115 F. Don’t break up the curds by stirring too vigorously.
! The curds will shrink as they cook and move in the hot whey. Scoop curds from the bottom of the
pot and cut any larger pieces so they cook evenly.
@ When all the curds are about the size of almonds, lower the heat to maintain it at 115 F as you move the chunks of curd in the hot whey until they’ve changed from yogurt texture to scrambled egg texture (this can take 5 to 15 minutes).
# Scoop up a couple of curd pieces in a spoon and pinch them to check their consistency. They should feel a little springy, and not dissolve easily. If they dissolve, continue heating and moving the curds around, and then “pinch check” every minute until they’re springy to the touch.
$ Turn off the heat when all the curds appear to be an even consistency. This
From top: When the curd is ready to cut, it will pull away from the sides of the pot. As the curds cook, they’ll shrink; test the consistency by pinching them between your fingers.
step will become faster as you get more experienced in observing changes and regulating heat.
% Pour the curds and whey into the colander.
^ Allow the curds to drain and cool for 3 to 5 minutes before digging in with clean hands. & Mix the curds gently, and break them down to the size you’d like in your cheese. They can be as large as almonds or as small as sunflower seeds, but note that they’ll continue to shrink in the next steps.
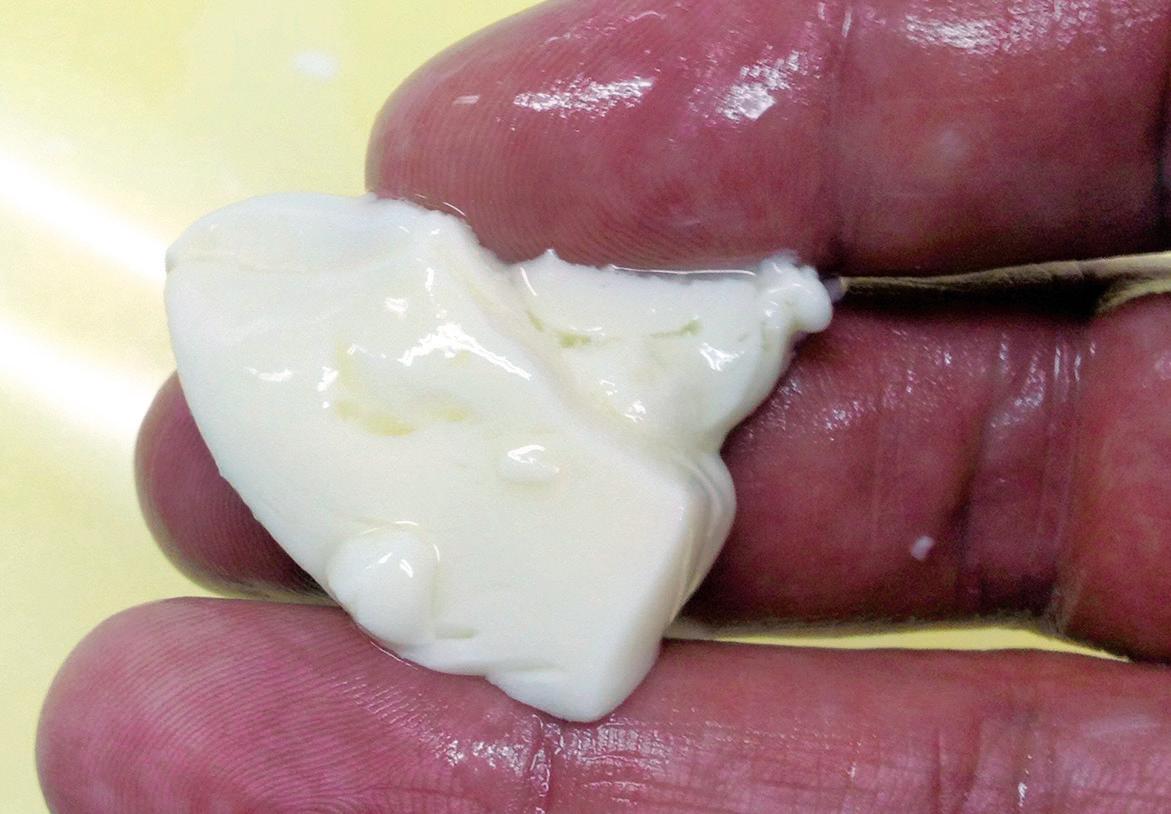
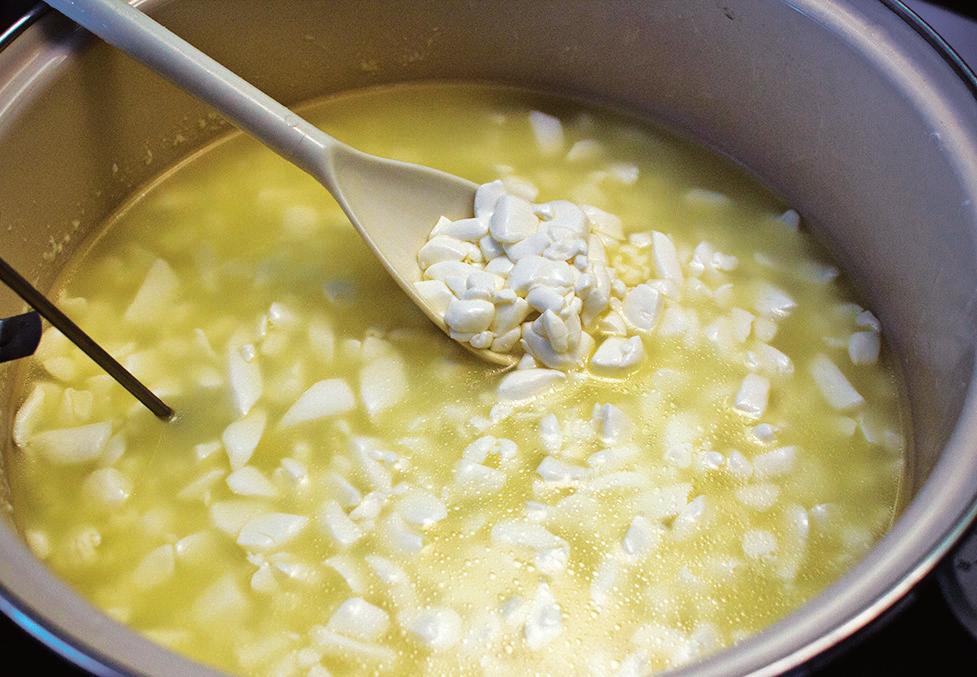
* Prepare an ice bath by adding the ice cubes and cold tap water to a large bowl.
( Gather the curd-filled cheesecloth and dunk it into the cold water while holding the ends like a loose bag. The cold shock will form the curds so they don’t fuse back together like ricotta.
) Move the bag back and forth in the ice bath to ensure all the curds get the cold treatment. When the curds feel thoroughly cool, twist and squeeze the cloth to wring out excess water.
q Unwrap the curds and empty them into a clean bowl.
w Use a spoon or your hands to gently break up the curds that became compressed when you squeezed the cloth. Add salt and the reserved 1 cup of buttermilk, and stir thoroughly. Your homemade cottage cheese is now ready to serve.
Claudia Lucero is the entrepreneur behind www.urbancheesecraft.com and a frequent speaker at Mother earth News Fairs. These recipes are excerpted from her book, One-Hour Cheese, available at www.motherearthnews.com/store.
62 MOTHER EARTH NEWS • PREMIUM GUIDE TO LIVING ON LESS
FROM TOP: FLICKR/REBECCA SIEGEL; FLICKR/BRIAN BOUCHERON; FLICKR/CAFUEGO
Southern Exposure Seed Exchange
PO Box 460, Mineral, VA 23117

Phone: (540) 894-9480

Southern Exposure Seed Exchange
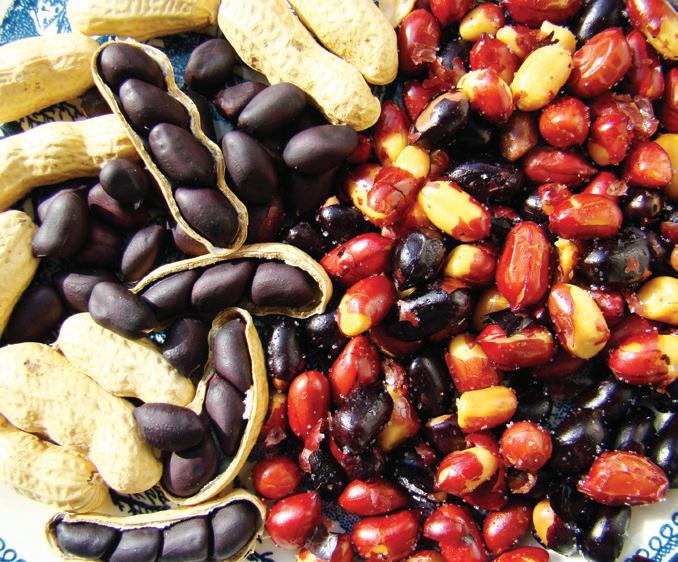
Grow fresh, homegrown food
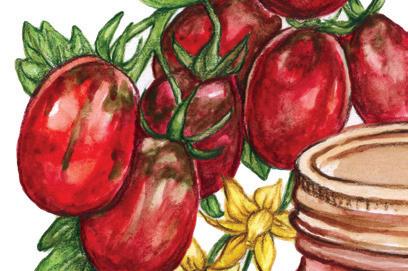
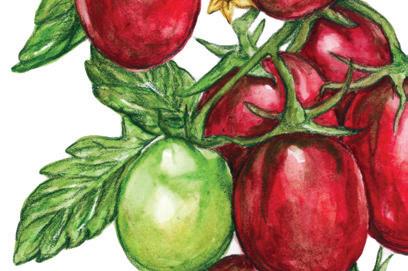

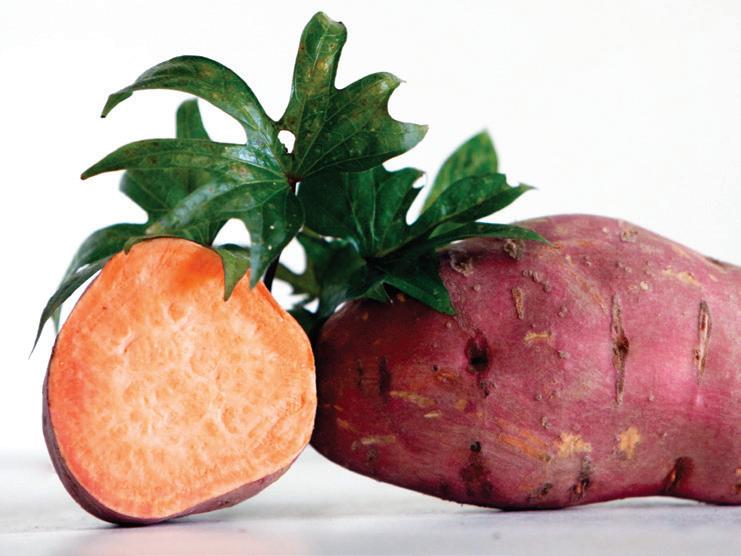


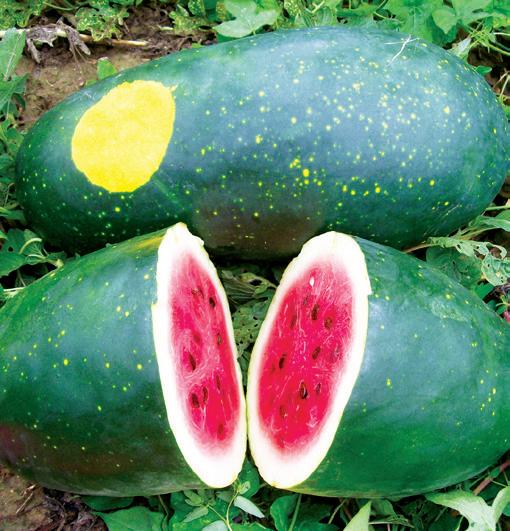
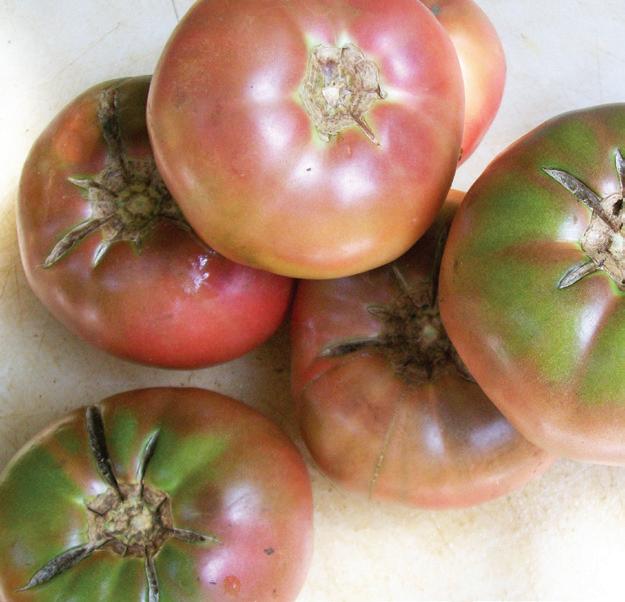


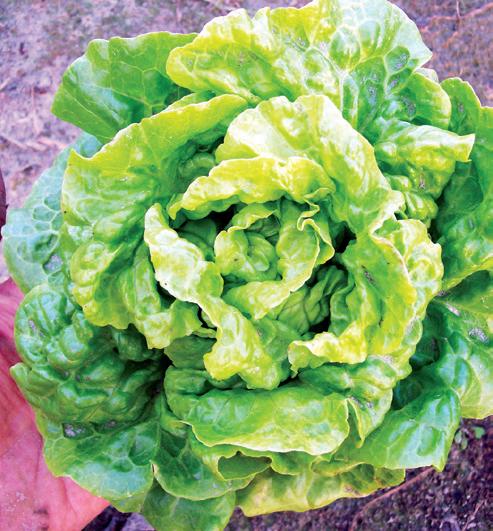
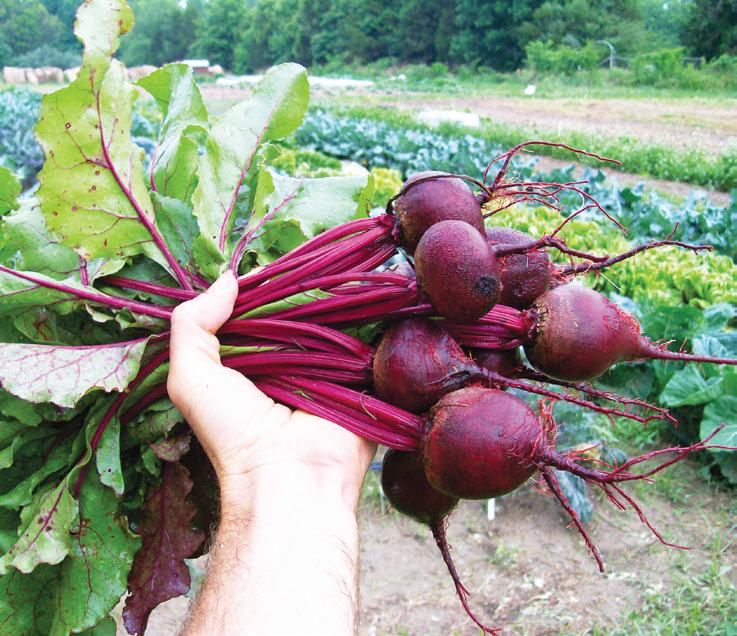
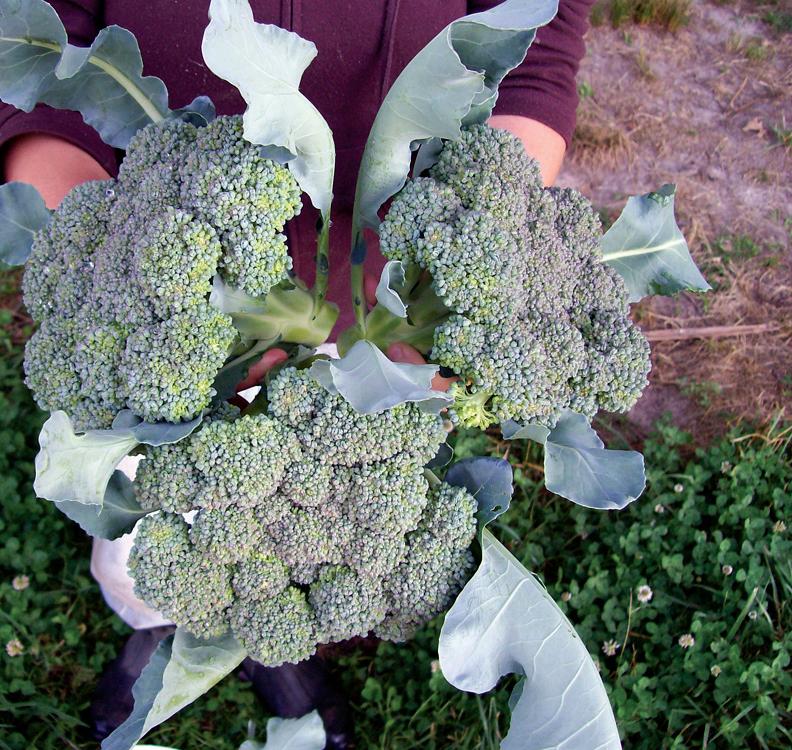
year-round with heirlooms proven to keep your kitchen stocked through good times and bad. At Southern Exposure, we specialize in avorful, regionally-adapted heirlooms, bred for productivity and resistance to disease. Explore our more than 700 vegetables, owers, herbs, grains, and cover crops. In the fall, perennial onion and garlic bulbs make easy over-wintering crops. In the spring, we o er certi ed organic seed potatoes and sweet potato slips. We collect stories as well as seeds. You’ll nd detailed growing guides, histories, and seed saving instructions in our Free Catalog & Garden Guide and online at SouthernExposure.com.
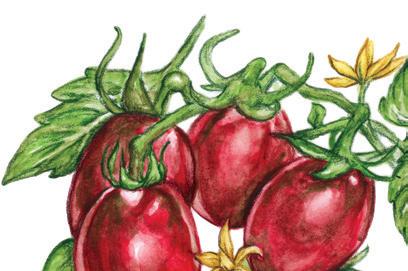
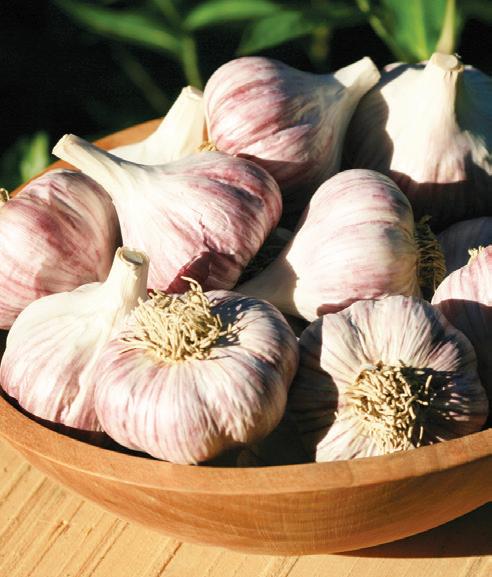
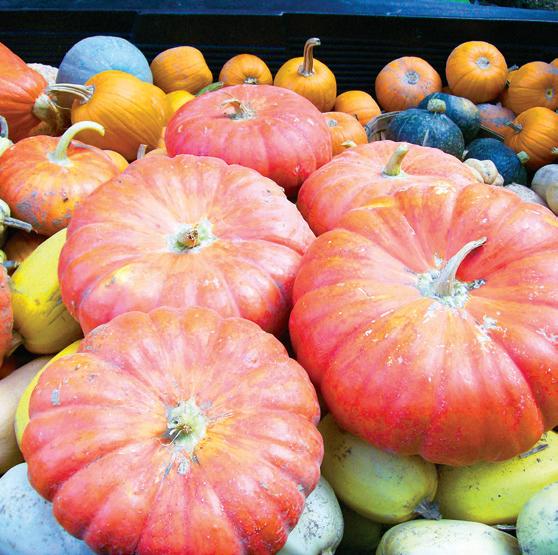
Free Catalog & Garden Guide www.SouthernExposure.com
organic • heirloom non-GMO
8EASY PROJECTS FOR INSTANT ENERGY SAVINGS


Implement these inexpensive strategies to reduce your carbon footprint and slash your energy bills. Spending $400 once could save you $900 per year!
By Gary Reysa
Cutting your home energy use is the best of win-win deals: It lessens your carbon footprint while simultaneously saving you big bucks on your energy bills. That’s especially exciting if you consider that many home energy improvements are fast and easy to do, and that they’re also inexpensive. Often the savings from an individual project will be small, but if you start putting them together, they add up quickly.
My family set a goal of halving our total energy use, energy costs, and greenhouse gas emissions, and we were able to meet that goal through this series of simple projects. We found these reductions in our energy use easy to accomplish without making any significant lifestyle changes.
The details: We decreased our total energy use from 93,000 kilowatt-hours (kwh) per year to 38,000 kwh per year. (We calculated the kwh equivalent for all energy sources, such as propane.) This saves us $4,500 per year in energy costs, and it has


reduced our carbon dioxide (CO2) emissions by 17 tons! Our rate of return on the money we invested in these efforts was more than 50 percent—tax-free.
Altogether, we took on 22 different projects, including two solar heating efforts that have also appeared in Mother Earth News (see “Solar Heating Plan for Any Home,” goo.gl/2Rq78J). You can find specifics about all of the projects we’ve done at our Montana home on my website, www.builditsolar.com, but the ones I’ll explain in the following pages are the fastest, most accessible of the lot. These eight DIY projects cost about $400 and will save at least $9,000 over the next 10 years!
(EDITOR’S NOTE: Numbers will be different in today’s market; this article was written in 2008, but the concepts continue to apply.)


Prioritizing the Projects

When you start scrutinizing any group of energy-saving projects, you’ll likely find a huge difference between them in


64 MOTHER EARTH NEWS • PREMIUM GUIDE TO LIVING ON LESS
The Top 8 Projects
terms of bang for your buck. In our case, the simple things— such as controlling the amount of power that our computers use and implementing basic insulating strategies—were the ones that resulted in especially good payback. On the other end of the spectrum, the solar photovoltaic project we intend to do in the future will cost as much as all 22 of our other projects combined, yet it will only account for 2.5 percent of the total energy reduction we’re aiming for.
Why was the total payback on these smaller-scale, simpler projects so good? These were the keys to our success:
• We dedicated time to doing quite a bit of homework before we got started. We evaluated each project for what it would cost us and what it would save us, and we threw out the ones that wouldn’t pay well.
• Some projects cost almost nothing but returned big savings— you can see on the chart above that several paid for themselves many times over within just the first year. Such projects tend to increase the average return of the overall effort.
• We are do-it-yourselfers, and this can make quite a difference in the costs involved in some projects.


• Some of our energy improvements qualified for rebates
or tax credits, which further reduced the amount of money we had to spend to do them.
Electricity, Coal Plants, and Greenhouse Gases
Beyond purely the monetary savings, there’s another important reason to undertake these energy-saving projects. Cutting down on electricity consumption is particularly effective in reducing greenhouse gas emissions. Unfortunately, in the United States, most of our electricity comes from inefficient coal plants. Coal is a high-carbon fuel, and, compared with other sources of energy, coal-fired plants produce a lot of carbon dioxide relative to the amount of energy they generate.
If you want to reduce your contribution to greenhouse gases, you’ll likely find many hundreds of kilowatt-hours that can be saved easily and cheaply with minimal lifestyle adjustment.
We get our electricity from a coal-fired plant, so all of the projects we did significantly reduce the amount of greenhouse gases we produce. Notice that the projects that saved electricity cut down greenhouse gases by about 2 pounds of carbon dioxide per 1 kwh of energy saved. For example, putting our two home computers on a power diet saved nearly 1,800 kwh per year and 3,500 pounds of greenhouse gases.

WWW.MOTHEREARTHNEWS COM 65
Initial Cost Savings Per Year Energy Reduction Per Year CO² Reduction Per Year Personal computer power management $27 $178 1,780 kwh 3,560 lbs. Install compact fluorescent light bulbs $50 $117 1,170 kwh 2,340 lbs. Seal and insulate heating ducts $45 $75 940 kwh 480 lbs. Reduce infiltration losses (seal home’s air leaks) $50 $156 1,980 kwh 1,010 lbs. Vent dryer inside during winter $5 to $20 $63 630 kwh 286 lbs. Insulate windows with Bubble Wrap $38 $75 960 kwh 490 lbs. Eliminate phantom electrical loads $70 $57 570 kwh 1,140 lbs. Use electric mattress pads $125 $186 2,320 kwh 1,150 lbs. Total $410 $907 10,350 kwh 10,456 lbs.
ISTOCK/MIKE CLARKE
1
Computer Power Management


Computers and all of their related equipment, such as printers and wireless routers, consume a lot of power. Together, our two computers and corresponding supplies used 270 watts whenever they were switched on, but we found there was an easy way to reduce this amount. We put all of the computer devices on a power strip so that at night we could turn off everything with one flip of the switch. We also started using the energy-saving settings on our computers. During the day, we have the computers set to hibernate if they are inactive for 15 minutes, and a hibernating computer stops consuming power. This saves a total of 1,780 kwh per year, 3,560 pounds of greenhouse gases, and $178 per year. Recently, we also started using a gadget from Hobbes Innovation called the Mini Power Minder, which automatically powers down all of our peripherals when the computer goes into hibernate. At only $22, it’s a bargain.
Initial cost $27
DIY labor 1 hour
Money savings/year $178
Energy reduction/year 1,780 kwh

CO² reduction/year 3,560 lbs.
Energy source Electricity
First-year return 890 percent

10-year savings $2,834
2Install Compact Fluorescent Light Bulbs


We decided to replace all of our existing incandescent lights with compact fluorescent light bulbs (CFLs). There is a much larger variety of CFLs out there now than there was even just a few years ago. You can find these bulbs for most situations, including for lights with dimmer switches or decorative bulbs. We spent about $50 on these new light bulbs after factoring in rebates from our utility. (Many utilities offer rebates on CFLs; be sure to check whether yours does.)
Initial cost $50
DIY labor 2 hours
Money savings/year $117
Energy reduction/year 1,170 kwh
CO² reduction/year 2,340 lbs.
Energy source Electricity
First-year return 234 percent
10-year savings $1,861
3

Seal and Insulate Heating Ducts
We sealed exposed heating duct joints with duct mastic and insulated all the ducts that were not already insulated in the attic and crawl space. There weren’t many in our home’s case, but it was still worth doing.
The cost to seal ducts is minimal—a tube of duct mastic costs about $6. The cost to insulate ducts is also low, at about 70 cents per linear foot of typical ducting. I figured the cost to insulate ducts was about $39 total, because most of my ducts were already insulated.
Unless you pay to have the ducts tested professionally before and after you insulate them, predicting the savings is a guess at best. Good sources say duct losses are typically high—on average, 15 to 30 percent of the heated air from the furnace is lost through cracks and openings at the duct joints. But in general, you can’t access a lot of the ducting running through walls on an existing house. I decided to focus my efforts on the ones I could get to in the attic, crawl space, and basement.

I estimated the fuel savings for my house at a conservative 3 percent. However, a man I know who has measured many duct systems after sealing them says he can get measured leakages down to 5 percent. In other words, this project made sense for my

66 MOTHER EARTH NEWS • PREMIUM GUIDE TO LIVING ON LESS per ear decided
All calculations on 10-year savings are based on an estimated 10-percent
in
year.
Adding insulation around ductwork is easy and inexpensive, and doing so can net big energy savings.
increase
the cost of energy per
home, and it may save you much more than the figures listed here, depending on how well-sealed your home already is. Just put it on your list of “must-do” tasks. It may not bring you huge savings, but it’s painless and cheap to do.
Initial cost $45
DIY labor 4 hours
Money savings/year $75
Energy reduction/year 940 kwh
CO² reduction/year 480 lbs.
Energy source Propane
First-year return 375 percent
10-year savings $1,195 4
Reduce Infiltration Losses (Seal Home’s Air Leaks)

Most homes have many places where air slips in and out, including around doors and windows, but especially around plumbing, wiring, and light fixtures penetrating into the attic or crawl space.
We decided to caulk around all of our windows, as well as seal wiring and plumbing penetrations from the living space to the attic. For this project, I bought a few tubes of caulking and some polyurethane foam in cans, which cost about $50 total.
You can find obvious air leaks yourself, as you’ll be able to feel the drafts, but you may be surprised at some of the places your home is losing heat. The best way to locate the less-obvious spots is through a professional inspection that includes a blower door test. If your utility offers this service, take advantage of it, and take every opportunity during the test to identify infiltration locations so you can fix them later.

As with sealing and insulating heating ducts, the savings associated with this project are hard to estimate unless you’re willing to pay for a professional test. I guessed that infiltration was cut down by 0.1 Air Change per Hour (ACH). That would amount to about a 10-percent reduction in air leaks for a typical house having a 1.0 ACH, or about 20 percent on a well-built and tight new house.

I estimate this reduction would be equal to 6,100,000 British thermal units (Btu)/year, which is equivalent to 73 gallons of propane burned in a 90-percent-efficient furnace, or 1,980 kwh. Again, the cost is so low and the potential savings are so high that this project is a must-do.
Initial cost $50
DIY labor 8 hours
Money savings/year $156


Energy reduction/year 1,980 kwh
CO² reduction 1,010 lbs.
Energy source Propane

First-year return 312 percent
10-year savings $2,485
5Vent Dryer Inside During Winter
We’ve started to route the clothes dryer heat vent to the inside of our house in winter. We live in a dry climate, so the added moisture is a benefit, not a problem. There are two major advantages to venting inside. First, you recover the heat that was added to dry the clothes (about 2.2 kwh per load). Second, you avoid bringing in cold outside air to make up for the air that the dryer is pushing outside. To vent to the inside, you need to have a dry climate, an electric (not gas) dryer, and a way to catch the lint in the dryer exit stream. The cost of this project was $20 for some tubing and a lint filter.
Caution: Gas dryers should never be vented inside, because toxic combustion products are present in the vented air. Electric dryers should only be vented inside if your climate is dry. Be alert for any moisture problems.
Initial cost $5 to $20
DIY labor 2 hours
Money savings/year $63
Energy reduction/year 630 kwh
CO² reduction/year 286 lbs.
Energy source Electricity
First-year return 315 percent
10-year savings $1,002
WWW.MOTHEREARTHNEWS COM 67
If you have an electric (not gas) dryer, you can fashion this homemade filter using pantyhose to vent the dryer indoors rather than outdoors, which will capture the otherwise wasted heat. CLOCKWISE FROM LEFT: GARY REYSA; ISTOCK/PHIL EARLEY; GARY REYSA; ISTOCK/CARLIN PHOTO
Insulate Windows With Bubble Wrap
This is a clever idea that comes from the greenhouse crowd. You can insulate windows using Bubble Wrap packing material by spraying a mist of water on the window and then applying Bubble Wrap. The Bubble Wrap will usually stay in place for the full season with one application. The Bubble Wrap will distort the view, but it does allow good daylight to come through, so it’s an excellent option for windows that you don’t need a view out of.
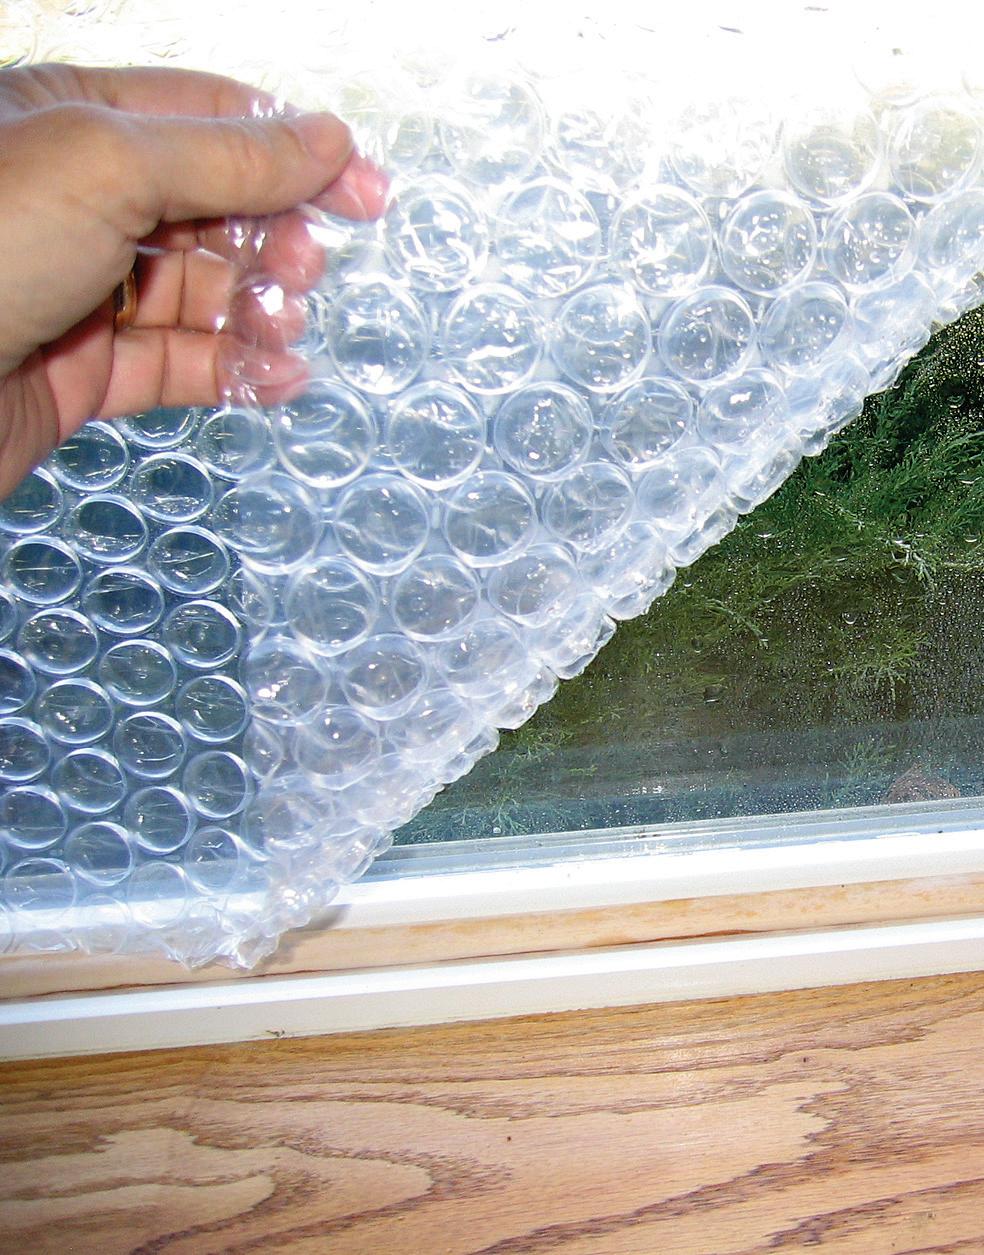
This energy-saving endeavor is remarkably cost-effective—payback is usually less than one heating season. At the end of winter, you can just pull off the Bubble Wrap, roll it up and save it for next year. If you need a lot of Bubble Wrap, find a dealer in packing materials (or a greenhouse supply place) to buy it from. You can get Bubble Wrap from shipping companies such as UPS, but their prices are much higher.
My cost was 27 cents per square foot for 141 square feet, for a total of $38. This is something you can do in a couple of hours and continue to use until you decide on a longer-term solution (should you ever need to).
Initial cost $38
DIY labor 1 hour
Money savings/year $75
Energy reduction/year 960 kwh
CO² reduction/year 490 lbs.
Energy source Propane
First-year return 197 percent
10-year savings $1,195

7
Eliminate Phantom Electrical Loads

I propose we lobby our representatives in Congress to have all electrical devices labeled with the amount of power they use when they are switched “off.” These “phantom loads” are relatively small, but they add up to considerable wasted electricity. For now, the easiest way to find out how much power your appliances and gadgets consume even when they’re off is with an inexpensive meter such as the Kill-A-Watt meter from P3 International. You plug the Kill-A-Watt into the wall, and then plug the device into the Kill-A-Watt. The meter measures power use and keeps totals for the time it’s plugged in. Other brands of meters work similarly; Watts Up? is another.

In my home, all of the phantom loads added up to a total of about 80 watts of power. That’s 700 kwh per year! With a power strip, you can completely turn off everything plugged into it by turning off the power strip. I used power strips to eliminate 20 of those 80 watts; the remaining 60 watts were the result of my fancy Dish HDTV receiver that always uses 60 watts. (Turning it off has no effect on its power consumption whatsoever.) The only cost for this project was a couple of power strips—about $20. I spent an additional $50 upgrading my satellite receiver. It still consumes power when it’s off, but only about 15 watts instead of 60.
Initial cost $70
DIY labor 4 hours
Money savings/year $57
Energy reduction/year 570 kwh
CO² reduction/year 1,140 lbs.
Energy source Electricity
First-year return 81 percent
10-year savings $907

68 MOTHER EARTH NEWS • PREMIUM GUIDE TO LIVING ON LESS
6
Most appliances use energy even when they’re turned off. By plugging multiple cords into a power strip, you can turn off all the devices completely with just one flip of the power strip’s switch.
Can’t afford new, energy-efficient windows? A few simple tweaks can make your existing windows notably more efficient, and one of the fastest and cheapest is to line windows with Bubble Wrap.
Use Electric Mattress Pads

Unlike that of electric blankets, power consumption for mattress pad heaters is pretty low (about 0.15 kwh per night). By using electric mattress pads to heat our beds, we’re able to keep the temperature of the rest of the house much lower overnight and still be comfortable. We have two furnaces in the house, but since putting in the electric mattress pad heaters, we’ve been able to turn off the furnace that heats the bedrooms. The savings in propane are considerable, and the comfort is outstanding.
Others have reported being able to do the same thing with good down comforters and the like, but we’ve tried that, and it didn’t work nearly as well. Mattress pad heaters vary in price, but ours was $125. The dollar savings came to $186 per year.
Initial cost $125
DIY labor 0 hours
Money savings/year $186
Energy reduction/year 2,320 kwh
CO² reduction/year 1,150 lbs.
Energy source Propane
First-year return 148 percent
10-year savings $2,963


Gary Reysa is an accomplished do-it-yourselfer who has tackled dozens of home energy projects, large and small. This article was adapted from material on his website, www.builditsolar.com, where you can find many more ideas for saving energy at home.
Your Next 8 Home Energy Projects
Ready to dive into more home improvement projects? The eight projects featured in this article are those that yield big savings the most quickly, but the eight projects below will also return substantial savings over time. Here are the costs and savings author Gary Reysa found after putting these additional eight strategies into action in his home. Read more about each project at www.builditsolar.com.
WWW.MOTHEREARTHNEWS COM 69
8
Keep your bed warm with an electric mattress pad so you can turn down the thermostat and still enjoy cozy slumber.
Project Initial Cost Savings Per Year Energy Reduction Per Year CO² Reduction Per Year Add more attic insulation $256 $126 1,593 kwh 812 lbs. Add more crawl space insulation $210 $86 1,094 kwh 558 lbs. Buy a new, efficient clothes washer $400 $35 350 kwh 700 lbs. Buy a new, efficient refrigerator $800 $72 720 kwh 1,440 lbs. Install a storm door $200 $17 216 kwh 100 lbs. Install storm windows $450 $220 2,700 kwh 1,100 lbs. Install thermal shades $1,086 $258 3,159 kwh 1,525 lbs. Remember to turn everything off! $0 $44 438 kwh 876 lbs. Total $3,402 $858 10,270 kwh 7,111 lbs.
CLOCKWISE FROM LEFT: GARY REYSA (2); PENNY: ISTOCK/SKIP O’DONNELL; GARY REYSA; CASH: ISTOCK/SKIP O’DONNELL
Plan Your Own Projects
When we at www.builditsolar.com started our series of home improvement projects geared toward saving energy, our goal was to cut our power usage and greenhouse gas emissions in half. We were amazed at how easy it was—and how much money we saved.
Houses and living situations differ, so if you’d like to tackle your own plan, you may need to choose a different list of projects. Here are some tips to get you started.
1Make a full list of projects that would reduce your energy use.
Build a big list of candidates to choose from. You can see the list of all of the projects we did to slash our home energy consumption at goo.gl/6GekwY.
These are some other helpful resources:
• EERE Energy Saver Guide: goo.gl/4Ba5vi


• Home Energy Saver: goo.gl/wgFDC


• Energy Star: www.energystar.gov


• Rocky Mountain Institute: www.rmi.org
2 Eliminate projects that aren’t feasible for your residence or situation.
Some projects will be impossible for your home or circumstances—throw those out. You may want to put some projects that look like a big stretch on a separate list to be looked at later.
3 Evaluate each project: Estimate the cost, energy savings, and greenhouse gas reduction.
For each project on your list, do your best to come up with at least a rough idea of what it would cost and what kind of energy savings it would achieve.
In the project descriptions for everything we did, I’ve included how we estimated the cost, energy savings, and greenhouse gas reduction, and these details may prove helpful for any similar projects you choose to tackle. Find this information at goo.gl/XxefXN.

4 Make a master list of projects you intend to do over time.
Using the results of your evaluations from Step 3, weed out the projects that don’t seem worth it. This should leave you with a solid list of projects that makes sense for your situation, economics, and the planet.


5 Sequence the projects. Put them in the order you want to do them.
All things being equal, you may as well do the projects that will save the most money first. There are other factors to consider, though, such as projects that may interfere with others if done too early. For example, sealing up electrical and plumbing penetrations from the
living space into the attic will be difficult if you have to wade through 18 inches of loose-fill insulation you just added. Also, your budget may require putting off some of the pricey projects until later, or you may just be more interested in some projects than you are in others.
6 Do them! Have fun, keep track of your progress, and be proud of the results.
Keep your utility bills so you can see the progress you’re making. The bills will also be helpful if you sell your house and want to show its improved energy efficiency.
Here are a few other resources to keep in mind: If you are doing the insulating and weatherizing projects yourself, then the book Insulate and Weatherize by Bruce Harley is well worth the price.
There is also a nice collection of helpful how-to guides and descriptive plans mixed into these pages of www.builditsolar.com: goo. gl/mJ9ka and goo.gl/JhRFw.
— Gary Reysa
70 MOTHER EARTH NEWS • PREMIUM GUIDE TO LIVING ON LESS
ISTOCK/DUNCAN WALKER

F rom seaside getaways to mountain retreats, the Pacific Yurt goes where you want to be. • Comfortable • Affordable • Easy to Set Up • Eco Friendly Call today 1.800.944 .0240 yurts.com Design and price your yurt at The Original Modern YurtTM
TRADITIONAL HEARTH BROOM Craft a
Learn the nearly lost American art of broom-making.
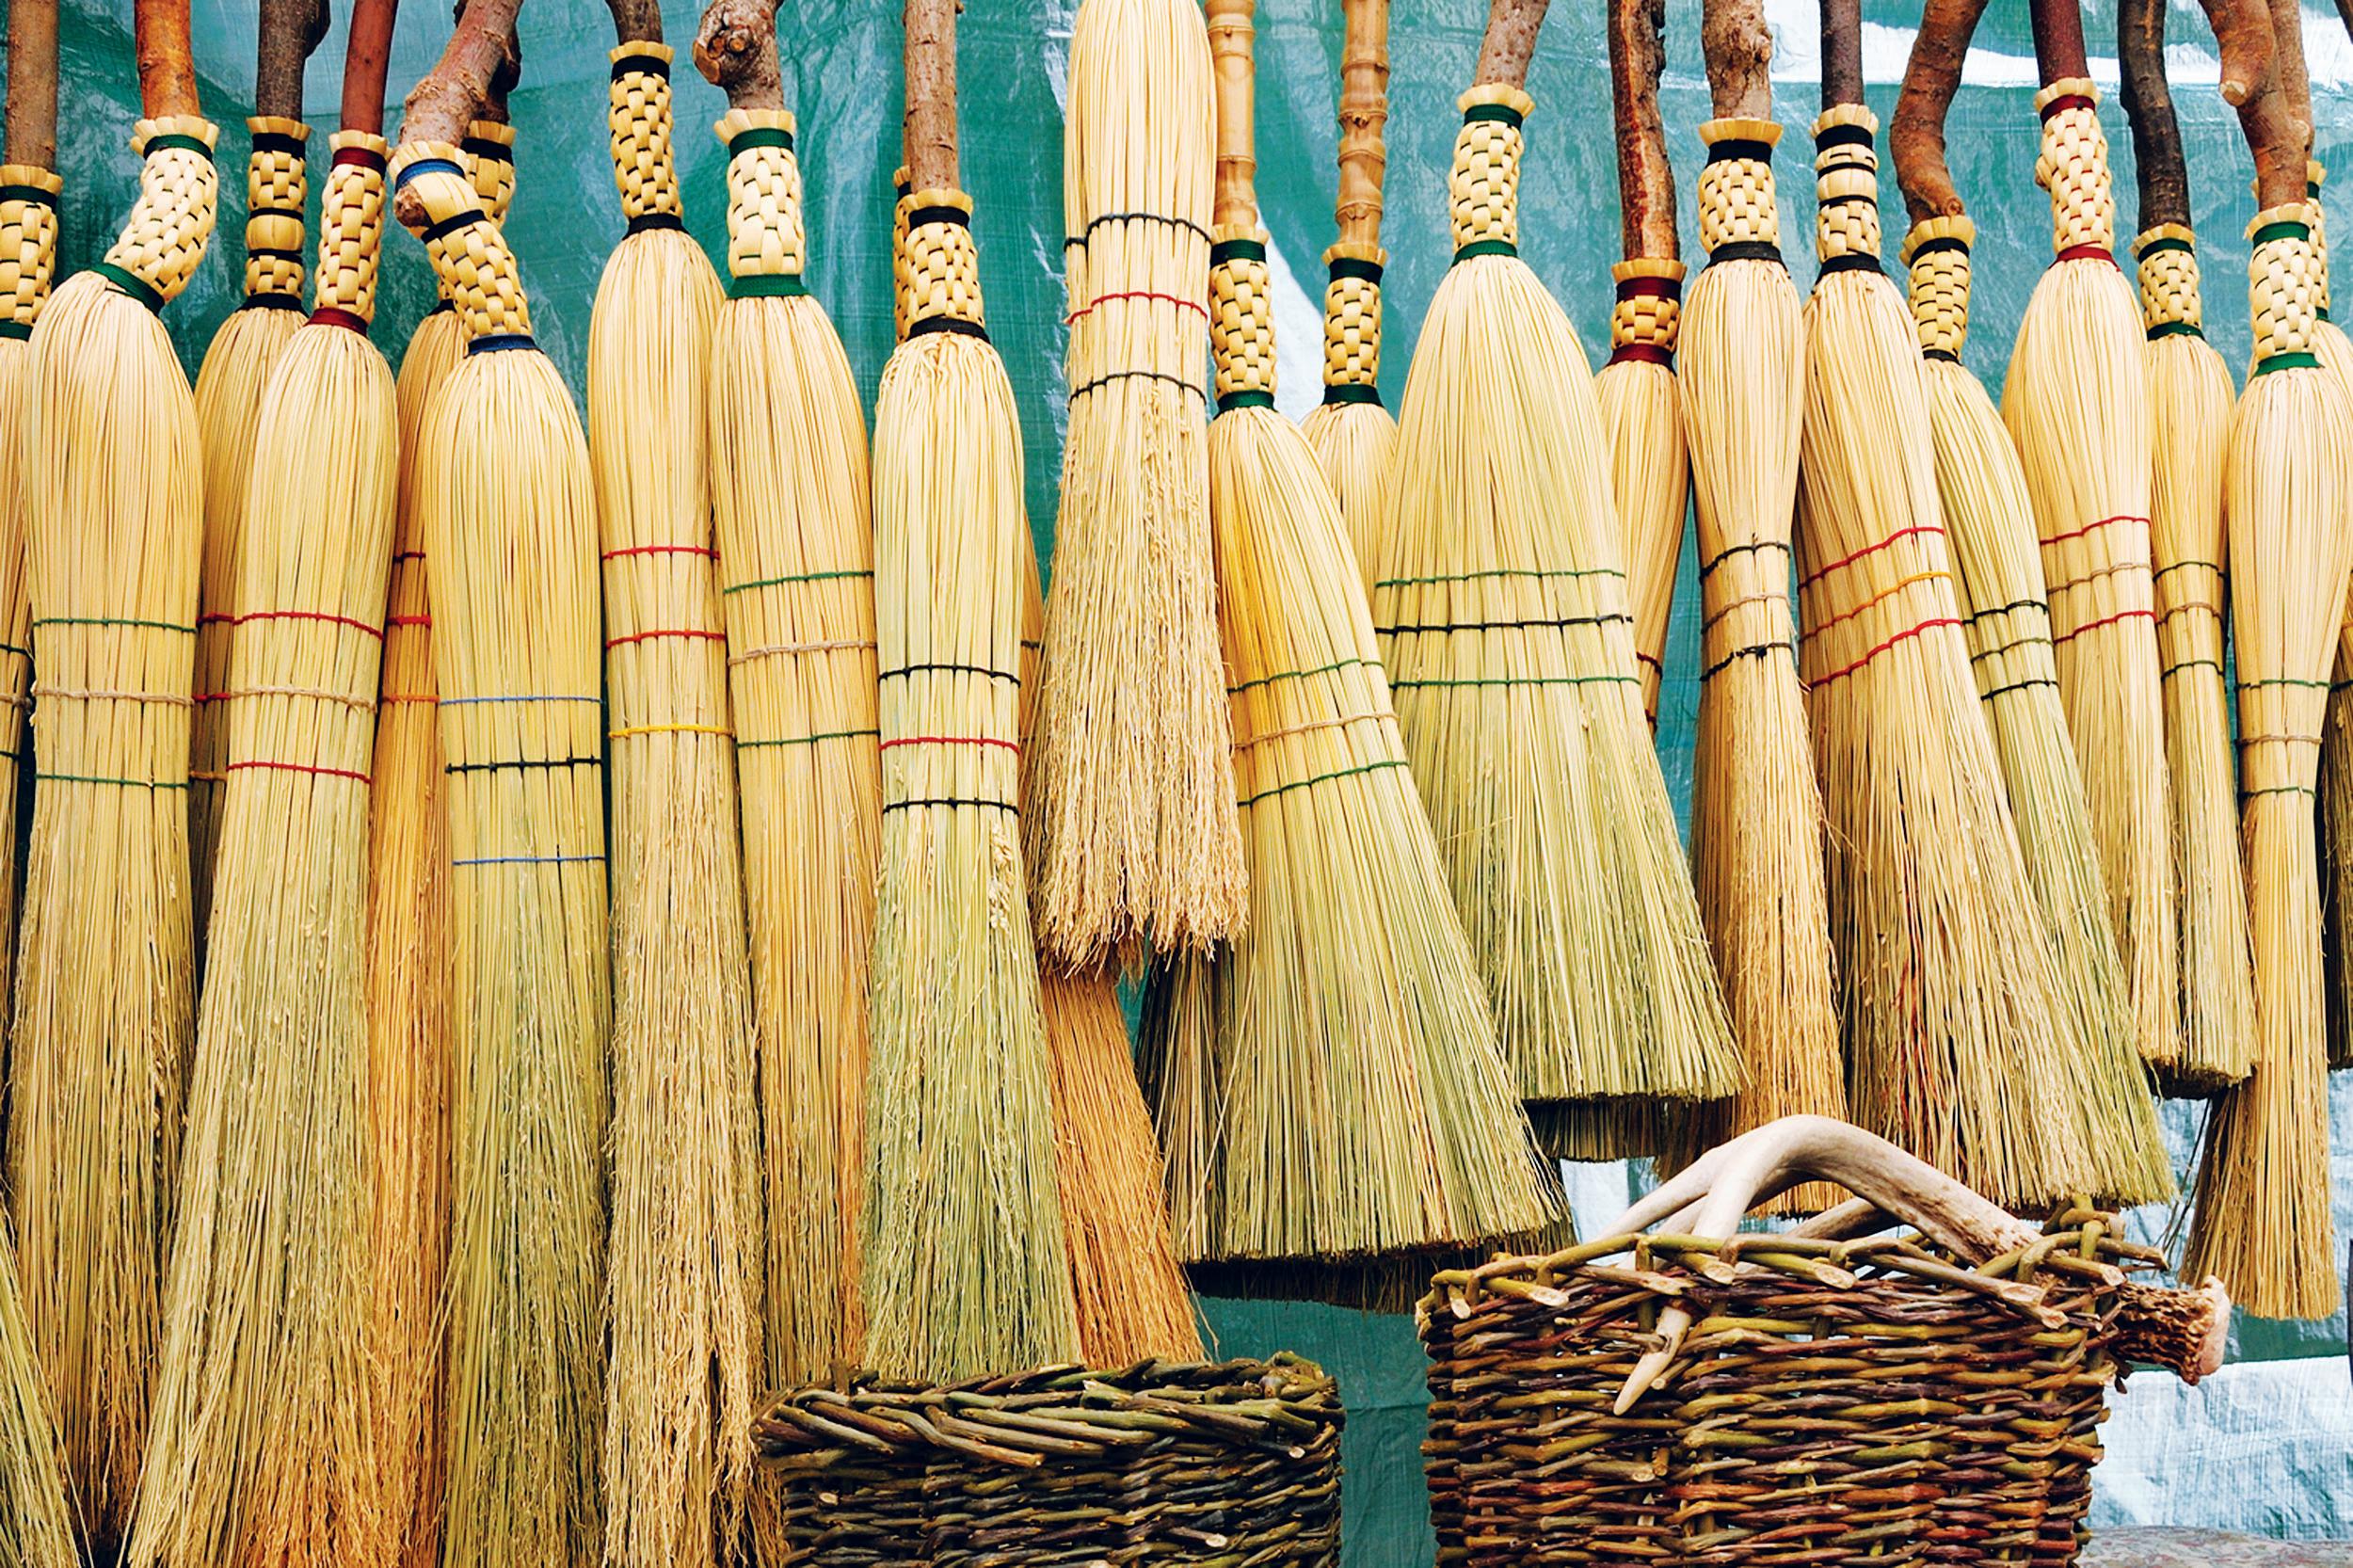
Article and step-by-step photos by John Holzwart
Sweeping with a handmade broom can connect you with the long history of brooms made out of natural materials, from improvised brooms crafted from broken branches to rural artworks featuring decorative stitches.
I’ve been making brooms for several years, and one of the most common questions I hear while demonstrating my craft is, “What plant material is used for the bristles?” The answer is broom corn ( Sorghum bicolor , also


called Sorghum vulgare ), which is a variant of the sorghum grown for sorghum molasses.


Broom corn is an annual and looks like sweet corn from a distance. Upon close examination, however, you’ll notice there are no cobs along the stalk—just a large tassel on top with a swollen knuckle at the intersection with the stalk.
That tassel is what you’ll need for making brooms. You can also use other natural materials, but in this article I’ll focus on how to make a traditional corn hearth broom.
72 MOTHER EARTH NEWS • PREMIUM GUIDE TO LIVING ON LESS
BOB CERELLI
If you have a green thumb, growing your own broom corn can be part of your broom-making journey (see “All About Growing Sorghum” on Page 74). If not, consider ordering it from a supplier, such as Caddy Supply Co. You should be able to find the other materials and tools at local craft and hardware stores.
Materials
• 2 to 3 pounds of broom corn (about 45 heads)
Split the stalks on the pieces for the outer layer, removing half the material (see photo, above right). Straight, unblemished material looks best on the outer layer of the finished broom. Next, submerge the cut stalks in a bucket of hot water for at least 15 minutes.
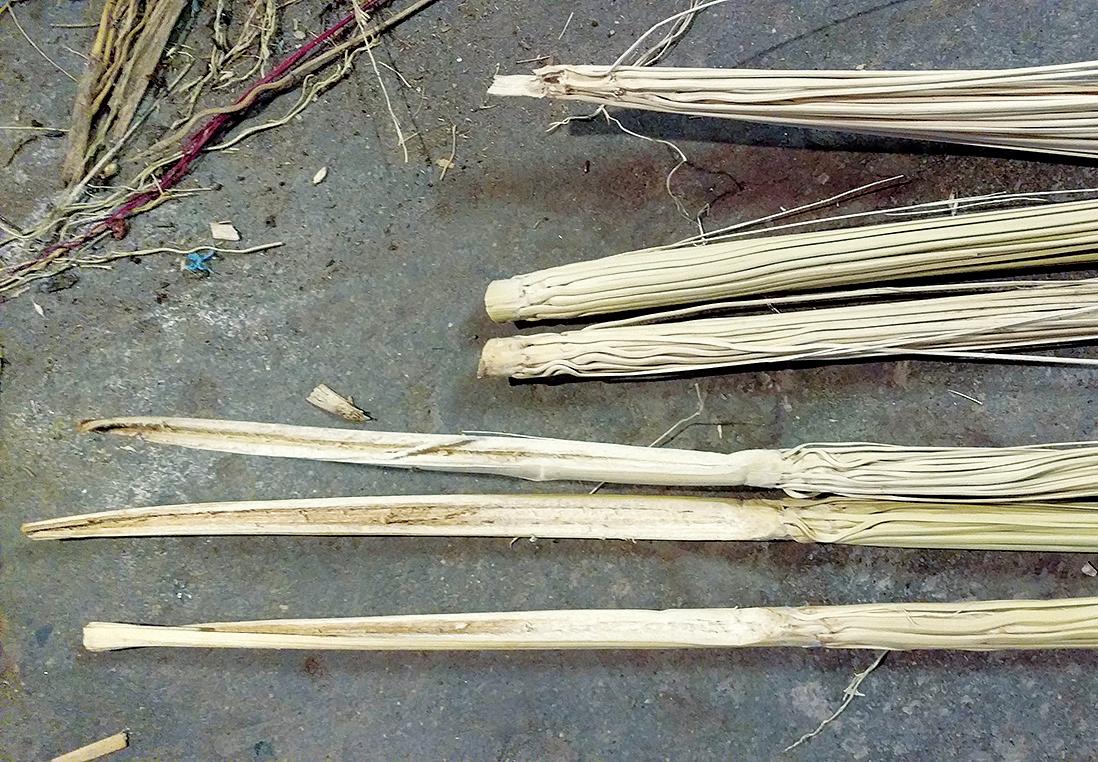
Getting Started
To make a hearth broom, you’ll need about 28 heads of broom corn for the inside and 17 heads for the outside, with the seeds removed. Measure each head with a cubit—the distance from your elbow to the tip of your longest finger. Put the corn’s “knuckle” (the point between the tassel and the stalk) at your elbow, with the tassel pointing toward your fingers.
• Nylon cord, No. 18 or larger

• 20-pound waxed hemp string
• Wooden handle
Tools
• Scissors
• Knife
• Drill
• Tensioning apparatus
• Large needle
• Sewing clamp
While the broom corn is soaking, you can prepare the handle. You can order commercial dowel handles from a supplier, but I prefer to go the rustic route and use a stick with the bark left on. After I collect my handles, I cut them to length—18 inches for a hearth broom—and then cure them for at least six months.
• Lighter
If the bristles are past the tips of your fingers, it’s a keeper. If the material is too short, you can use it for a whisk broom later. Cut off most of the stalk on the heads for the inner layers, leaving a few inches, and trim the stalks for the outer layer to six inches.
If any shrinkage, cracking, or peeling occurs during the curing period, reject those sticks. After a stick has cured and seems structurally sound, it’ll be ready to prepare for a broom. Sharpen one end with a hatchet or a knife, and drill a hole just above the taper you created; this will be for anchoring the string you’ll use to attach the broom corn.
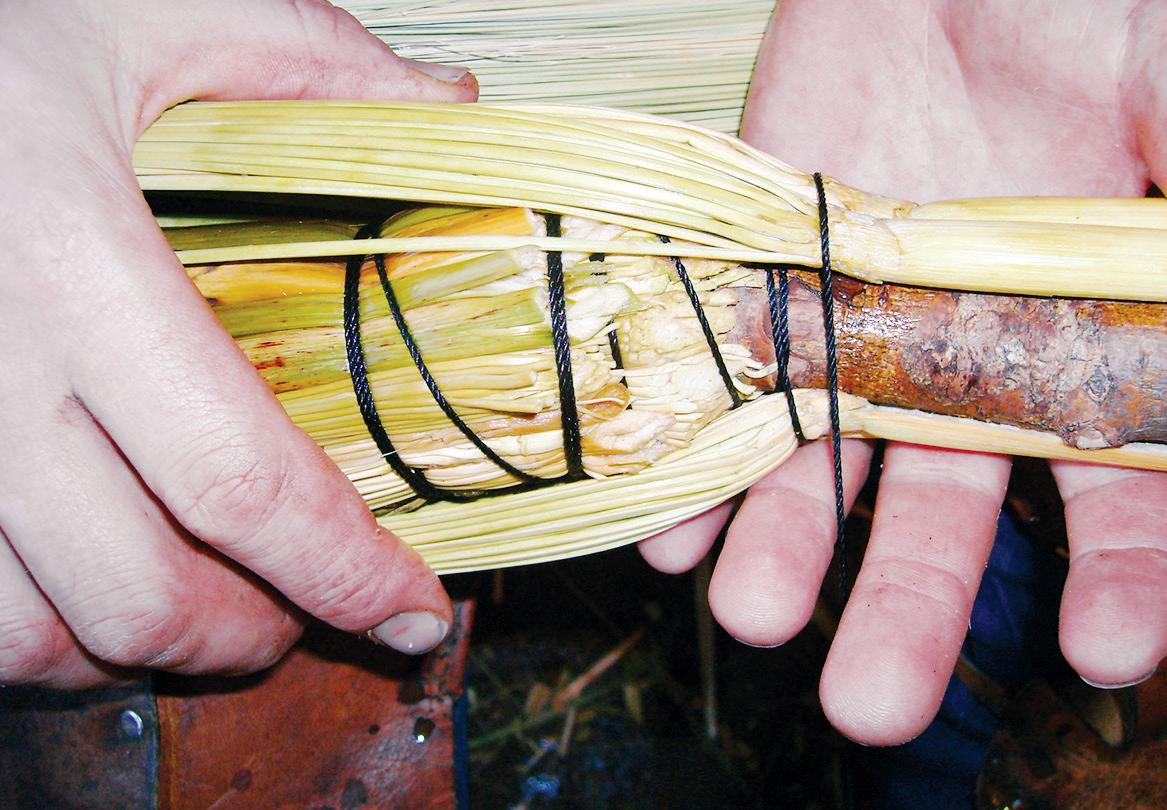


WWW.MOTHEREARTHNEWS COM 73
You won’t need many tools to make your own brooms.
1 Trim the inner layers at an angle tapering toward the handle, being careful not to cut the cord anchoring them.
2 Keep tension on the cord as you add each new head of broom corn, and snug them up to each other.
Examples of correctly cut bristles: inner at top, and outer at bottom.
I recommend nylon cord for tying brooms because it’s sturdy enough for the job and comes in attractive colors. You can also use mason’s line, although finding appealing colors may be challenging. Outfitting and camping stores often carry nylon cord for anchoring duck decoys,
All About Growing Sorghum
One of the most versatile members of the grass family, sorghum (Sorghum bicolor) can be grown for grain, crafting, and processing into sorghum syrup. Appropriate sorghum cultivars must be chosen for each use, but all types are as easy to grow as corn.
Sorghum grows best where summers are quite warm, with daytime temperatures regularly topping 90 degrees Fahrenheit.
Sandy soils in warm climates are especially good for growing sorghum because it withstands drought and flooding better than corn does.
Broom corn is a type of sorghum that holds its seeds on sturdy straws, perfect for trimming into brooms. The ornamental tops can also be used in dried arrangements.


Broom corn cultivars vary in the color of the seeds, which may be black, red, orange, or white. The seeds are eagerly eaten by chickens and other animals, and are most palatable when cracked.
Planting. There’s no rush to plant sorghum, which needs warm soil to germinate and grow. Even in warm climates, sorghum is customarily planted in late May or early June.
and local craft stores will have macramé cord, which also works well.
Before you begin tying your broom, you’ll need to wrap your cord around whatever apparatus you plan to use to create tension while tying the broom.
Prepare soil much as you would for corn, and be sure to mix a balanced organic fertilizer into the bed or row before planting. Unlike corn, sorghum is self-fertile, so a large plot isn’t needed for pollination purposes. Sow seeds
1⁄2 inch deep and 4 inches apart, and


thin to 8 inches apart when the seedlings are 4 inches tall.
Growing. Keep weeds under control until developing sorghum plants are big enough to dominate their space. Six weeks after planting, drench sorghum with an organic, high-nitrogen liquid fertilizer to invigorate new growth. Many grain sorghum cultivars grow to only 5 feet tall, but sweet sorghum and broom corn plants can top 8 feet.
Harvesting and storage. Like corn, grains of sorghum go through an immature “milk” stage, when a pierced kernel will bleed a milk-like juice. Sweet sorghum is harvested about two weeks after the milk stage; grain sorghum and broom corn are harvested later, after the seeds are fully mature, with hard glossy seed coats.
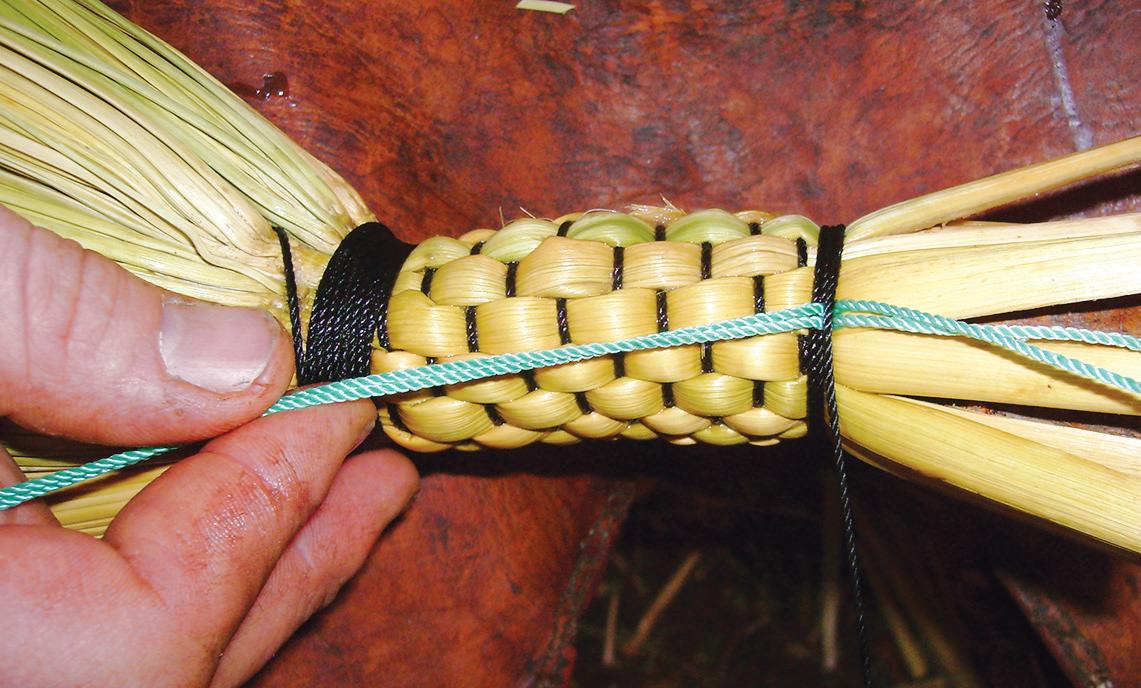
When the seeds of broom corn are hard and the plants begin to fail, cut stalks as long as you want them for decorating or crafting purposes. Allow the stalks to dry in small bunches.
Propagating. In summer, select vigorous plants for seed production, and make sure they receive adequate food and water throughout the season. In fall, during a period of dry weather, select the largest seeds produced by these plants and save them for replanting.
— Barbara Pleasant
74 MOTHER EARTH NEWS • PREMIUM GUIDE TO LIVING ON LESS
3 Wind a tight band of cord just below the knuckles of the outermost layer of corn before you add the decorative plaiting.
4 The turquoise cord shown here is a tool; use it to pull the tail end of the main cord under the last few wraps to anchor it.
SIDEBAR: GETTY IMAGES/BRONWYN8
Though grain sorghums are short, broom corn can easily reach a towering 8 feet of height—or more!
I make and use something I call a “foot spinner,” which is a horizontal bar with “feet” attached to hold the string off the ground (see photo, Page 73). You can easily construct your own foot spinner with a few pieces of scrap wood and some deck screws. Or, you can use a simple stick, but if you do so, the string for your broom will rub on the ground.
Always pay attention to posture while making a broom, and let some slack out from the spinner regularly. It’s really easy to forget to let slack out, and before you know it, you’ll be slouched over, working at your feet!
Attaching the Bristles
You’ll be building up the center of the broom one head at a time, using the soaked pieces you prepared earlier. Pass your cord through the hole you drilled in the handle and tie it securely—you’ll have to tug pretty hard to anchor the broom corn. Place one head so the cord passes just to the bristle side of the knuckle. Secure it with a tug on the cord, and then add the next head, working around the handle.
When you complete the first layer, build a second layer right on top of it, remembering to keep tension on the cord so the center of your broom is firm. Don’t worry if you have pieces left over! It’s better to have too much broom material than not enough.
Next, tie the outside layer. First, trim the stalks from the previous two layers, tapering the material toward the handle (Photo 1, Page 73). Be careful not to cut the cord. Spiral the cord up to the handle, and begin adding the outer layer of broom corn. Place the pith side of the split outer-layer stalks against the inner layers, so the smooth outer surface faces you. Just like the other layers, place the heads one at a time, and always be sure to keep a lot of tension on the cord as you add them. The string should compress the material (Photo 2, Page 73).

When the outer layer of broom corn has been placed all the way around the broom, wind the cord around the broom
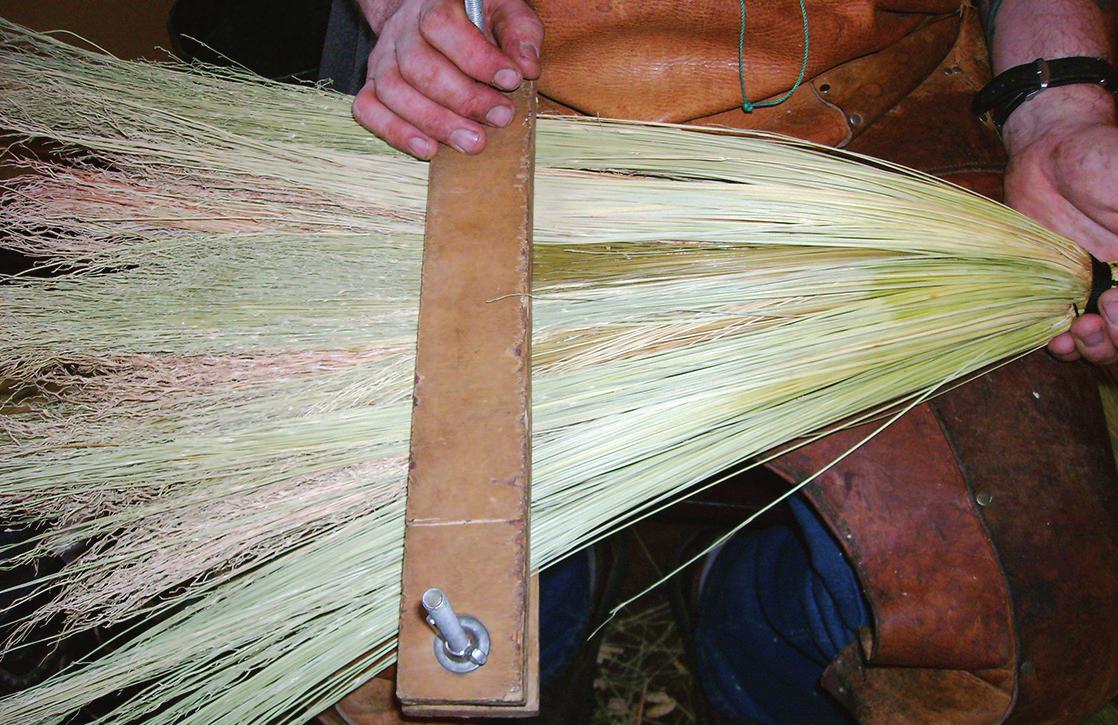
at least eight times, making a wide band over the stalks of corn. That nice, thick band of cord should be like a Victorian corset, squeezing the material onto the handle (Photo 3, Page 74).
RESOURCES

BROOM CORN AND SUPPLIES
Caddy Supply Company

www.caddysupply.com
SEED
Johnny’s Selected Seeds
www.johnnyseeds.com
Baker Creek Heirloom Seeds
www.rareseeds.com
COMMUNITY
For endless tips, check out the Yahoo broom-makers group at goo.gl/A9q8oW.
The next step is the optional decorative plaiting of the stalks, which I think makes the broom much more attractive. You can omit this step by spiraling the cord up the stalks and making a band at the top just like the band you made at the base. If, like most of my students, you’d rather plait the stalks, first count your stalks to make sure there’s an odd number. If you have an even number, simply split the thickest stalk in half with a knife or thumbnail to create an extra stalk.
Once you have an odd number of stalks, wind the cord alternately over and under each one, spiraling up the stalks as you go. Make another thick band of cord at the top of the stalks, leaving about 1⁄2 inch of stalk free above the cord.
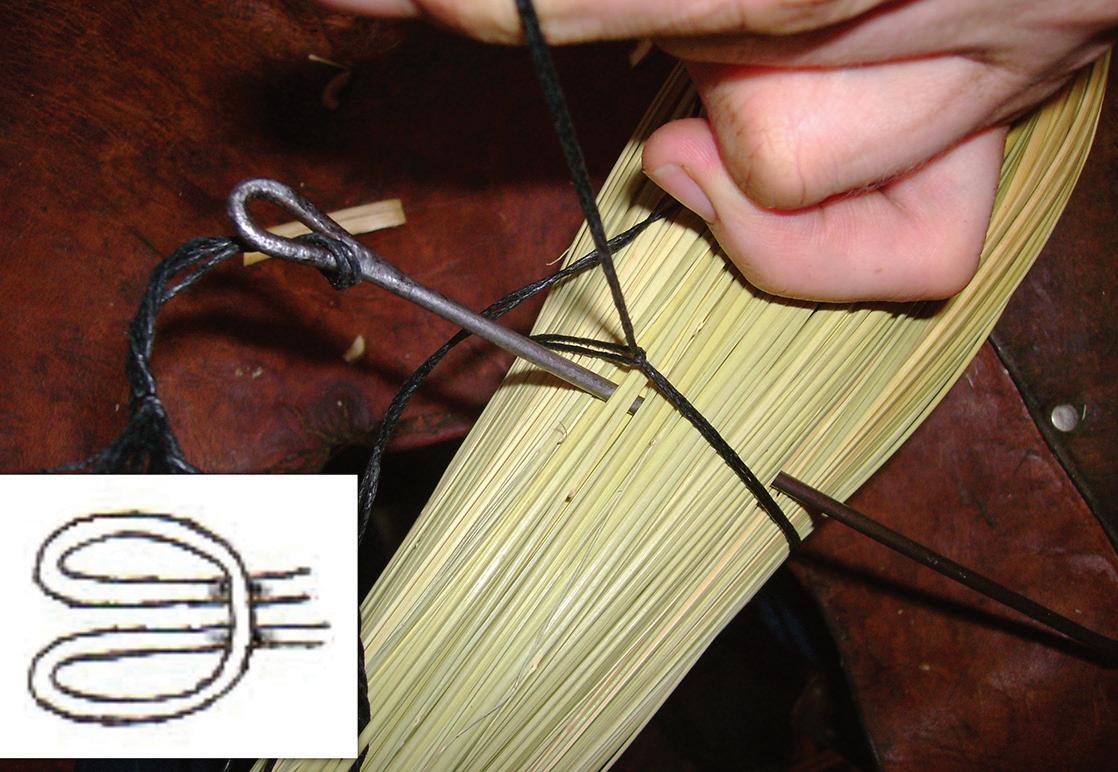
WWW.MOTHEREARTHNEWS COM 75
5 Clamp the ends of the bristles in a neat, flat layer with your sewing clamp before you begin stitching.
6 Make a large lark’s head knot around the entire broom to begin stitching. It should be just snug enough to stay in place as you work.
7 Pass the needle back across the width of the broom after you finish your first row of stitching, to anchor the tails before cutting the cord.
You’ll need to anchor the end of the working cord in this band, so after two wraps, cut another short piece of cord and lay a loop over your working cord (Photo 4, Page 74). Finish winding, and anchor the cord with your thumb.
Cut the cord a few inches past your thumb, pass the end through the loop you added, and use the free ends of the loop (now dangling below the band) to pull the end of your working cord down, under the existing wraps. This is often called a “blind knot,” and is also how you can whip the end of a rope to keep it from fraying.
Speaking of fraying, you’ll now have a frayed cord hanging from your broom. Cut the tail to approximately 1 ⁄ 8 inch long and singe it with a lighter. The broom will look like it’s having a bad hair day! At this point, you’ll need the waxed hemp cord, which comes in a variety of colors—the wax will help the cord hold your broom in shape.
Stitching and Finishing
Arrange the bristles in the sewing clamp and tighten it down (Photo 5, Page 75). This will keep the bristles in place while you sew them. I measure my string by holding the spool at my waist and making three pulls out from my bellybutton. Cut the string, fold it in half, and then wrap it around the broom once, pulling the two ends through the loop to form a lark’s head knot around the entire broom, about seven inches from the bottom band of cord (Photo 6, Page 75). The knot should be snug enough to stay put, but not so tight that it deforms the broom—you’ll want the bristles to stay nice and flat as you stitch.
Next, thread your needle with both tails of the string. I use an 8-inch needle a blacksmith friend made for me to stitch my brooms, but you could use a packing needle. To anchor the lark’s head knot, make your first stitch where the strings come together at the side of the broom. Then, proceed with a lock stitch. There are plenty of options, but the stitch I use has the tails of the string passing together over and under the loop created by the lark’s head knot.
Insert the needle below the horizontal string on the front of the broom, angled to emerge above the horizontal string on the back. Pull the string through, and repeat from the back to complete one stitch. Then, angle the needle to pass below the horizontal string on the front and emerge above the horizontal string on the back, slightly further down the face of the broom. Repeat the under-over stitch from back
to front to complete the second stitch, and continue down the face of the broom. Be consistent as you stitch because changing the order of the steps or the spacing of the stitches will look sloppy (Photo 7, Page 75).
To complete a row of stitching, run your needle all the way through the broom the long way. Cut your strings flush and start a new row. I usually stitch my brooms three times, spacing the rows two fingers’ width apart, or about an inch and a half.

To finish, cut the bottom of the broom flat, and drill a hole at the top of the handle. Thread a leather strip or a piece of jute cord through the hole, and hang the new broom up so you can enjoy its beauty when it’s not in use. This will also extend the broom’s life; if the broom rests on its bristles, they’ll bend and eventually break. The better you care for your broom, the longer it will last. Happy sweeping!
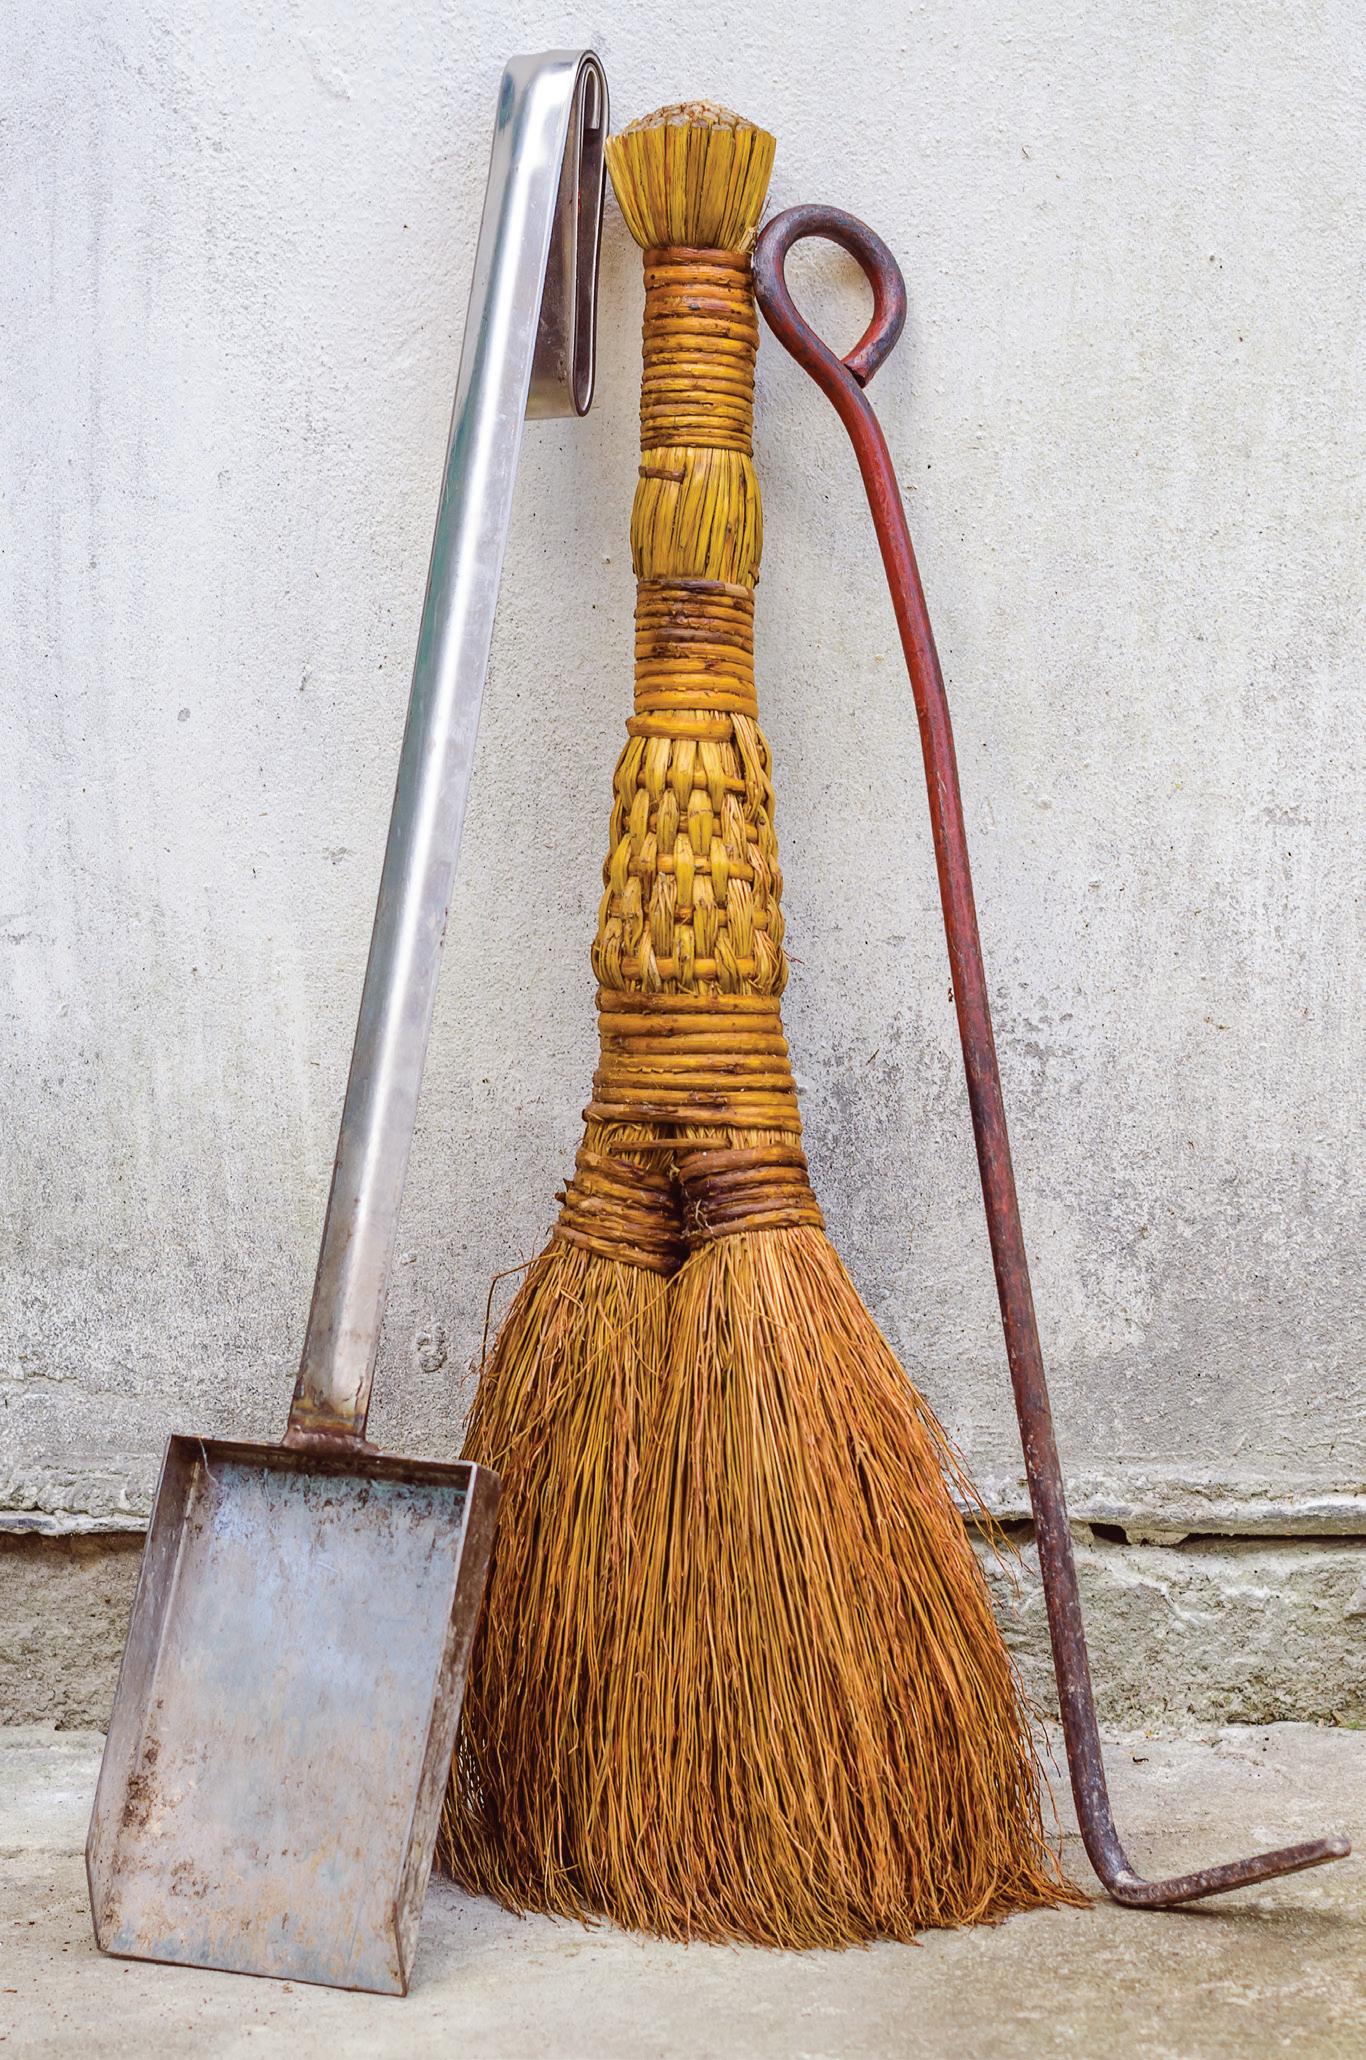
76 MOTHER EARTH NEWS • PREMIUM GUIDE TO LIVING ON LESS
GETTY IMAGES/DESKOUL
Sorghum’s sturdy straws make excellent material for crafting brooms.
CORDAGE How to Create Natural Thread


Extract fibers from plants to make your own strong, sustainable string.

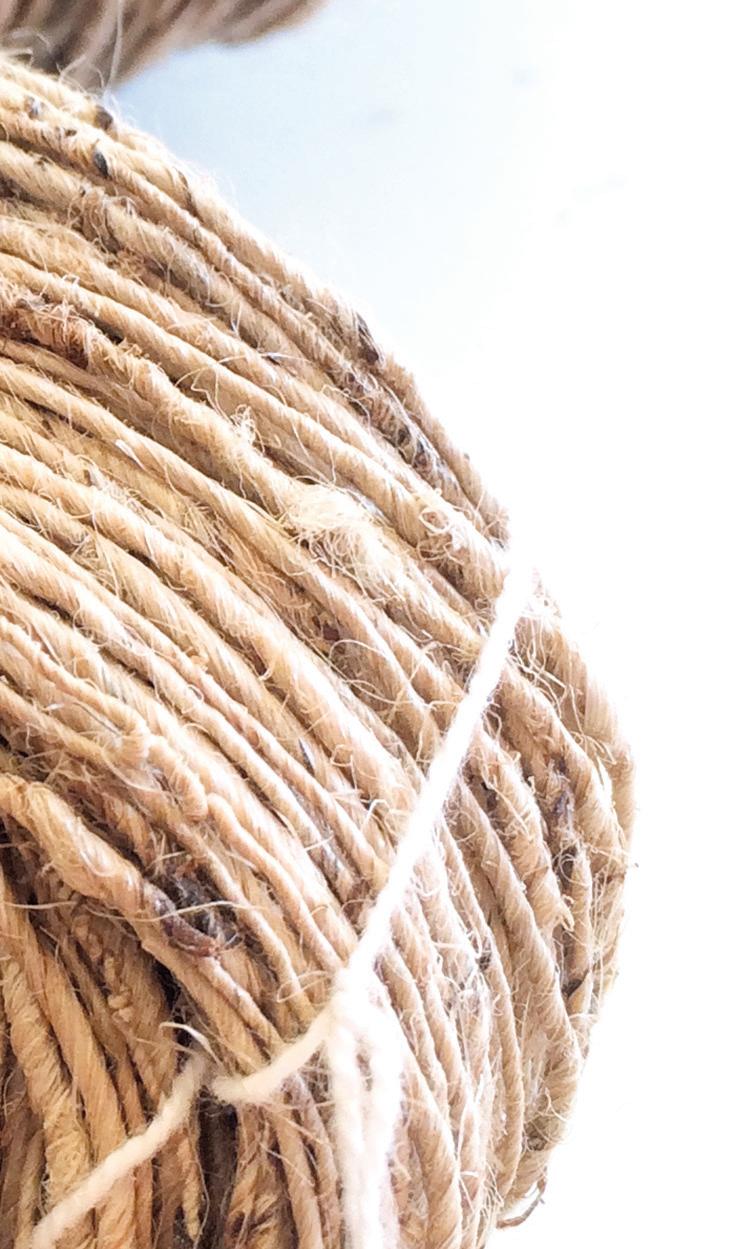
 By Filip Tkaczyk, Alderleaf Wilderness College
Making cordage is a fundamental survival skill that should not be overlooked. Such natural rope or string can be used as many things, including snares and fishing lines, lashing in shelter construction, and thread for repairing or creating clothing. It can be made out of various materials, including the fibers of various wildflowers, the inner fibers of yucca or agave, the inner bark of some trees, and the sinew of large game animals. Of the variety of assembly techniques, one of the most common is the reverse wrap, which is the focus of this article.
Select a Species
It’s great to start making natural cord with common local species from your area. Some of the most common species that are useful for making cordage include:


• Stinging nettle (Urtica dioica): fibers inside stalk
• Milkweed (Asclepias spp.): fibers inside stalk
• Dogbane (Apocynum cannabinum): fibers inside stalk
• Yucca (Yucca spp.): fibers inside leaves


• Agave (Agave spp.): fibers inside leaves
• Basswood (Tilia spp.): inner bark


• Western red cedar (Thuja plicata): inner bark


Look for these—especially the first three—in your area, and practice with them.
To harvest for the best cordage, collect the plants at the end of the growing season. For instance, if you choose to make cordage out of stinging nettle, collect them at the end of the summer when they’re going to seed. Strip off the seeds and drop them so the nettle stand will keep growing thickly in the future. Allowing a plant to regenerate is a good ethical practice with any wild plant you harvest.
Cut the stems close to the ground and tie them into a bundle. Dry the bundle by hanging it up in a cool, dry place. You can use the leaves as a tea or as mulch.
Hang the bundles just long enough to allow them to dry out completely, so that they’re crispy when you break them.
WWW.MOTHEREARTHNEWS COM 77
Processing: Pounding & Peeling
Next, get as many fine fibers out of the plant as possible. After your bundles have dried, take them down and begin processing them. (There are faster ways to process nettle than the one I’m about to describe, but those methods are less thorough.)

First, take a single stalk and place it on a hard surface, such as a smooth rock or piece of board. Take a heavy branch or smooth rock and gently pound the full length of the stalk. Take a little more time pounding the stalk at each joint, as the joints have the thickest woody sections.
After you’re done pounding, take the stalk in your hands and run your thumbnail or a knife as far down the inside of the stem as you can. If you do this part correctly, you should be able to peel the stalk so it folds open like a book.
Take the open stalk and grasp it with your hand so that 1 to 2 inches protrude beyond your palm. Next, fold that protruding part over and then back again. As you do this, the woody portion of the stalk should start to peel away from the softer fibrous portion. Move the stalk backward and forward until the woody portion separates from the fibers. Be careful to pick as many of the woody pieces as you can out of the fibers, because this will save you more work later.
Continue this process as far down the stem as the plant and your skill allows. Remember to take special care around each joint or node, as this is where you’re most likely to lose significant amounts of fiber.
Processing: Buff Until Fluffy
Buffing is the process of further refining the material so you can remove more of the woody, splinter-like bits. If the material is dry, you can often buff by rubbing the strands of fiber vigorously between your hands. With some persistent buffing, the fibers should start to separate and appear fluffier. They’ll still look smooth and waxy at this stage.
With continued buffing, the fibers will look less and less waxy and more and more fluffy. They’ll even get paler in color as you continue to work them between your hands. This is the stage at which they can be easily worked into cordage.
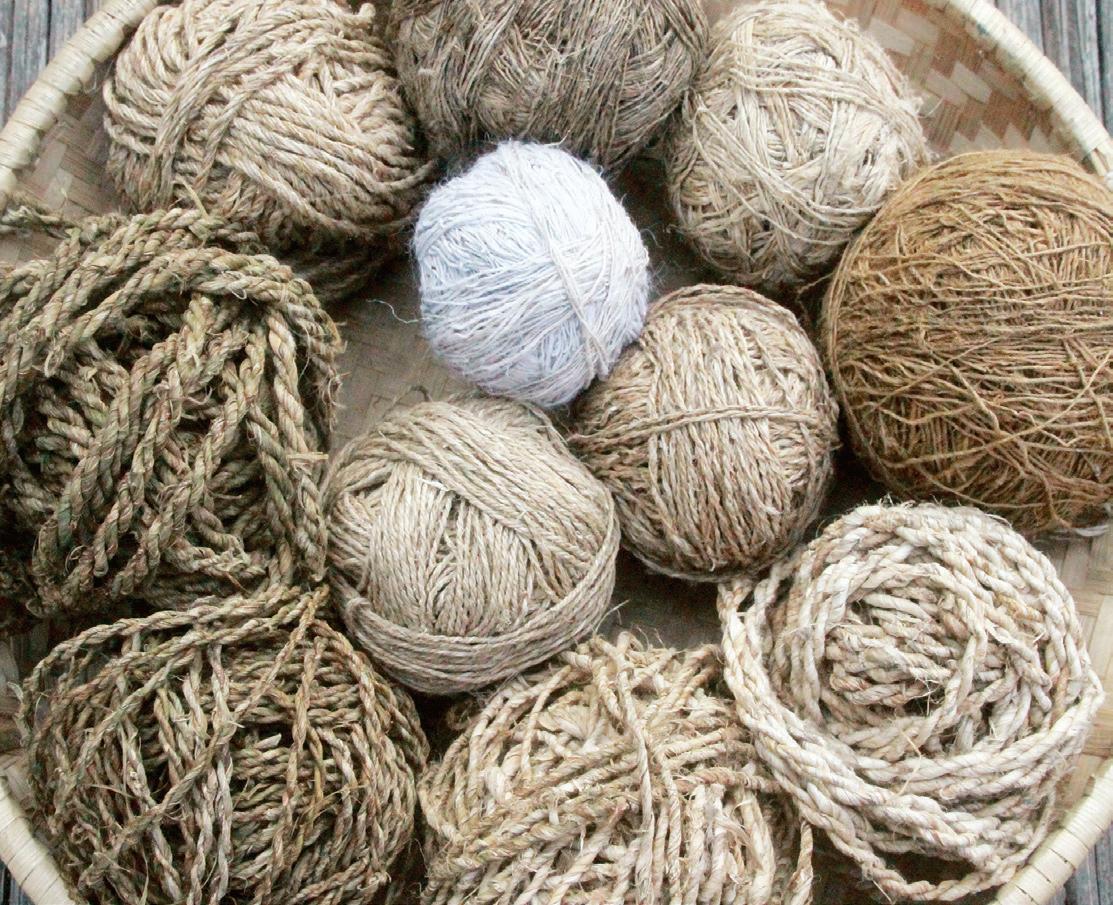
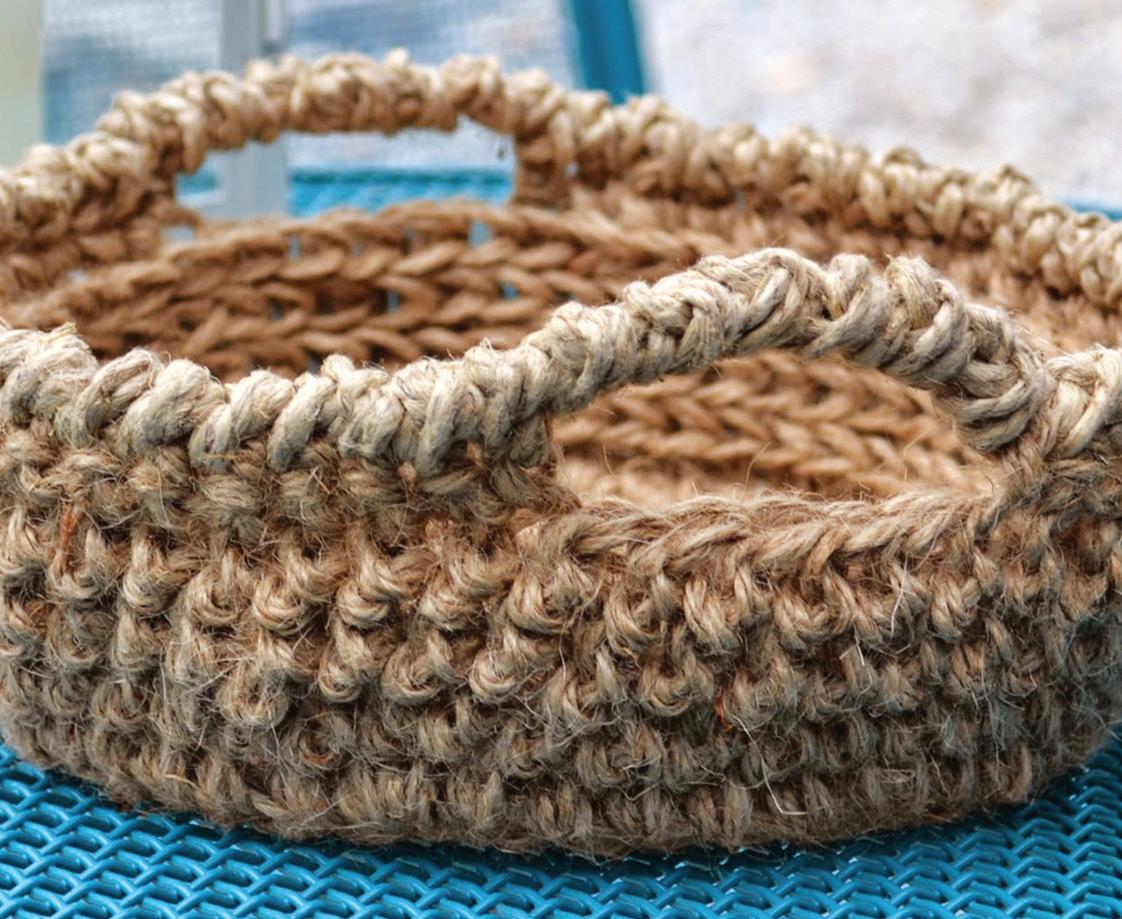
If you look really closely, you’ll observe a few small slivers of woody materials still among the fibers. These can be removed with further buffing.
After you’ve reached a satisfactory level of buffing, you can then reverse-wrap your cordage. You can certainly choose not to take your materials this far, and make some “quickie” cordage instead, though it will no doubt be less durable and more likely to fail under pressure.
Reverse-Wrap Technique
One way to start this cordage-making technique is by taking one thin bundle of the prepared fibers and holding it with both hands. Then, twisting your hands while they’re a few inches apart, move in opposite directions until a loop or kink forms in the material.
From here, you’ll need to pinch the loop or kink you just made and hold it firmly. You can do this with two fingers of one hand, or you can hold it in your teeth. Feel free to experiment with what works best for you.
78 MOTHER EARTH NEWS • PREMIUM GUIDE TO LIVING ON LESS
The fibers inside the stalks of stinging nettle are well-suited to the formation of cordage.
Keep your natural twines on hand for practical tasks, such as fishing, or for fun crafts, such as weaving baskets like the one above.
Pound the stalks of your chosen plant (1) and peel away the fibers inside (2). After you’ve extracted as many of its fine fibers as you can, further refine the material by rubbing it between your hands (3) until the fibers start to separate. As you buff your bundle, the fibers will progress from smooth and waxy (4) to pale and fluffy (5), at which point they’ll be primed for crafting cordage. Form a loop (6) and pinch it firmly using your fingers or your teeth (7)—experiment to find the method that works best for you. Then, you’ll do a bit of twisting and turn out a tight length of rope (8).
Assuming you’re holding the fibers in your teeth, you’ll need to grasp the two lengths of the fibers, with one in each hand. With two fingers on each hand, twist the fibers in the same direction to put pressure on the kink between your teeth. After you’ve twisted, you can then wrap.
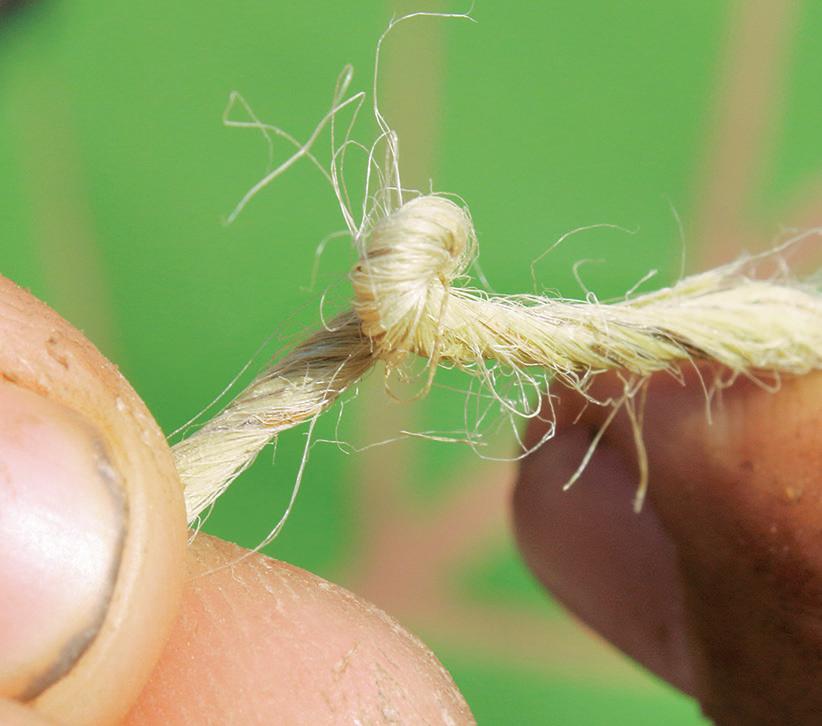

To do so, still holding the cord between your teeth, take the two lengths of fiber you just twisted and wrap them around each other in the opposite direction you just twisted. When wrapped, the tension of the twist pushes the two lengths of fiber against each other, which keeps them from unraveling. This is the key to reverse wrapping. If you end up twisting and wrapping in the same direction, your cordage will keep unraveling.
As you continue down the length of your fiber, you should form
a nice, even coil. If you want a consistent tightness, maintain an even pressure as you wrap down the fiber.
With practice, your cordage will come out looking nice and tight, and it will be ready to be used as thread to mend torn material, cast out into water to catch a fish, and in many other crafts and projects.
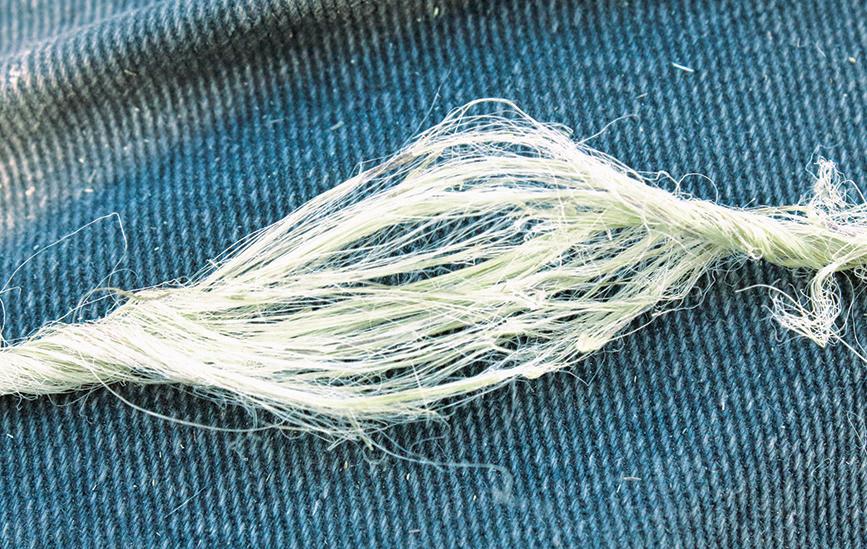
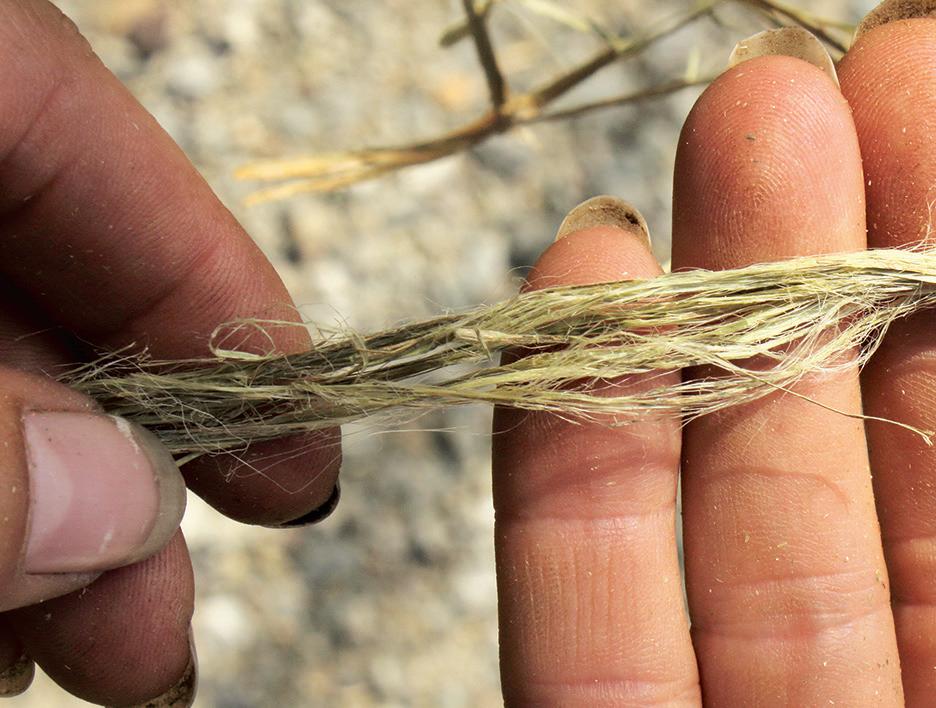
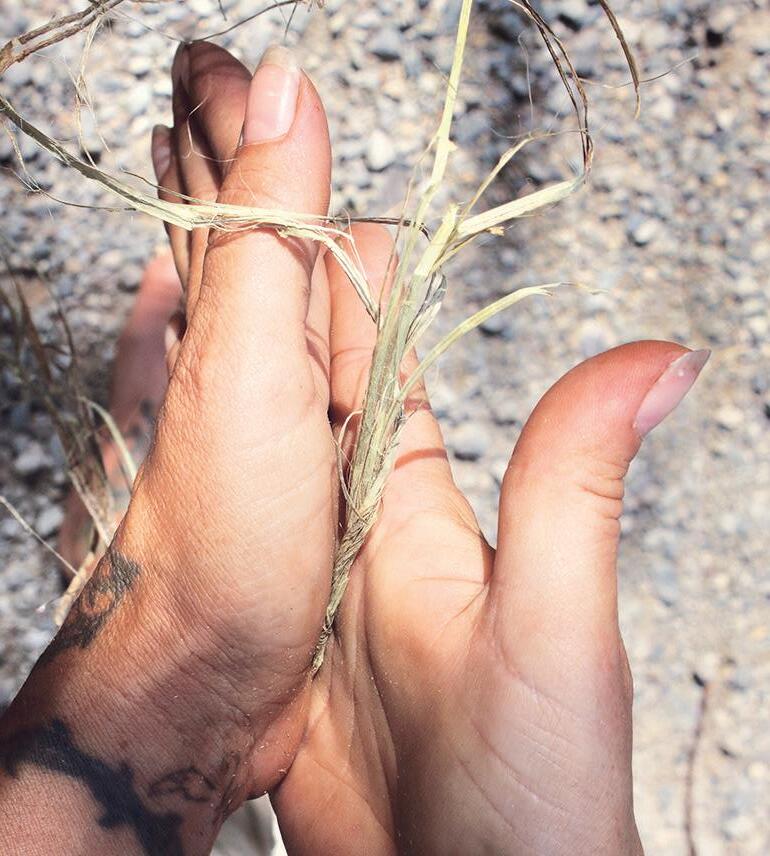
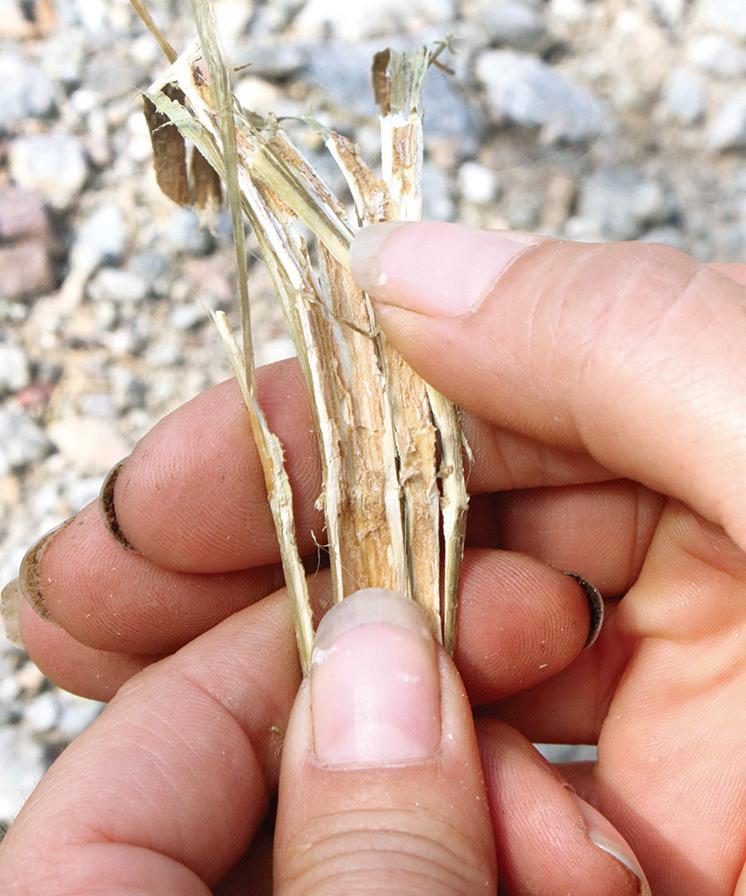
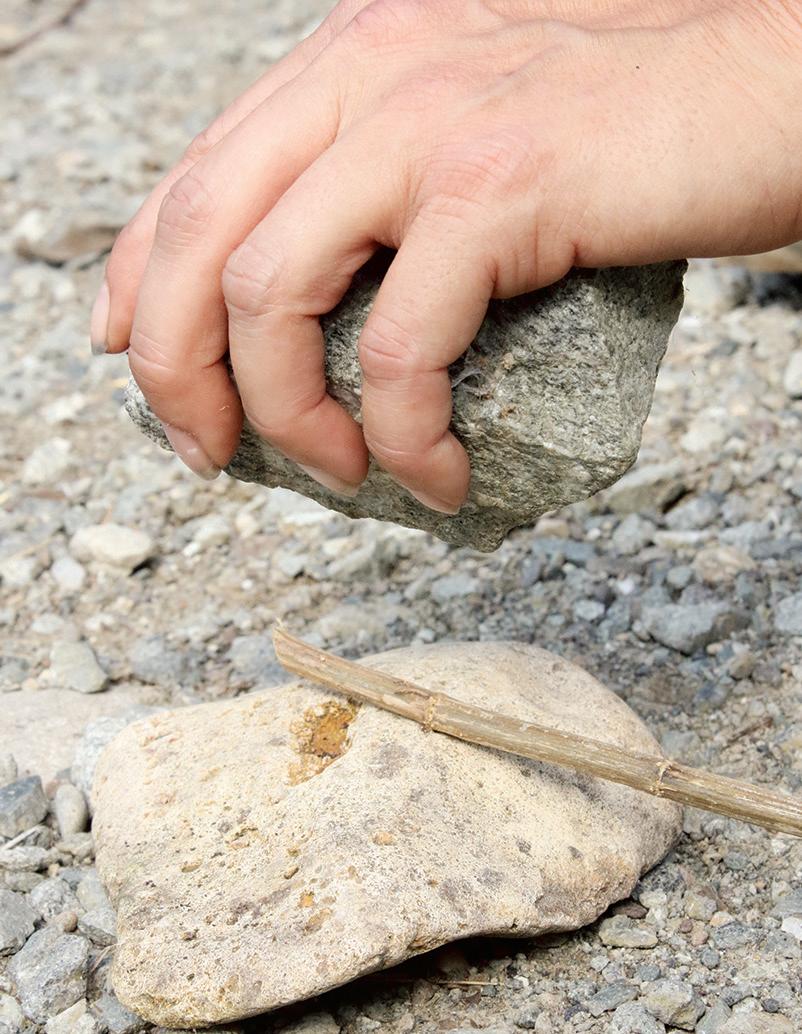

Alderleaf Wilderness College (www.wildernesscollege.com) is a nature education and wilderness survival school in the Pacific Northwest. Watch the school’s video on making cordage out of stinging nettle at goo.gl/hss73X.

www.MotherearthNews coM 79
ALDERLEAF WILDERNESS COLLEGE
1 4 7 5 6 8 2 3
MAKE YOUR OWN GAS! Alcohol Fuel Basics

Produce ethanol on a small scale and enjoy the many benefits of this homegrown, renewable fuel.

 By Richard Freudenberger
What if there were a fuel that was affordable, renewable, and produced right in your own community? If you’d lived 100 years ago, you would have known all about such a fuel. It was called alcohol—and it was a clean-burning fluid generally sold as lamp fuel. Only recently have we taken a renewed look at alcohol fuel—now more commonly known as ethanol—and its potential as a domestically sourced fuel for transportation.
I’m not here to tell you about the agri-industrial agenda to produce ethanol on a massive scale. What I am going to tell you is how to make
this fuel yourself to use in your vehicle or in other gas engines, such as a motorcycle, tiller, or lawn tractor. You can modify these gas engines to run on straight alcohol (more on engine modifications on Page 82).

If it’s produced on a small scale, ethanol can be made from grain you grow yourself—or from a wide range of other local and sustainable feedstocks including food waste and crop culls. With a little specialized equipment and know-how, you can turn these materials into alcohol fuel, and it will cost less than you would pay at the pump for gasoline or commercially produced ethanol.
You can produce your own ethanol for an ongoing cost of less than $2
per gallon (see the chart on Page 81).
If you grow your own corn, you can distill more than 300 gallons of ethanol from 1 acre of corn. If you drive less than 10,000 miles per year, you could produce all your own fuel from 2 acres of corn—and, granted, a lot of labor. In short, when I talk about ethanol, I’m talking about do-it-yourself fuel, and practicing local self-reliance on an individual and community scale.
Why Choose Alcohol Fuel?
One of the strongest arguments for ethanol fuel is that we can make it ourselves, with no dependence on foreign resources.
In 1925, Henry Ford told a New York Times reporter, “There’s enough alcohol in one year’s yield of an acre of potatoes to drive the machinery necessary to cultivate the fields for a hundred years.” This self-made businessman recognized the value of the American farm, and more specifically, the importance of domestically sourced materials. He envisioned farms across the country providing the crops needed to make both fuel and food.
Another reason ethanol is such an attractive fuel option is that it’s basically liquid energy. Ethanol is a clear liquid that packs a lot of energy into a usable, storable, and transportable form—only petroleum can compete with ethanol on an energy-per-volume basis.
80 MOTHER EARTH NEWS • PREMIUM GUIDE TO LIVING ON LESS
Many crops can be used to produce ethanol. For small producers, the best choices are crops with a lot of starch or sugar, such as corn or sugar beets.
But ethanol has an added benefit in that it’s oxygenated, meaning it has oxygen in its molecular structure, which results in a cleaner burn. Compared to gasoline, ethanol emits about 20 percent less hydrocarbons and carbon monoxide.

Make Ethanol—Legally
Would-be fuel producers must apply for a permit to make their own fuel, but after the energy crisis of the 1970s, the federal government substantially streamlined the permit process.
Recognizing the difference between beverage and fuel spirits, the Department of the Treasury came up with a simplified application for an Alcohol Fuel Producer permit (Form 5110.74), which designates a small producer as one who can make up to 10,000 proof-gallons of fuel per year. (A proof gallon is one liquid gallon of spirits that is 50 percent alcohol at 60 degrees Fahrenheit.) That’s enough to manufacture 5,263 gallons of 190-proof ethanol fuel.
Each state has its own permit requirements, generally modeled after the federal rules. You’ll need to research taxes and any applicable state and local regulations.
In any case, the fuel alcohol must be “denatured,” or rendered unfit to drink, by the addition of at least 2 percent by volume kerosene or unleaded gasoline. Ethanol production is a natural process that
comes about through the fermentation of carbohydrates—organic compounds containing carbon, hydrogen, and oxygen. Plants and crops produce carbohydrates in the form of starches, sugars, and cellulose.
The bonds in the molecular structure of celluloses are difficult to break, but most plant starches and sugars are easily broken down into simple sugars with the addition of heat, water, and enzymes. Once the simple sugars are established, yeast is added to feast upon the sugar, reproduce, and, in the process, expel carbon dioxide and alcohol.
The choice of raw material is an important factor. Crops with a high sugar or starch content are ideal, but
Costs of Alcohol Fuel
Cost/Raw feedstock $138
Cost/Transportation +$5
Subtotal $143
Credit/Byproducts –$35

Net Feedstock Cost $108
Cost/Enzymes and yeast +$5
Cost/Heat source fuel +$2
Cost/Fixed +$2
Pre-adjusted Total $117
Costs/Depreciation and labor +$19
Net Cost $136
Yield/Gallons pure alcohol ÷76
Cost of Alcohol Fuel ~$1.80/gallon
Note: Figures are representative. Fuel, labor, and feedstock costs can vary widely depending upon particular circumstances.
nearly any crop cull or surplus can work (if used before spoilage sets in), so you can choose the most economical and sustainable materials available to you. Apples and other small fruits, potatoes, beans, wheat, rye, and sorghum grains are all potential candidates— as is cheese whey, the milk sugar left over from processing. Food-processing wastes from the beverage, baking, snack, and confectionary industries are notoriously high in sugar (or starch) content and can provide an alternative to direct-from-field sourced feedstocks.
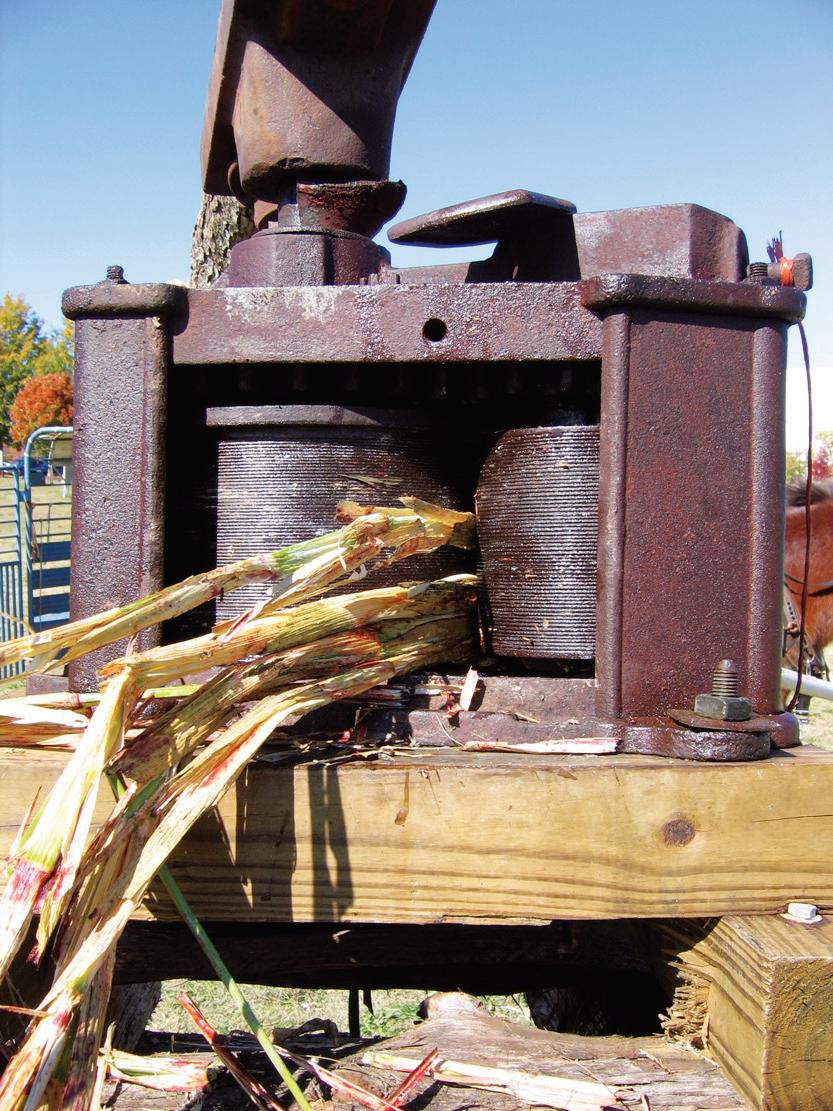
After fermentation is complete, the ethanol must be distilled from the water. This is best accomplished with a reflux still, which is equipped with a distillation column. The column uses a series of perforated plates or packed compartments to remove the water in a process called fractionation. As the heated water and alcohol vapors rise through each stage, a progressively stronger alcohol vapor is created.
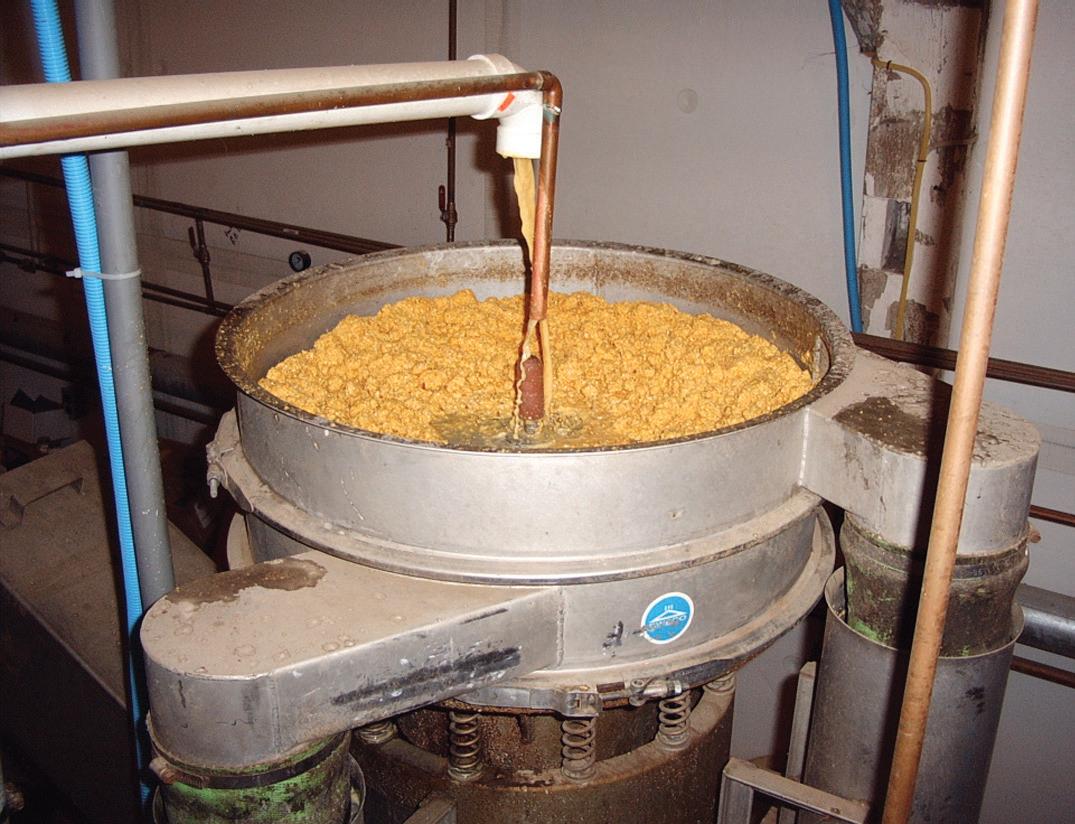

During distillation, column temperature must be controlled to take advantage of the different boiling points of the two fluids. The alcohol vapors rise, while the water condenses and drops back to be reintroduced as a vapor mix again and again.
The most potent alcohol vapors exit at the top of the column to be cooled by a water condenser and collected as 192-proof (96 percent pure) ethanol.
WWW.MOTHEREARTHNEWS COM 81
Turning plants into fuel! Left: A small roller press crushes sorghum cane to extract the juices for fermentation. Center: An agitation vat breaks down grain into a fermentable form. Right: A homemade small-batch fuel ethanol still at West Orchards in Missouri.
Though it’s possible to wring that last 4 percent out of the mix, it requires more equipment and is usually cost-prohibitive for a smallscale operator. Besides, the small amount of water present does not hinder engine performance.
Run Your Car on Ethanol
Car engines have to be modified to run on straight ethanol.
The simplest engine modifications include advancing the ignition timing by several degrees, rejetting the carburetor’s main fuel circuit to increase jet diameter by 30 to 35 percent in area, and adjusting or enlarging the idle circuit to allow more fuel flow.
Fuel-injected engines can have their injectors replaced for greater flow, or the fuel pressure increased.
There are also aftermarket kits designed to trick the engine’s microprocessor control unit into holding the fuel pulse open longer or compensating for an artificially lean condition by enriching the air-fuel mixture.
Engines can be further optimized for ethanol by preheating the fuel and air, varying the heat range of the spark plugs and boosting the compression ratio.
Your Very Own Still
So what does it take to set up a small-scale distillery? That depends on how small an operation you want.
A simple batch still can be made from an old water heater and a length of 3-inch conduit with a wood or natural gas heat source. A still this size will make about 1 1 ⁄ 2 gallons of fuelgrade ethanol per hour.
For an investment of less than $100, you could be running a lawn tractor or small motorcycle on completely renewable, homemade fuel.
On a more practical scale, building a 6-inch column still will put you in the 6-gallons-per-hour production ballpark—a substantial yield, but one that comes with additional cost.
At that size, you’d be best served with a hammermill or grinder to prep the feedstock, separate cooking and
Basic Facts About Making Ethanol
• Making your own ethanol is legal. All you need is a permit.
• You can produce fuel from your own crops . From an acre of corn, you could produce 300 gallons of ethanol.
• A wide variety of other crops can be used for alcohol-fuel production including apples, potatoes, rye, and wheat. Food waste is another good option, and so are crop culls.
• You can generate useful byproducts when producing ethanol, including livestock feed.

• You can find used equipment for distilling ethanol, or if you weld, you can make your own.
fermentation tanks, a storage vessel for stillage or spent beer with residuals (along with a press to separate the marketable distiller’s grains), and storage for the ethanol itself.
Centrifugal pumps, plumbing, and valves are also a necessary part of the plan, along with a hydrometer, several thermometers, and pH and sugar testing tools.
A 6-inch column coupled to a 500to 1,200-gallon tank will run a batch in four to seven hours.
If you use mild steel, you’ll be able to weld the components and build your column without needing any special skills or equipment—though the metal will eventually oxidize over time.
Stainless steel is a better choice, but will probably be limited to vats and storage tanks unless you’ve got a sizable budget to pay for professional fabrication.
Used distillation columns are sometimes available through farm and industrial auction dealers.

Making It Pay
The cost to produce ethanol will depend on how much effort you put into the process.
Even using culled feedstocks will not guarantee an economical product if you waste energy during production.


The source, duration, and degree of heat input are significant factors that can be economized with the use of efficient enzymes and heat-recovery designs. Using alcohol-tolerant yeasts with nutrients improves conversion
efficiencies as well, and making the most of useful byproducts (such as high-protein distillers grains) adds to the bottom line.
If you’re in a rural setting and choose to dedicate an acre or more of cropland to ethanol production, you’ll have to determine which locally suitable crop will strike the best balance between hardiness, water tolerance, harvesting effort, and alcohol (sugar and starch) yield.
The fermentable percentage of common grains and root crops varies drastically between 16 and nearly 80 percent.
Probably more important is the alcohol yield per acre, which can range from about 300 gallons for field corn to 400 gallons for sugar beets, to nearly 600 gallons for sugar cane, sorghum, and Jerusalem artichokes.
Other crops may have lower yields, but offer advantages in conversion, storage, or processing.
The table on Page 81 breaks down costs and recovery for a small operation, which will vary depending upon your particular situation.


And keep this in mind: Whether you can make ethanol on a small scale for less than the cost of gasoline today is not the only question.
You also have the knowledge that you are using a clean-burning, sustainably produced fuel, and that no matter how high gas prices rise in the future, you’ll be able to make your own at a reasonable price.

82 MOTHER EARTH NEWS • PREMIUM GUIDE TO LIVING ON LESS
PAGE 80: (BACKGROUND) ISTOCK/ADRIEN MATTHIASSEN, (BOTTOM) ISTOCK/ THAM KEE CHUAN; PAGE 81: (LEFT TO RIGHT) RICHARD FREUDENBERGER, SARE, DAN WEST; PAGE 82: FOTOLIA/SASCHA BURKARD


starts
FREE catalog l TerritorialSeed.com l 800-626-0866
It all
with a seed
HARVEST YOUR OWN WHEAT From Field to Flour

Determine which types of wheat you should grow, plus learn how to cultivate and process this staple grain for use in the kitchen.
By Stan Cox
Pretty much anywhere in North America, growing wheat is easy if you have a modest-sized plot of unshaded ground, the right seed, and the help of a few small implements.
Depending on your weather conditions and your growing practices, a small plot of wheat—say 500 square feet—should yield 15 to 50 pounds of grain. Yes, that’s a pretty wide range, but soils, rainfall, temperatures, storms, diseases, pests, and plain luck can vary from place to place and year to year. Those forces dramatically influence wheat’s yield and quality. But your yield starts with your choice of which varieties of wheat to sow.
Choose a Variety
After you’ve decided to grow wheat, you’ll need to make three initial choices: winter or spring type, red-grained or white-grained, and free-threshing or hulled (with the hull intact). For details on various types of wheat, including durum, spelt, emmer and einkorn, see the article about wheat in our February/March 2014 issue, or online at goo.gl/w6JX78.


Winter wheats are sown in fall and harvested the following spring or summer. Spring wheats, which can be either common or durum wheats, are bred for Canadian and northerly U.S. regions where wheat can’t survive through winter; they are sown in early spring and harvested in summer. The seasonal labels are


important: A winter variety that does not experience cold weather will produce no grain, while a spring variety sown in fall will die in winter freezes (unless you’re in a frost-free region, where spring wheat varieties can be fall-sown).


The choice between red or white wheat is less consequential, unless you’re growing wheat in an area with high summer rainfall. Under those conditions, white wheat kernels are more susceptible to premature sprouting in the head than red ones. Even a slight start on sprouting can ruin the bread-making quality of wheat grain.
Depending on the region, a wide range of diseases and pests can plague wheat. Recently developed varieties tend to have better resistance than older ones.
That is not always true, however, and almost every variety has an Achilles’ heel or two. If you are risk-averse, avoid varieties that are especially susceptible to diseases that often strike wheat in your area. Ask your local farm supplier or extension office to recommend resistant varieties.
The hulled ancestors of modern wheats—among them einkorn, emmer, and spelt—can be winter or spring type, and either red or white. These varieties are becoming more popular in the growyour-own community because of a reputation for good taste and quality. But if your homegrown wheat is hulled, you must accept that grain from these old-timers requires more processing to be used for food (see “Ancient Wheats and Their Pesky Hulls,” Page 86).
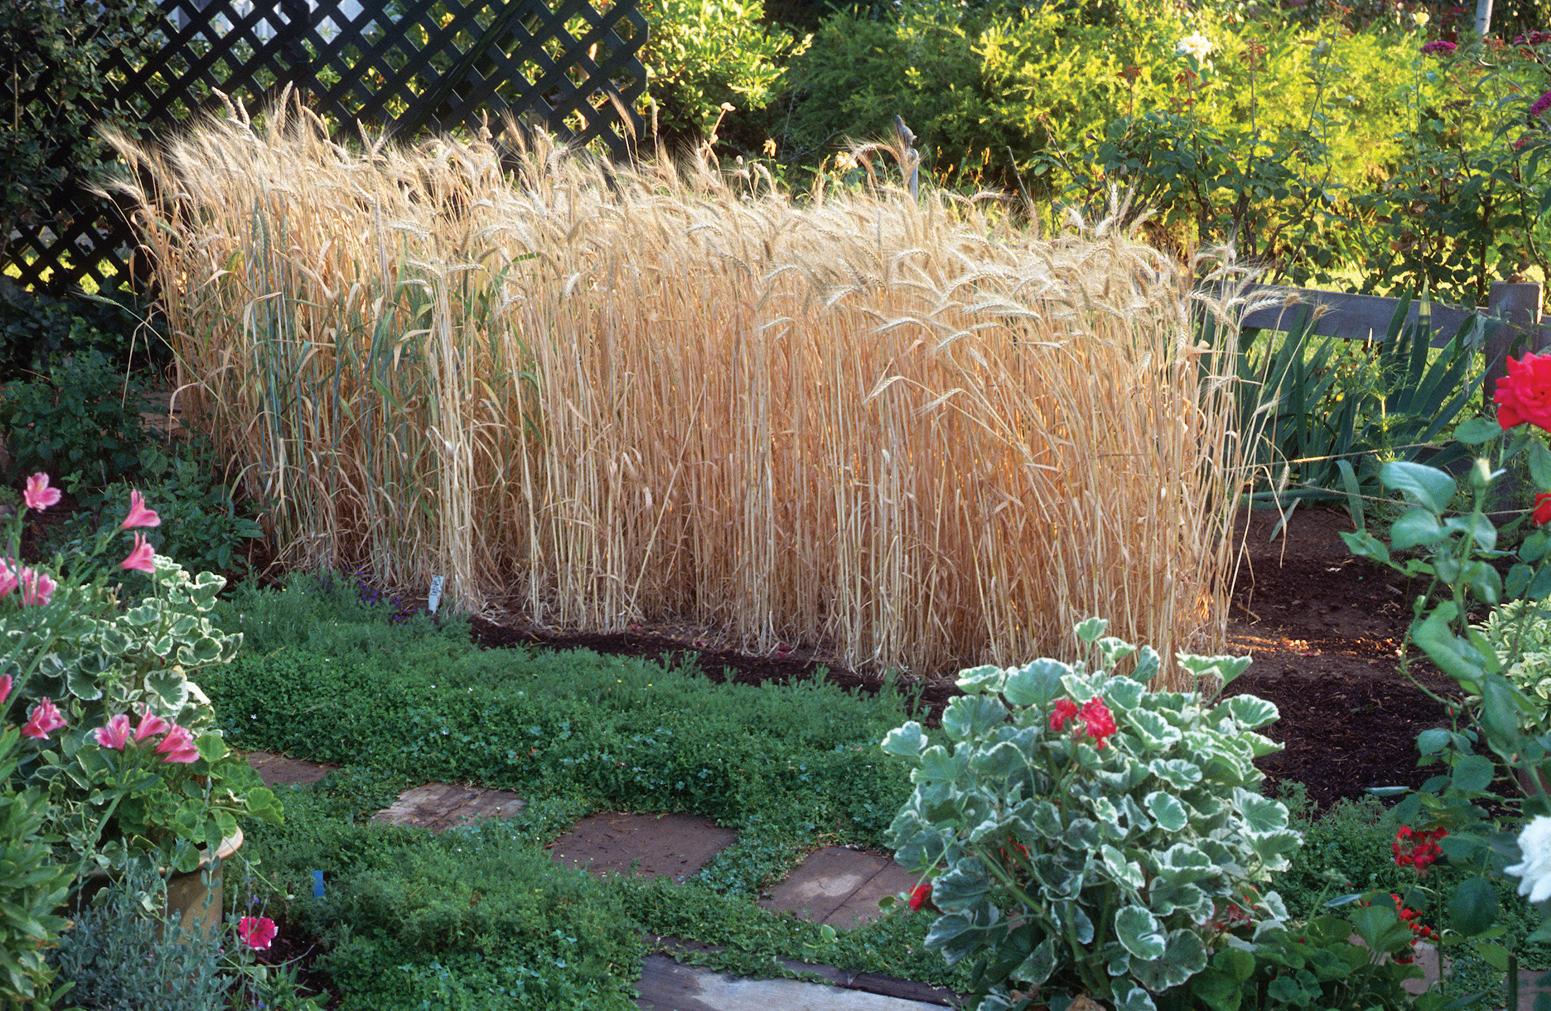
Choose High-Quality Seed
At least as important as variety selection is the physical quality of the seed you sow. “The one really important aspect that is often overlooked is that you need to start with good, quality seed that is true to type, disease- and insect-free, and not contaminated with weed seed,” says Cornell University professor and wheat breeder Mark Sorrells, who leads a project on heirloom organic wheat varieties.

When you buy seed, it should be plump and free of dirt, weed seed and other foreign material, and its label should include, at a minimum, the va-

riety name and germination rate. Don’t worry that you might accidentally buy transgenic (genetically modified, or “GM”) seed; no GM wheat seed is on the market. A wheat variety is not like a corn hybrid—its harvested seed will produce a crop of that same variety when sown the next season. When producing your own seed, you can ensure your homegrown wheat’s quality during harvest and processing just as you would for wheat you plan to consume (more on that ahead).
Ready the Soil
A soil test from your local county extension office or university can tell you whether your soil is too acidic (therefore requiring lime) or too alkaline, whether it’s deficient in any of the three big nutrients—nitrogen, phosphorus, and potassium—and whether you need to be applying any of the minerals wheat requires in much smaller amounts.
Thanks to its high protein content, harvested wheat contains large quantities of nitrogen that the plant acquires from the soil. An essential element, nitrogen must be restored to the soil in
a form that can be taken up by plants grown the next season. Composted animal manure and vegetative compost, which also add organic matter to the soil, are preferred amendments commonly spread on a plot before sowing seed. These materials have relatively low nitrogen content, however, so you’ll need to use more than you’d think for optimum fertility.
In his book The Organic Grain Grower, Jack Lazor recommends 4 tons of composted manure or 12 tons of rotted but noncomposted manure per acre of wheat. For a 500-squarefoot home plot, that would be about 90 or 275 pounds, respectively, of composted or rotted manure. A more elegant way to improve soil nitrogen and organic matter is to split the plot in half, if it’s big enough, and alternate your wheat crop with a “green manure” planting of a nitrogen-fixing legume, such as white clover, that you’ll later work into the soil.
Cultivating a plot before sowing incorporates organic matter and nutrients into the soil; it’s then necessary to groom the surface layer so that planted seeds can germinate easily and seedlings can emerge and grow. While a garden-style, gas-powered mechanical tiller is the most common small-plot tool for the job, it will pulverize the soil and produce a toofluffy seed bed.
WWW.MOTHEREARTHNEWS COM 85
Plant a handful of spelt (left) and grow a small stand of wheat even in a backyard garden (right). Such a plot is easily harvested with a hand sickle.
LEFT:
A wheat variety is not like a corn hybrid—replanting its seed will produce a crop of the same variety.
SCOTT VLAUN; RIGHT: ROSALIND CREASY; PAGE 84: DREAMSTIME/MPETERSHEIM
Many people don’t like the expense or hassle of buying, renting, or borrowing the machine, let alone the noise and exhaust fumes. Instead, you can prepare a small plot using hand tools, such as spades and rakes. An especially useful tool for the job is a broadfork.
Sow the Seed

After your soil has been raked or harrowed and is relatively level and clodfree, sow the seed. North Dakota State University research specialist Steve Zwinger says avoiding a too-thin planting is crucial,

because leaving too much space between wheat plants invites weed problems. In the Plains states, a common sowing recommendation is a million seeds per acre, which would be roughly a pound of healthy-sized seed per 500 square feet. But keep in mind that sowing very small or very large seed will give very different numbers of seed. The amount of seed you sow in a very dry location with no irrigation should be lower, and the amount should be higher in regions with ample moisture.
You can broadcast seed with a handcranked rotary seeder like those used for lawns, or simply by hand-tossing, followed by raking the seed in. But Zwinger, like most experts, recommends sowing in rows, which provides for better germi-
nation, more uniform stands, and easier weed control. To do so, make furrows with a hand or wheel hoe, drop in seed, and cover. Even better, use a push-type garden seeder, such as the traditional Planet Jr., or a jab-style corn planter (for more about push seeders, see our article “Choose the Right Garden Seed Planter” at goo.gl/uQrRmM). Space rows 6 to 7 inches apart to provide effective ground coverage and weed control.
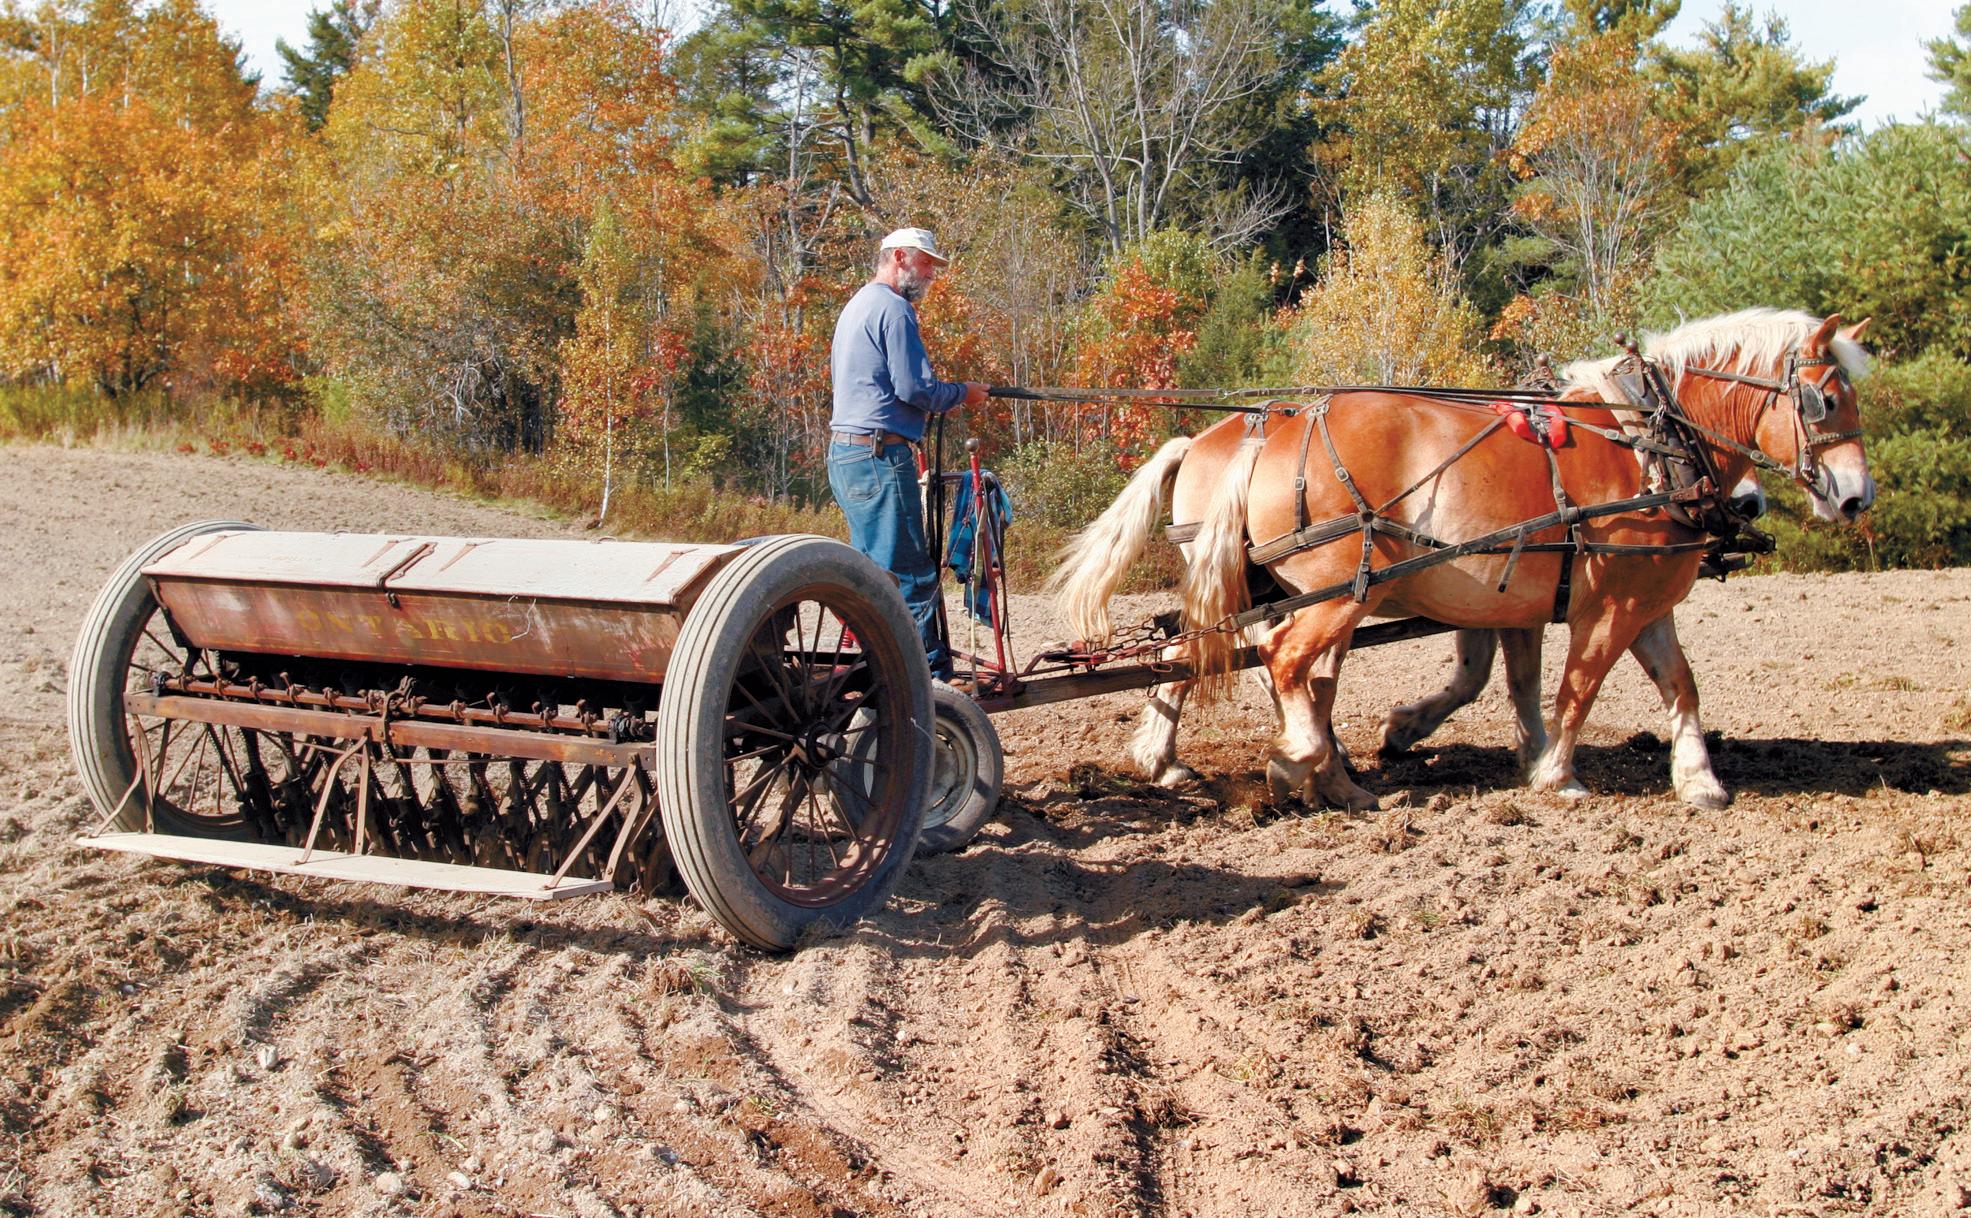
A solid stand of wheat is good at outcompeting weeds; nevertheless, whatever your sowing pattern or density, weeds will turn up uninvited. There will be no way around hoeing or, later, pulling weeds, and the reasons for doing so are not solely cosmetic.
Ancient Wheats and Their Pesky Hulls


Liberating the grain of an einkorn, emmer, or spelt crop doesn’t end with threshing. North Dakota State University’s Steve Zwinger, who has done research on emmer for 20 years, says, “Hulled wheats are actually the easiest to thresh. But for small plots, it’s hard to come up with an effective, inexpensive way to dehull them.” Because hulls adhere tightly to the relatively soft kernel, they can be difficult to rub or knock off without also cracking the kernel.
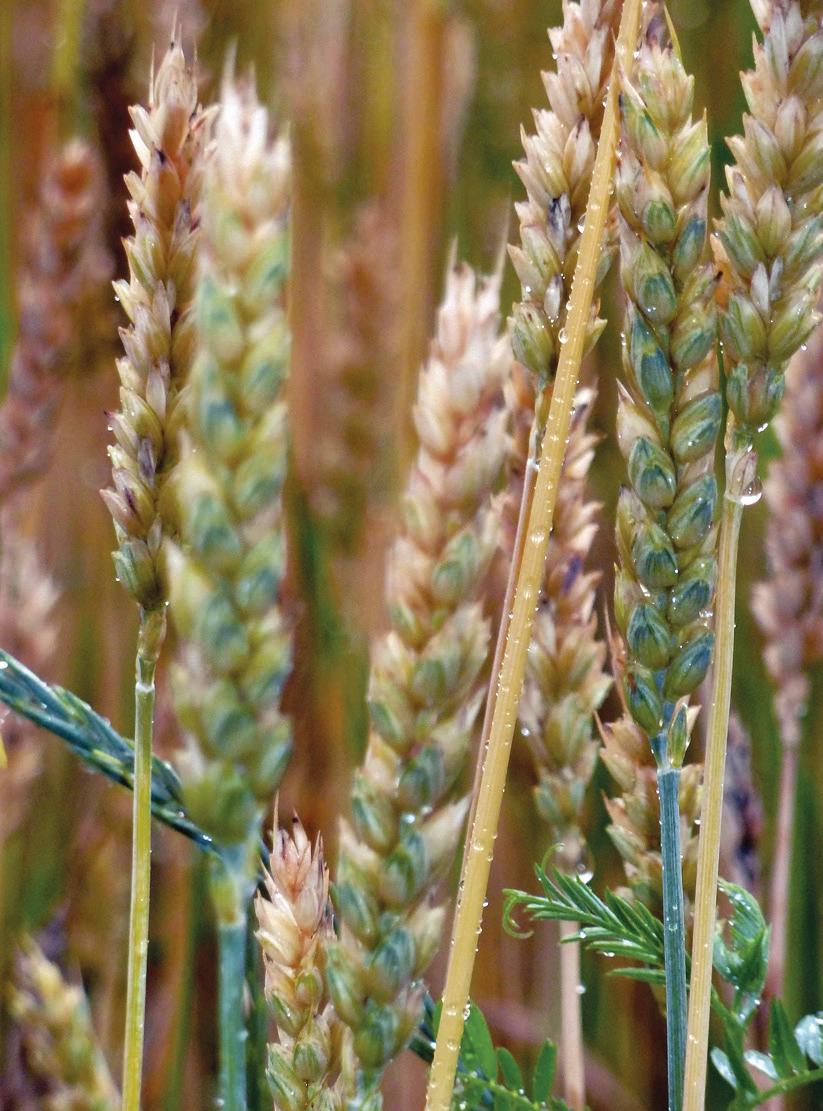
The GrainMaker company offers a Homestead Huller Kit as an accessory for its Model No. 99 mill (shown in photo at left), priced at $275 per pair of dehulling disks. With interest in hulled wheats growing fast, Zwinger says, we can expect growers themselves to come up with a new generation of small, relatively inexpensive dehullers. He says that in these situations, farmers are the creators. As an example, Zwinger points to Nigel Tudor of Weatherbury Farm, located 40 miles south of Pittsburgh. Tudor, with funding from the U.S. Department of Agriculture, is building a dehuller for emmer and spelt. But, Tudor warns, his dehuller is designed for larger-scale crops. “It would require a minimum of 60 pounds of grain to work efficiently,” he says.
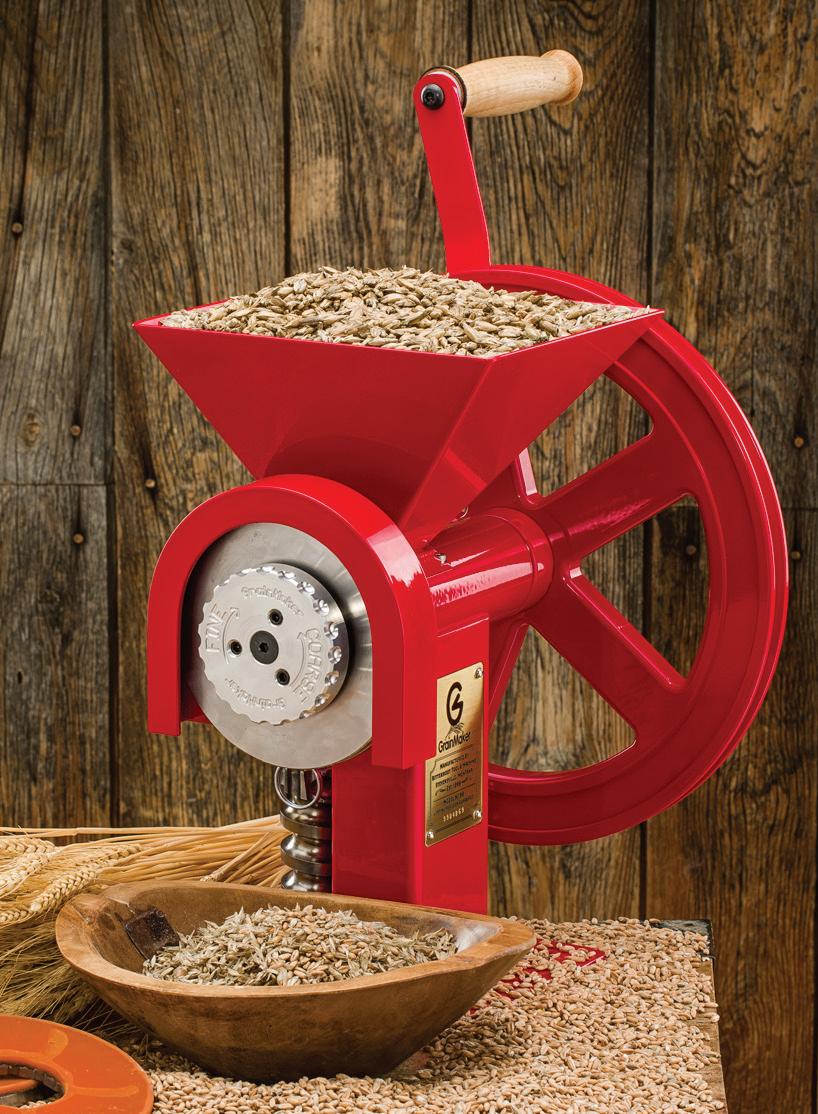
86 MOTHER EARTH NEWS • PREMIUM GUIDE TO LIVING ON LESS
A farmer uses a team of Belgian draft horses and a grain drill to plant spelt in Pittston, Maine (left). Wheat turns from the “milk” stage to the “dough” stage as it ripens (right).
LEFT: GRAINMAKER; TOP LEFT: SCOTT VLAUN; TOP
CHELSEA
PUBLISHING
GrainMaker mill with Homestead Huller Kit
RIGHT:
GREEN
Weeds compete with your homegrown wheat for light, rooting space, water, and nutrients, and if left to grow, they’ll produce a lot of seeds, each one of which will either contaminate your harvest or go into the soil to increase the number of weeds that will come up next year.
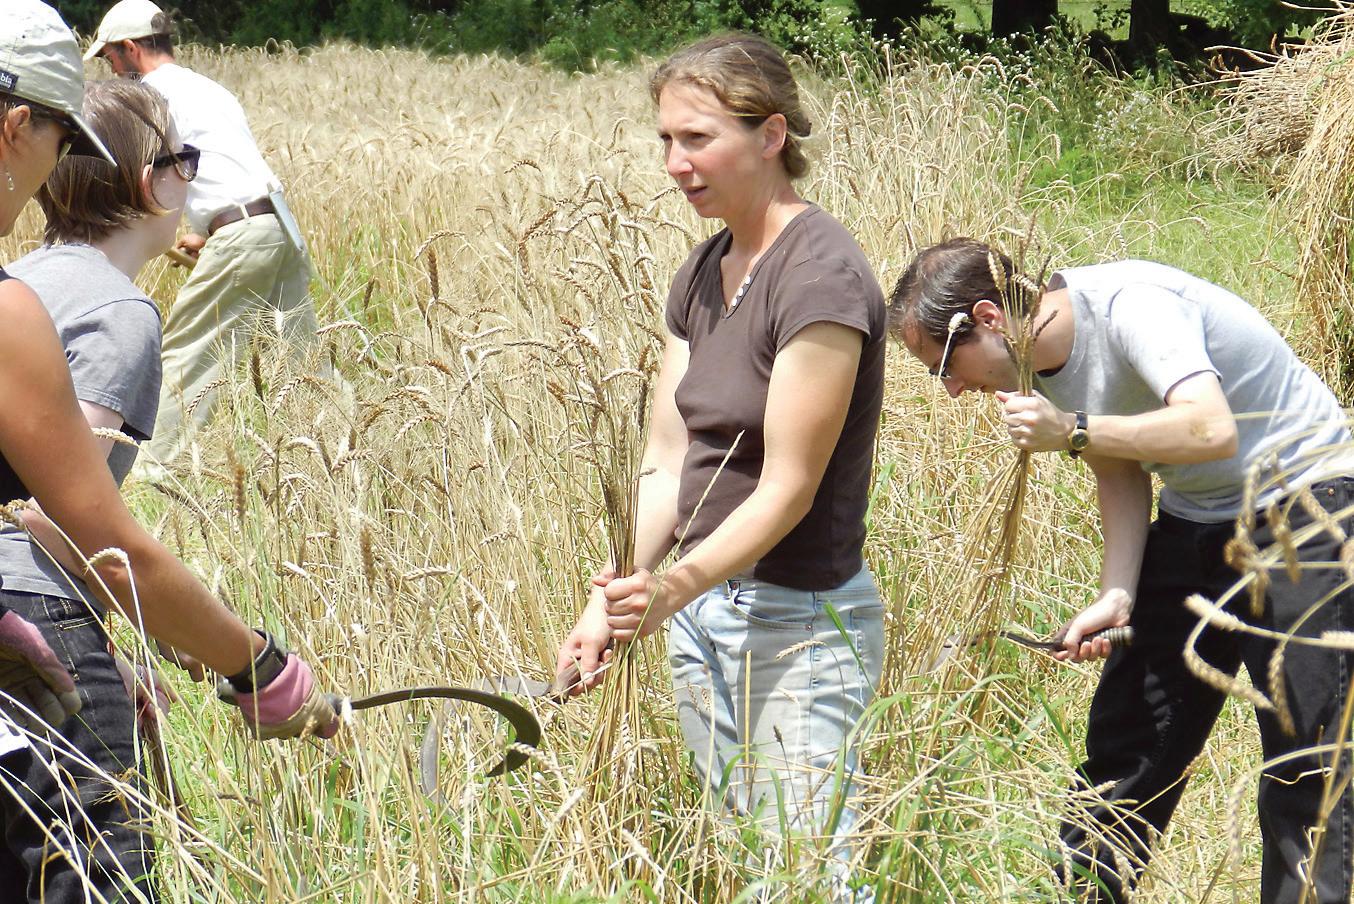
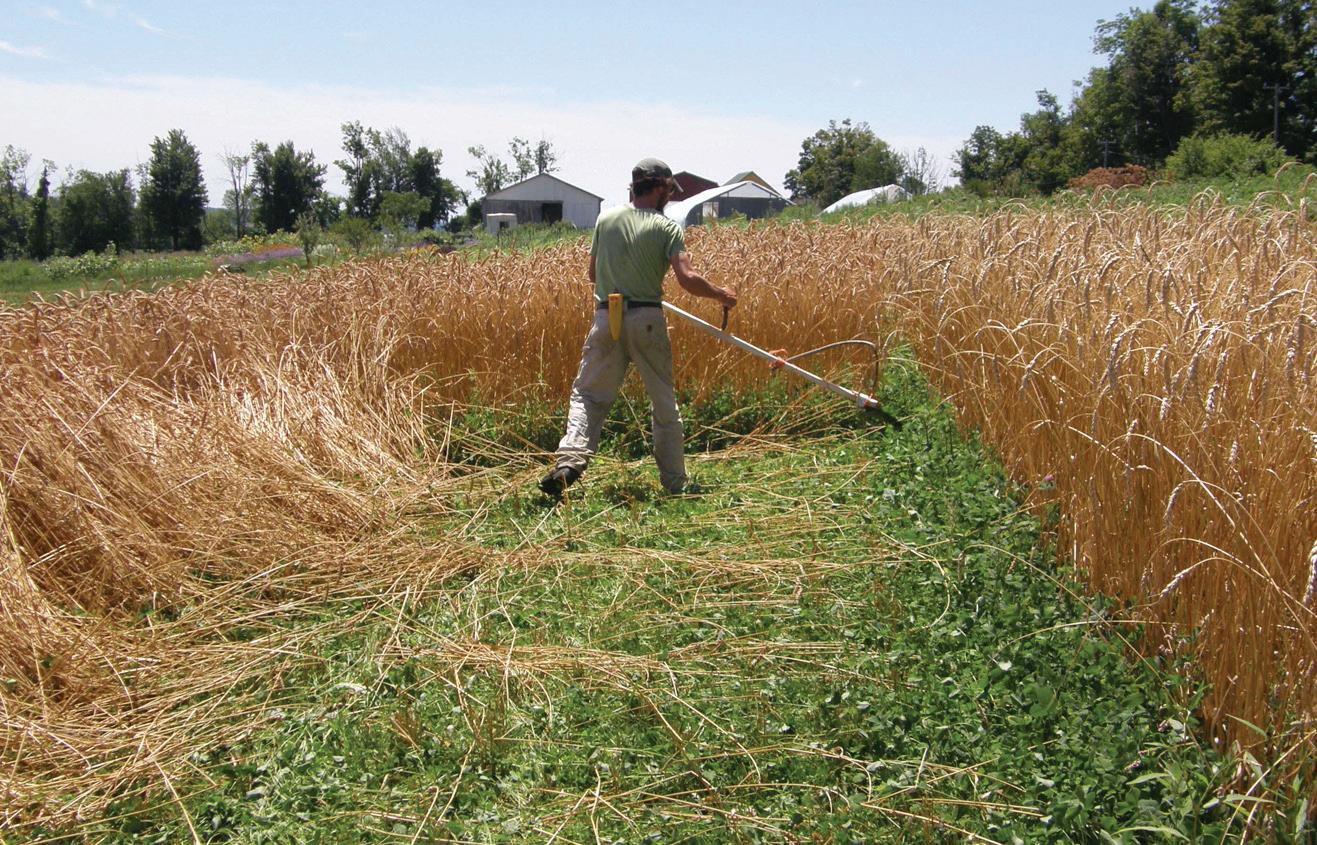

Reap the Wheat
Wheat is ready to harvest when the wheat grains are anywhere from mature with still-high moisture (the “hard dough” stage) to dead ripe and fully dry. When the grain is ripe, cut by hand with a sickle or scythe, or with a gaspowered sickle-bar mower. If you cut the plants low, tie them into shocks and stack them against one another to keep heads off the ground and expose them for better sun- and air-drying (see photo on Page 84). With a small plot’s harvest, cover the shocks with a large tarp in case of rain. If the weather’s
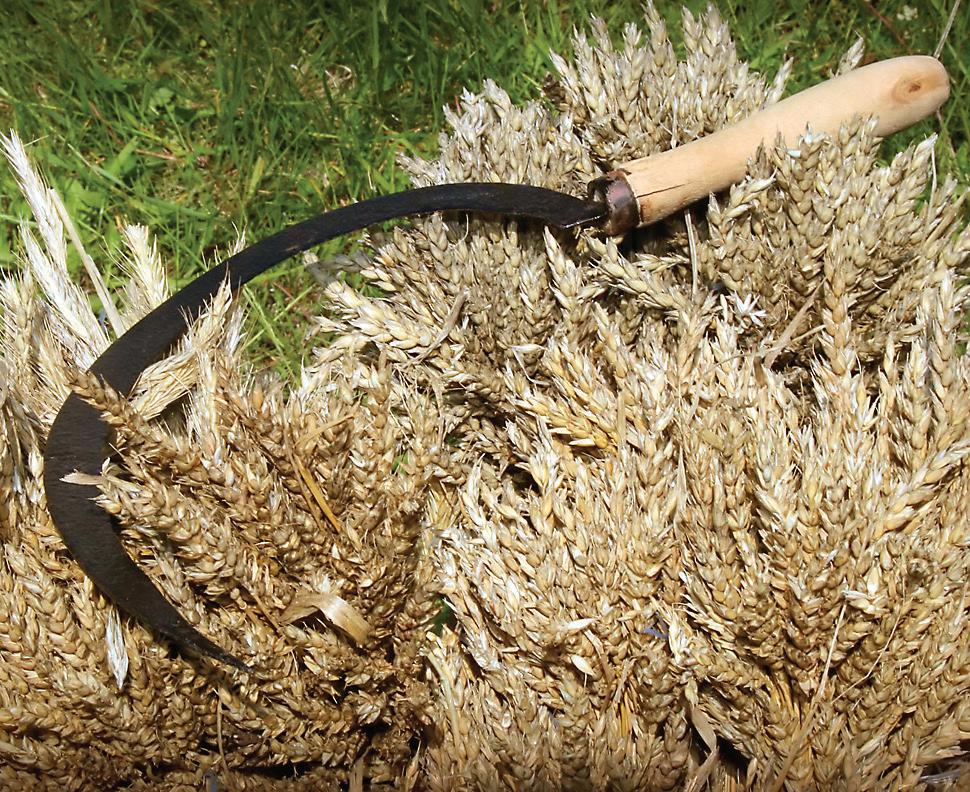
warm and dry and the wheat is dead ripe, cut with a sickle at any point below the heads and thresh the heads right away. Otherwise, the shocks will have to stand until fully dry.
Thresh Your Harvest
You’ll then face the age-old question of how to thresh out the grain (unless you’ve shelled out several hundred dollars for a European hand-held “combine,” which is used commercially for grain sampling, and cuts and threshes heads right in the field in one step). For easy-threshing wheats, some growers find they can simply grab small bundles and beat the grain out onto a threshing floor or tarp. A wooden box with a sheet of corrugated rubber (the material used for doormats and runners) glued to its inner bottom surface and a short piece of 2-by-4 with the same rubber on one side work well together
to rub out the grain. Do-it-yourselfers have designed a variety of larger handcranked threshing devices, and you can obtain the plans for some of them.
Professional wheat breeders have long used machines for threshing large numbers of small grain bundles, and those small threshers (along with seedcleaning equipment) sometimes show up among aging items being sold off by universities and seed companies.
A treadle-powered thresher, selling for $900, is available from the Back to the Land Store (see photo, opposite page). You can watch a video of the thresher in action at goo.gl/hJNdqk. Find source information for all of these machines in “The Tools You Need” on Page 88.
Ancient wheats will require an additional step to free the kernel from its hull (see “Ancient Wheats and Their Pesky Hulls,” Page 86).
www.MotherearthNews coM 87
As the wheat nears maturity (left), the best way to test its readiness is to bite a kernel. If it’s crisp, the wheat is ready for the scythe (right).
Wielding sickles (left), a work party harvests a wheat plot (right) in Chesterfield, Massachusetts.
Clean the Grain
Whatever your wheat variety and means of threshing or dehulling, the seed you obtain will still be mixed with chaff, dust, and other inedible material that must be removed. Winnowing— using air movement to separate grain from chaff, dust, and smaller weed seeds—is necessary for grain that’s to be milled into flour as well as for the portion that’s to be saved and sown to produce next year’s crop.
In manual grainhandling, winnowing involves slowly pouring a stream of grain from one container into another while in a stiff breeze or in front of a small fan to remove lighter material. In his book, Lazor describes a winnowing system for small amounts
The Tools You Need
Searching for equipment for smallscale grain growing and processing?
Browse these resources to locate what you need, plus acquire more know-how.
PLANTING AND HARVESTING
Ferrari: goo.gl/enfzKS
Push seeders: goo.gl/ycMcfA
Scythes, serrated harvest sickles, and sickle-bar mowers:
goo.gl/ze1tT4
Using a scythe: goo.gl/nyxMwX
THRESHING, DEHULLING, AND MILLING

All kinds of equipment: goo.gl/Z8Cq2r
Thresher: goo.gl/tNQ6sz

Hand-operated dehuller: goo.gl/PDbYbA
Small flour mill: goo.gl/5EHFQj
Hand-cleaning screens and pans: goo.gl/Dd83mA
Countertop grain mills: goo.gl/nqtc38
of grain that uses 5-gallon plastic buckets, a three-speed box fan (or a shop vacuum), a tarp, and a good bit of trial and error.
With any winnowing system, multiple passes are usually necessary, and that still leaves untouched any material that’s similar to—or larger than— a wheat kernel in size or density. Lazor suggests making wood-framed screens using wire mesh to remove this debris. You need one screen with openings large enough for wheat to fall through and another that will keep wheat on top and let smaller seeds and other material fall through. Grain screens are also available commercially, as
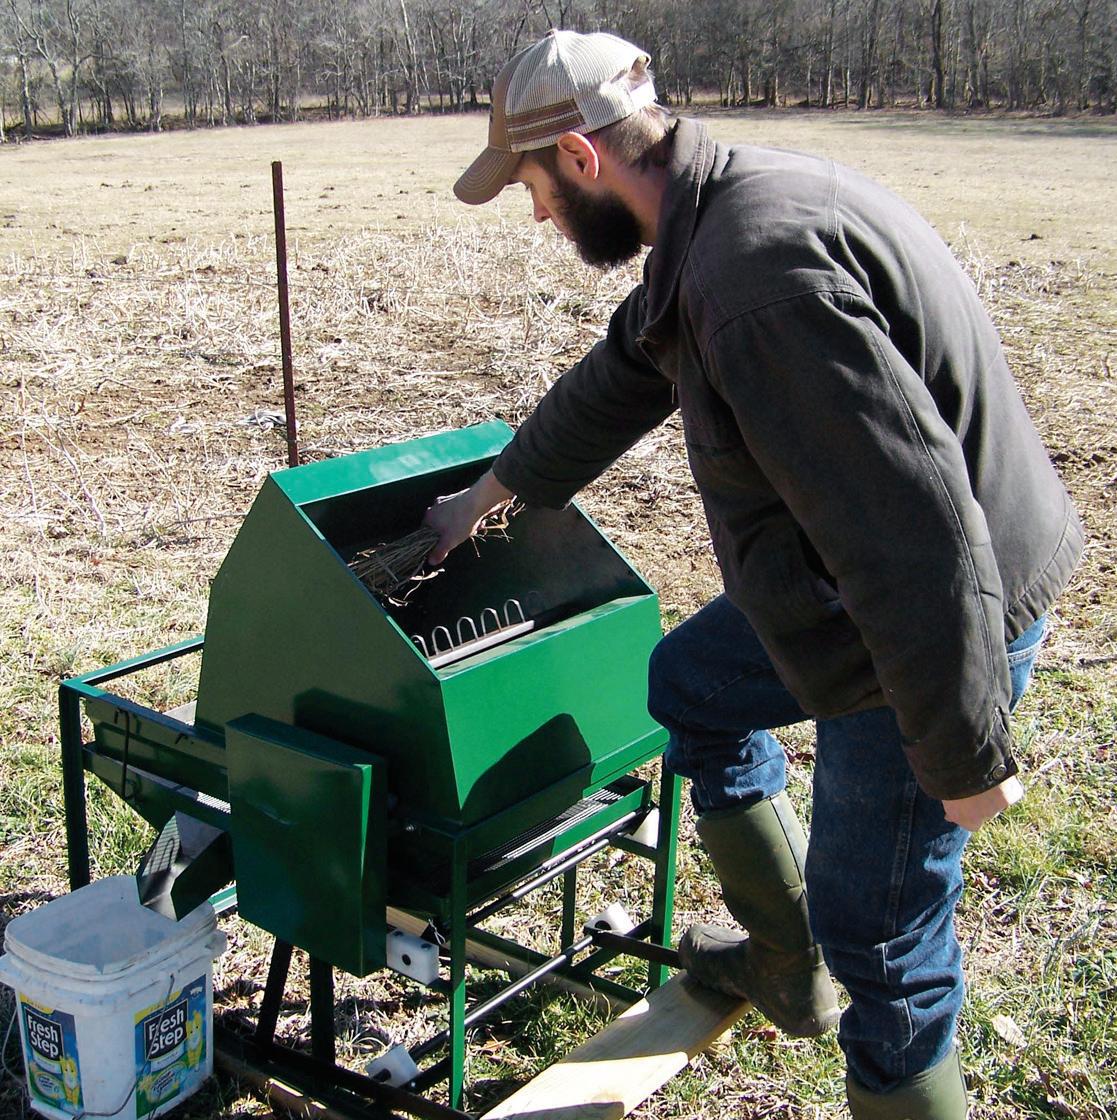
are power-driven devices with complex arrangements of shakers, screens, and blowers. But such equipment, like the small combines used by wheat researchers, is expensive if purchased new.
Try to scavenge old screens, combines, and other equipment from seed or grain companies or universities.Your grain will then be ready to be milled or eaten as whole cooked grain. (See the article about wheat in our February/March 2014 issue or read it online at goo.gl/w6JX78 for best cooking uses for various types of wheat.) To set aside seed for the next crop, seal it tightly in a rodent-proof container and keep it in a cool, dry place.

To prevent insect damage to grain that’s to be used for seed (not for food), mix in a little diatomaceous earth—a natural material that comes from microscopic sea organisms. Silica gel packets, changed as needed, will help keep moisture levels under control.
Before you know it, that seed will be back in the ground for another turn of the grain cycle—and you’ll have mastered the craft of growing this ancient crop.
88 MOTHER EARTH NEWS • PREMIUM GUIDE TO LIVING ON LESS
You’ll experience a rush of satisfaction when you bake bread from your homegrown wheat.
LEFT: FOTOLIA/MANUEL CALLE; TOP: BACK TO THE LAND STORE; PAGE 87, CLOCKWISE FROM TOP LEFT: CHELSEA GREEN PUBLISHING; TEVIS ROBERTSON-GOLDBERG; BARRY J. GOLDBERG; DREAMSTIME/BORIS
A treadle-powered thresher, such as this one from the Back to the Land Store, can speed up processing. See a video of one in action at goo.gl/hJNdqk.
AKHUNOV
BREW Your Own BEER
Homebrewing is kettles of fun, and it’s the perfect way to make your own uniquely flavored, affordable drinks.


 By Nathan Poell


The revolution has happened. Chances are good that you live within a short drive of a brew pub, microbrewery, or—at the very least—a store that carries quality beer. In fact, the craft brew industry is so strong right now that you may wonder, “Why even bother trying to brew my own beer?”


There are a few compelling reasons. First, you are in full control of the ingredients you put into your brew. This reason leads naturally to the second: Given that you have full control, you can brew beers to suit your own tastes completely—beers that commercial breweries would never risk brewing. Want to brew an American pale ale? Sure. Want to brew a chocolate cherry, ancho pepper-flavored porter? Hey, I’m not here to judge. And the third and final reason: While the initial cash outlay— though minimal—may intimidate some, it is far cheaper in the long run to brew your own beer than to buy microbrews.
Brew Tools
To get started brewing your own beer, you’ll need a few essential pieces of equipment. You can find
WWW.MOTHEREARTHNEWS COM 89
ISTOCK/CARLOS ALVAREZ
all kinds of brewing supplies at local homebrew supply shops, or from websites such as www. northernbrewer.com and www.williamsbrewing.com.
The brew kettle. This can be a regular stainless steel, enameled iron, or aluminum stockpot, preferably one that’s 12 quarts or larger. For advanced brewing, the kettle must be at least 6 gallons, but for our purposes, 12 quarts will do. This is the most expensive piece of brewing equipment, but you can get it for about $40. Altogether, the equipment listed here may run you another $50 or $60.
A soup spoon. This can be plastic, wooden, or steel.
A candy thermometer , or another type of thermometer that can be put into hot liquids.
Strainer or funnel. This will be used to strain the spent hops out of your wort (raw beer) as you pour it into the primary fermenter.
An alternative to a strainer is a hop/ grain bag . These are reusable cotton or nylon bags that will retain the
enjoyable properties of the hops to flow into the wort during the boiling process. These bags may also be used to hold specialty grains for anyone using the “extract with specialty grains” method, which we’ll cover later.
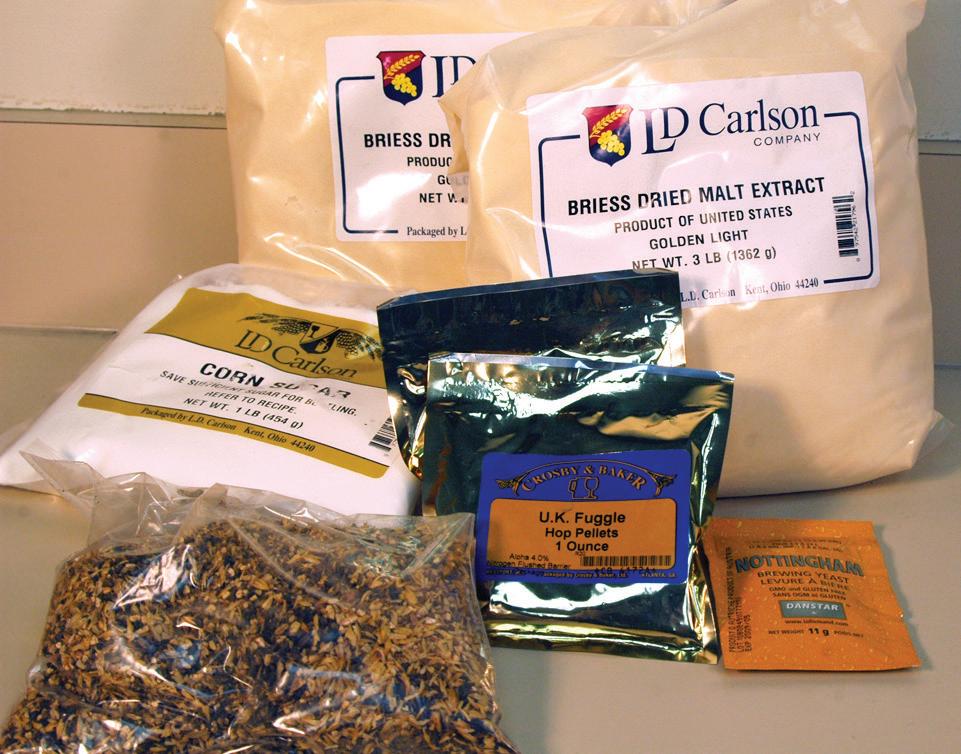
The fermentation vessel(s)/bottling bucket. Also called “carboys,” these are vessels in which the wort will ferment and mature. They should be foodgrade plastic or glass. Homebrew stores sell them—the ones with spigots are especially convenient—or you can scavenge them (plastic ones, at least) from the bulk foods section of
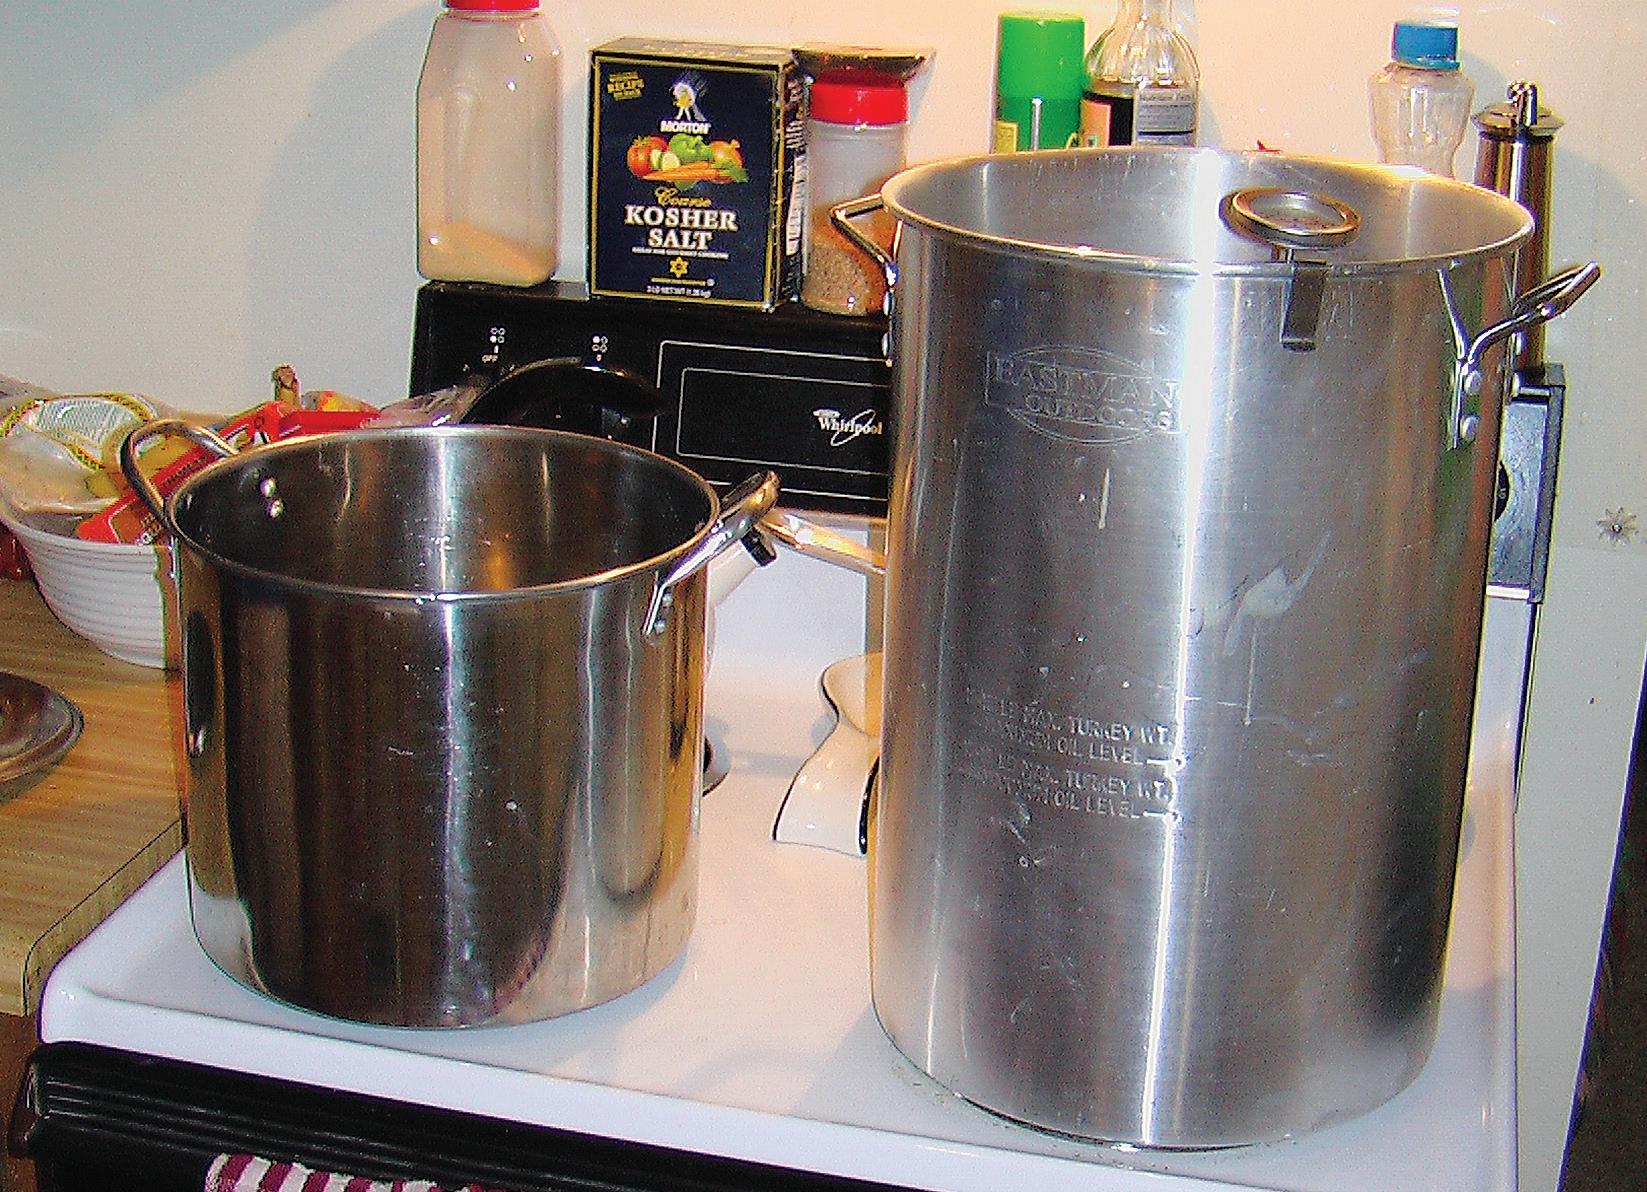
scavenge, be sure to clean the vessel thoroughly to remove residual food and oils, and drill or puncture a hole in the lid (you’ll absolutely need a lid) for the air lock.
Speaking of which, you’ll also need air locks and rubber stoppers. When I was a kid and my grandpa would make wine, he’d put a balloon over the top of the fermenter, and it made a comical sight when filled up with carbon dioxide. You could conceivably put a balloon on a glass carboy, but it wouldn’t stay there long given the vigorous fermentation involved in beer-making. You’ll be better off using purpose-made air locks or rubber stoppers to allow off-gassing while also preventing bacteria and wild yeasts from finding their way into your precious brew.
Food-grade plastic hose. This is necessary to transport the fermented beer from vessel to vessel without allowing it to oxidize. These hoses are typically clear, and you can find them at any reputable homebrew shop. Be sure the hose is of a diameter that will fit the spigot of your fermentation
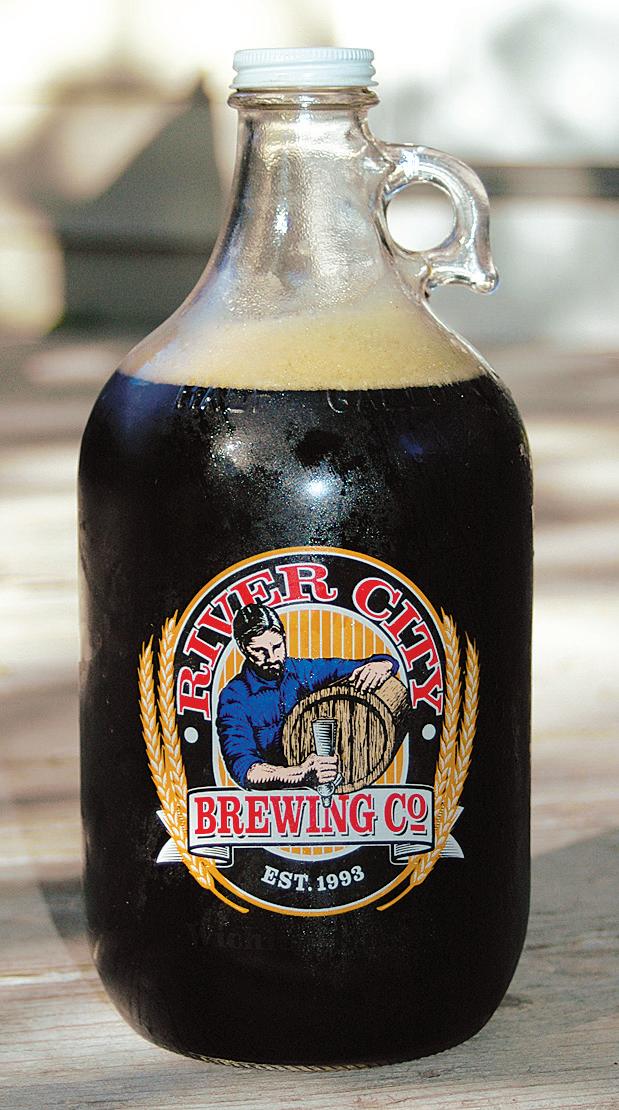
90 MOTHER EARTH NEWS • PREMIUM GUIDE TO LIVING ON LESS
The ingredients for a basic brown ale (see Page 91). Bottom left: A typical kitchen homebrew setup. Bottom right: “Growler” jugs from local breweries are great for home bottling.
KELLAN BARTOSCH; PAGE 87: ISTOCKPHOTO/CARLOS ALVAREZ
Recipe for a Basic American Brown Ale
American brown ale is a slightly richer, hoppier version of the classic English brown ale style. Good examples of commercial brown ales include Moose Drool brown ale from Big Sky Brewing Co. and Sierra Nevada brown ale. The following ingredients are typically sold at homebrewing shops, and everything on this list will cost you about $35 to $40 total. You’ll need the grain (malt) to be cracked, which you can do with a rolling pin and a plastic bag, or you can ask the shop to crack the grain for you. Makes 5 gallons.
3 ounces 60L (Lovibond) crystal malt
2 ounces chocolate malt
2 ounces biscuit malt
1 ounce 550L black malt


6 pounds Muntons plain light dry malt extract (DME)

vessels (if yours has a spigot). You’ll need at least two lengths of hose that are at least 2 feet long, and one piece that is about 12 inches long.
Bottles or jugs with caps/lids. You’re going to have to put your finished beer into something, after all. I keg now, but I used to prefer to bottle in half-gallon growler jugs just like you’d get from a brew pub. Most beginning brewers decide to bottle their finished beer in 12- or 22-ounce bottles. To bottle up a 5-gallon batch, you’ll need about 53 12-ounce bottles or about 29 22-ounce bottles. Also, if bottling into 12- or 22-ounce bottles, you’ll need a capper to attach the caps to the filled bottles. It’s especially convenient to use swing-top bottles. This type of bottle is used by the Grolsch and Fischer breweries and some high-end French lemonade bottlers, so you may be able to find some to reuse.
Sanitizing liquid. Wild yeasts and bacteria are hardy microbes, and it’s simply not worth going to the trouble to brew if you’re going to ferment and bottle your beer in unsanitary containers. One of the better sanitization methods is to use a non-bleach, norinse sanitizer such as Star San or iodophor (available at homebrew stores) in your fermentation vessel, then reuse the same solution to sanitize your bottles or jugs.
Your local homebrew shop may have a “beginner’s kit” available. These
1 ounce whole leaf ‘Cascade’ hops
1 ounce whole leaf ‘East Centennial’ hops
2 packets Windsor Ale yeast (or other dried ale yeast)
11⁄4 cups corn sugar or Muntons extra light DME or 1 cup honey

will include almost everything listed here, but double-check to make sure everything is there— nothing’s worse than brewing up a batch of beer only to find out you have no way of transporting it to another vessel or bottling it.
The Basic Process
There are a few generally accepted methods of brewing beer: extract only, extract with specialty grains, partial mash, and all-grain. In this case, we’ll be using extract with specialty grains. This means we’ll steep some specialty grains for a bit to extract a little sugar and flavor from them, then add malt extract—freezedried maltose and other sugars and solids extracted from barley—as the main source of sugar (which the yeast we’ll add later will love to eat and turn into alcohol and carbon dioxide).
Here are the main steps to brewing the aforementioned basic American brown ale.
1Sanitize your primary fermenter with whichever sanitizer you choose.
2In the brew kettle, boil 3 gallons of water. Then, pour the water into a fermentation bucket (not the one in which you intend to do your primary fermentation).
3Heat 2.5 gallons of water to 150 degrees Fahrenheit in your brew
Start with the grain.
kettle—this is now called the hot liquor.
4Using a grain bag, steep the crystal, chocolate, biscuit, and black malts in the hot liquor for 20 minutes, stirring regularly and maintaining the temperature of 150 F.
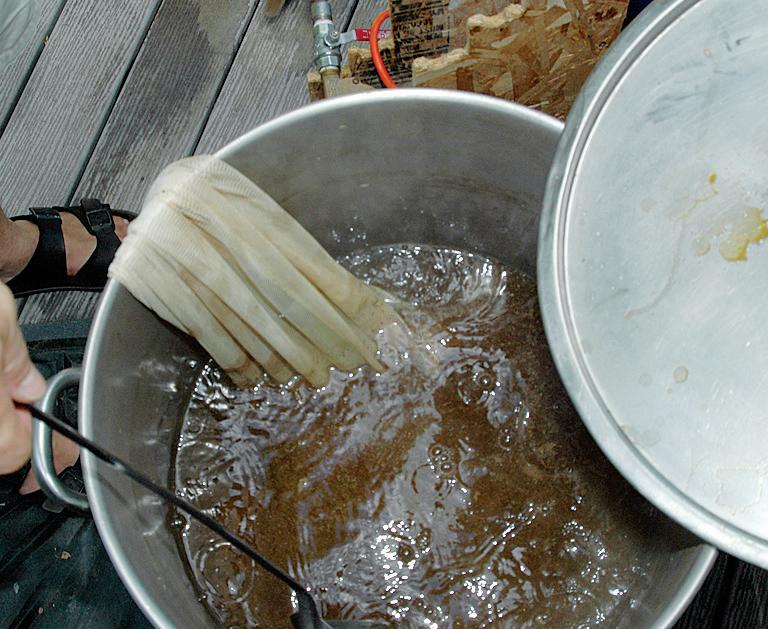
5 Remove the grain bag from the kettle and add a half-gallon of water and the dried malt extract (DME) Stir vigorously to dissolve all of the DME.
6 Bring to a boil, being extremely careful not to let it boil over. When at a boil, add the ‘Cascade’ hops (in hop bag). Maintain rolling boil.
7 After 30 minutes, add ‘Centennial’ hops in another hop bag. Maintain rolling boil.

WWW.MOTHEREARTHNEWS COM 91
Whether you brew inside on a kitchen stove or outside over propane, the steps are the same.
CLOCKWISE FROM OPPOSITE BOTTOM LEFT: MEGAN PHELPS, KELLAN BARTOSCH, MEGAN PHELPS (3)
8


After another 30 minutes, turn off the heat and let the kettle sit for 10 minutes.
9 Remove the hop bags—after pressing with a spoon to remove any extra wort (it’s now officially called wort, by the way)—then pour the wort into the primary fermentation vessel, preferably a plastic bucket with a spigot.
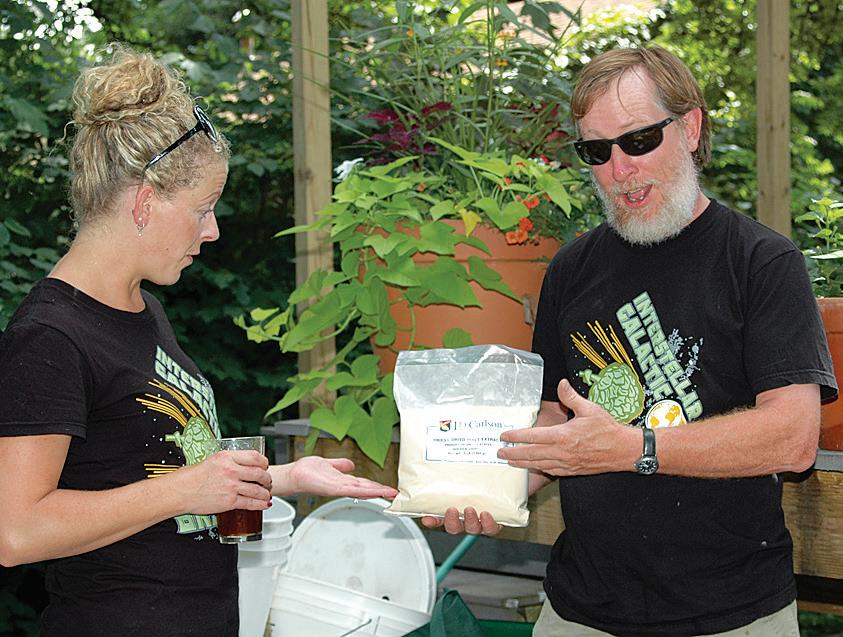
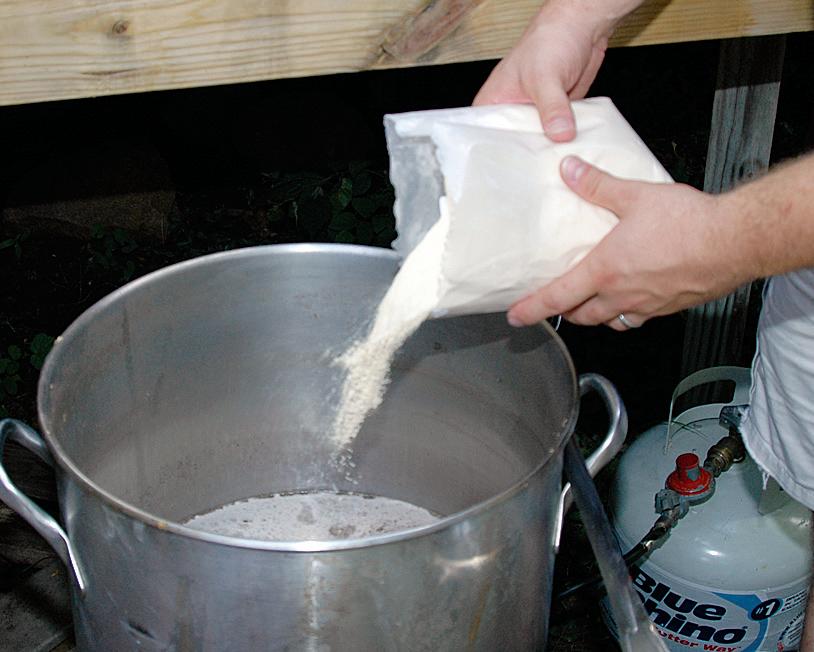
beer go in the primary fermenter for two weeks, or until active fermentation is complete (no bubbles within 90 seconds of watching).
10
From the other bucket, pour in enough water to reach the 5-gallon mark on the primary fermenter. Attach lid and air lock filled with sanitizer liquid.
14 You have options at this point. You can either bottle your beer right now, which means you can be drinking it within another two or three weeks, or you can siphon your beer into a secondary fermenter, which will help it clarify before you bottle it. If bottling now, go to step 16.
hose to the primary fermenter spigot and run the beer into the secondary fermenter. When complete, attach lid and air lock to the secondary fermenter and let sit another two weeks.
16 To bottle, sanitize your bottling bucket according to the directions on your sanitizing solution’s label. In the bottling bucket, sanitize all the bottles/jugs and caps/lids you’re going to use, as well as your brewing spoon, one long length of plastic hose, and the 12-inch length of hose. You
11
Let the bucket sit until it reaches almost room temperature. Remove the lid and add both packets of ale yeast. Re-attach lid and air lock, and swirl the fermenter to dissolve the yeast and aerate the beer.
15Sanitize your secondary fermenter and a length of hose, then run some sanitizer over the spigot of the primary fermenter—you got one with a spigot, right? Attach the
12
Set the fermenter in a spot with an ambient temperature between 60 and 70 F.
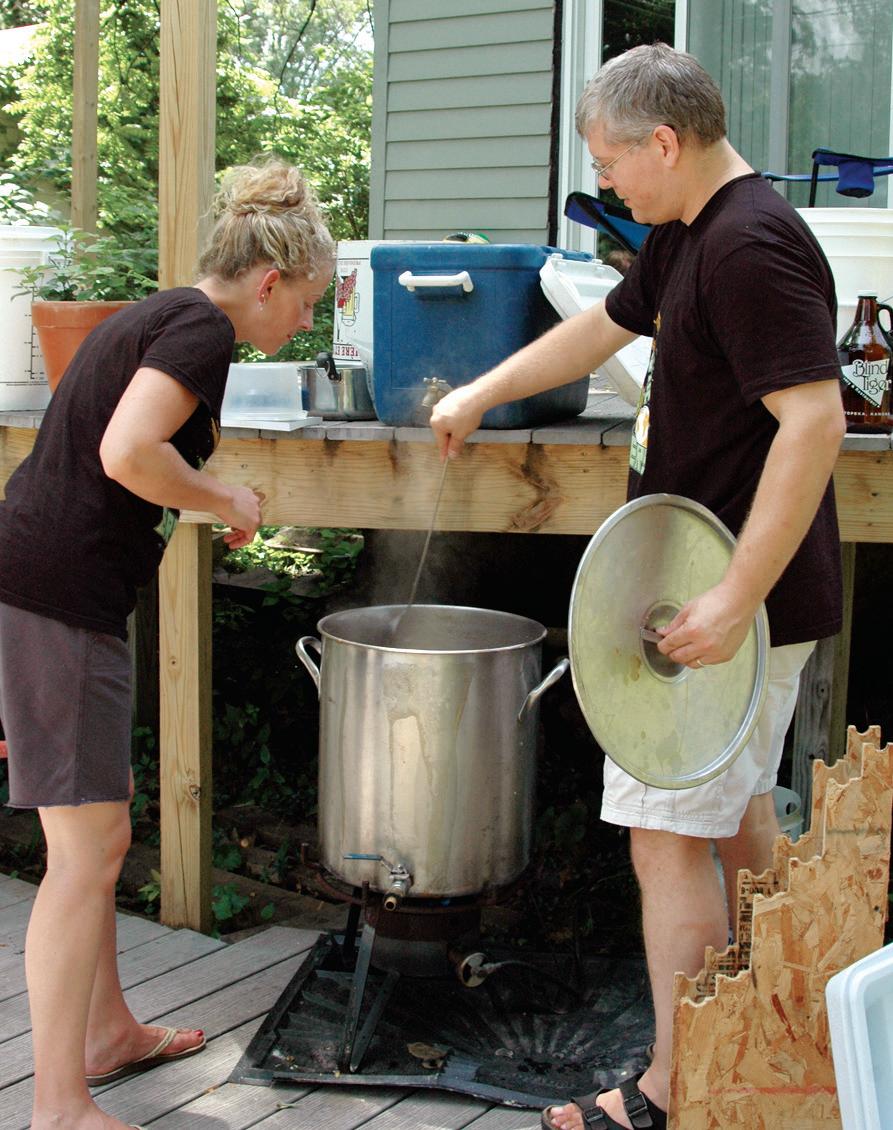
Wait. Within 16 hours, you should see activity in the air lock, which will bubble periodically. Let the


13
You can buy hops as dried leaves or as hop pellets (below), and you can easily grow hop plants at home.
Use lots of hops!
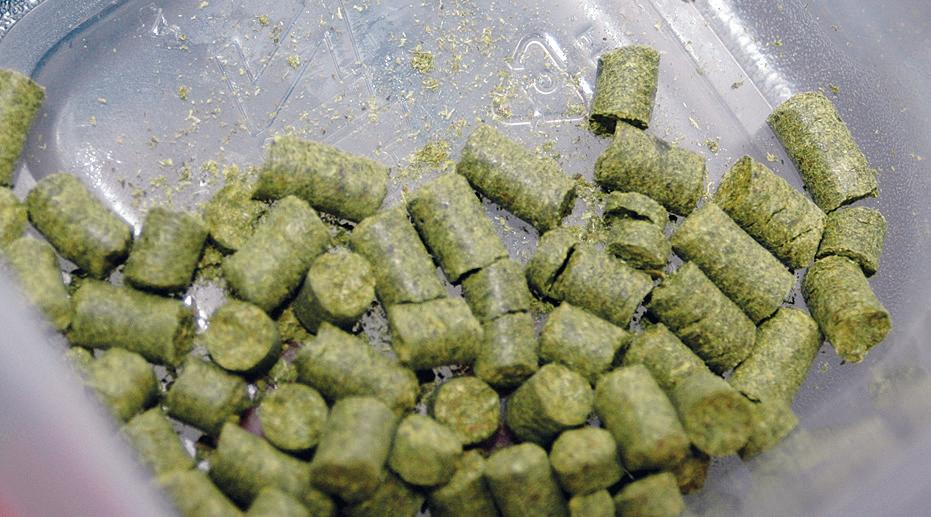
92 MOTHER EARTH NEWS • PREMIUM GUIDE TO LIVING ON LESS
Then add the malt.
may also want to sanitize the spigot of the bucket you’re running the beer out of (use a very clean sponge or Q-tip soaked in sanitizer). Set the bottles and caps (or jugs and lids) aside and pour out the sanitizing solution.
and you’ll have a fine Extra Special Bitter.
17
In a small saucepan, bring 2 cups of water and 1 1 ⁄ 4 cups corn sugar to a boil. (You can also use 1 1 ⁄ 4 cups of extra light dried malt extract, or 1 cup of honey—I prefer honey.) Ensure the mixture has homogenized, then turn off the heat.
Also, read up. The de facto introduction to homebrewing is Charlie Papazian’s The New Complete Joy of Homebrewing His Homebrewer’s Companion is also excellent, but don’t stop there.

If you’re looking to brew a specific style, look for Brewer Publications’ “Classic Beer Style Series.”
18

As soon as you’re ready to go, pour the sugarwater mixture into the bottling bucket. Then, you can stir as the beer runs into the bottling bucket, but stir gently so as to not aerate the beer.

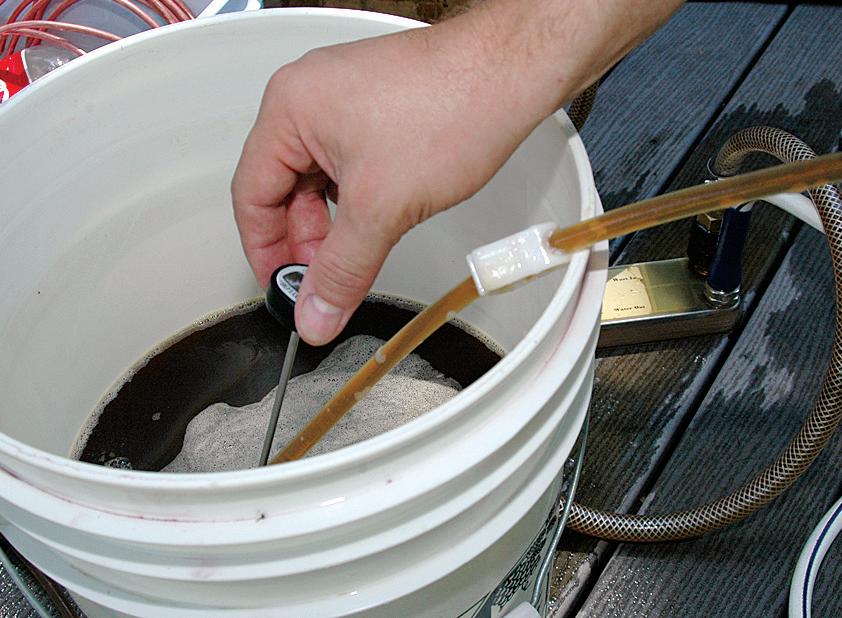
When you think you’ve learned everything there is to know, check out An Analysis of Brewing Techniques by Laurie and the late George Fix, and be humbled. Your local library will probably have at least one of these, and would be able to get the others for you via interlibrary loan.
19
After the beer is in the bottling bucket, attach the 12-inch length of hose. This will make bottling the beer easier. Run the beer into your containers and attach the lids as you go. This is the most tedious part of the entire process, but it’s worth it.
Resources and More
After you’re finished with your first batch, you’ll probably wonder where to go from there. Well, try experimenting with the recipe.
I find it’s a lot more fun (and easier and cheaper) to brew with fellow enthusiasts, and fortunately, there is a vast network of homebrew clubs.

20
After you’ve finished capping all of your bottles, set them in a not-too-warm spot and forget about them for a few weeks.
Add a couple more ounces of hops, a few more ounces of crystal malt, and another pound or two of malt extract,
Find a club through the American Homebrewers Association at bit. ly/2LhkMuL. If you don’t find one in your community, that means you get to be a groundbreaker and start one yourself!
21
After two or three weeks, depending on how warm it is, check in on your brew. Shake a bottle to see whether bubbles form rapidly. Uncap one to check it out. If it doesn’t hiss—and you know what a properly carbonated beer hisses like, I imagine—seal it up again and wait another week. Check it again after that—chances are it’ll be ready. You can leave most of the bottles at room temperature and chill only what you want to drink, but this type of beer is best if consumed two to three months after it was bottled.
22 Do enjoy it, eh?
For advanced procedures, techniques, equipment, and recipes, the Internet has you covered. The Brews and Views Forum (www.brewsandviews. com) and Northern Brewer Homebrew Forum (forum. northernbrewer.com) are among the best beer discussion groups on the Web.
Don’t be afraid to ask questions on these forums, but always try searching for your question beforehand to see whether it has already been answered. Also be sure to check out the many homebrewing articles in the Mother Earth News Archive at bit.ly/2mrnq3b.

If you ever brew that chocolate cherry ancho pepper porter, send me a bottle, won’t you?

WWW.MOTHEREARTHNEWS COM 93
Wait ... then enjoy! Check the temperature. Add the yeast.
(7)
Five weeks after brewing, the beer has finished fermenting and the author enjoys a glass.
MEGAN PHELPS
FRESH PASTA FROM SCRATCH Traditional, Whole-Grain, or Gluten-Free


Homemade pasta begins with humble ingredients: flour and eggs.
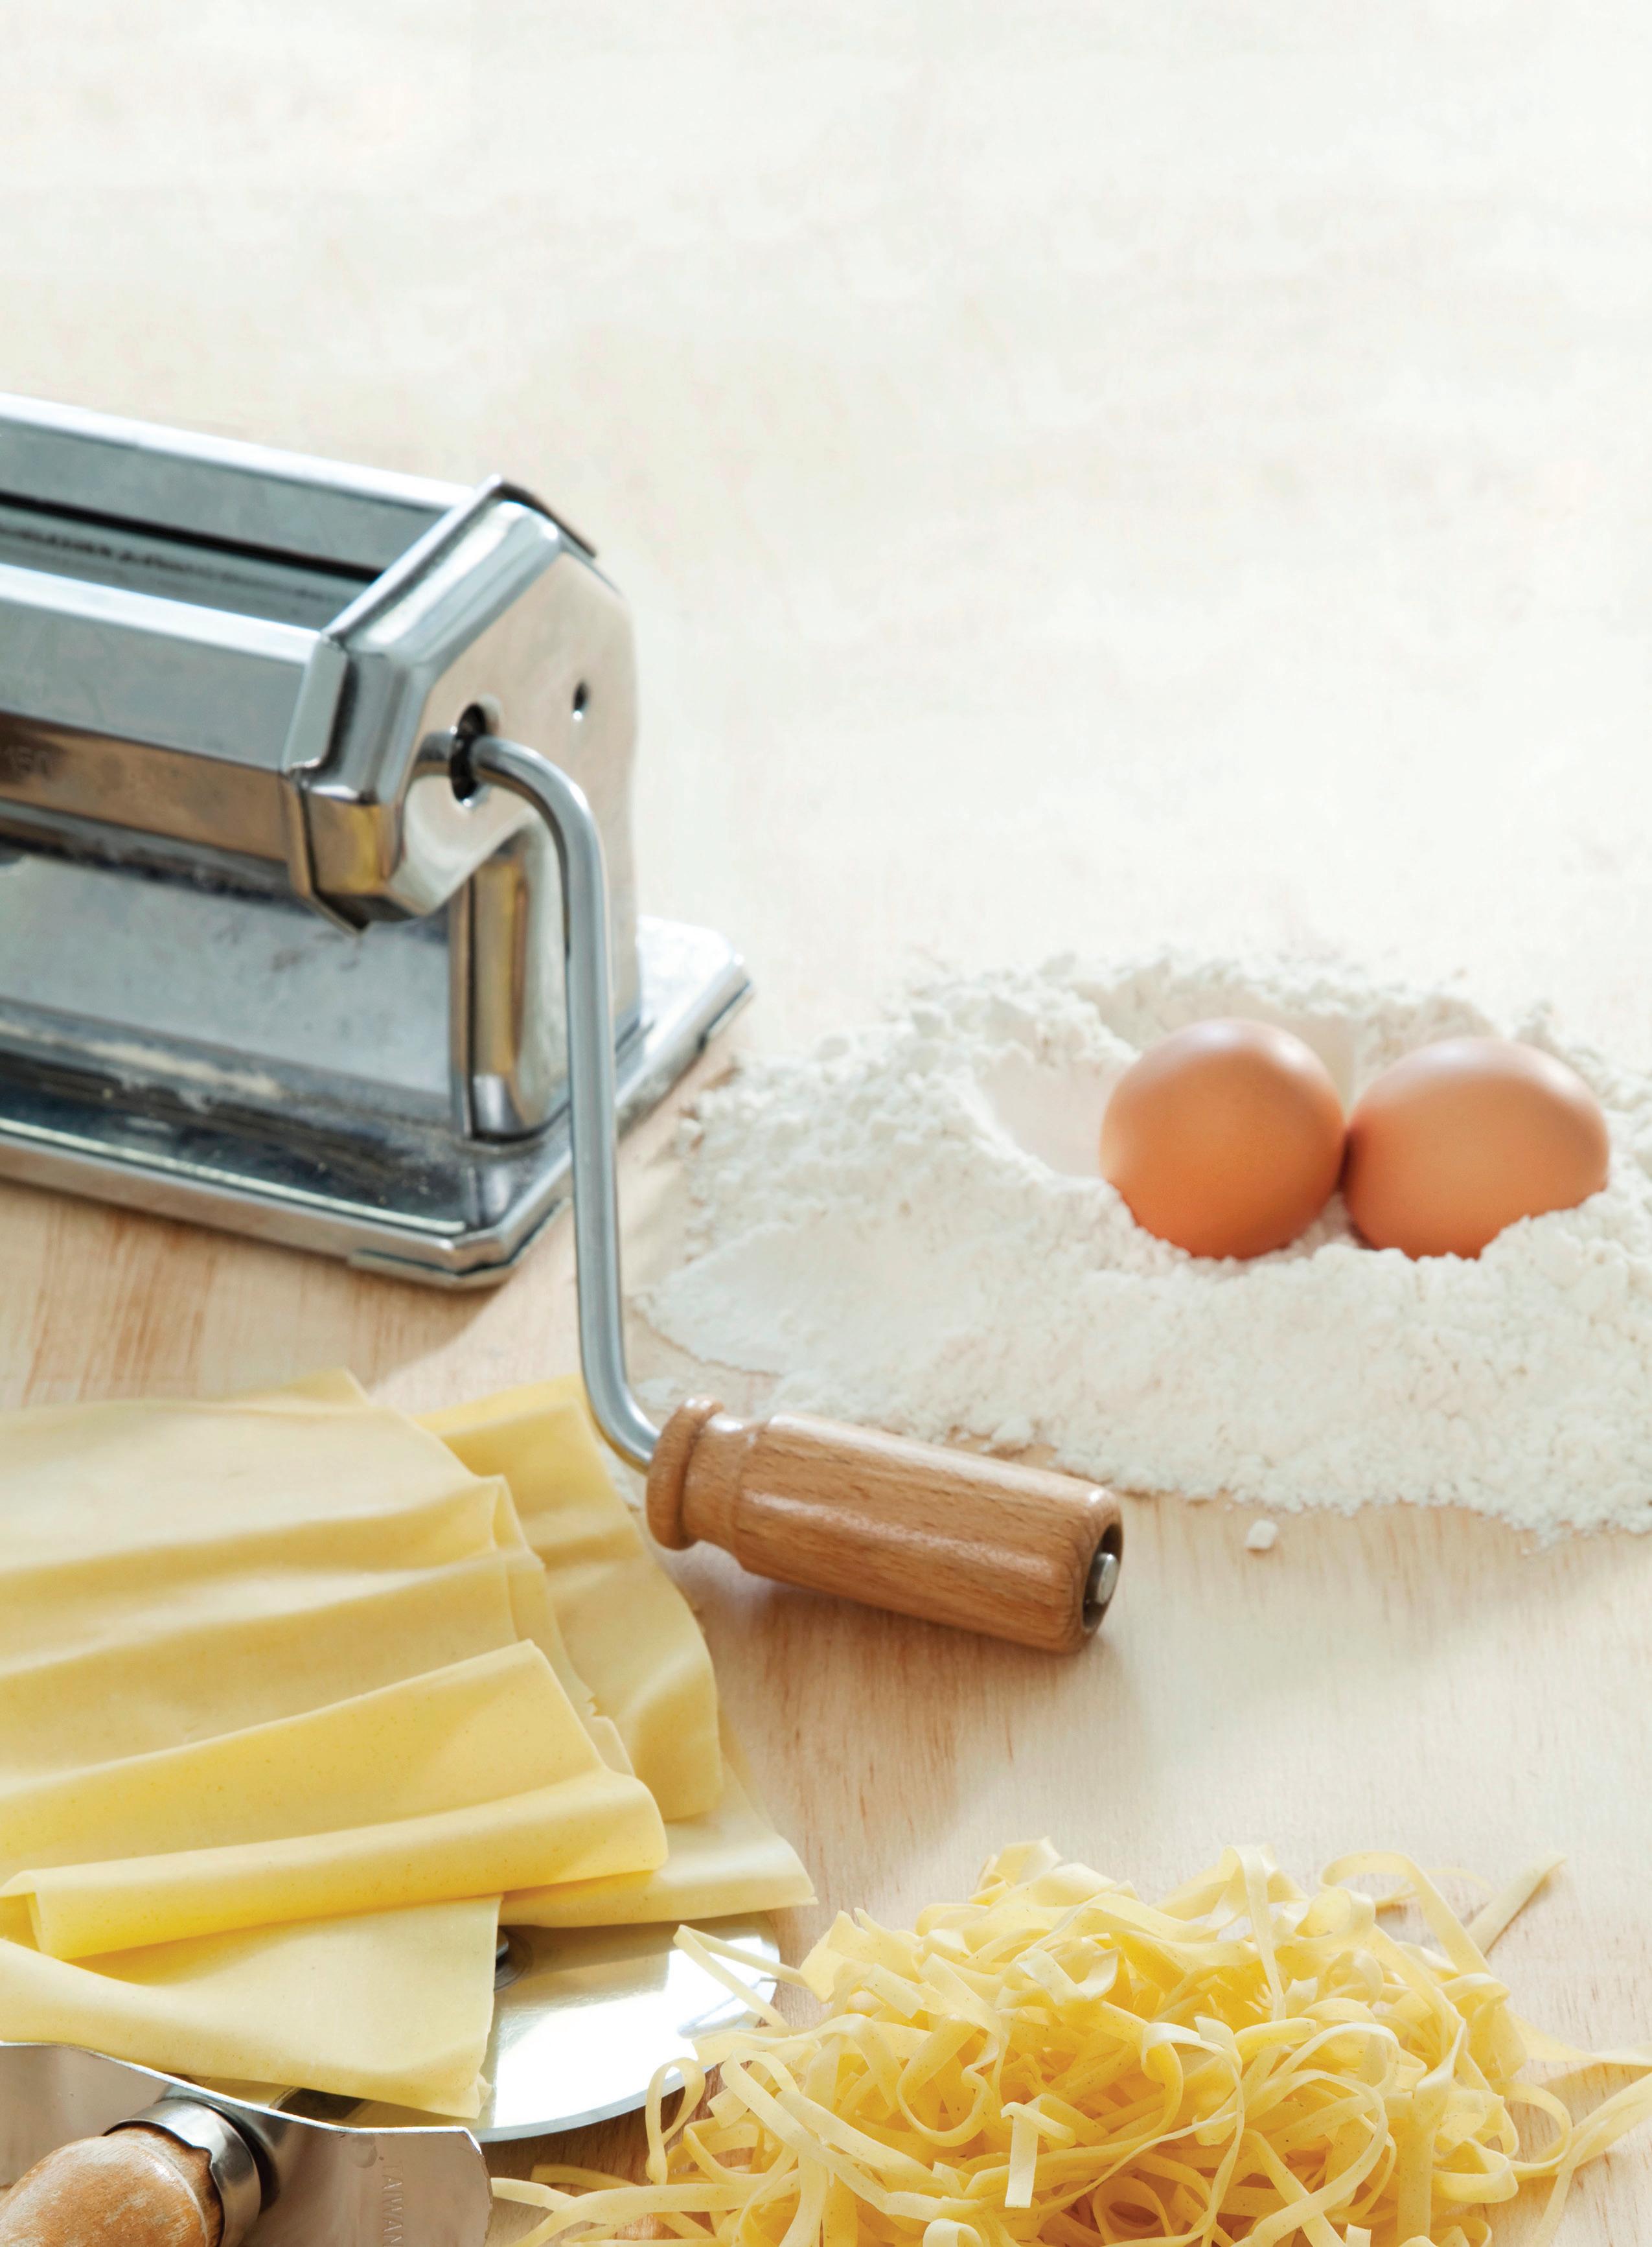 By Domenica Marchetti
My Italian-born mother made fresh pasta often when I was growing up. I would stand across the kitchen counter and watch as she fed strips of supple dough through her hand-crank pasta roller and then cut them into noodles—wide lasagna, long fettuccine, or square-cut maccheroni alla chitarra, a specialty of her native Abruzzo.

It was once thought that Marco Polo “discovered” noodles during his travels through China. But evidence suggests that pre-Roman Etruscans were making a form of pasta using ground cereals and grains mixed with water. The Romans enjoyed a wide ribbon-like pasta called “lagane”—the precursor to lasagna—as early as the first century.
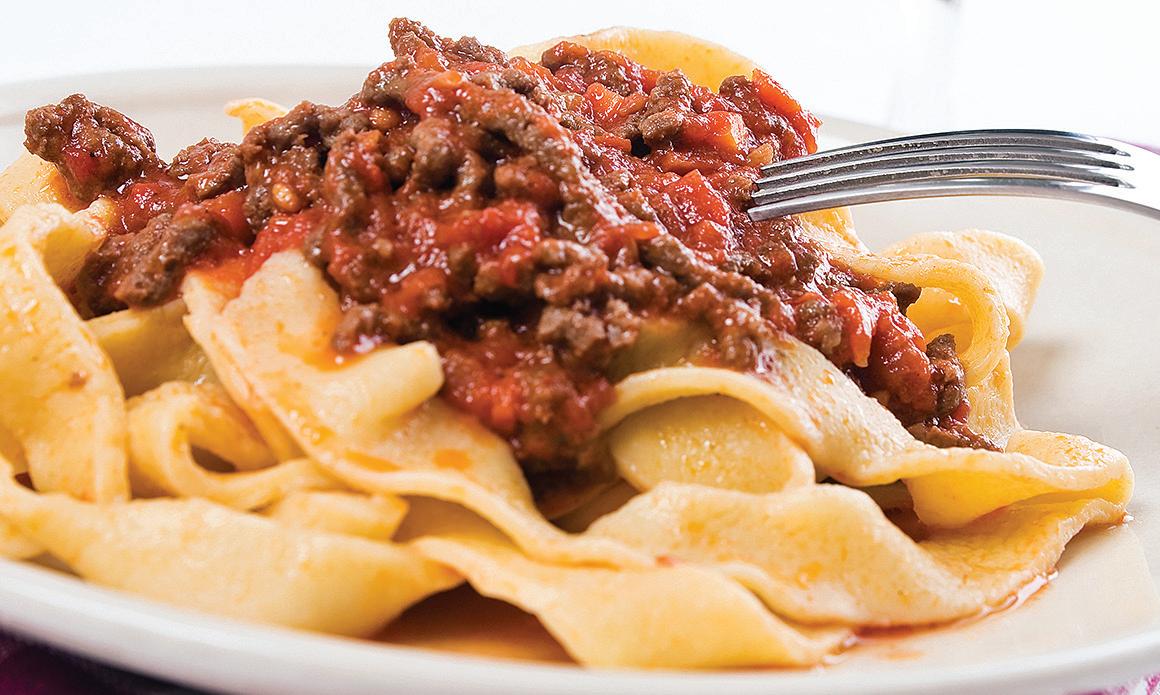
The history of pasta in the United States is almost as old as the nation itself. Thomas Jefferson, who traveled to Italy in 1787, shipped a pasta machine from Naples and served macaroni (the English rendition of maccheroni ) when he was president.
What’s the enduring appeal? For one thing, pasta is economical, comprising, in its most basic form, nothing more than flour and eggs, or even just flour and water. It’s versatile—you can form it into countless shapes, and, depending on how you sauce it, it will easily accommodate everyone’s tastes, from the most adherent vegetarian to the most unapologetic carnivore— and, especially, picky children.

Beyond all of those practical reasons, making homemade pasta is simply a rewarding experience. I get a ridiculous sense of accomplishment when I look at a batch of gorgeous noodles, coiled into nests, that I have just finished cutting. My pasta is never perfect; my half-moon ravioli are always a little off-kilter, my noodles not all the same length. But that is the beauty of making your own pasta. It looks, feels, and tastes homemade.
If there is a secret to making good pasta at home, it’s this: Just relax. The more you touch and handle the dough, the more familiar you will become with how it should feel— how firm and how smooth it should be.
Most Italian home cooks make basic egg pasta dough using soft wheat flour classified as “00” flour. It is finer than unbleached all-purpose flour and, in my opinion, turns out silkier dough that maintains an appealing chewiness when cooked. One flour can easily substitute for the other, however, and you can make perfectly good pasta using unbleached all-purpose flour, which is cheaper and easier to find. Semolina flour, made from coarsely ground high-protein durum wheat, is used to produce pasta that has a good “tooth,” but it can be expensive. Just a little added to a recipe will accomplish that toothsomeness.
Although I occasionally mix pasta dough the traditional way by mounding flour on the countertop and breaking eggs into a
Cut your homemade pasta into a variety of shapes, from orecchiette (little “ear-shaped” cups) to fettuccine to squares for soup.
Fresh Egg-Noodle Dough
This is a good all-purpose recipe for homemade pasta. The grains of the semolina flour act as tiny ball bearings on the kneading board, keeping the dough from sticking. Yield: 1 pound pasta dough; serves 4.
2½ cups “00” flour or unbleached all-purpose flour
1 tbsp semolina flour, plus more for dusting your work surface
½ tsp fine sea salt


Pinch of freshly grated nutmeg
3 extra-large eggs
1 to 2 tbsp extra-virgin olive oil
Put 2 cups plus 2 tablespoons flour, 1 tablespoon semolina flour, the salt, and nutmeg into a bowl or the work bowl of a food processor, and stir or pulse briefly to combine. Add the eggs and 1 tablespoon of the olive oil. Stir or process until the mixture forms small curds. Pinch together a bit of the mixture and roll it around in your hand. It should form a soft ball. If the mixture seems dry, drizzle in remaining 1 tablespoon of oil. If it seems too wet and sticky, add additional flour, 1 tablespoon at a time. Turn the mixture out onto a work surface sprinkled with semolina flour. Press into a ball and knead until the dough is smooth and silky. Wrap and let rest at room temperature for 30 minutes, then shape as described in “Shaping and Cooking” on Page 96.
WWW.MOTHEREARTHNEWS COM 95
Fresh pastas are so easy to make that you can enjoy homemade noodles any time.
FOTOLIA/MI.TI.; TOP: FRANCE RUFFENACH/COURTESY CHRONICLE BOOKS; PAGE 94: STOCKFOOD/GREAT STOCK
flour “well,” I usually take a shortcut and use my food processor. Remember that, when mixing dough for fresh pastas in a food processor, you should start with the smallest amount of flour listed in the recipe. If the dough is sticky, work in more flour as you knead.
Shaping and Cooking
For basic noodles, use a rolling pin to roll out the dough up to one-quarter-inch thick, then cut the dough into strips or squares with a sharp knife. View a helpful video on rolling dough and shaping noodles by hand at goo.gl/tJ4euT. Or, use a pasta machine to stretch and cut the dough. Read more about using pasta machines at www.motherearthnews.com/homemade-pasta.
To cook fresh pasta, bring a large pot of generously salted water to a rolling boil. Add your noodles, which cook quickly. Begin
Whole-Wheat Noodle Dough
This eggless fresh pasta dough yields appealingly chewy results. I use it to make fettuccine and also homemade orecchiette (bite-sized, “ear-shaped” pasta). The noodle dough can also be stretched and cut into short strips, perfect for adding to hearty vegetable and bean soups. Yield: 1 pound pasta dough; serves 4.
1½ cups whole-wheat flour
¾ cup “00” flour or unbleached all-purpose flour, plus more for dusting your work surface
½ tsp fine sea salt
1 tbsp extra-virgin olive oil, plus more if needed
½ cup tepid water


Put the flours and salt in a bowl or the work bowl of a food processor, and stir or pulse to combine. Drizzle in 1 tablespoon olive oil and continue to stir or turn on the machine. Slowly add the water, adding only as much as you need for the dough to form. Pinch together a bit of the mixture and roll it around. It should form a ball. If the mixture seems dry, add a few more drops of olive oil and stir or pulse briefly. If it seems too wet or sticky, add 1 tablespoon of flour at a time, and stir or pulse briefly.
Turn the mixture out onto a work surface sprinkled lightly with flour. Press it together to form a rough ball, and knead for several minutes until the dough is smooth and silky. Wrap tightly and let rest at room temperature for 30 minutes before shaping as described in “Shaping and Cooking” above.
checking for doneness by tasting a piece after just a couple of minutes. The pasta should be tender, but not soft or mushy. Drain the pasta in a colander set in the sink.
Toss cooked noodles with butter and freshly grated ParmigianoReggiano cheese, or with a hearty meat ragu—and don’t forget vegetables. One of my favorite ways to dress fresh noodles is with shredded zucchini sautéed briefly with garlic in olive oil, all topped with a shower of chopped fresh basil and Parmigiano cheese. Here are instructions and three recipes—one for basic egg pasta dough, one for whole-wheat dough, and one for gluten-free dough—to get you started in turning out personalized pasta.
Domenica Marchetti cranks out pasta and other Italian recipes for her family in Alexandria, Virginia. She is the author of The Glorious Vegetables of Italy (available at www.motherearthnews. com/store) and The Glorious Pasta of Italy.
Gluten-Free Noodle Dough
In this recipe, from Gluten-Free Pasta by Roben Asbell, powdered whey gives the dough strength and structure. Find the guar gum and xanthan gum at health food stores or online. Yield: 1 pound pasta dough; serves 4.
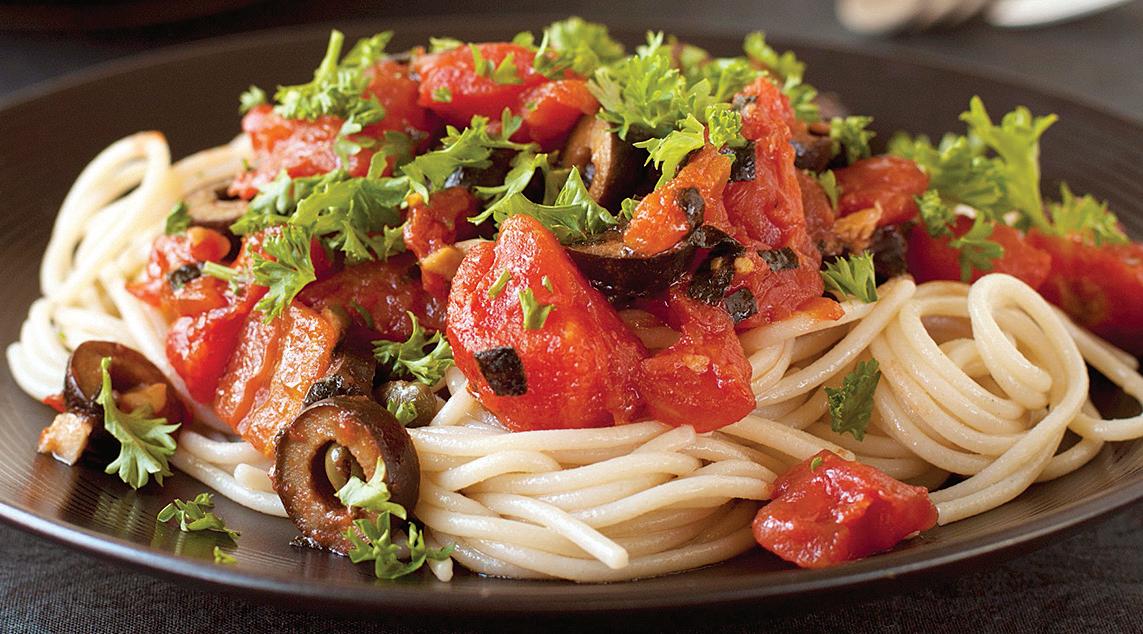

¾ cup arrowroot starch, plus more for dusting your work surface
½ cup tapioca flour
¼ cup sweet rice flour
¹/3 cup millet flour
3 tbsp whey protein powder or ¾ cup nonfat dry milk
1 tbsp guar gum


1 tsp xanthan gum

½ tsp fine salt


3 large eggs
3 to 4 tbsp water
Measure the arrowroot starch, tapioca flour, sweet rice flour, millet flour, whey protein, guar gum, xanthan gum, and salt into a bowl or the work bowl of a food processor and stir or pulse to combine. Add the eggs and 3 tablespoons water, and stir or process until the dough gets stiff. Transfer dough to an arrowroot starch-dusted countertop and knead for 3 minutes, until smooth and flexible. Wrap and let rest at room temperature for 30 minutes, then shape as described in “Shaping and Cooking” above.
96 MOTHER EARTH NEWS • PREMIUM GUIDE TO LIVING ON LESS
STOCKFOOD/STEPHANIE WEAVER; LEFT: FOTOLIA/TOMO JESENICNIK
HOMEMADE MAYO 5-Minute
Craft this creamy condiment with five natural ingredients.

Ihaven’t always been a fan of mayonnaise because of the added preservatives in store-bought options. But my feelings about this condiment changed when I discovered how to make it at home in less than five minutes, and with just five ingredients. Goodbye, store-bought stuff. Hello, homemade goodness!
My condiment consumption has been revolutionized thanks to emulsion, which is the art of blending two different liquids that normally don’t mix. I failed several times before mastering this tricky procedure. You can emulsify the eggs and oil in this recipe by hand or with a machine. Doing it by hand requires more patience and stronger wrists than I possess, as the oil must be stirred vigorously into the egg mixture. Mixing mayonnaise with a food processor or a blender is much easier. I use a Vitamix for its quick performance, but I have to stay on my toes because the powerful blades can generate heat that can destroy the emulsion in the blink of an eye. Other blenders and food processors are more forgiving. You’ll need a couple of practice rounds to get the hang of pouring the oil. Start the pour very slowly, and then increase the pouring rate as the liquids begin to blend. If you over-mix the eggs and oil, the emulsion will break. You’ll know this has happened if your mixture becomes a yellowish liquid with white chunks. For advice on fixing a broken emulsion, see goo.gl/tASEM4.
Mar velous Mayonnaise


Be mindful of the source of your eggs because you’ll be consuming them raw in homemade mayo. I only use the freshest eggs, carried just 100 feet from the nesting box to my kitchen. Also, I prefer cold-pressed safflower oil for homemade mayo.
Yield: about 2 cups.
Directions: Add the eggs, salt, Dijon mustard, and lemon juice to a blender or food processor and turn on the machine, beginning at the lowest speed. Steadily move up to high


speed. While the motor runs on high, dribble the oil very slowly into the egg mixture. After the liquid starts to thicken, pour the oil at a slightly faster rate. When the motor slogs, dump in the rest of the oil as quickly as possible and shut off the machine. The result should be a creamy mixture with streaks of oil on the surface. Spoon the mayonnaise into a jar and stir in by hand any oil that’s settled out. Don’t worry if your homemade mayo is a little runny, because it will thicken as it cools in the refrigerator.

WWW.MOTHEREARTHNEWS COM 97
Article and photo by Lyndsay Dawson Mynatt
Ingredients • 3 eggs • 1 ⁄ 2 tsp salt • 1 ⁄ 2 tsp Dijon mustard • 1 ⁄ 4 cup lemon juice • 11 ⁄ 2 cups oil
Simply Dill-icious
PICKLES
These three basic methods put perfect pickling within the grasp of every preserver. Just pick a pickle recipe and get started!
By Tabitha Alterman
Easy-to-prepare pickles pack a powerful punch of flavor and crunch. Even kitchen novices can learn in a flash how to make pickles and quickly concoct their own unique blends of preserved vegetables and fruits to add a tangy zing to everyday meals.
You can preserve vegetables using these three basic methods: lactic fermentation (cured with salt), canning (heated in a vinegar brine and occasionally pre-soaked in a lime solution), and refrigeration (immersed in a vinegar solution). Each type of homemade pickles described here includes a simple recipe for you to try.
Fermented Pickles
Many pickle enthusiasts swear fermentation yields more complex flavors than you get from pickles made with vinegar. Also called “crock pickles” or “brine pickles,” they are acidified by lactobacilli bacteria and yeasts— microbes that thrive without oxygen while submerged in brine. These microbes suppress the growth of other microbes that cause spoilage. The lactobacilli also produce B vitamins and flavor compounds. These probiotics may improve digestive, intestinal and immune function.
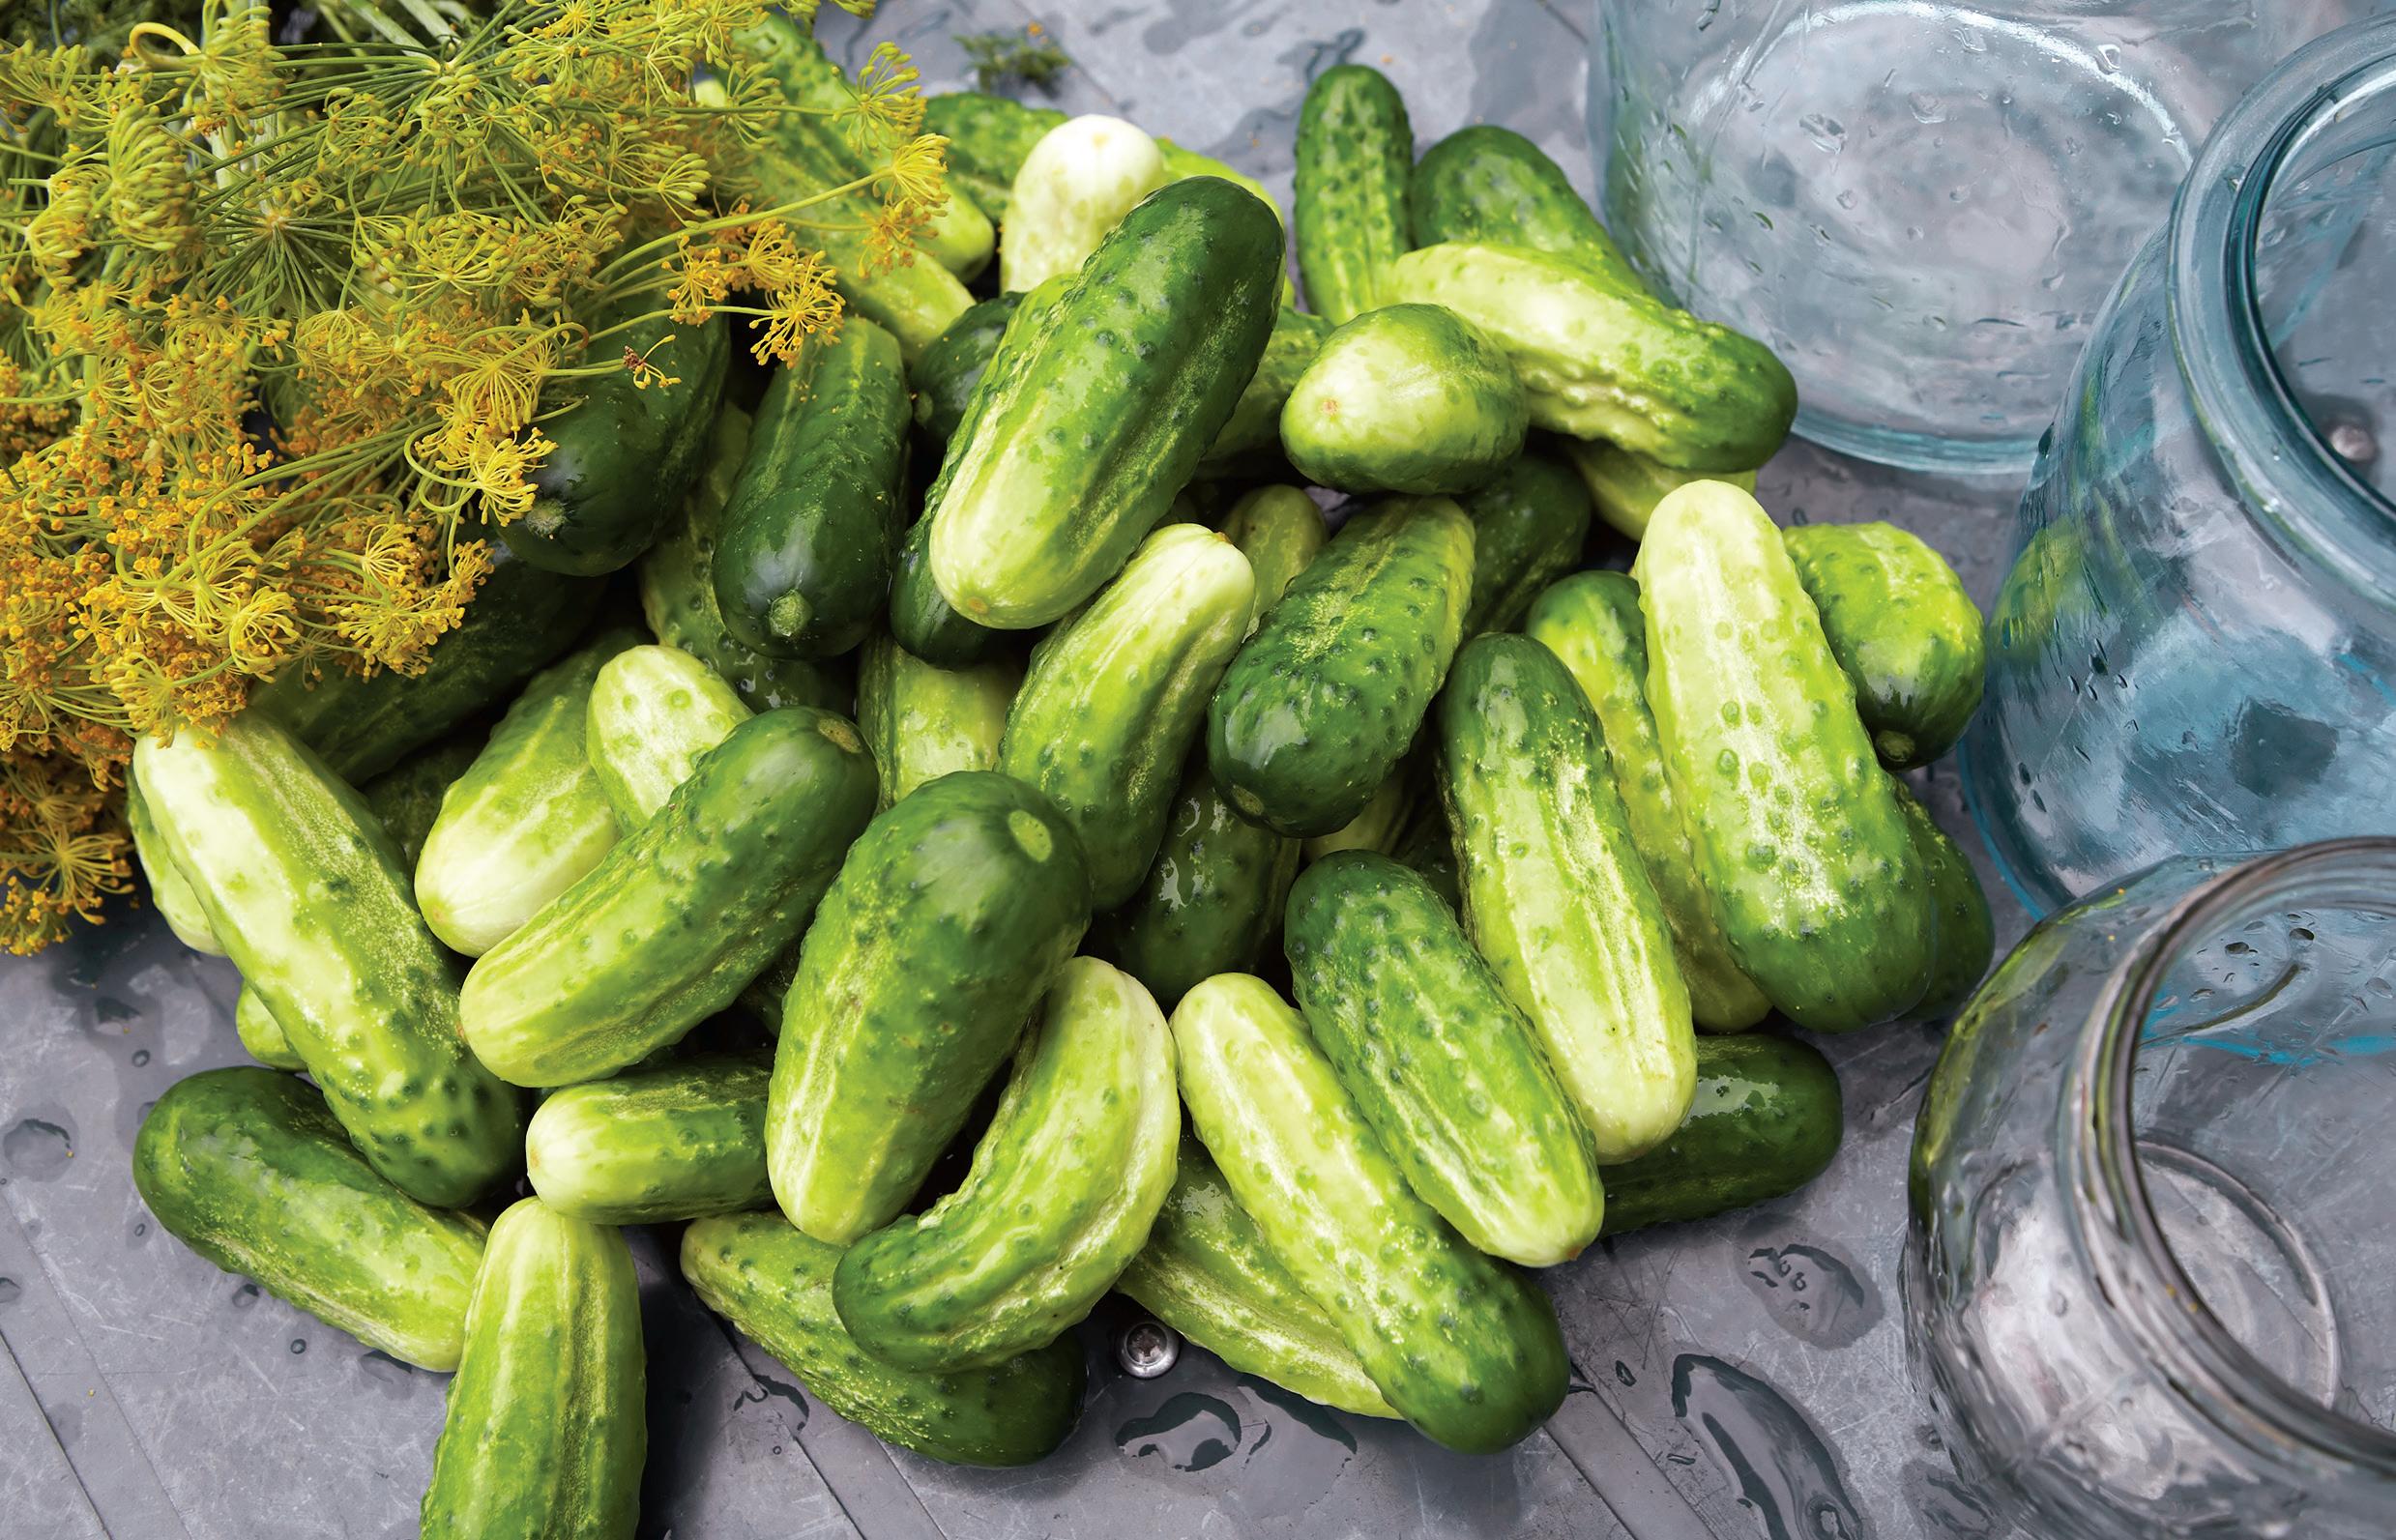
The basics: Mix food with flavorings and place inside crock. Make pickle brine and pour into crock. Cover with

a weight to keep food submerged, and drape with a towel to keep out dust. Ferment at room temperature for 2 or more weeks. Check container daily, and skim any scum from the top. Fermentation bubbles may be visible. Taste pickles regularly.

When your fermented pickles reach a flavor you like, you have three options for storing them:
1. Refrigerate to slow lactic fermentation. Pickles should last 4 to 6 months this way. Note that pickled vegetables last longer than pickled fruits, which generally keep well for only 2 to 3 months.
2. Store in a dark, cool spot, such as the basement, where your homemade
98 MOTHER EARTH NEWS • PREMIUM GUIDE TO LIVING ON LESS
ISTOCK/FRAGLESS
pickles will continue to ferment but should stay tasty for several months.
3. Can fermented pickles for extended storage. The heat of canning compromises their crisp texture and kills the beneficial bacteria, but the flavor will remain. Canned fermented food could last a couple of years.
FERMENTED KOSHER DILL PICKLE RECIPE

This recipe, adapted from Linda Ziedrich’s The Joy of Pickling, uses grape, oak, or sour cherry leaves, which contain tannins believed to help keep fermented homemade pickles crisp. Store-bought, canned grape leaves will also do the trick. Yield: 1 gallon.
Equipment
Clean, gallon-sized glass jar or ceramic crock
Gallon-sized plastic bag or fitted crock weights
Ingredients
1 handful clean grape, oak, or sour cherry leaves (optional)
Approximately 6 pounds of 4- to 5-inch unwaxed pickling cucumbers (preferably freshly picked), scrubbed and rinsed
Peeled cloves from 2 to 3 heads of garlic
2 quarts water
1 cup cider vinegar
6 tbsp unrefined sea salt or pickling salt
1⁄ 4 cup dill seed or 2 handfuls dill fronds
Place leaves in the bottom of a clean crock. Slice blossom ends off the cucumbers and pack cucumbers into the crock, smallest ones first, adding garlic cloves throughout. Do not fill crock more than 2 ⁄ 3 full.
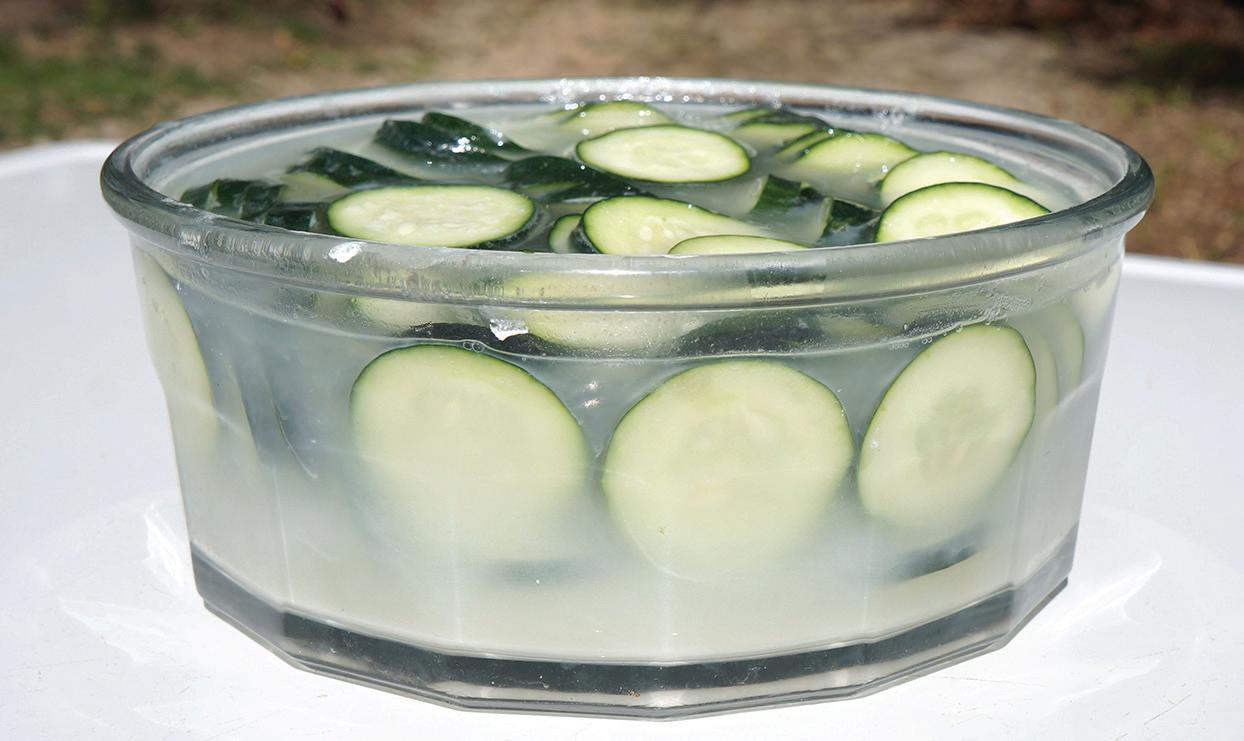
In a separate container, stir together water, vinegar, salt, and dill until salt dissolves. Pour this brine over cucumbers until liquid is an inch above cucumbers when you’re pressing them down. If your crock has weights, set them on top of the cucumbers to submerge them.
If you don’t have special weights, fill a gallon-sized plastic bag with water and set it on top to keep cucumbers submerged. Cover crock with towel to keep out dust.
Ferment pickles for 1 to 4 weeks at room temperature, checking crock daily. Scum may develop on top; this is normal. Carefully lift off weight and rinse it to remove scum. Skim scum from top of container before replacing weight and towel. Don’t worry about getting every last bit, but do this daily.
You may notice bubbles after the first few days, indicating lactic fermentation is underway. After a week, begin tasting the pickles daily. Keep fermenting until you enjoy the flavor. Pickles should be translucent throughout.
To store, place crock in a cool, dry, dark spot (the basement, for example), or remove pickles to smaller, lidded con-
tainers in the refrigerator. (If using metal lids, place a piece of plastic wrap between the container and the lid.) You may rinse fermented pickles and cover them with fresh pickle brine and seasonings, or strain and reuse your original brine. Pickles’ flavor will improve after about a month in cooler conditions.
Note: The brine should develop a yeasty aroma that is pleasant, never putrid. If pickles become slimy or moldy during fermentation, discard them and try again.
To can homemade pickles, process quart jars with 1 ⁄ 2 -inch headspace in a boiling water bath for 15 minutes. (Bone up on canning how-to with our Home Canning Guide at www.motherearthnews.com/canning.)
www.MotherearthNews coM 99
Tangy, fermented dill pickles complement many sandwiches and contain healthy probiotics.
Cucumber slices soaked in pickling lime will keep their crunch when canned. HANNAH KINCAID; TOP: DREAMSTIME/ANGELA CABLE
Canned Vinegar Pickles
Most modern pickling recipes rely on an acetic acid (vinegar) solution and heat treatment to preserve the vegetables. The resulting flavor is simple and sharp.
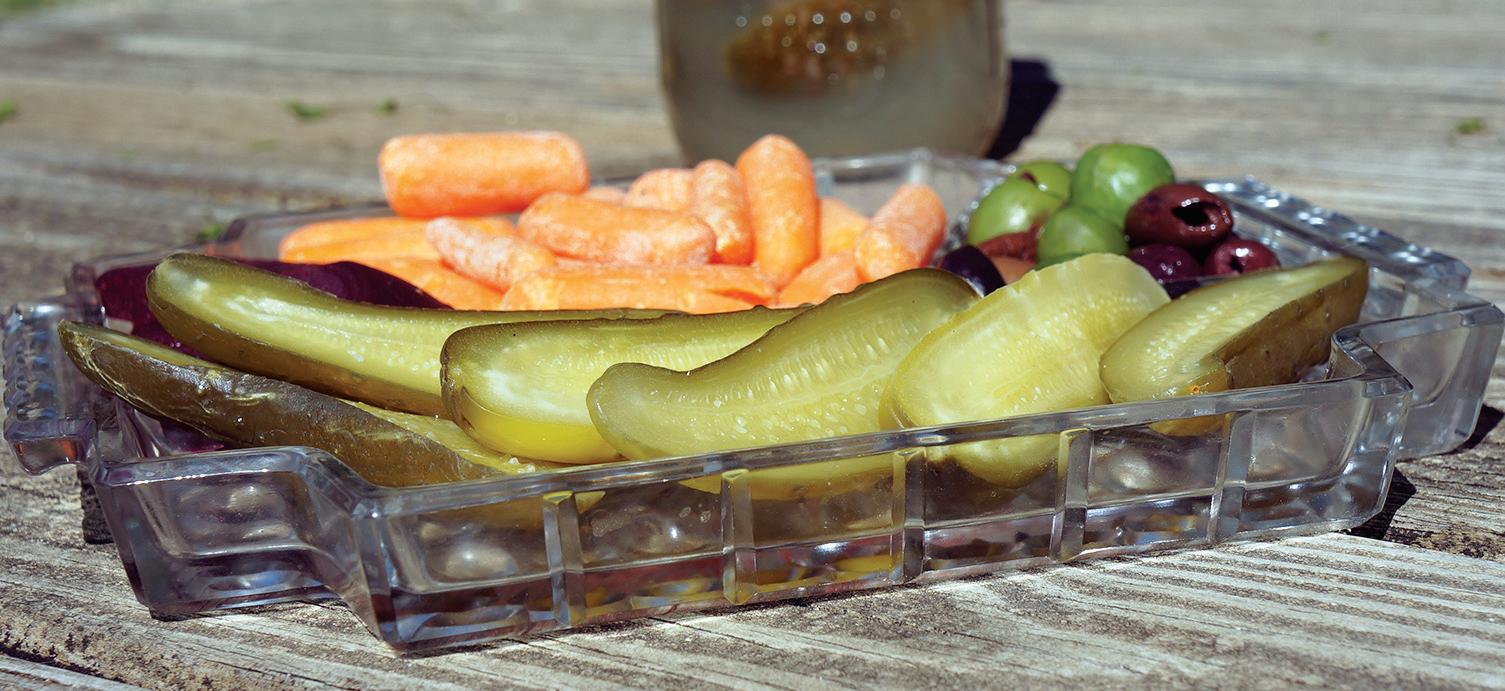
Vinegar pickles can be sweet, spicy, or extremely sour. Popular examples include bread-and-butter pickles, sour gherkins, and dilly beans. You must use vinegar with at least 5 percent acidity to produce pickles that are safe for long-term storage. Distilled white vinegar is the popular choice because it’s cheap and won’t darken
pickles, and because its flavor is mild in comparison with those of cider, malt, and wine vinegars. Avoid using rice vinegar and homemade vinegars, because their acidity usually is too weak. Always use canning recipes that have been tested for safety.
The basics: Heat vinegar, water, and seasonings to make brine. Pack whole or chopped food into sterilized canning jars.
Cover with hot brine, leaving appropriate headspace. Apply lids and rings. Process jars in a boiling water bath as directed in the recipe.
A Peek at the Primary Pickle
Salt and vinegar are essential pickling ingredients. Which one is more important depends on the pickling method you choose — fermentation via salt or acidification via vinegar.
Salt amplifies flavors and draws moisture out of foods during fermentation, crisping them. Salt also keeps fermentation in check. A minimum salinity of 3.5 percent (2 tablespoons of salt per quart of water) is recommended for cucumber pickles.
Always use the type of salt called for in the recipe, because pickling, kosher and sea salts measure differently by volume. Harold McGee, author of On Food and Cooking, writes that
Types
VINEGAR-PRESERVED OLD-FASHIONED LIME PICKLE RECIPE
This combination of ingredients and techniques makes the ultimate super-crisp, complexly flavored sweet-and-sour pickle. Pre-soaking cucumbers in pickling lime keeps them very crisp. Yield: 4 quarts.
Equipment
4 quart-sized canning jars with lids and rings
Water bath canner with rack
Candy thermometer


Ingredients
Approximately 6 pounds of 4- to 5-inch unwaxed pickling cucumbers (preferablyfreshly picked), scrubbed and rinsed
Soaking Solution
1 cup food-grade pickling lime (calcium hydroxide)
1⁄ 2 cup pickling salt
1 gallon cold water
Syrup Mixture
2 quarts cider or white wine vinegar (minimum 5 percent acidity; cider vinegar will darken pickles)
unrefined sea salt improves pickle crispness “thanks to its calcium and magnesium impurities, which help cross-link and reinforce cell-wall pectins.” Common table salt contains anti-caking agents and iodide, which will make pickle juice cloudy. Pickling salt is granulated salt without these additives.
Vinegar must have at least 5 percent acidity to preserve foods that will be canned. Never alter the vinegar or water quantity in a canning recipe, and never over-boil the brine. Such changes can reduce acidity, making pickles unsafe in long-term storage. If the brine is too sharp for your liking, add sugar.
Pickle Type Vegetables or Fruit Key Preservation Ingredient Liquid
Fermented 5 to 6 pounds Salt: about 2 tablespoons sea salt or pickling salt
Typical Seasonings How to Store
Canned 5 to 6 pounds Vinegar: 5 to 6 cups (1 cup per pound of food); minimum 5 percent acidity
Refrigerator Any amount Vinegar, including homemade and rice
About 1 quart water; may also use small amounts of vinegar for flavor
About 3 quarts, at least 50 percent vinegar
Enough vinegar to cover
Dill, garlic, mustard, hot peppers
Salt, sugar, pickling spice, garlic
Hot peppers, shallots, onion
Refrigerator; ceramic, glass or stoneware


crock in cool, dry, dark place; canning
Canning
Refrigerator
100 MOTHER EARTH NEWS • PREMIUM GUIDE TO LIVING ON LESS
For relish trays on demand, store fermented pickles in a cool, dark spot for up to several months.
6 cups granulated sugar or 5 1⁄ 4 cups honey (honey will darken brine)
2 1⁄ 2 tsp unrefined sea salt or pickling salt
2 tsp mixed pickling spice, store-bought or homemade spice sachet (below)
3 pounds white or yellow onions, diced
Spice Sachet
1-inch cinnamon stick
1-inch piece of turmeric root, peeled, or 1⁄ 2 tsp of ground turmeric
1 bay leaf
1 small, whole, dried chile pepper or 1/ 2 tsp crushed, dried chile pepper
1 tsp dill seed
1⁄ 2 tsp white peppercorns
1⁄ 2 tsp yellow mustard seeds
1⁄ 2 tsp allspice berries
1⁄ 2 tsp coriander seeds
1⁄ 4 tsp fennel seeds
1⁄ 4 tsp whole cloves


To prepare cucumbers for soaking, cut them into 1⁄ 4 -inch slices and discard the ends. In a 2-gallon or larger nonreactive (glass, plastic or ceramic) container, mix pickling lime with salt and water. Add cucumbers and soak for 12 to 24 hours, stirring occasionally. Scoop slices from lime solution, rinse in a colander and soak for an hour in fresh, cold water. Repeat rinsing and soaking steps at least twice more to completely remove the pickling lime. Drain well.
In a large pot, whisk together vinegar, sugar, salt, and pickling spice or your homemade spice sachet. Add onions. Simmer over low heat for 10 minutes to make a syrup.
Sterilize 4 quart-sized canning jars and lids in boiling water. Pack cucumbers and onions into jars and pour hot syrup over them, leaving 1⁄ 2-inch headspace. Use a knife or chopstick to eliminate air bubbles. Wipe jar rims clean. Apply lids and rings.
The pickles can be canned via low-temperature pasteurization to avoid the higher heat that softens them. To pasteurize, fill canner halfway with water and heat to 180 degrees Fahrenheit. Set filled jars in canner, and continually monitor water temperature for 30 minutes. Make adjustments to maintain 180 F for the duration. The thermometer reading should never exceed 185 F. (Learn more about how to make pickles using the low-temperature pasteurization method at goo.gl/eG7SHa.)
What Can I Pickle?
Most vegetables and fruits can be fermented, though some are better candidates for pickling because they’re more apt to remain crisp. Popular fermented pickles include old-fashioned kosher dills (cucumbers with dill and garlic), half-sours (cucumbers pickled with less salt for a shorter amount of time), brined olives, sauerkraut (pickled cabbage), kimchi (Korean pickled cabbage, often spicy), beets, grapes, lemons, watermelon rinds, and Japanese plums. Fermentation expert Sandor Katz makes mixed vegetable ferments using whatever fruits and vegetables are available and seem appealing.
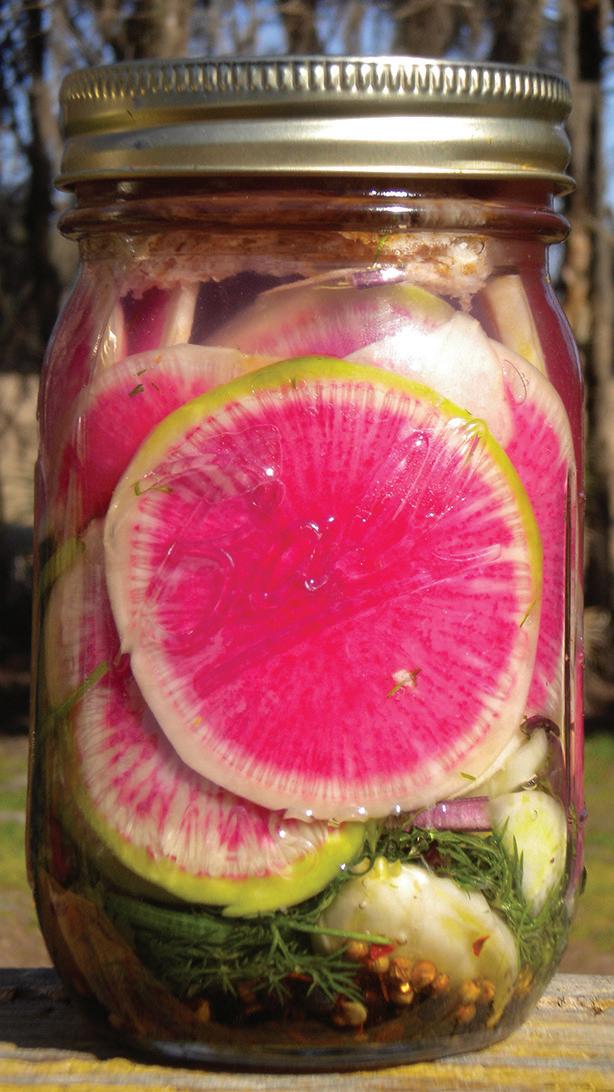
For a bounty of ideas on how to make pickles, we recommend The Pickled Pantry by Andrea Chesman, The Beginner’s Guide to Preserving Food at Home by Janet Chadwick, and The Art of Fermentation by Sandor Katz. (You can order these titles and more at www.motherearthnews.com/store.)
Alternatively, process jars in a boiling water bath for 15 minutes. The flavor of vinegar pickles will improve after about a month in storage.
Refrigerator Pickles
Sometimes called “quick pickles,” refrigerator pickles are technically vinegar pickles minus the canning. You can adjust a refrigerator pickle recipe—to use less salt or sugar or none at all—without food-safety fears. Refrigerator pickles stay crisp because the cucumbers are not
Almost anything can be pickled, even these Chinese radishes.
subjected to heat. Making pickles using this method is as fast as the name implies. Refrigerator pickles are typically ready to eat within a day and should be consumed within a few months.
The basics: Prepare vinegar solution and pour over sliced vegetables. Cover and refrigerate.
SIMPLE THAI REFRIGERATOR PICKLE RECIPE
My refrigerator is nearly always stocked with vegetable slices covered in rice vinegar. Sometimes I toss in garlic, turmeric, or lemongrass. Because the refrigeration inhibits spoilage, low-acidity rice vinegar is OK to use in these homemade pickles. Yield: 1 quart.
Two 4- to 5-inch pickling cucumbers
1 sweet salad turnip
1 medium carrot
2 shallots
1 to 2 hot chile peppers, fresh or dried (optional)
2 to 3 tbsp honey or granulated sugar
1 1⁄ 2 cups rice vinegar
1 handful cilantro leaves
Peel (if desired) and slice vegetables into 1⁄ 4-inch rings. Pack in a lidded storage container. Whisk honey into vinegar and pour over vegetables. Stir in cilantro leaves. Refrigerate.
The pickles will be ready to eat the next day and will stay good for roughly a month in the refrigerator.

HANNAH KINCAID (2); TOP: LEE SEABROOK
Just cover vegetables in sweetened rice vinegar, and you’ve made refrigerator pickles!
WWW.MOTHEREARTHNEWS COM 101
Beauty and productivity harmonize in an intensively planted garden when you add flowers and natural, structural elements.

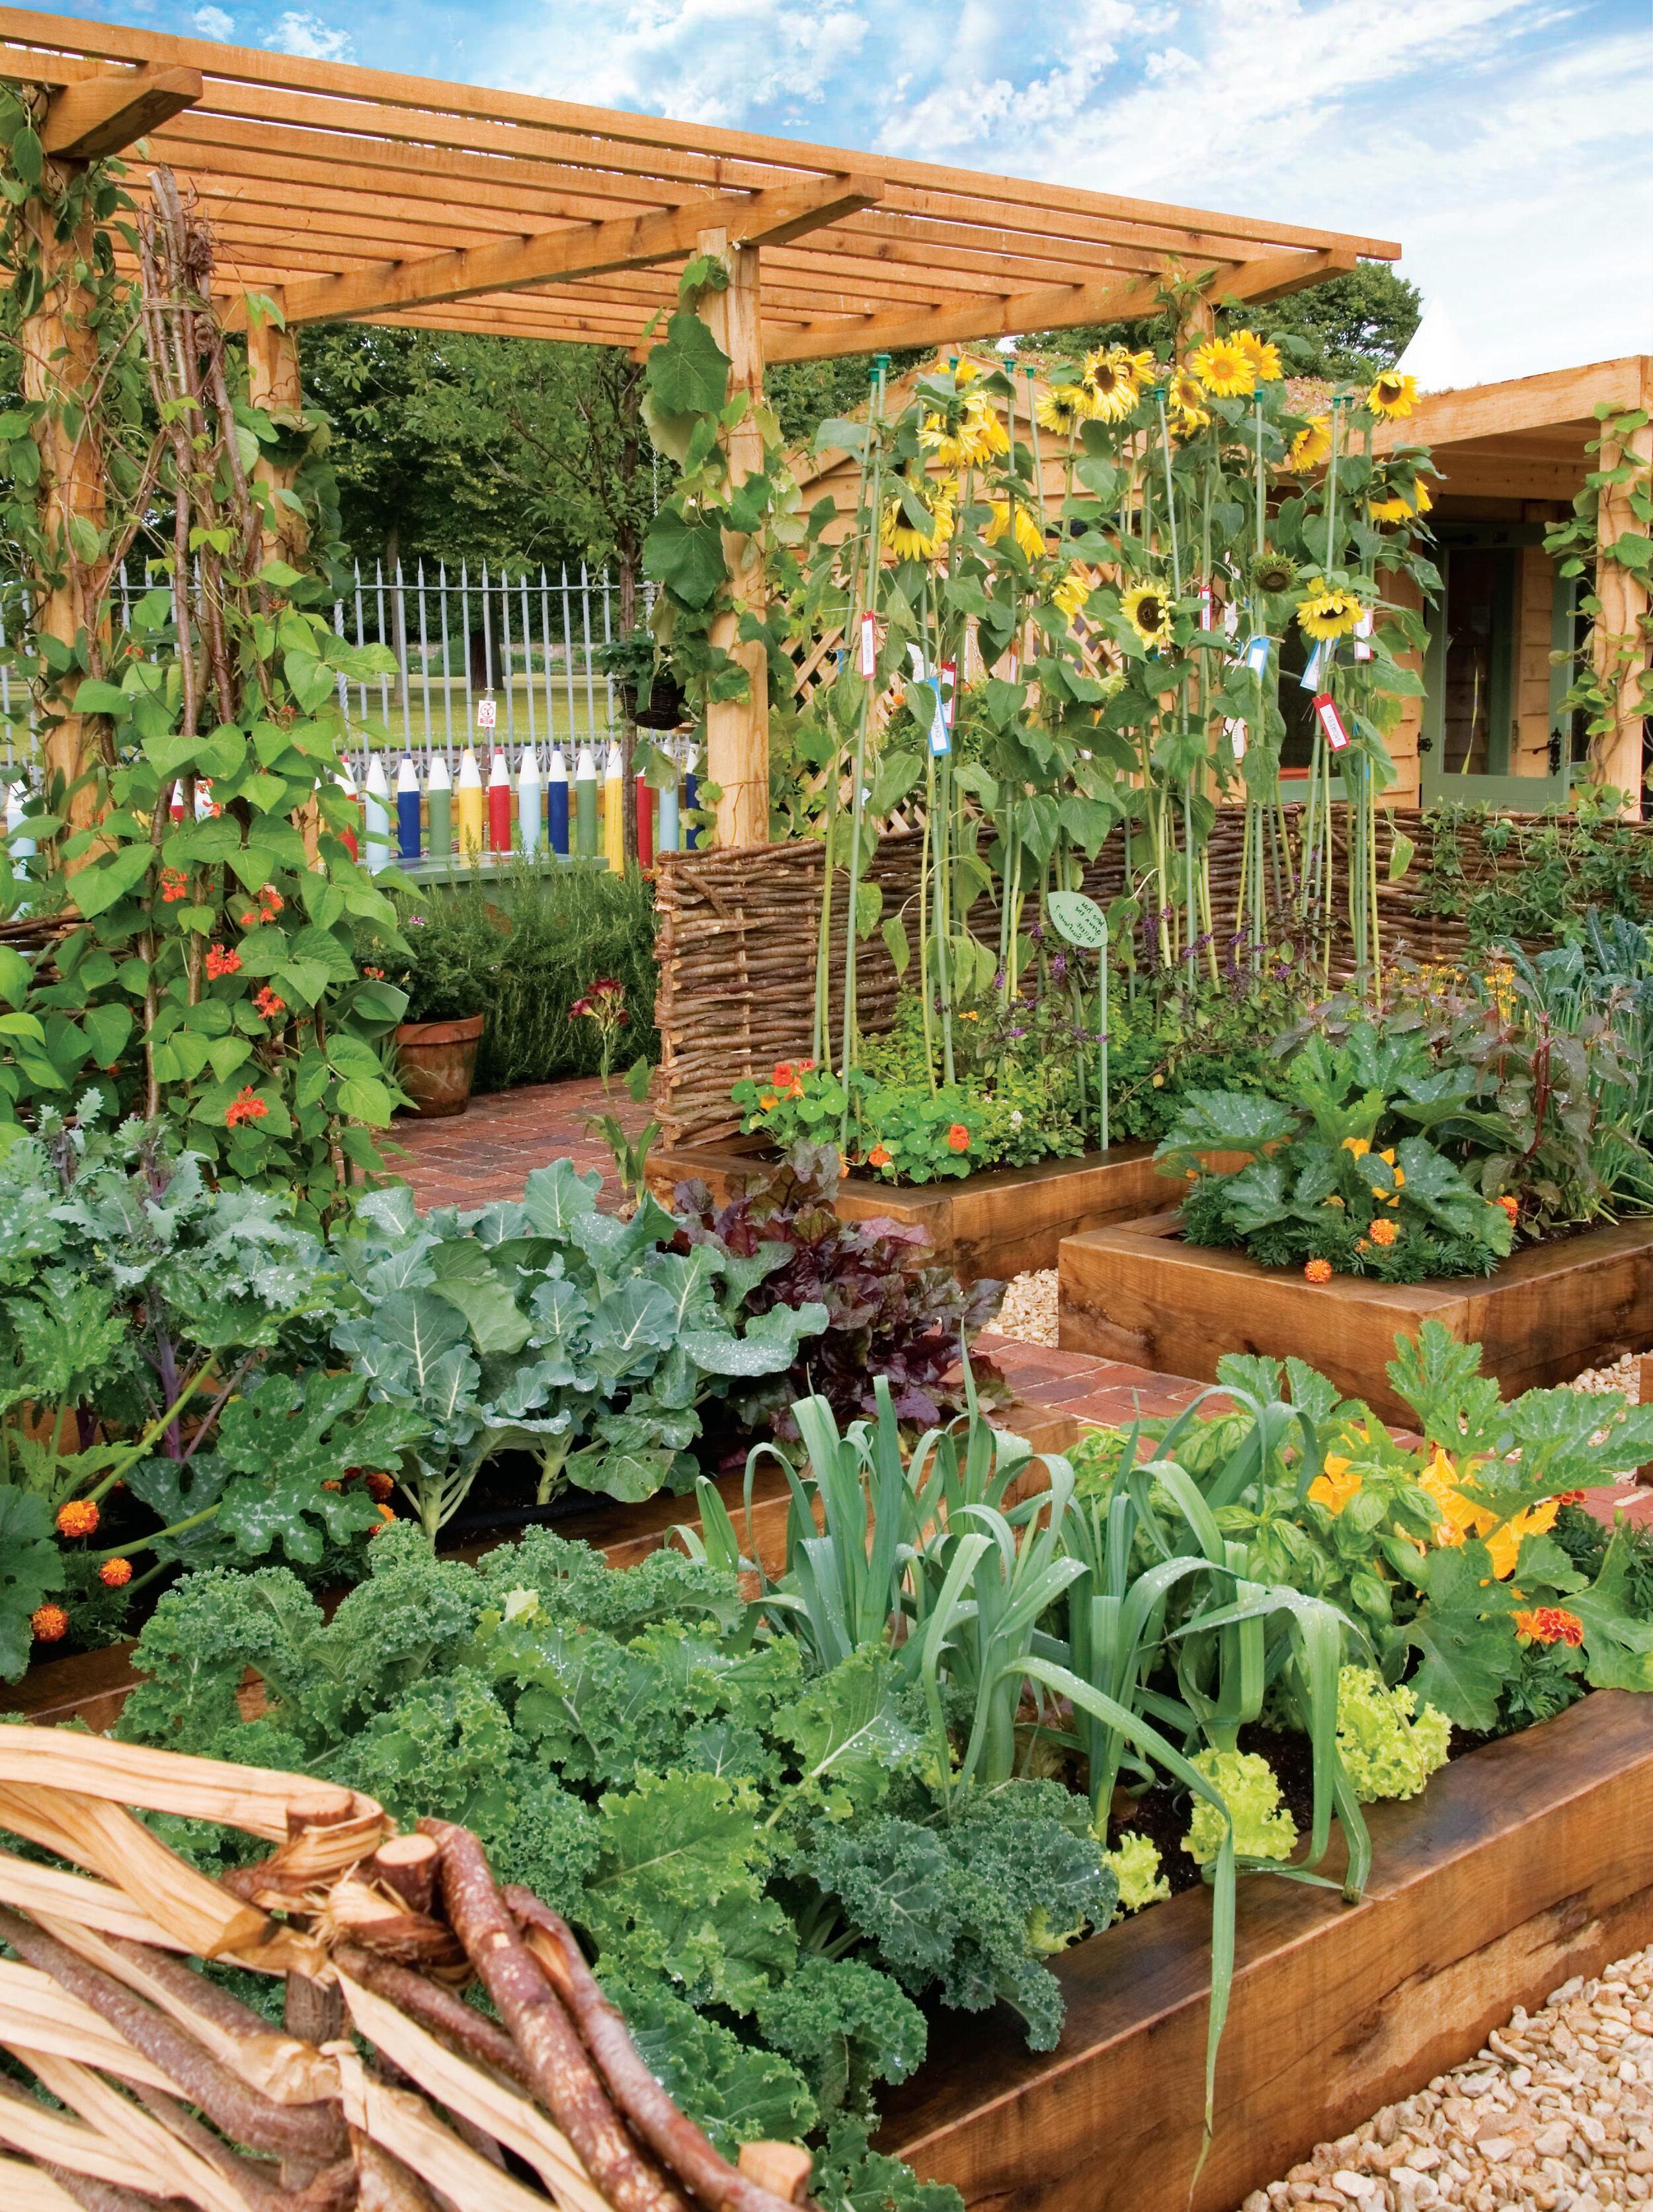
GROW MORE FOOD IN LESS SPACE (With the Least Work!)
Blending the best principles of biointensive and square-foot gardening will yield a customized, highly productive growing system.
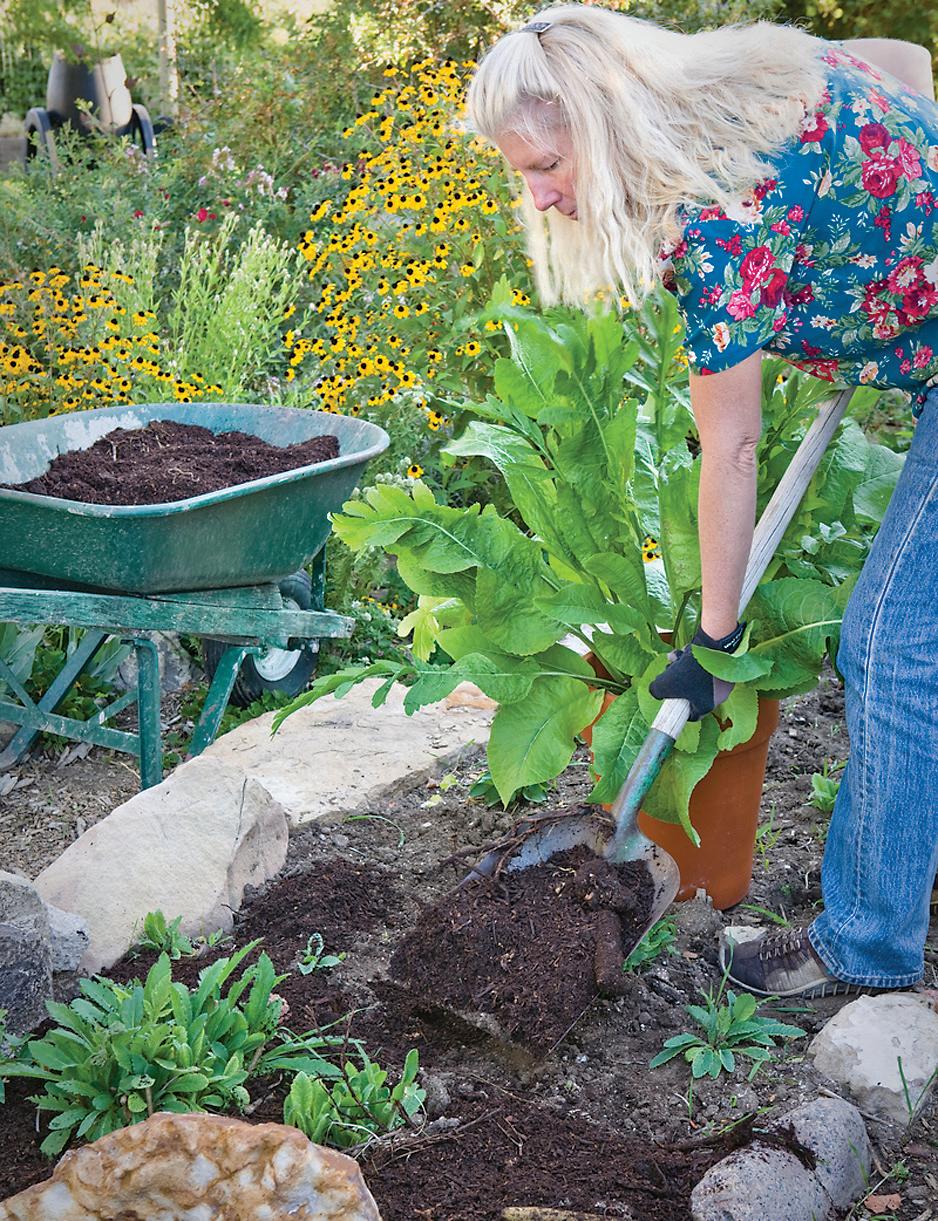


 By Linda A. Gilkeson
Whether you grow food on a spacious homestead or are digging into your first urban garden, ditching the plant-byrows approach and adopting intensive gardening techniques can help you grow a more productive garden that’s also more efficient to manage. These methods will open up a new world when it comes to smallspace gardening, which can be so much more than just a few lone pots on a balcony. If you do it right, you can grow more food in less space and put an impressive dent in your household’s fresh-food needs.
Comparing Two Popular Methods


Two gardening authors and their systems of intensive vegetable gardening have been highly influential in North America for more than 30 years. Mel Bartholomew’s book on “square-foot” gardening was first published in 1981, while John Jeavons’ first book on “biointensive” gardening came out in 1974. Since these
books hit the shelves, millions of gardeners have experimented with and embraced the gardening techniques advocated within.
Bartholomew’s aim with square-foot gardening is a simple, foolproof system that anyone can master (no companion planting, no crop rotation and no soil preparation).


He prescribes raised beds of only 6 inches deep for most crops, filled with an artificial mix of peat moss, vermiculite, and compost. While this method is reliant on assembling purchased components, it can work well in urban spaces, especially where soil contamination is a concern, where digging into the ground isn’t an option, or where people are especially picky about how a garden looks (perhaps because of ordinances for front lawns). Check out “10 Tenets of Square-Foot Gardening” on Page 104 for more on this method.
Jeavons’ biointensive gardening system is based on developing fertile soil in permanent garden beds that you initially dig to a depth of 2 feet. His primary goal is to grow food sustainably, using as few inputs from outside of the system as possible. He provides detailed instructions on crop planning, making compost, companion planting, crop rotation, growing crops that serve a dual purpose as food and compost-heap fodder, and more.
See “10 Tenets of Biointensive Gardening” on Page 105 for the skinny on this system.


WWW.MOTHEREARTHNEWS COM 103
SAXON HOLT; PAGE 102: GARDENPHOTOS.COM/JUDYWHITE
Adding plenty of compost is fundamental to intensive gardening.
Four Principles of Intensive Gardening
Despite such vastly differing approaches, both techniques deliver high-yielding food gardens thanks to four common features, all of which I recommend.
1. Permanent garden beds. Establishing permanent beds will enable you to concentrate your efforts only where plants grow, without wasting compost or irrigation water on unplanted areas.
It will also make soil compaction a nonissue, because you walk on permanent pathways and never on your growing areas. Setting up permanent beds and paths is such a popular layout here in the Pacific Northwest that I haven’t seen a garden arranged in rows for years. (Read more about the benefits of permanent garden beds at goo.gl/n37ULH.)
2. Reliance on compost. Both systems rely on the tried-and-true groundwork of organic gardening: heavy doses of


10 Tenets of Square-Foot Gardening
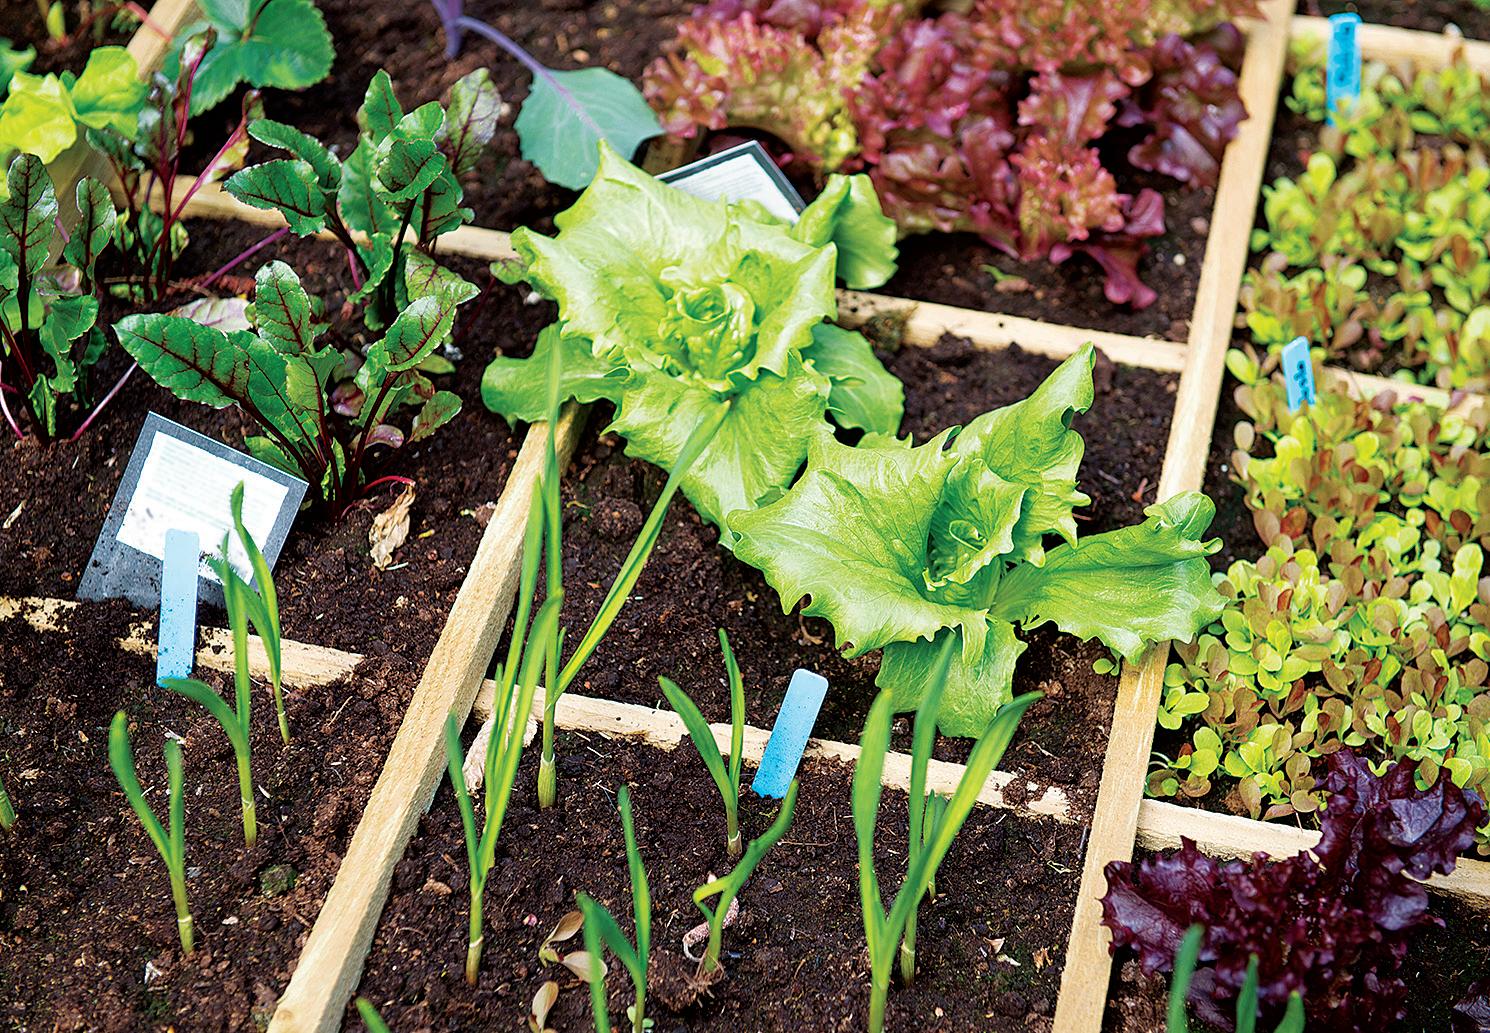
1 Cultivate in small, raised garden boxes that are at least 6 inches deep, separated into a 1-by-1-foot grid pattern (often 16 squares per box).

2 Fill boxes with a growing medium made of one-third peat moss, one-third vermiculite and one-third blended compost.
3 Intensively plant a prescribed number of each crop you choose to grow into each grid space, depending on plant size. (See Bartholomew’s book for the prescribed numbers. For example, plant one broccoli per square and plant 16 carrots per square.)
4 Sow only the number of seeds needed in each square to avoid wasting seed.
5 Add no fertilizer; rely on the compost in the growing medium for nutrients.
6 Practice low-maintenance gardening, with no digging, tilling, soil prep, soil testing, or cultivating.
7 Achieve staggered harvests with succession planting.

8 Capitalize on vertical space by growing vining crops on supports.
9 Leave wide aisles (at least 3 feet wide) between your growing boxes to easily work in your beds and maneuver between them.
0 Employ tools minimally—you should only need a trowel for transplanting, a pencil for poking holes and lifting seedlings out of pots, and scissors for harvesting.
Go to www.motherearthnews.com/store to order Mel Bartholomew’s book All New Square Foot Gardening.


compost to supply balanced, slow-release nutrients to crops. The organic matter in compost also increases soil’s waterholding capacity and improves its tilth.
3. High-density mixed planting. A key to the high productivity of both systems is that they take advantage of the entire surface of each bed to grow plants rather than leaving spaces between rows. This results in even more yield without adding more garden space.
For novice gardeners, Bartholomew’s method of marking off beds in 1-foot squares may be particularly helpful as a way to visualize how densely one can plant. Interspersing crops with different root depths, plant heights, and growth rates also means you can grow more in a given space.
4. Prompt succession planting. Staggered planting and, thus, staggered harvests are more efficient for the gardener and they maximize the growing season. Quickly replanting any gaps left after harvesting a particular crop means you’re using every area of the garden throughout the year.

Customize Your Growing System
With fertile soil and dense planting, any garden can be highly productive—but as these two intensive-gardening approaches show, you can achieve this productivity via different means.
104 MOTHER EARTH NEWS • PREMIUM GUIDE TO LIVING ON LESS
FOTOLIA/IVONNE WIERINK; LEFT: ALL NEW SQUARE FOOT GARDENING
The 1-by-1-foot grid pattern, a trademark of square-foot gardening, can help intensive growers portion out and make the most of limited bed space.
I’m on Bartholomew’s side in favoring simple, low-maintenance methods (after all, the energy of the gardener is a valuable resource, too), but gardeners can learn much from Jeavons about sustainable practices.


Reducing the use of nonrenewable resources—whether it’s fossil fuels burned in transporting supplies, irrigation water from deep aquifers, or even peat moss—is an important consideration and one that’s on many gardeners’ minds. Square-foot gardening calls for purchasing a large amount of peat moss, which isn’t a renewable material. Coconut coir is a more sustainable option.
With time and experience, and based on the region and circumstances, every gardener tailors his or her system to what works best. I’ve talked with hundreds of gardeners over the past few decades to glean some of the commonalities between successful gardening systems, and the resulting recommendations that follow here will help you grow a high-yield but low-maintenance, sustainable garden.
Adapt to local conditions. Soil, climate, weather, water availability, composting materials, pests and diseases vary depending on where you live, so learn from local experts and look for information
written specifically for your region. The space you have available and the ease with which you can transport materials will also influence your gardening decisions.


If you have a tiny urban garden, you aren’t likely to be able to grow a considerable amount of grain crops for supplying carbonaceous compostable
materials, as Jeavons suggests doing. Creating nutrient-dense organic matter by making compost out of other ingredients, such as fall leaves and newspapers mixed with food scraps, may make more sense. For a large garden with more available space, however, growing compostable or “green manure” crops may be the most
10 Tenets of Biointensive Gardening

1 Loosen soil in raised-bed planting sites by “double-digging” to a depth of 2 feet.

2 Space crops tightly in a hexagonal planting pattern.

3 Apply no chemicals.
4 Compost on-site and use compost to amend and build your soil.
5 Use synergistic planting (also called “companion planting”) so that plants grown together enhance each other.
6 Plant dual-purpose, carbon-efficient crops—such as grains—in about 60 percent of the growing area. (Such crops provide a significant amount of dietary calories as well as a significant amount of carbonaceous material for composting.)
7 Grow calorie-efficient root crops, such as potatoes, in about 30 percent of the growing area.
8 Sow open-pollinated seeds to preserve genetic diversity.
9 Create a “closed,” interrelated growing system in which enough organic matter is produced by your “mini-farm” to sustain the soil within the system.
0 Produce food in a way that, compared with conventional farming, greatly reduces the use of resources, and places a focus on diversity, soil building and achieving high yields.
See www.motherearthnews.com/store to order How to Grow More Vegetables, John Jeavons’ book about biointensive growing.

WWW.MOTHEREARTHNEWS COM 105
SAXON HOLT
Combine crops, flowers, steppingstones, and a seat, and you’ll have a backyard retreat along with plenty to eat.
practical way to build the organic matter in your soil.
Go permanent. The effectiveness of using permanent garden beds is undisputed. Whether permanent beds should be raised, however, depends on the site and on personal preference.

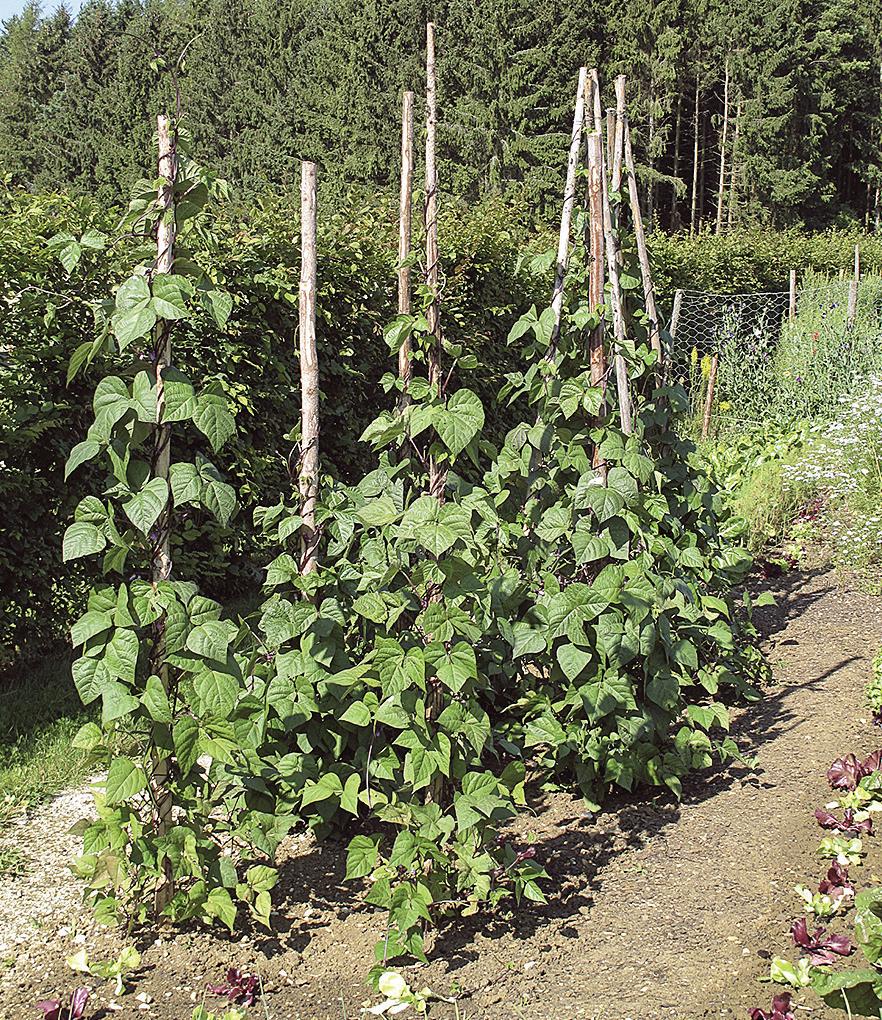
Raised beds—constructed with sides to allow the soil to be built up higher than the natural soil level— allow for good drainage on lowlying land and warm up quickly in spring. Older and less mobile folks could benefit from raised beds because they’re higher up and easier to work in. Gardens on welldrained soil, however, may fare better and need less water if the beds are not raised—and, of course, you won’t have the job and expense of sourcing soil and building sides for your beds.
Use soil (if you have it). A con of Bartholomew’s system is that it relies so heavily on buying the ingredients to make your growing medium. This is expensive and means you aren’t using and improving the soil already on your property. Despite Bartholomew’s concern that improving soil takes too long, I’ve found that adding organic amendments, including balanced organic fertilizers if needed, can turn any soil into decent garden soil in its first few seasons. Generous applications of compost increase the nutrientand water-holding capacity of sandy soils and improve the structure of clay soils.
Regarding water conservation, plants growing in the ground usually need less irrigation than plants in containers or raised beds do, because soil-bound plants benefit from capillary flow of water from the subsoil. This upward movement of water can come from a depth of 2 to 8 feet, depending on the type of soil. Deep-rooted plants will also survive cold snaps and heat waves better than plants in containers and raised beds because their roots are subjected to less-extreme temperature swings. Of course, if your
best sunny spot is a paved parking lot, by all means, build raised beds (the deeper, the better).
Be cheap. The first time I read Bartholomew’s book, I was struck by how expensive following his system to the letter would be, from the cost of building beds to buying and hauling a large volume of bulky materials for the growing medium—which he calls “Mel’s mix.” To me, the beauty of gardening is that it transforms waste material into tasty, nourishing food at a considerably lower cost than buying it. Compost can be virtually free if made
from waste materials, such as grass clippings, leaves, manure, spoiled hay, and any waste from your garden, the grocery store, or the food industry. Perhaps the ultimate in cheap fertilizer is “pee-cycling,” which merits wider acceptance for its effectiveness. (Go to goo.gl/sTSojd for more information on this method and other liquid fertilizer options.)
Don’t work too hard. When I initially encountered Jeavons’ book in the 1970s, I set out to follow his technique for double-digging in my garden. I quickly discovered, despite Jeavons’ cheery instructions, that this was a daunting amount of work. When you finish shifting the soil, you will have moved all of the soil in the bed sideways by 1 or 2 feet and down to a depth of 2 feet. After digging one bed, I decided to skip the rest and live with the consequences—except none seemed to crop up. I saw no difference between the doubledug bed and the rest of the garden throughout that summer or in later years. Similarly, a 1998 study by Ohio State University found no significant yield difference between beans and beets grown in beds that had been cultivated only on the surface and beds that had been double-dug.
Over many years of intensive gardening, I have learned (as have many gardeners before me) that layering on mulches saves a lot of labor, and that minimal cultivation of beds works just fine. Research has provided sound reasons why minimizing soil disturbance is a good idea: Reducedtillage systems result in higher populations of beneficial fungi that move nutrients and water through the soil column.
Also, soils that receive less disruption have more beneficial nematodes, earthworms, soil mites, and other microorganisms wriggling and crawling about. Neither Bartholomew’s artificial planting medium nor Jeavons’ repeated double-digging takes full advantage of such hardworking critters.
106 MOTHER EARTH NEWS • PREMIUM GUIDE TO LIVING ON LESS
Growing vining crops, such as pole beans, vertically will allow you to harvest more in a given space.
ISTOCK/BASIEB; TOP: AMY MELIOUS
“Double-digging,” or digging and refilling trenches, is central to biointensive growing but may not be worth the work.
Because earthworms, plant roots, and soil insects are so good at aerating soil, I’m happy to leave it to them. Without turning over the soil, I lightly fork compost and other amendments into the top couple of inches once a year, which takes me about 15 minutes for an 8-by-4-foot bed.
For the rest of the season, I plant without cultivating, allowing easy interplanting by slipping in new plants between maturing crops. I often leave crop residue on the soil as a mulch and plant right through it. Creating minimal disturbance has led to a bountiful garden with less work on my part. This can, however, require a value shift from the “clean soil” garden aesthetic.
Weeding is, for most, a dreaded task, but it can be almost eliminated by smart planting. Intensive planting suppresses weeds, as the leaves of nearby plants quickly fill in and shade the soil. Using mulch to keep the soil covered is effective at smothering germinating weed seeds.
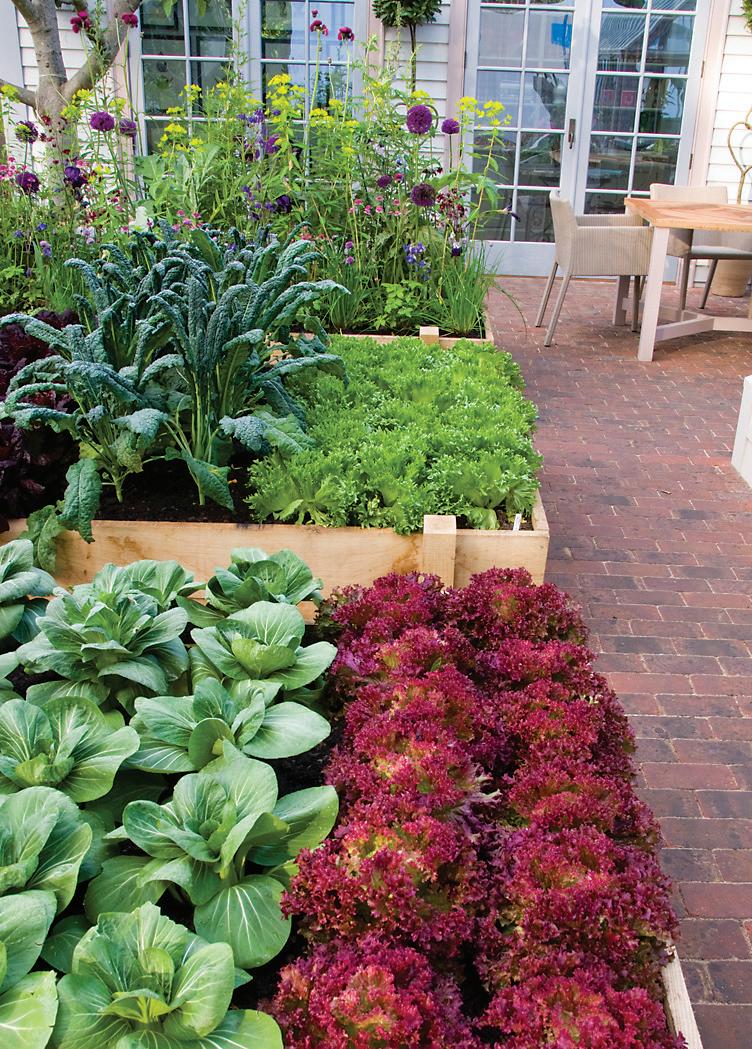
I leave mulch on the soil for as much of the garden season as possible (weeds grow all winter in my Northwest climate), but I pull it back in spring to allow the soil to dry out and warm up. You can control weeds in pathways by laying down cardboard, newspaper, or other light-excluding materials, or sow the pathways to grass or clover and mow (or scythe) them every now and then. Put the clippings back on the garden beds as a nitrogen-rich mulch.
Making compost can be as simple as putting everything in a bin, waiting for a season to pass, and then spreading the
most digested material on the garden and returning undigested material to the bin. Or, don’t make compost at all: Just leave organic material on the soil to decompose. Any plant material, including crop residues and pulled weeds, will impart organic matter as soil organisms break it down. Roots are another source of organic matter, so instead of pulling plants when clearing a bed, I cut them at the soil line and leave the roots to decompose.
Keep it simple. My eyes glaze over when I see equations and complicated charts in a gardening book, and Bartholomew’s and Jeavons’ books aren’t short on either. While I generally vote for skipping overcomplicated and prescriptive planting advice, I do think keeping basic gardening records is useful. They don’t need to be elaborate, but recording when and what you plant, harvest dates, and notes on pest problems is a good idea so you have this information and can make well-informed adjustments when you plan next year’s garden. (To keep such records digitally, try the Mother Earth News Vegetable Garden Planner, available at www. motherearthnews.com/garden-planner.)
Ignore the bewildering number of gardening rules and myths floating around the Internet and other sources. For example, companion-planting charts of the “tomatoes love basil” variety are largely myth, though the value of planting to cycle nutrients to different crop families and attract beneficial insects is well-established (go to goo.gl/U7Q1aV for more). In my


experience, you can safely disregard most crop-rotation systems, because relatively few crops in a diverse food garden are likely to suffer from soilborne diseases or pests. After you know what problems occur in your region, you’ll know which crops to rotate. Where I live, for example, the high risk of root disease in the onion family and for potatoes makes four-year crop rotations smart for these, but I don’t worry about allowing long rotations for other vegetables.
Relax and smile. Gardens should be individualistic and fun. They can be as tidy or as wild as you like, take little effort to maintain, and still produce an astonishing amount of food from a small area. If digging beds, turning compost or setting up growing boxes works for you, carry on—just don’t think any of it is a strict requirement for a bountiful garden. Personally, I figure the less time and effort it takes to grow food, the more time I have to enjoy it!
Linda A. Gilkeson holds a doctorate in entomology and has been educating gardeners for more than 20 years. She gardens in British Columbia and is the author of several gardening books, including Backyard Bounty: The Complete Guide to Year-Round Organic Gardening in the Pacific Northwest (see www.motherearthnews.com/store to purchase).
www.MotherearthNews coM 107
GARDENPHOTOS.COM/JUDYWHITE; RIGHT: FOTOLIA/JOHNBRAID
Grow in raised beds or define permanent beds and walkways to prevent soil compaction and manage garden amendments efficiently.
MOCCASINS Sew Your Own
By Dennis Biswell
For thousands of years, we’ve been using tanned animal skins to protect our feet. The oldest known leather footwear is a 5,500-year-old center-seam moccasin discovered in an Armenian cave. Perhaps the most famous ancient leather footwear is the 5,300-year-old pair found on the feet of Ötzi the Iceman. In 1991, his body and belongings were discovered emerging from a melting glacier in the Ötzal Alps on the Austrian-Italian border.


In a previous article, I described how to turn deerskins into leather (goo.gl/VwycGE). Now, I’ll explain how to use that leather to make a pair of lined side-seam moccasins. This style of moccasin has several advantages. The moccasins are made from one medium-sized deer hide. The style doesn’t place much stress on any of the seams, so deer leather is a perfect material to use. For sewing, you’ll only need to use one type of stitch, a whipstitch, which is easy to master. The finished product is attractive, comfortable, and warm. Whether this is your first project or you’re an experienced leather worker, follow these

Take your tanned animal skins one step further by turning the leather into comfortable, durable footwear.
instructions to turn your deer leather into moccasins, and then you, too, can take a walk on the wild side!
Before you begin cutting and sewing, here are a few tips:
• Always test a new pattern by first forming a pair of moccasins with felt or denim and your lining material. This way, you’ll be able to test the fit and practice sewing bulky material before cutting any of your home-tanned deerskin.
• Use the thicker leather from the neck, shoulders, back, or hips. Deer leather from the sides, belly, and legs is just too thin.
• The membrane side, or the sanded side of the leather that was next to the muscle, will become the inside of your moccasins. The grain side, or the smooth side of the leather, will form the outside of your moccasins.
Most of the items you’ll need should be available at either a hardware store or a craft and hobby store. Gather the following tools: lightweight work gloves; needle-nose pliers; hammer; ruler; pencils; matches or lighter; carpenter’s square; medium and small binder clips; latigo or leather lace; #2 Glover’s needles; artificial sinew; scissors; leather shears; nontoxic, water-based contact cement; large sheets of craft paper (you can also substitute newsprint, butcher paper, or grocery sacks); a tin of mink oil or smooth leather conditioner; and lining material. For the lining, I prefer a khaki-colored fabric called sherpa suede, which looks like shearling. You can also use short-hair, hair-on tanned leather for the liner. Rabbit, muskrat, or sheared beaver make excellent liners. If you tanned the lining material, all the better!
Find a small round stone to use as a seam dresser. The best stone for this project is one that’s about the size of a chicken egg and has a round surface as well as a flat surface.
Finally, get your tanned deerskin and let’s step to it.
1 Make patterns. Supplies: Craft paper, ruler, pencil, scissors. These patterns can be used over and over. Label the patterns and put your name on them. After your family and friends see your moccasins, you’re going to get requests. Make individual patterns for each person.
Start by making a pattern for soles. If you’re going to wear socks with your moccasins, wear a thin pair when tracing your sole pattern. Lay the paper on the floor and step on the middle of it with your right foot. With your weight evenly distributed, have a friend trace around your foot. Repeat with your left foot.
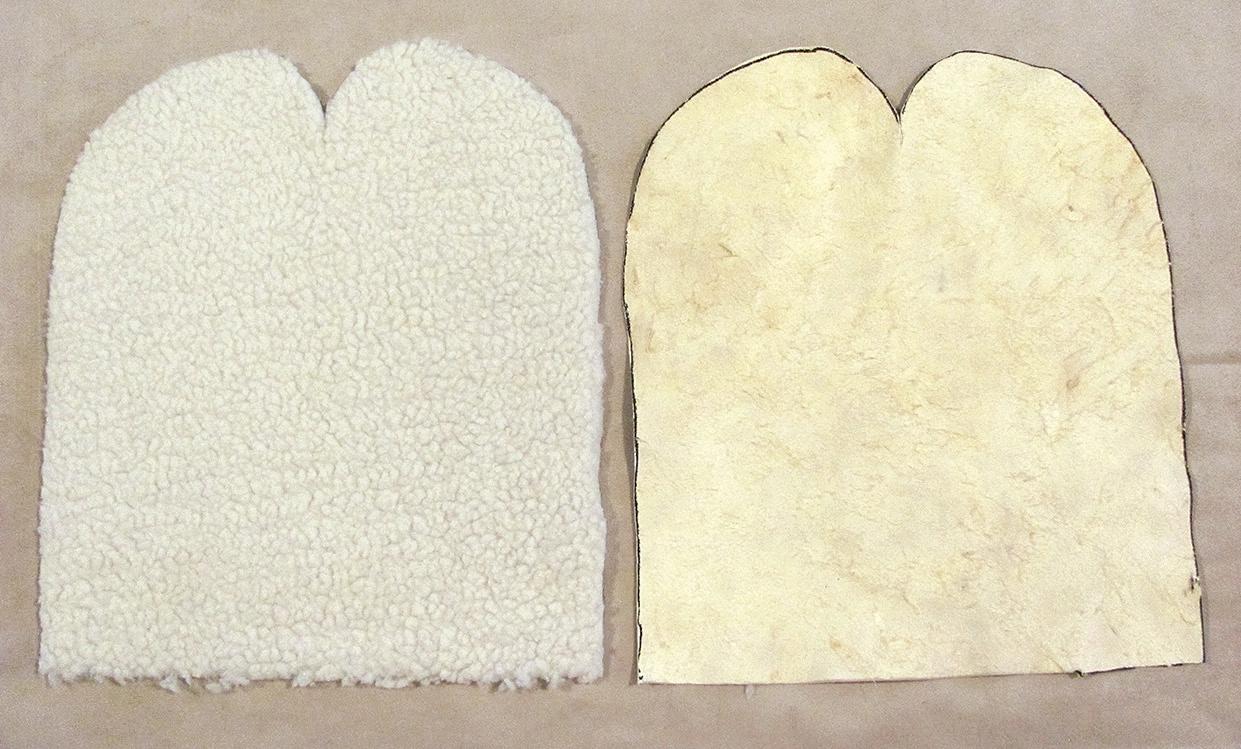

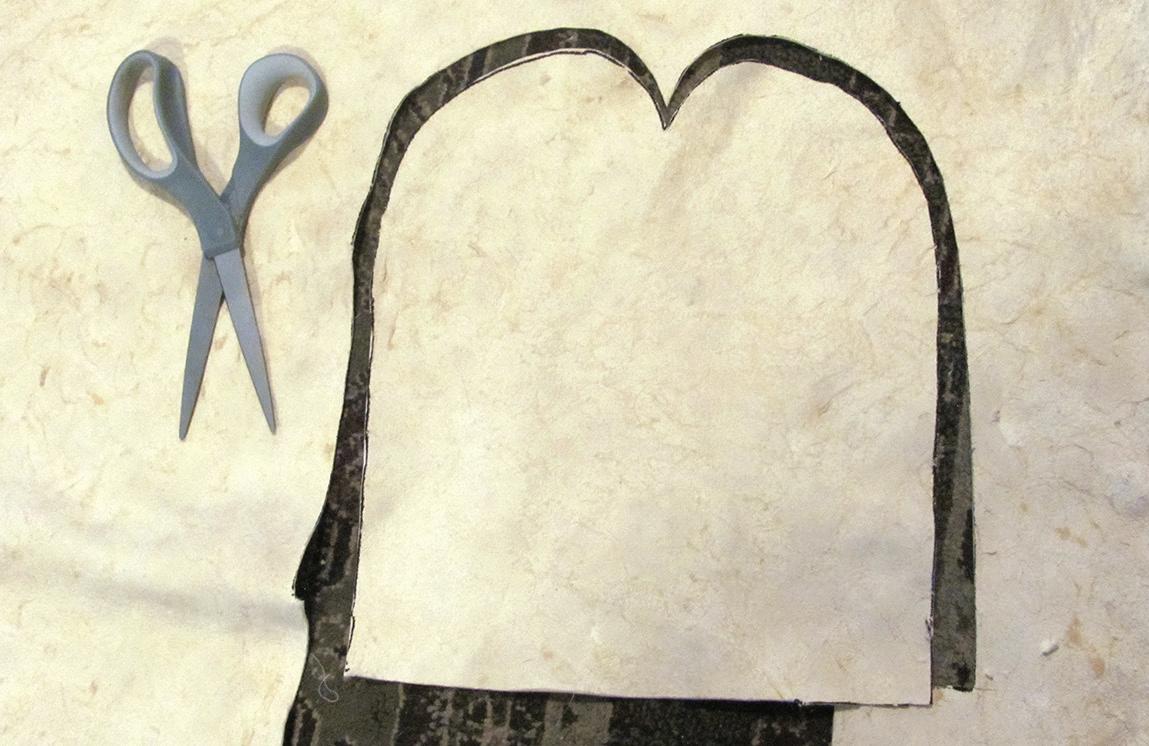
Straighten the outline’s curves by laying a ruler on the outside edge of the big toe to the edge of the heel and drawing a straight line between them. Move the ruler to the other side of the outline and draw a straight line from just outside the little toe to the outside edge of the heel. Smooth the toe bumps by drawing an arched line that touches the top of each toe. Then, cut out the sole patterns.
Before starting your moccasin pattern, lay your right and left sole patterns on top of one another. If there’s less than a 3⁄ 8-inch difference in length and width between your sole patterns, you can make one moccasin pattern and use it for both feet. If there is more than a 3/8-inch difference, make a moccasin pattern for each foot.
Get a large sheet of paper at least 3 inches longer and four times wider than the sole pattern. Fold the paper in half lengthwise and crease it.
Lay the inside of the right-foot sole pattern (big toe to heel) so it’s 3 ⁄ 4 inch to the right of the crease and the heel is 3 ⁄ 4 inch from the edge of the paper. Trace the sole pattern onto the paper.
www.MotherearthNews coM 109
1 After making your moccasin patterns, you’ll be able to use them again and again. You can style a pattern for each person who wants a pair.
2 Trace the moccasin pattern onto the membrane side of the leather and carefully cut around it.
3 Before cementing your leather and liner together, check to make sure they align and clip one side along the edges.
DENNIS BISWELL (13); OPPOSITE: MATTHEW T. STALLBAUMER
4 Left: Even up the edges, clip them together, and cement them before sewing. Center: Use enough sinew to sew the entire seam with one piece. Right: After sewing, turn the moccasin right side out to form the foot hole. You’ll be measuring and making the cutting marks in Step 5.
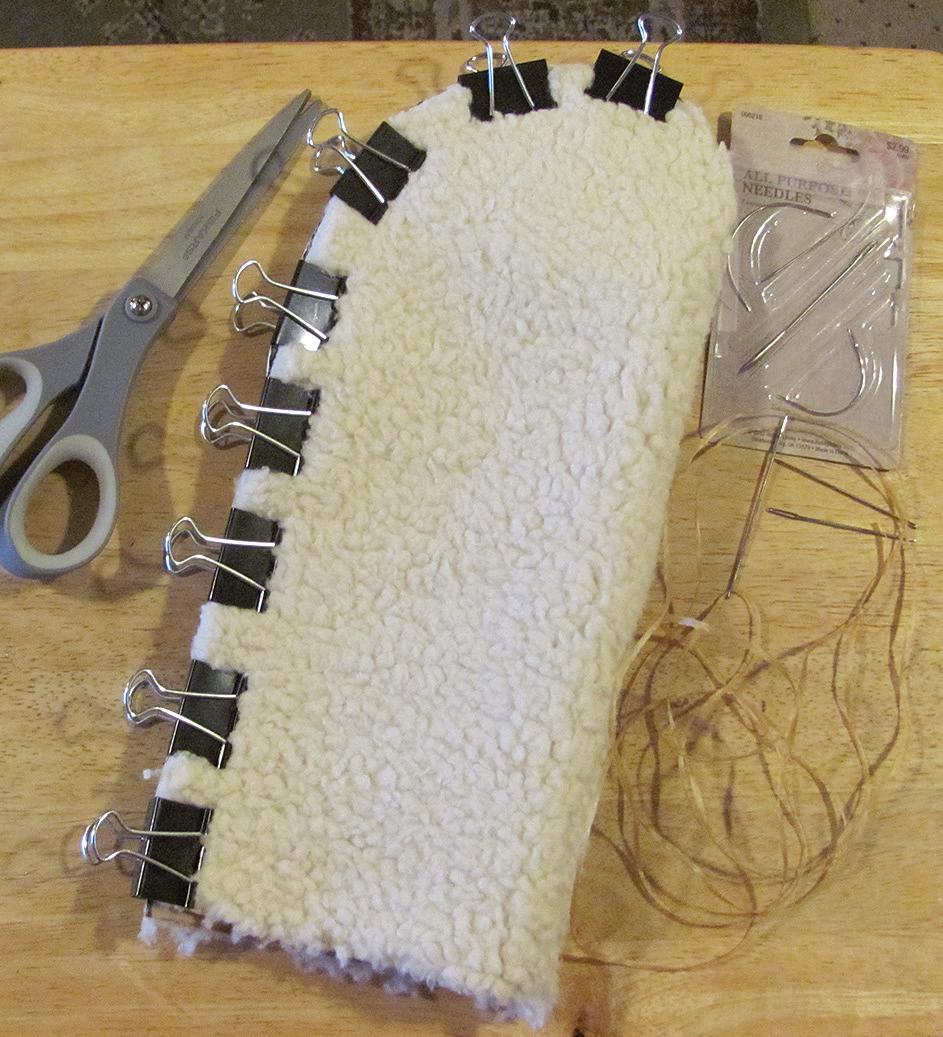
Set the sole pattern aside and use the ruler to mark 3 4 inch beyond the big toe, middle toe, and little toe, and on the outside of the base of the little toe.

Connect those dots by drawing an arched line from the crease through each mark. Stop at the mark on the outside of the little toe and use a ruler to draw a straight line to the

Stitching Techniques

You can use several techniques to stitch leather. I prefer to wear a pair of lightweight gloves with reinforced fingertips. I then poke the needle through from the opposite side (with the point toward me), and after the needle is partway through, I use needle-nose pliers to pull the needle and sinew through. Others push the needle through so that they’re working the needle away from them. If you’re new to sewing leather, experiment to find what works best for you.

You’ll also need to master a whipstitch to tie and finish the seam. To begin, unspool the length of artificial sinew. Tie two


edge of the paper at the heel. Cut along the line and, when finished, unfold the pattern.
You’ll make the tongue and ankle cuff patterns later.

2 Cut the leather and liner. Supplies: Leather, lining, leather shears, scissors, moccasin pattern, pencil.
Lay the leather on a flat surface, membrane side up. Place
half-hitches near one end, and, using the matches or lighter, singe the sinew up to the knot. Thread the needle by pulling only about 6 inches of sinew through the needle. You’ll be using a single strand for sewing. Hold the material you plan to sew with its edges facing you. Poke the needle through all layers of the material, about 1⁄8 to 3 ⁄ 16 of an inch from the edge, and pull the sinew tight to the knot. Bring the needle over the seam and poke it through all layers of the material, about 3 ⁄ 16 to a 1⁄4 of an inch from the previous spot you poked the needle through. Poke the needle through the same side each time. Pull each stitch tight. Repeat until you’re a couple of stitches from the end of the seam. To tie off the end, poke the needle halfway through the material. Wrap the sinew around the sharp side of the needle three times. Pull the needle and sinew through the loops to make a knot, and pull it tight. Move to the next stitch and repeat. Remove the needle and tie a loose half-hitch in the sinew. Using the needle inside the loop of the half-hitch, work the knot down to the previous knot and pull it tight. Do this one more time. Cut the sinew about 1⁄4 inch from the knot and singe the sinew up to the knot. Dress the seam by holding a stone against the inside seam and gently tapping the outside of the seam with a hammer. Tap the entire length of the seam twice.
110 MOTHER EARTH NEWS • PREMIUM GUIDE TO LIVING ON LESS
If you’re new to sewing leather, experiment to find your preferred stitching technique.
your moccasin pattern on the leather and trace around the pattern. Move the pattern to another spot and repeat. Cut out the moccasins. Then, cut the lining.
3 Cement the liner and leather. Supplies: Moccasins, lining, contact cement, binder clips.
Lay the moccasins on a flat surface, membrane side up, and then lay the liner, finished side up, on the moccasins. Check the edges to see how well they fit. If adjustments are needed, trim the liner.
When the edges are even, clip one side together (see photos on Page 109). Fold the liner back from the unclipped side, apply cement, and stick the leather and liner together. Remove the clips and apply the contact cement to the entire surface of both the leather (membrane side) and the liner backing. Next, stick them together. You’ll want the entire surface of the liner to be cemented to the leather so the liner doesn’t pucker and shift when you wear the moccasins. Then, do the other half. Allow the cement to cure before moving to the next step.
4 Sew the moccasins. Supplies: Moccasins, artificial sinew, #2 Glover’s needle, binder clips, needlenose pliers, gloves, matches or lighter, ruler, hammer, stone.
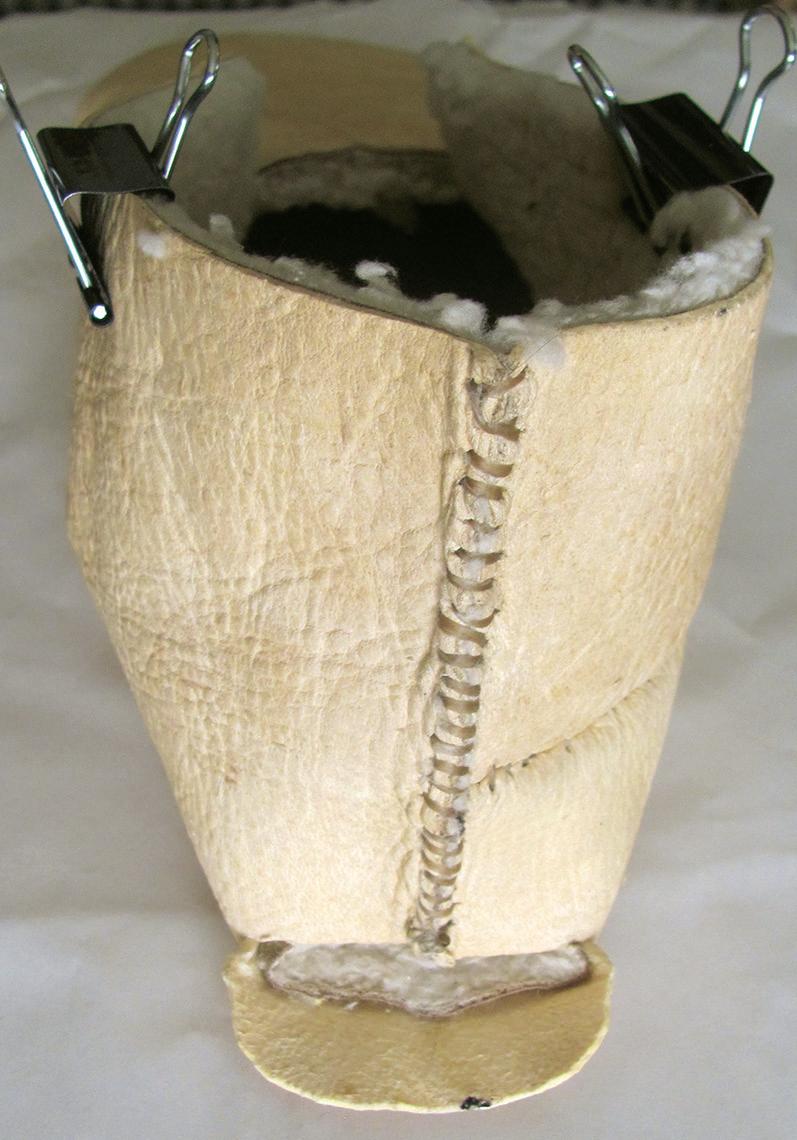

In this step, you’ll sew the moccasins with the finished side in, dress the seam, and then turn the finished side out so the seam is around the outside of the moccasins.
Lay the moccasins on the table with the liner side up and the toes or arched part facing away from you. Pick up the right-foot moccasin, fold the left half under the right half, line up the edges, and clip them together. Pick up the left-foot moccasin, fold the right half under the left half, line up the edges, and clip them together. If this is confusing, get a feel for the process first with felt or denim.
You’ll want more than enough sinew to sew the entire seam with one piece. If your feet are men’s size 12 or smaller, use 61 2 feet of sinew, and if they’re larger than size 12, use 7 1⁄ 2 feet of sinew.

Beginning where the seam meets the fold (closest to the big toe), whipstitch the seam, stopping at the corner at the outer edge of the heel. Tie off the sinew and dress the seam (see “Stitching Techniques” on Page 110). Don’t sew the heel seam
closed at this time. Turn the moccasin right side out by working the toe through the moccasin and out the open heel.
5 Form the foot hole. Supplies: Leather shears, pencil, ruler.
Here’s what you’ll be doing in this step: cutting the hole for your foot at half the width of the moccasin and about half the length from heel to toe. After it’s cut, the foot hole will look like a capital T. You’ll have achieved the correct fit when your toes are close to the end and there is a 3 ⁄ 8- to 1 2-inch overlap at the back of the moccasin.
Place the right-foot moccasin on a flat surface so the toes are facing away and the seam is to your right. Gently push down on it to flatten it a bit. Measure the longest part of the length (middle toe to heel), divide that number by two, and write the final number down. Now, measure the width at the heel. Divide it by two and make a mark at that spot. Move the ruler a couple of inches toward the toe and make another mark at half the width. (You can see the marks in the photo at top right on Page 110). Line up the ruler on those two marks and, measuring from the heel, make a small mark at half the length. Draw a line from the heel to the half-length mark.
6 Top: Clip the heel seam together and sew toward the sole. Bottom: After creating a flap, remove the liner, round the edges, and secure it with cement.
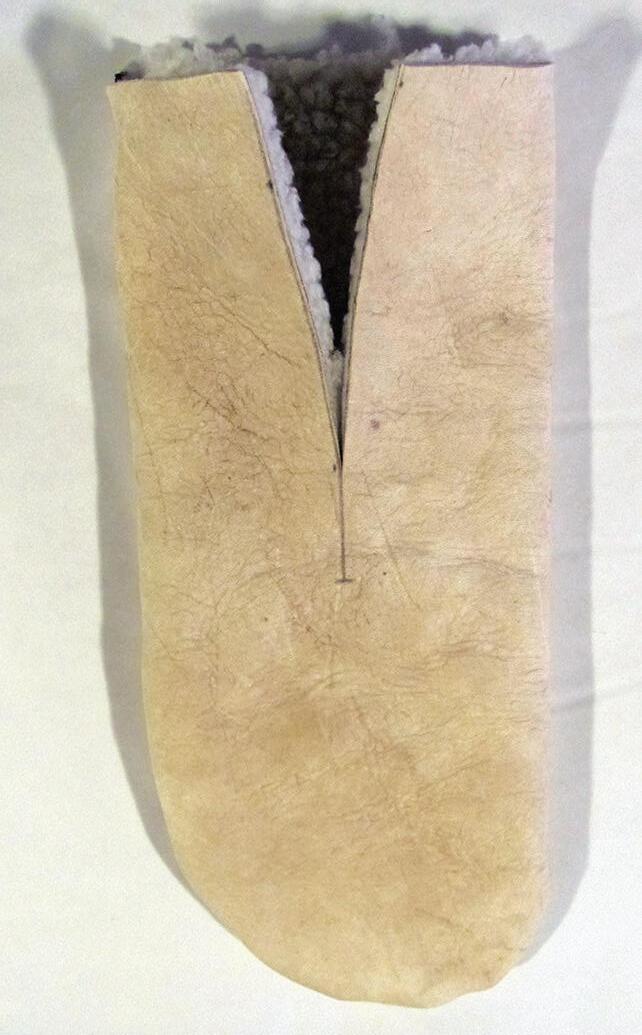
www.MotherearthNews.coM 111
5 Left: Form the foot hole by cutting at half the width and half the length. Right: After it’s cut, your foot hole will look like a capital T (here, upside-down).
Cut the top layer of leather and liner along the line to about 1 ⁄ 2 inch short of the half-length mark. You’ll probably need to cut it a little more for the correct fit, but first you should test the fit and then cut more only if it’s necessary.
After the fit is right, make relief cuts by snipping at a right angle to the line about 1 inch in each direction. This will complete the capital T. Test the fit and make the relief cuts larger if necessary.
Place the left-foot moccasin so the toes are facing away from you and the seam is to your left and repeat the process.

6 Fashion the heel. Supplies: #2 Glover’s needle, sinew, lighter or matches, gloves, leather shears, contact cement, binder clips, hammer, stone.
Unspool 4 feet of sinew. This will be enough to sew the heel, tongue, and relief-cut sides. Clip the heel seam together. Starting from the top and sewing toward the sole, whipstitch the heel seam to 1 inch from the sole, tie it off, and dress. Next, make a 3 ⁄ 4 -inch-long cut just below the knot and perpendicular to the seam. Be sure to cut both layers of leather. Fold down this flap, remove the liner, and round the corners. Then, cement this flap to the moccasin.
7 Finish the tongue and relief cut. Supplies: Craft paper, scissors, #2 Glover’s needle, sinew, lighter or matches, gloves, leather shears, contact cement, binder clips, ruler, carpenter’s square, pencil, leather, lining.
The tongue should be 4 inches tall and 3⁄ 4 inch wider than the relief cut. Measure and make the paper pattern. Transfer to the leather and liner and cut. Cement the liner to the membrane side of the leather. After the cement is cured, attach the tongue by slipping it into the moccasin with the liner side of the tongue against the moccasin liner (the liner should be sandwiched between leather). Position the tongue so there is equal overlap on both sides of the relief cut. Whipstitch the tongue to the moccasin.

Next, whipstitch the edges of the relief cuts. Pull the tongue up and out of the moccasin and whipstitch around the three edges of the tongue.
8 Crafting the ankle cuff.
Supplies: Paper, scissors, #2 Glover’s needle, sinew, lighter or matches, gloves, leather shears, ruler, carpenter’s square, binder clips, pencil, leather, hammer, stone.

Measure the length around the foot opening and add 1 inch. To form the cuff pattern, make a rectangle that’s this measurement wide by 4 inches tall. Transfer the pattern to the leather and cut.
I prefer the cuff with its membrane side out. I think it makes a nice contrast. Position the cuff around the foot opening with the membrane side out and each edge overlapping the relief cut by about 1 ⁄ 2 inch, and then clip it into place. Use 4 1 ⁄ 2 feet of sinew and whipstitch the cuff to the opening. Pull up the cuff and dress the seam.
9 Add finishing touches. Supplies: #2 Glover’s needle, sinew, leather laces, leather shears, binder clips, lighter or matches, gloves, hammer, stone, mink oil, or smooth leather conditioner.
Turn down the cuffs so the lower edge just covers the cuff seam and clip them into place. There will be some overlap of the two sides of the cuff at the tongue. Cut away the overlap diagonally until a gap of about ½ inch remains between the two sides of the cuff. Cut 3 feet of leather laces. Thread the lace under the fold and clips. Leaving room to rethread a replacement lace, whipstitch closed the edges of the cuffs, next to the tongue. Rub mink oil or a smooth leather conditioner into the moccasins.
On long winter nights, when you’re relaxing by the fireplace, your feet feeling comfy and warm in your handmade moccasins, you can take pride in the fact that you’ve added another ability to your DIY skill set.
112 MOTHER EARTH NEWS • PREMIUM GUIDE TO LIVING ON LESS
Take pride in your completed pair! On long winter nights, these DIY moccasins will keep your feet warm and toasty.
7 Position the tongue and whipstitch it to the moccasin, as well as around the edges.
YOU WATCH WHAT YOU EAT. WE WATCH WHAT THEY EAT.


You care about the quality of the food that your family eats. We extend that care to the family pets. That’s why we make Diamond Naturals with the highest quality ingredients to provide complete, holistic nutrition for every pet. Because you shouldn’t have to worry about the food your dog or cat eats.


©2018
ARE REGISTERED TRADEMARKS OF
& KAMPETER,
SCHELL & KAMPETER, INC. DIAMOND, DIAMOND & DESIGN, DIAMOND NATURALS AND “UNCOMPROMISING QUALITY AND PERFORMANCE, NATURALLY”
SCHELL
INC.




 By Rosalind Creasy with Cathy Wilkinson Barash


 By Carrie Williams Howe


 Bonner


 TWO-WHEEL TRACTORS


 By Andrea Chesman


 By Kale Roberts


 Protein-rich cattail pollen can be used to extend flour, and it gives baked goods a bright-yellow hue.


 By Barbara Pleasant


 By Claudia Lucero


 By Filip Tkaczyk, Alderleaf Wilderness College


 By Richard Freudenberger


 By Nathan Poell


 By Domenica Marchetti


 By Linda A. Gilkeson


