

Cooking & Cocktail Series THE 3 PILLARS OF PIZZA WITH PATRICK SCULLY, YOUR NATIONAL DIRECTOR OF FOOD, BEVERAGE & CULINARY EXPERIENCE PRESENTS

The history of pizza begins in antiquity, as various ancient cultures produced basic flatbreads with several toppings. A precursor of pizza was probably the focaccia, a flatbread known to the Romans as panis focacius, to which toppings were then added. Modern pizza evolved from similar flatbread dishes in Naples, Italy, in the 18th or early 19th centuries.
The word pizza was first documented in AD 997 in Gaeta and successively in different parts of Central and Southern Italy. Pizza was mainly eaten in Italy and by immigrants from there. This changed after World War II when Allied troops stationed in Italy came to enjoy pizza along with other Italian foods.

Although there are many different stories on where pizza originated from, we’ll share the most prevalent one. In 16th-century Naples, a galette flatbread was referred to as a pizza; it was known as a dish for poor people, particularly as street food, and was not considered a kitchen recipe until much later. It was not until the Spanish brought the tomato from the Americas and developed the modern variation that pizzas in their modern conception were invented.
It is said that the tomato reached the Kingdom of Naples and Sicily, at the time part of the Spanish Empire, through either Pedro Alvarez de Toledo in the 16th century or viceroy Manuel de Amat, who may
have gifted some seeds to the Neapolitans in 1770 on behalf of the Viceroyalty of Peru.
An often recounted story holds that on June 11, 1889, to honor the queen consort of Italy, Margherita of Savoy, the Neapolitan pizza maker Raffaele Esposito created the “Pizza Margherita,” a pizza garnished with tomatoes, mozzarella and basil, to represent the national colors of Italy as depicted on the Flag of Italy. However, the Pizza Margherita already existed. The most popular and famous pizzas from Naples were the “Marinara,” created in 1734, and the “Margherita,” which dates from 1796-1810. The latter was presented to the Queen of Italy upon her visit to Naples in 1889.
Pizza evolved into a variety of bread and tomato dishes often served with cheese. A fact not well known is that until the late 19th or early 20th centuries the dish was
sweet, not savory, and earlier versions that were savory resembled the flatbreads now known as schiacciata Pellegrino Artusi’s classic early-twentieth-century cookbook, La Scienza in cucina e l’Arte di mangiar bene gives three recipes for pizza, all of which are sweet. After the feedback of some readers, Artusi added a typed sheet in the 1911 edition (discovered by food historian Alberto Capatti), bound with the volume, which included the recipe of pizza alla napoletana: mozzarella, tomatoes, anchovies and mushrooms.
However, by 1927, Ada Boni’s first edition of il talismano della felicita (a well-known Italian cookbook) includes a recipe using tomatoes and mozzarella.
FUN FACT: In 1962, the Hawaiian Pizza, a pizza topped with pineapple and ham, was invented in Canada by restaurateur Sam Panopoulos at the Satellite Restaurant in Chatham, Ontario.
• Different types of dough.
• How to properly make Neapolitan style dough.
• Different types of yeast.
• Tips and tricks when making dough.
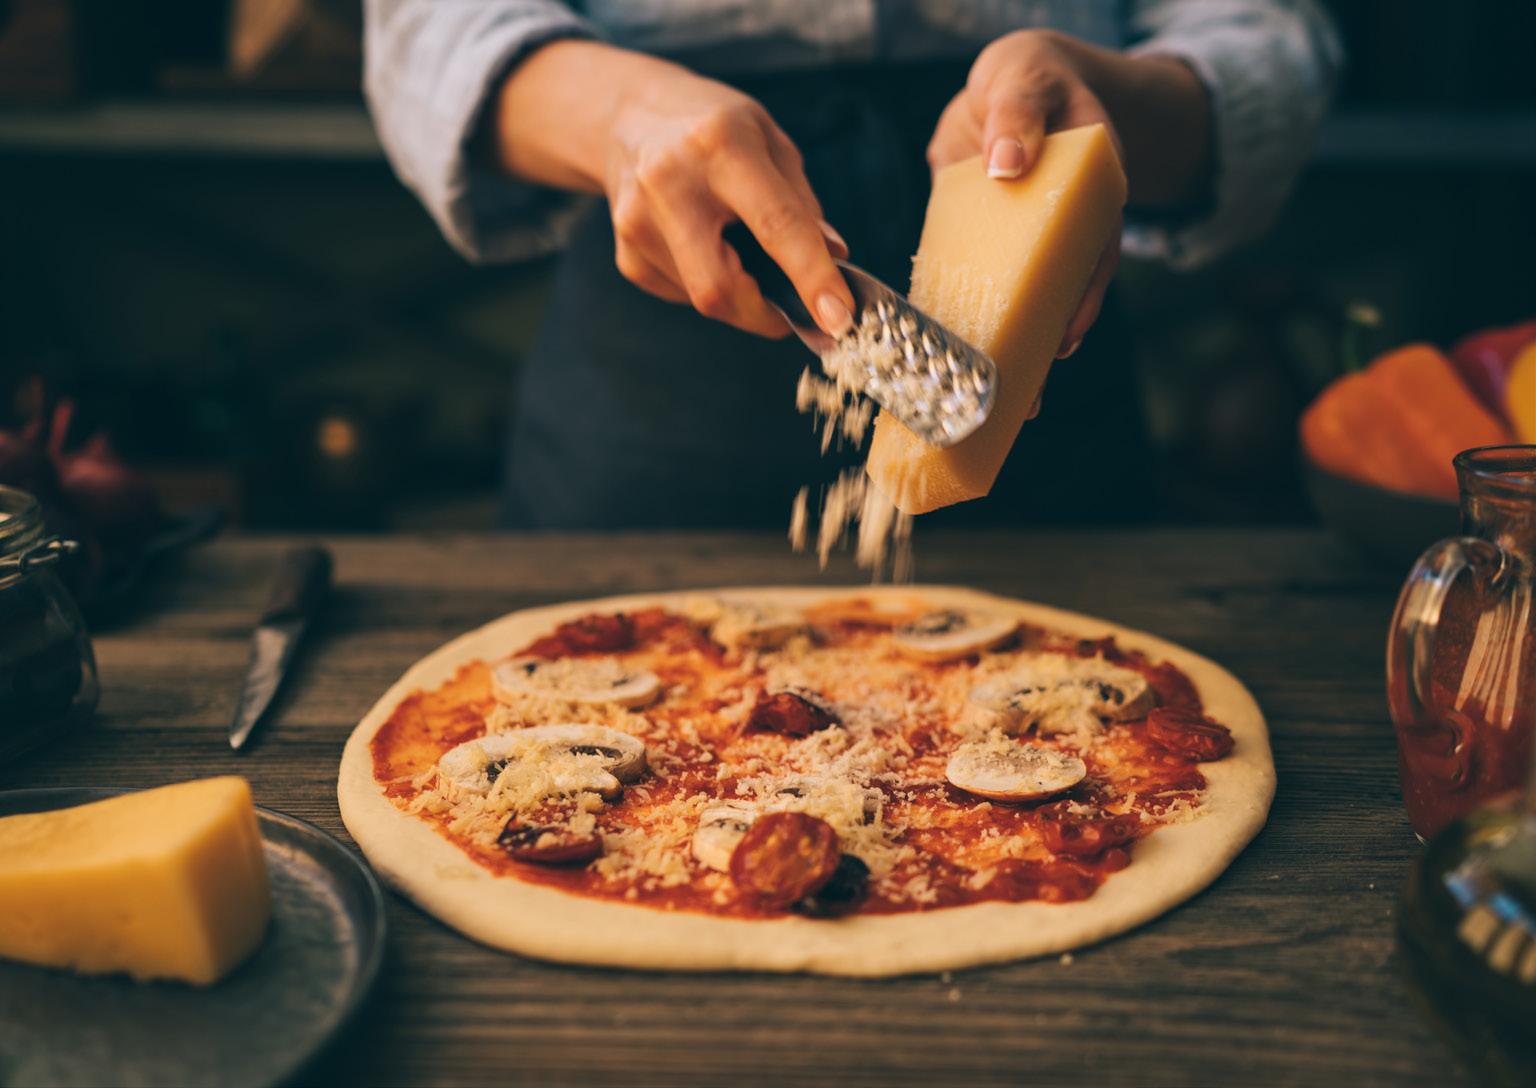
• How to stretch out the dough properly for saucing .
Makes 6 (260 gram) dough balls for 12” personal size pizzas. Use a precision baking food scale to weigh out the ingredients.
» 957 grams 00 flour
» 29 grams salt (medium grind kosher or sea salt)
» 574 grams room temperature water (filtered)
» 0.18 grams of ADY (active dry yeast)
1. Combine room temperature water, salt and active dry yeast into a bowl and mix to dissolve.
2. Add a few scoops of flour to the bowl at a time, hand mixing as you go.
3. Once all the flour is added, continue to mix until the dough appears smooth and is coming away from the edge of the bowl.
4. Lightly flour the working surface and pull the dough out from the mixing vessel. Continue to knead the dough for approximately 10 minutes until your dough starts to produce a sheen and has bounce back when you press the dough.
5. Once the dough has been kneaded enough, form it into a ball and cover the dough in a lightly floured bowl with three to four sheets of plastic wrap to
form a tight seal and leave to sit for 24 hours at room temperature of approximately 75 degrees F.
6. When you are ready to ball your dough, remove the dough carefully onto a lightly floured surface and fold it a few more times before balling to activate the gluten, which makes it easier to work with.
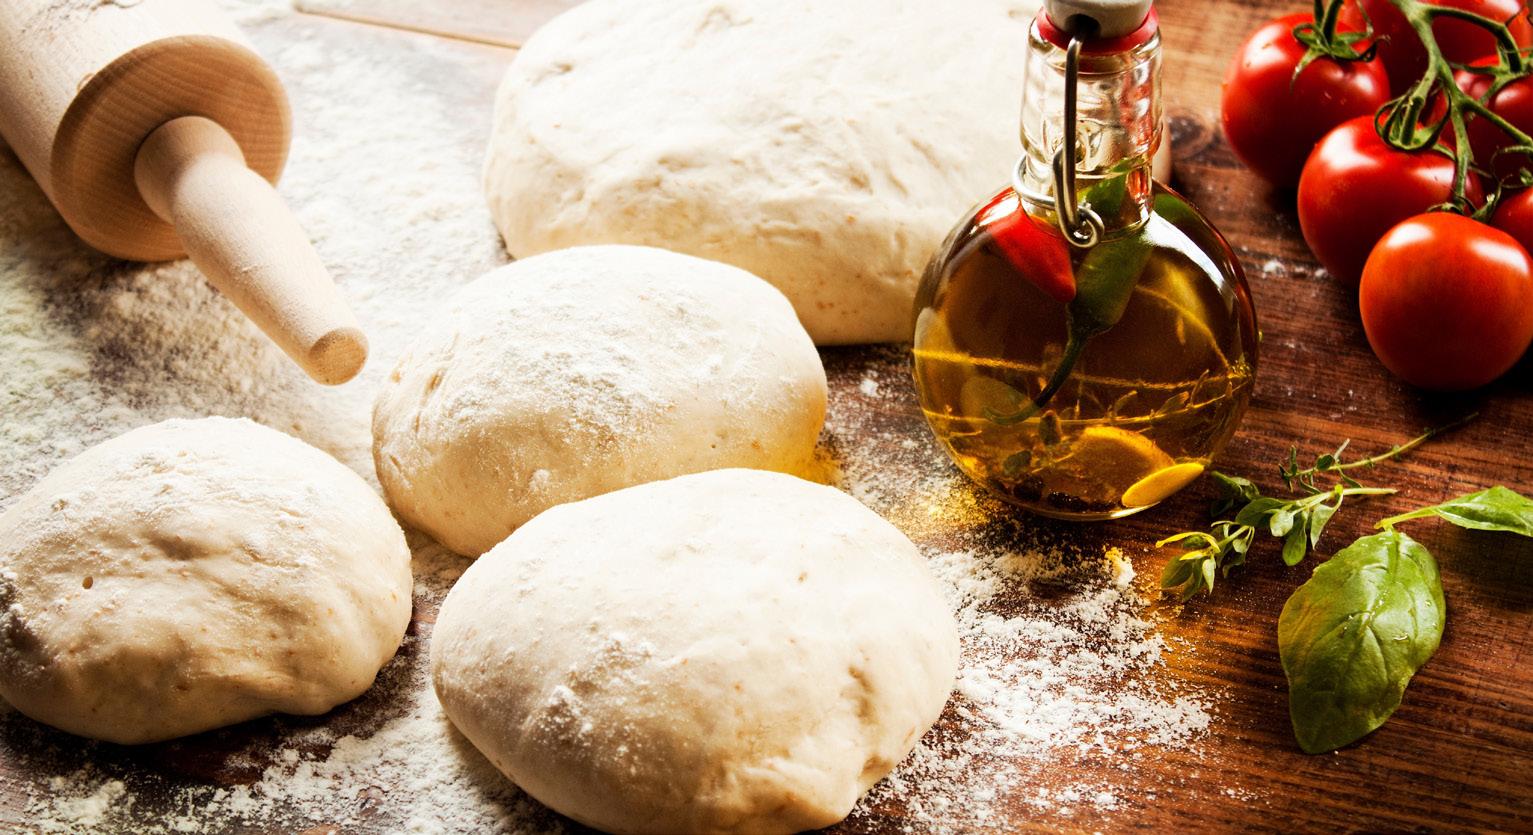
7. Section the dough into 260g portions (use a scale). Take each dough portion and fold it into itself pinching the bottom to create a tight ball.
8. Leave the dough balls in an air tight container for 3-4 hours before using them (recommend getting a pizza dough proofing box), or if you will not be using the dough right away you may keep it in the fridge covered for 2 or 3 days. When taking it out of the refrigerator, allow the dough to sit for 2 or 3 hours to bring it back to room temperature and relax the gluten.
TIP: Download PizzaApp+ to your smart phone or device for assistance with your dough-making needs. It’s a great app for pizza lovers!
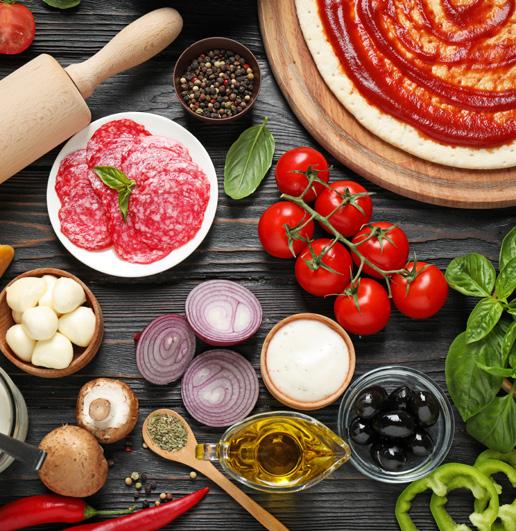
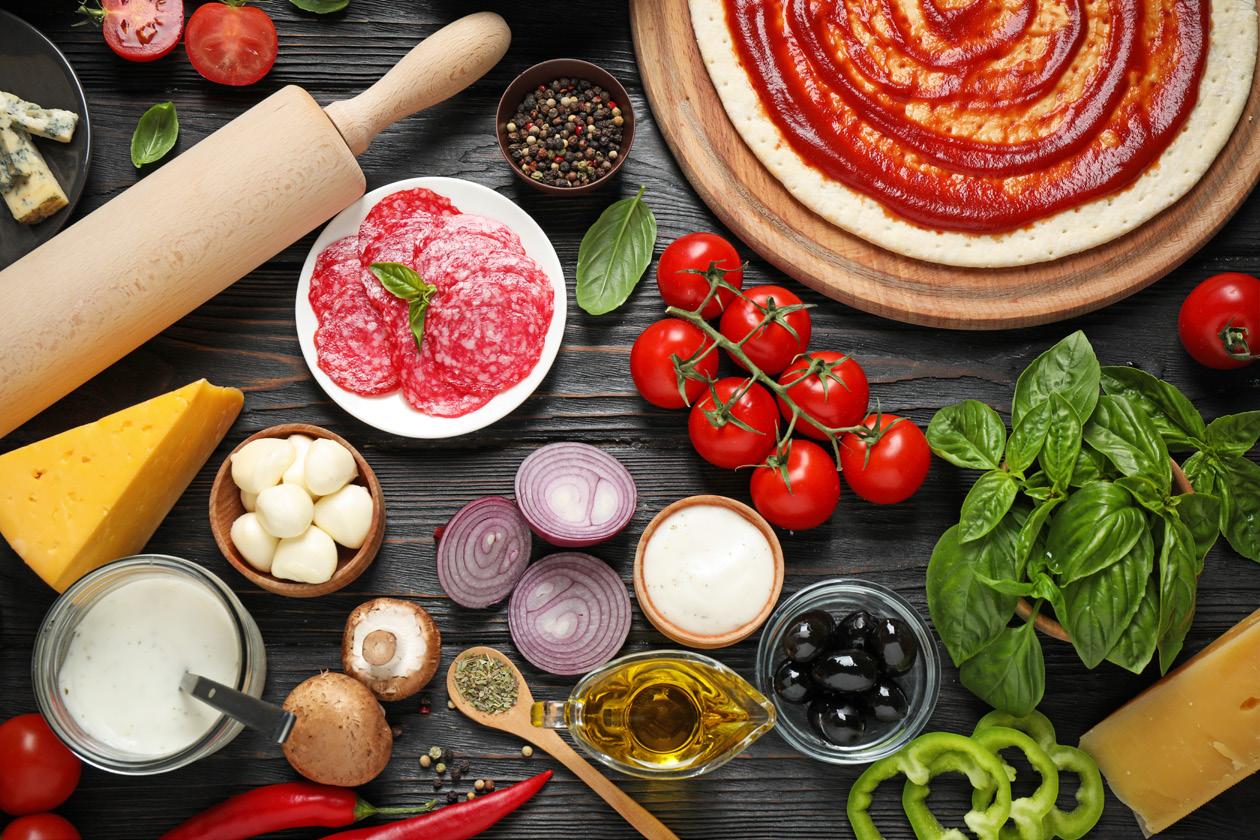
• The Purist approach of sauce - “KISS RULE.”
• The Ingredients.
• Making the sauce.
• Saucing the dough.
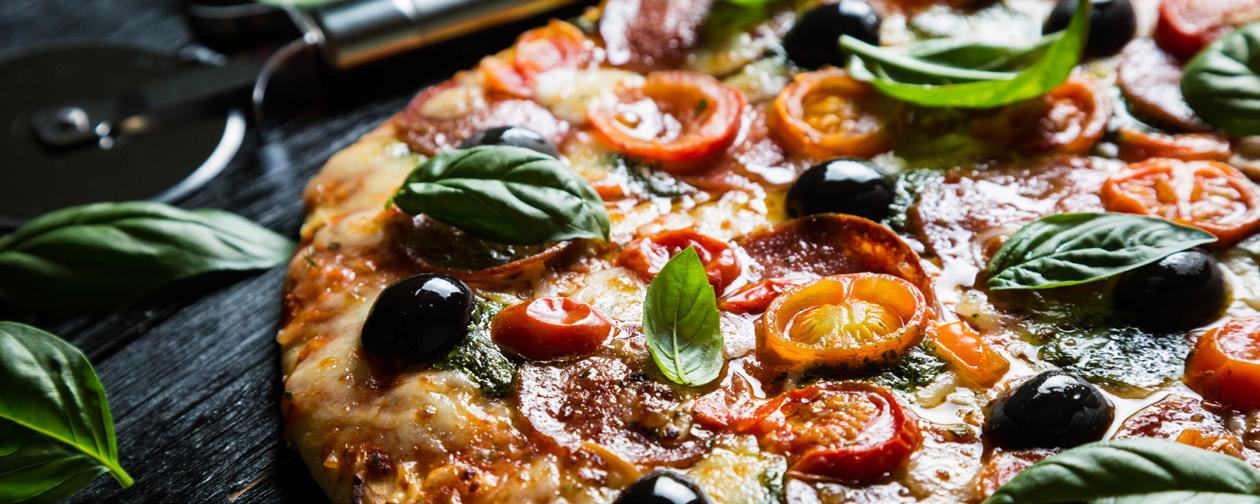
• Toppings and ingredients (combos that just work and freshness of ingredients).
• Have items prepared before you start rolling out the dough.
• No more than three (sparseness and spacing).
» 1 (28 oz.) can/jar whole peeled DOP San Marzano tomatoes
» 1 teaspoon sea salt
» 4 fresh basil leaves
» 1 clove garlic, peeled and pressed (optional)
» Splash of extra virgin olive oil (optional)
1. Remove the tomatoes from the sauce and place them into a blender (or bowl if using an immersion blender).
2. Add the salt and basil leaves.
3. Pulse until the sauce is chunky or smooth, depending on your preference. To thin the sauce, if needed, add 1 tablespoon of the sauce from the can at a time.
4. Use your homemade pizza sauce right away, or store it in an airtight jar in the refrigerator for up to 5 days.
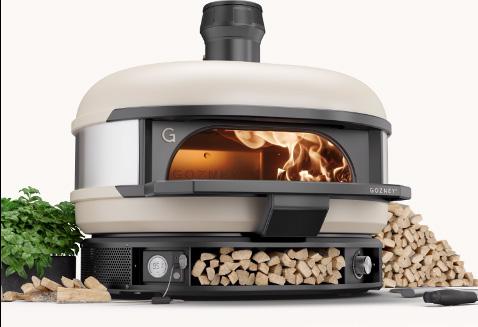
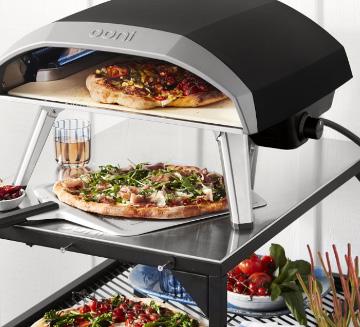
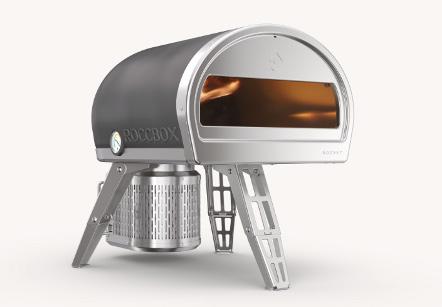
• Types of ovens (gas, electric, wood, and combo ovens).
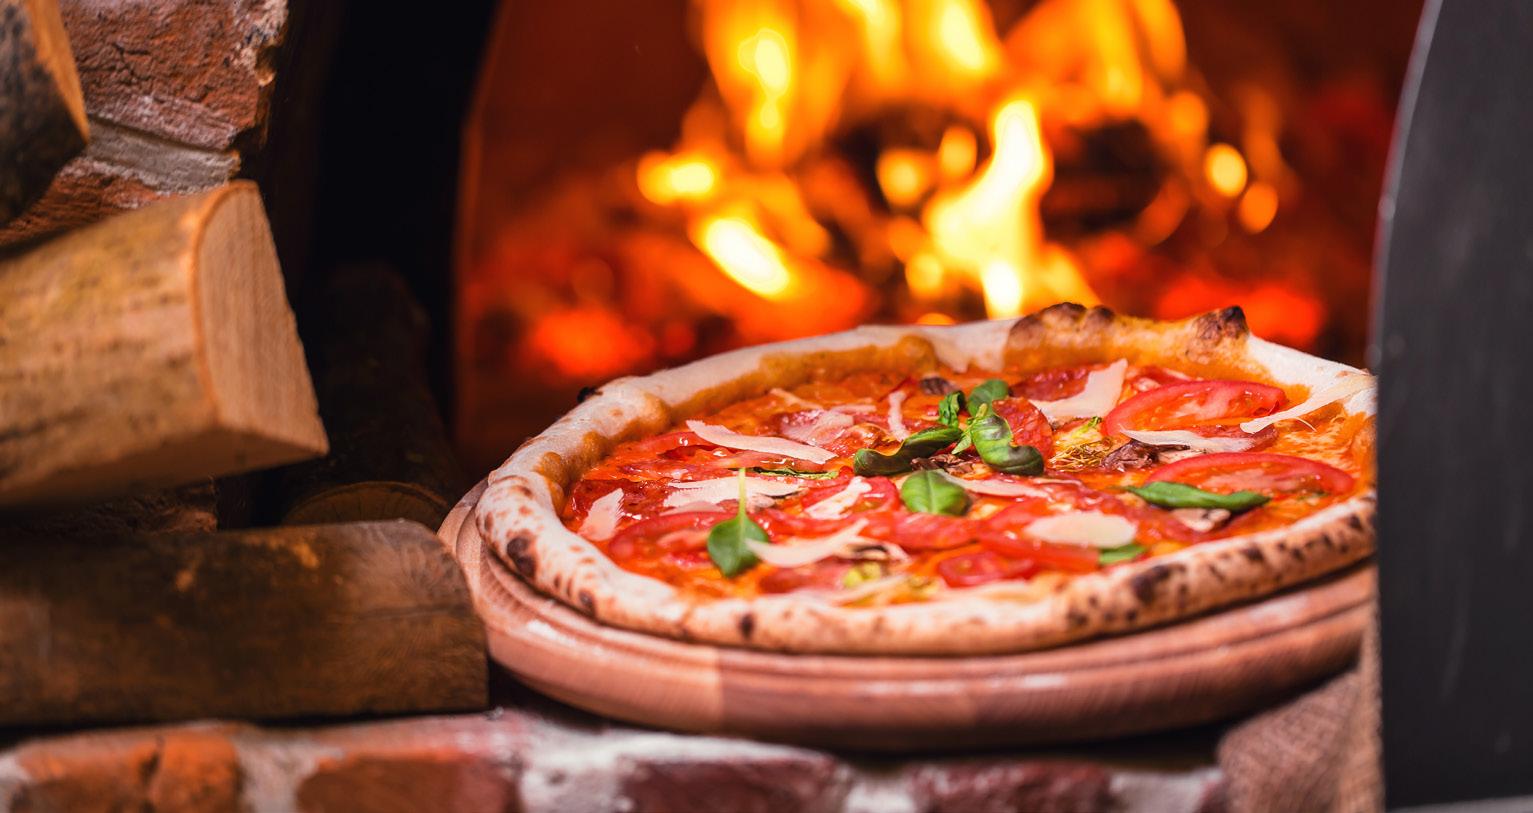
• Temperature.
• Watch and Turn.
• Equipment you will need.
• Some char is ok.
• Finishing with a good oil.
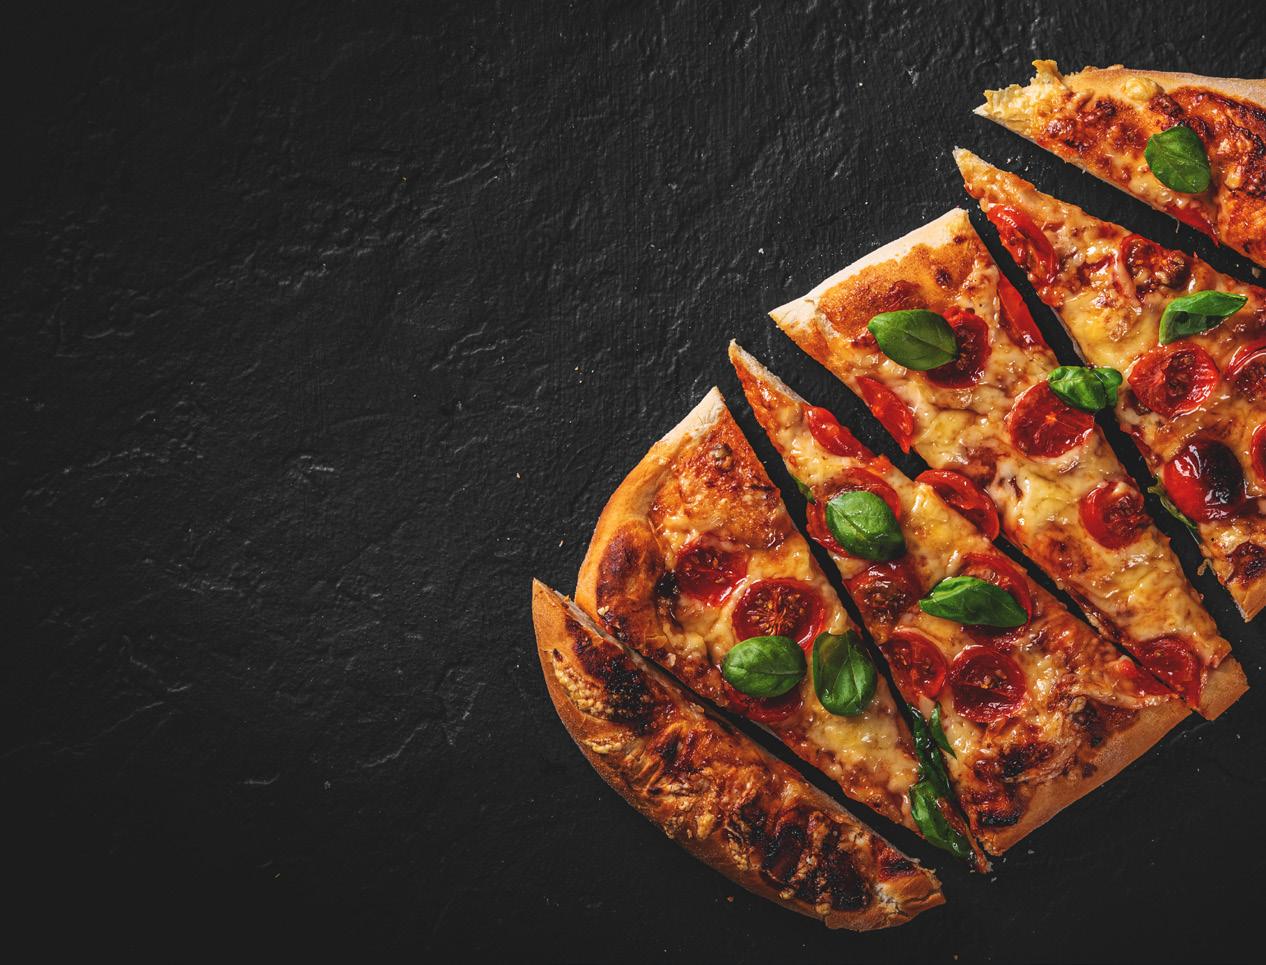
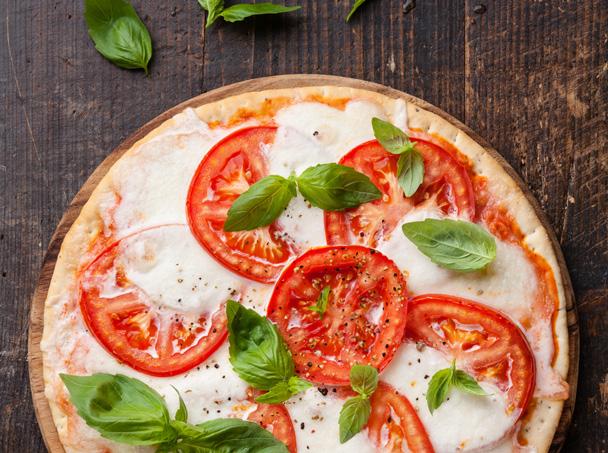
Due to the fact that a Caprese is all about simplicity, I find a pure, expressive version of Barbera pairs very well with this pizza, as it mimics the freshness of the pizza and has a strong backbone of acidity to match the red sauce.
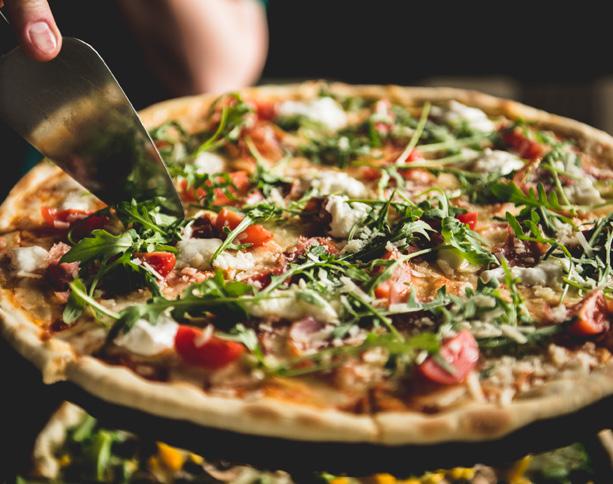
Cured meats and salad greens always bring me to Friuli as the whites from this region share a unique ability to offer refreshing minerality and acidity with a rich, textured background. The combination of salty ham, crisp refreshing greens and a Friulanobased blend creates the perfect balance of richness and elegance in a wine and pizza pairing.
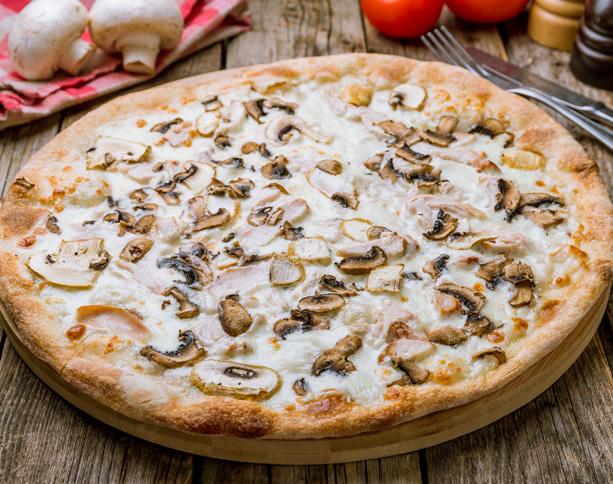
Funghi pizza is all about umami and savory herbs positioned on top of a creamy, cheesy base. To pair with this style of pizza, a softened, aged version of Nebbiolo, such as a traditional Barolo, works well to highlight similar flavor characteristics all with wonderful acidity to cut through the creaminess of the cheese.
Proofing – which is the process of putting the dough aside and allowing it to rise – enables the yeast to leaven through fermentation, making the dough rise. Not allowing your dough to proof for long enough will result in a hard, dense and just plain gross pizza base. On the other hand, giving it time to sit and rise will reward you with a soft, pillowy and chewy pizza base.
Just like proofing, kneading is a vital step when it comes to creating the perfect pizza dough. When you knead dough, you are essentially re-arranging the molecular
structure of the proteins that it is made up of. That’s why the texture will become smoother the more you knead it; the proteins are lining up to become chains of amino acids which in turn form matrixes.
Kneading often takes a lot longer than you would think; it can actually be enough to work up a sweat! Ideally, you should knead the dough for around 10 to 12 minutes. Or, if you’re lucky enough to have a stand mixer with a dough hook, let it run for about the same amount of time.
You’ll know your dough is ready when it holds its shape when you hold it up; it shouldn’t ooze or sag.
Alternatively, simply try poking and if the dough bounces back immediately, it should be good to go.
If you followed the previous tips correctly, your dough should be light and full of bubbles. If you use a rolling pin you will undo all of your hard work by knocking the air out of those bubbles, once again leaving you with a dense and tough pizza base.
While you don’t need to have the coordination to be able to toss the pizza dough in the air like a pro, you should still put the rolling pin aside. Instead, just use your fingers to gently stretch the dough to your desired shape, but be careful not to compromise the edge. It’s okay if it’s not perfectly round – this will give it an authentically rustic and gourmet look, anyway!
Just make sure that it is relatively even in thickness and that it’s not too thin; you need enough thickness to support all the toppings you’re about to put on it.
As tempting as it is to think that more is more when it comes to pizza toppings, going minimal will often result in a better pizza. Overloading your pizza with too many toppings will result in an uneven, soggy mess that will be difficult to take a bite out of.
they certainly know what they’re doing. You can be adventurous when it comes to toppings.
Have a spatula when removing the dough from the pizza box. You want to work the dough as little as possible before you start stretching.
People sometimes use too much flour when trying to stretch the dough, which will cause the dough to burn in the cooking process. Be mindful on the amount of flour used.
Ensure you have all your ingredients ready after stretching the dough. If you try to prep you ingredients after the dough stretches it often becomes to lax and sticks to the surface or it can come back into itself. Be ready when the dough is stretched.
This makes transporting to your oven efficient and easy. I suggest a peel with slots to release any flour before it goes into the oven.
Instead, why not look to the Italians for inspiration for your pizza toppings? After all, they have hundreds of years of practice when it comes to making pizzas, so
Never put a pizza in an oven that is still heating up to the correct temperature. Ensure it reached the right temperature before putting in the pie.