15 (More!) Crochet Patterns to Create Adorable Amigurumi Critters


15 (More!) Crochet Patterns to Create Adorable Amigurumi Critters
In memory of my sweet mom, Shannon. You always encouraged me to go for my dreams and were my biggest cheerleader through it all.
Hi friends!
I’m so thrilled to have you back for another adventure! I hope the monkeys didn’t give you too much trouble on our last trip!
Before we begin I just wanted to take a moment to introduce myself in case you’re new around here. My name is Lauren and I’m the crochet designer behind A Menagerie of Stitches. I’m a full-time crochet designer and author who is obsessed with all things crochet, especially amigurumi.

My love for amigurumi has always stemmed from being able to create fun toys for all ages to enjoy. Growing up I was always doing arts and crafs with my mom and grandma so it’s always been something I have truly enjoyed. When I taught myself how to crochet back in 2009, I had no idea that amigurumi would, in fact, be the thing that would change my life. Being able to create crochet patterns for food, plants, animals, you name it, has been such a huge part of my life that I absolutely love sharing with the world.
For this book, I wanted to do something I hadn’t done much of before and that was to create adorable animals! Animals are amazing creatures
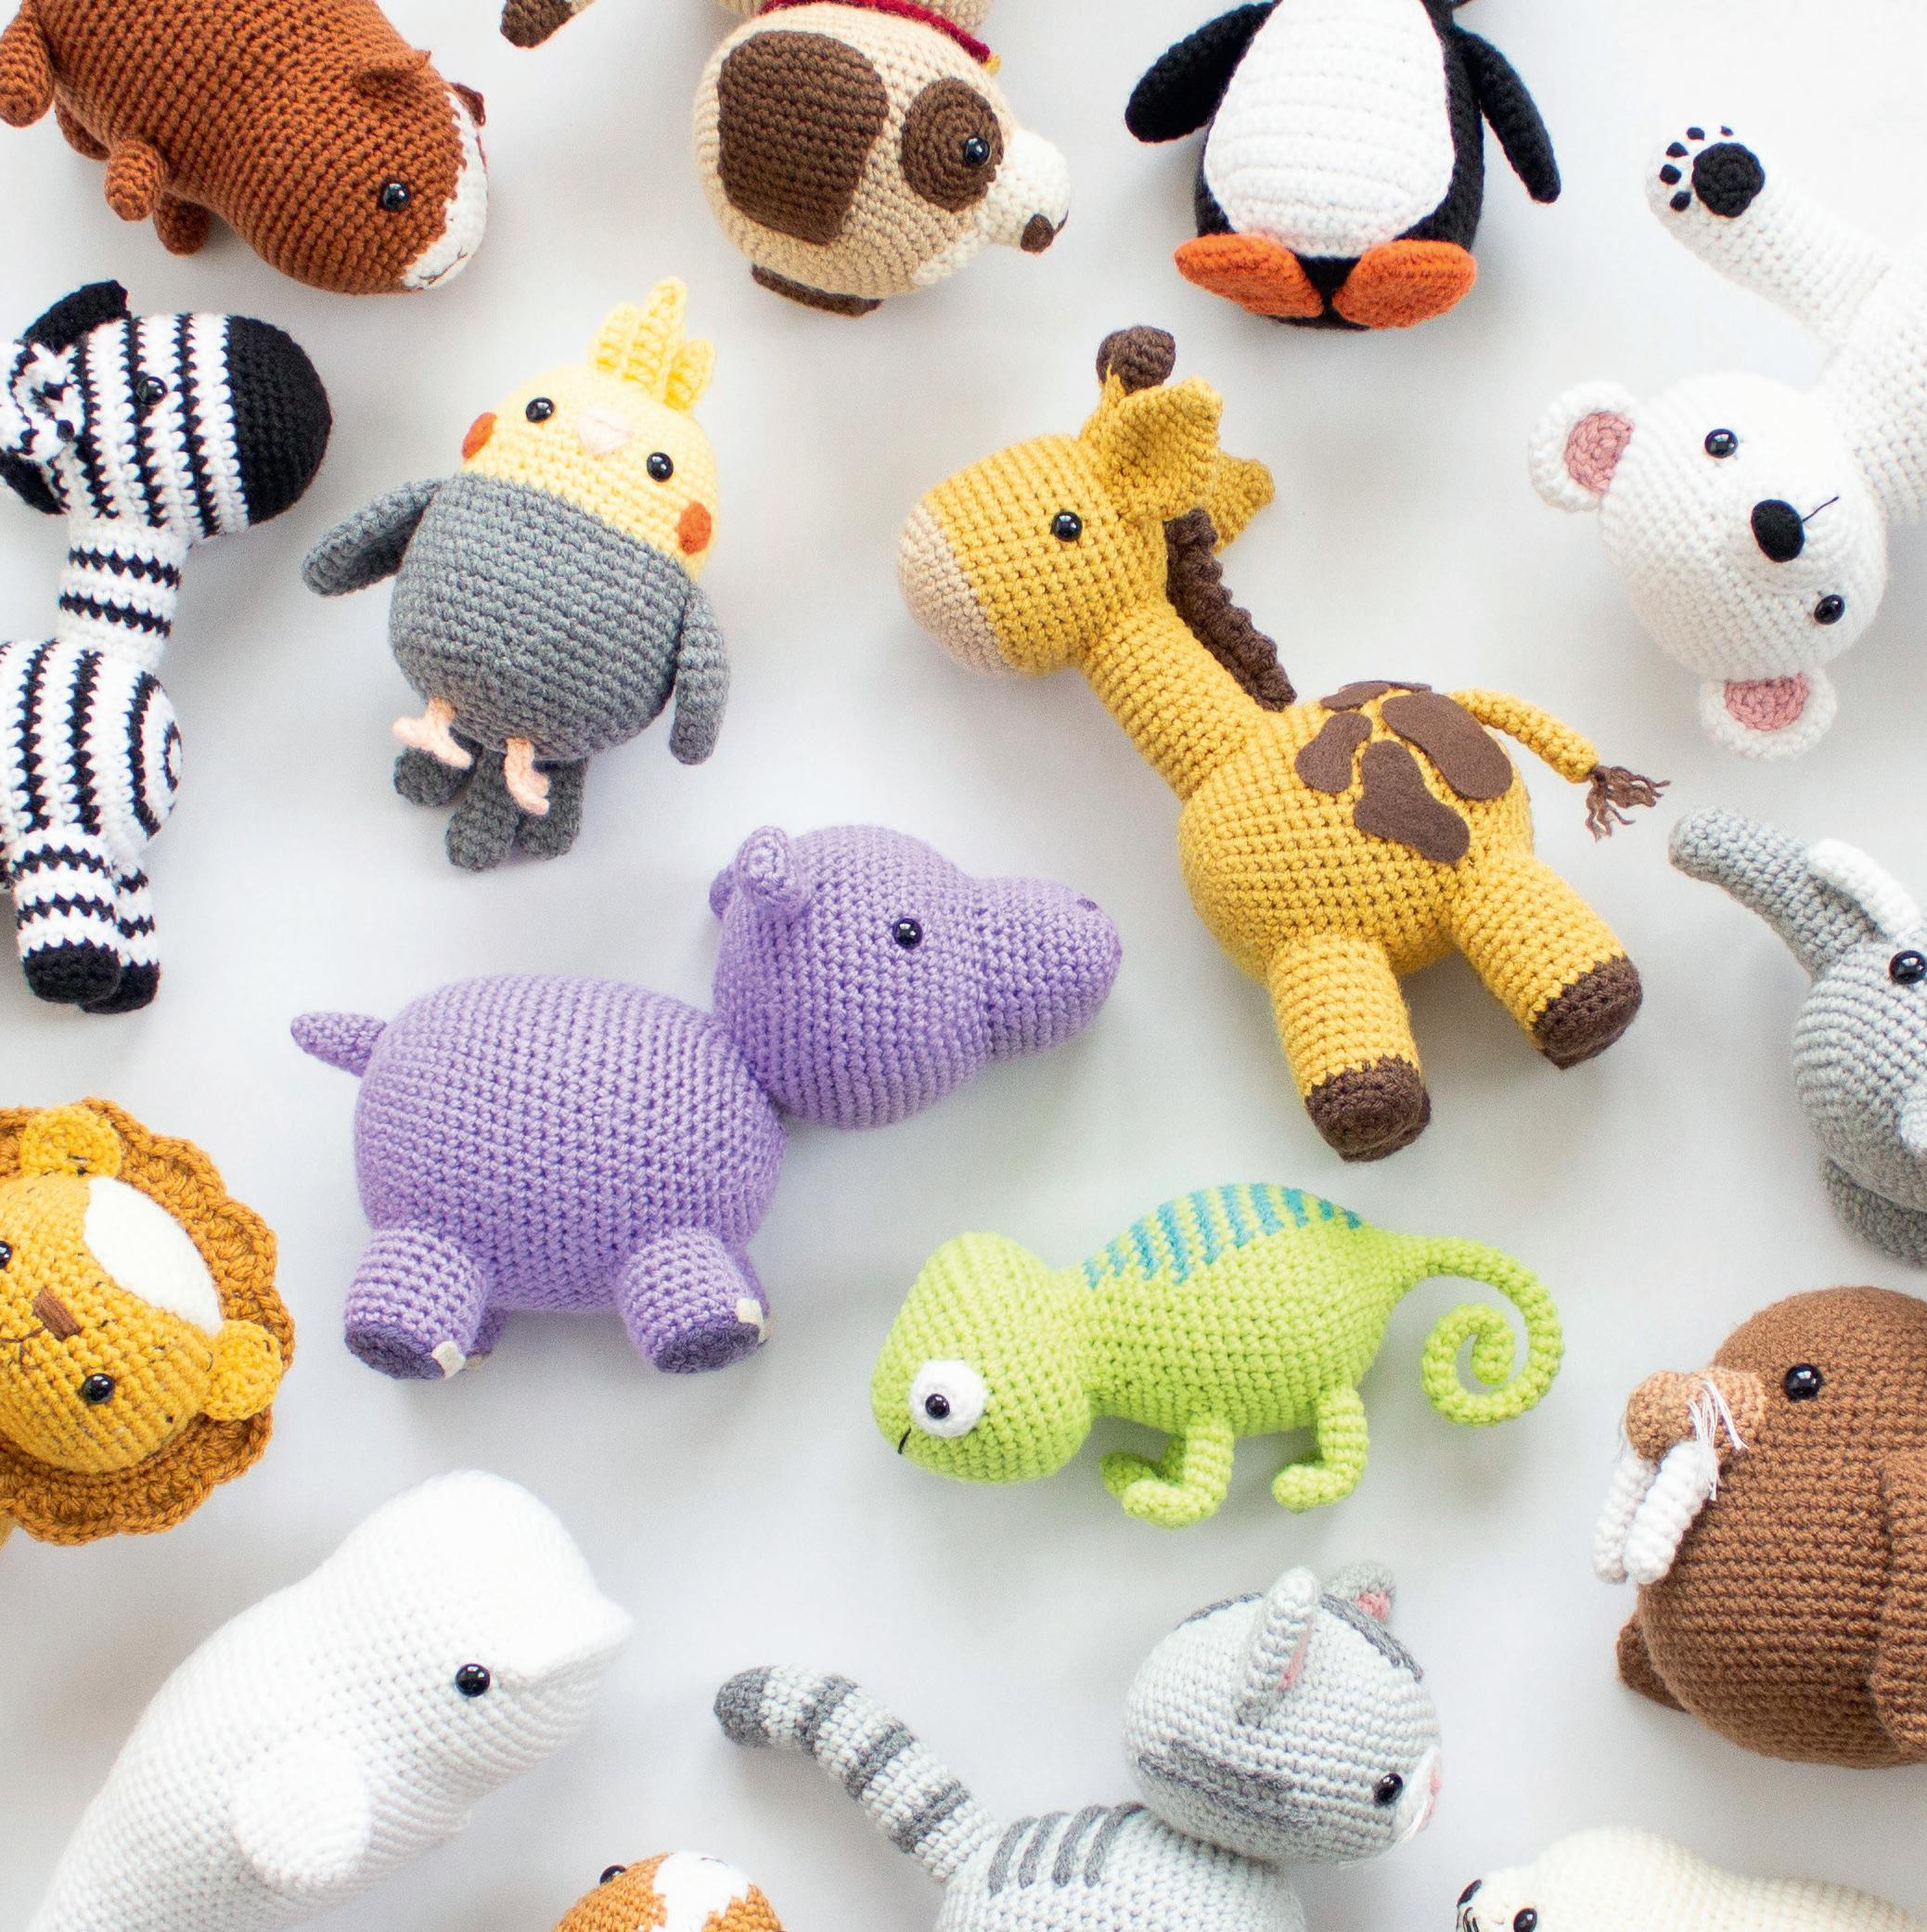
and I loved getting to learn more about them as I crocheted each one. Just like in Animal Amigurumi Adventures Volume 1, we’ll explore three diferent locations and see fve animals in each location that call that area home.
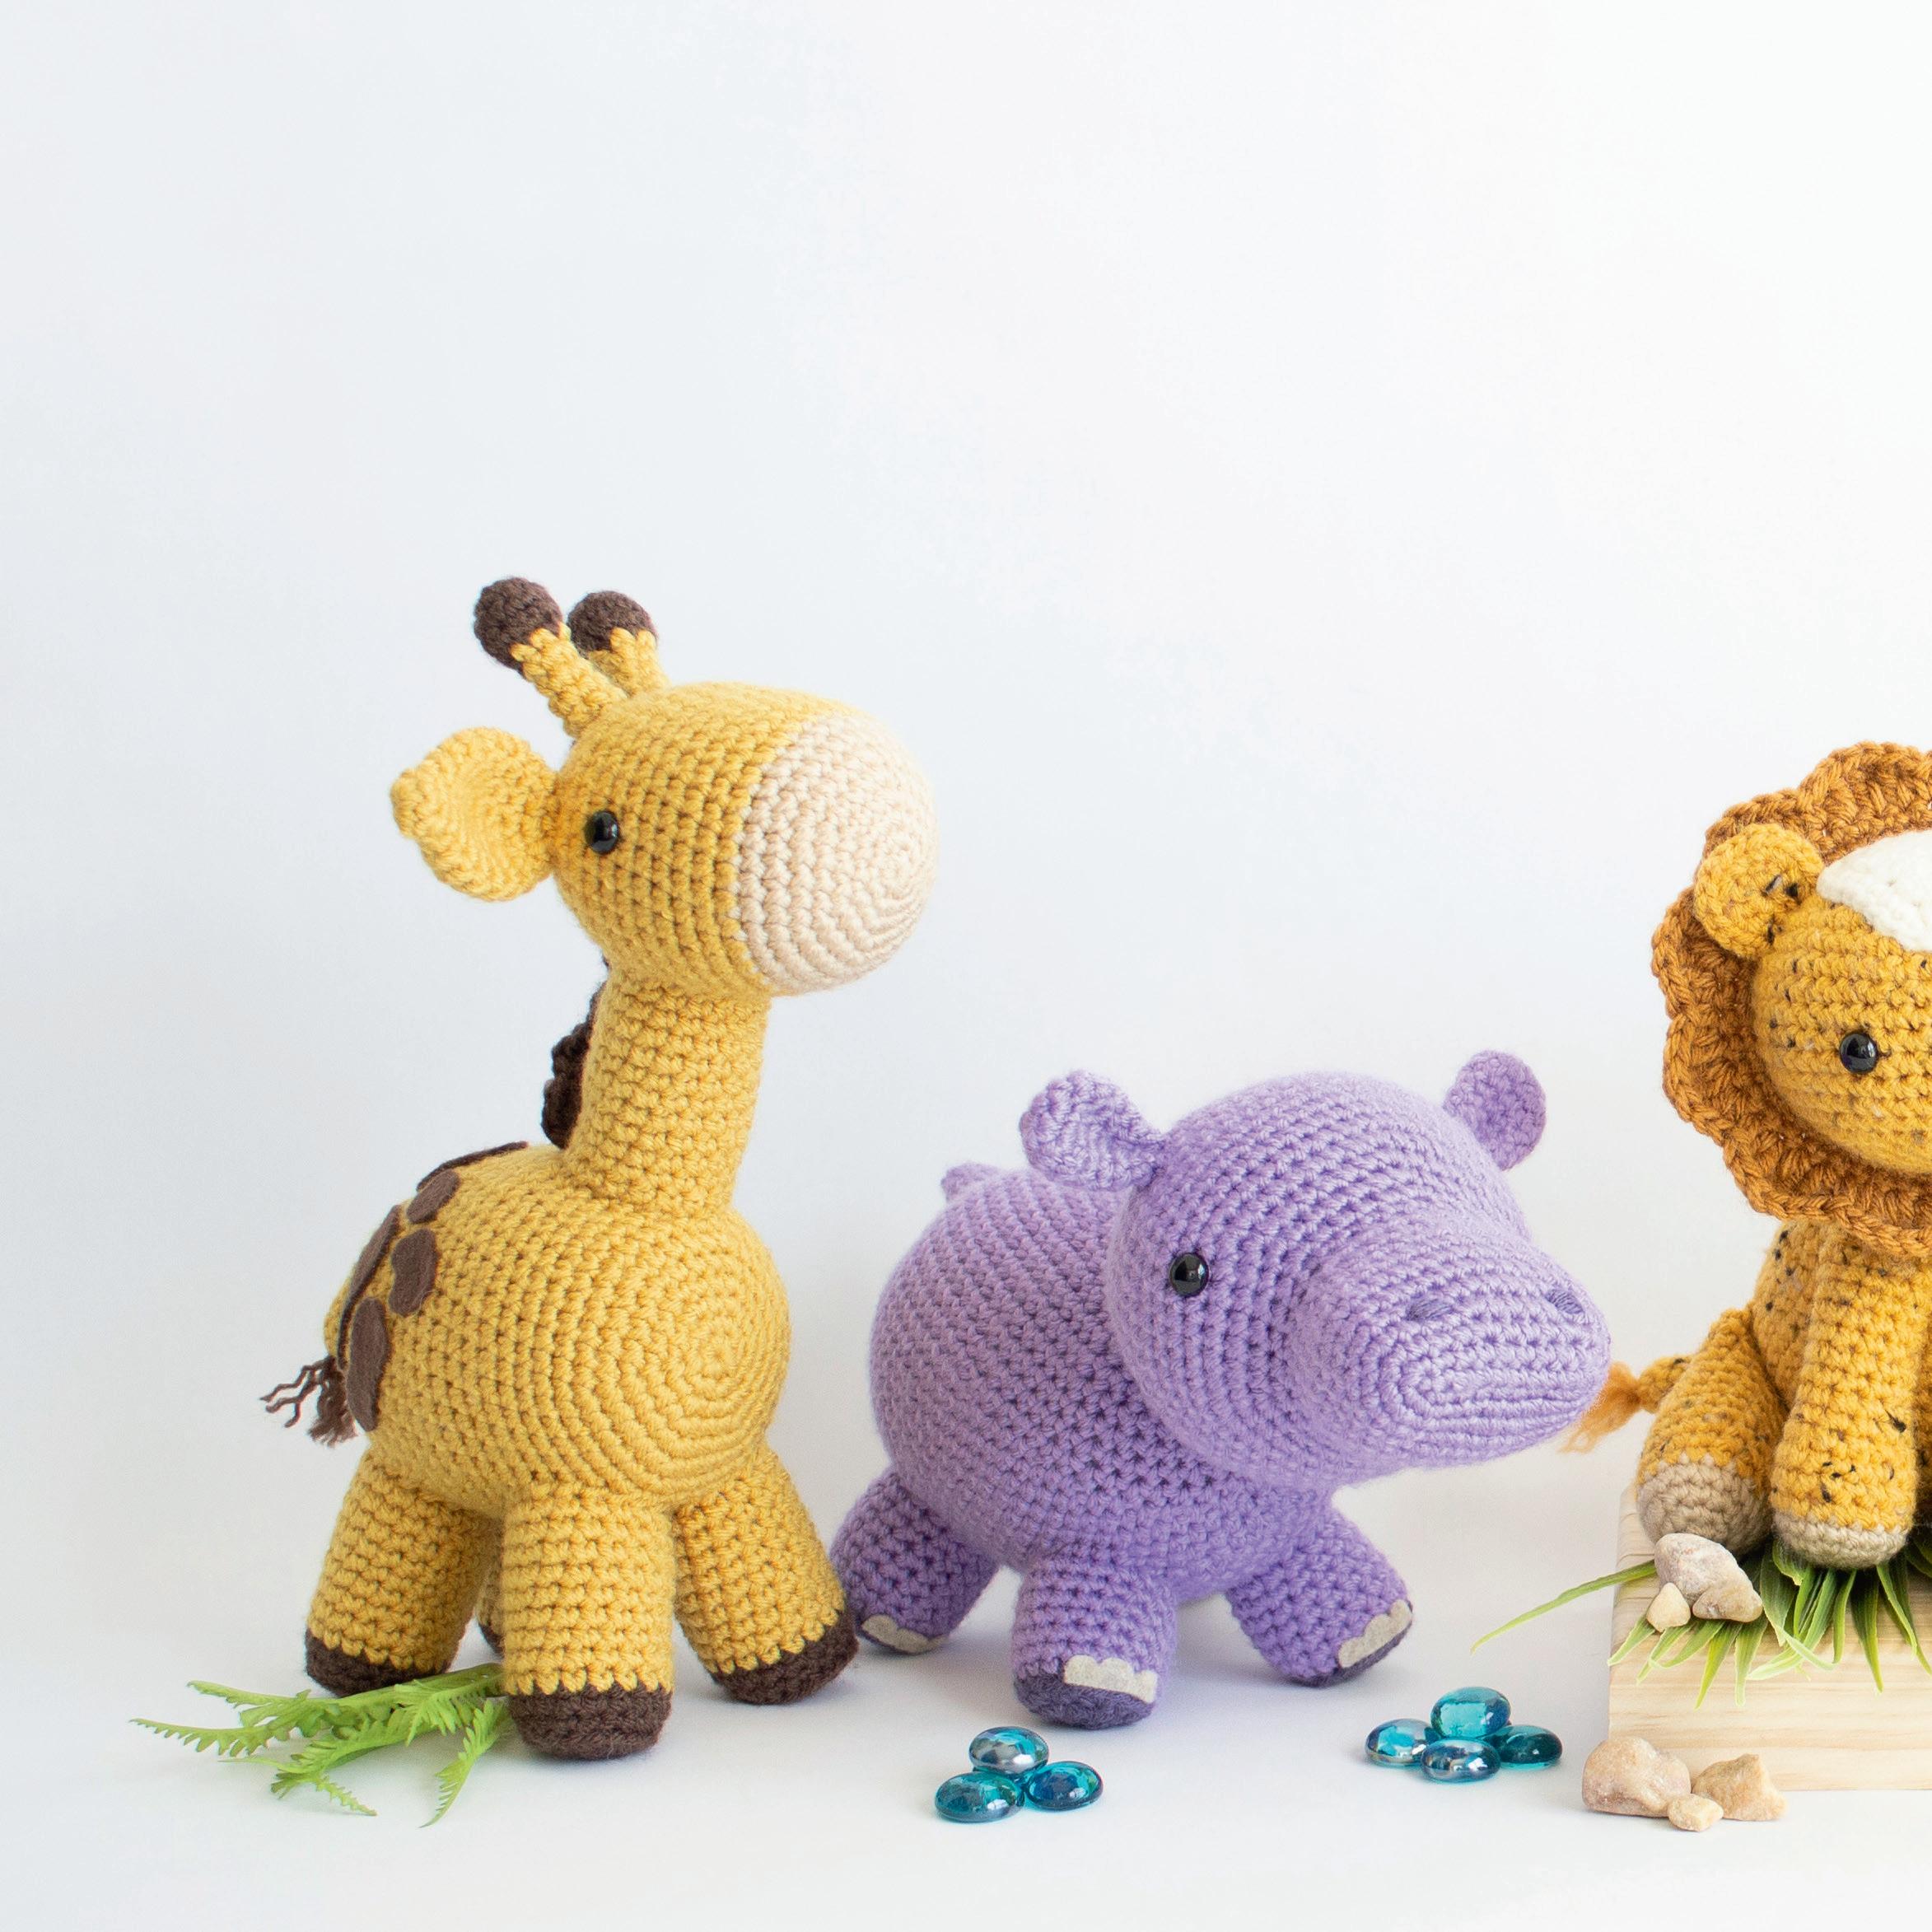
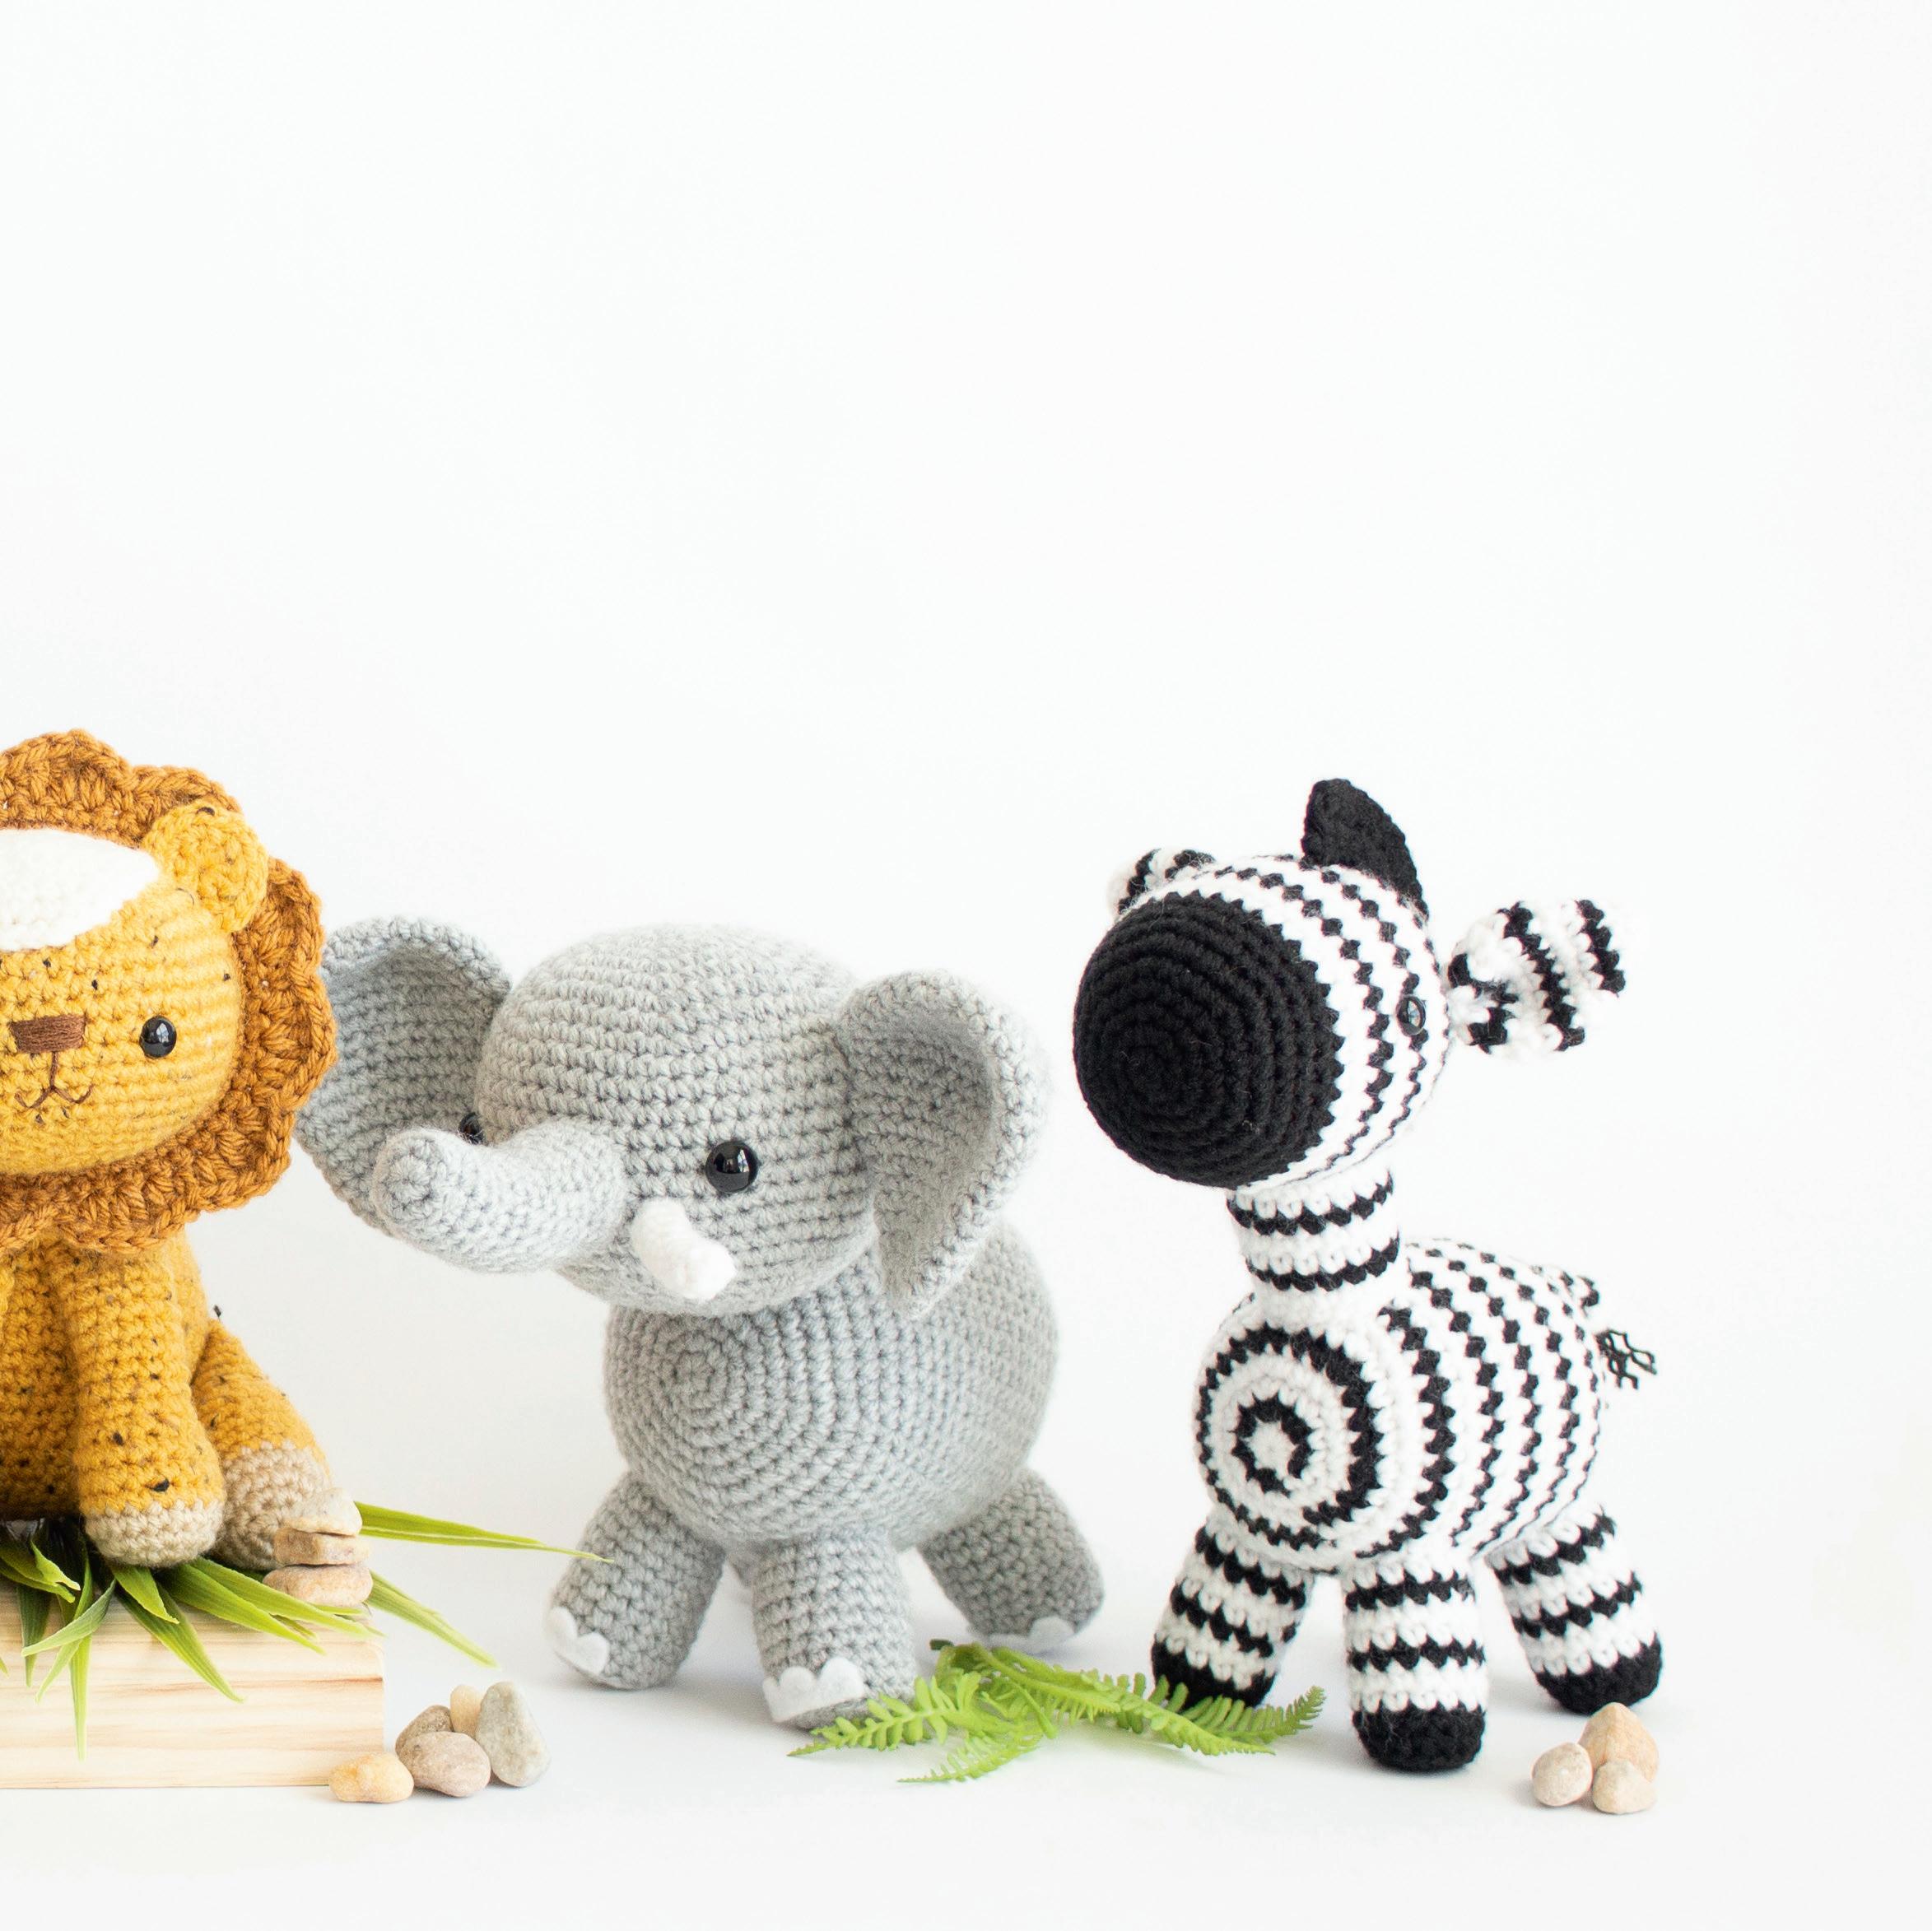
Our journey starts with a trip to the safari to feed the girafes and watch the hippos play. Bundle up! Our quest continues all the way to the arctic where we make friends with the penguins and an adorable walrus. Before we head home, we stop by the pet shop to see all the furry friends up for adoption.
As you navigate through this book, I hope you fnd your favorite animal or discover a few new ones to love. Customize them by choosing your favorite yarn colors or adding little embellishments. The possibilities are endless!
I’m ready for this next adventure and can’t wait to take you all along with me. Pack your yarn and crochet hooks and let’s go meet some seriously cute animals!
Happy crocheting!
Lauren
There are many diferent types of yarns to choose from, but my favorite for amigurumi is a worsted weight acrylic. Worsted weight is referred to as a level 4, or medium weight yarn. I like using acrylic because it comes in lots of diferent colors, is afordable, and works great for making amigurumi. Choose your favorite brands and colors for the animals in this book!
For a list of the specifc brands and exact colors I used throughout this book, please visit my website, www.amenagerieofstitchesblog.com
Crochet hooks come in a variety of sizes and can be made from aluminum, plastic, or wood. I typically grab an aluminum hook with an ergonomic handle, as this feels best in my hand while crocheting. Make sure to pick a hook that works and feels comfortable in your hand.
To keep it simple, all the patterns in this book will use a F/3.75mm crochet hook. Of course, you may choose to use a larger or smaller hook, if you prefer. Just be aware that your animals could turn out smaller or larger depending on the hook size you use.
Safety eyes come in a wide variety of sizes and colors. They have a plastic or metal washer that attaches to the back of the eye once inserted into the crocheted piece. Make sure you have positioned the eyes exactly where you would like before attaching the backs, as they are impossible to remove once attached. Buttons, felt, or embroidered eyes are a great alternative to safety eyes.
For the patterns in this book, we will be using solid black eyes in the following sizes: 8mm, 10mm, 10.5mm, and 12mm. If you plan on giving the items you make to small children, I always recommend replacing the safety eyes with felt or embroidering them on with yarn or embroidery foss.
Polyester fberfll is great for stufng amigurumi. Make sure to add enough so that the piece will hold its shape, but be sure to not overstuf. Adding too much will cause the stitches to stretch and the fberfll to show through. Use a chopstick or the end of a crochet hook to help get fberfll into smaller parts that your fngers can’t reach.
An essential part of amigurumi! Also called a darning or tapestry needle, yarn needles are ideal for sewing pieces together or weaving in ends. They have a blunt tip and a much larger eye, making it super easy to thread yarn onto it.

Stitch markers are a must when making amigurumi! Because we will be crocheting in the round, we’ll need to use one of these to mark the end of the previous round. Alternatively, you can use a contrasting piece of yarn or a safety pin instead.
These are used for adding the fner details to amigurumi, like mouths and noses. I like to use embroidery foss when adding these details because it comes in so many diferent colors and is a lot thinner than yarn. For the projects in this book, we’ll be using black, white, and brown embroidery foss.
A sharp pair of scissors will come in handy for cutting out felt shapes or trimming yarn and embroidery foss.
Before assembling the pieces of your animal, use straight pins to position the items. This will help you make sure your items are right where you want them before you commit to sewing them on.
FELT
I love using felt to add small details and texture to an animal. Things like noses and eyes can be easily made using diferent colored felt. Use a hot glue gun or embroidery foss to attach the felt to the crocheted pieces. For these projects, we’ll be using black, white, brown, and tan felt.
Pipe cleaners (also known as chenille stems) are perfect for adding stability and bend to an item. We will be using pipe cleaners in the tail and feet for the Chameleon pattern found in the Pets chapter (page 136).
I love using a hot glue gun to attach felt or crocheted details to a piece. The outcome is always much cleaner and gives the animal a polished look. The trick is to go slow and only add a little bit of glue at a time. Gluing these kinds of details in place is much faster than sewing. If you prefer to not use hot glue, sewing with embroidery foss and a needle is a great alternative.
One of my favorite tools to use! Using a pet slicker brush helps fuf up the yarn and give the piece a diferent texture. Use this brush on the tail of the Lion (page 56).
Approx. 4 inches wide by 4 inches tall by 9 inches long
MATERIALS
Worsted weight yarn: Cream
Size F/3.75mm crochet hook
One pair of 10mm safety eyes
Black embroidery foss and needle
Black felt
Polyester fberfll stufng
Yarn needle
Scissors
Stitch marker
Straight pins
ABBREVIATIONS
Inc- Increase
Inv Dec- Invisible Decrease
R- Round/Row
Sc- Single Crochet
St/s- Stitch/es

Using cream yarn, Using cream yarn,
R1 6 sc in magic ring. (6 sts)
R2 Inc in each st around. (12 sts)
R3 *Sc 1, inc* 6 times. (18 sts)
R4 *Sc 2, inc* 6 times. (24 sts)
R5 *Sc 3, inc* 6 times. (30 sts)
R6 *Sc 4, inc* 6 times. (36 sts)
R7 *Sc 5, inc* 6 times. (42 sts)
R8 *Sc 6, inc* 6 times. (48 sts)
Add the safety eyes between rounds 5 and 6, placing them 13 stitches apart. (photo 1)
R9-12 Sc 48.
R13 *Sc 6, inv dec* 6 times. (42 sts)
R14+15 Sc 42.
R16 *Sc 5, inv dec* 6 times. (36 sts)
R17+18 Sc 36.
R19 *Sc 5, inc* 6 times. (42 sts)
R20 *Sc 6, inc* 6 times. (48 sts)
R21 *Sc 7, inc* 6 times. (54 sts)
R22-31 Sc 54.
Begin adding fberfll and continue adding as you work the piece.
R32 *Sc 7, inv dec* 6 times. (48 sts)
R33 Sc 48.
R34 *Sc 6, inv dec* 6 times. (42 sts)
R35 Sc 42.
R36 *Sc 5, inv dec* 6 times. (36 sts)
R37 *Sc 4, inv dec* 6 times. (30 sts)
R38 *Sc 3, inv dec* 6 times. (24 sts)
R39 *Sc 2, inv dec* 6 times. (18 sts)
R40 *Sc 1, inv dec* 6 times. (12 sts)
R41 Inv dec around 6 times. (6 sts)
Fasten of and leave a tail to close the piece. (photo 2)
R1 6 sc in magic ring. (6 sts)
R2 Inc in each st around. (12 sts)
R3 Sc 1, inc in the next three sts, sc 3, inc in the next three sts, sc 2. (18 sts) (photo 3)
R4 Sc 18.
Fasten of and leave a tail for sewing. (photo 4)
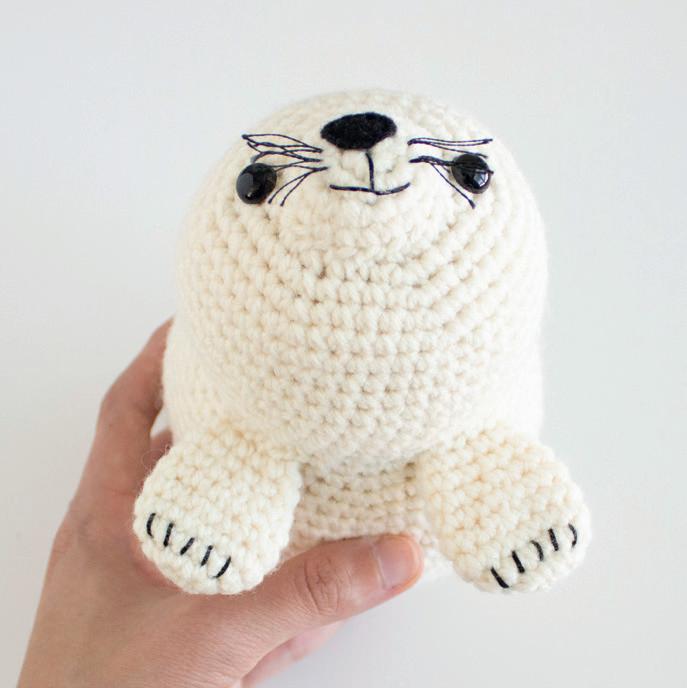
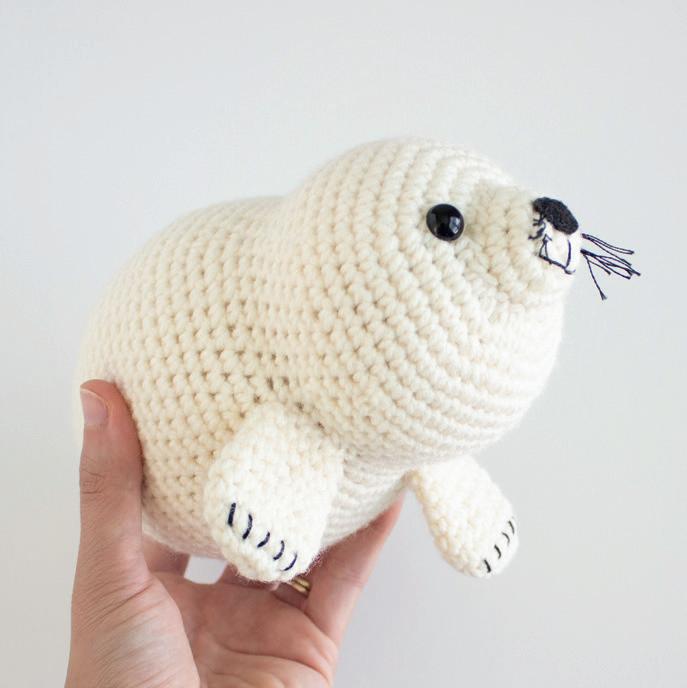
With the black felt, cut out a small oval for the nose. (photo 5) With black embroidery foss and a needle, sew the black felt near round 2 of the nose. (photo 6) Using the same strand of foss, stitch the mouth right below the nose. Stitch one line vertically, starting at the bottom center of the nose and ending in the middle of round 2. Then make two horizontal lines across round 2 to fnish the mouth. (photo 7) For the whiskers, take the black embroidery foss and separate it into 3 strands total. (photo 8) Tie a knot at one end and thread the other end onto the needle. Insert the needle from the inside of the nose near round 2 and pull through to the outside. (photo 9) Cut to about 1 inch. Make 3 whiskers on each side of the black nose. Finally, separate each whisker into 3 strands so it looks fuller. (photo 10)
Using straight pins, pin the nose to the body over rounds 1-4. The nose will go right between the safety eyes. (photo 11) With the yarn needle and the tail, sew the nose to the body. Add fberfll to the nose before closing the piece. Secure with a knot and hide inside the body. (photos 12+13)


Using cream yarn,
R1 6 sc in magic ring. (6 sts)
R2 Inc in each st around. (12 sts)
R3 *Sc 1, inc* 6 times. (18 sts)
R4 Sc 18.
R5 *Sc 7, inv dec* 2 times. (16 sts)
With black embroidery foss, create 5 claws over round 3, spacing them evenly apart. (photo 14)
R6 *Sc 6, inv dec* 2 times. (14 sts)
R7 *Sc 5, inv dec* 2 times. (12 sts)
R8+9 Sc 12.
Fasten of and leave a tail for sewing. Leave the fippers unstufed. (photo 15)
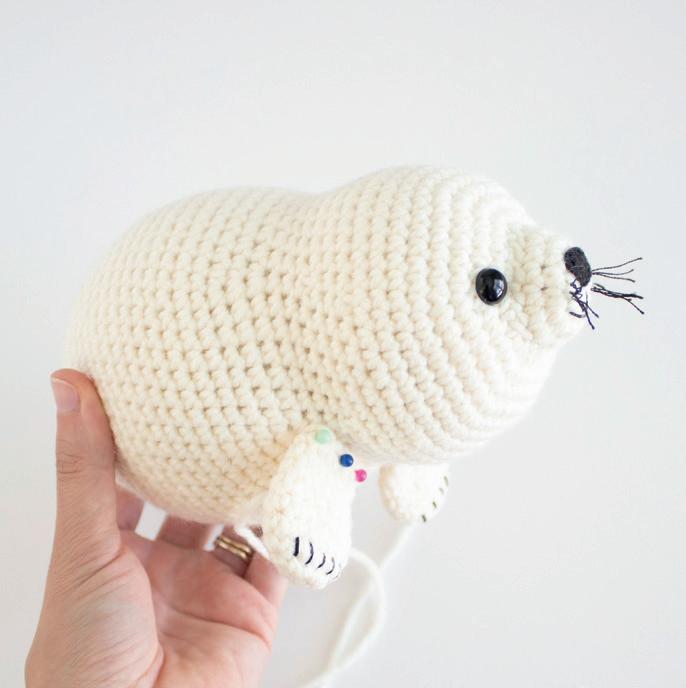
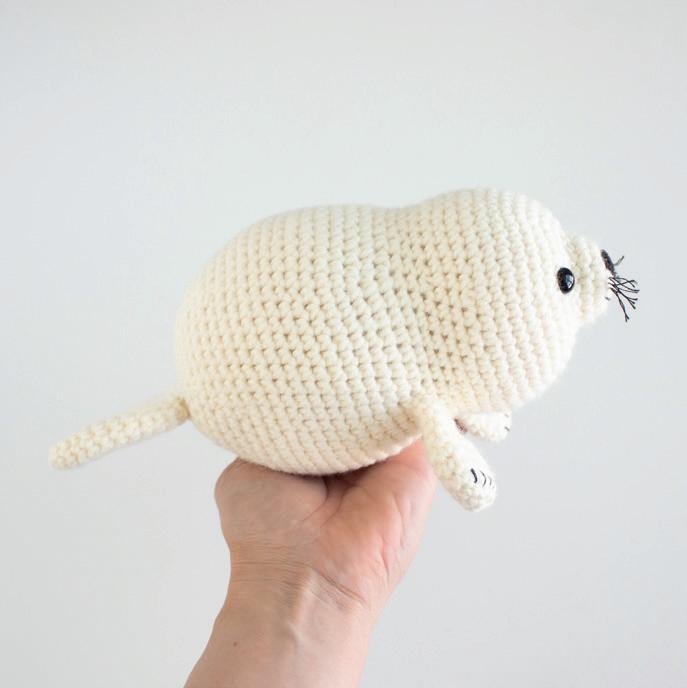
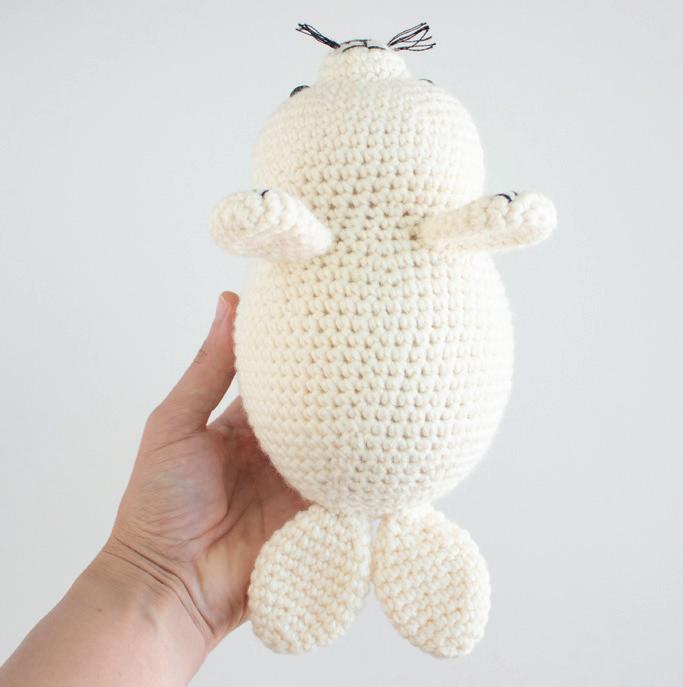
Using straight pins, pin the fippers to the sides of the body between rounds 18-20. The fippers should be about 5 stitches apart. (photos 16+17) Make sure to pin the fippers at a slight angle. With the yarn needle and the tail, sew the fippers to the body. Secure with a knot and hide inside the body. (photos 18+19)
Using cream yarn,


R1 6 sc in magic ring. (6 sts)
R2 Inc in each st around. (12 sts)
R3 Sc 12.
R4 *Sc 1, inc* 6 times. (18 sts)
R5-9 Sc 18.
R10 *Sc 1, inv dec* 6 times. (12 sts)
R11 Sc 12.
R12 *Sc 1, inv dec* 4 times. (8 sts)
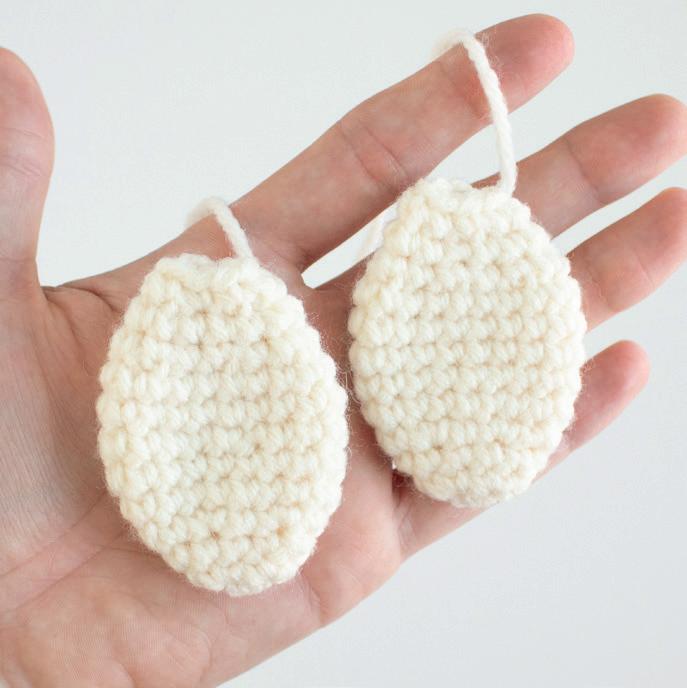
Fasten of and leave a tail for sewing. Leave the fippers unstufed. (photo 20)
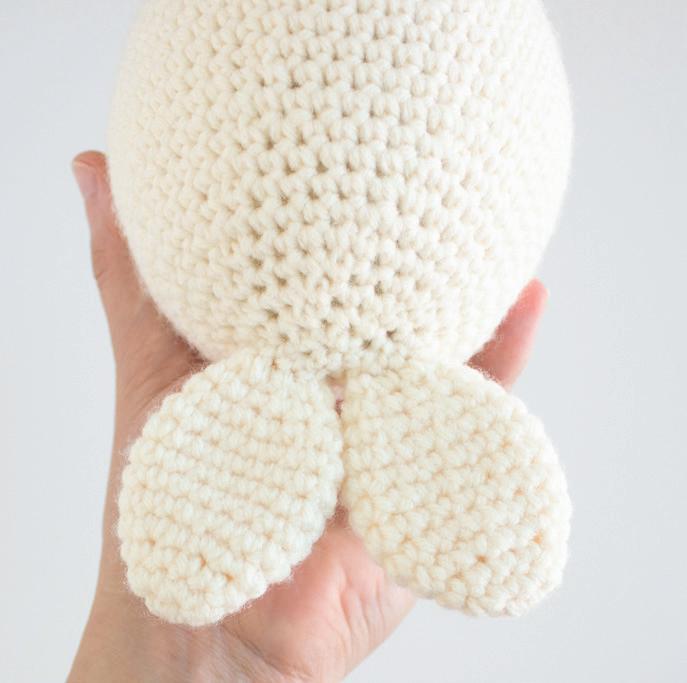
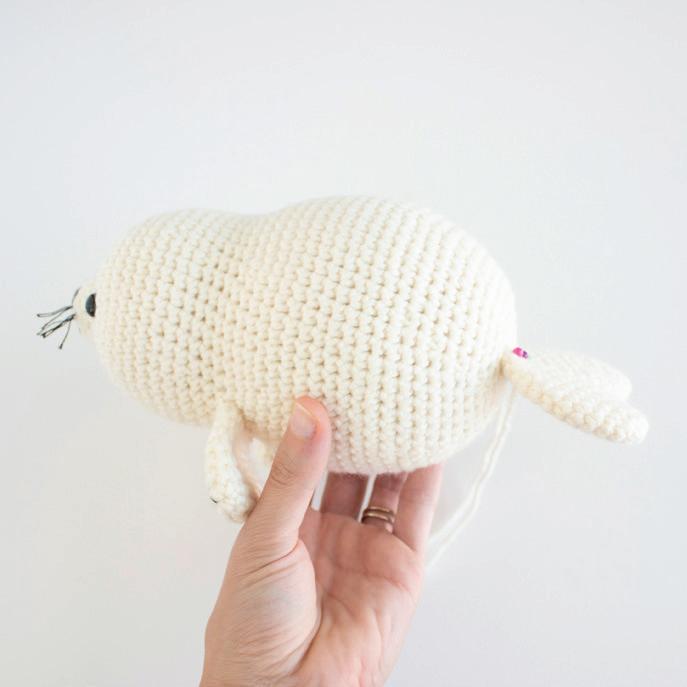
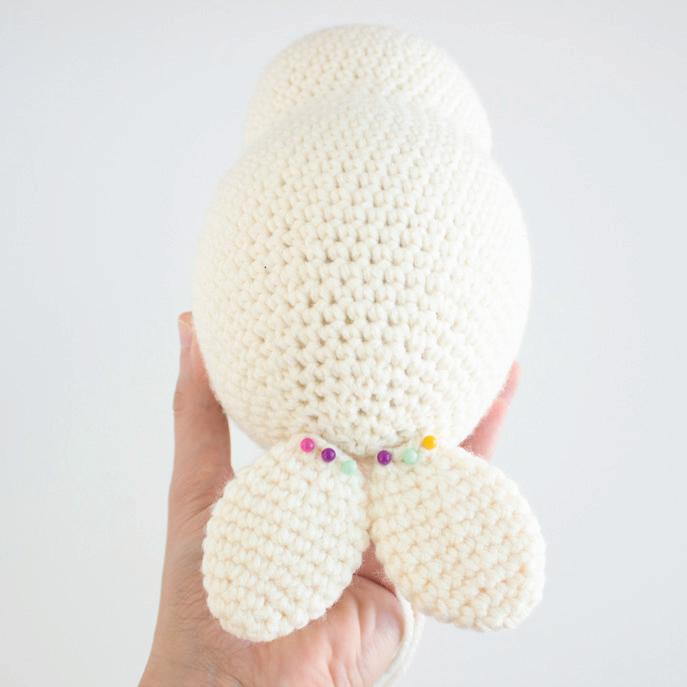
Using straight pins, pin the fippers to the end of the body between rounds 39-41. (photos 21+22) With the yarn needle and the tail, sew the fippers to the body. Secure with a knot and hide inside the body. (photos 23-25)
