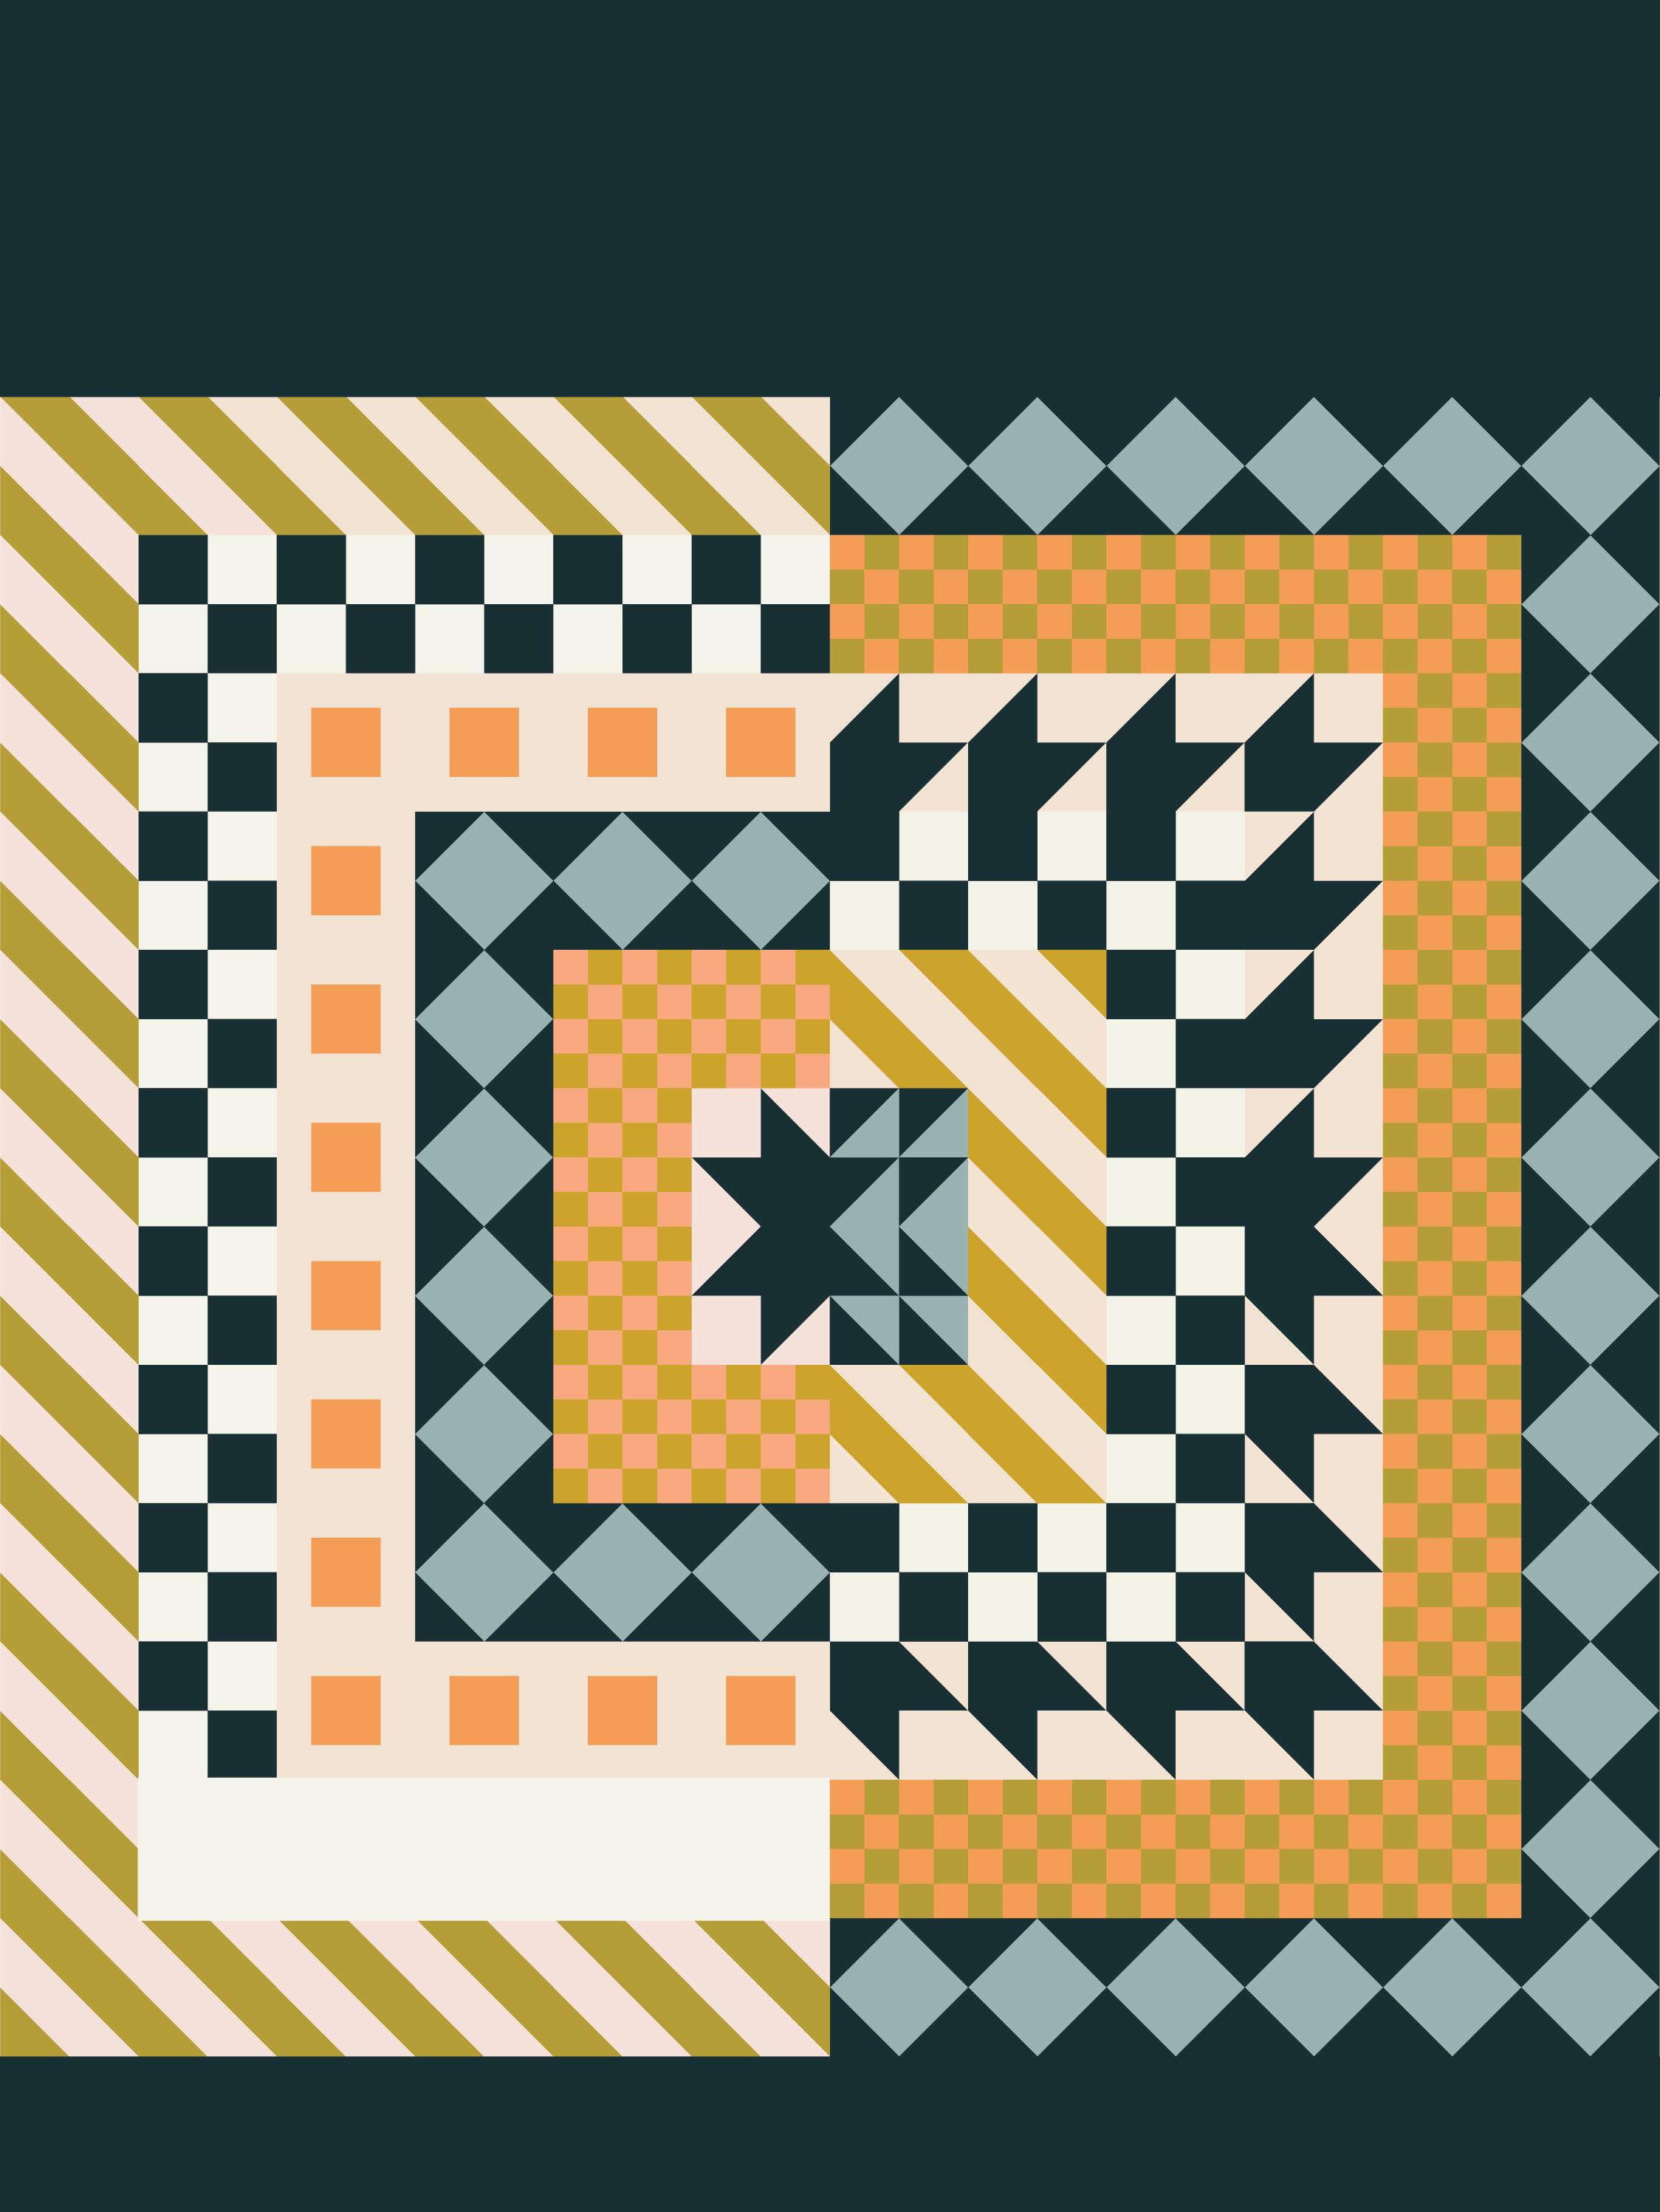
Quilt Your Own Adventure MODERN QUILT BLOCKS & LAYOUTS AMANDA CARYE WITH MATH TABLES
Copyright © 2022 by Amanda Carye
Published by Paige Tate & Co.
PO Box 8835, Bend, OR 97708
contact@bluestarpress.com | www.bluestarpress.com
All rights reserved. No part of this publication may be reproduced or transmitted in any form or by any means, electronic or mechanical, including photocopy, recording, or any information storage and retrieval system, without permission in writing from the publishers.
Design by Megan Kesting
Photography by Hale Productions
Headshot Photo by The Crafter's Box
ISBN 9781950968756 Printed in Colombia
10
9 8 7 6 5 4 3 2 1
To Anna F. Urbon (“Nook”)
Thank you for the hours spent hand stitching together. I’m sure I wasn’t a patient student.
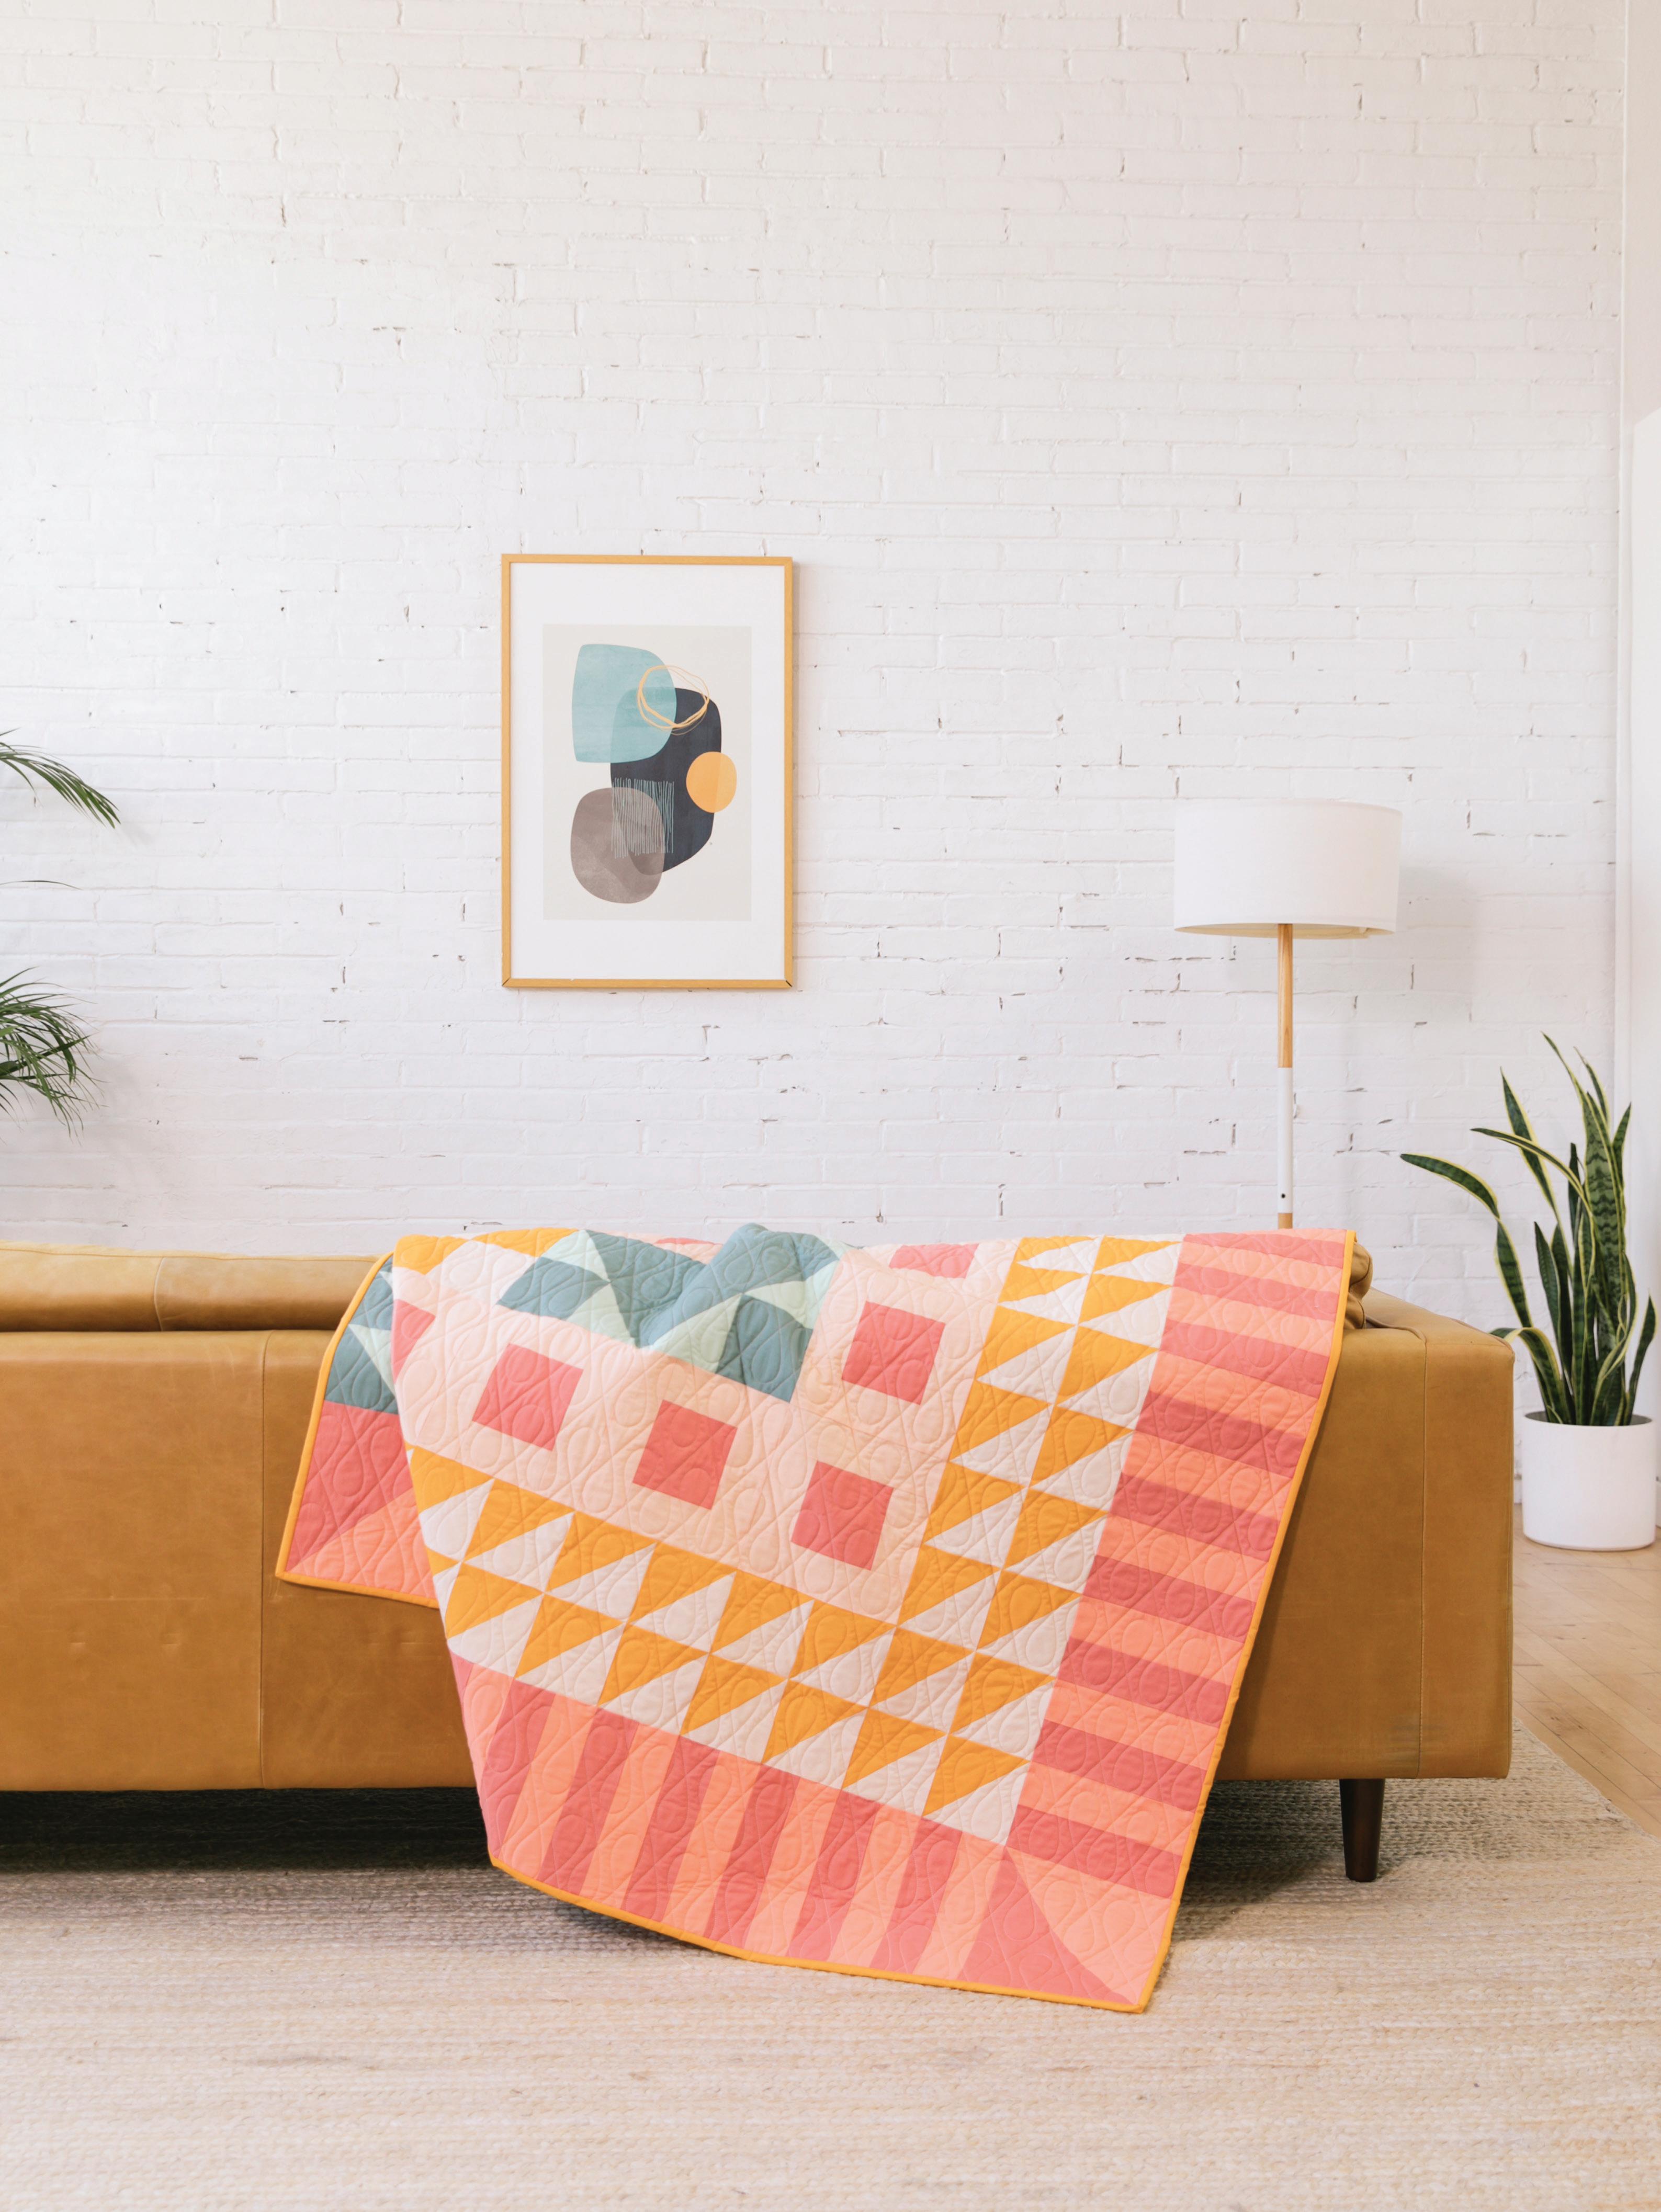
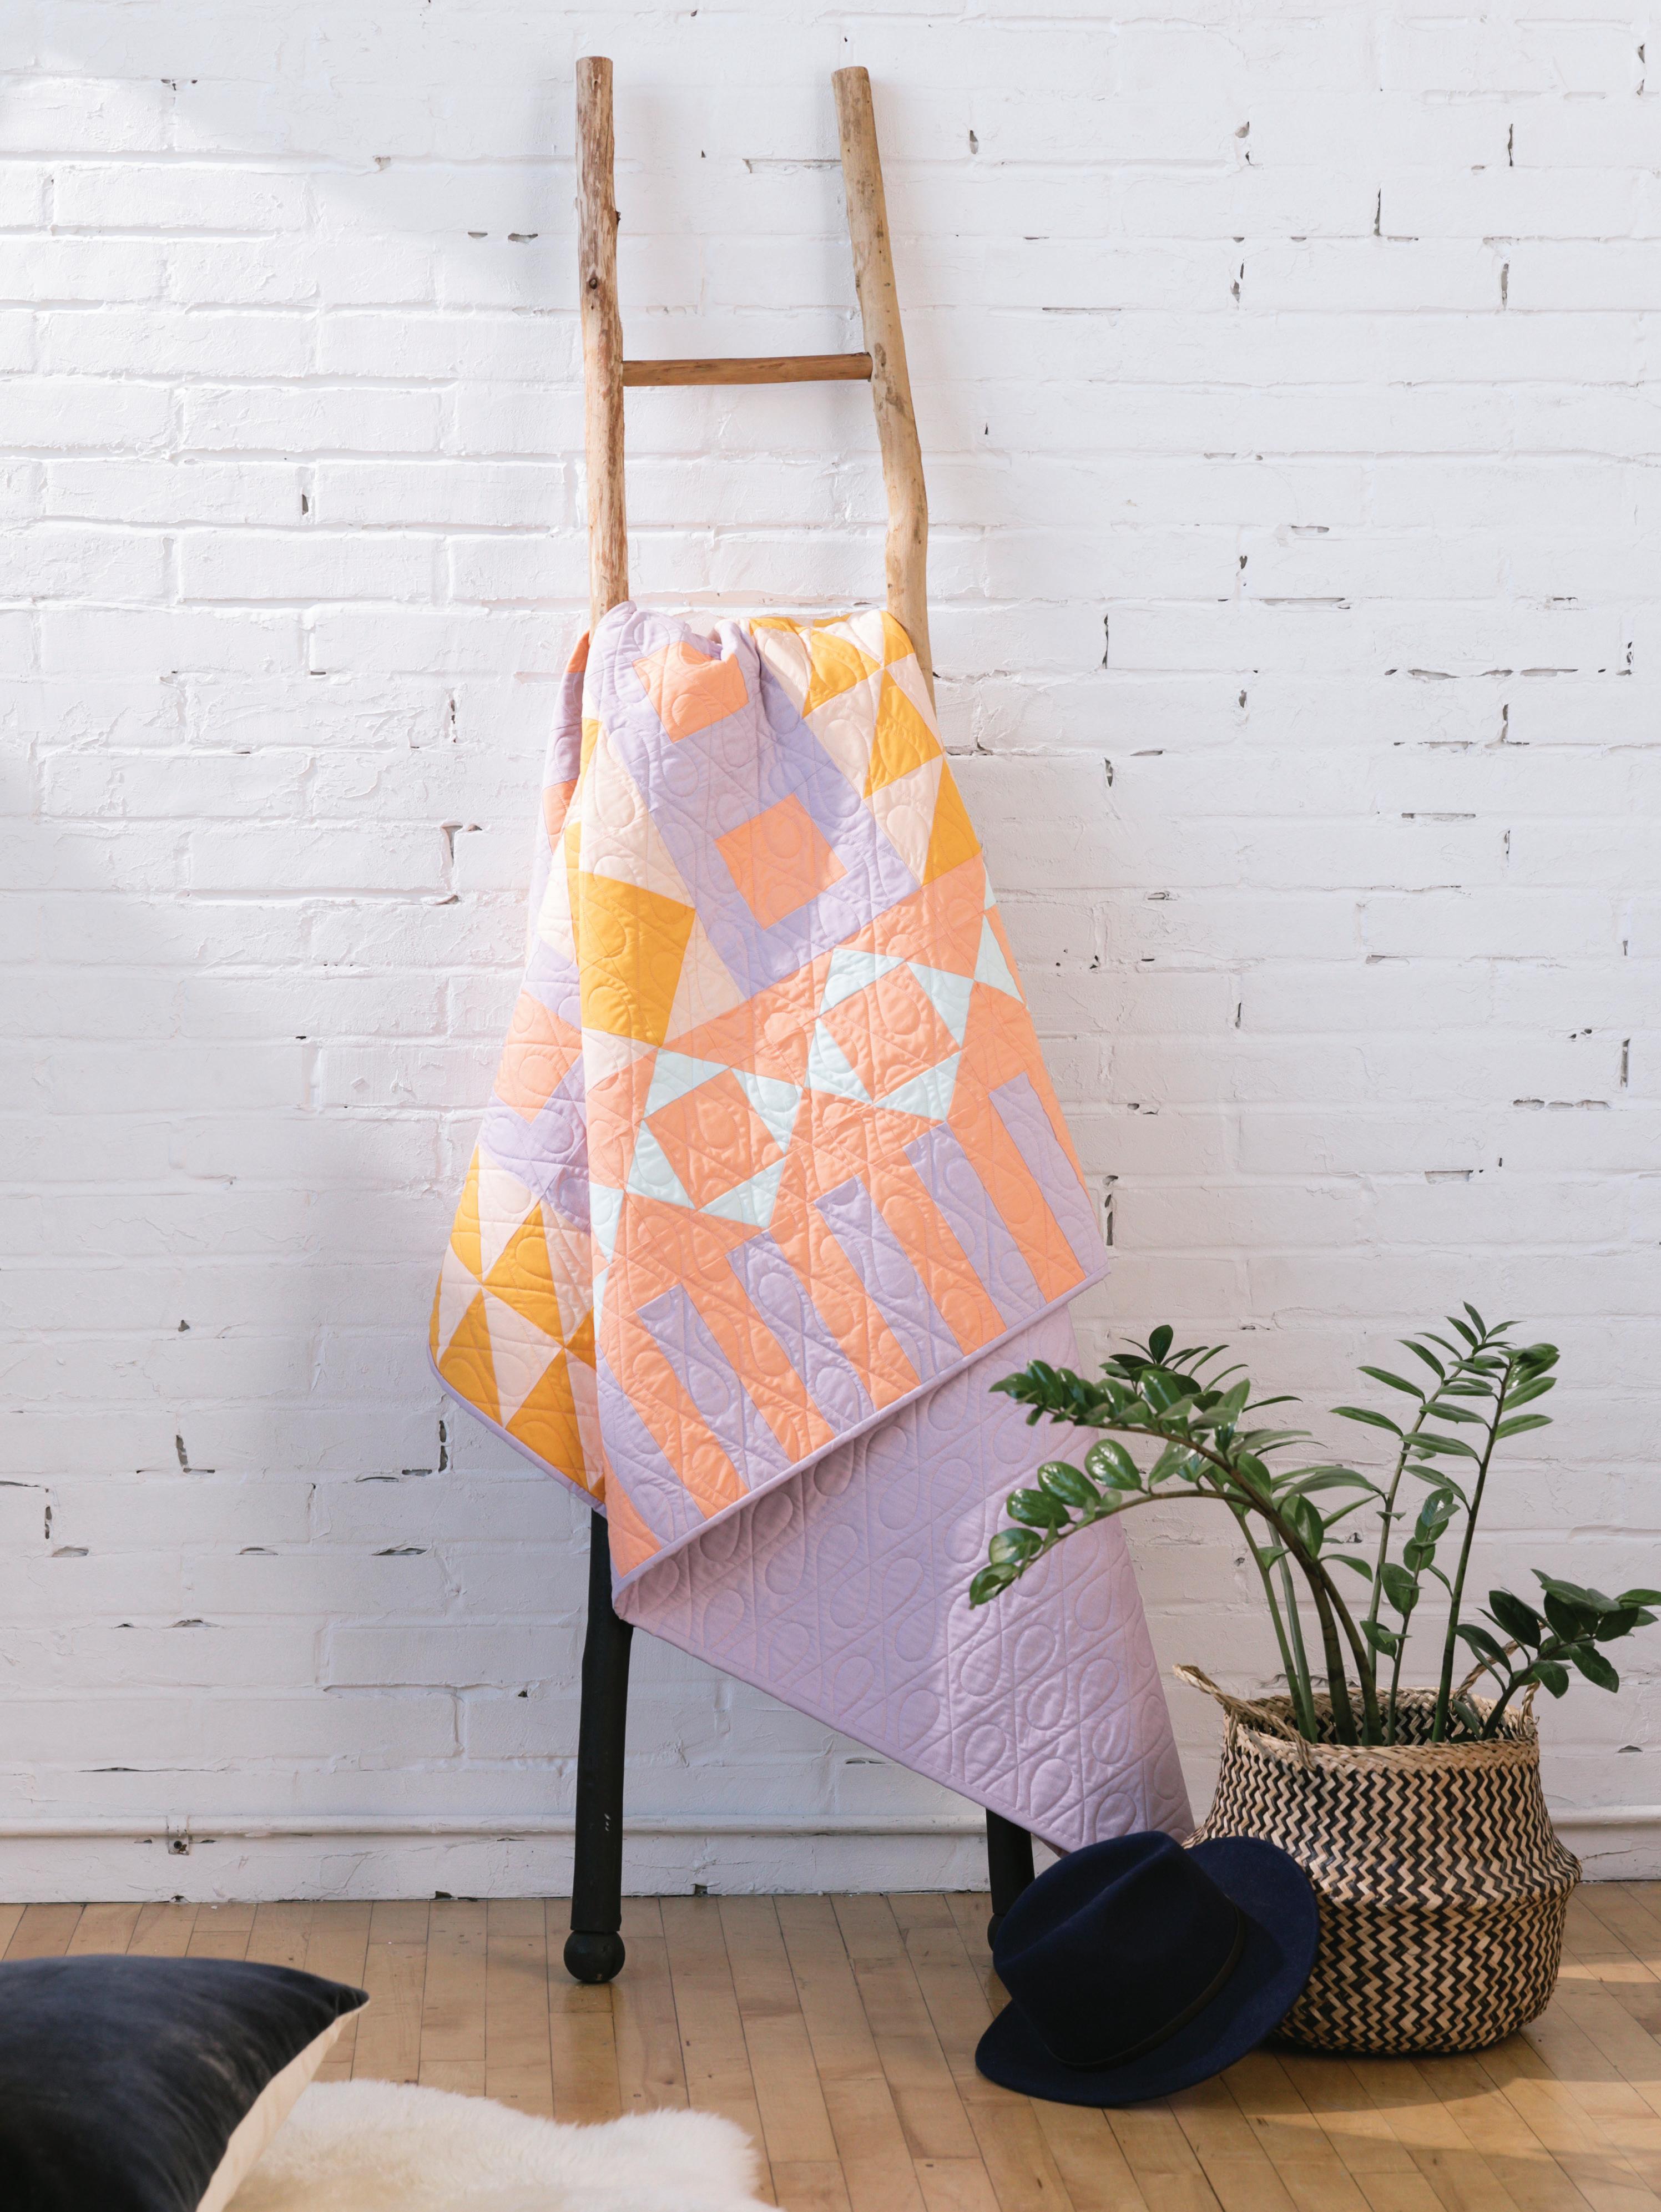
Table of Contents
Case Studies & Sample Patterns
Patches: Baby Size 133 Bullseye: Square Throw Size 137 Quadrants: Queen Size 141 Stripes: Square Throw Size 145 Log Cabin: Square Throw Size 149 Offset: Queen Size 153 Sampler: Square Throw Size 157
Quilting Resources & Further Reading
Patches 18 Bullseye 19 Quadrants 20 Stripes 21 Log Cabin 22 Offset 23 Sampler 24 Block Index 27 Block Construction Tips: Patchwork Basics 28
Quilt Top Worksheets (Digital/Printable Version) 163 Block Cutouts (Digital/Printable Version) 163
Fabric Planner Worksheet 164 Yardage Planner Worksheet 165 Cutting Planner Worksheet 166
to Use This
Introduction 1 Why Another Block Book? 4 How
Book 4 Getting Into the Right Mindset 7
Getting Started 9
Determining Your Layout 11 Planning Your Fabric 13 Constructing Your Quilt Top 14
Quilt Top Layouts 17
Step-by-Step Cutting Diagram Key 28 Two-at-a-Time HSTs 28 Four-at-a-Time HSTs 29 Flying Geese 30 Strip Piecing 32 Chain Piecing 33 The Designs 34 The Math 65
131
161
Appendix 163
Acknowledgments
About the Author
Fabric Credits 169
171
172
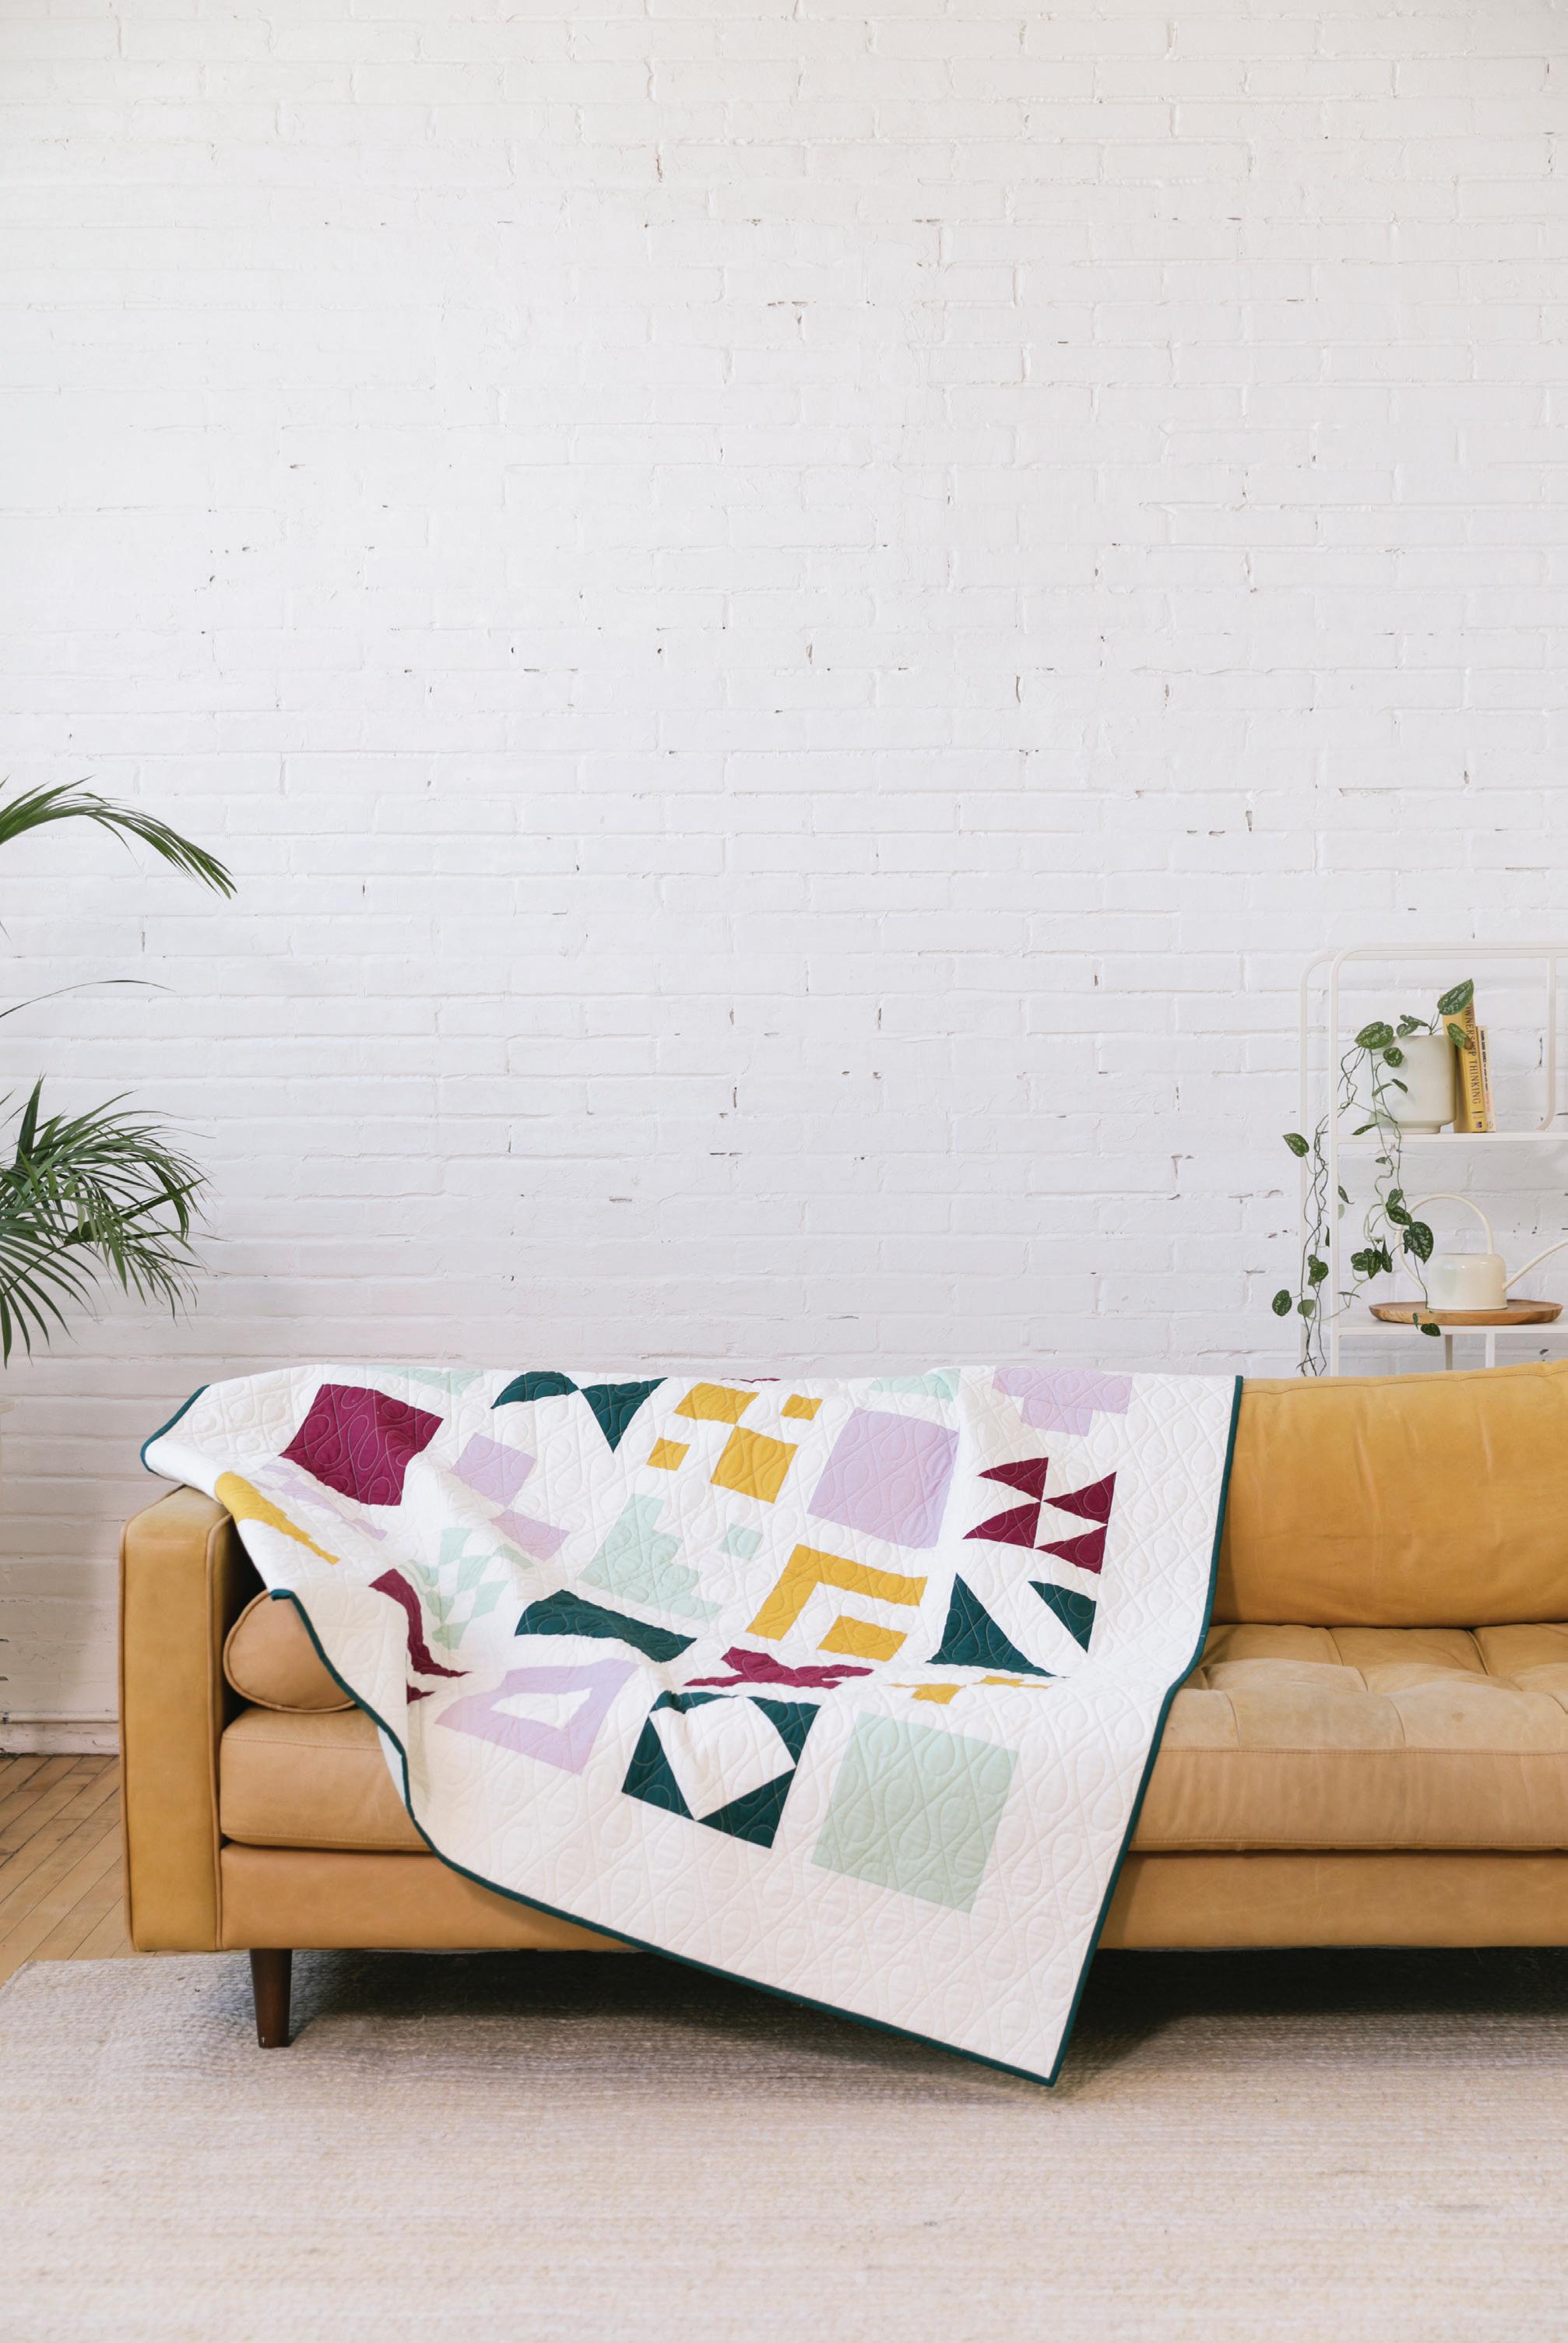
Introduction
If there’s one thing that I’ve learned as the co-host of the Quilt Buzz podcast, it’s that there isn’t a “typical” quilting journey. There are themes and universalities and similarities, for sure, but each of us has our own stories, our own strengths, our own superpowers. We all employ our creativity with our own style and flair; sometimes it manifests through fabulous fabric choices, and other times through precision patchwork piecing, or even fearless mixing and matching of quilting styles . the list goes on.
My own quilting journey began in a way that may be familiar to many: I grew up in a family of needlewomen. My mom loves needlepoint (and was a fabulous gar ment sewer in her younger days), my maternal grandmother was a generalist who could fix pretty much anything that required needle and thread, and my paternal grandmother was drawn to knitting and needlepoint tapestry work. Continuing that tradition, my mom and maternal grandmother taught me how to sew from a young age. And when my aunt (also a sewist) signed my cousin up for a quilting course, it was a no-brainer for my mother to sign me up too.
I was one of those kids who was happiest making (anything) with my hands. And quilting was no exception. My first quilt was a very traditional sampler-style quilt, each block chosen to showcase a different technique. I started with an Ohio Star and picked eight other quilt blocks from a sampler quilt book.
I spent hours flipping through my sampler block book, daydreaming about which block to tackle next. There were so many different options to choose from! Did I want to work with acute triangles with the Storm at Sea? Did I want to tackle curves with a Drunkard’s Path? Did I want to try applique and make a Dresden Fan? Did I want to fussy cut when making a house block? As I stitched, I would dream of all those future quilts to make, envisioning the color schemes, the quilting, that final feeling of triumph when finishing.
Since that first quilt, I found myself coming back to quilting when I was stressed. Adjusting to my first job? Made a quilt. Applying to grad schools? Made a quilt. Grappling with an unsuccessful first company? Made more quilts. Reentering the corporate machine? Quilts again.
It was during this last career move that I really started to revisit all those classic quilt blocks and my old daydreams. This time, though, I took the next step and started to design my own quilt tops. I’m not a designer by trade, so it’s been a wild (and often circuitous) adventure teaching myself how to design quilts, as well as
1
Why Another Block Book?
Well, this isn’t really a block book.
If you’re looking for a new quilt pattern to follow along, this probably isn’t the quilt book for you. If you’re looking for a sampler-style quilt book to guide you as you tackle new techniques, this probably isn’t the quilt book for you either. If you’re looking for lessons on how to make a quilt from start to finish, this definitely isn’t the quilt book for you.
Sure, there is a suite of Sample Patterns included at the end of this book (there’s even a sampler style pattern to boot!). And, yes, the blocks included in this book will allow you time to work on techniques. And, of course, my hope is that you’ll make and finish a quilt when you pick up this book.
But, the real goal of this book is to support you as you design your own quilt top. From exercises for visualizing and experimenting with different layouts, to all the cutting instructions and fabric requirements you’ll need, I hope this book includes everything you need to turn your design into a reality.
The blocks may not be as intricate as many traditional quilt blocks, but I like to think of them as elemental quilt blocks or building blocks. Whatever you want to call them, these thirty 8" blocks are meant to be played with. And in order to make that play fun and doable, I’ve provided some structure and created some starting points to help jump-start your creativity.
How to Use This Book
The short answer is: there is no wrong way, and no right way either! Whatever way sparks your creativity is the way to use this book.
When figuring out how to present this “choose your own quilty adventure” idea, I had to settle on a path (otherwise: anarchy). In my mind, I envisioned a journey through this book as the following:
1. Familiarize yourself with the thirty 8" blocks in the Block Index 2. Determine your quilt size 3. Choose a quilt top layout 4. Decide on the blocks you’ll use 5. Figure out your fabrics 6. Calculate yardage requirements 7. Draft your cutting plan 8. Dive in and sew!
QUILT YOUR OWN ADVENTURE 4
I’ll go into more detail for each step in the following pages. But if you end up doing something different, straying from the path, or deciding to explore the sample pat terns at the end of the book, that works too. You do you. You can also switch up the order. Try flipping through the Quilt Top Layouts section first, then settle on a size, then find your blocks. Or find your blocks, then your layout, then figure out which size. You get the idea!
Introduct I on 5
Quilt Top Layouts
On the following pages are the six quilt top layouts as well as instructions for making a sampler-style quilt. Each layout provides a unique arrangement of seven 8" blocks and includes a table that provides the information of how many of each block you’ll need to make for each size. Think of it like a painting by numbers exer cise (or a cross-stitch chart) where the “paint color” is a block and the “numbers” are the letters!
Once you’ve decided on a size and layout, use the Fabric Planner Worksheet to fill in the details before moving on to the next step of looking up yardage requirements (Yardage Planner Worksheet) and cutting instructions (Cutting Planner Worksheet).
Don't forget that these quantities might change if you decide to shake things up and customize your corners (or center or anywhere else).
NOTE: Don't forget to check out the Appendix for a QR code to all the printable hard copies and downloadable soft copies of the blocks and quilt top layout charts!
17
Quadrants
Patches
Bullseye
Stripes
Log Cabin
Offset
The Patches layout provides multiple small canvases to explore how the blocks look with simple repetition to see how quickly they transform into something new! I especially enjoy seeing how many different star-like blocks I can create from these blocks. Don’t feel obligated to have all the blocks point toward the center of each four-patch: with a simple rotation of one or two blocks, you can transform the four-patch into something totally new and different.
QUILT YOUR OWN ADVENTURE 18
Throw
BLOCK
(W) (H) A B C D E F G BABY 32"
4 4 4 4 4 4 SQ.
48" 48" 4 4 8 4 8 4 4
48"
4 4 8 8 8 8 8 SQ.
64" 64" 8 8 8 8 8 12 12 TWIN 80"
16 16 20 16 16 16 20 FULL/QUEEN 96"
24 24 24 24 24 24 24 KING 112"
28 28 28 28 28 28 28 King size quilt shown in this example
Baby Square Crib
Square Throw Twin Full/Queen
Patches
REQUIREMENTS
48"
CRIB
THROW
64"
THROW
96"
112"
112"
Bullseye
The Bullseye layout is like a starburst and I love watching it grow as I add each new ring layer. This layout plays particularly well with the blocks that aren’t symmetrical as they natu rally point outward (or inward, depending on how you rotate them). While I love using only two colors to really showcase the patchwork patterns, this would be a very cool quilt to create in an ombre color palette, starting with the darks in the center, with the blocks getting lighter as they get toward the edges, or vice versa.
REQUIREMENTS
Qu I lt t op l ayout S 19
(W) (H) A B C D E F G BABY 32" 48" 8 12 4 CRIB 40" 48" 18 10 2 THROW 48" 64" 12 20 12 4 SQ. THROW 64" 64" 28 20 12 4 TWIN 80" 96" 20 36 28 20 12 4 FULL/QUEEN 96" 112" 24 44 36 28 20 12 4 KING 112" 112" 52 44 36 28 20 12 4
Crib Throw Square Throw Twin Full/Queen
size quilt
this example
BLOCK
Baby
King
shown in
Block Index
On the following pages, you’ll find all thirty 8" blocks, as well as a quick overview of Block Construction Tips. Each page includes step-by-step illustrated instructions for how to construct the block, as well as a selection of illustrated examples of how the blocks look repeated, as a four-patch “center” block as well as in a row and corner layout.
Please note that all blocks are made with a ¼" seam allowance and finish at 8" (8½" unfinished before assembling into your quilt top). Width of fabric (WOF) is assumed to be 42".
27
SMALL HALF SQUARE TRIANGLES EXTRA-LARGE HALF SQUARE TRIANGLES block 23 block 24 STRIPES & CHECKERBOARDS block 01 block 02 block 03 block 04 block 05 block 06 L-SHAPED block 07 block 08 block 09 block 10 block 11 block 12 block 13 LARGE FLYING GEESE SMALL FLYING GEESE block 25 block 26 block 27 block 28 block 29 block 30 LARGE-HALF SQUARE TRIANGLES block 14 block 15 block 16 block 17 block 18 block 19 block 21 block 20 block 22
Fabric 1: 4½" x 4½" (1); 4½" x 2½" (2); 2½" x 2½" (3) Fabric 2: 4½" x 2½" (1); 2½" x 2½" (3) PAIRS
1. Sew (1) Fabric 1 2½" square to (1) Fabric 2 2½" square. Repeat 2x.
2. Sew (1) Step 1 unit to (1) Fabric 1 2½" x 4½" rectangle. Repeat 1x.
3. Sew (1) Step 1 unit to (1) Fabric 2 2½" x 4½" rectangle.
4. Sew (1) Step 2 unit to (1) Fabric 1 4½" square. Sew (1) Step 2 unit to (1) Step 3 unit.
5. Sew the (2) Step 4 units together.
QUILT YOUR OWN ADVENTURE 44
STEP-BY-STEP ASSEMBLY Block 11
MATH PAGE 90
CENTER BLOCK EXAMPLE ROW + CORNER EXAMPLES 2. 3. 5. PIECES PER BLOCK
WELL WITH. . . block 05 block 08 block 06 4. 1.
1.
1. Sew (1) Fabric 1 2½" square to (1) Fabric 2 2½" square. Repeat 3x.
2. Sew (1) Step 1 unit to (1) Fabric 1 2½" x 4½" rectangle. Repeat 1x.
3. Sew (1) Step 1 unit to (1) Fabric 2 2½" x 4½" rectangle. Repeat 1x
4. Sew (1) Step 2 unit to (1) Step 3 unit. Repeat 1x.
CENTER BLOCK EXAMPLE ROW + CORNER EXAMPLES 2. 3. 5. PIECES PER BLOCK
block 08 block 06 4.
45 THE DESIGNS
STEP-BY-STEP ASSEMBLY Block 12
5. Sew the (2) Step 4 units together. MATH PAGE 94
Fabric 1: 2½" x 4½" (2); 2½" x 2½" (4) Fabric 2: 2½" x 4½" (2); 2½" x 2½" (4) PAIRS WELL WITH. . . block 10
Fabric 1: 4½" x 4½" (1); 6½" x 2½" (1); 8½" x 2½" (1)
Fabric 2: 2½" x 6½" (1); 2½" x 4½" (1)
PAIRS WELL WITH. . . block 07 block 09 block 12
1.
1. Sew (1) Fabric 2 2½" x 4½" rectangle to the bottom of (1) Fabric 1 4½" square.
2. Sew (1) Fabric 2 2½" x 6½" rectangle to the left of the Step 1 unit.
3. Sew (1) Fabric 1 6½" x 2½" rectangle to the bottom of the Step 2 unit.
CENTER BLOCK EXAMPLE ROW + CORNER EXAMPLES 2. 3. 4.
QUILT YOUR OWN ADVENTURE 46
STEP-BY-STEP ASSEMBLY Block 13
4. Sew (1) Fabric 1 8½" x 2½" rectangle to the left of the Step 3 unit. MATH PAGE 97
PIECES PER BLOCK
1. Pin (1) Fabric 1 7¼" square to (1) Fabric 2 7¼" square, right sides together.
2. Sew a ¼" seam around the border.
3. Cut corner to corner and press your HSTs open. Trim to 4½" square, as needed. 4. Sew (1) HST to (1) HST. Repeat 1x. 5. Sew the (2) Step 4 units together.
47 THE DESIGNS
STEP-BY-STEP ASSEMBLY Block 14
MATH PAGE 100
1.
CENTER BLOCK EXAMPLE ROW + CORNER EXAMPLES 2. 3. 4. 5. PIECES PER BLOCK Fabric 1: 7¼" x 7¼" (1) Fabric 2: 7¼" x 7¼" (1) PAIRS WELL WITH. . . block 01 block 15 block 20
Block 01
FABRIC 1
# IN. CUTTING REQUIREMENTS
1 2½" 2½" x WOF (1): 2½" x 8½" (2)
2 2½" 2½" x WOF (1): 2½" x 8½" (4)
3 5" 2½" x WOF (1): 2½" x 8½" (4) 2½" x WOF (1): 2½" x 8½" (2)
4 5" 2½" x WOF (2): 2½" x 8½" (4)
5 7½" 2½" x WOF (2): 2½" x 8½" (4) 2½" x WOF (1): 2½" x 8½" (2)
6 7½ 2½" x WOF (3): 2½" x 8½" (4)
FABRIC 2
IN. CUTTING REQUIREMENTS
2½" 2½" x WOF (1): 2½" x 8½" (2)
2½" 2½" x WOF (1): 2½" x 8½" (4)
5" 2½" x WOF (1): 2½" x 8½" (4) 2½" x WOF (1): 2½" x 8½" (2)
5" 2½" x WOF (2): 2½" x 8½" (4)
7½" 2½" x WOF (2): 2½" x 8½" (4) 2½" x WOF (1): 2½" x 8½" (2)
7½ 2½" x WOF (3): 2½" x 8½" (4)
7 10" 2½" x WOF (3): 2½" x 8½" (4) 2½" x WOF (1): 2½" x 8½" (2) 10" 2½" x WOF (3): 2½" x 8½" (4) 2½" x WOF (1): 2½" x 8½" (2)
8 10" 2½" x WOF (4): 2½" x 8½" (4)
9 12½" 2½" x WOF (4): 2½" x 8½" (4) 2½" x WOF (1): 2½" x 8½" (2)
10 12½" 2½" x WOF (5): 2½" x 8½" (4)
11 15" 2½" x WOF (5): 2½" x 8½" (4) 2½" x WOF (1): 2½" x 8½" (2)
12 15" 2½" x WOF (6): 2½" x 8½" (4)
13 17½ 2½" x WOF (6): 2½" x 8½" (4) 2½" x WOF (1): 2½" x 8½" (2)
14 17½ 2½" x WOF (7): 2½" x 8½" (4)
15 20" 2½" x WOF (7): 2½" x 8½" (4) 2½" x WOF (1): 2½" x 8½" (2)
10" 2½" x WOF (4): 2½" x 8½" (4)
12½" 2½" x WOF (4): 2½" x 8½" (4) 2½" x WOF (1): 2½" x 8½" (2)
12½" 2½" x WOF (5): 2½" x 8½" (4)
15" 2½" x WOF (5): 2½" x 8½" (4) 2½" x WOF (1): 2½" x 8½" (2)
15" 2½" x WOF (6): 2½" x 8½" (4)
17½ 2½" x WOF (6): 2½" x 8½" (4) 2½" x WOF (1): 2½" x 8½" (2)
17½ 2½" x WOF (7): 2½" x 8½" (4)
20" 2½" x WOF (7): 2½" x 8½" (4) 2½" x WOF (1): 2½" x 8½" (2)
16 20" 2½" x WOF (8): 2½" x 8½" (4) 20" 2½" x WOF (8): 2½" x 8½" (4)
17 22½" 2½" x WOF (8): 2½" x 8½" (4) 2½" x WOF (1): 2½" x 8½" (2) 22½" 2½" x WOF (8): 2½" x 8½" (4) 2½" x WOF (1): 2½" x 8½" (2)
18 22½" 2½" x WOF (9): 2½" x 8½" (4) 22½" 2½" x WOF (9): 2½" x 8½" (4)
20 25" 2½" x WOF (10): 2½" x 8½" (4) 25" 2½" x WOF (10): 2½" x 8½" (4)
21 27½" 2½" x WOF (10): 2½" x 8½" (4) 2½" x WOF (1): 2½" x 8½" (2) 27½" 2½" x WOF (10): 2½" x 8½" (4) 2½" x WOF (1): 2½" x 8½" (2) 22 27½" 2½" x WOF (11): 2½" x 8½" (4) 27½" 2½" x WOF (11): 2½" x 8½" (4) 24 30" 2½" x WOF (12): 2½" x 8½" (4) 30" 2½" x WOF (12): 2½" x 8½" (4) 26 32½" 2½" x WOF (13): 2½" x 8½" (4) 32½" 2½" x WOF (13): 2½" x 8½" (4) 28 35" 2½" x WOF (14): 2½" x 8½" (4) 35" 2½" x WOF (14): 2½" x 8½" (4) 32 40" 2½" x WOF (16): 2½" x 8½" (4) 40" 2½" x WOF (16): 2½" x 8½" (4) 34 42½" 2½" x WOF (17): 2½" x 8½" (4) 42½" 2½" x WOF (17): 2½" x 8½" (4)
QUILT YOUR OWN ADVENTURE 66
DESIGN PAGE 34
FABRIC 1
FABRIC 2
# IN. CUTTING REQUIREMENTS IN. CUTTING REQUIREMENTS
36 45" 2½ x WOF (18): 2½" x 8½" (4) 45" 2½ x WOF (18): 2½" x 8½" (4)
40 50" 2½ x WOF (20): 2½" x 8½" (4) 50" 2½" x WOF (20): 2½" x 8½" (4)
44 55" 2½" x WOF (22): 2½" x 8½" (4) 55" 2½" x WOF (22): 2½" x 8½" (4)
45 57½" 2½" x WOF (22): 2½" x 8½" (4) 2½" x WOF (1): 2½" x 8½" (2) 57½" 2½" x WOF (22): 2½" x 8½" (4) 2½" x WOF (1): 2½" x 8½" (2)
48 60" 2½" x WOF (24): 2½" x 8½" (4) 60" 2½" x WOF (24): 2½" x 8½" (4)
50 62½" 2½" x WOF (25): 2½" x 8½" (4) 62½" 2½" x WOF (25): 2½" x 8½" (4)
52 65" 2½" x WOF (26): 2½" x 8½" (4) 65" 2½" x WOF (26): 2½" x 8½" (4)
56 70" 2½" x WOF (28): 2½" x 8½" (4) 70" 2½" x WOF (28): 2½" x 8½" (4)
t he Math 67

Case Studies & Sample Patterns
How does this process work in real life, beyond these design exercises and stepby-step instructions? On the following pages I've captured how I approached using the blocks and quilt top layouts to create the samples photographed throughout the book. You'll quickly notice that the process truly is a mix of playing with the blocks and experimenting with different ideas! If you’d like to recreate any of these, I’ve included my own worksheets for you to follow (or perhaps use them as a jump ing-off point for your own designs)!
131
Quadrant Stripes Log Cabin Offset Sampler Patches
Bullseye
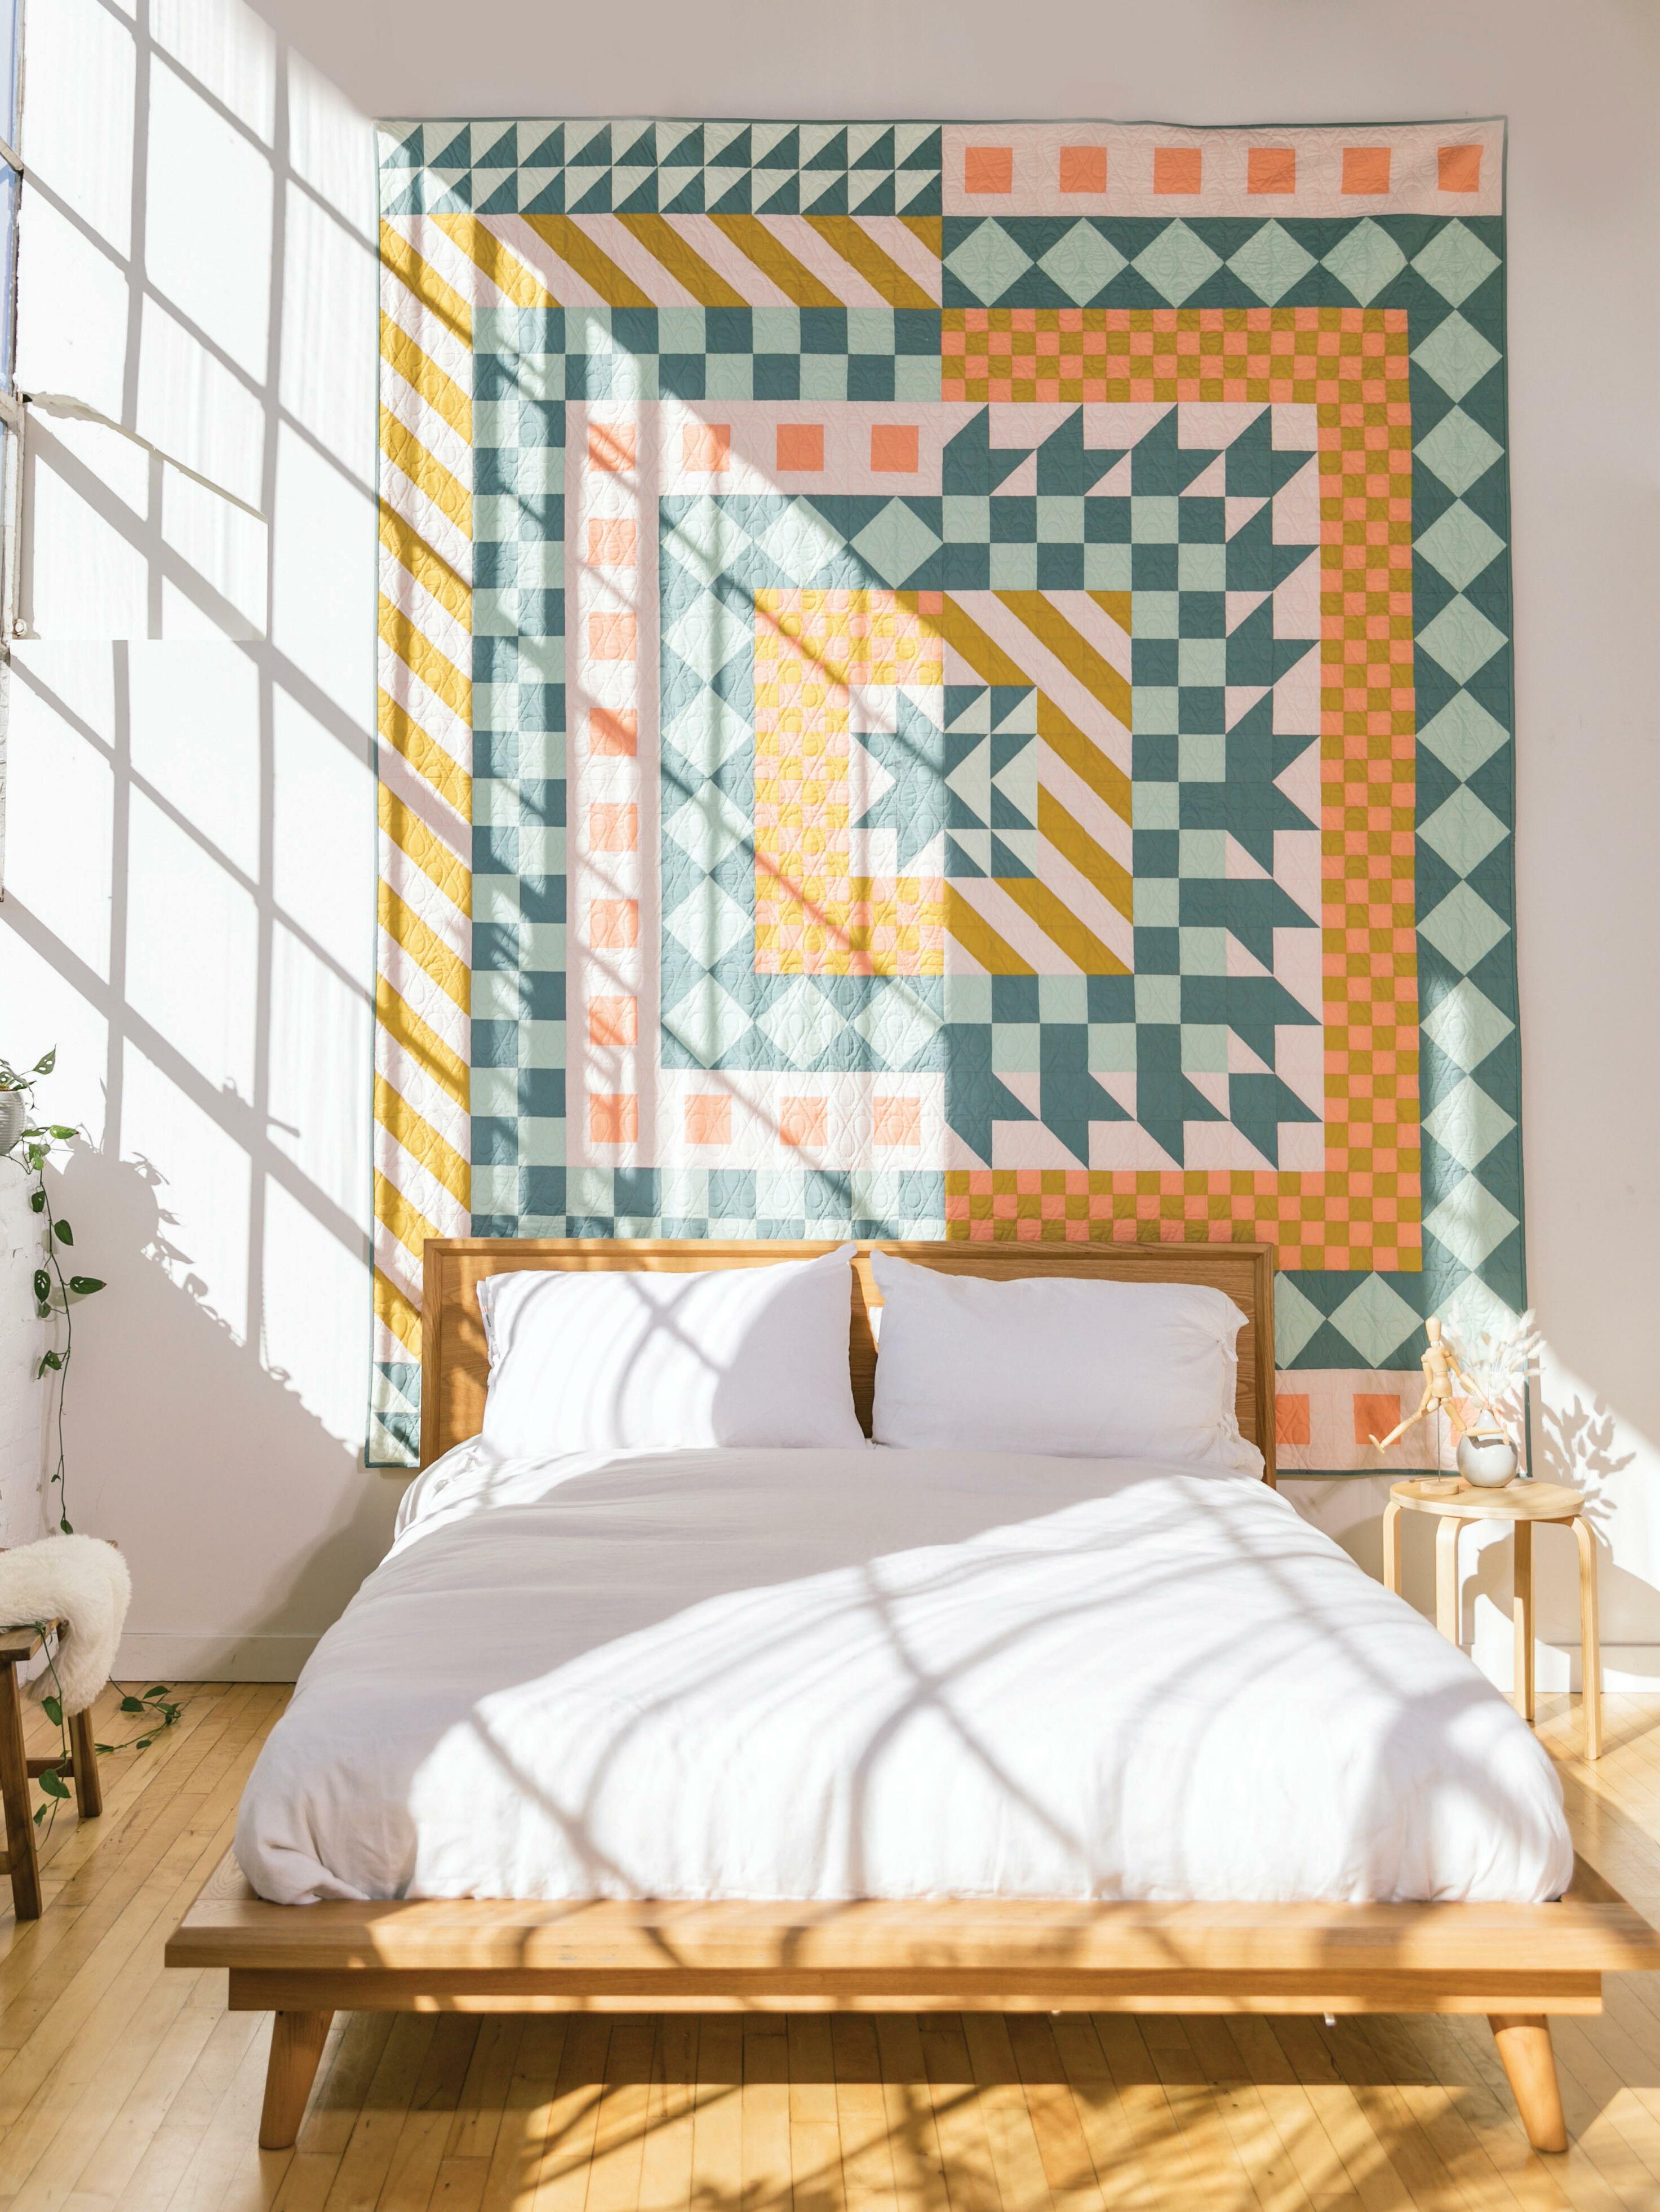
Offset: Queen Size
FABRIC REQUIREMENTS
¾ yd. 3¼ yds. 2 yds. 2¼ yds. 3¼ yds. 1¼ yds. 10 yds. ⅞ yd.
Notes
I made this quilt with a fabric color scheme already in mind: I knew I wanted lots of greens, a touch of yellow-gold, and a pop of pink! I also decided I wanted to use only blocks that I love to make (hello, strip piecing!)—queen-size quilts are large, so why not love every minute of making them?
I started with the two checkerboard blocks and used one for Block C and one for Block F so they created a checkerboard ring. Then I identified my squarein-a-square blocks and my diamond-in-a-square blocks as blocks I definitely wanted to use next. I played with those two blocks, figuring out where to put them to make sure that they worked with all the checkerboards. Once I had that balanced, I added in some triangles and diagonal lines. This was a bit of experimentation, swapping them in and out and round about until I liked how they looked.
I wasn’t trying to highlight how the different layers played together in this quilt top, so as I played with my fabric colors, my main rule of thumb was trying to have one light color and one dark in each block (I broke my own rule for the tiny checkerboard!). At this scale, I found working with my colors on the computer to be extremely helpful! If you’d like to swap out colors and try different combos, make sure to check out the downloadable templates of all the blocks in the resources section.
c a S e Stud I e S & Sa M ple p attern S 153
FINISHED QUILT SIZE: 96" X 112"
COLOR/FABRIC NAME YARDS
Mint Green Dark Green Medium Green Yellow Blush Pink Light Pink Backing Binding
BLOCK
ID QTY.
BLOCK A 15 (14)
FABRIC & CUTTING PLANNER (COMBINED VERSION)
FABRIC COLOR/FABRIC NAME CUTTING INSTRUCTIONS
FABRIC 1 Mint Green
FABRIC 2 Dark Green
FABRIC 1 Yellow
BLOCK B 15 (28)
BLOCK C 02 (28)
FABRIC 2 Blush Pink
FABRIC 1 Medium Green
7¼" x WOF (2): 7¼" x 7¼" (5)
7¼" x WOF (1): 7¼" x 7¼" (4)
7¼" x WOF (2): 7¼" x 7¼" (5)
7¼" x WOF (1): 7¼" x 7¼" (4)
7¼" x WOF (5): 7¼" x 7¼" (5)
7¼" x WOF (1): 7¼" x 7¼" (3)
7¼" x WOF (5): 7¼" x 7¼" (5)
7¼" x WOF (1): 7¼" x 7¼" (3)
4½" x WOF (6): 4½" x 4½" (9) 4½" x WOF (1): 4½" x 4½" (2)
FABRIC 2 Dark Green 4½" x WOF (6): 4½" x 4½" (9) 4½" x WOF (1): 4½" x 4½" (2)
BLOCK D 04 (26)
FABRIC 1 Blush Pink
2½" x WOF (17): 2½" x 4½" (3); 2½" x 8½" (3) 2½" x WOF (1): 2½" x 4½" (1); 2½" x 8½" (1)
FABRIC 2 Light Pink 4½" x WOF (2): 4½" x 4½" (9) 4½" x WOF (1): 4½" x 4½" (8)
BLOCK E 26 (32)
BLOCK F 03 (24)
FABRIC 1 Dark Green 4⅞" x WOF (8): 4⅞" x 4⅞" (8)
FABRIC 2 Medium Green 9¼" x WOF (4): 9¼" x 9¼" (4)
FABRIC 1 Yellow 2½" x WOF (12): 2½" x 2½" (16)
FABRIC 2 Light Pink 2½" x WOF (12): 2½" x 2½" (16)
FABRIC 1 Blush Pink
BLOCK G 22 (16)
FABRIC 2 Dark Green
5" x WOF (2): 5" x 5" (8) 4½" x WOF (1): 4½" x 4½" (9) 4½" x WOF (1): 4½" x 4½" (7)
5" x WOF (2): 5" x 5" (8) 4½" x WOF (1): 4½" x 4½" (9) 4½" x WOF (1): 4½" x 4½" (7)
CORNERS* N/A (0)
FABRIC 1 FABRIC 2
CENTER* N/A (0)
FABRIC 1 FABRIC 2
QUILT YOUR OWN ADVENTURE 154
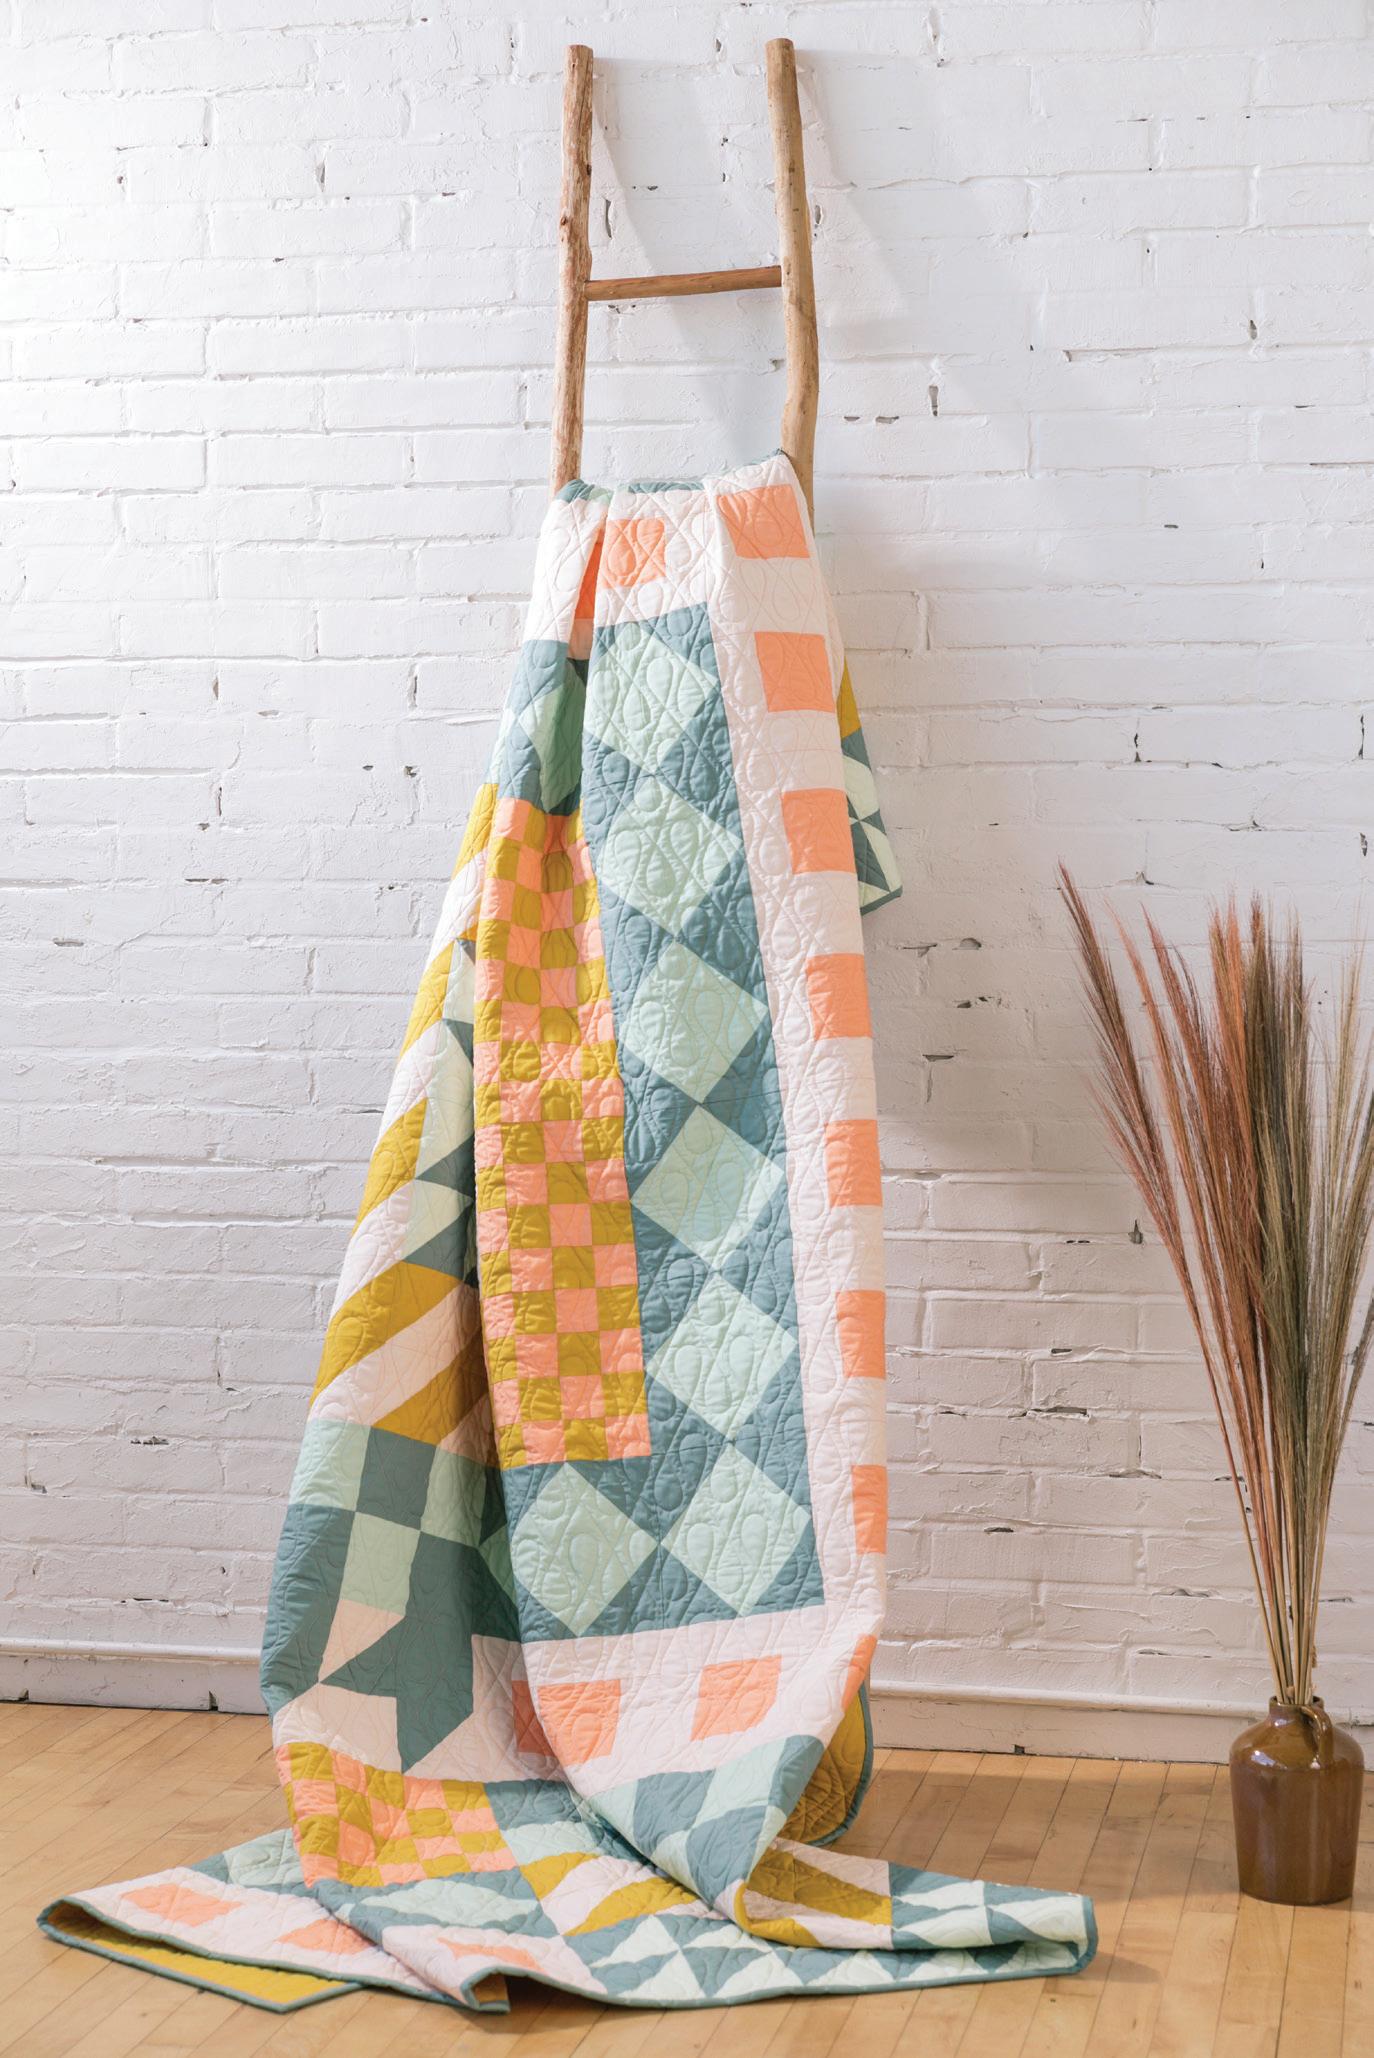
In this choose-your-own-style quilt book, the quilter is in the driver’s seat. Unlike a traditional book of quilt patterns, this book does not prescribe a design. Instead, Quilt Your Own Adventure gives you a range of block and layout options that all work together so that you can pick and choose and create your own one-of-a-kind design.
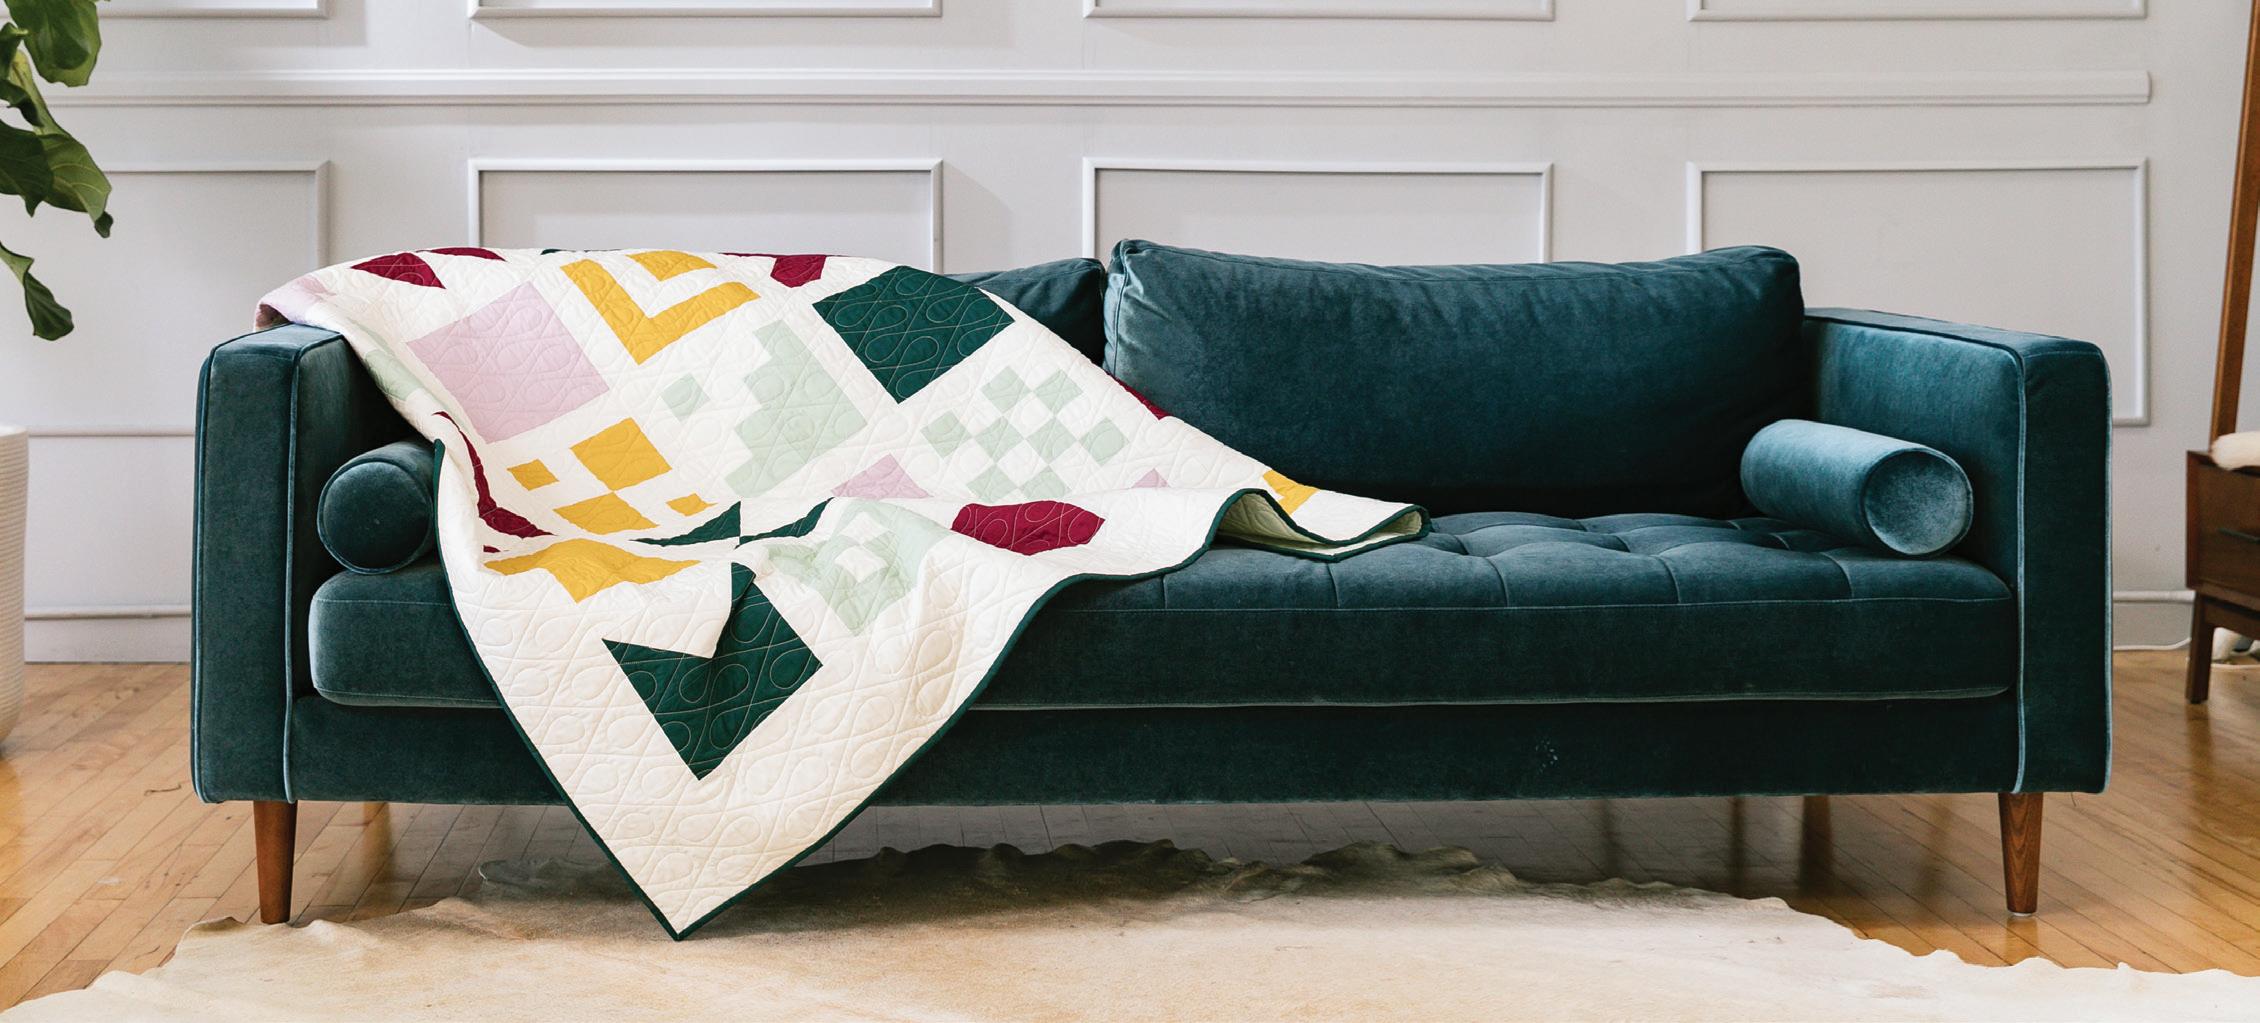

quilt block designs 7 quilt top layout formulas 7 patterns to inspire your own design
Easy-to-follow diagrams and instructions
All the math & worksheets you need to get started
Whether you’re a beginner quilter or an experienced maker looking for a fun, new challenge, Quilt Your Own Adventure will give you the confidence to create beautiful, modern quilts that are uniquely your own. Jump-start your quilting creativity and discover your design voice using the inspiring information and advice in this book.
Learn how to design your own quilt patterns without any of the hassle— the math is already done for you!
968756 781950 9 ISBN 9781950968756 52195 $21.95 USD / $29.95 CAD
THIS BOOK INCLUDES:
30
www.paigetate.com


