WHIMSICAL
STITCHES
a Modern Makers Book of Amigurumi Crochet Patterns












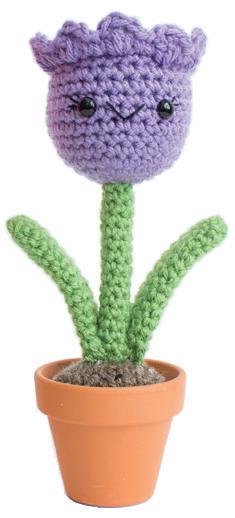
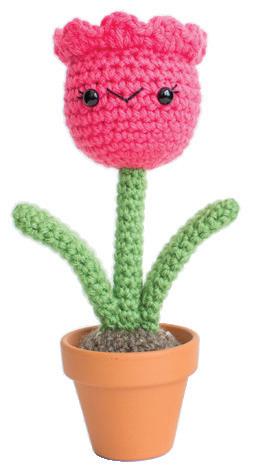

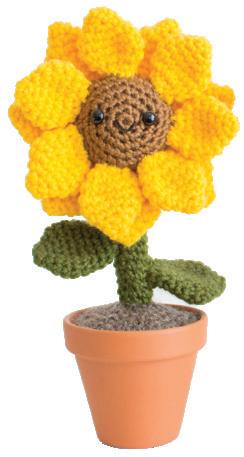

lauren espy

Copyright © 2018 Lauren Espy
Published by Blue Star Press
Paige Tate & Co. is an imprint of Blue Star Press PO Box 5622, Bend, OR 97708 contact@paigetate.com | www.paigetate.com
All rights reserved. No part of this publication may be reproduced or transmitted in any form or by any means, electronic or mechanical, including photocopy, recording or any information storage and retrieval system, without permission in writing from the publisher.
Photography and instructions by Lauren Espy @amenagerieofstitches
Etsy® Shop: A Menagerie of Stitches

ISBN 9781944515638
Printed in China
5 4
10 9 8 7 6
3 2 1


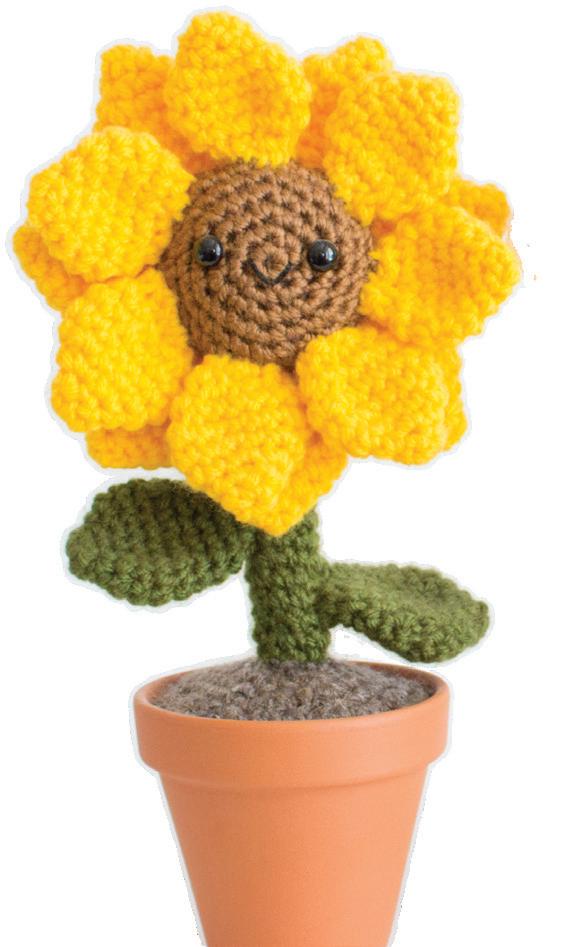


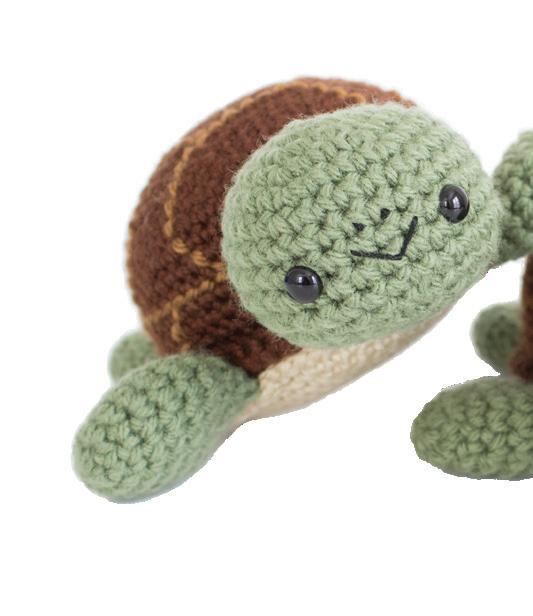
4 Table of Contents Saguaro Cactus Succulent Planter Sunflower Tulip IN THE GARDEN 22 Jellyfish Octopus Turtle Whale AT THE AQUARIUM


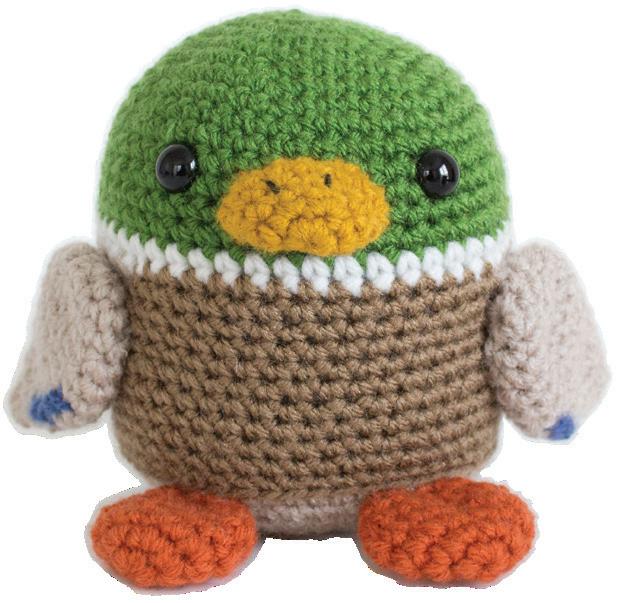


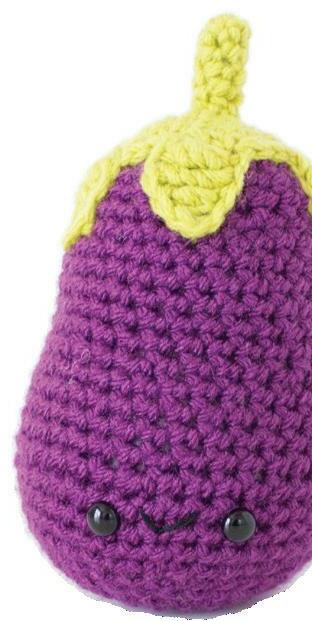
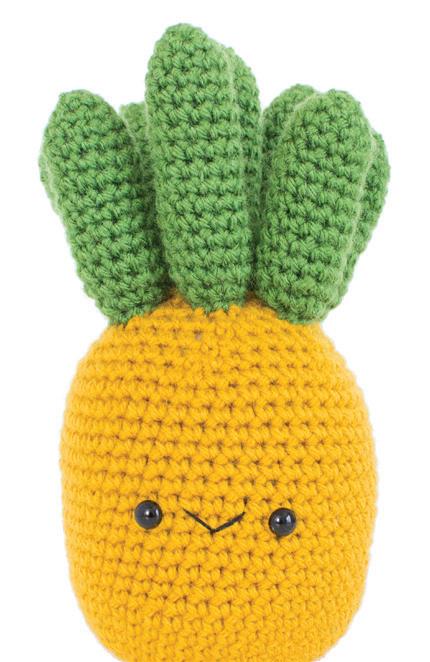
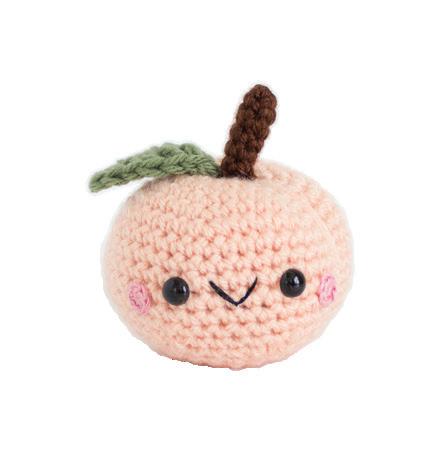
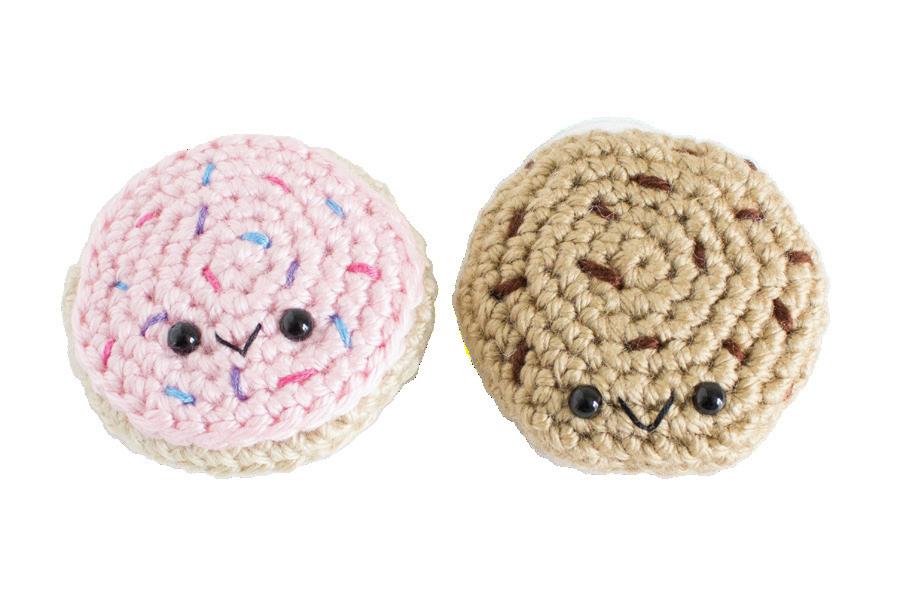

5 Bunny Cow Duck Eggs Pig Bell Pepper Berries Eggplant Onion Peach Pineapple Tomato AT THE BAKERY 102 Cookies Cupcakes Macarons Mug & Donut Pie DOWN ON THE FARM 68 AT THE MARKET 136
Abbreviations
Approx - Approximately
Ch - Chain
Dc - Double crochet
Hdc - Half double crochet

Inv dec - Invisible decrease
Mr - Magic ring (also known as adjustable ring) R - Round Row
Sc - Single crochet
Sk - Skip Sl St - Slip stitch
St(s) - Stitch(es)
Tr - Triple crochet
* - Repeat the directions in between * and * as many times as stated.
( ) - The number inside will indicate how many stitches you should have at the end of each round.
Stitches and Techniques
GAUGE:
The measurements provided for each item in this book are approximate. Depending on your tension, yarn, and hook size, your items may turn out a little bigger or smaller.
YARN OVER:
To yarn over, simply grab hold of the yarn with your hook. The yarn will be going over your hook and then you can proceed to pull it through the loops or stitch.
MAGIC RING (also known as an adjustable ring):
I prefer this method because it makes the piece close up more, and a small hole isn’t left at the top.
TO MAKE A MAGIC RING: (steps pictured on opposite page)
1. Make a loop and place the working yarn on top of the loose tail.
2. Insert hook into loop, grabbing the working yarn with the hook. Pull through the loop.
3. Yarn over and pull hook through loop.
This is where you will start making single crochets into the magic ring.
4. Insert the hook back into the loop; make sure to go underneath both yarn tails.
5. Yarn over and pull hook through loop. 2 loops will be on the hook.
6. Yarn over and pull through both loops. This completes your first single crochet.
7. Repeat as many times as pattern states.
8. Grab the loose tail and pull to close the loop.
9. Begin crocheting, starting in the first single crochet from step 6.
14


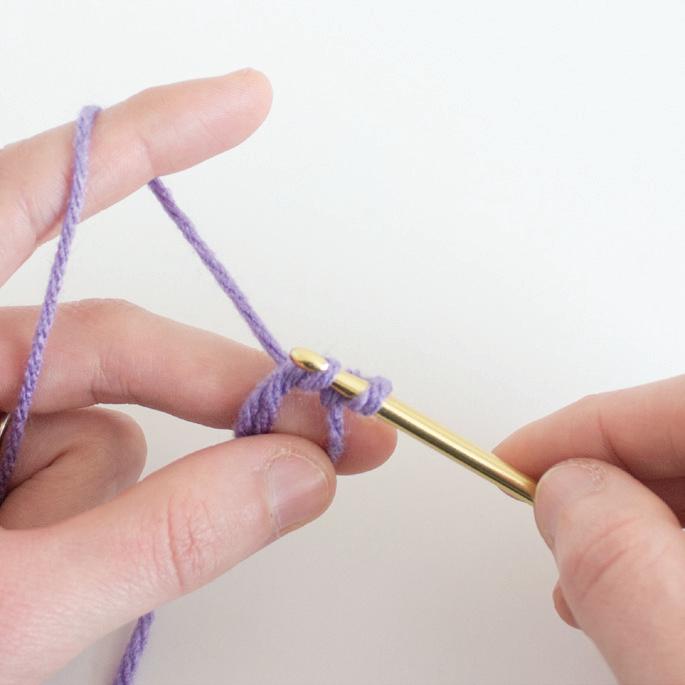


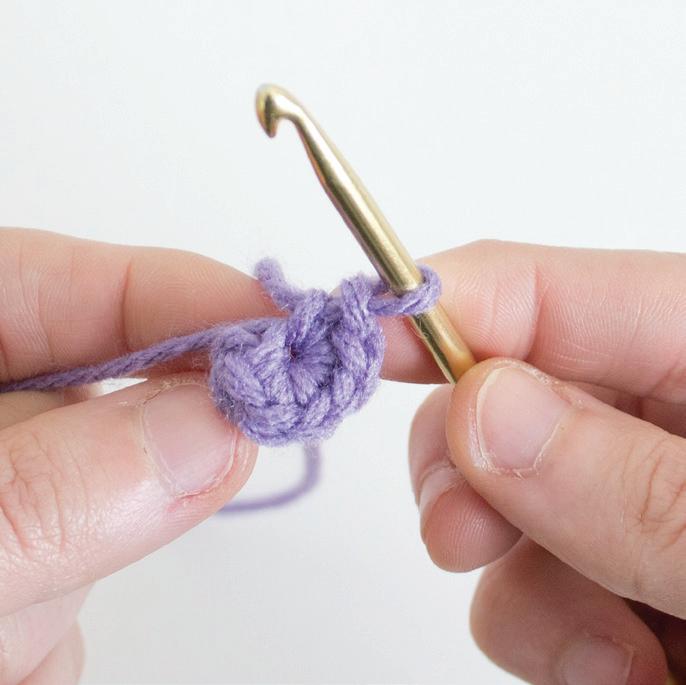
15 1 4 7 2 5 8 3 6 9
Adding A Mouth
Thread your sewing needle with a length of embroidery floss. 1
1. Bring the needle from inside the piece to the outside, near the safety eye on your left (photo 1).
2. Go across to the right side and insert needle into piece. Don’t pull the needle all the way through (photo 2).
3. Hold the thread in a smile shape and bring the needle up into the center and down a stitch or two (photo 3).
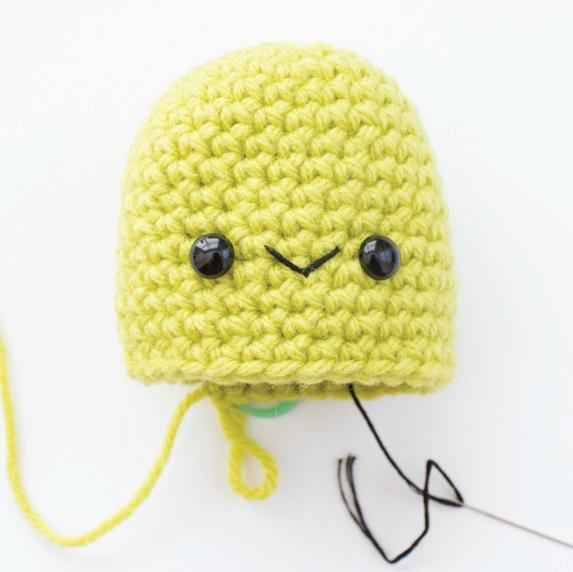

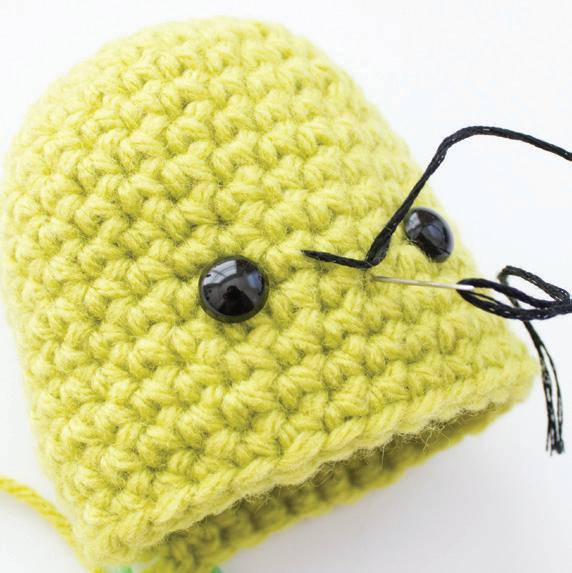


4. Pull thread down to make a “V” shape (photo 4).
5. Insert the needle close to the spot where the needle first came out at to create the smile (photo 5).
6. Pull thread through and make a knot to secure floss (photo 6).
21
6
4 2 5 3
In The Garden
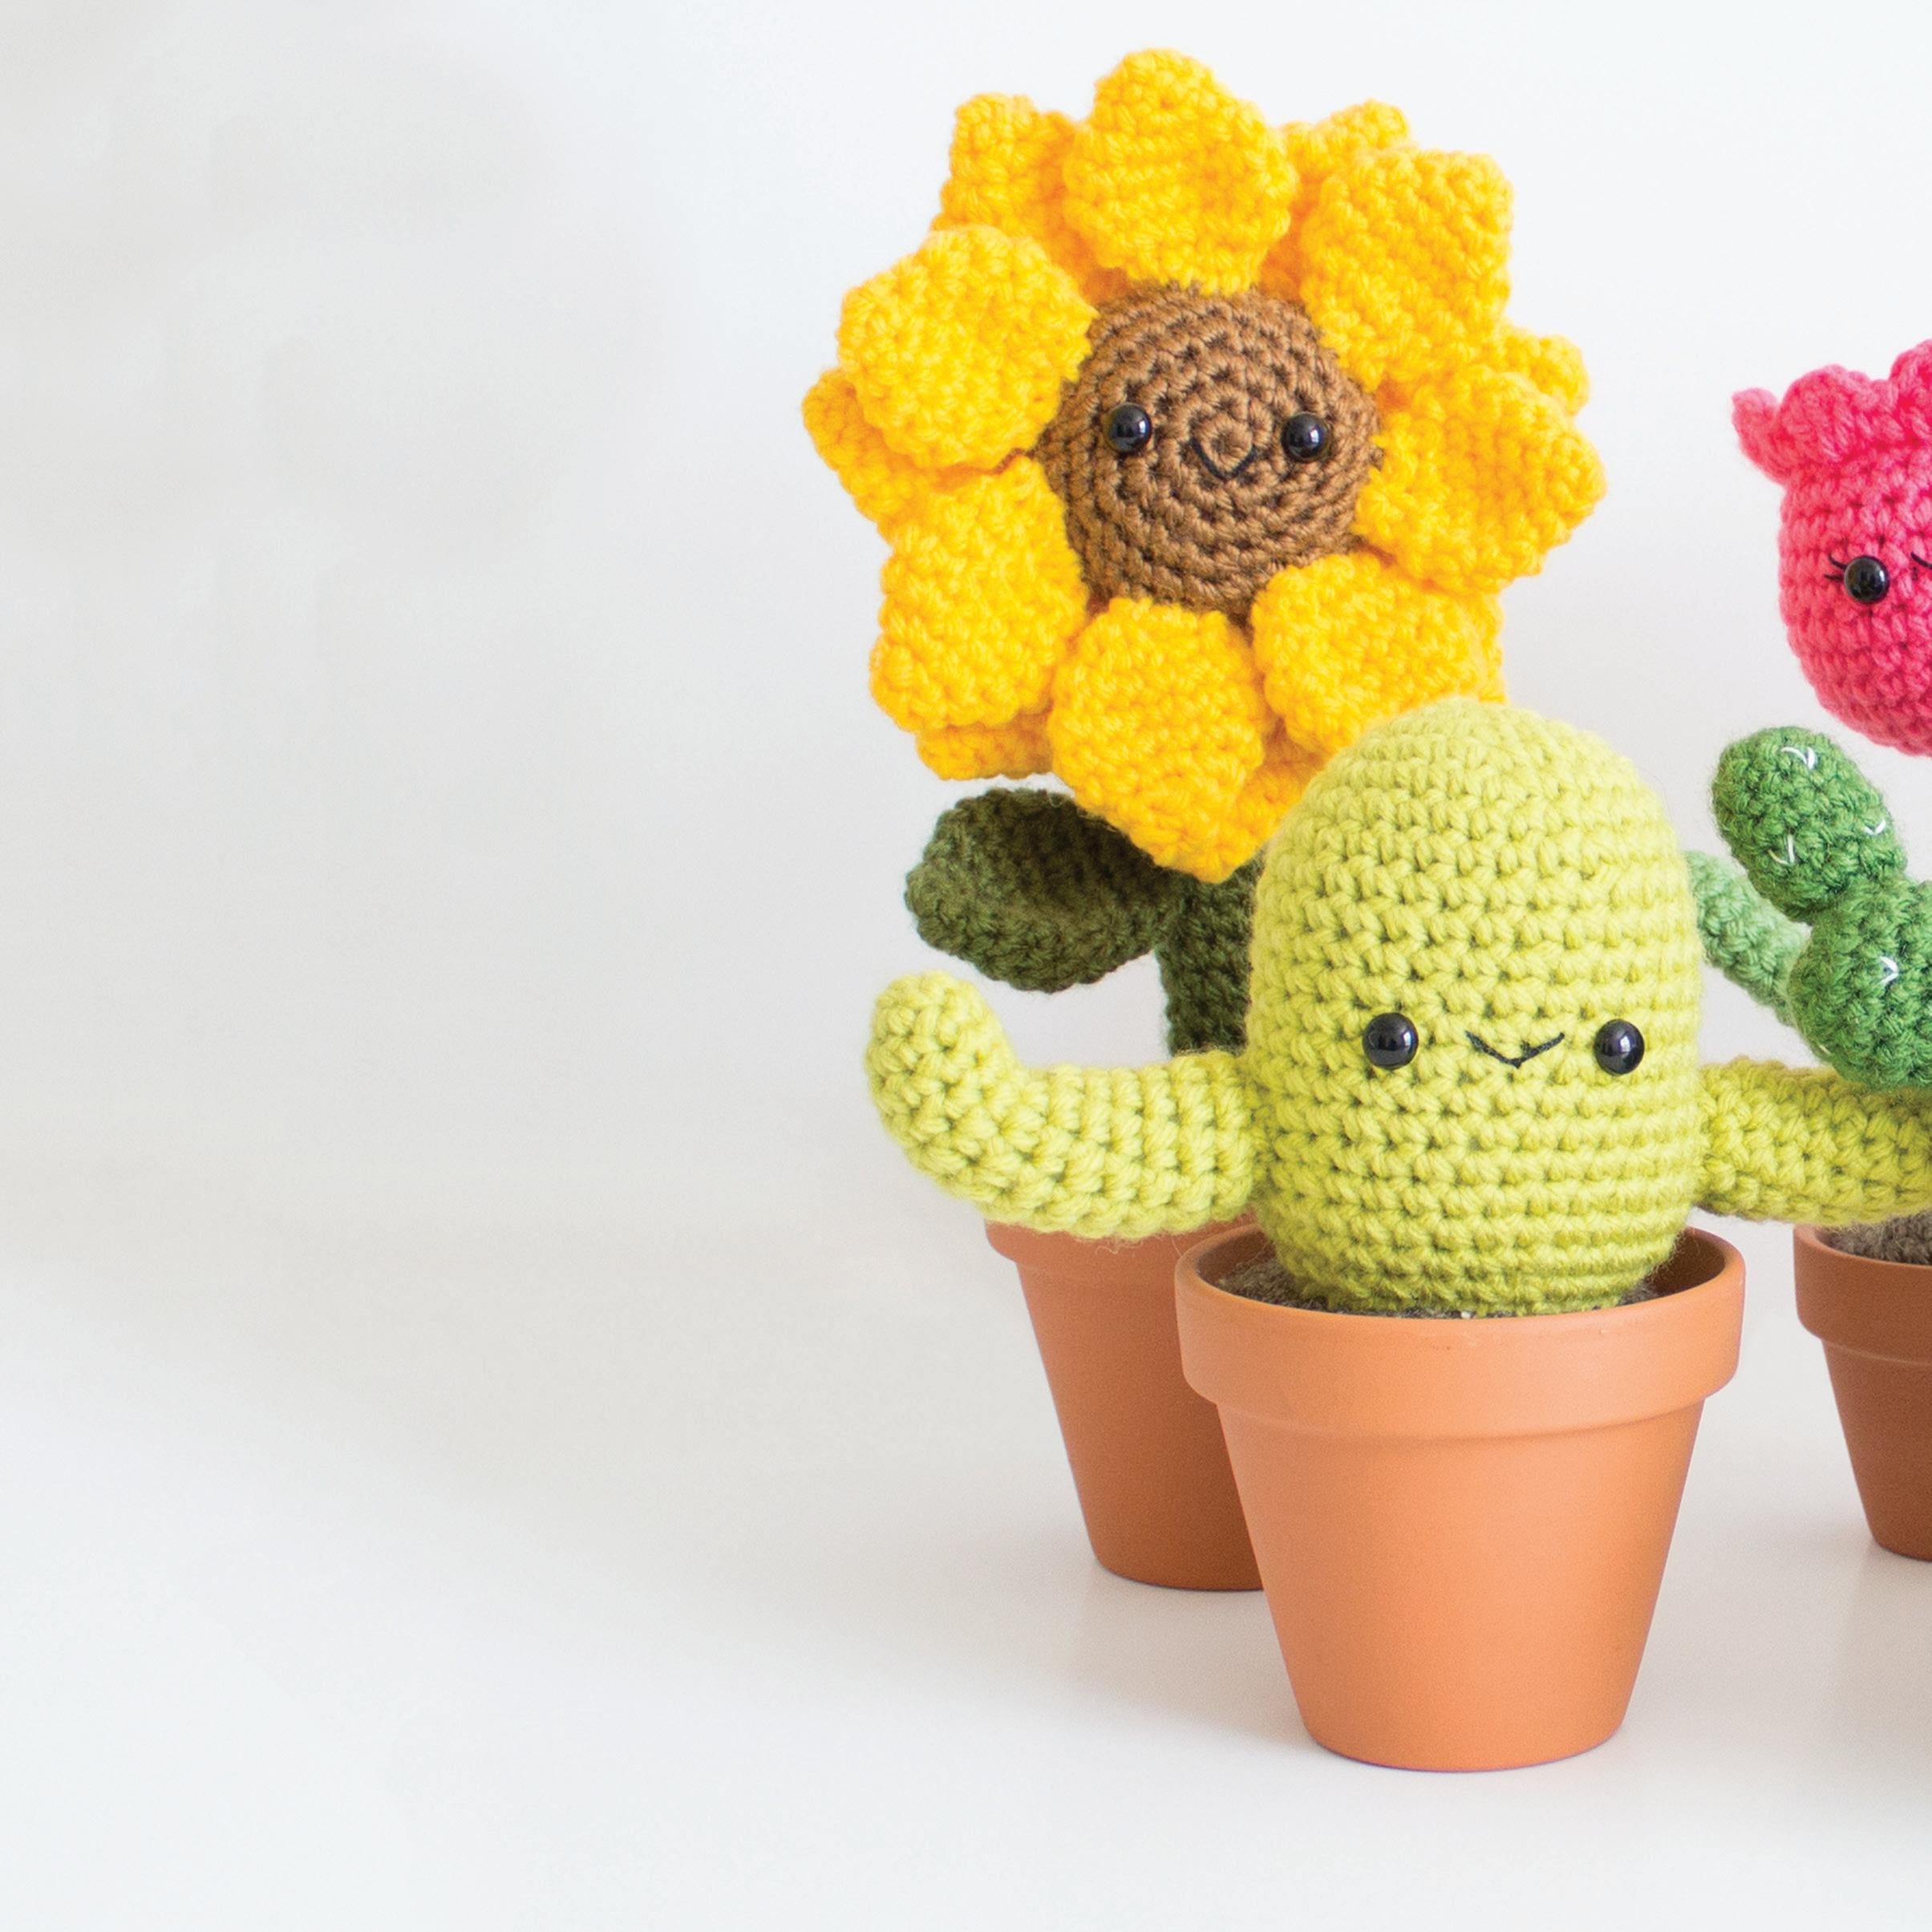

SAGUARO CACTUS 24 SUCCULENT PLANTER 28 SUNFLOWER 36 TULIP 42

25 Saguaro Cactus FINISHED MEASUREMENTS Approx. 7 inches tall by 6.5 inches wide MATERIALS Worsted weight yarn: green and brown Size G/4.25mm crochet hook Pair of 9mm safety eyes Black embroidery floss and small embroidery needle Polyester fiberfill stuffing Yarn needle 3” terra cotta pot Hot glue gun Small piece of brown felt Scissors Stitch marker Straight pins (optional, but very helpful when assembling the arms) ABBREVIATIONS Mr - Magic ring R - Round Sc - Single crochet Sts - Stitches Inv Dec - Invisible decrease Sl St - Slip stitch PATTERN NOTES This pattern is crocheted in continuous rounds Crochet all the pieces one at time, and then assemble
Cactus
BODY
Using green yarn,
Round 1: 6 sc in magic ring (6 sts)
R2: 2 sc in each st around. (12 sts)
R3: *Sc 1, 2 sc in next st,* 6 times. (18 sts)
R4: *Sc 2, 2 sc in next st,* 6 times. (24 sts)
R5: *Sc 3, 2 sc in next st,* 6 times. (30 sts)
R6-19: Sc 30.
Add safety eyes and stitch mouth.
R20: *Sc 3, inv dec 1, * 6 times. (24 sts)
Stuff cactus. Fasten off and leave a tail for sewing.
ARMS: MAKE 2
Using green yarn,



Round 1: 5 sc in magic ring (5 sts)
R2: 2 sc in each st around. (10 sts) R3-13: Sc 10.
Stuff arms. Fasten off and leave a tail for sewing.
TO BEND ARMS:
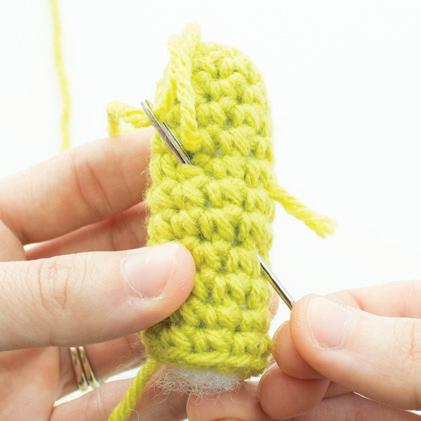
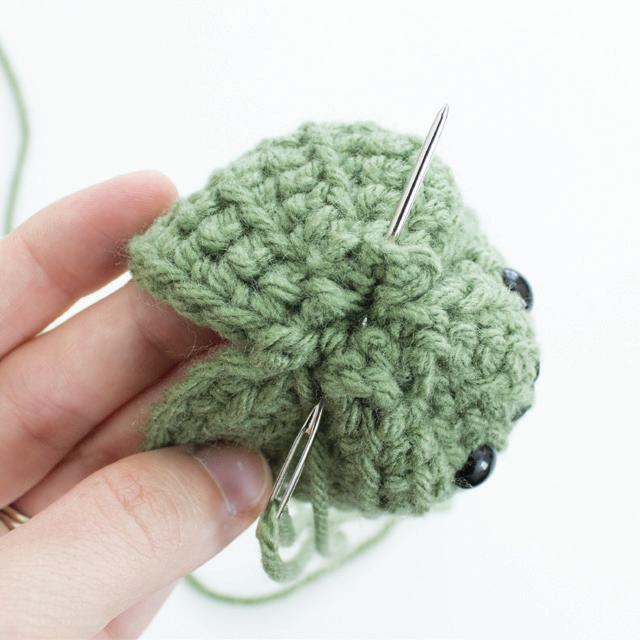
Cut a length of green yarn and tie a knot at one end. With the yarn needle, insert into one of the holes on the side of the arm. Pull needle through the middle of one of the stitches between rounds 6 and 7 (photo 1). Insert the needle into the stitch directly below (photo 2) and pull out through another hole in the side of the arm (photo 3). Gently pull the yarn and the arm will bend (photo 4). Tie off and weave in end.
DIRT
Using brown yarn,
Round 1: 6 sc in magic ring (6 sts)
R2: 2 sc in each st around. (12 sts)
R3: *Sc 1, 2 sc in next st,* 6 times. (18 sts)
R4: *Sc 2, 2 sc in next st,* 6 times. (24 sts)
R5: *Sc 3, 2 sc in next st,* 6 times. (30 sts)
R6: *Sc 4, 2 sc in next st,* 6 times. (36 sts)
R7: *Sc 5, 2 sc in next st,* 6 times. (42 sts)
R8: Sc 42 through BACK loops ONLY.
Fasten off.
26
1 3 2 4 5
ASSEMBLY
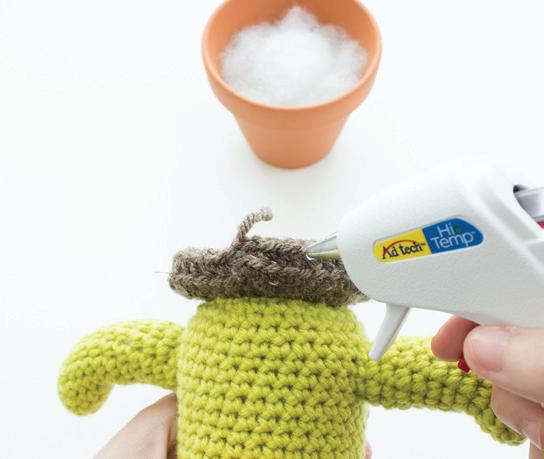
1. Attach the arms to the side of cactus with straight pins. Sew to the body using a yarn needle. Sew the cactus body to the dirt (photo 1).
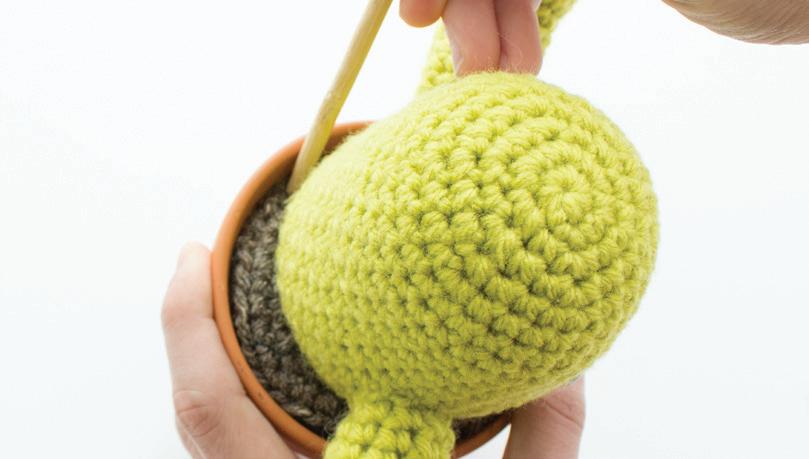



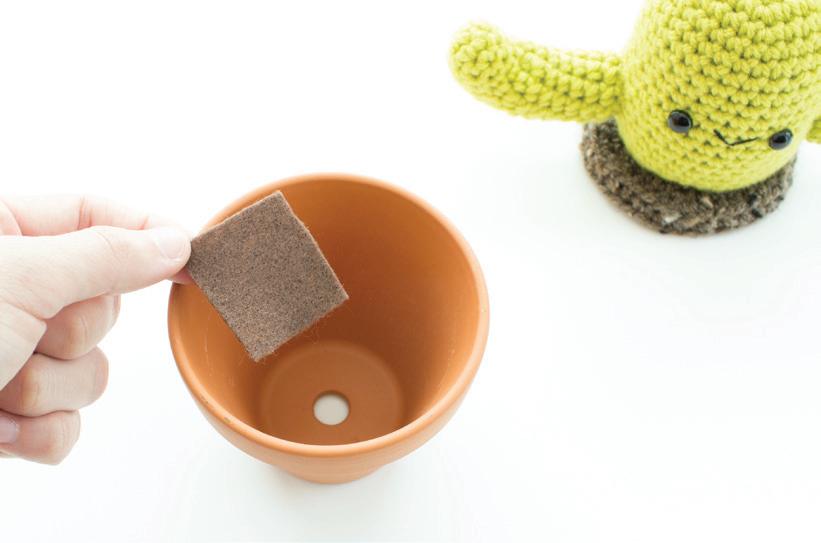
2. With hot glue gun, glue a small piece of brown felt over the hole in the bottom of the pot (photo 2). This step is optional if your pot does not have a hole. I like to cover this up by adding felt to make it look like dirt and to hide the fiberfill in step 4.
3. Place some fiberfill inside of pot (photo 3).
4. To attach the cactus to the pot, begin at the back and place glue along the “lip” of the dirt (photo 4), add a little bit at a time and press onto the pot. (The “lip” is round 8 where we crocheted through the back loops in the dirt section.) It works well to use a chopstick to gently push through the stitches to make sure the glue dries and attaches to the pot (photo 5).
5. Continue adding glue and pressing until you have reached the end (photo 6).
27
1 4 3 6 2 5
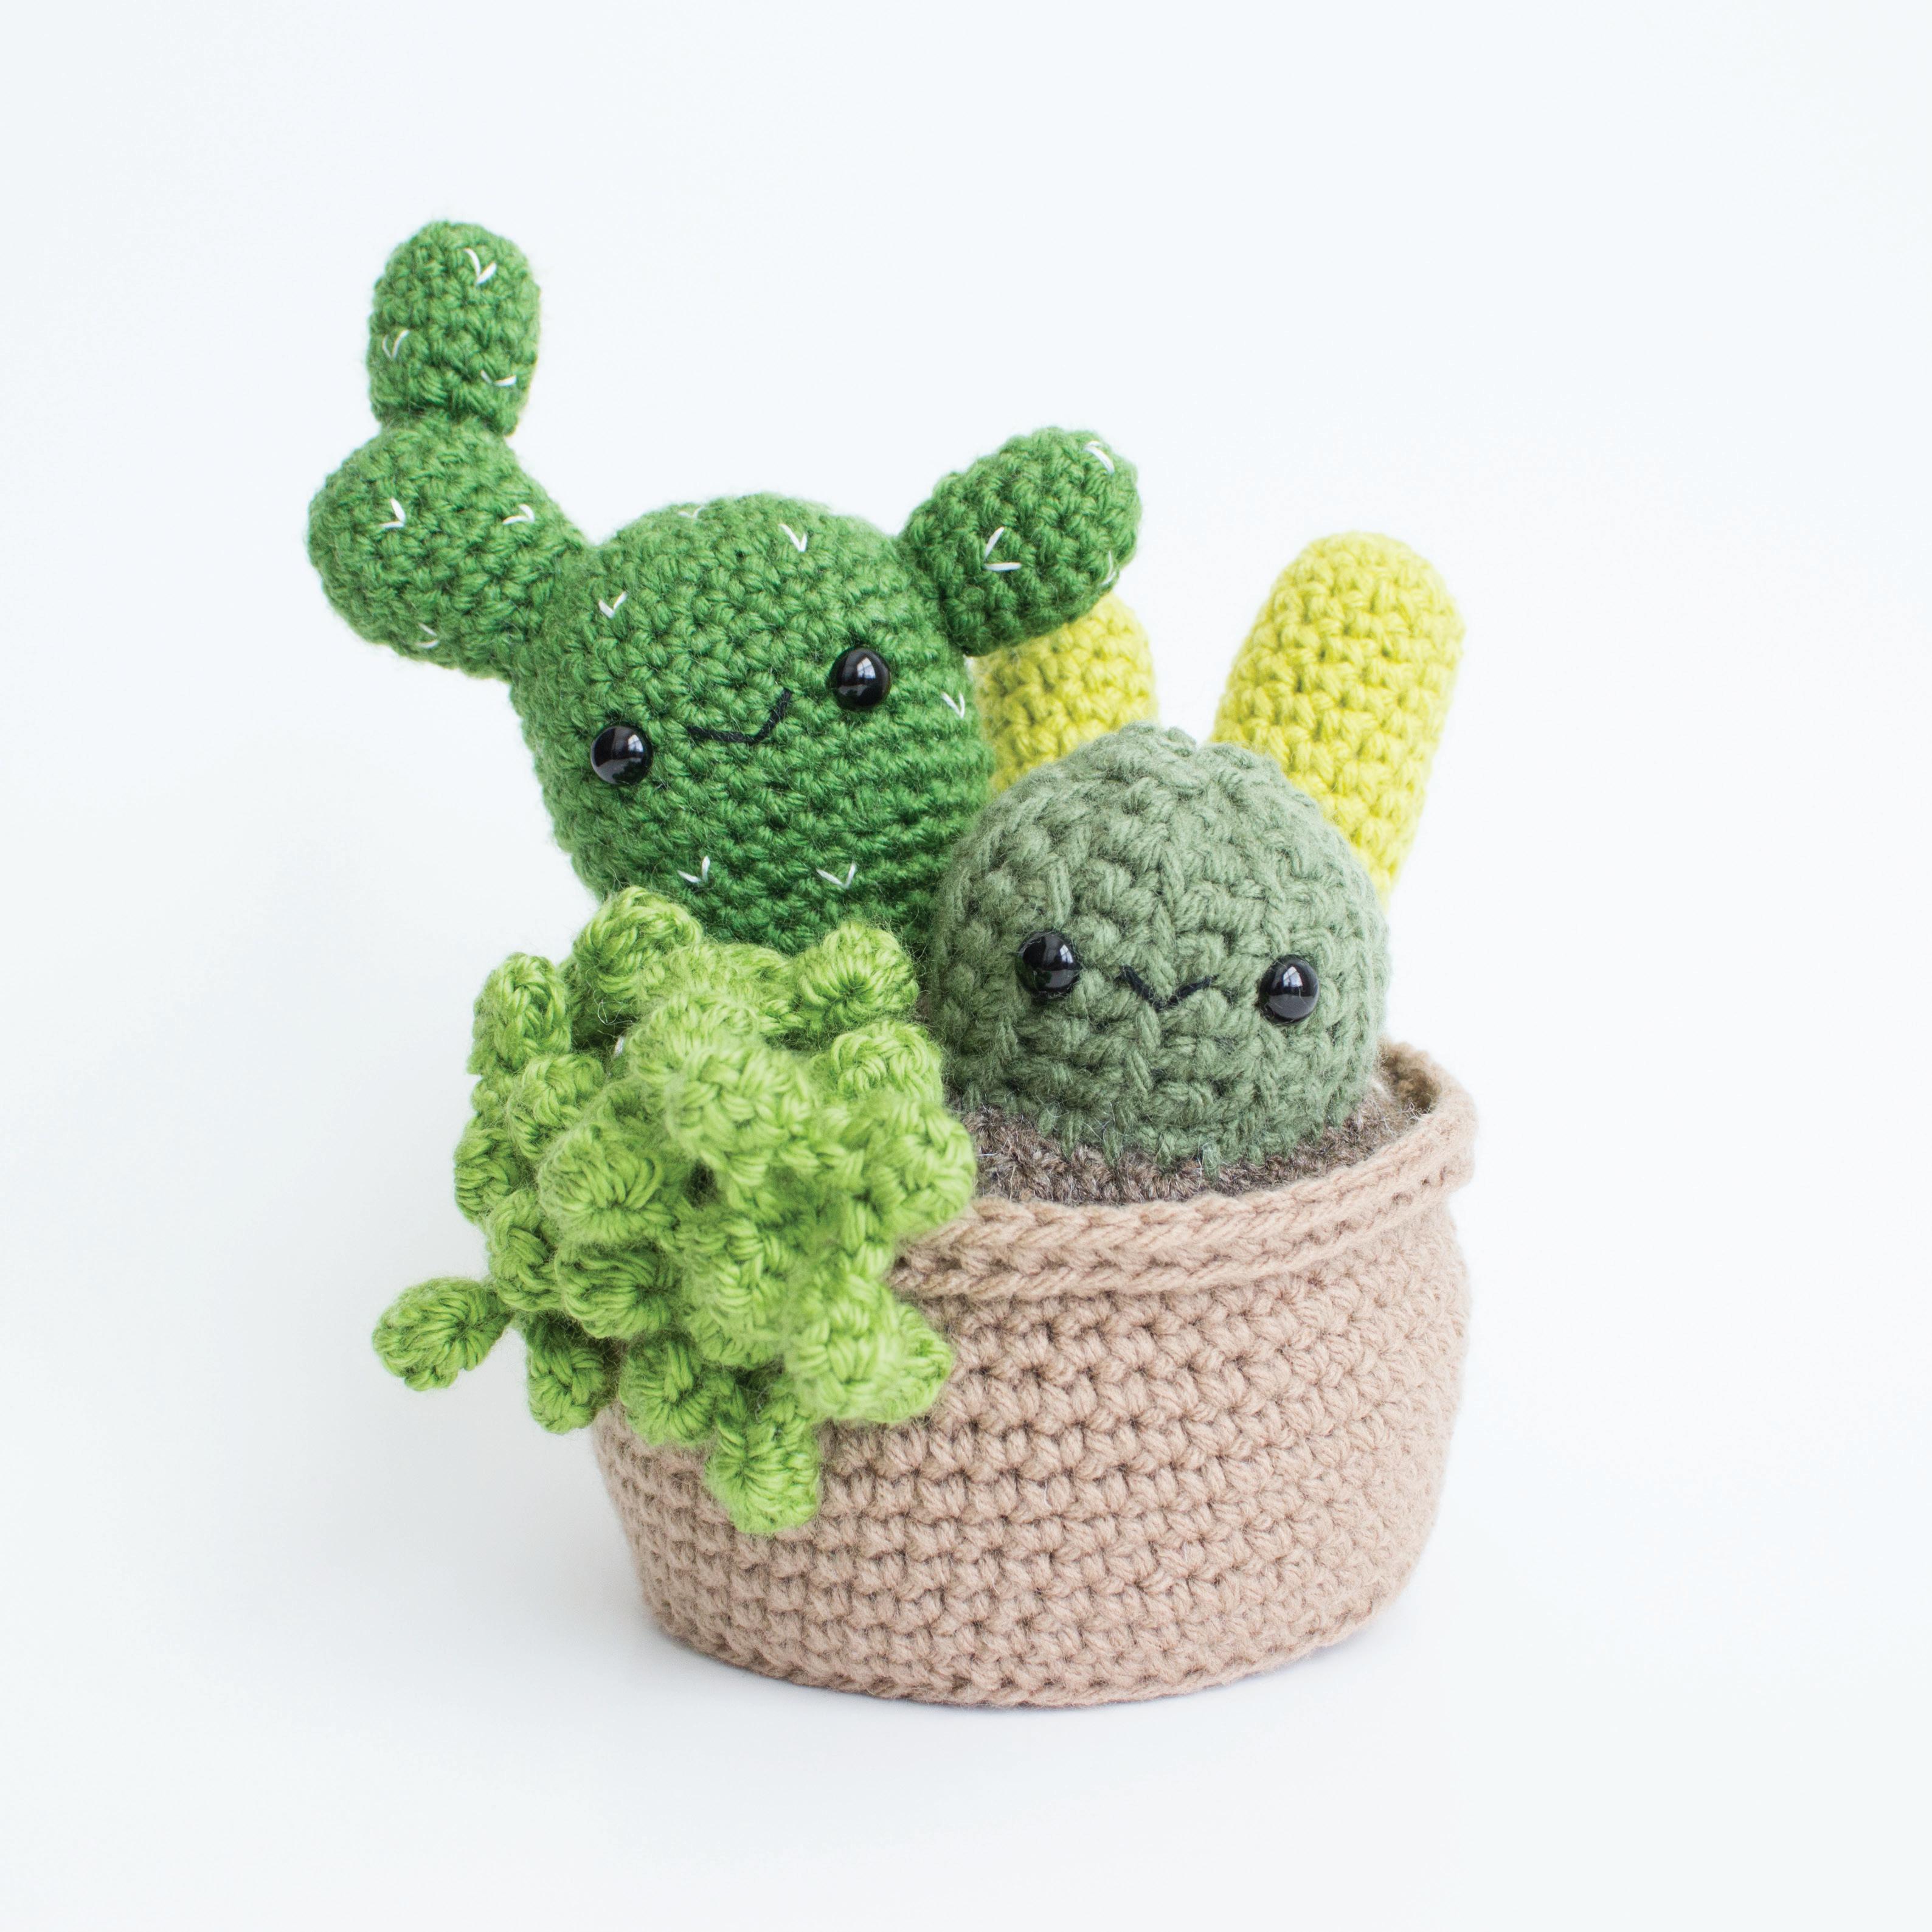
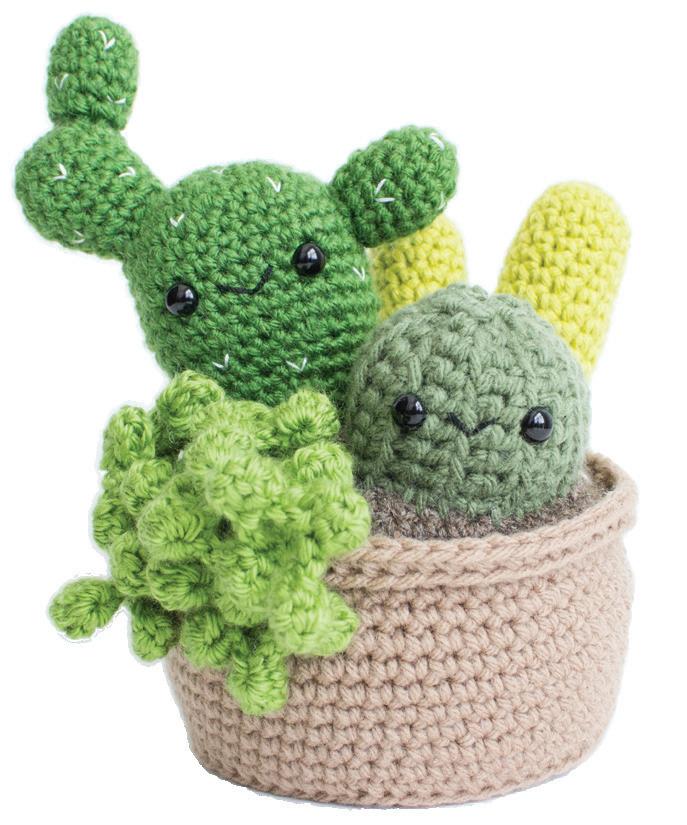
29 Succulent Planter FINISHED MEASUREMENTS Approx. 8 inches tall by 5 inches wide MATERIALS Worsted weight yarn: variety of greens, brown, taupe Size G/4.25mm crochet hook 2 pairs of 9mm safety eyes Black and white embroidery floss and small embroidery needle Polyester fiberfill stuffing Cardboard Yarn needle Scissors Stitch marker Straight pins (optional, but very helpful when assembling the pieces) ABBREVIATIONS Mr - Magic ring Ch - Chain R - Round Sc - Single crochet Dc - Double crochet Sts - Stitches Inv Dec - Invisible decrease Sl St - Slip stitch PATTERN NOTES This pattern is crocheted in continuous rounds
Pot DIRT
Using taupe yarn,
Round 1: 6 sc in magic ring (6 sts)
R2: 2 sc in each st around. (12 sts)
R3: *Sc 1, 2 sc in next st,* 6 times. (18 sts)
R4: *Sc 2, 2 sc in next st,* 6 times. (24 sts)
R5: *Sc 3, 2 sc in next st,* 6 times. (30 sts)
R6: *Sc 4, 2 sc in next st,* 6 times. (36 sts)
R7: *Sc 5, 2 sc in next st,* 6 times. (42 sts)
R8: *Sc 6, 2 sc in next st,* 6 times. (48 sts)
R9: *Sc 7, 2 sc in next st,* 6 times. (54 sts)
R10: *Sc 8, 2 sc in next st,* 6 times. (60 sts)
R11: Sc 60 through BACK loops only.
R12-20: Sc 60.
R21: Sc 60 through FRONT loops only.
R22: Sc 60 through BACK loops only.
Fasten off and weave in ends.
With cardboard, trace around the base of pot and cut out. Place cardboard circle in base of pot (photo 1).

Using brown yarn,
Round 1: 6 sc in magic ring (6 sts)
R2: 2 sc in each st around. (12 sts)
R3: *Sc 1, 2 sc in next st,* 6 times. (18 sts)
R4: *Sc 2, 2 sc in next st,* 6 times. (24 sts)
R5: *Sc 3, 2 sc in next st,* 6 times. (30 sts)
R6: *Sc 4, 2 sc in next st,* 6 times. (36 sts)
R7: *Sc 5, 2 sc in next st,* 6 times. (42 sts)
R8: *Sc 6, 2 sc in next st,* 6 times. (48 sts)
R9: *Sc 7, 2 sc in next st,* 6 times. (54 sts)
R10: *Sc 8, 2 sc in next st,* 6 times. (60 sts)
Fasten off and leave an extra long tail for sewing.
Set aside.
30
1
Prickly Pear Cactus
MAIN CACTUS PIECE: MAKE 1
Using green yarn,
Round 1: 6 sc in magic ring (6 sts)
R2: 2 sc in each st around. (12 sts)
R3: *Sc 1, 2 sc in next st,* 6 times. (18 sts)
R4: *Sc 2, 2 sc in next st,* 6 times. (24 sts)
R5: *Sc 3, 2 sc in next st,* 6 times. (30 sts)
R6-12: Sc 30.
Add safety eyes and stitch mouth.
R13: *Sc 3, inv dec 1,* 6 times. (24 sts)
R14-15: Sc 24.
R16: *Sc 2, inv dec 1,* 6 times. (18 sts)
R17-18: Sc 18.
Stuff cactus. Fasten off and leave a tail for sewing.
MEDIUM CACTUS PIECE: MAKE 1
Using green yarn,
Round 1: 6 sc in magic ring (6 sts)
R2: 2 sc in each st around. (12 sts)
R3: *Sc 1, 2 sc in next st,* 6 times. (18 sts)
R4-5: Sc 18.
R6: *Sc 1, inv dec 1,* 6 times. (12 sts)
R7-8: Sc 12.
Stuff cactus. Fasten off and leave a tail for sewing.
SMALL CACTUS PIECE: MAKE 2
Using green yarn,
Round 1: 6 sc in magic ring (6 sts)
R2: 2 sc in each st around. (12 sts)
R3-6: Sc 12.
R7: *Sc 1, inv dec 1,* 4 times. (8 sts)
Stuff cactus. Fasten off and leave a tail for sewing.
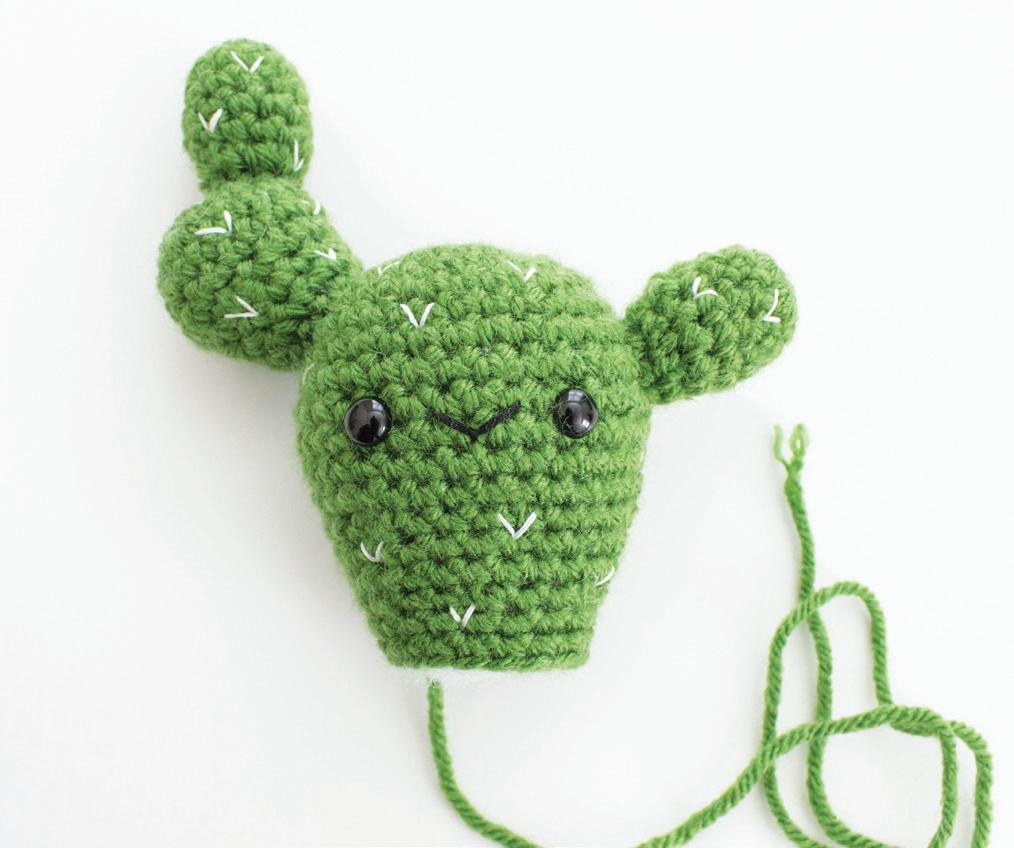
FOR THE WHITE PRICKLES:
With white embroidery floss (divided into 3 strands) stitch a “V” in various places.
TO ASSEMBLE:
Take one small cactus piece and sew onto the medium cactus. Next, sew the medium cactus piece onto the main cactus. Sew the last small cactus to the main cactus piece.
31
Barrel Cactus
Using green yarn, Ch 9



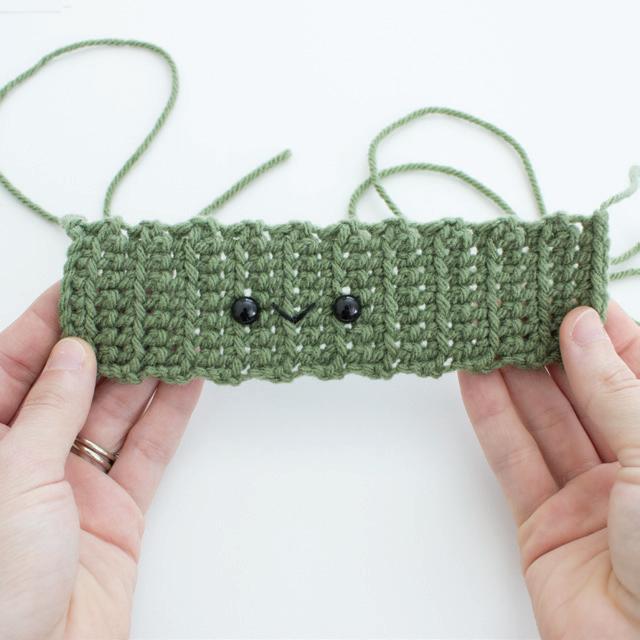
Row 1: Sc in 2nd ch from hook and in each ch across, 8 stitches total. Ch 1 and turn.
Row 2-21: Sc in FRONT loops only, in each sc across, 8 stitches total. Ch 1 and turn.
Fasten off and leave a long tail for sewing. Add safety eyes and stitch mouth (photo 1).
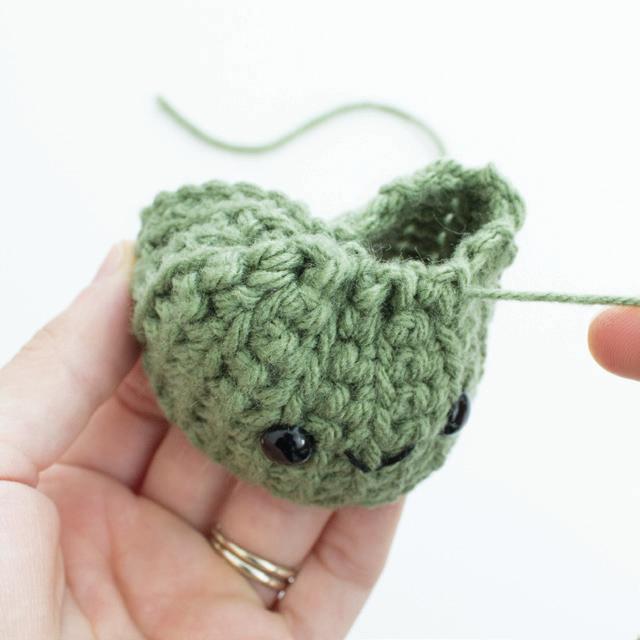
To sew up cactus, weave yarn needle through the top edge of the cactus (photo 2). At the end, pull yarn tight and the top will come together (photo 3). To close the hole more, weave needle through the top (photo 4). Sew down the side of the cactus that is open (photo 5). Leave tail for sewing the cactus to the dirt.
32
3 5 2 4 6
1
String of Pearls: make 5
Using green yarn, Ch 20


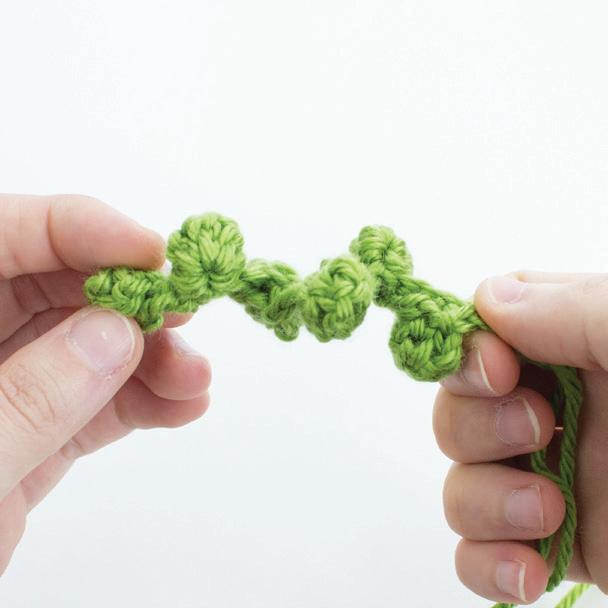
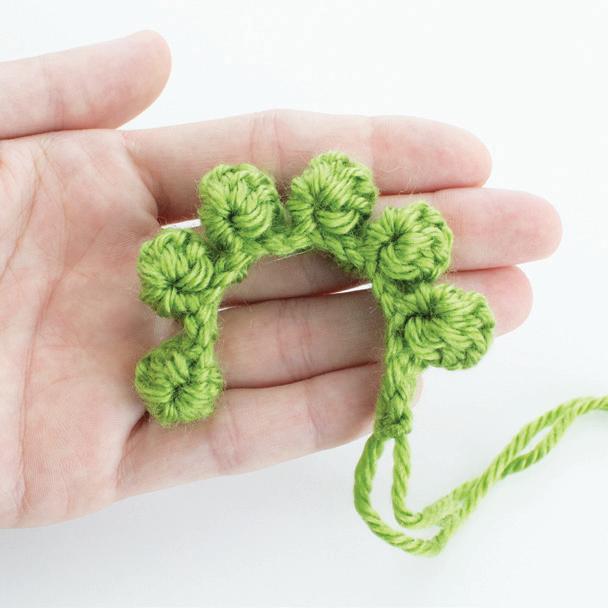

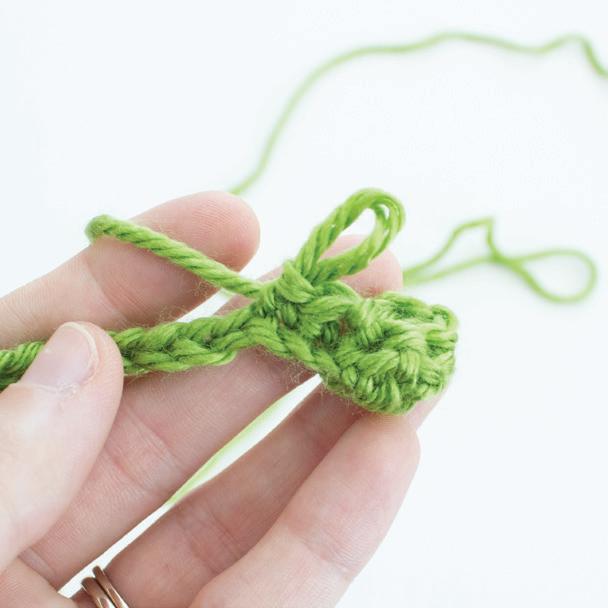
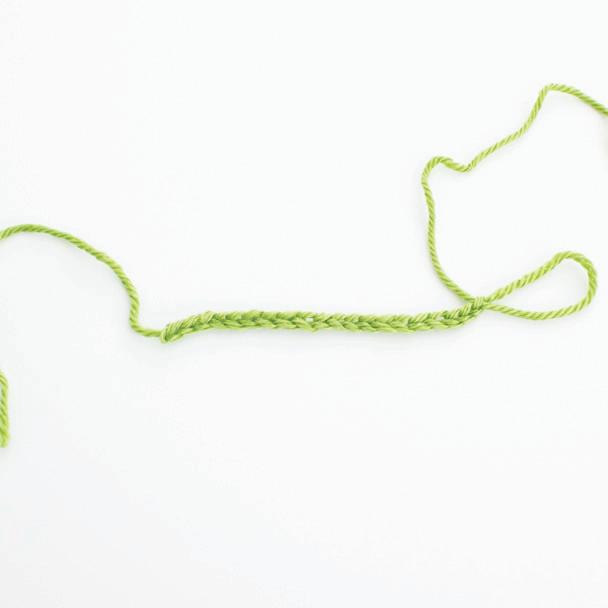
Row 1: *5 dc in 2nd ch from hook then sl st into the first dc (photos 2 & 3), Sc 2 (in the chain, photo 4),* 6 times. Little “pearls” will begin to form (photo 5). At the end of the row, sc in the remaining 3 ch.
Fasten off and leave a tail for sewing. Take an end in each hand and twist, this will make the string of pearls more curled (photo 7).
33
1
3 6 4 7 5
2
Lady Finger cactus
SMALL CACTUS: MAKE 1
Using green yarn,
Round 1: 6 sc in magic ring (6 sts)
R2: 2 sc in each st around. (12 sts)
R3-11: Sc 12.
R12: *Sc 1, inv dec 1,* 4 times. (8 sts)
Stuff cactus. Fasten off and leave a tail for sewing.
MEDIUM CACTUS: MAKE 1
Using green yarn,
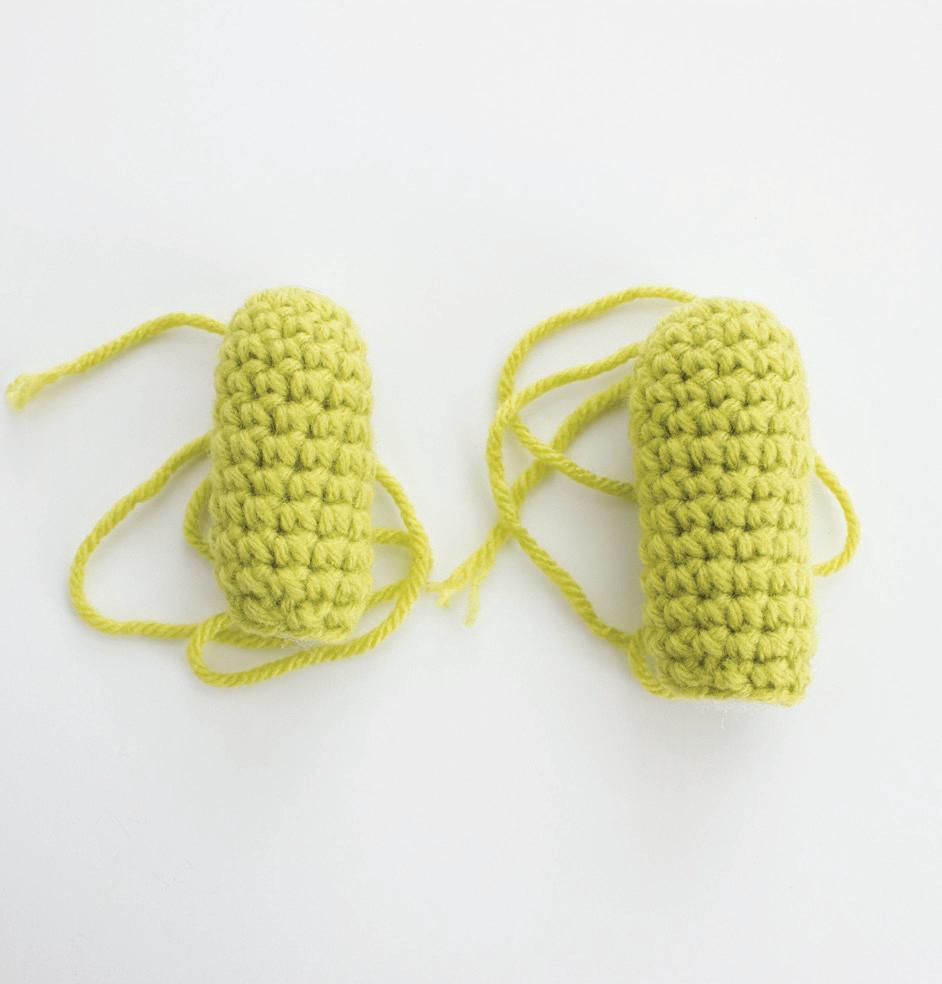
Round 1: 7 sc in magic ring (7 sts)
R2: 2 sc in each st around. (14 sts)
R3-13: Sc 14.
R14: *Sc 1, inv dec 1,* 4 times, sc 1, sl st into last sc. (10 sts)
Stuff cactus. Fasten off and leave a tail for sewing.
34
ASSEMBLY
1. Sew prickly pear and barrel cactus onto dirt. Add fiberfill before sewing the barrel cactus on all the way. Sew lady finger cactus behind the barrel cactus and prickly pear (photo 2).


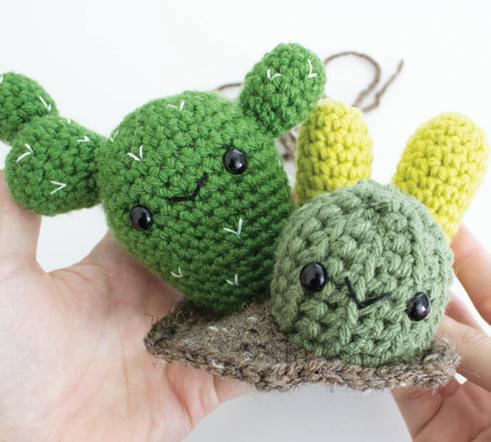
2. Sew 3 strings of pearls along the side, in front of the prickly pear (photo 3). Sew the remaining 2 towards the center of the dirt to fill in the gaps (photo 4).


3. With a yarn needle, sew the dirt to the pot. To create invisible stitching, weave the yarn needle through the last row of stitches on the dirt and the back loops from R21 on the pot (photo 5 & 6). By doing this, the darker yarn for the dirt will not show on the outside of the pot.
4. Make sure to stuff the pot with fiberfill before closing the hole (photo 7).
35
2
5 6 7
1 3 4

In Whimsical Stitches: A Modern Makers Book of Amigurumi Crochet Patterns, amigurumi is explored through 25 simple, fanciful patterns in a variety of themes, including: In the Garden • At the Aquarium • Down on the Farm At the Market • At the Bakery Author and amigurumi guru Lauren Espy inspires crocheters with her darling, easy-to-follow patterns and helpful photographs, ensuring that your finished product is as cute as the creation on the page! #4 Worsted Weight Yarn • Crochet Hooks (U.S. size G-4.25mm) Safety Eyes (6mm, 9mm, 12mm) • Polyester Fiberfill • Darning Needle Embroidery Floss and Needle • Felt • Stitch Markers • Fabric Scissors Straight Pins • Pipe Cleaners • Poly Pellets • Terra Cotta Pots Wooden Dowels • Hot Glue Gun MATERIALS USED


