3 minute read
Product profiles
from Auto Channel 43
by Via Media

If your plug surface prep was on point, your gel coat surface will be perfect and ready for release agent. You can use PVA release agent, but a better option is to use a release wax as it ensures you have a perfectly smooth surface. Additionally, if you want to make multiple parts, the wax work is already sorted, and will last four or five lay-ups. Build your wax surface up as Zac says: Karate Kid–style — wax on, wax off. Do this three or four times. The key to achieving maximum strength with composites like carbon or Kevlar is running minimum resin. This is achieved with a process known as resin infusion, where you bag up the part and draw resin through using a vacuum pump. While you can simply do a wet lay-up as you did to make the mould itself, using a vacuum pump will result in a part 10 times better in every respect. Parts like these guards only require three layers of cloth with an added strip where the fender will be bolted on. The visible layer is 240g satin, and behind that is a layer of 200g double bias, and then the outer strip is added again in 240g, followed by the final layer which is hybrid Kevlar. The reason the inside layer is Kevlar is because it is more flexible than carbon so less susceptible to stone chips, etc. Carbon is stiffer so gives the needed strength with fewer layers — therefore less weight! To avoid the weave being distorted, or having it bridge over swags etc., use a contact adhesive such as 3M Super 77 so that you you can lay it into the mould and ensure that it sits in there perfectly. Lay all your layers of cloth down dry.
Advertisement
BAG IT UP

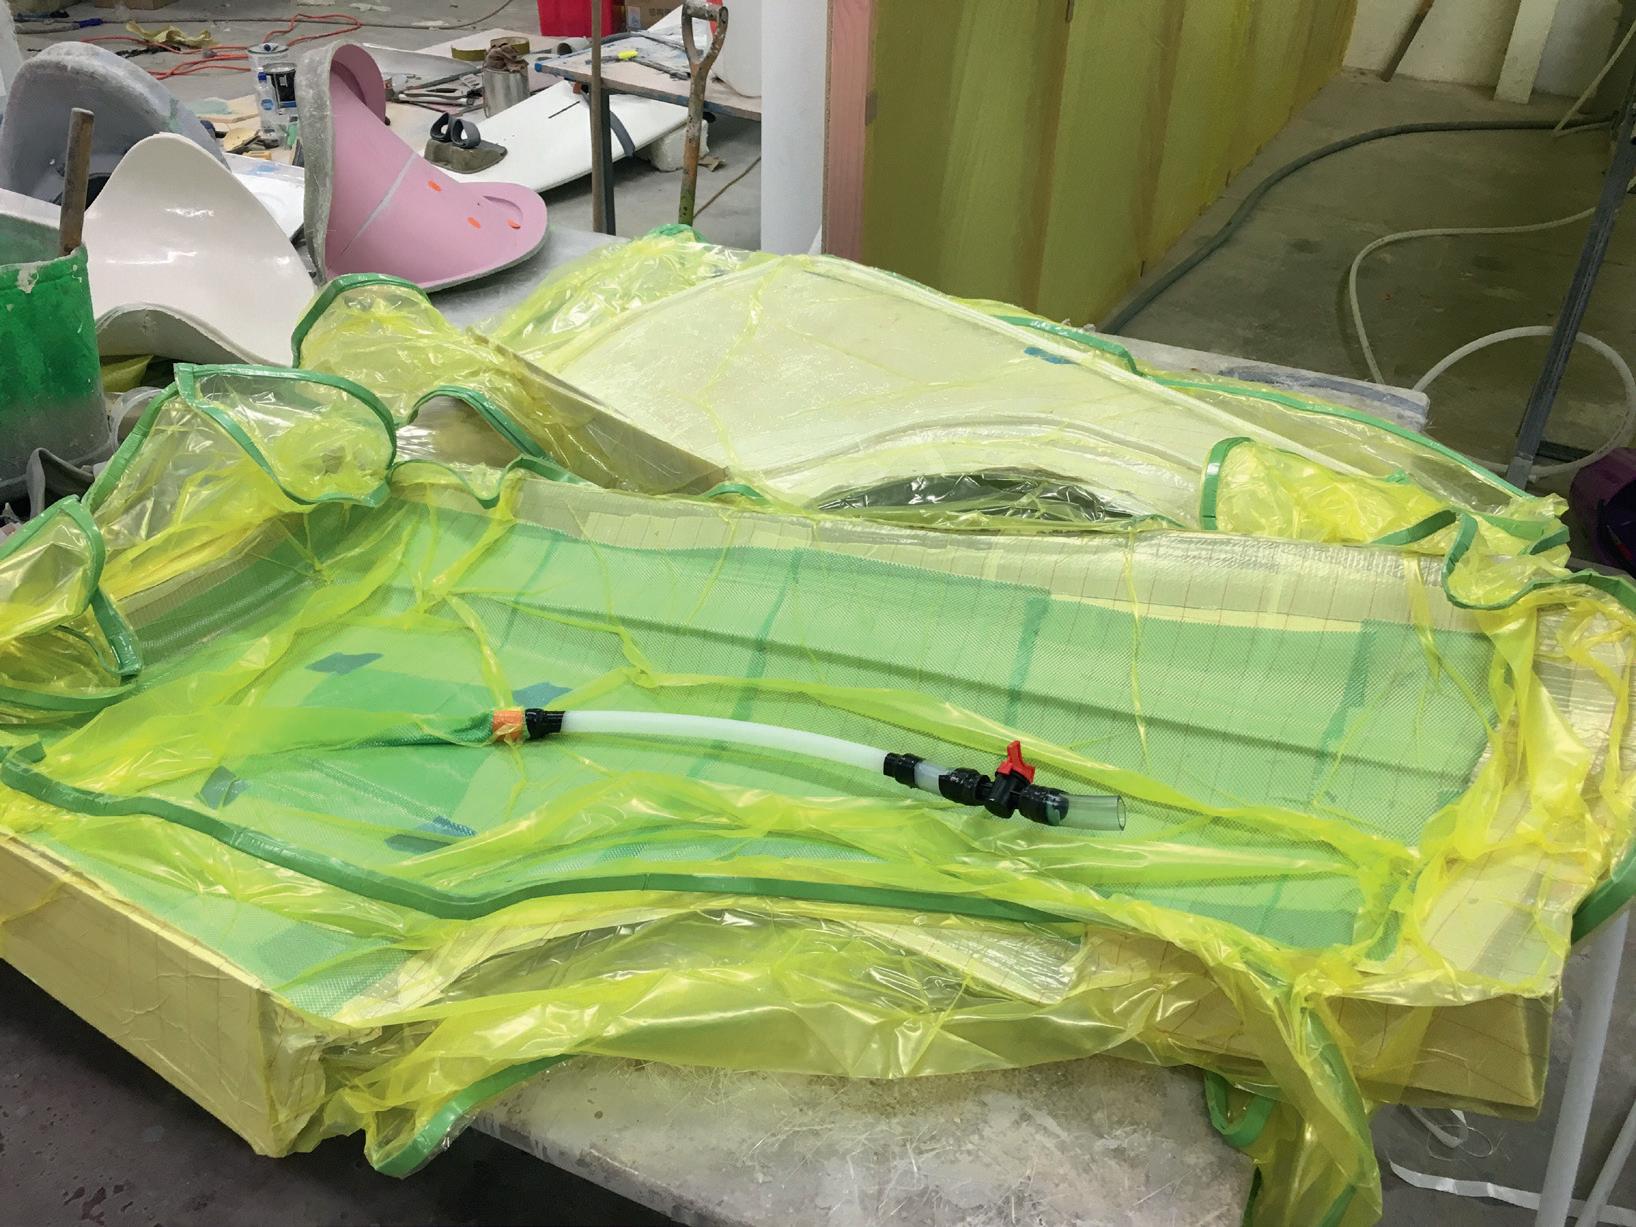
Now it’s time to set up for the infusion. First, you’ll need to add two more layers to your guard: a layer of peel ply and another of infusion mesh. Cut your mesh back from the edge of the part to reduce the risk of bleeding all the resin out.
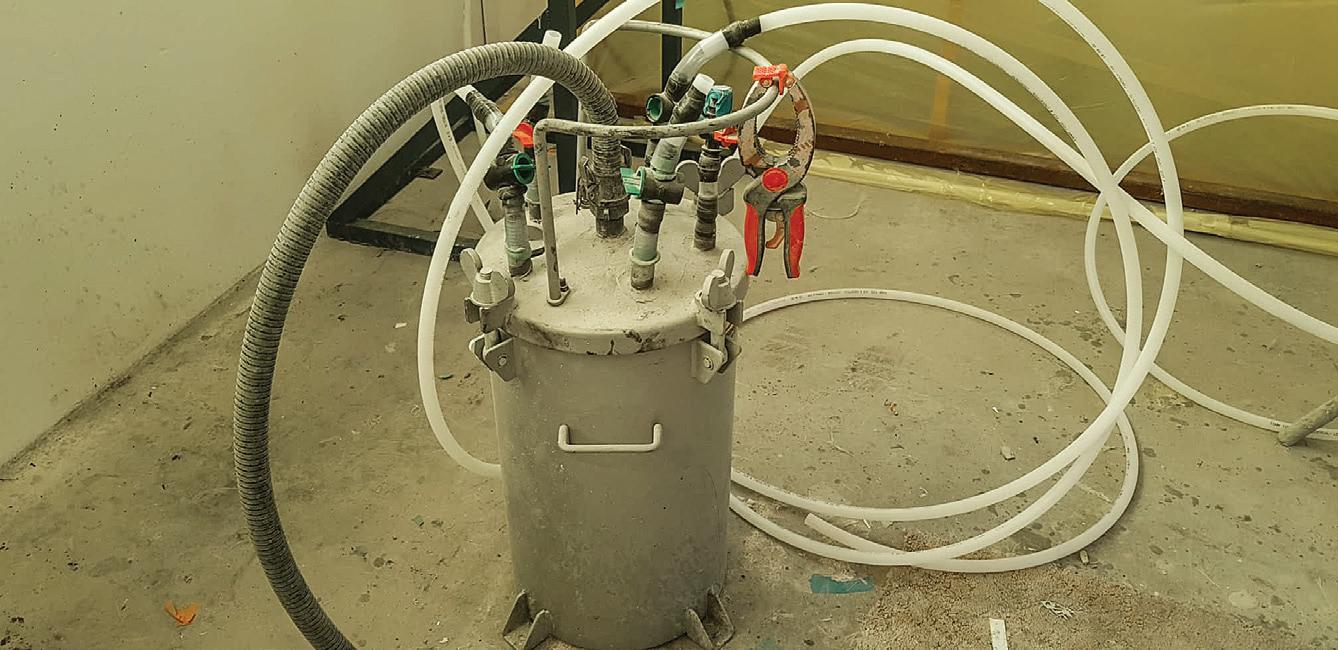
Using a decent-grade plastic, cut two large pieces big enough to envelope your mould. On one sheet, lay some double-sided gum tape around the edge. Sit this under your mould, then lay the other over the top and stick them together. Before laying over the top piece of plastic, you’ll need an exit and entry point for the resin. Electrical spiral cabling is ideal as a vacuum line. I tend to do a complete perimeter around the mould, with a central resin feed line. This consists of cheap plastic tubing (sturdy enough to not collapse under vacuum) that will attach to your vacuum pump and resin pot. Use some gum tape to seal the hole once you lay over the top plastic sheet. Take your time to seal all the edges. It needs to be perfectly airtight.
Once you’re satisfied with the seal, work the bag into any nooks and crannies to ensure there is no bridging of the bag or laminate. Mix up your resin and start the infusion. “For something thin like this, I’d tend to mix up infusion resin at about 1.5 times the weight of the cloth. This allows for a bit of waste and filling of the lines.” Flick on the pump, and watch the resin flow through your fabric. Once all of the laminate is wet through and you start to get a little bit of bleed towards the vacuum line, clamp the feed line off. Let sit for 24 hours to cure.
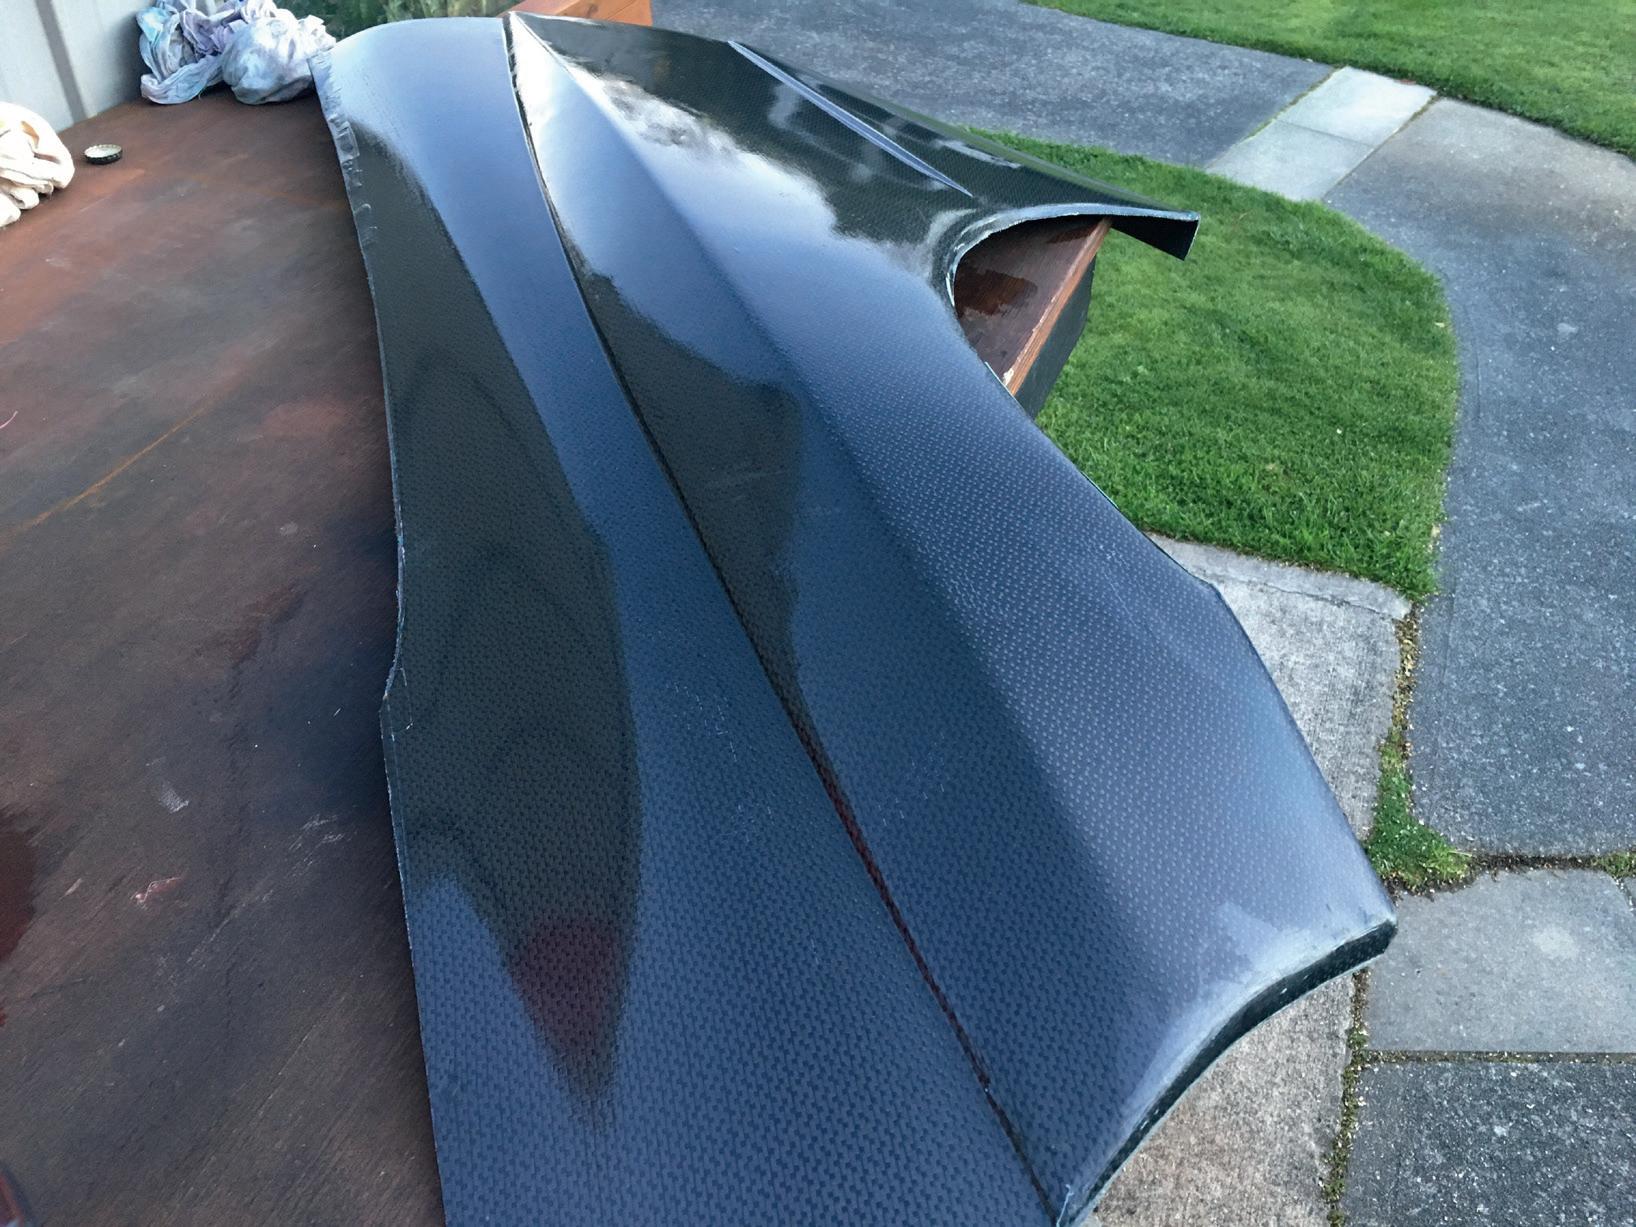
“Once it’s all cured, demould with your wedges, trim to fit, and my favourite bit, bust out the scales! In this case, the original guards were about 5kg each, plus we managed to remove much more steel from the rear — almost up to the window. This, combined with the new carbon guards weighing just over a kilogram, saved around about 15 kilos overall.”


