
8 minute read
Tech feature: Carbon fibre
from Auto Channel 43
by Via Media
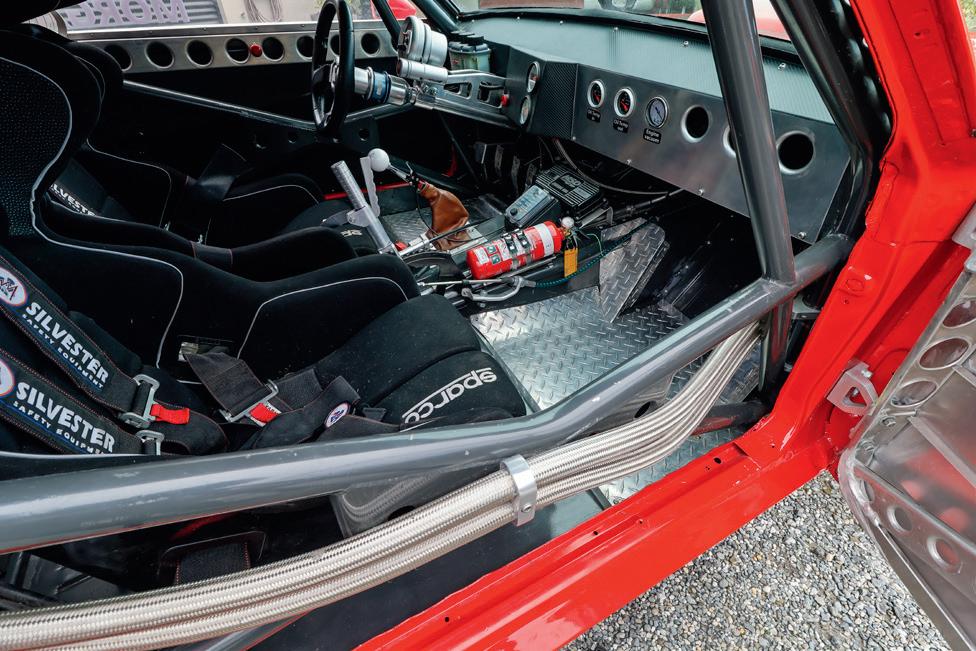
There is probably more Barry Morgan stuff in and on the Mustang than there is Henry Ford stuff
Advertisement
attached via a custom Barry-built three-link, paired with QA1 shocks and springs to help iron out the bumps in the rear. Stopping duties are handled inside via a Wilwood pedal box, while on the outside six-pot calipers up front clamp 340mm rotors with slightly smaller, 312mm rotors and four-pot calipers used at the rear. All four stoppers are attached to more Barry stuff: owner-built aluminium hats — we did say there were bugger all Henry Ford bits left! Super sticky Hankook 275 wide semi slicks are in turn attached to these and provide more than enough front and rear-end grip.
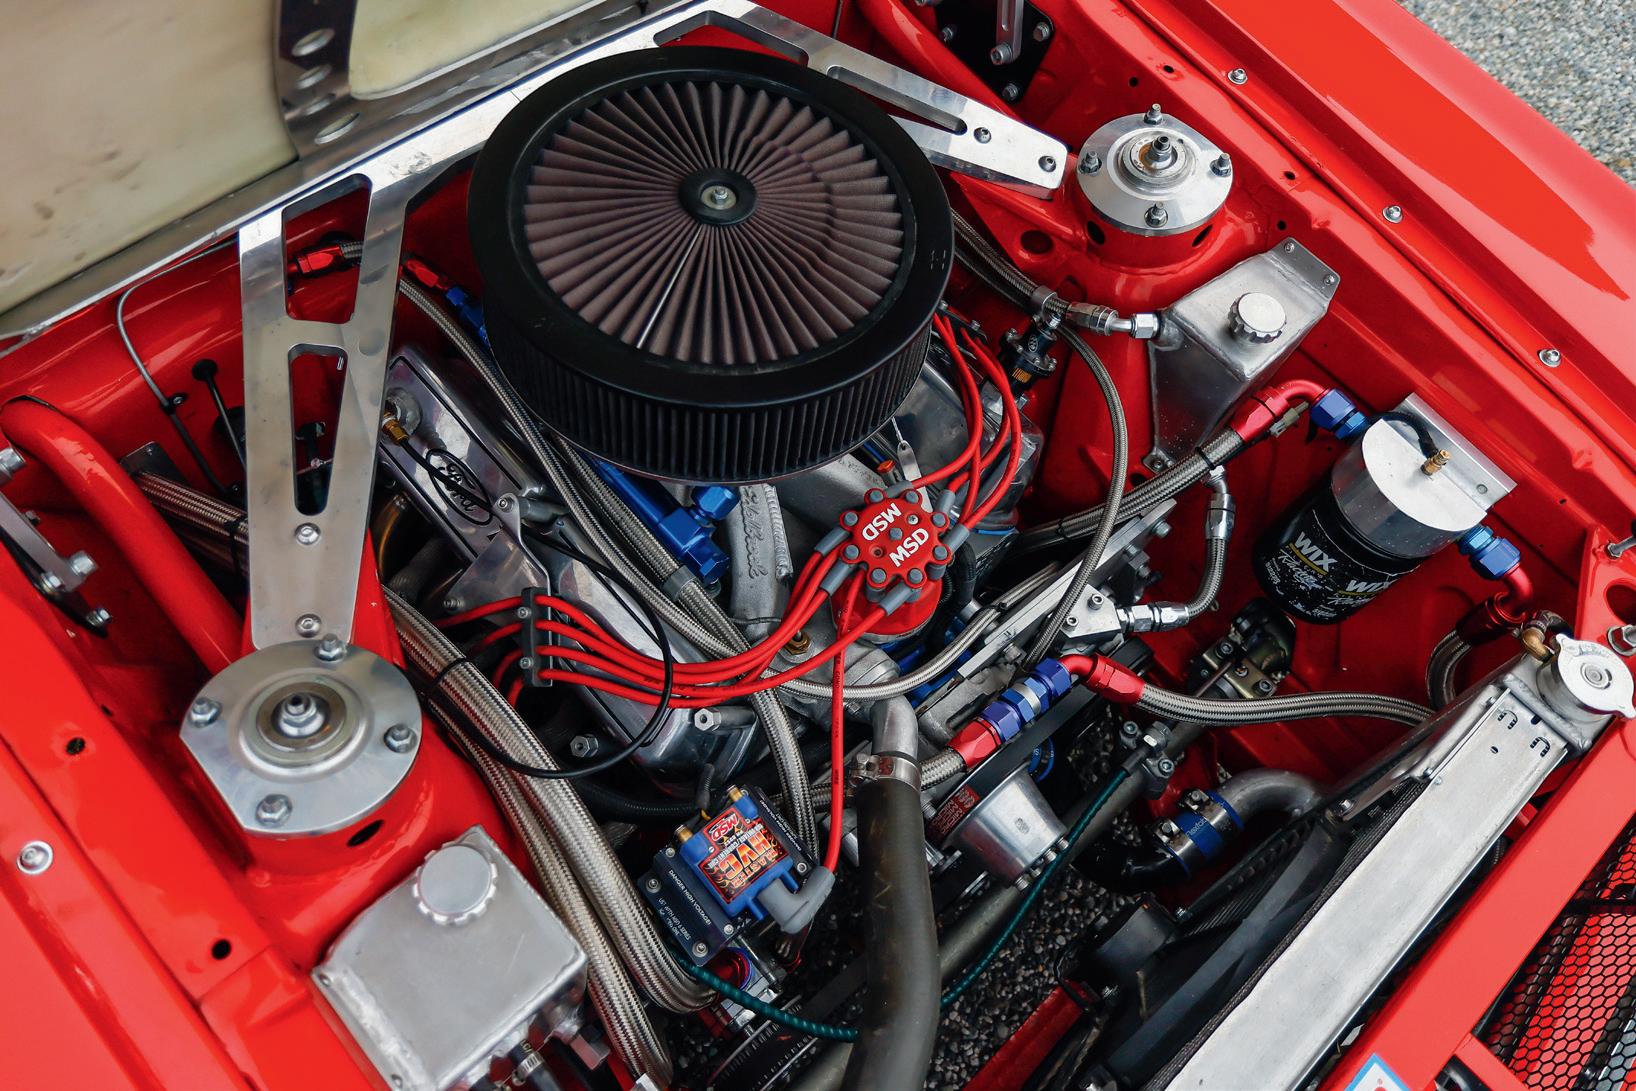
Dart Championship Engine Components answered the call and shipped over one of their 8.200-inch 302 blocks for Murray Thomas from Wanaka to piece together. The block has been bored 160 thou over and stuffed with an Eagle stroker rotating assembly consisting of Eagle crank, eight shiny Eagle rods, topped with a set of forged pistons. Air Flow Research Renegade CNC-ported 220 alloy heads along with titanium valves help make the small block Ford breathe. A Braswell carb bolted on top of a Victor JR intake completes the package, all of which is screwed together with ARP hardware to keep all the internals off the ground and inside the block where they should be. Bolted to the back of the screaming small block is a Nascar G-Force H-pattern four-speed dog box, Barry bought the dog box out of the USA, pulled it apart, and gave it a bit of a freshen up. He also used a Nascar-style small bell housing and reverse-drive starter motor, along with a 7¼-inch Tilton clutch set-up to help feed the power rearwards through a custom steel driveshaft.
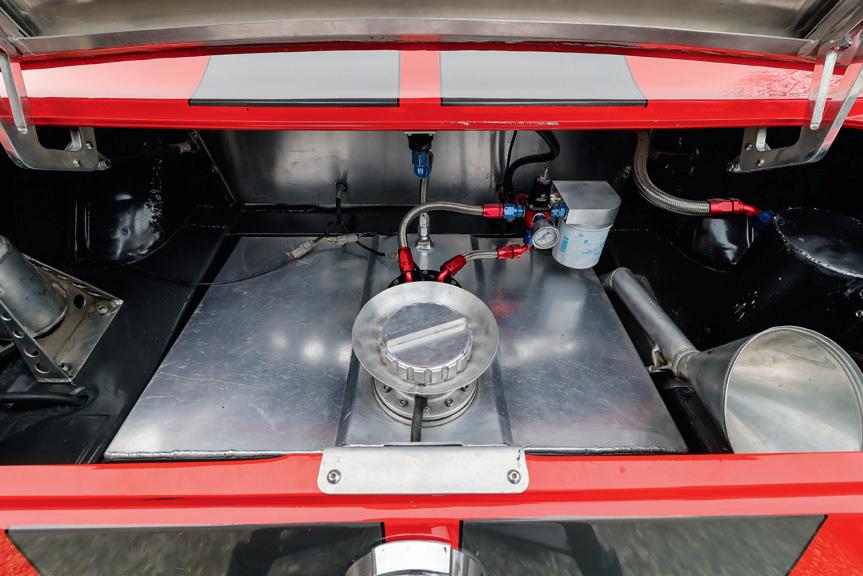
Oiling and fuel delivery duties are both handled by Barry wizardry. He fabricated a trick alloy dry sump pan and an oil tank mounted in the boot to handle the lubrication. With the solid-mounted engine now sitting 100mm lower and further back in the engine bay to keep the centre of gravity as low as possible, Barry needed to pass the steering tie rod through a tube recess in the sump to make it all work. A 57-litre fuel tank resides in the trunk, and the 750hp fuel pump makes sure ample fuel is always on hand. Steel-braided lines are used extensively to feed liquids from the back to the front.
With the fabrication side of things all but finished the car went off to Nick and the boys at Wanaka Glass and Collision for final prep work and a nice coat of Ford True Red paint. Pukka Signs then added the sign work and stripes to finish off the look of the car. Now that the car is finished, it’s time to get some much needed seat time. The ’65 has only done one race season to date, and Barry is still in the process of setting up the car, and as he irons out the bugs and gently dials it in, the grin on his face gets a little bigger with every outing on the track.









SHEDDING POUNDS
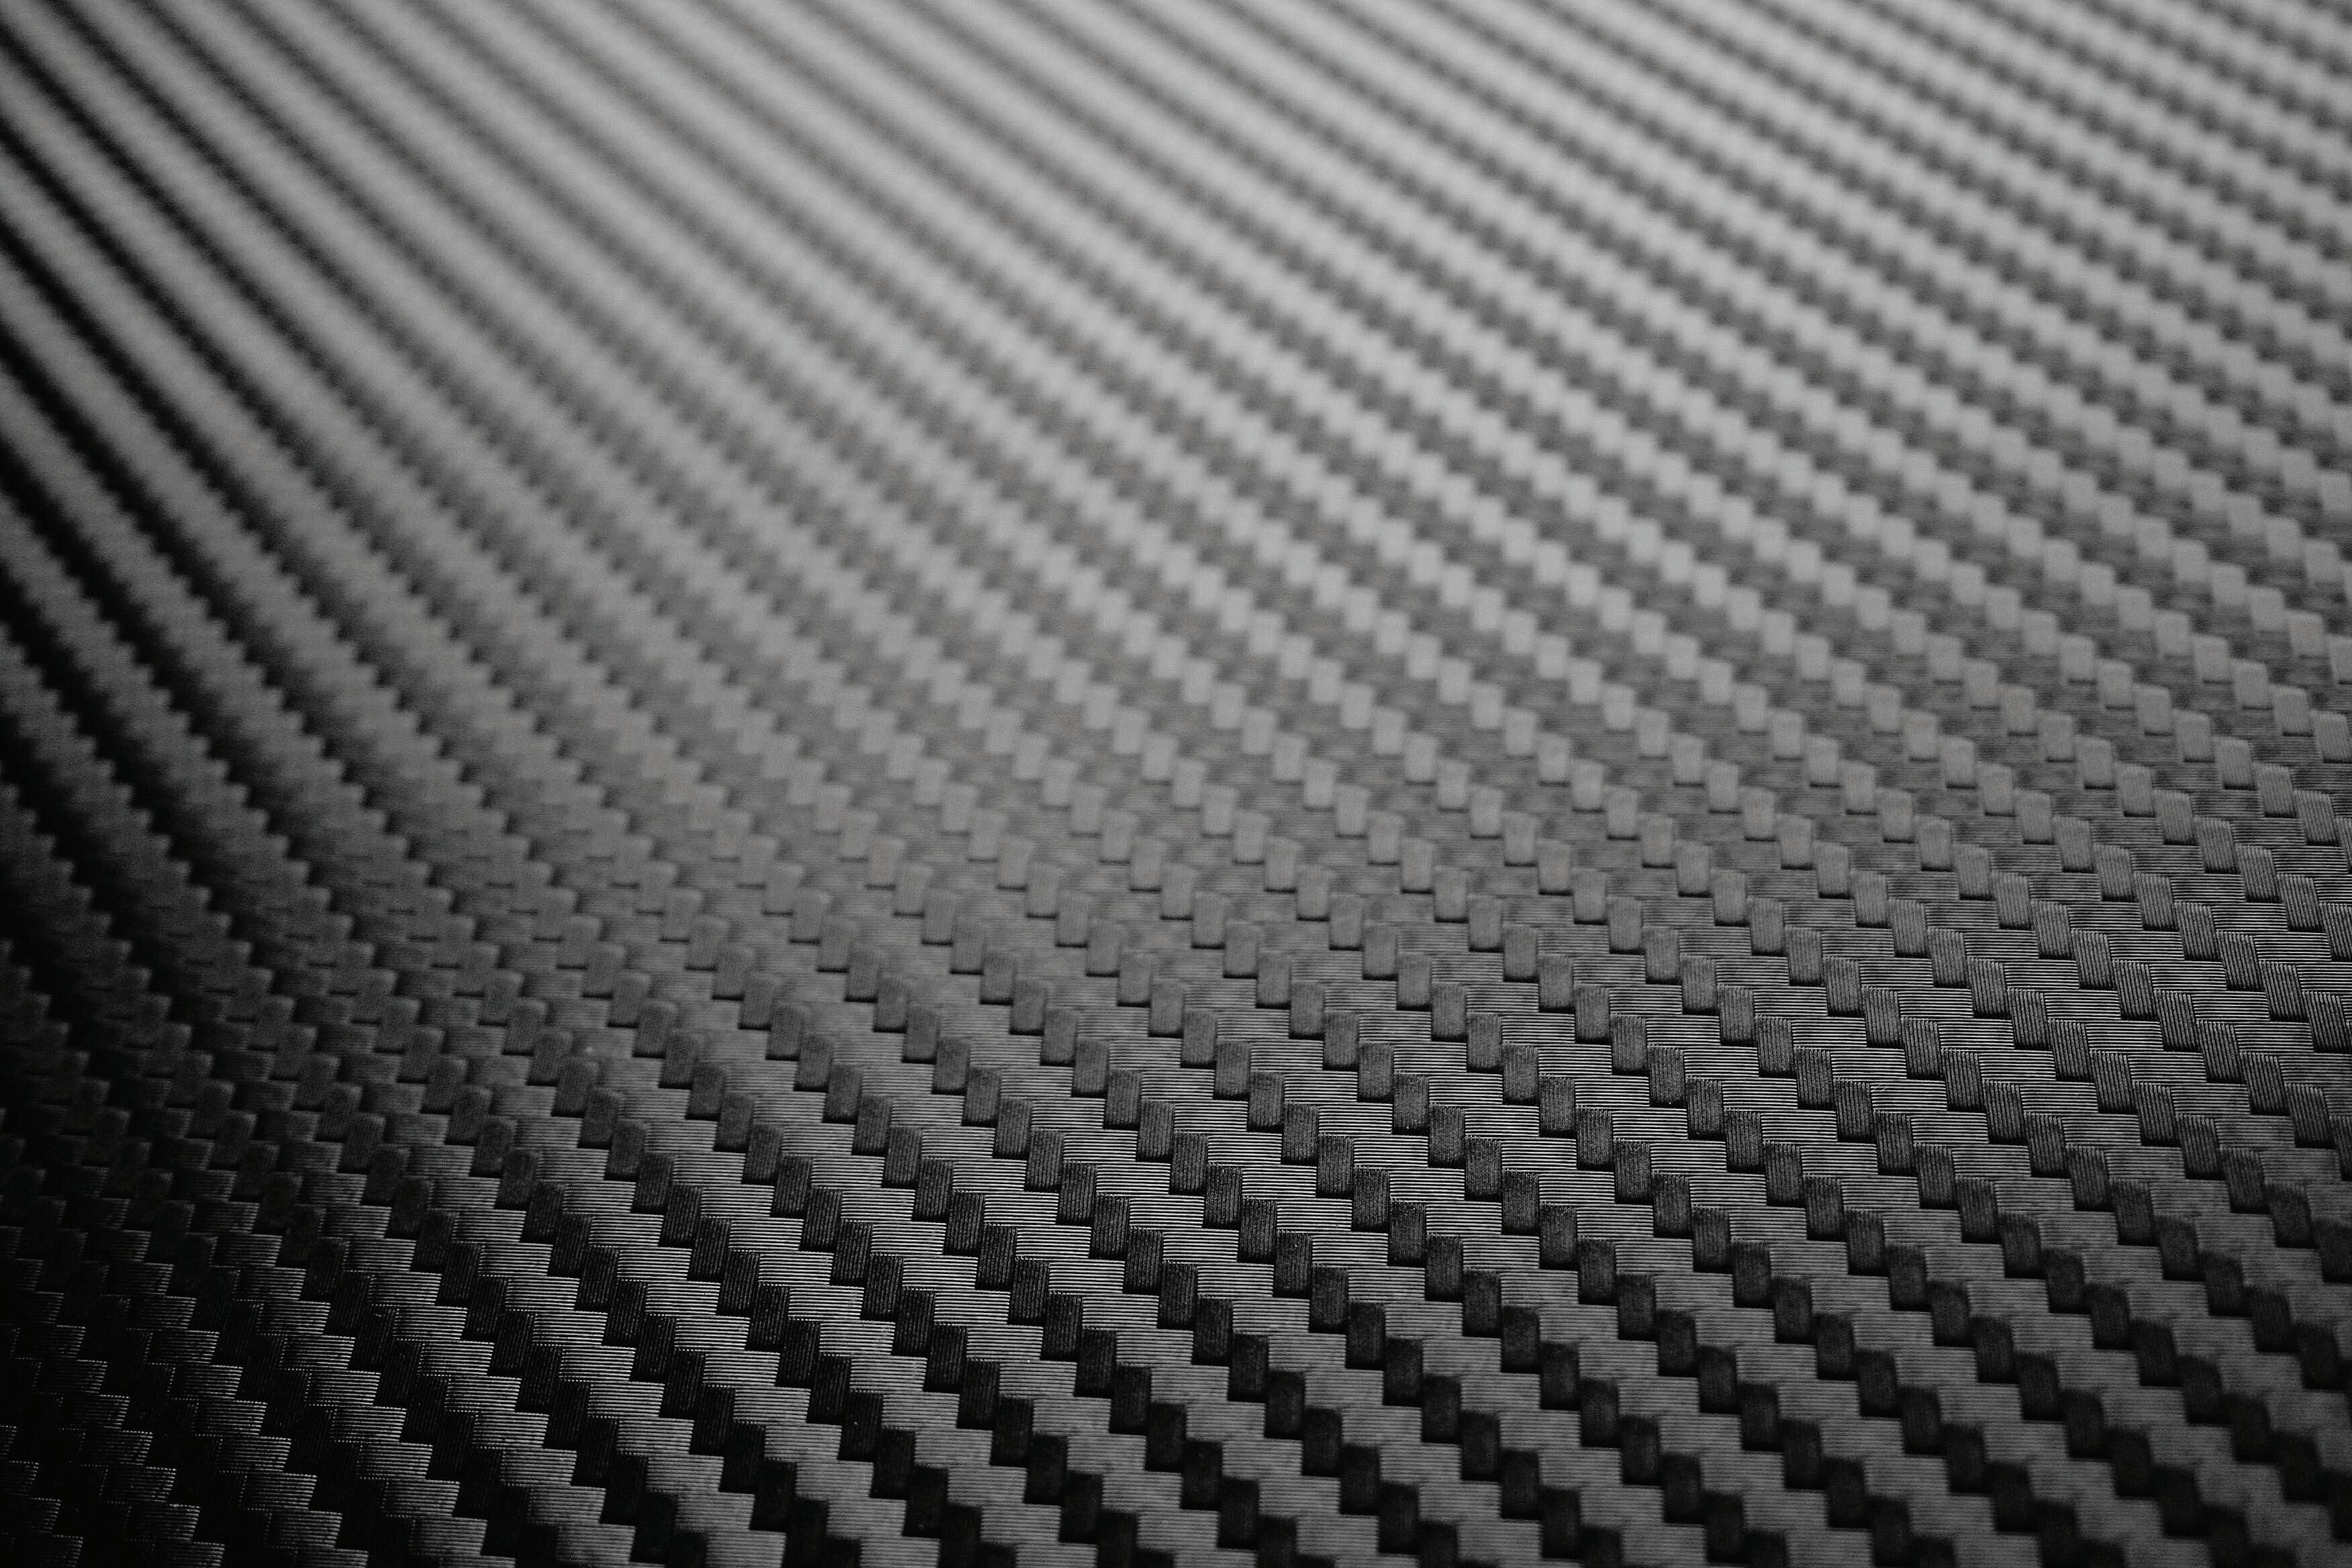
DIY CARBON FIBRE COMPONENTS ARE BECOMING MORE AND MORE POPULAR, BUT KNOWING WHERE TO START CAN BE CONFUSING. ZAC FROM CARBOGLASS LAYS DOWN THE KNOWLEDGE SO YOU TOO CAN PRODUCE QUALITY BACKYARD COMPONENTS
Weight is the biggest enemy of performance, and while some choose to ignore the benefits of reducing it as much as possible, preferring real steel and chrome, for those who embrace a serious weight loss program, carbon fibre is a must as a weight-watchers weapon. With many online how-tos, some showing the right and some the not-so-right ways of doing it, tapping into the knowledge of a professional is the best way to get a foolproof system for producing parts in your shed that will not only save you weight, but look good doing it. For the purpose of this guide Zac is covering off the build of a set of rear widebody carbon guards: “This is a race car, not a show car, but the principles are the same. I’d probably just be a little fussier on the details with a show car or street car. The Civic belongs to a mate of mine, and over the course of a couple of weekends, we whipped these up. He did most of the work, I mainly got into the CC & Dry and supervised.”
SAFETY FIRST
Before getting elbow deep into it, you’re gonna want to make sure you have your PPE (personal protective equipment) sorted — latex gloves at the very bare minimum, and carry out the work in a well-ventilated area. If you’re cutting or grinding, make sure you wear a mask — there is no such thing as healthy dust, so keep yourself safe.


SORT YOUR MOULD
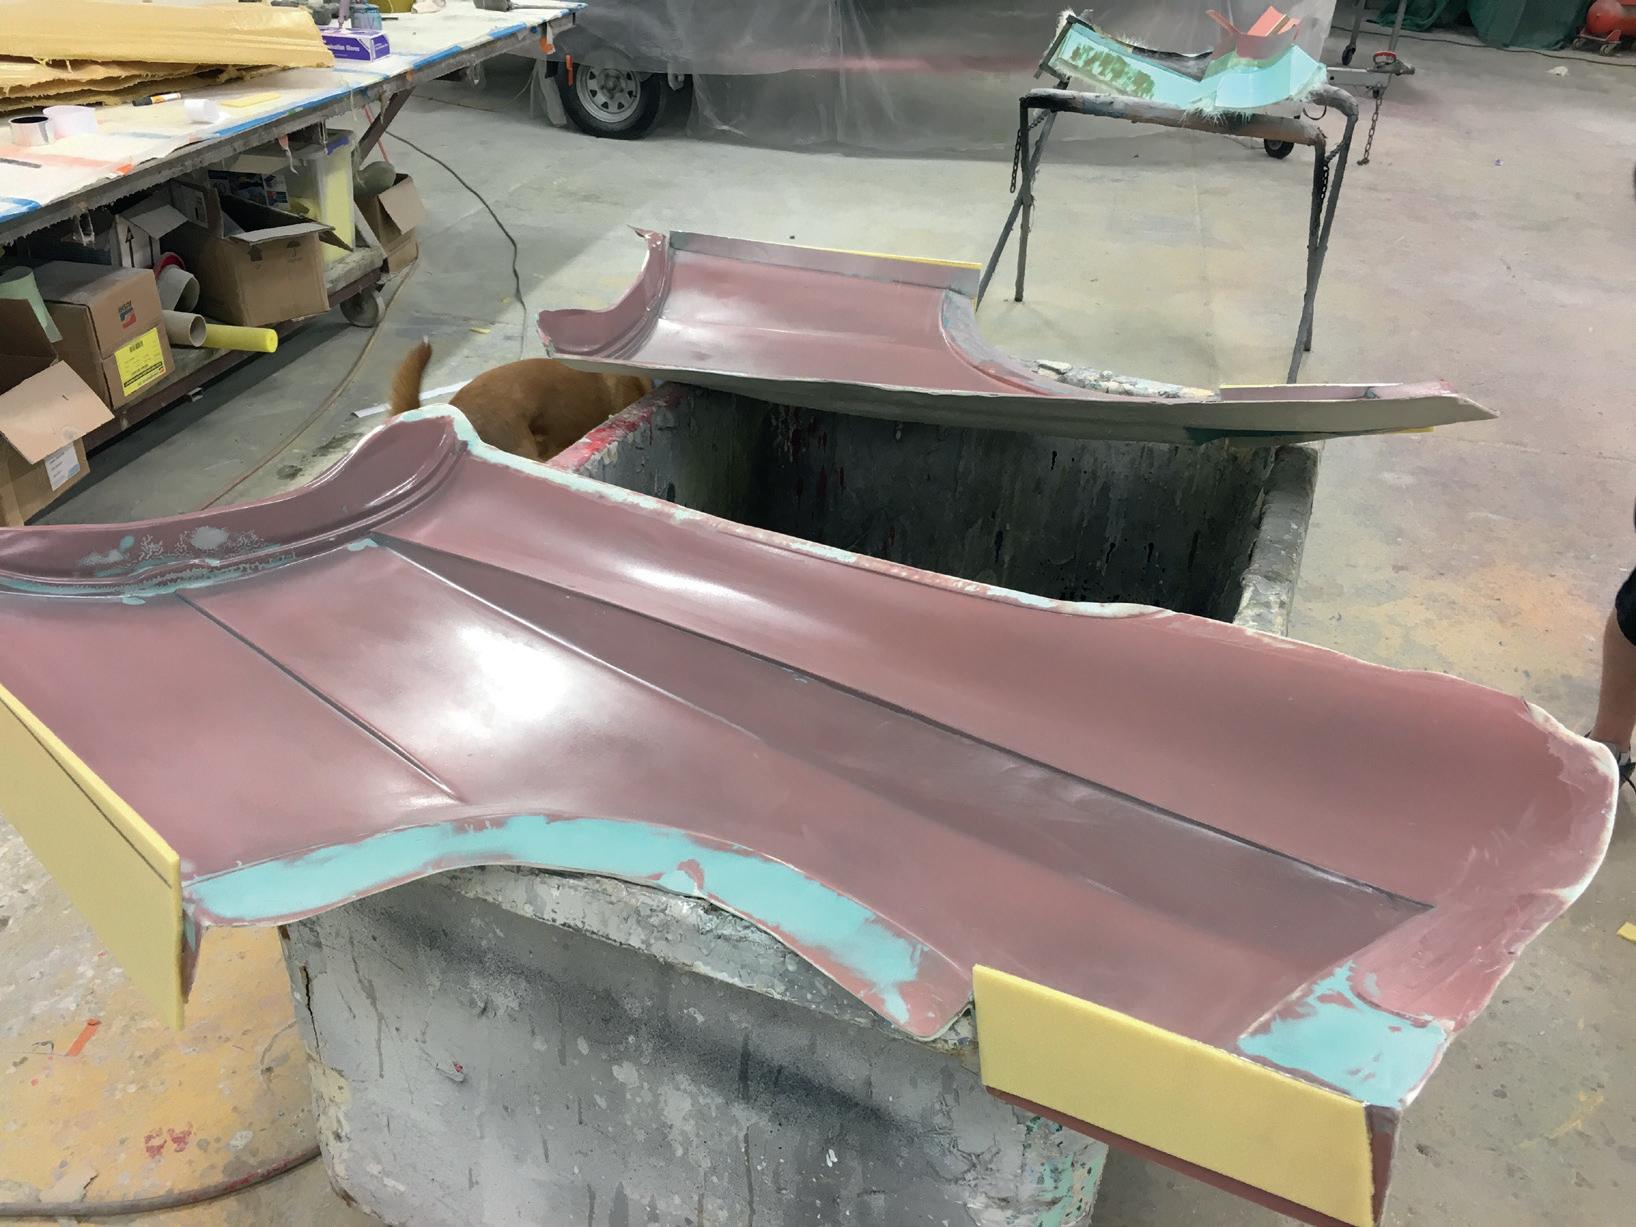
In this case, the mould was taken from the quarter panel, which was already wearing a fiberglass widebody over fender. It’s important that your surface is perfect. Any imperfection, no matter the size, will directly transfer onto your mould and then onto your carbon product. Zac says: “Make sure you have used 2k paint on the plug [original part], if not the paint will undoubtedly fry up.” Next, you’ll want to use plasticine or modelling clay to fill all of your gaps. What you are trying to achieve here is to stop having your mould mechanically lock to the plug. You can’t have anywhere where the resin or glass can go back in on itself or you’ll never separate the two without damaging the mould. For this particular project, there were two areas to sort. The dimples where the widebody bolted to the original body and the seam where the over fenders and body meet. Ensure your modelling clay is nice and smooth.
On edges where your new carbon part will run right to the edge of the body, you’ll need to create some flanges. These do not need to be flash. Zac simply hot-glued them on from foam that will be removed from the body later. Masking tape will protect your paint work, if that’s a concern.
Once you’re all prepped and ready to lay glass on your plug, the first step is to create a nonstick barrier on your paint surface using a release agent. “PVA release agent is hands down the most foolproof release system — it’s also my go-to if I’m unsure of the substrate.” For best results, spray the PVA on, but if you don’t have a spray gun, a foam brush will net you a great result. Aim for a smooth, even coating — again, any texture introduced here will transfer onto your mould. A single coat will be plenty.
The next layer is the gel coat. This will become the surface on your mould that you lay your carbon on further down the track. Zac went with, and recommends going with, polyester for both the resin and gel coat. Be very precise when measuring out the quantities and don’t try to mix too much at once — never more than one litre at a time! Your mix ratio of catalyst is only two percent. “You want to brush the gel coat on nice and even. You’re aiming for a thickness of .5mm; anything less will fail. Half a litre per m² coverage is a good way to gauge quantity.”
Once cured, it’s now time for the chop strand (CSM). The aim here is for four or five layers, but you’ll need to lay up each layer and let it cure before laying the next. Doing it all at once will end in tears (trust us). “You’ll need a laminating roller, which you can get from a composite supplier, or cheap chip brushes work great too. Pre-wet the gel coat with resin and lay on the dry CSM, then wet out with more resin, ensuring you remove all the air bubbles.” Wait till it cures and repeat the process until you achieve the four- to five-layer thickness.
Once it’s fully cured, it’s time to demould. Do this using small wedges of wood, carefully driving them between the two surfaces. Depending on the shape, it should be removed with ease. Trim and sand your mould edges, giving them a sand to ensure you don’t have to deal with sharp edges — this stuff will cut you.


