

Apron Project featuring VARIO Creative® Tool


Apron Project featuring VARIO Creative® Tool
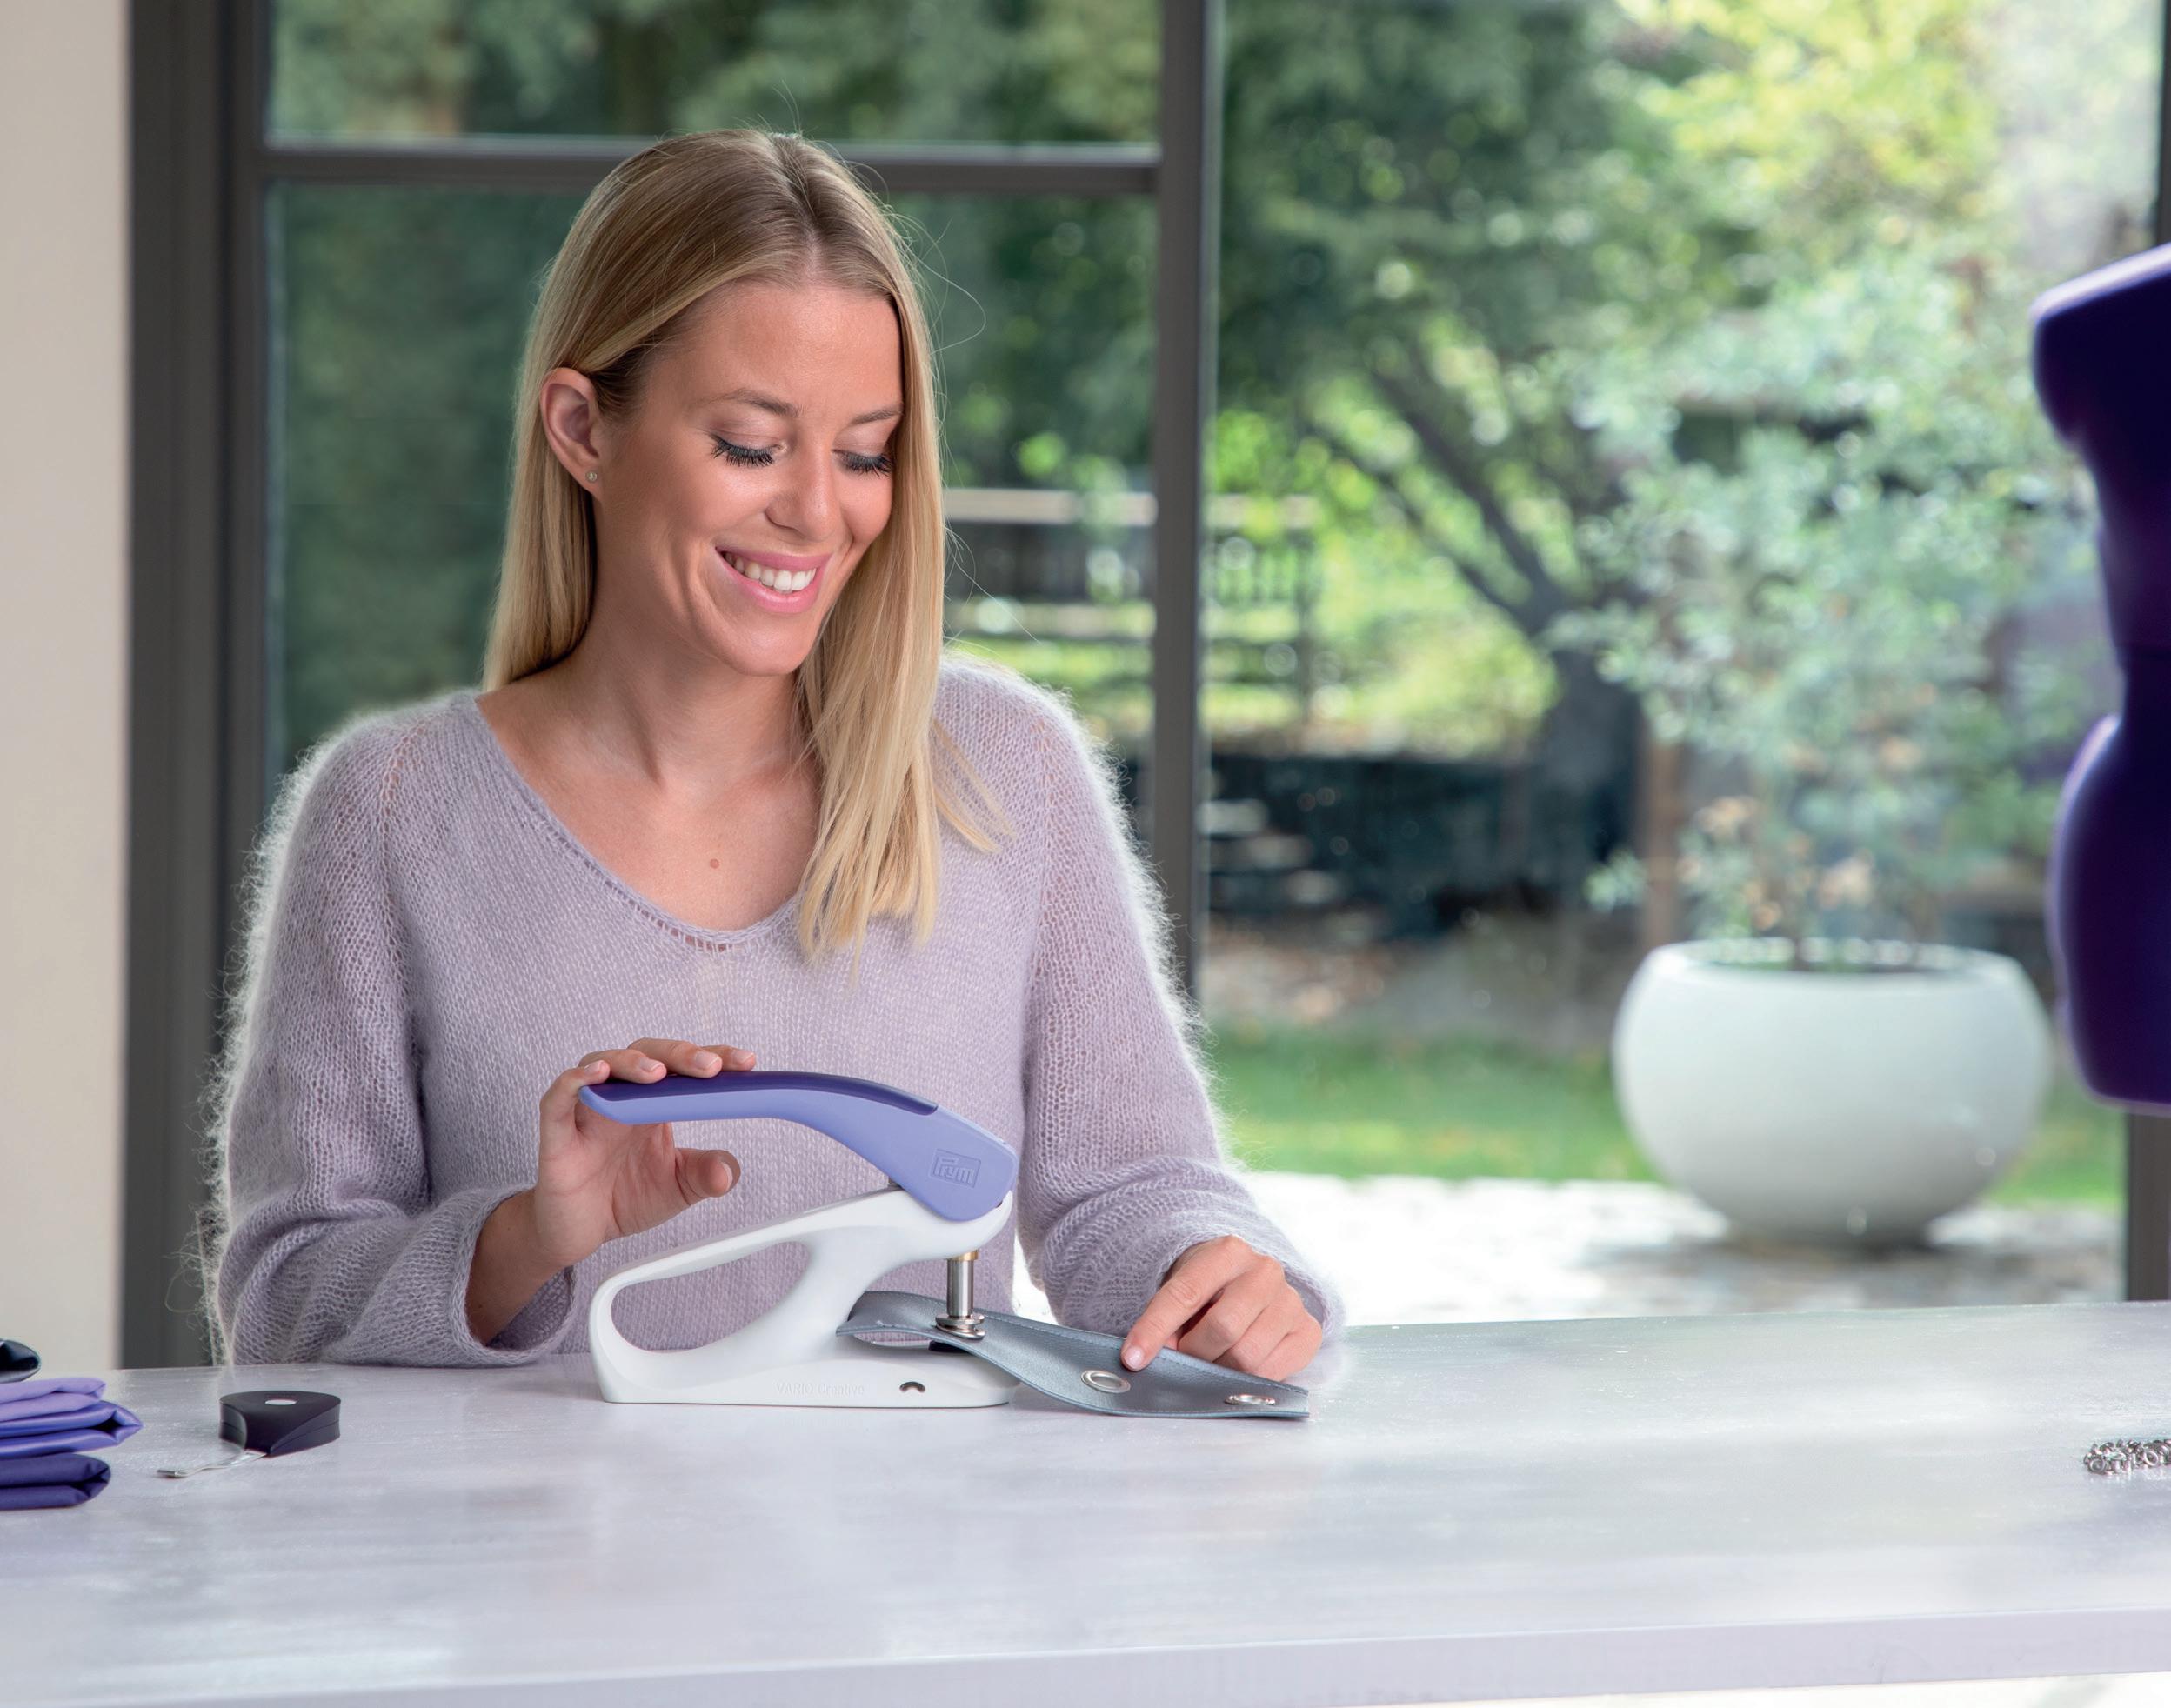


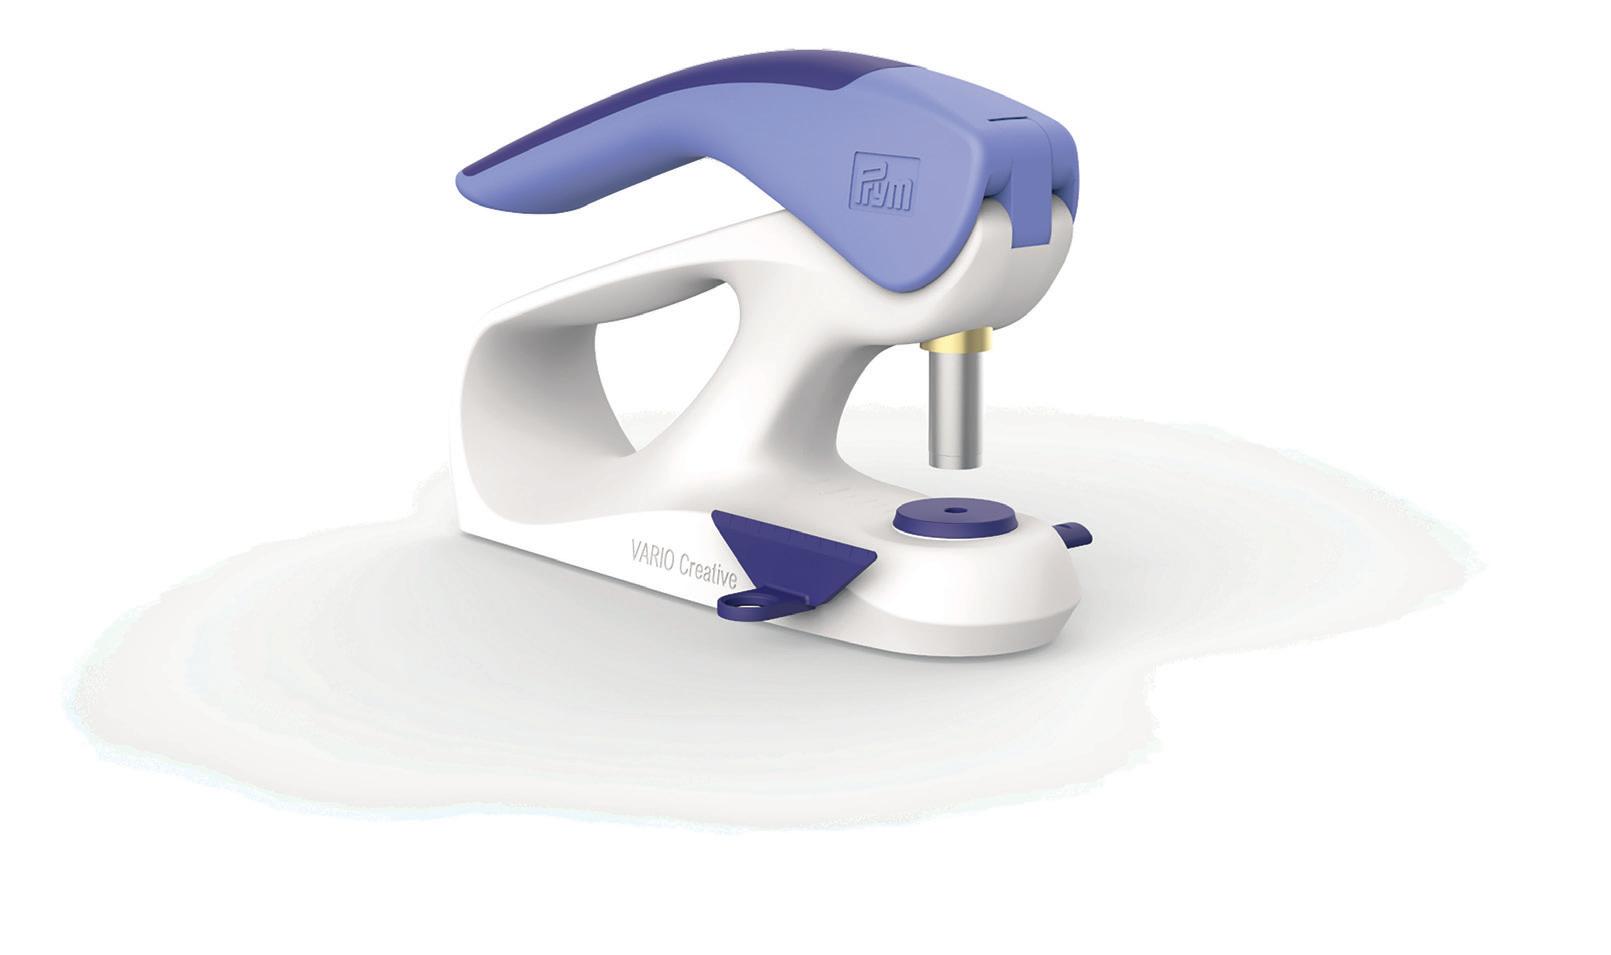
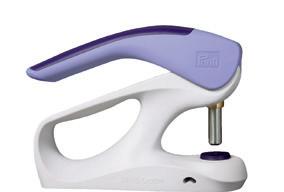
The VARIO Creative® Tool is a real innovation on the way to your perfect handicraft flow. The combination of maximum function and minimalist look unites creativity, harmony and lifestyle.
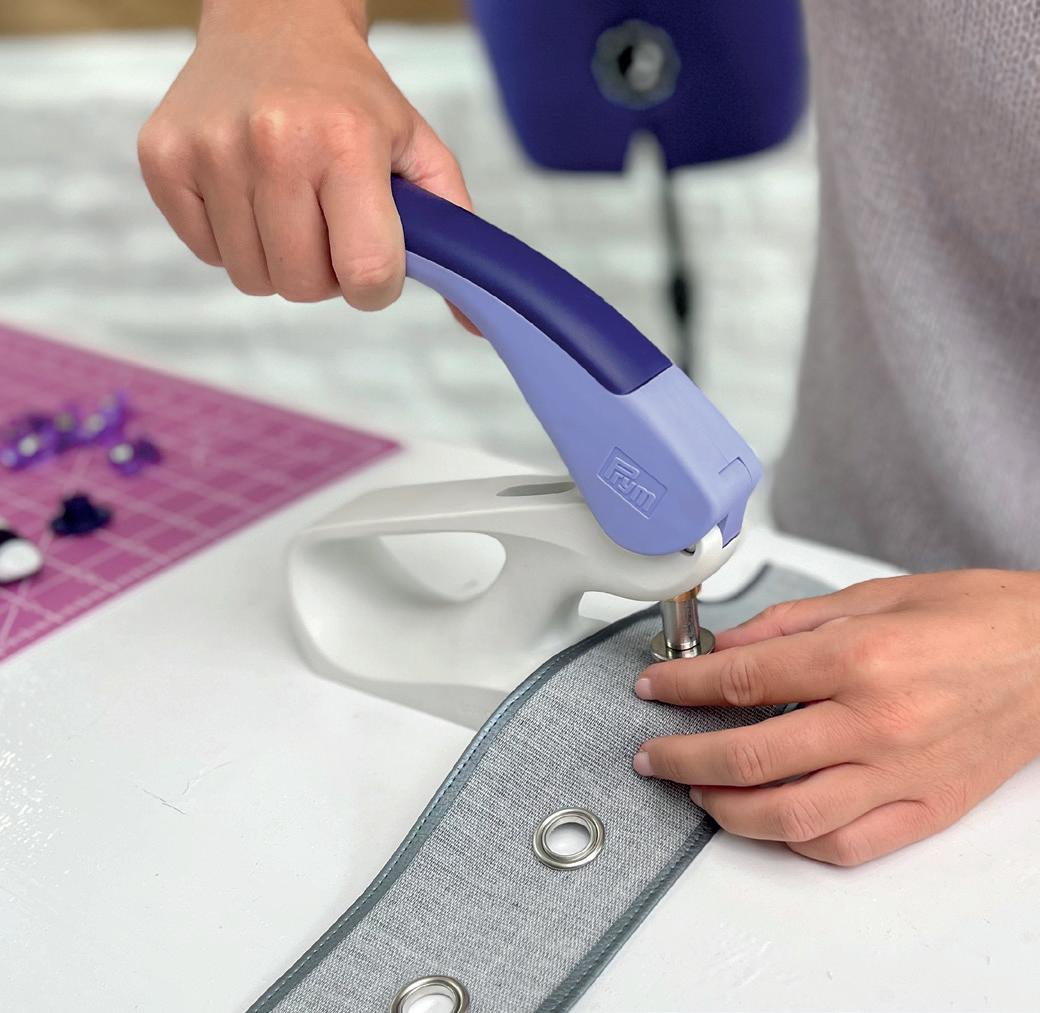
Forget about the inconvenience of having to switch between different tools, forget about effort and having to use a hammer. The VARIO Creative® Tool combines many functions in one tool: punching holes, attaching press fasteners, eyelets and rivets.


The ergonomic design and the innovative mechanics ensure optimized power transmission and thus expand the application possibilities of the VARIO Creative® Tool.

to pushing boundaries, students can expect to explore new techniques, unleash their creativity, and create projects that are not only visually captivating, but also reflect their unique style and personality. To learn more about Sharon and what she’s up to, visit www.sharonhollanddesigns.com
We’d love to hear your thoughts on our new “project packet” concept. What did we do right? What can we do better? And are there any projects and/or techniques you’d like to see in future packets? Let us know!
With Warm Regards,
Prym Consumer USA

While raising her young family in the 90’s, Sharon explored her creativity through a multitude of mediums from sewing to home renovations and ultimately building a successful small furniture resell business. When her husband’s job relocated the family, Sharon liquidated her business and took the opportunity to reevaluate her creative path. This led to a rediscovery of her original love for drawing and painting. From designing greeting cards and selling oil paintings to local galleries, she found her true passion in surface pattern design.
Today, as a fabric designer for Art Gallery Fabrics, Sharon finds delight in the interplay of colors and patterns. Her designs pay homage to traditional elements with a modern twist. Striking a harmonious balance between the two, she describes her style as “modern-traditional”.


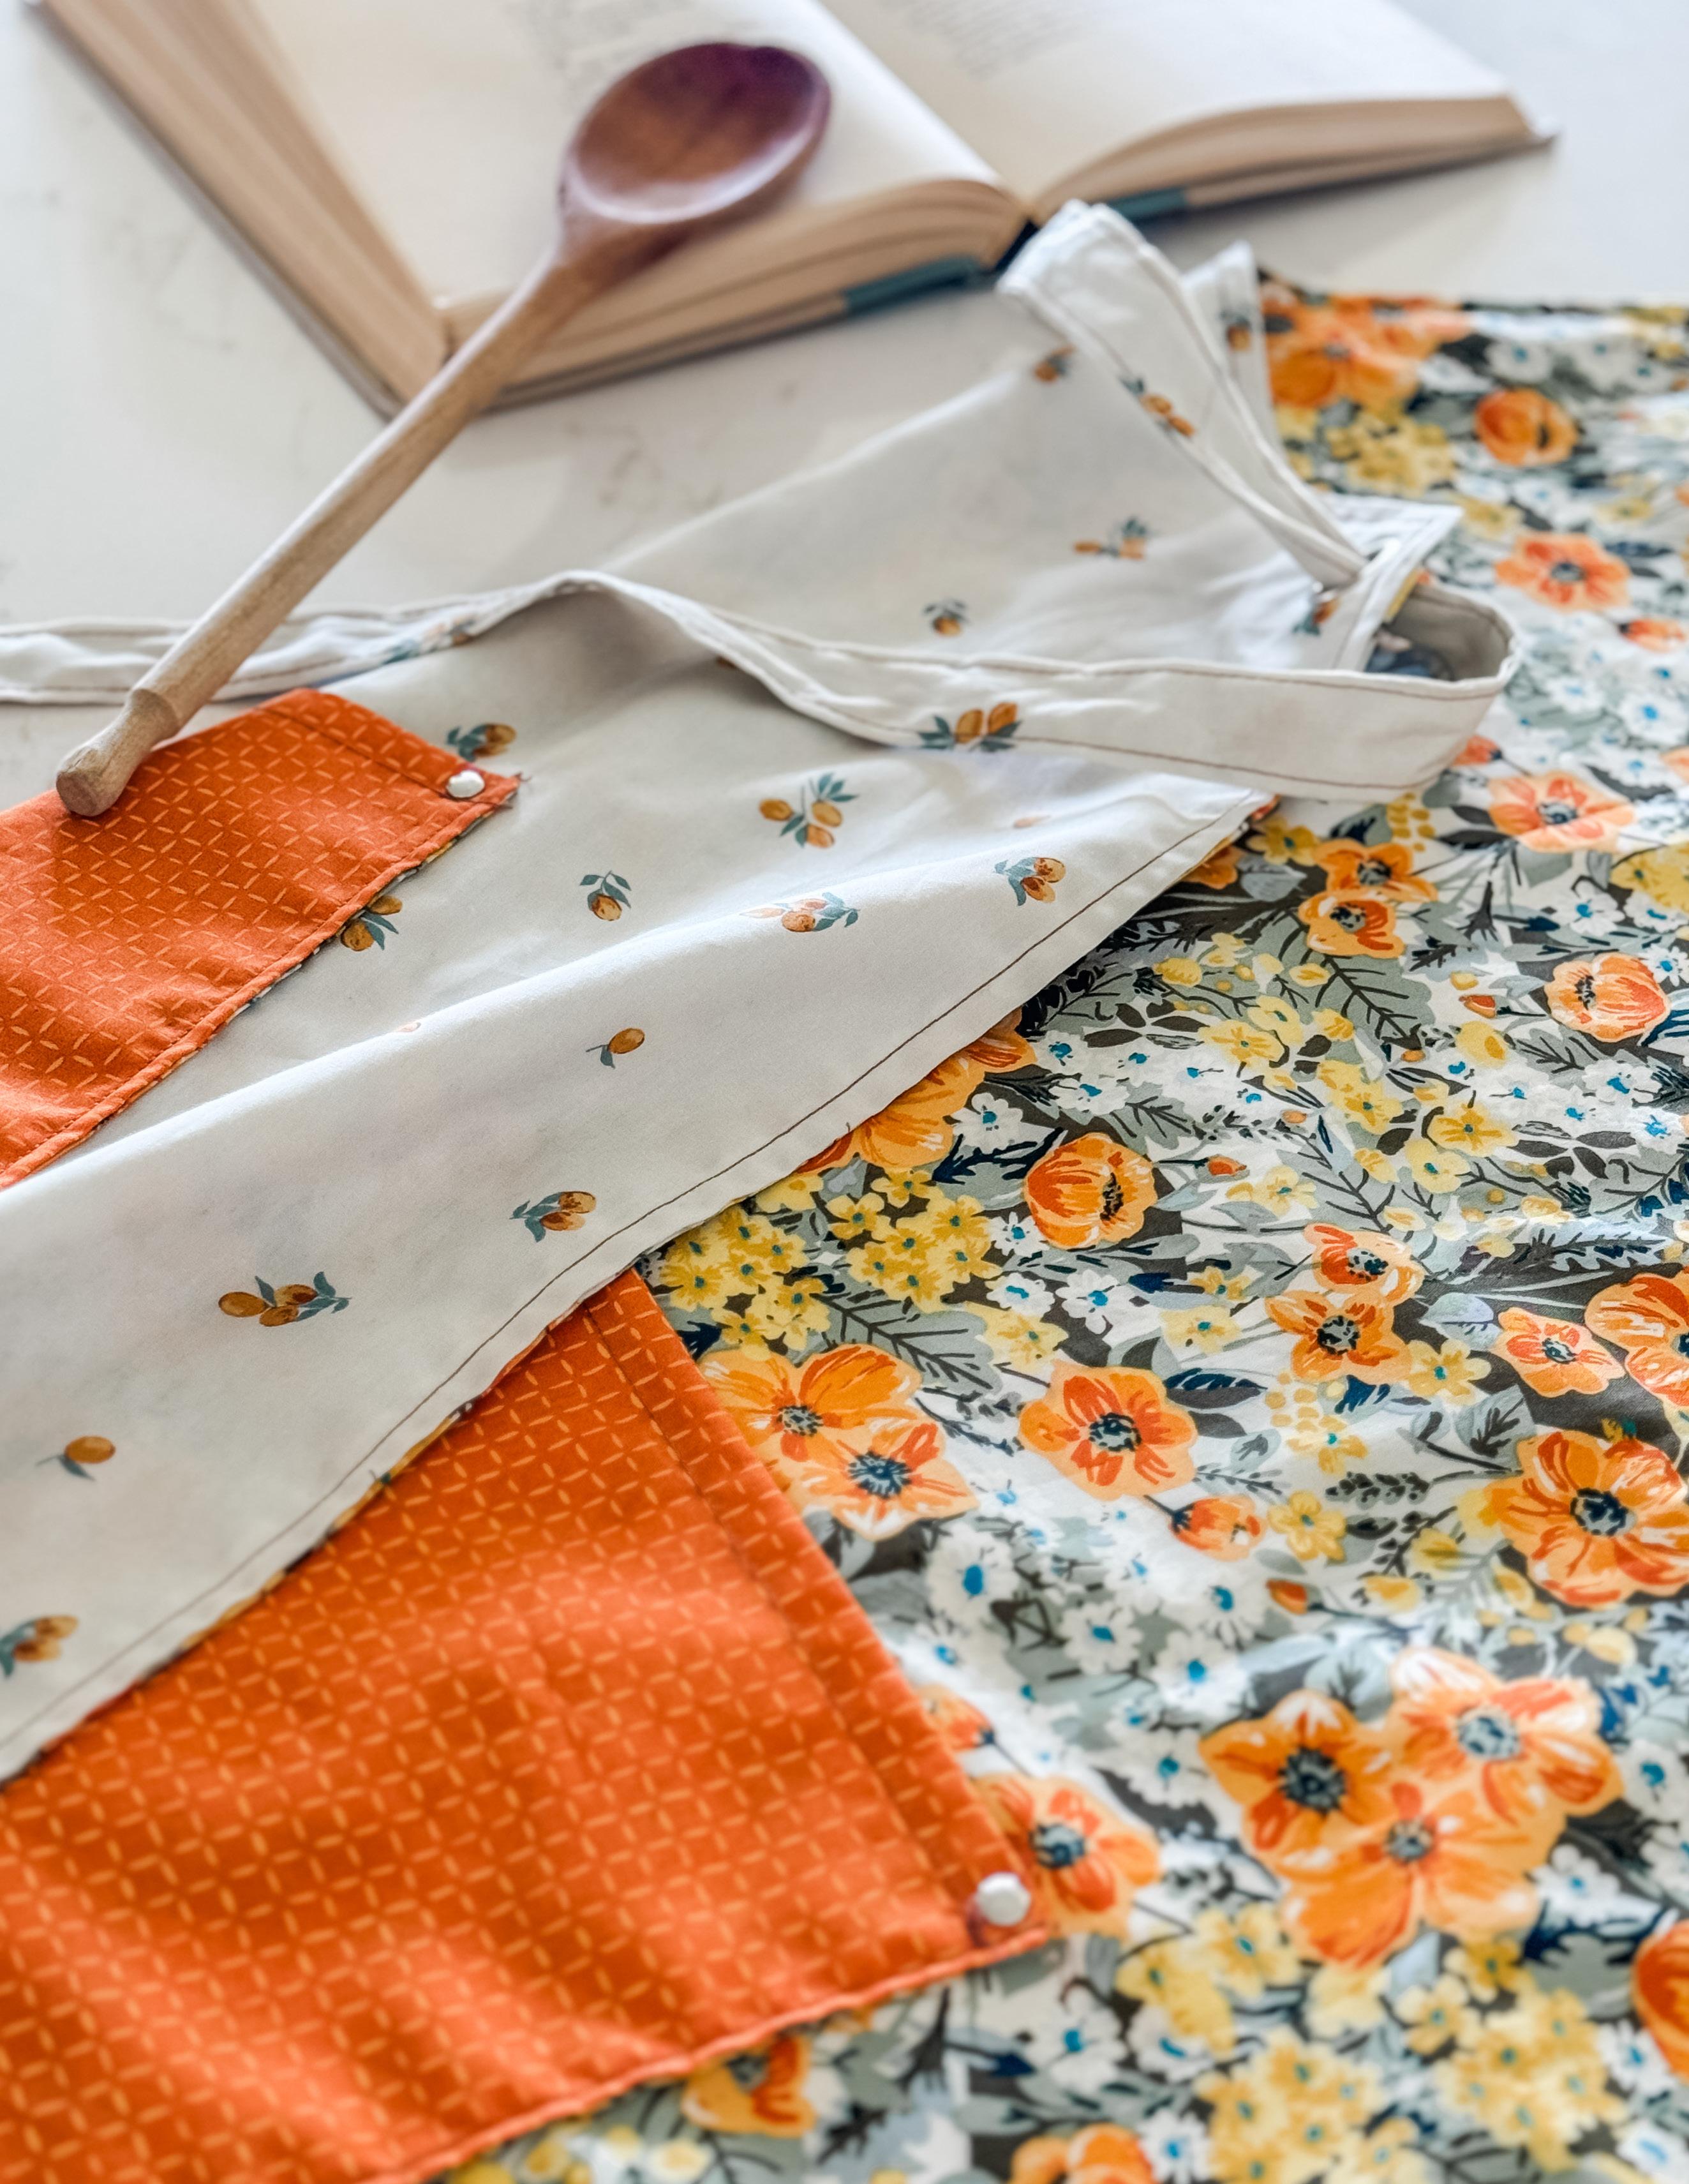
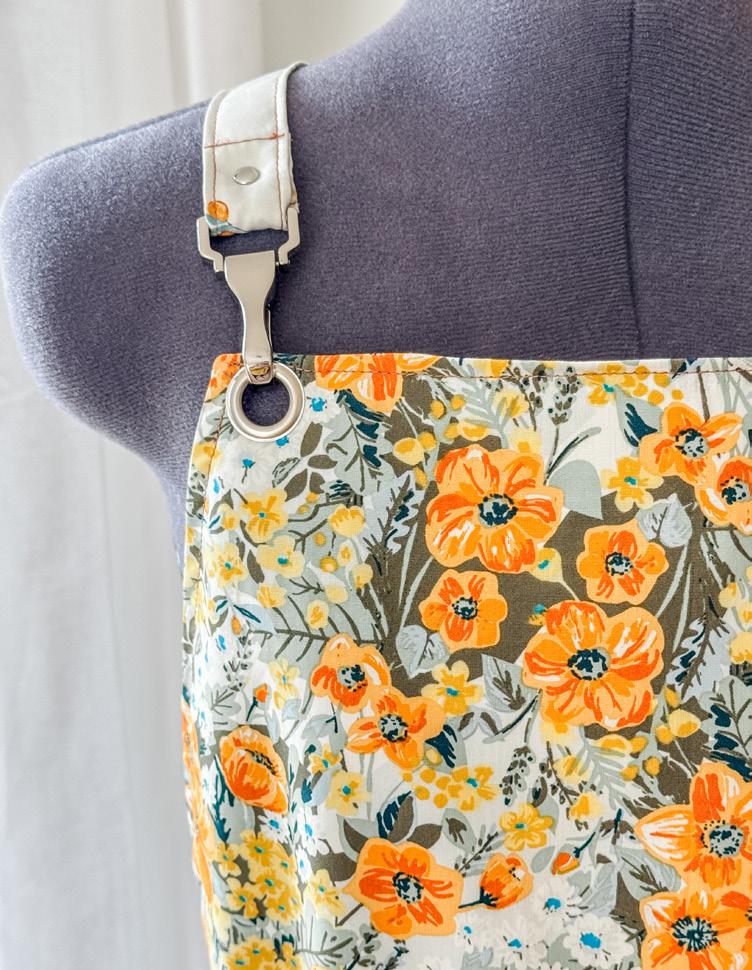
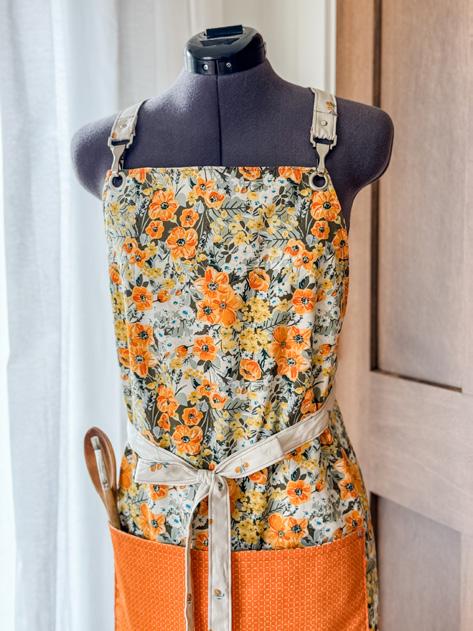
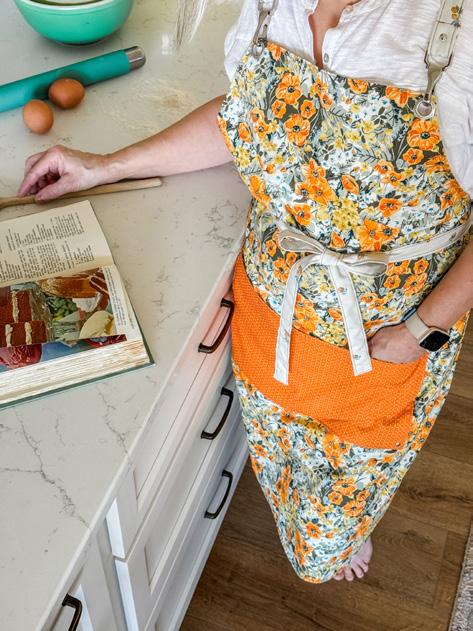
In this class, students will learn how to use the Prym VARIO Creative Tool – an innovative, multi-functional tool that punches holes, attaches snaps, and applies eyelets and rivets – while they make a beautiful, reversible apron. Designed by fabric designer Sharon Holland, the apron’s unique construction, along with Prym hardware, has fully functional pockets on each side and cross-back straps for adjustability and comfort.
This class will provide your students with an immersive, hands-on opportunity to use and experience the versatility and advantages of the Prym VARIO Creative Tool!

Class Duration: Approximately 4-6 hours depending upon the attendees‘ sewing skill level
Skill Level: Beginner
Finished Size: One size fits most - 25″ Wide x 35″ Long
Designer: Sharon Holland
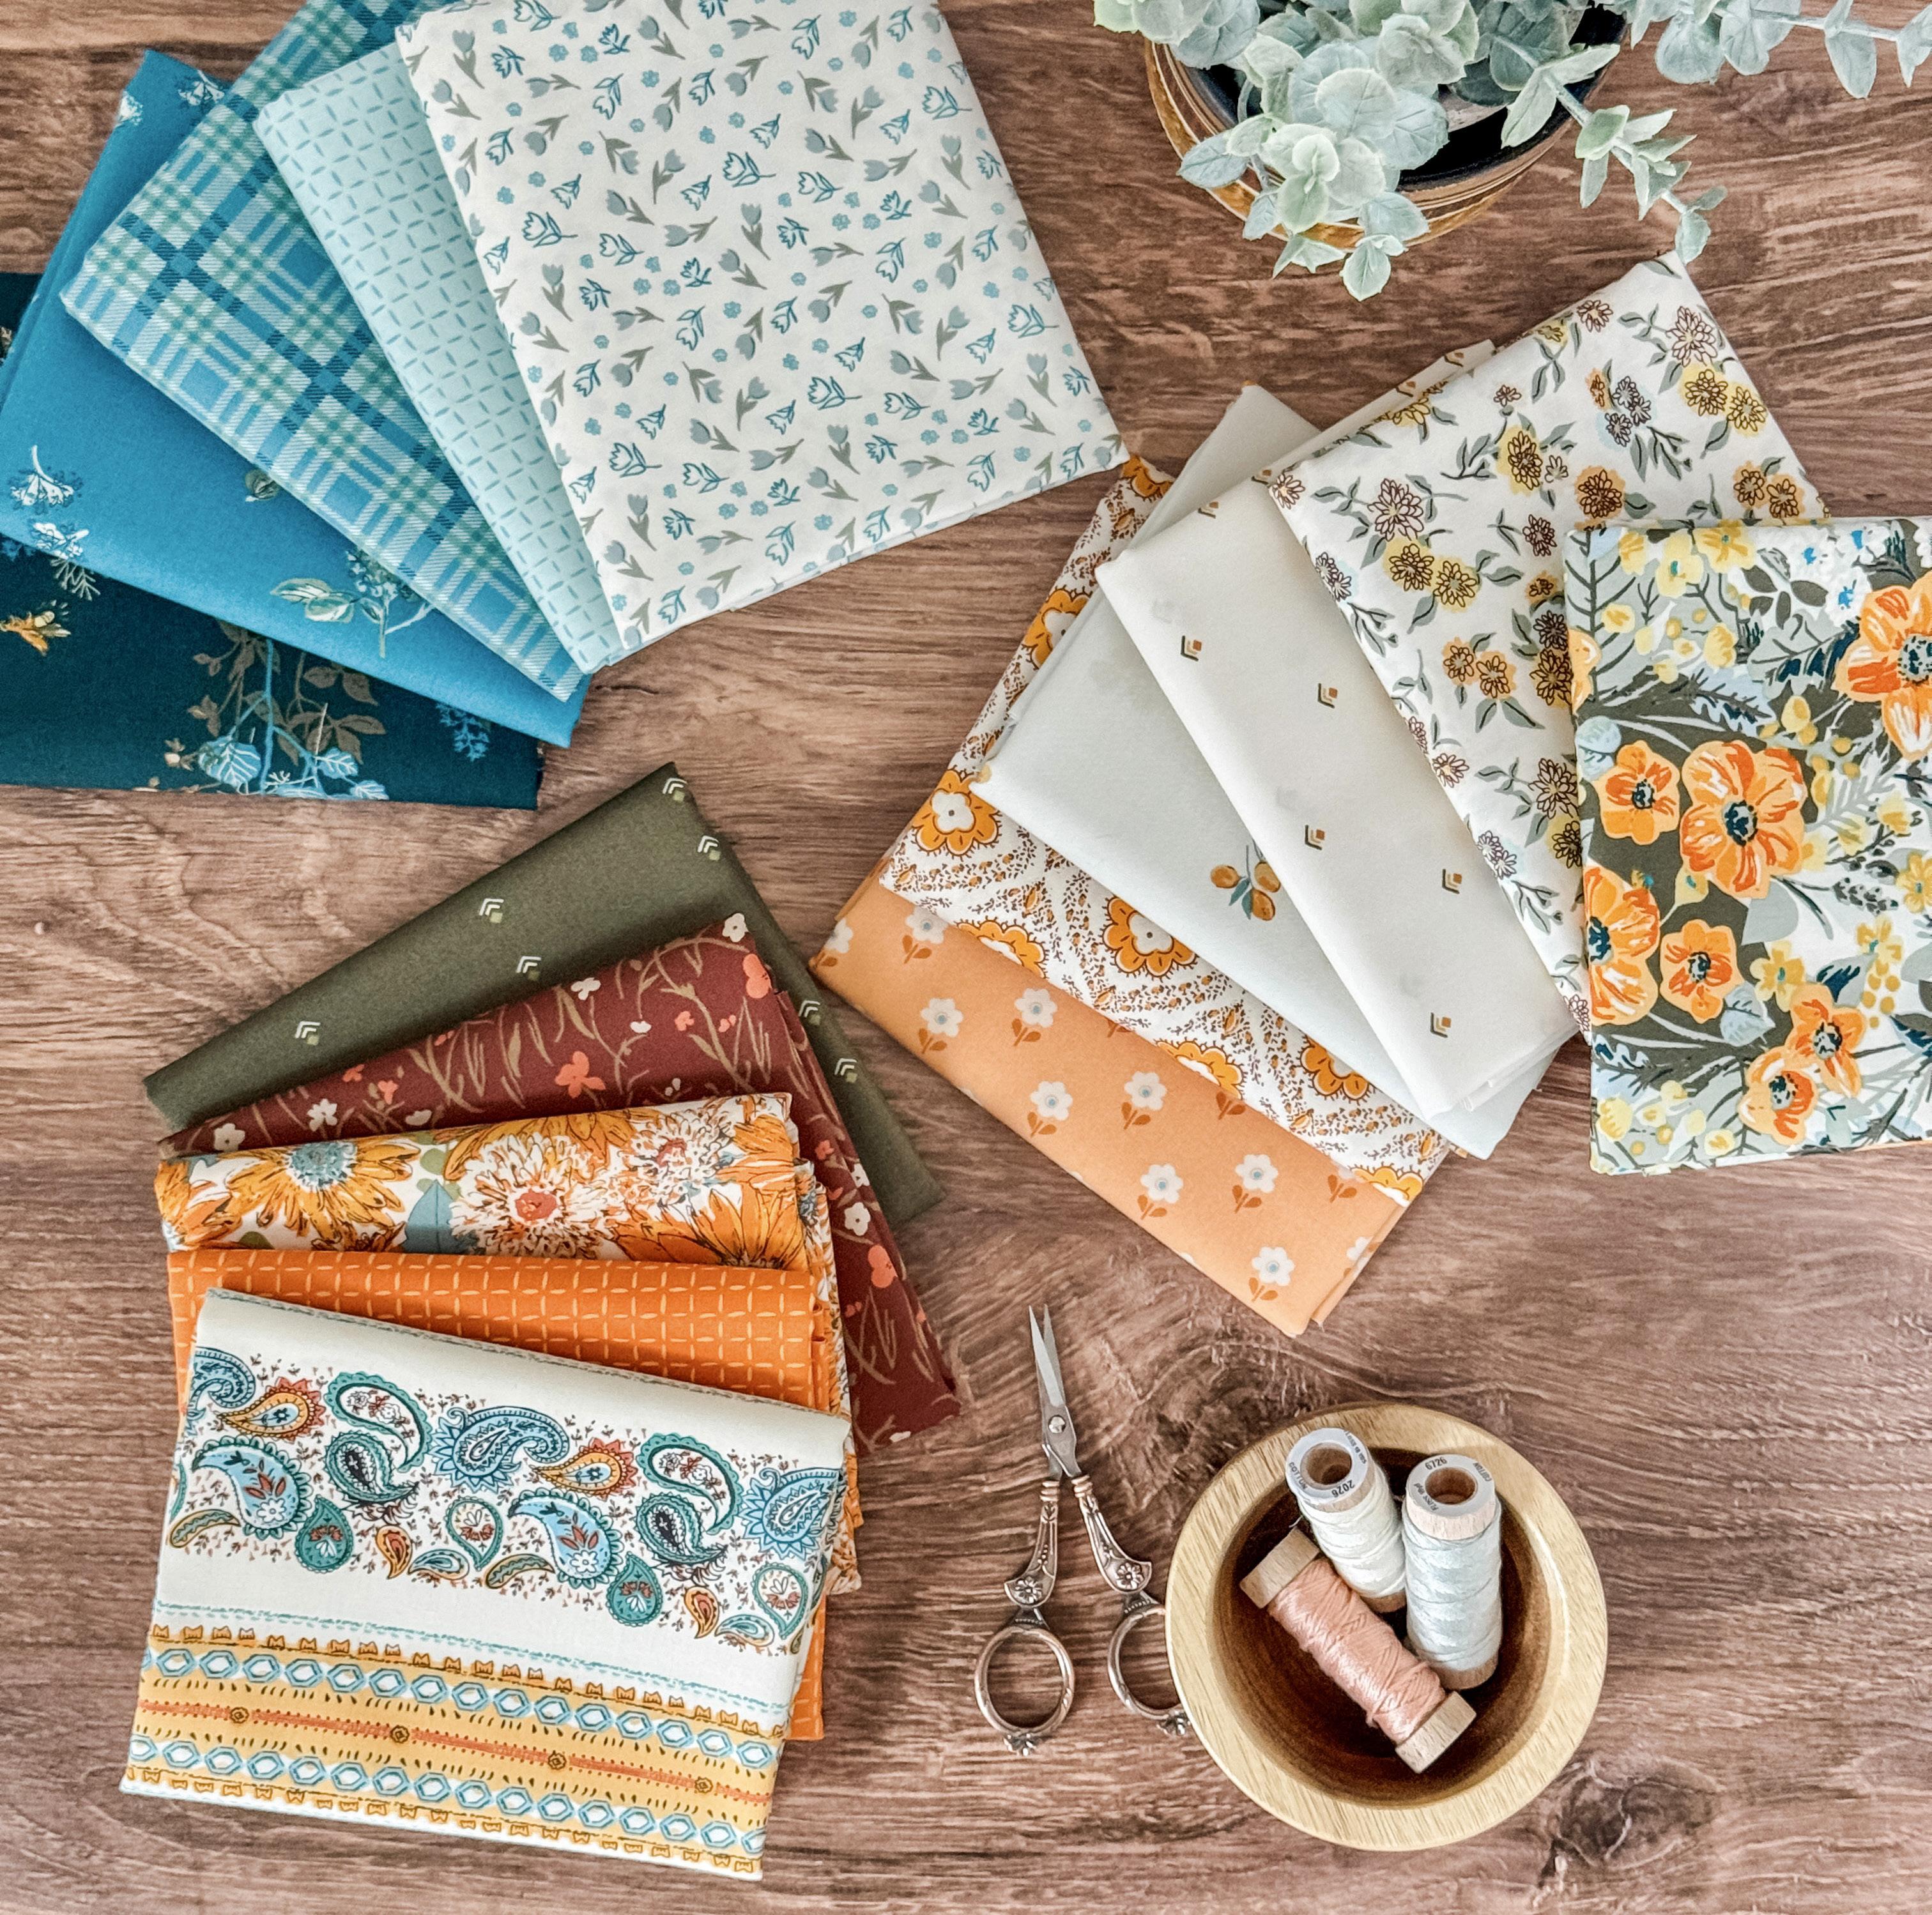
Fabric: Heirloom by Sharon Holland for Art Gallery Fabrics
Showcase a sample apron in your shop, capturing the attention of potential participants and sparking their interest in the class. The sample will also serve as a reference sample, helping attendees visualize their finished apron.
Take the time to fully understand the functionality and features of the Prym VARIO Creative Tool prior to class. Familiarize yourself with its various tools and how they work together for seamless class instruction.
Take advantage of the project’s requirement for three coordinating fabrics to showcase your store’s collection. Pull together 3-5 fabric pairings to inspire and to assist anyone who may question their ability to put together a fabric grouping.
Prepare class kits that include all the necessary hardware needed for making the apron. These kits can be purchased by the attendees, ensuring they have everything they need for the project.
Utilize the provided short format videos and images to promote class on shop’s social platforms and website. Share project sneak peeks and highlight the techniques taught to generate excitement among your audience.
Clearly communicate class objectives, format, and schedule at the start of class. Set realistic expectations for what attendees can expect to accomplish, taking into consideration skill level and the time available.
To streamline the hardware application process, set up individual VARIO Creative Tool stations with the tool and cutting sets laid out and clearly marked for easy accessibility and workflow efficiency.
Incorporate video into your teaching to help demonstrate techniques effectively during the class period. This visual aid will enhance the learning experience.
Encourage class attendees to think outside the box and to explore their own creative ideas (fabric choice, surface embellishment, and skill-level appropriate pattern adjustments).
Offer Personalized Attention:
Take the time to connect with each attendee individually to build rapport, gauge skill level, and to address any specific needs and/or concerns that may impact their class experience.
Promote Community:
Encourage attendees to share ideas and to learn from one another. Arrange seating in a way to facilitate conversation and interaction between the attendees.

Serve Refreshments:
Provide light refreshments to add to the enjoyment of your class and to give attendees an opportunity to rest, recharge and socialize.
Seek Feedback:
At the end of the class, ask participants for their feedback and suggestions for improvement. What went well? What can be better?

Essentials:
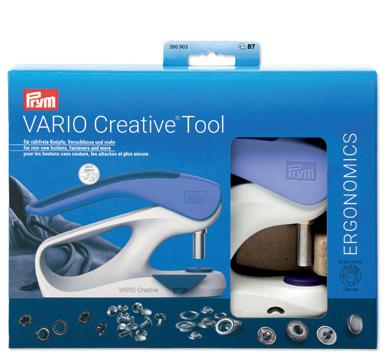

Prym VARIO Creative® Tool Includes 2.5 – 4 mm punching tools
Item #390 903
1 tool


Prym Tool Set For Tubular Rivets
Item #673 128
1 tool set


Prym Tool Set For Eyelets with Washers
Item #673 127
1 tool set
Fabric:
1 YD quilting weight fabric for apron front and pocket lining
1 YD quilting weight fabric for apron back and ties
3/8 YD quilting weight fabric for cross-back cover and pocket fronts
1/8 YD lightweight one-sided fusible fleece
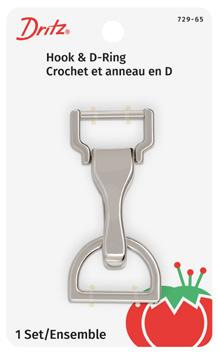

Dritz Large Hook & D-Ring Set
Item #729-65
2 sets


Prym 7.5 mm Tubular Rivets
Item #403 170
10 sets
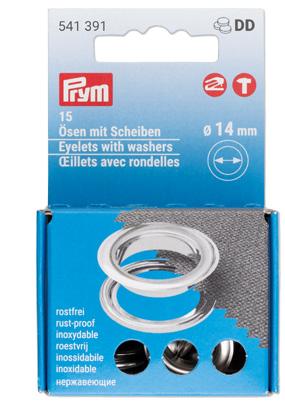
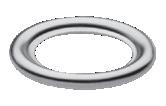
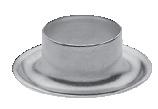
Prym 14 mm Eyelets with Washers
Item #541 391
4 sets


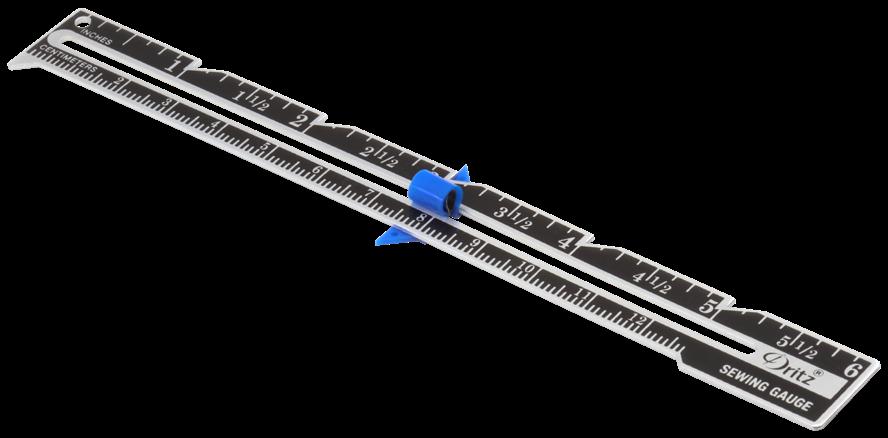

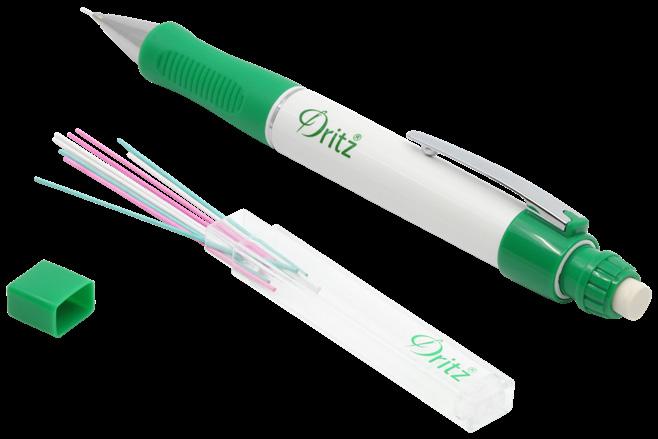

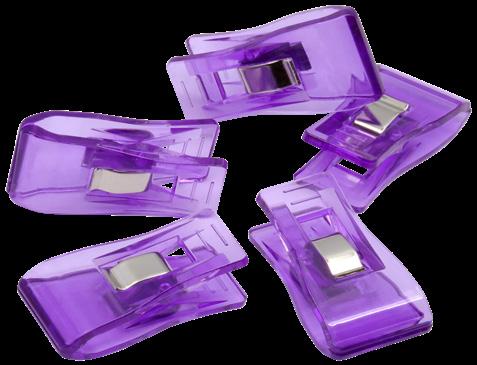

A. Omnigrid #R24 6" x 24" Ruler
B. Omnigrid #2050 45 mm Rotary Cutter
C. Omnigrid #36WG 24" x 36" Cutting Mat
D. Dritz #667 Tailor’s Marking Pencil Set
E. Dritz #61 1-3/8" Extra-Fine Glass Head Pins
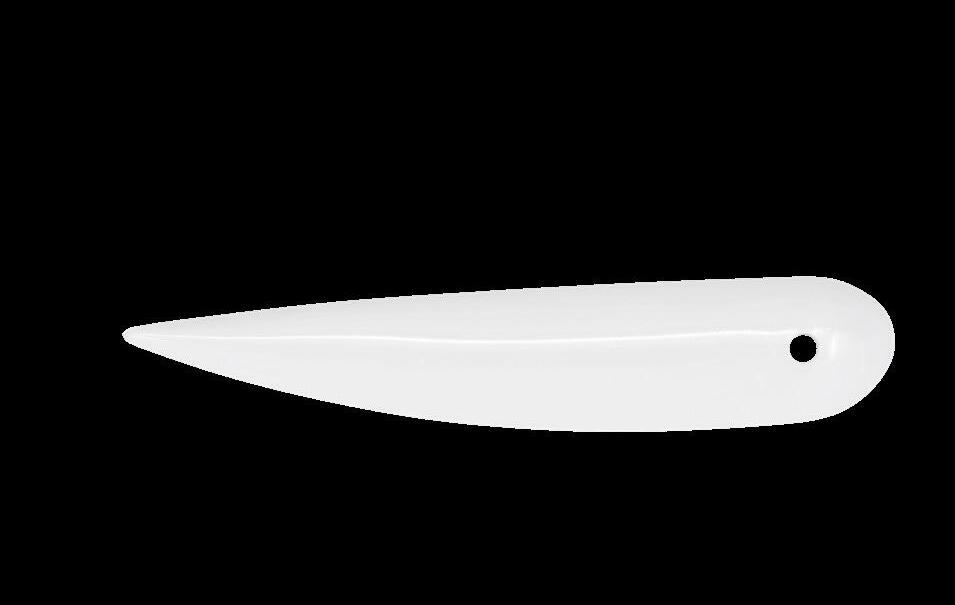
F. Dritz #636 Point Turner
G. Dritz #620 Sewing Gauge
H. Dritz #843 36" Flexible Tape Measure
I. Dritz #955 Fabric Clips
J. Dritz #401 Fabric Glue Stick
Not shown: sewing machine, thread, scissors, iron, and pressing surface

Read all instructions before beginning. Stitch with right sides together and use a ¼'' seam allowance, unless otherwise stated.
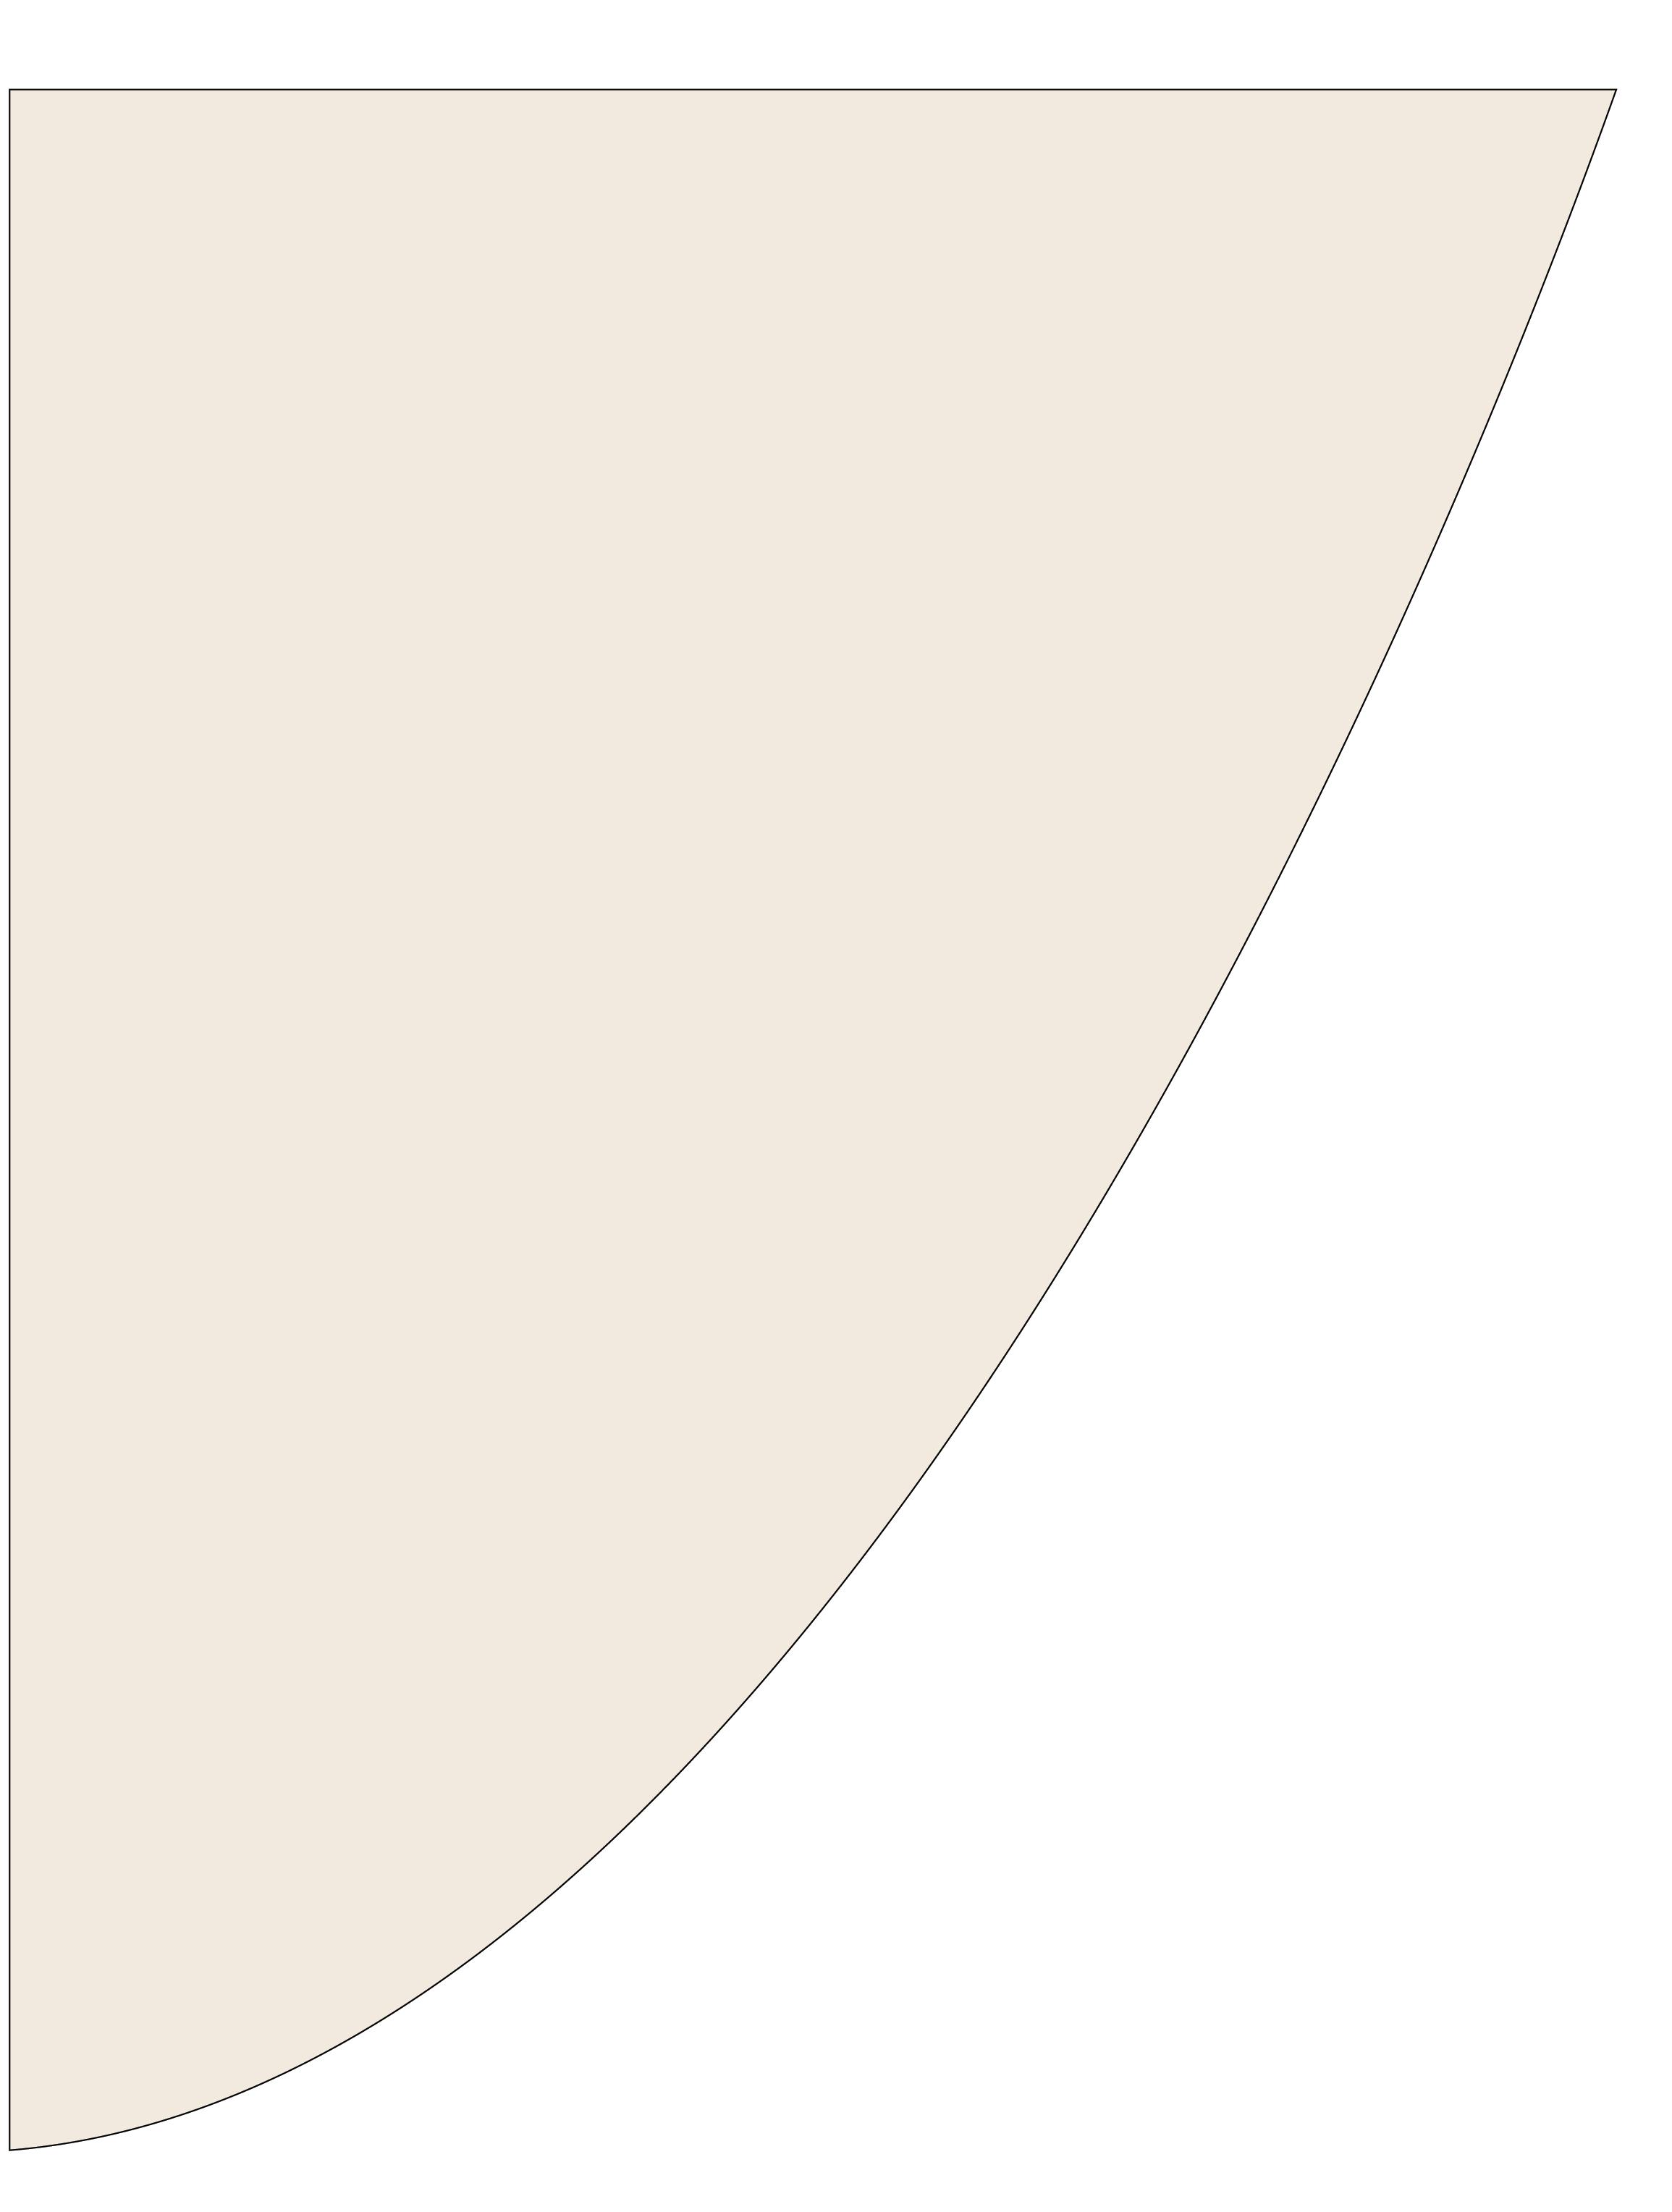
Press fabrics before cutting. Cut sizes are based on 42'' wide fabrics. Remove selvage edges. Print template on page 19 on letter size paper and at 100%. Verify that the reference square measures exactly 1''. Cut out template shape neatly on the lines.
• 1 yard fabric A for apron front and pocket linings
• 1 yard fabric B for apron back and ties
• 3/8 yard fabric C for tabs, cross-back cover, and pocket fronts
• 1/8 yard Pellon lightweight, one-sided fusible fleece
• (10) 403 170 Prym 7.5 mm rivets
• (4) 541 391 Prym 14 mm eyelets with washers
• (2) 729-65 Dritz Large Hook & D-Ring sets
• Prym VARIO Creative Tool and required tool sets
• Omnigrid rotary cutter, ruler, and mat
• Dritz #667 Marking Pencil
• Dritz #61 Glass Head Pins
• Dritz #636 Point Turner
• Dritz #843 Tape Measure
• Dritz #620 Sewing Gauge
• Dritz #955 Fabric Clips
• Dritz #401 Fabric Glue Stick
From fabric A, cut:
(1) 26" x 36" rectangle and (1) 16" x 36" rectangle. See Cutting Diagram A. Cut the 16" x 36" rectangle into (2) 8" x 16" rectangles for pockets linings.
Top, if fabric is directional
• Sewing machine, thread, scissors, iron, and pressing surface 26" x 36" 8" x 16" 8" x 16" Selvage edge removed
Selvage edge removed
From fabric B, cut:
(1) 26" x 36" rectangle. Set remaining fabric aside. See Cutting Diagram B. Cut remaining fabric into (4) 4" x 36" pieces for ties.
Top, if fabric is directional
Cutting Diagram A 26" x 36" 4" x 36" 4" x 36" 4" x 36" 4" x 36" Selvage edge removed Selvage edge

Cutting Diagram B
From fabric C, cut:
(1) 8" x 42" rectangle then cut into (2) 8" x 16" rectangles for pocket fronts. (1) 4" x 42" rectangle then cut into (4) 4" squares for cross-back cover.
From the fusible fleece, cut: (2) 3½" squares and (8) 1½" squares.
1. Fold the front fabric A right sides together to measure 13" x 36", lightly press to crease on the fold. Trace the Arm Cutout Template in the upper corner and opposite the fold as shown. If fabric is directional, place arm template accordingly. Trace shape and cut through both layers of the folded fabric to make the apron front. Repeat and use the template for making and cutting the fabric B apron back.

2. Place one pocket lining A right sides together with one pocket front C. Match edges and pin. Beginning and ending with a backstitch, sew around all sides with a ¼" seam allowance, leaving
a 3" opening for turning on the bottom edge. Clip corners and turn right side out through the opening. Turn opening edges under ¼" and press. Topstitch, the top edge only, stitching ½" from seamline. Fold the pocket rectangle in half widthwise and lightly press a center crease. Repeat to make a second pocket.

3. On the right side of the apron front with center creases matched, place the bottom of a pocket rectangle 12" up from the bottom raw edge of the apron. The stitched edge of the pocket should be at the top of the pocket. Pin pocket in place. Beginning and ending with a backstitch, topstitch ⅛" along the sides and bottom of pocket, leaving the top open. Beginning and ending with a backstitch, stitch along the center crease of the pocket to divide the pocket. Repeat to add the remaining pocket to the apron back.
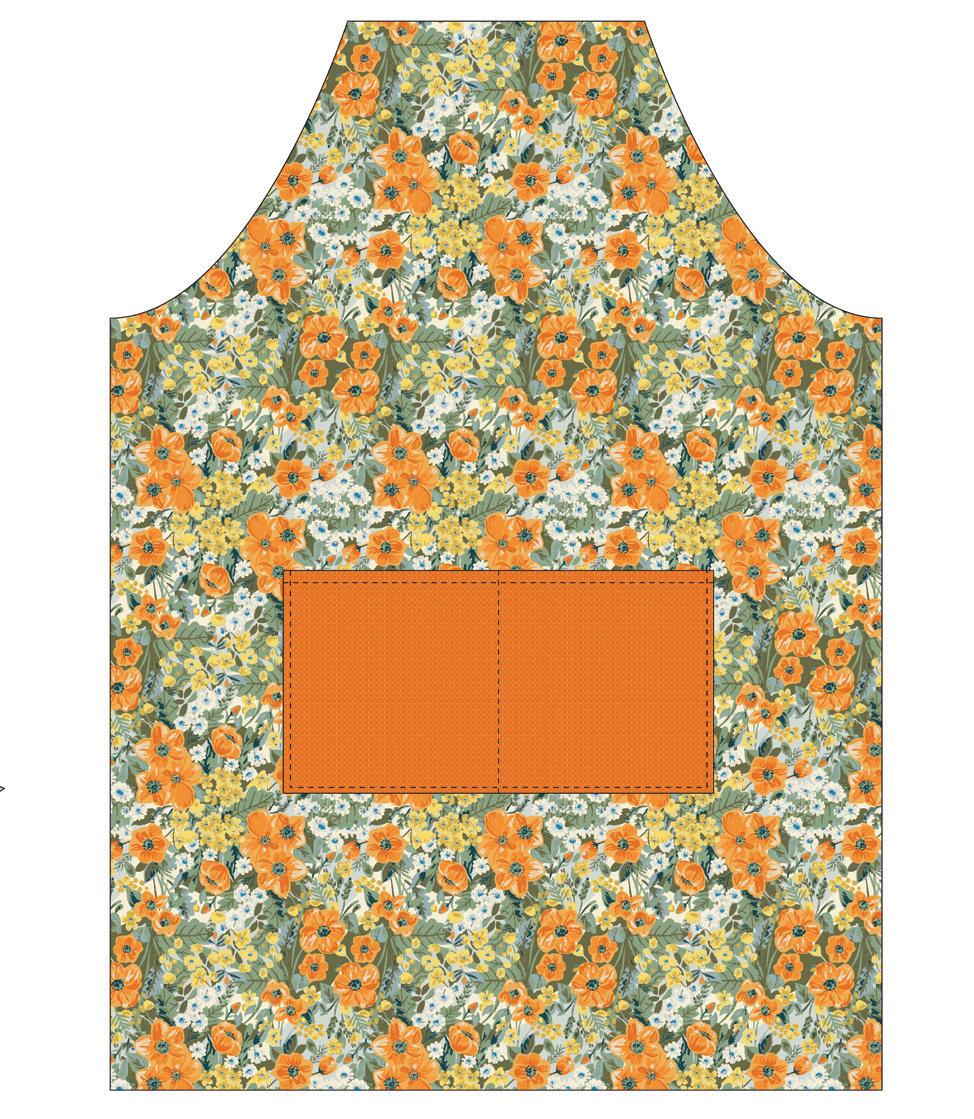
12"
4. Following the manufacturer's instructions for an extra-strong bond, fuse the 1½" fleece squares to the wrong side of the apron front and apron back. Place squares ¼" in from the side and ¼" below and on each side of the neckline as shown on the illustration below. Fuse in place. Place additional squares ¼" in from the side and ¼" below template arm cutout as shown. Fuse in place. Repeat on the other side. On the apron back, repeat all fusing steps.

Leave 6" opening for turning
Apron Assembly Diagram
5. With edges matched, layer the apron back and front right sides together and pin. Stitch around all sides with a ¼" seam allowance, leaving a 6" opening for turning centered on the bottom edge. Carefully clip curves, trim corners, and turn right side out through the opening and press. Press opening edge under ¼" and ladder stitch closed. Topstitch apron with an ⅛" from edge.
6. Join (2) 4" x 36" B pieces into one tie strip as shown by placing ends rights sides together at a 90° angle and sew on the diagonal line. Trim seam allowance to ¼". Press seams open and trim dog ears. Repeat with the remaining tie strip pieces to make a total of 2 tie strips.

7. Fold a tie strip lengthwise in half with wrongsides together and press. Unfold the strip and fold each long raw edge in toward the center fold, encasing raw edges. Press to crease.
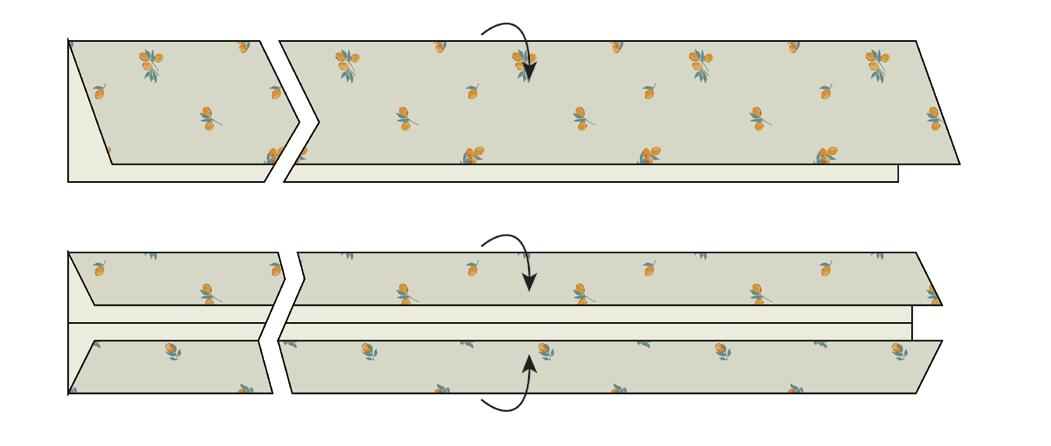
Enlarged to show detail
8. Unfold tie strip then refold right sides together along center creased fold. Accordian fold outer edges, wrong sides together, toward the center fold. Folds will look like a "W". Stitch through the 4 layers with a ½” seam allowance on the short edges. Trim seam allowance and turn right side out.

9. With all raw edges encased in folds, press tie then topstitch close to edge on all sides. Fold a short end over 1¼" then fold again to encase the end in the layers. Press. Slip the Large Hook up against the second fold between the layers, making sure the wrong side of swivel hook is facing same side as folds. Following the manufacturer’s instructions, use the VARIO Creative Tool to add a rivet centered close to the bar of the hook. Make a total of 2 ties.

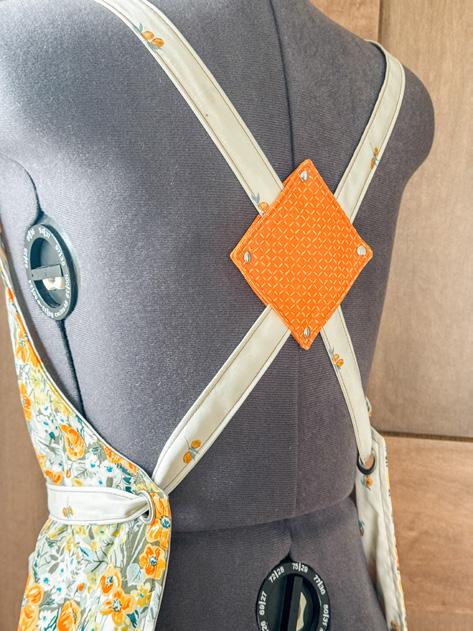
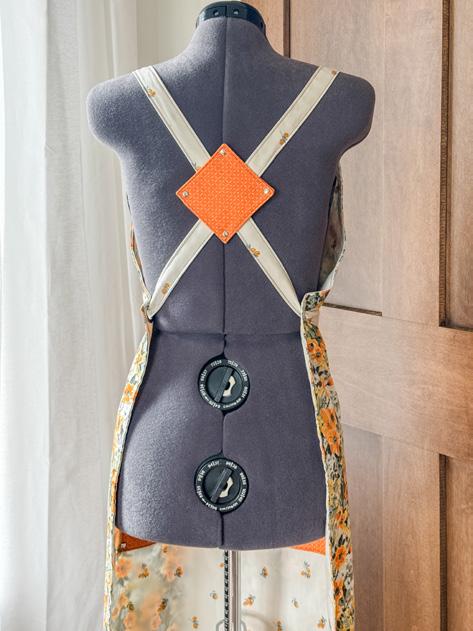
10. Following the manufacturer’s instructions, center and fuse a 3½" fleece square to the wrong side of (2) 4" cross-back cover fabric C squares. Align one fused cross-back cover with one non-fused cross-back cover, right sides together. Stitch around edges using the interfacing edge as a guide. Leave an opening for turning. Trim corners. Turn right side out and press. Topstitch close to edge, closing the opening with the stitching. Make a total of two cross-back cover pieces. Layer the two finished cross-back cover pieces and hold together with fabric clips. Use the VARIO Creative Tool to add 1 rivet at each corner centered ¼" in from the topstitching to make the cross-back cover.
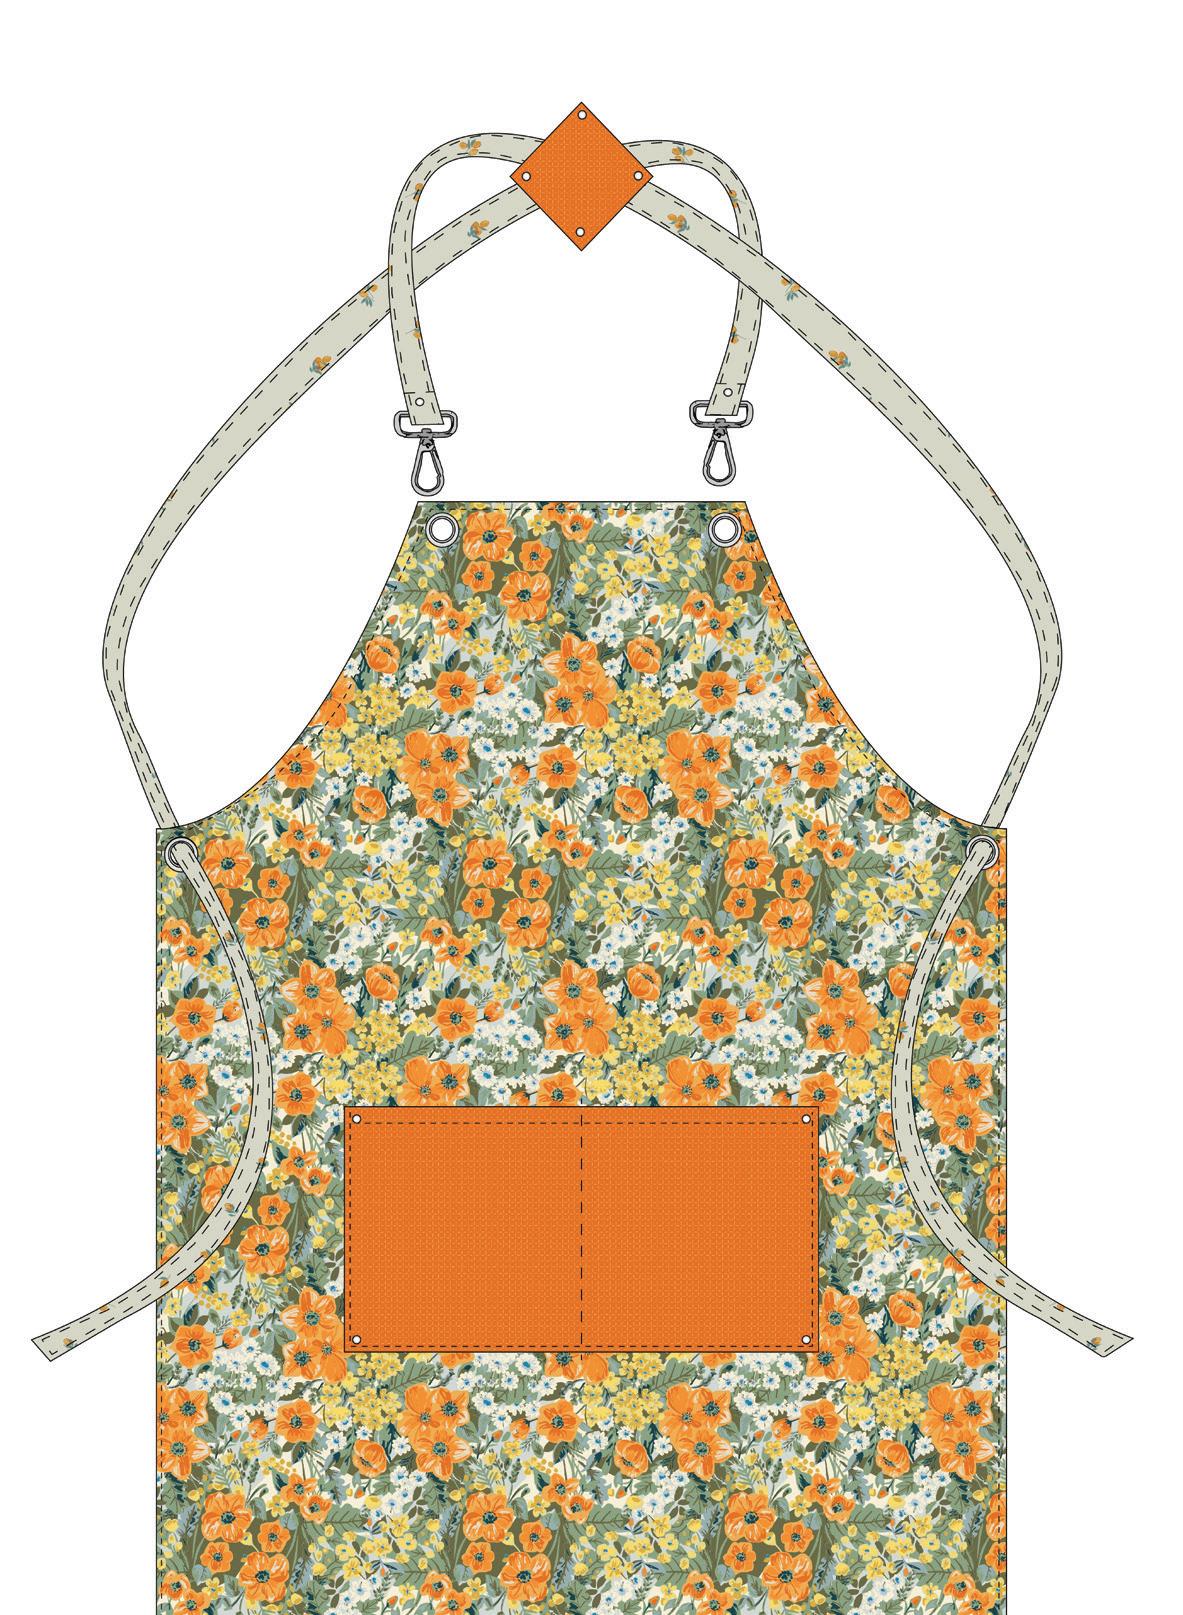
12. Change the VARIO Creative Tool attachments and add the neckline bib and side tie eyelets through all layers. For the neckline bib, mark center eyelet placement ⅝″ in and ⅝″ down from each corner. Mark center position of the side eyelets ⅝″ in and ⅝" down from the template arm cut out corner. Use the VARIO Creative Tool to install the grommets where marked. See Apron Diagram.
13. Clip a tie to each neckline bib eyelet. Thread the ends of the ties through the cross-back cover one tie at a time by inserting the first tie end on one side and then out the opposite side. Repeat with second tie starting on the side diagonal from the first tie and then going out the opposite side. Cross-back cover will rest diagonally on back. Thread each of the tie ends through the appropriate apron side eyelet. Try apron on for size and adjust the cross-back cover as needed for comfort. Tie in the back or across the front. See Apron Diagram. Apron Diagram

11. Following the manufacturer’s instructions, use the VARIO Creative Tool to secure apron layers together. Apply rivets at the top and bottom corners of pockets. Rivets should line up with the reversible side pockets ¼" from stitching, and going through all layers.
Top edge of Apron
Side edge of Apron
Reversible Apron Arm Cutout Template
Do not add seam allowances
1"
1" Guide
Print at 100% scale


Ergonomic design for a comfortable use in every handle position.
Optimum power transmission for effortless work.
This innovative, ergonomic design makes the tool easy to use in a variety of positions. The ergonomic grip shape, the wide support surface and the vertical processing direction enable an optimized power transmission, even with thick materials.
Easy handling for the relaxed crafting flow. The simplicity in handling due to less effort and the effortless change between the different tools creates smooth transitions in the working process.
Aesthetic design gives more joy of use. With its minimalist appearance, ergonomic design and high-quality materials, the VARIO Creative Tool meets the highest design standards


Lift the handle.
5. 1. Insert the punching tools.


Lower the handle, insert the fabric and ...


Insert the tool set for eyelets.
2. finish punching.
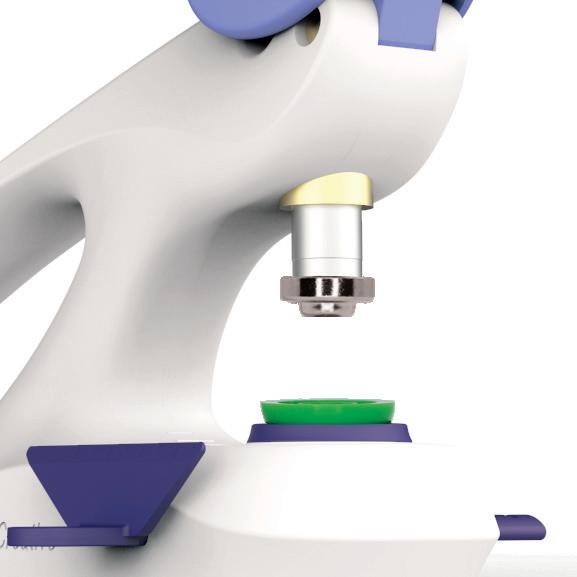
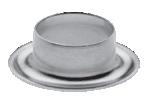
Insert the eyelet and fabric. 6. 7.


Place the washer, lower the handle, and fix the eyelet in place.

8.

Lift the handle and remove the fabric with the eyelet.
Marketing Assets - Download published project PDF from ISSU to your computer and open in Acrobat. Then click links to download assets.
Images:


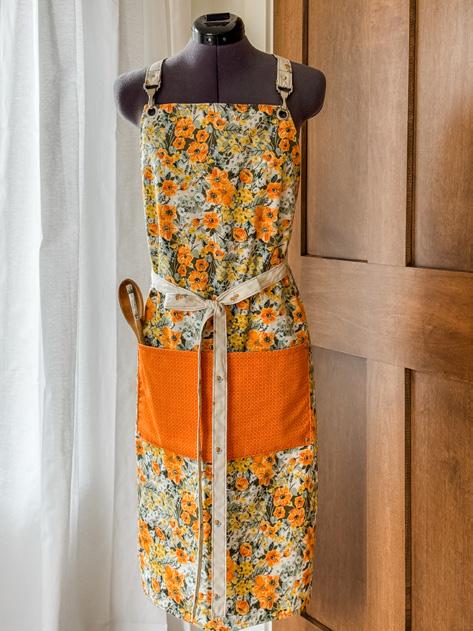

Reversible Apron_Dressform-5

Apron_Dressform-3

Reversible Apron_Dressform-2
Apron_Dressform-1
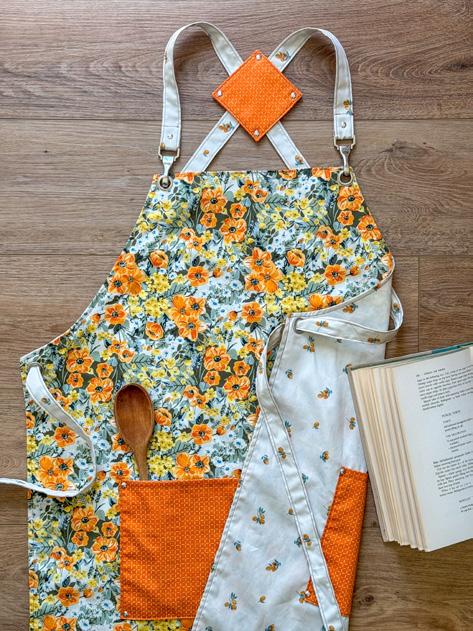
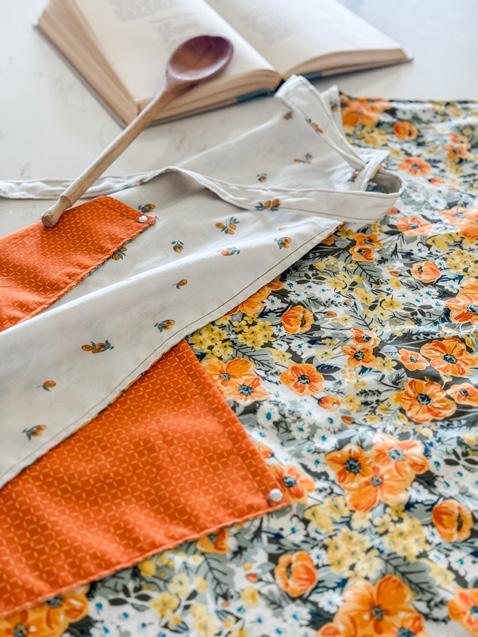
Reversible Apron_Modeled-02

Reversible Apron_Styled-35
Reversible Apron_Dressform-7

Reversible Apron_Styled-16
Reversible Apron_Styled-31
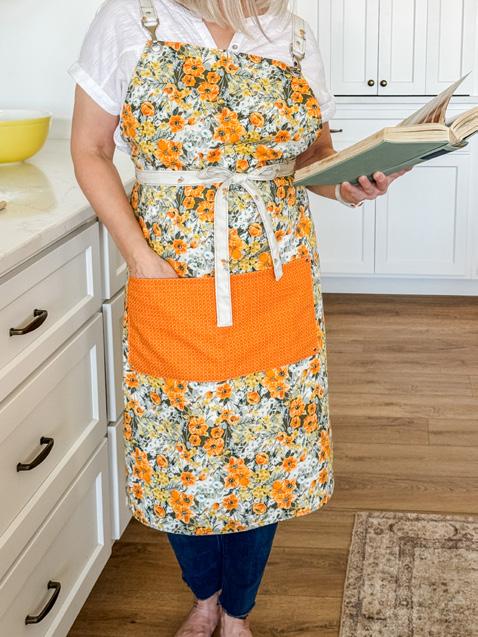
Reversible Apron_Modeled-04
Reversible Apron_Styled-15

Reversible Apron_Styled-22

Reversible Apron_Styled-30
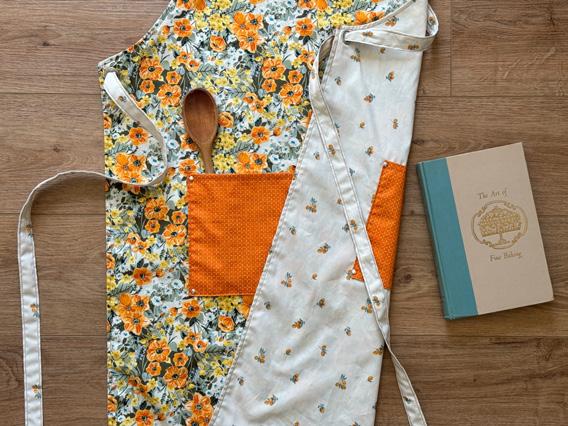
Reversible Apron_Styled-34
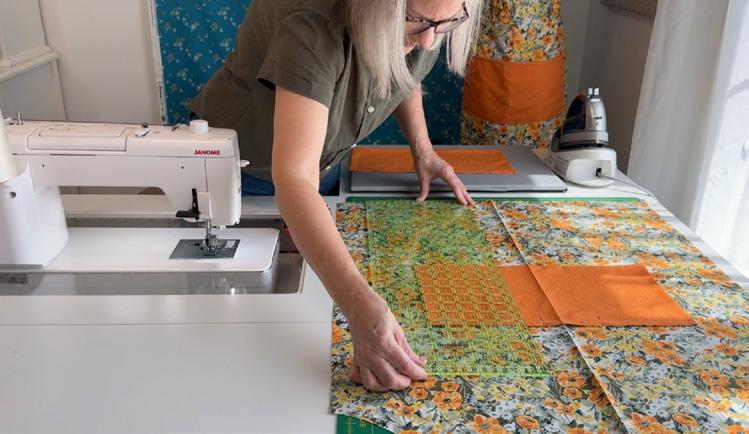
Measuring pocket placement


Reversible Apron_Styled-13

Reversible Apron_Modeled-10
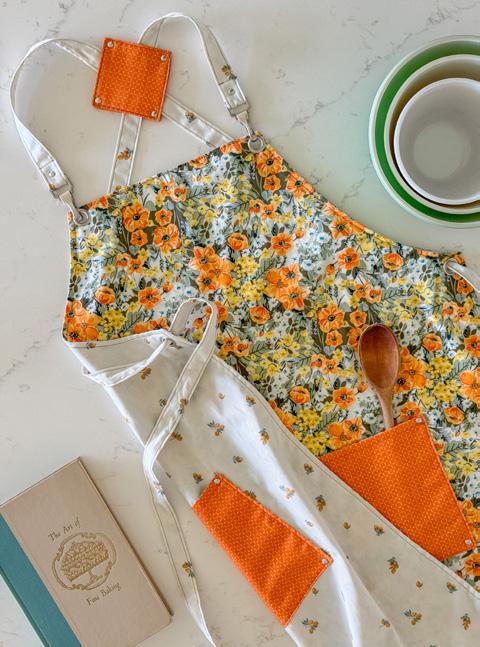
Reversible Apron_Styled-25

Social Media:

Instructional Video:



Video for Facebook 13" x 19" class announcement poste r

Link to YouTube for video https://youtu.be/d_amsqZnJAI
© 2024 Prym Consumer USA Full length instructional video for in-person classroom use only. Not for public distribution.
Download mp4 video to your PC
for Instagram prym-reversible-apron-project.mp4

In-Store Shop Poster: Instructions PDF:

Reversible Apron Project Instructions
