4 minute read
6 Meeting Tricks
Due to the coronavirus pandemic, the latest household name is Zoom. An excellent platform used for videoconferencing and one that organizations have been using for years. It’s a critical resource for conducting daily, even sometimes hourly, remote meetings with coworkers in various locations.
One of Zoom’s best features is that it’s relatively easy to use. Once you get the hang of it, you’ll discover a ton of tricks and features that make for a fun experience.
Sidebar: These tips presume you’re using a paid account, so some features may be missing if you’re using the free version.
1. Look in a mirror people! Before any video conference meeting begins, I like to give this mugshot an old looksee. I use Windows 10, therefore a simple way to do so is to type “Camera” into the search bar beside the Start menu. I then crank up the Windows’ Camera app and get my grill in order.
Otherwise, on either a Windows PC or a Mac, you can open the Zoom app, access the Settings menu by clicking on the gear icon in the upper right corner. Select the Video section, and you’ll get a preview of what your camera will show.
Also, while in the Video section—and if you have a somewhat new computer and a lively internet connection—click the “Enable HD” option if available, and see what the “Touch up my appearance” feature does to your look. For some, it’ll smooth out wrinkles like mine; for others, it’ll make you look waxy.
2. Test, and then test again While in the Settings menu, tap on the Audio section to choose your preferred audio setup. If you’re only using your laptop speaker and microphone, there’s not much to adjust here. But if you’re using a microphone headset combo, be sure to select both the Speaker and Microphone options before you begin a call.

You can also choose other audio devices while on a call by clicking the small symbol to the right side of the Mute button, which brings up a menu of alternative devices. Be sure to review the other options on the bottom of the menu. If your computer audio is creating problems, click on “Switch to Phone Audio…” to dial in from your
home, office, or cell phone as a substitute. Or use the “Audio Settings…” option to launch the full audio menu.
3. Unmute quickly Solid Zoom etiquette standards include that if you are not speaking, you should leave the mute option on. Though, you’ll customarily be called on to contribute and, after being jolted wide awake from your day dream of walking on the beach or in the mountains, you’ll stumble around for what seems like a week to ten days trying to unmute yourself. There is a better way! Presuming your Zoom window is live, hold the space bar down to unmute yourself. While holding it down, respond, and then once you are done, release the space bar and you’ll be muted once again. Otherwise, pressing Alt + A will switch the mute function on and off without forcing you to hold the keys down.
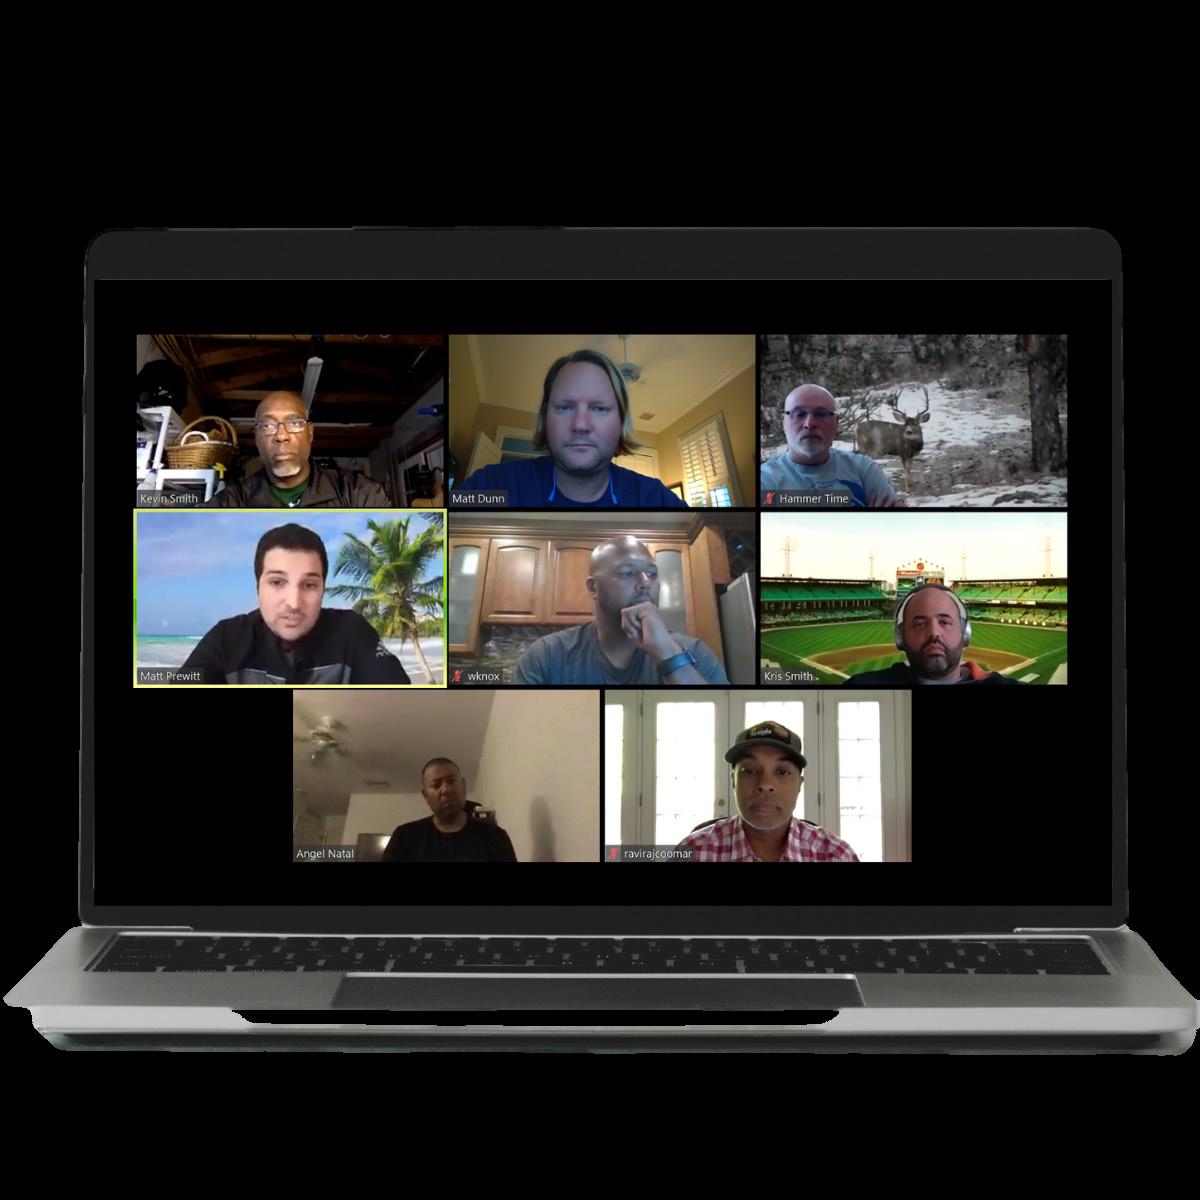
4. See everyone The default setting will display whoever is actively speaking. However, in one click, you can view all active participants by clicking “Gallery View” in the top righthand corner of a live meeting. Once selected, your screen will display a grid of all participants up to a maximum of 49 per page, depending on your CPU.

If you’d like this view to become your default setting, you can click on the Settings menu from the Zoom app, then under the Meetings item, switch to “Display up to 49 participants per screen in Gallery View” on.
5. Watch some videos together When you are trying to show a video to the entire call, share your screen by using the larger, green Share button in the middle, bottom of the Zoom window. But, prior to choosing what to share from the selection pane that pops up, be sure to check “Share computer sound” in the lower-left corner. So that, when playing a video, the rest of your colleagues on the call will hear what you hear.
6. Record and edit a meeting Many great ideas come out of Zoom meetings, but you may have invitees show up late or with scheduling conflicts. Possibly you are hosting a webinar and you will want to record it to use later, maybe as a digital asset. Whatever the scenario, Zoom makes recording calls simple. In the Settings menu before starting a call, under the Recording section, make sure “Optimize for 3rd party video editor” is selected. That will provide you an MP4 video file that is basic to work with while using editing software.
Then, when starting a meeting, let’s assume you’re the host of the meeting, click the Record button at the bottom of the window. You will then see two options: “Record on this Computer” and “Record to the Cloud.” If you have the storage capability, choose “Record on this Computer.” The Cloud recording option is good but is also limited to a gigabyte of storage on your account.
When finished, have patience and let Zoom take over. Locate an MP4 file of your recording in the Zoom folder under Documents on your computer.


