Installation instructions Verti 830/831

Products
Height adjustable frames for wall cabinets Wall Cabinet Lift - Granberg Verti

聯絡電話 : 02-23689249(門市) / 2365-5581(官網客服)
營業時間 :週一至週五 8:00~17:00 週末及國定假日公休
LINE ID :@f6357 | https://6357.com.tw/
Content
1. Mechanical construction
2. Delivery modules

3. Joist heights
4. Location wall socket and control devices
5. Preparations
6. Preparations at installation of Verti in existing wall cabinet
7. Preparations at installation of Verti in a Verti cabinet frame (accessories)
8. Installation on wall
9. Installation of light ramp (accessory)
10. Functional test
聯絡電話 : 02-23689249(門市) / 2365-5581(官網客服)
營業時間 :週一至週五 8:00~17:00 週末及國定假日公休
LINE ID :@f6357 | https://6357.com.tw/
1. Mechanical construction


The Verti Cabinet lift unit comprises a rear panel, to be mounted on a wall, a lifting mechanism and a rack with 3 shelves. The vertical lifting and lowering motions are made by an electrically powered lifting belt, which is fitted between the rear panel and the shelf rack.


2. Delivery modules

聯絡電話 : 02-23689249(門市) / 2365-5581(官網客服)


營業時間 :週一至週五 8:00~17:00 週末及國定假日公休
LINE ID :@f6357 | https://6357.com.tw/
3. Joist heights
The Verti unit is fixed to the wall through the rear panel. Laying joists shall be placed according to the dimensions below:

A = 1440 mm from floor to centre of the joist
B = 2052 mm from floor to centre of the joist

聯絡電話 : 02-23689249(門市) / 2365-5581(官網客服)
營業時間 :週一至週五 8:00~17:00 週末及國定假日公休
LINE ID :@f6357 | https://6357.com.tw/
4. Location wall socket and control devices
The Verti unit shall be connected to a separate main switch, which is placed in the kitchen or its vicinity. The location of a socket for 230 V, 50 Hz / 120 V, 60 Hz (depends on model) should be coordinated with other equipment in the kitchen. The Verti wall cabinet system is often in combined with a worktop system. See pictures below for proposed locations.
A - Socket
The socket is placed above the cabinet. (Minimum 80 mm above cabinet). The lifting system require 1 power socket outlet. If the unit is equipped with wireless remote control (handheld or fixed) it requires 1 power socket outlet. If the unit is equipped with lighting require 1 socket outlet.
B - Location of VP-tube for control cable
A VP-tube is placed in the wall behind the Verti. In this the cable to the control button placed. The lower part of the tube shall exit from the wall just above the floor if the kitchen is equipped with a worktop lift. The upper part of the tube shall exit above the cabinet. The cable length is 7 meters.
C - Alternative location of control cable

Alternative location of the control cable is through a high cabinet. The cable length is 7 meters.
D - Proposed location of recessed buttons
Proposed location of button if the kitchen is equipped with a worktop lift. (Recessed buttons).

E - Proposed location of outside buttons
When the kitchen is not equipped with a worktop lift the button can be placed e.g. on the side of a high cabinet (approx. 110 cm above the floor if it is placed above a worktop lift), inside a floor cabinet etc.
聯絡電話 : 02-23689249(門市) / 2365-5581(官網客服)
營業時間 :週一至週五 8:00~17:00 週末及國定假日公休
LINE ID :@f6357 | https://6357.com.tw/
5. Preparations
The Verti unit shall be mounted inside a wall cabinet. Avoid placing Verti above the water tap, as this can prevent the Verti to be lowered to the bottom position.
If necessary choose a low water tap.
At cabinet height 70 cm
Mount the Verti unit to the cabinet top plate.
At cabinet height more than 70 cm
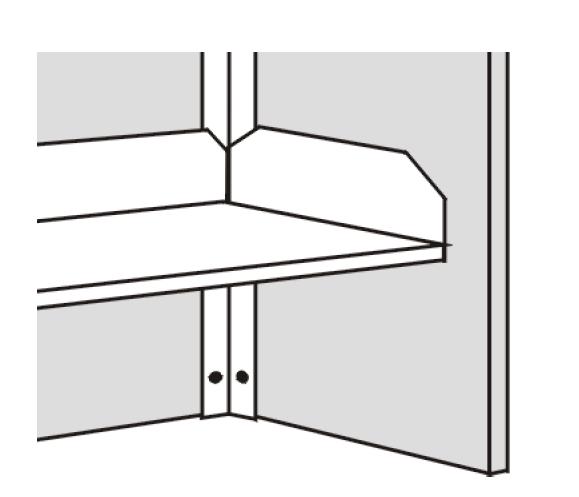
At cabinet height more than 72 cm add an additional, fixed mounted shelf in the cabinet.


聯絡電話 : 02-23689249(門市) / 2365-5581(官網客服)
營業時間 :週一至週五 8:00~17:00 週末及國定假日公休
LINE ID :@f6357 | https://6357.com.tw/
Example on alternative installation6. Preparations at installation of Verti in existing wall cabinet
Remove the shelves. Remove the cabinet bottom.
Remove the rear panel (backside), unless it is firmly fixed to the wall. Check that the wall has sufficient strength for the Verti unit, including the maximum load.
Make holes for cables in the cabinet top. Hole diameter min. 20 mm. To be placed approx. 150 mm to the left of the cabinet centre, and approx. 30 mm from the wall.

7. Preparations at installation of Verti in a Verti cabinet frame (accessories)
The Verti cabinet frame is delivered unassembled. Assemble the sides and top. Assemble the adjacent wall cabinet. Install the Verti cabinet frame between the adjacent cabinets. Fix the Verti unit with screws in the adjacent cabinets. (If there are no adjacent cabinets available mount the Verti unit with consoles on the frame inside).


聯絡電話 : 02-23689249(門市) / 2365-5581(官網客服)

營業時間 :週一至週五 8:00~17:00 週末及國定假日公休
LINE ID :@f6357 | https://6357.com.tw/
Fix the consoles in the corners, so that the Verti unit supports the cabinet sides.
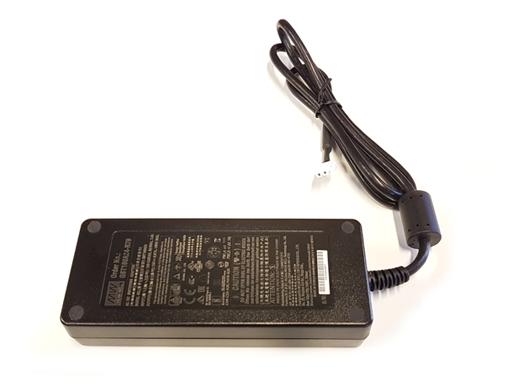
Install the transformer on the cabinet top plate alternatively on a fixed shelf in an adjacent cabinet. The socket shall be possible to reach after the installation is finished.


* Connect the cable to the UP/DOWN control unit acc. picture. Make sure that the cable cannot be jammed.

The connection to the socket shall be easily accessible, so that it can be disconnected when needed. The cable shall be placed so that it is not exposed to heat.


Connection on the printed circuit board
C= Current in 24 V from transformer
D = Control devices UP/DOWN
Adjust the top position by means of moving the consoles (A) up or down.
聯絡電話 : 02-23689249(門市) / 2365-5581(官網客服)
營業時間 :週一至週五 8:00~17:00 週末及國定假日公休
LINE ID :@f6357 | https://6357.com.tw/
Fix the motor cover with the screws. The rear part shall hang in consoles on the rear panel. The front part shall be screwed into the cabinet top. Remove the protection film from the cover.
Check the break function of the upper trip plate. The shelves shall reverse downwards when the trip plate is pressed.


Check the break function of the lower trip plate. The shelves shall reverse upwards when the trip plate is pressed.
9. Installation of light ramp (accessory)
Install the light ramp with angles on the trip plate. (Angles and screws are not included).
NOTE!
The light ramp must not be mounte
10. Functional test
Run the Verti down and up all the way to respectively end position. Check that it moves freely, without hindrance and jarring sounds. Check that no cables are jammed. Lower the shelves shortly. Press the trip plate under the shelves and check that the shelves are moving upwards until the plate is not pressed any longer. If there is a malfunction, contact the installer. Check that the upper trip plate (plastic cover) works. Press it with your fingers. The lift unit shall then move downwards.
聯絡電話 : 02-23689249(門市) / 2365-5581(官網客服)
營業時間 :週一至週五 8:00~17:00 週末及國定假日公休
LINE ID :@f6357 | https://6357.com.tw/
