3 minute read
Chapter Four-Basics of Blending
*Tip: Some colors of some brands can become darker after baking.*
Color Theory and Blends to try for Beginners
Advertisement
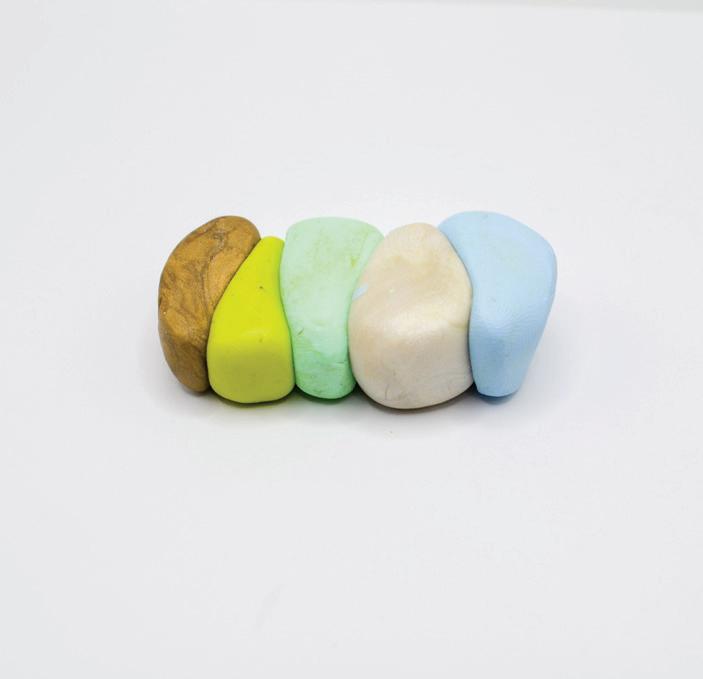
When you look at a color wheel, colors sitting next to each other usually blend the best. For example, yellow, blues, and greens blend well together, as do purple, blue and pink blends. Another method is to blend similar colors like red, orange, and yellow. When blending colors, it helps to experiment with it by slowly adding colors to shift your color blend bit by bit. Remember, nothing should be wasted. Keep all your blends, even the mistakes, which can be used as fillers later in other projects. Adding black or brown to make a muted color is one option to tone down a bright color. Adding white makes it paler in color. Add white or an iridescent pearl to make pastel colors. Adding gold or already glittery and shimmery colors also make for an interesting blend. If you don’t have access to gold leaf this is another option to making something shimmery. However gold leaf can be more visible in a finished blend.
Custom color blend Custom color blend

Marbling by Blending
This is another way to condition. Cut pieces of the clay and individually roll them into little logs. Pick the colors you want to use and roll them separately into snake or log like shapes. Lay the snakes next to each other and twist them together, fold over and continue rolling until you are happy with the results, or your colors are marbled to the point you like. As you are rolling you can add other snakes of clay to your blend until smooth. This method is great for creating a rainbow effect with the colors you choose. Your piece should resemble a candy cane.
Blending With a Pasta Machine
This method is the same as conditioning your clay with a pasta machine, the only difference is you are putting more than one color in the machine. Put your clay through the machine fold it over and put it through again until you get your desired blend. Beware of air bubbles in your clay.

Marbled clay
Skinner Blend
shifts smoothly from one color to another. A skinner blend looks like a gradient with one color slowly blending into another. This effect is achieved by running two teardrop shapes of clay together through a pasta machine several times. This method is used to create a rainbow effect with the clay.
Blending With Gold Leaf
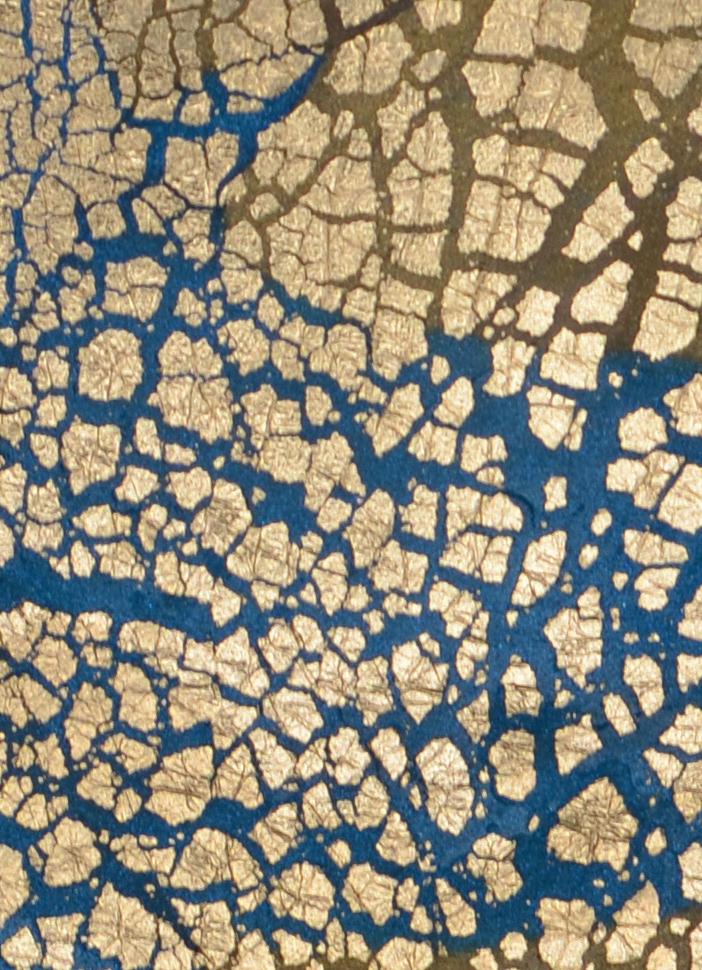
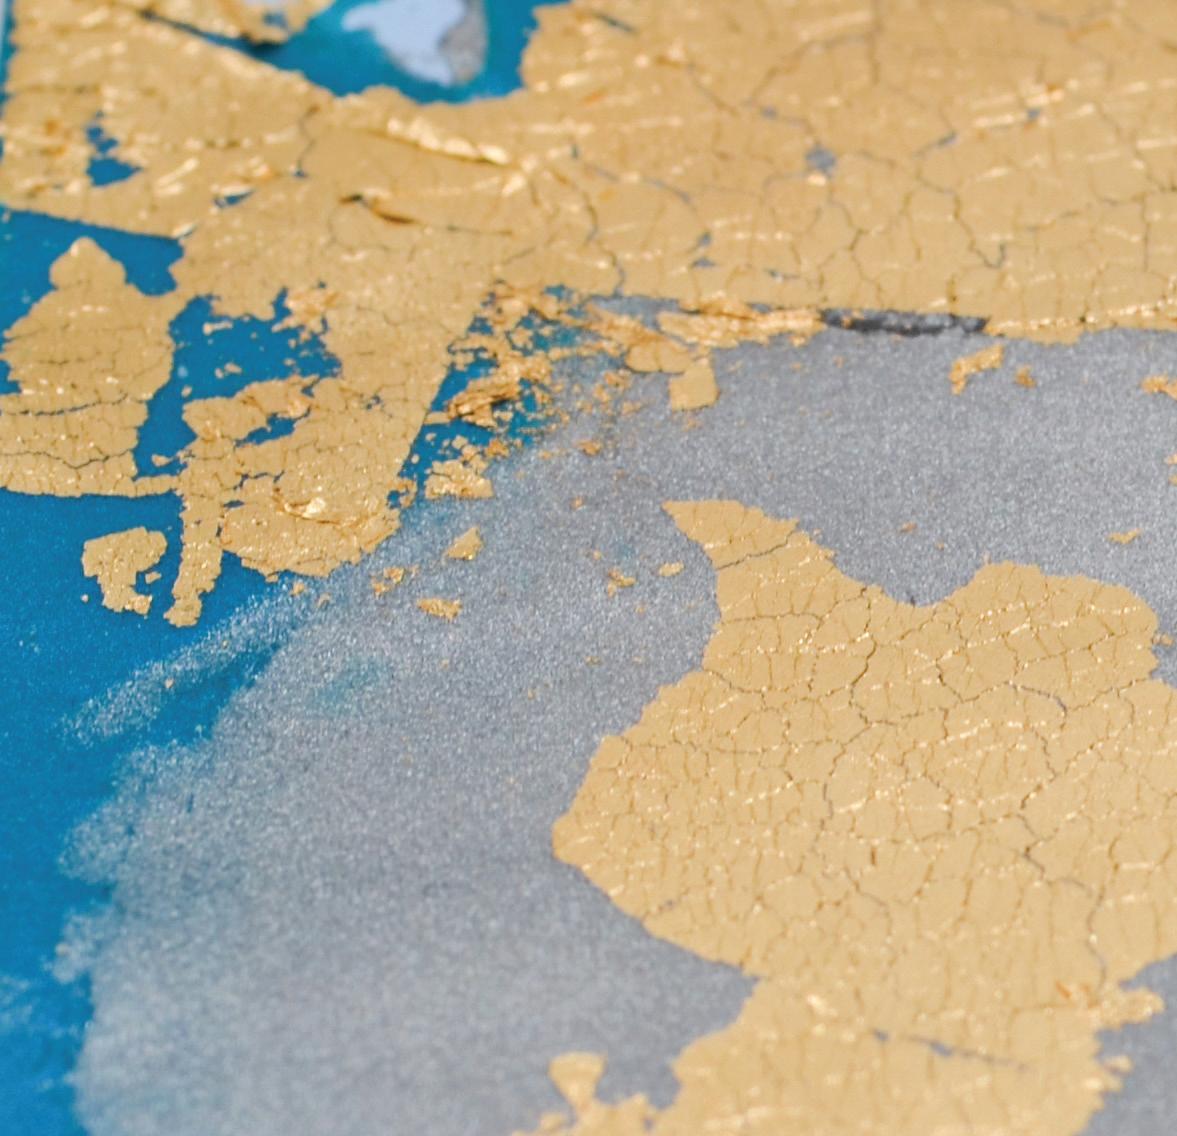
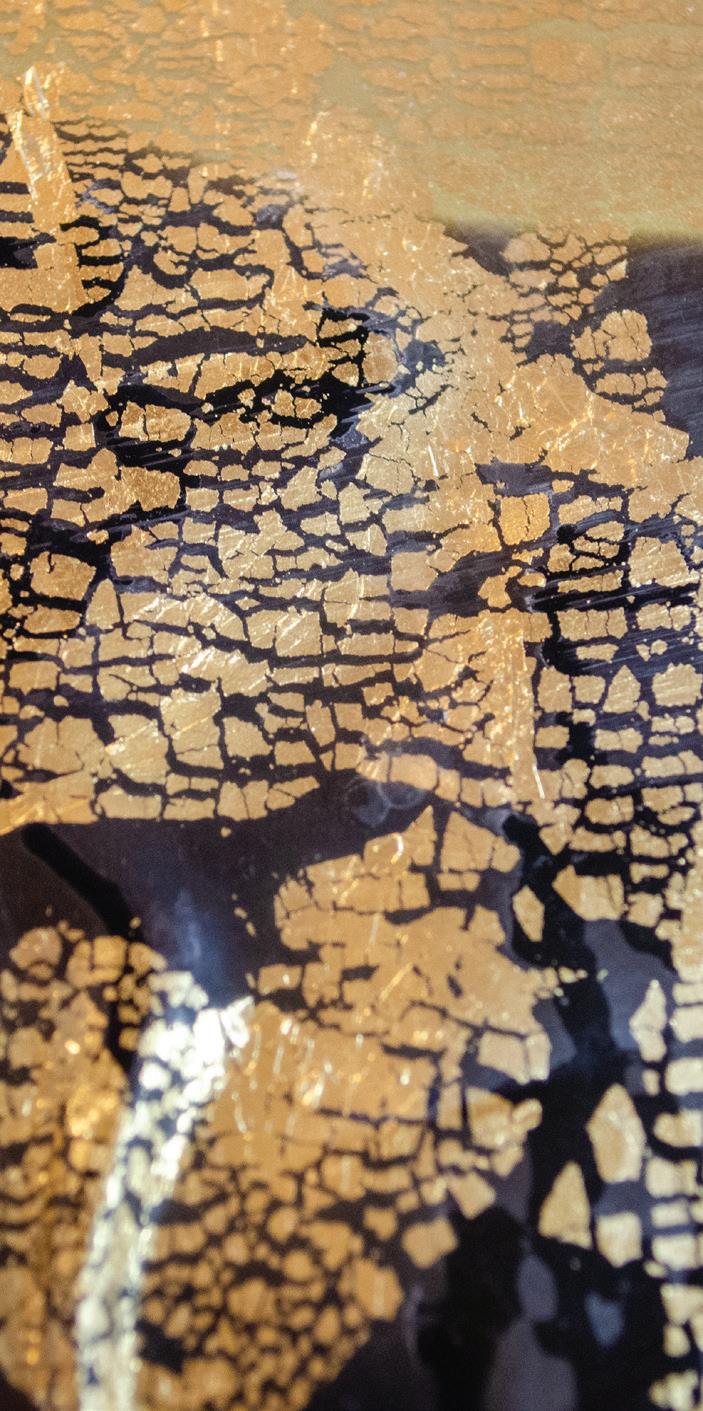
Adding gold leaf Is an excellent way to add a shimmery gold texture to your bead. One easy way to do this is to lay the gold leaf on your clay and run it through your pasta machine.


Skinner blend Gold leaf blend

CH5 Basics of Baking:
How to decide on baking times?
When baking your polymer clay remember to bake your clay long enough. Under baking can leave your clay brittle and easily breakable. The quality of your clay projects is better when you bake it longer. When properly baked, the clay should be flexible and hard. Look at the clay package for the correct baking temperature. Most brands require the clay to be baked at 275F for 15 min or so per ¼” of thickness. Make sure to place your rack far from the heating element. The middle rack is usually the best for this. Don’t bake food and clay at same time to avoid contamination. It is okay to bake the clay longer than the recommended time. The most important thing is that the temperature is accurate and not too hot which can burn the clay. If your clay is burning, bubbling, or getting a darker color your oven may be too hot. To avoid baking at the wrong temperature, use an oven thermometer. Using a foil pan lid during baking can prevent burning. It circulates the air and shields the clay. Make sure you cool your clay down slowly. Wrap it in a towel or leave the oven door open while it cools. You can remove and add other items during baking, but most people let the clay cool completely before removing it from the oven. Let it cool completely if you plan to drill holes to keep the piece from cracking.

Finished piece


