10 minute read
Kitchen scientists get creative
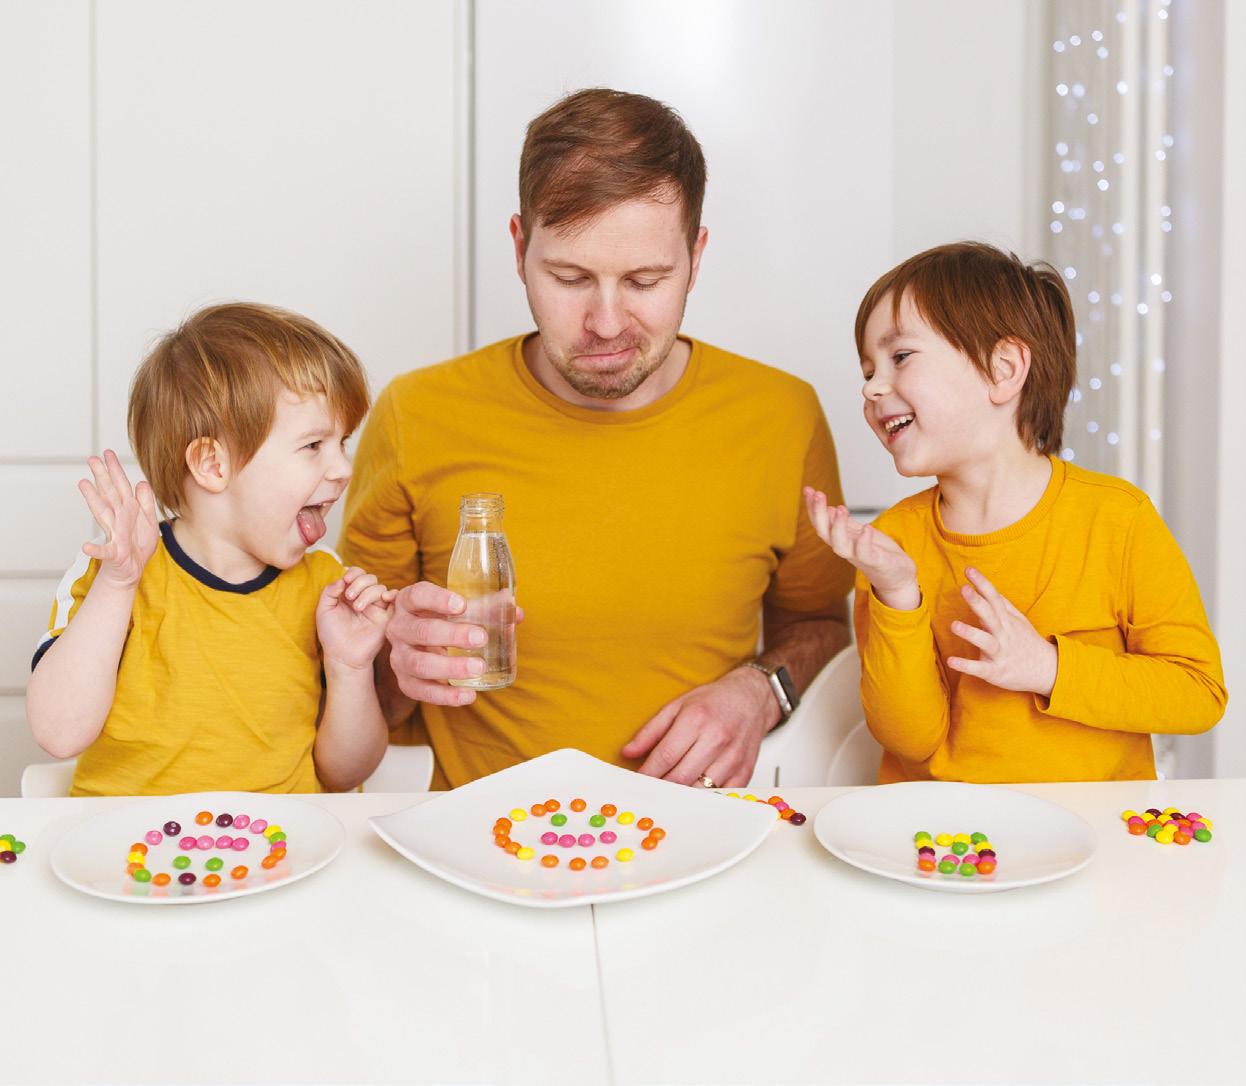
Founder of TheDadLab and, more importantly, father of Alex (9) and Max (7), Sergei Urban shares some of his best kids activities to do in the kitchen to have some fun and learn things along the way too!
ike any other parent, I know
Lwhat a struggle it can be to keep children busy. Lockdown made me more creative and gave me a fantastic opportunity to come up with even more ways to play and learn with my children. I'm not afraid to experiment with new things I've not tried before. I was learning together with my children and now I can share these tried and tested activities with millions of other families on Instagram and other social media.
I find it's best to have something ready to go at a moment's notice, so I am never left without something to do when boredom strikes. I have been coming up with fun and educational ways to teach science for some years and here are some of my children's favourite creative projects:
EXPERIMENT 1 ABRACADABRA TURMERIC
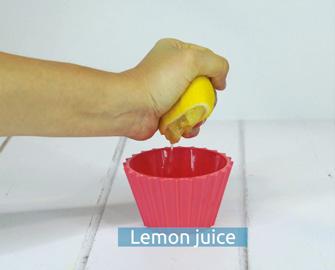
Who doesn't love being mesmerised by something that changes colour? This experiment will create awe and wonder as you watch the effects of washing powder and lemon juice reacting with turmeric to create stunning designs.
The main ingredient to this experiment has been chosen for its colour-changing properties, but the chemical that gives turmeric its strong colour can stain! To be on the safe side, it's best to wear something old or cover up with an apron.
It's also a good idea to set this experiment up on a table with a wipedown tablecloth or a plastic sheet. You could also do this in a tuff tray or on newspaper on the kitchen floor.
What you need:
A piece of paper
Three small tubs or bowls (washed out yoghurt pots are great)
A spoonful of turmeric
A spoonful of washing powder
A lemon
A cotton wool pad
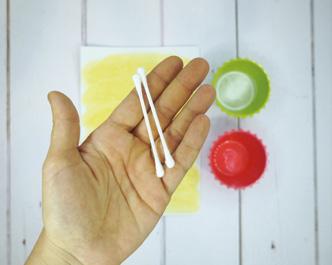
Two cotton buds
Water
Step by step:
1. In one tub, mix a spoon of turmeric with a small amount of water to create a coloured 'wash'. This should look like a dark yellow liquid. 2. Soak the cotton pad with the turmeric and water mixture and run it over the piece of paper. You will need to do this a couple of times, so the paper is solid yellow. (Make sure to wash your hands after this part, as turmeric stains!) 3. Now, prepare your base in another tub, add a spoonful of washing powder and a small amount of water and mix.
Put this to one side.
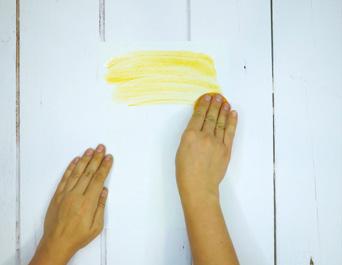
STEP 2
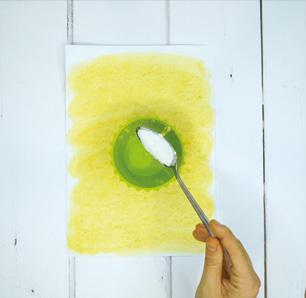
STEP 1 STEP 3
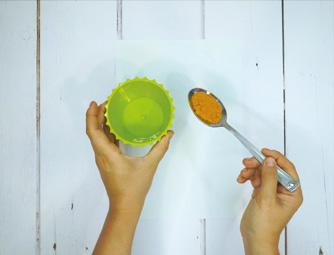
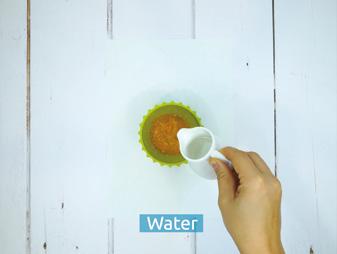
4. Prepare your acid in the third tub. Squeeze a lemon to get the juice into the tub. There is no need to add water. You're almost ready to get creative. 5. Add one cotton bud into the acid cup (the lemon juice) and one into the base cup (the washing powder).
These buds will act as your 'paintbrushes'. Please don't mix them up.
STEP 4
STEP 5
STEP 6-7
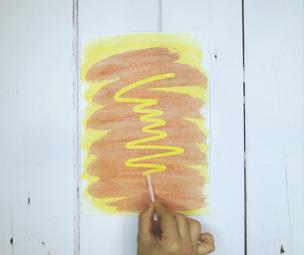
6. Start by drawing with the washing powder mix on your turmeric-covered paper and see what happens. 7. Finally, take your lemon juice cotton bud, trace over your picture and observe the exciting effects!
EXPLAINER
This is an excellent start to learning about the pH scale and its relation to acids and bases. Turmeric is a pH indicator that reacts in different ways to acids and bases, showing us how high or low some-thing is on the pH scale.
Some acids and bases in nature are poisonous and used by insects and animals as poison. Other acids and bases are helpful. Acids and bases are found in lots of plants and even the human body.
FOLLOW THE EXPERIMENT:
https://bit.ly/thedadlabff5
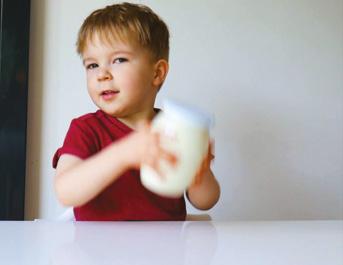
EXPERIMENT 2 SHAPESHIFTING CREAM

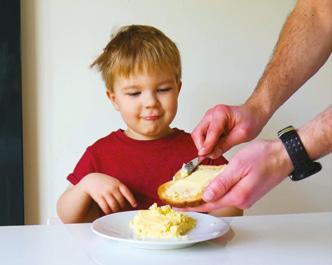
This is a project that everyone will love. It combines Max's two great passions in life: yummy food and science. There's nothing quite like a slice of toast topped with butter to warm you up after a brisk winter walk. So why not get the muscles warmed back up again by making your own homemade butter?
This recipe is straightforward – you only need one ingredient and that's cream! With nothing to weigh, mix or burn, this is a fail-proof experiment that just requires a bit of patience. You will want to ensure the butter you create is consumed that day, as it could go rancid quickly without preservatives.
STEP 1
STEP 2 STEP 3
STEP 4
What you need:
A glass jar with a lid
Cream (heavy/double/ whipping)
A cup
A plate
A bit of muscle and some energy
Some toast to enjoy it
Step by step:
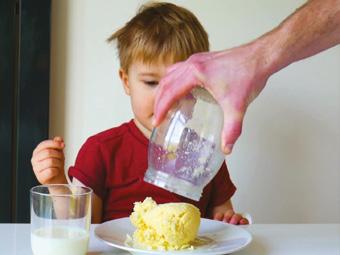
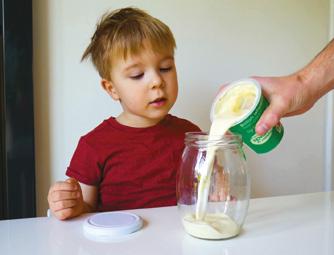
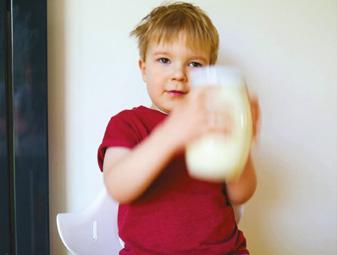
1. Pour the cream into the jar and put the lid on securely. 2. Shake the jar vigorously. You should notice the cream getting thicker and more solid the more you shake. 3. Continue shaking the jar until the cream separates into two substances – a liquid and a solid (butter-milk and butter).
This can take a while, so it might require taking it in turns to avoid tired arms.
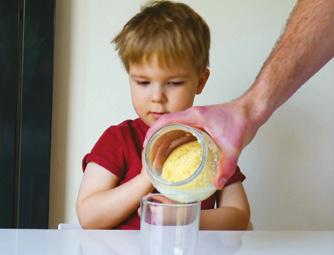
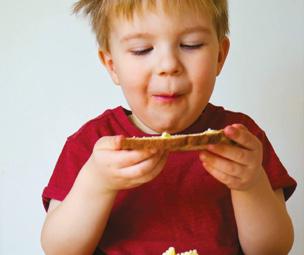
4. When the cream has separated, pour the buttermilk into the cup. You can taste this and see what you think. 5. The solid lump left over in your jar is butter. Shake it out of the jar onto a plate and enjoy it spread on toast.
EXPLAINER
The cream can drastically alter its form, going from liquid to foamy to solid because of the milk fat in it. Shaking (or 'churning') changes the fat's structure and chemical properties, making the whole substance look and feel different. All the shaking we did here made the fat particles come together to make butter.
FOLLOW THE EXPERIMENT:
https://bit.ly/thedadlabff6
STEP 5
EXPERIMENT 3 TIE DYE ART
My son, Alex, enjoyed this simple arty project – colour magic with a sheet of kitchen roll, marker pens and a little water. This doesn't take much time, so it is perfect for those with small attention spans. As the markers are washable, it shouldn't make too much of a mess either. This activity is a sure-fire way to get your children experimenting with colour and renewing their creativity on a rainy Sunday afternoon.
What you need:
A dinner plate
A sheet of kitchen paper towel
Washable colour marker pens in a variety of different colours (not permanent markers)
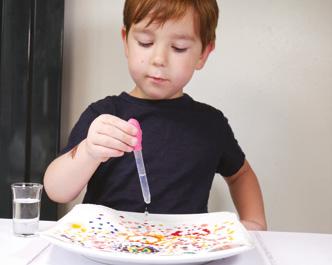
A pipette
A cup of water
Step by step:
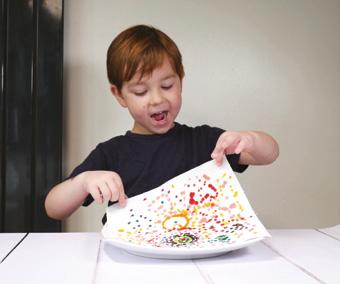
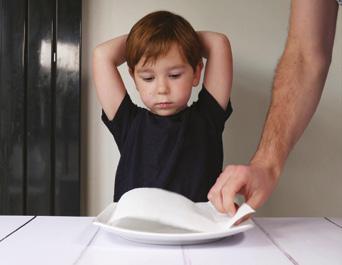
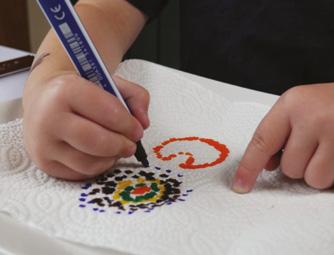
1. Place a single piece of kitchen paper onto a dinner plate. 2. Get your child to use the different colour marker pens to decorate the kitchen towel with a dotty pat-tern however they wish. (Don't let them get too attached to their design
STEP 1
as it's going to change… a lot.)
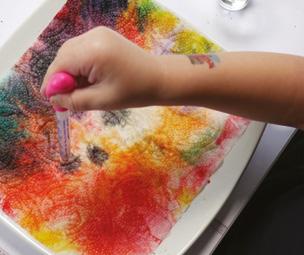
Make sure they use a variety of colours. 3. When the design is finished, take a pipette and show your child how to use it to suck up a little cold water. 4. Allow your child to then slowly squeeze out drops of water from the pipette over their pattern on the kitchen roll. Again, you don't want too much water in any one area. 5. Watch and marvel at the dotty art now transforming into a tie dye masterpiece.
FOLLOW THE EXPERIMENT:
https://bit.ly/thedadlabff7
THE SCIENCE:
This is an excellent way of introducing colour mixing to younger children. Can you make the primary colours produce the secondary colours? What happens if you mix lots of different colours?
Water dissolves the ink and spreads the colours across the towel as it quickly absorbs water. For older children, you can use this activity to introduce the concept of absorption.
The fibres in paper towels are made of cellulose molecules – these are big molecules made up of tiny sugar molecules. Just like sugar dissolves easily in water, the water molecules like to cling to the cellulose molecules. Paper towels are incredibly absorbent because these cellulose fibres have gaps between them that are filled with air.
STEP 3
STEP 4
STEP 5
STEP 2

STEP 6
EXPERIMENT 4 COLOUR-CHANGING CHAMELEON
With their colour-changing abilities, long tongues capable of catching food from a long way away and intriguing eyes, chameleons are a true source of fascination for adults and children alike.
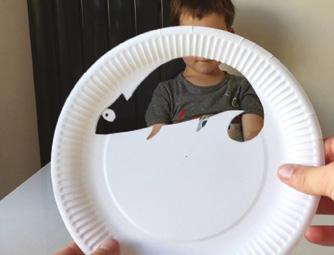
This colour-changing chameleon craft activity is an excellent way for children to explore their interest in this fantastic reptile. You can also use this activity to discuss why and how chameleons change colour.
STEP 1
STEP 3 STEP 5
What you need:
Two paper plates
Paints
Pencil
A press-stud fastener or paper fastener
Scissors
Step by step:
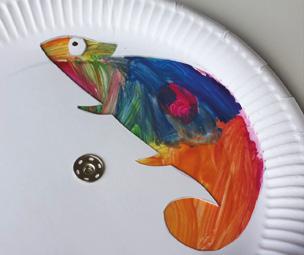
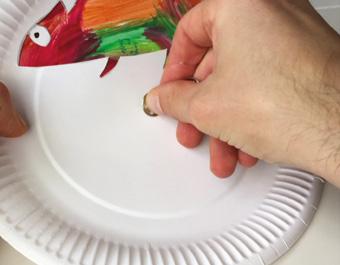
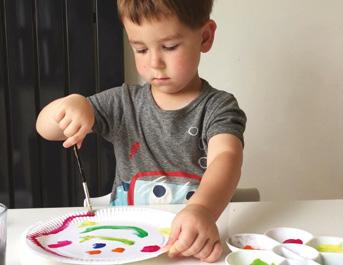
1. Paint a plain white paper plate with multiple colours. Crayons, felt tip pens or colouring pencils would work too. Make sure the whole of the front of the plate is decorated. There's no need to paint the back. 2. Get a pencil and draw a chameleon on the second (unpainted) plate. This chameleon should be above the centre of the plate. 3. Carefully cut out your chameleon so that you end up with a paper plate with a seethrough chameleon shape in it. 4. Place your cut-out plate on top of the painted plate (once it's dry). 5. Poke the fastener through the centre of both plates and fasten it, so the two plates are attached. 6. Spin the bottom plate around and watch the chameleon magically change colours.
CHAMELEON COLOURCHANGING EXPLAINER
There are many false ideas of chameleons' colour-changing abilities. While they can make small adjustments in their colour to help them blend into their surroundings, there are lots of other reasons they change colour too. Sometimes they don't want to blend in. For example, they can change colour when they're afraid or angry. They can also make themselves darker to absorb more heat from the sun since they aren't warm-blooded animals.
So how do they change colour? Well, chameleons' skin has several layers. These layers contain special cells that have crystals inside. These crystals reflect light. When the chameleon reacts to changes in mood and temperatures, the cells in the skin expand (get bigger) or contract (get smaller). This makes the crystals reflect light in different ways, creating impressive displays of colour.
FOLLOW THE EXPERIMENT:
https://bit.ly/thedadlabff8
We hope these activities will inspire you to explore more art and science projects with your family.
TheDadLab (thedadlab.com) is a trusted resource for STEAM and art activities for young children and their parents. You can watch these experiments and more on TheDadLab YouTube channel
(youtube.com/c/thedadlab).

@TheDadLab


TRAVEL
Are you ready to plan a family holiday this year? We have everything you need to know, from top tips on booking the perfect family break to travelling with your dog, as well as where to stay and what to do on a familyfriendly staycation to Southampton.


