5 minute read
Iris Fairy


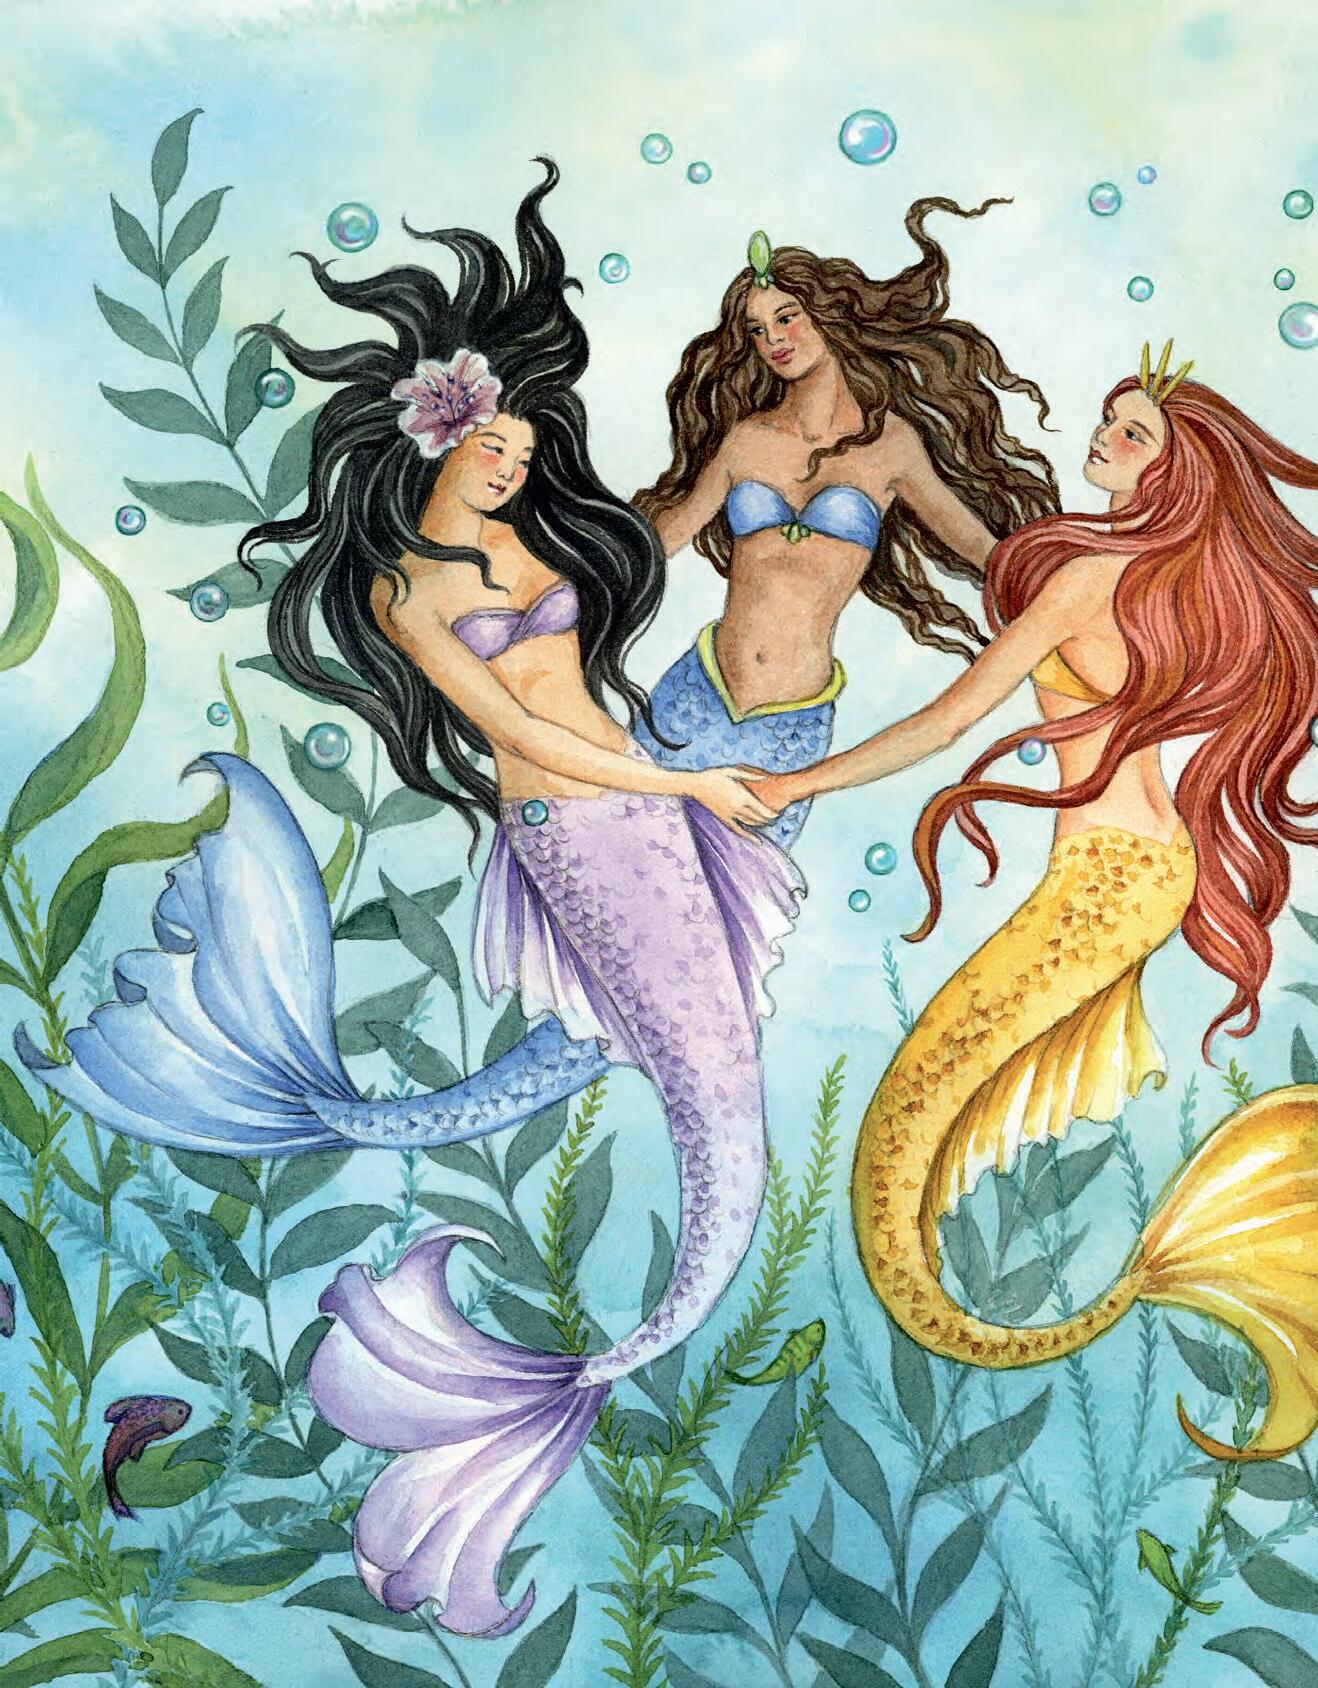
Chapter 2 Mermaids and Their Realms
As goddesses of the sea, mermaids inspire us to live fully and joyfully. They seem unencumbered by gravity as they dive deep, then rise to the crests of waves. Carefree and creative, they adorn themselves with pearls, shells, and jewels discovered in long-lost treasure chests from the ocean floor. Their powerful bodies glide alongside their playful dolphin friends, and their lovely voices call to us. This chapter is a guide to a world populated with colorful coral and sea creatures, complete with a mermaid bursting up from the ocean, another floating with bubbles, one who is lying down to sleep, and more!
Advertisement
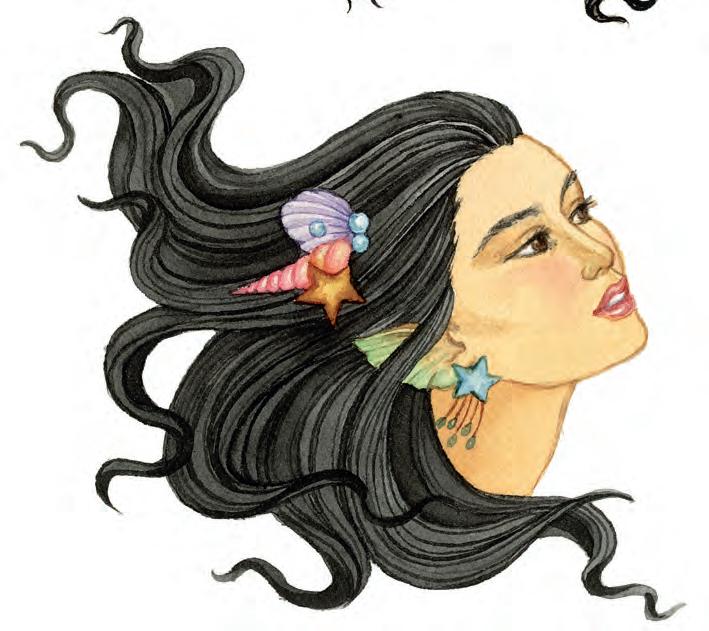
Whether swimming underwater or sitting on a sunny rock, mermaids’ hair usually appears to be in perpetual motion. The way hair moves in water or by the wind may inspire various hairstyles using seashells, pearls, and seagrasses as lovely adornments.
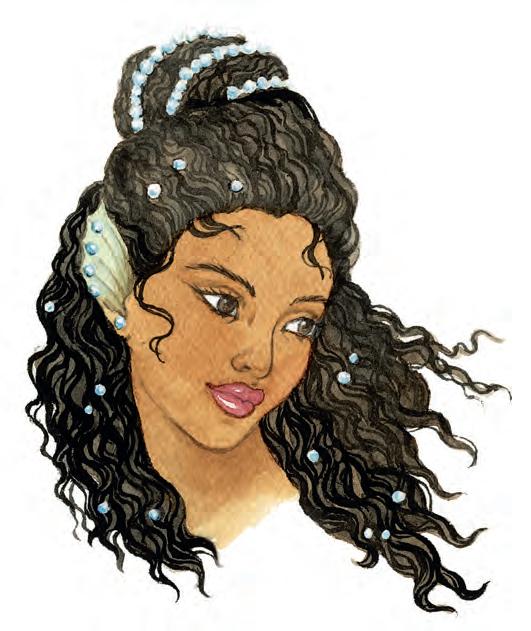
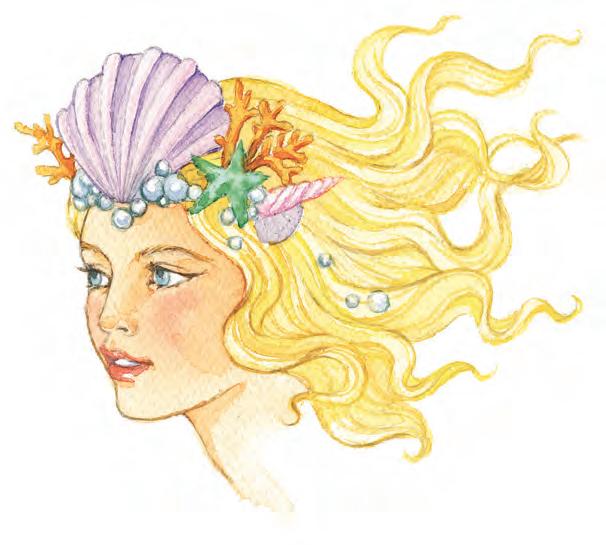
Here are various mermaids who have chosen looks that suit their features and tastes. Of course, tastes may change daily, so have fun dreaming of how your next mermaid will look.

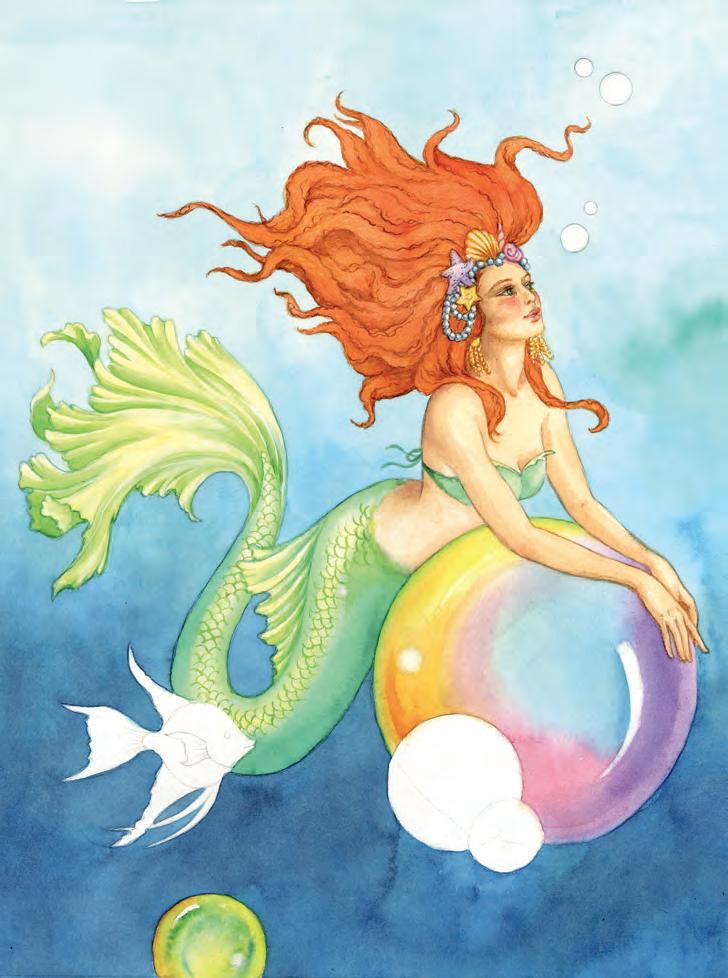
7. Define Details
Apply a light tint of Van Dyke Brown and Raw Sienna to the mermaid’s hair using a #1 round. Paint her tail with Permanent Yellow Light. When the shine’s gone, apply a medium Yellow Orange tint to the side of her tail as it turns from the light, as well as the contours of the end of her tail that turn from the light. Use a darker tint of Burnt Sienna and Vermillion to outline the mermaid’s body, and Van Dyke Brown to paint facial features. Apply Permanent Rose to her lips using a #00 round. Using Van Dyke Brown loaded to a #1 round, paint the areas of the hair that turn from the light.
To the left and bottom foreground coral, apply a medium tint of Van Dyke Brown. When the shine is gone, apply a mixture of Ultramarine Blue and Violet to the areas farthest from the light. Apply Cadmium Red Deep to some corals, Burnt Sienna and Violet to others. Apply Indigo to the areas behind the corals. Apply Peacock Blue to the contours of the seaweed that curve over the mermaid. Paint the bubbles above the mermaid with opaque White gouache. When dry, apply Permanent Rose and Violet arcs within the bubbles. After they dry, apply white highlights.


Beginning at the top of the picture, apply a light Turquoise background tint using a #5 round. Apply Viridian in areas so the background is not flat but dimensional. Apply a dark tint of Peacock Blue as you approach the bottom. Let dry.
3. Paint the Large Bubble
Draw highlights on the large bubble with a pencil. Have ready medium tints of Violet, Peacock Blue, Permanent Rose, Permanent Yellow Light, and Yellow Orange. Wet the entire bubble except for highlights. On the right side of the long highlight, apply a medium Violet tint, blending it with water towards, but not touching, the outer rim of the bubble. Apply Peacock Blue to the area at left of the long highlight. Blend in Permanent Rose at the bottom. If the bubble dries, apply more water. Add Permanent Yellow Light below and above the round highlight, as well as Yellow Orange below. Let dry.
8. Define the Large Bubble and Add Details
Except for highlights, wet the entire large bubble. Apply darker tints of Violet, Peacock Blue, Permanent Rose, Permanent Yellow Light, and Yellow Orange. Blend colors to the outer bubble edges. When the shine’s gone, apply Vermillion below the round highlight at left. Apply Sap Green along the left edge. Let dry.
Wet the bubble at the very bottom edge of the painting. When the shine is gone, apply Permanent Yellow Light to the inside edge. When the shine’s gone, apply Sap Green following the curve of the bubble and Peacock Blue above the round highlight at right. Apply Yellow Orange to the rim on the left. Let dry.
Apply Sap Green to the outer edges of the fin and tail with a #00 round. Outline her earrings with Burnt Sienna. Use a bristle brush loaded with water to soften highlights and bubble edges.
9. Finish with Details
Apply clear water to the medium-sized bubble in front of the largest one, except for the highlights. When the shine is gone, apply Permanent Yellow to the right side and top, as well as Viridian on the opposite side and each side of the round highlight. Next, apply Peacock Blue closer to the bubble center and Turquoise to the center. Apply a light Violet tint to the inside left rim. Let dry. Using a #00 round, paint a thin arc of Sap Green to indicate the rim of the large bubble showing through. Let dry. Wet the small bubble attached to the medium one. When the shine’s gone, apply Permanent Yellow Light to the right side, adding Vermillion to the center and Violet to the inside edge where it meets the medium bubble. When dry, apply an arc in Sap Green to indicate the rim of the medium bubble showing through.
Apply a medium Violet tint to the angelfish with a #1 round. Let dry. Apply a darker tint to its contours and Ultramarine Blue to shadow areas. When dry, apply a deep tint of Ultramarine Blue for the vertical stripes. Paint the angelfish eye Indigo. Paint small bubbles at the top in greens, turquoise, yellow, and red. Use white gouache to accentuate the highlights on all the bubbles.


