
1 minute read
PUSH FIT STEP-BY-STEP


VSH TECTITE HOW TO GUIDE
Check out these step-by-step installation instructions for Pegler’s VSH Tectite – it’s a push fit system incorporating pipe fittings, valves and controls with proven advantages of reliability, performance and versatility.
STEP 1 - CUT
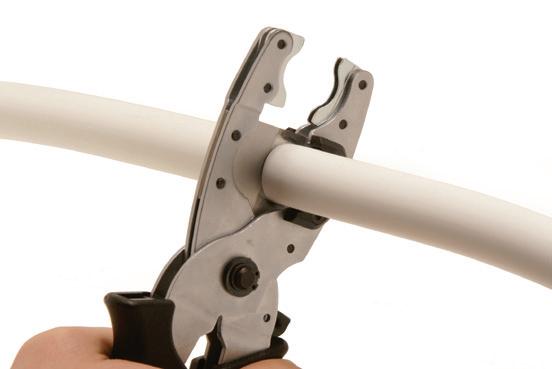
Cut the VSH Tectite tube with a hand tool. Use good quality cutters, ensuring the blade is sharp and the cut is square. Make sure the tube is clean and free from damage.
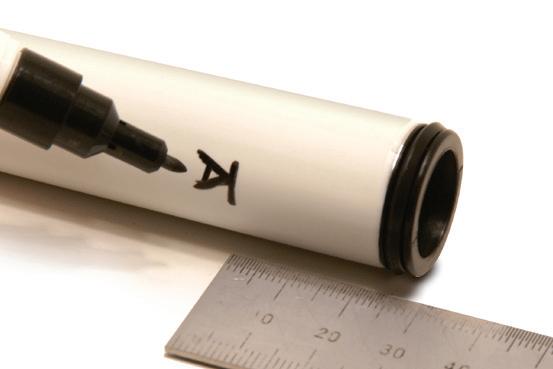
Mark the insertion depth clearly on the tube. Using a line and an ‘A’ aids visibility after insertion. VSH Tectite calibration tools and VSH Tectite debur, mark and scribe tools can also help with insertion depth marking. Use the VSH Tectite calibrating tools to provide a clean, square pipe with chamfered edges. Calibration re-rounds the tube after cutting to prepare it for the TectSEAL and for push-fit jointing.
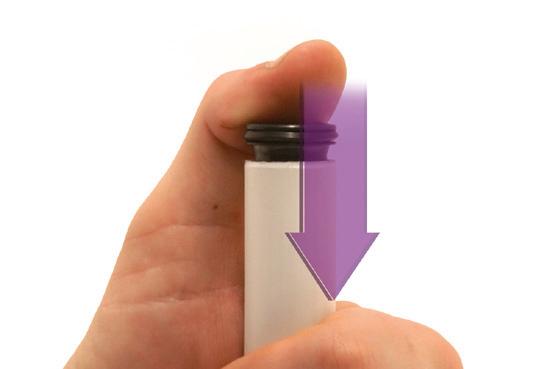
Push the tube firmly into the fitting until the insertion depth mark reaches the demounting collar. Pushing with a twist will ease insertion. Push the TectSEAL 3PS into the tube until the flange meets the chamfered end. TectSEAL 3PS are pre-lubricated. Make sure all swarf is removed from the tube before fitting TectSEAL.
Pull back on the pipe to check the joint is secure. VSH Tectite fittings allow the tube to rotate after jointing.
STEP 4 - MEASURE STEP 2 - CALIBRATE
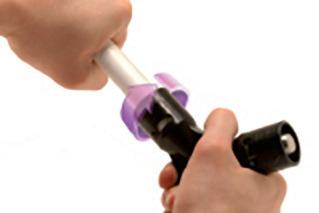
STEP 5 - CONNECT STEP 3 - INSERT
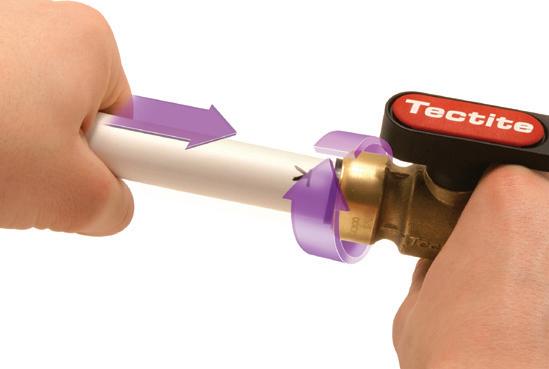
STEP 6 - CHECK

For more info visit: www.pegler.co.uk


